
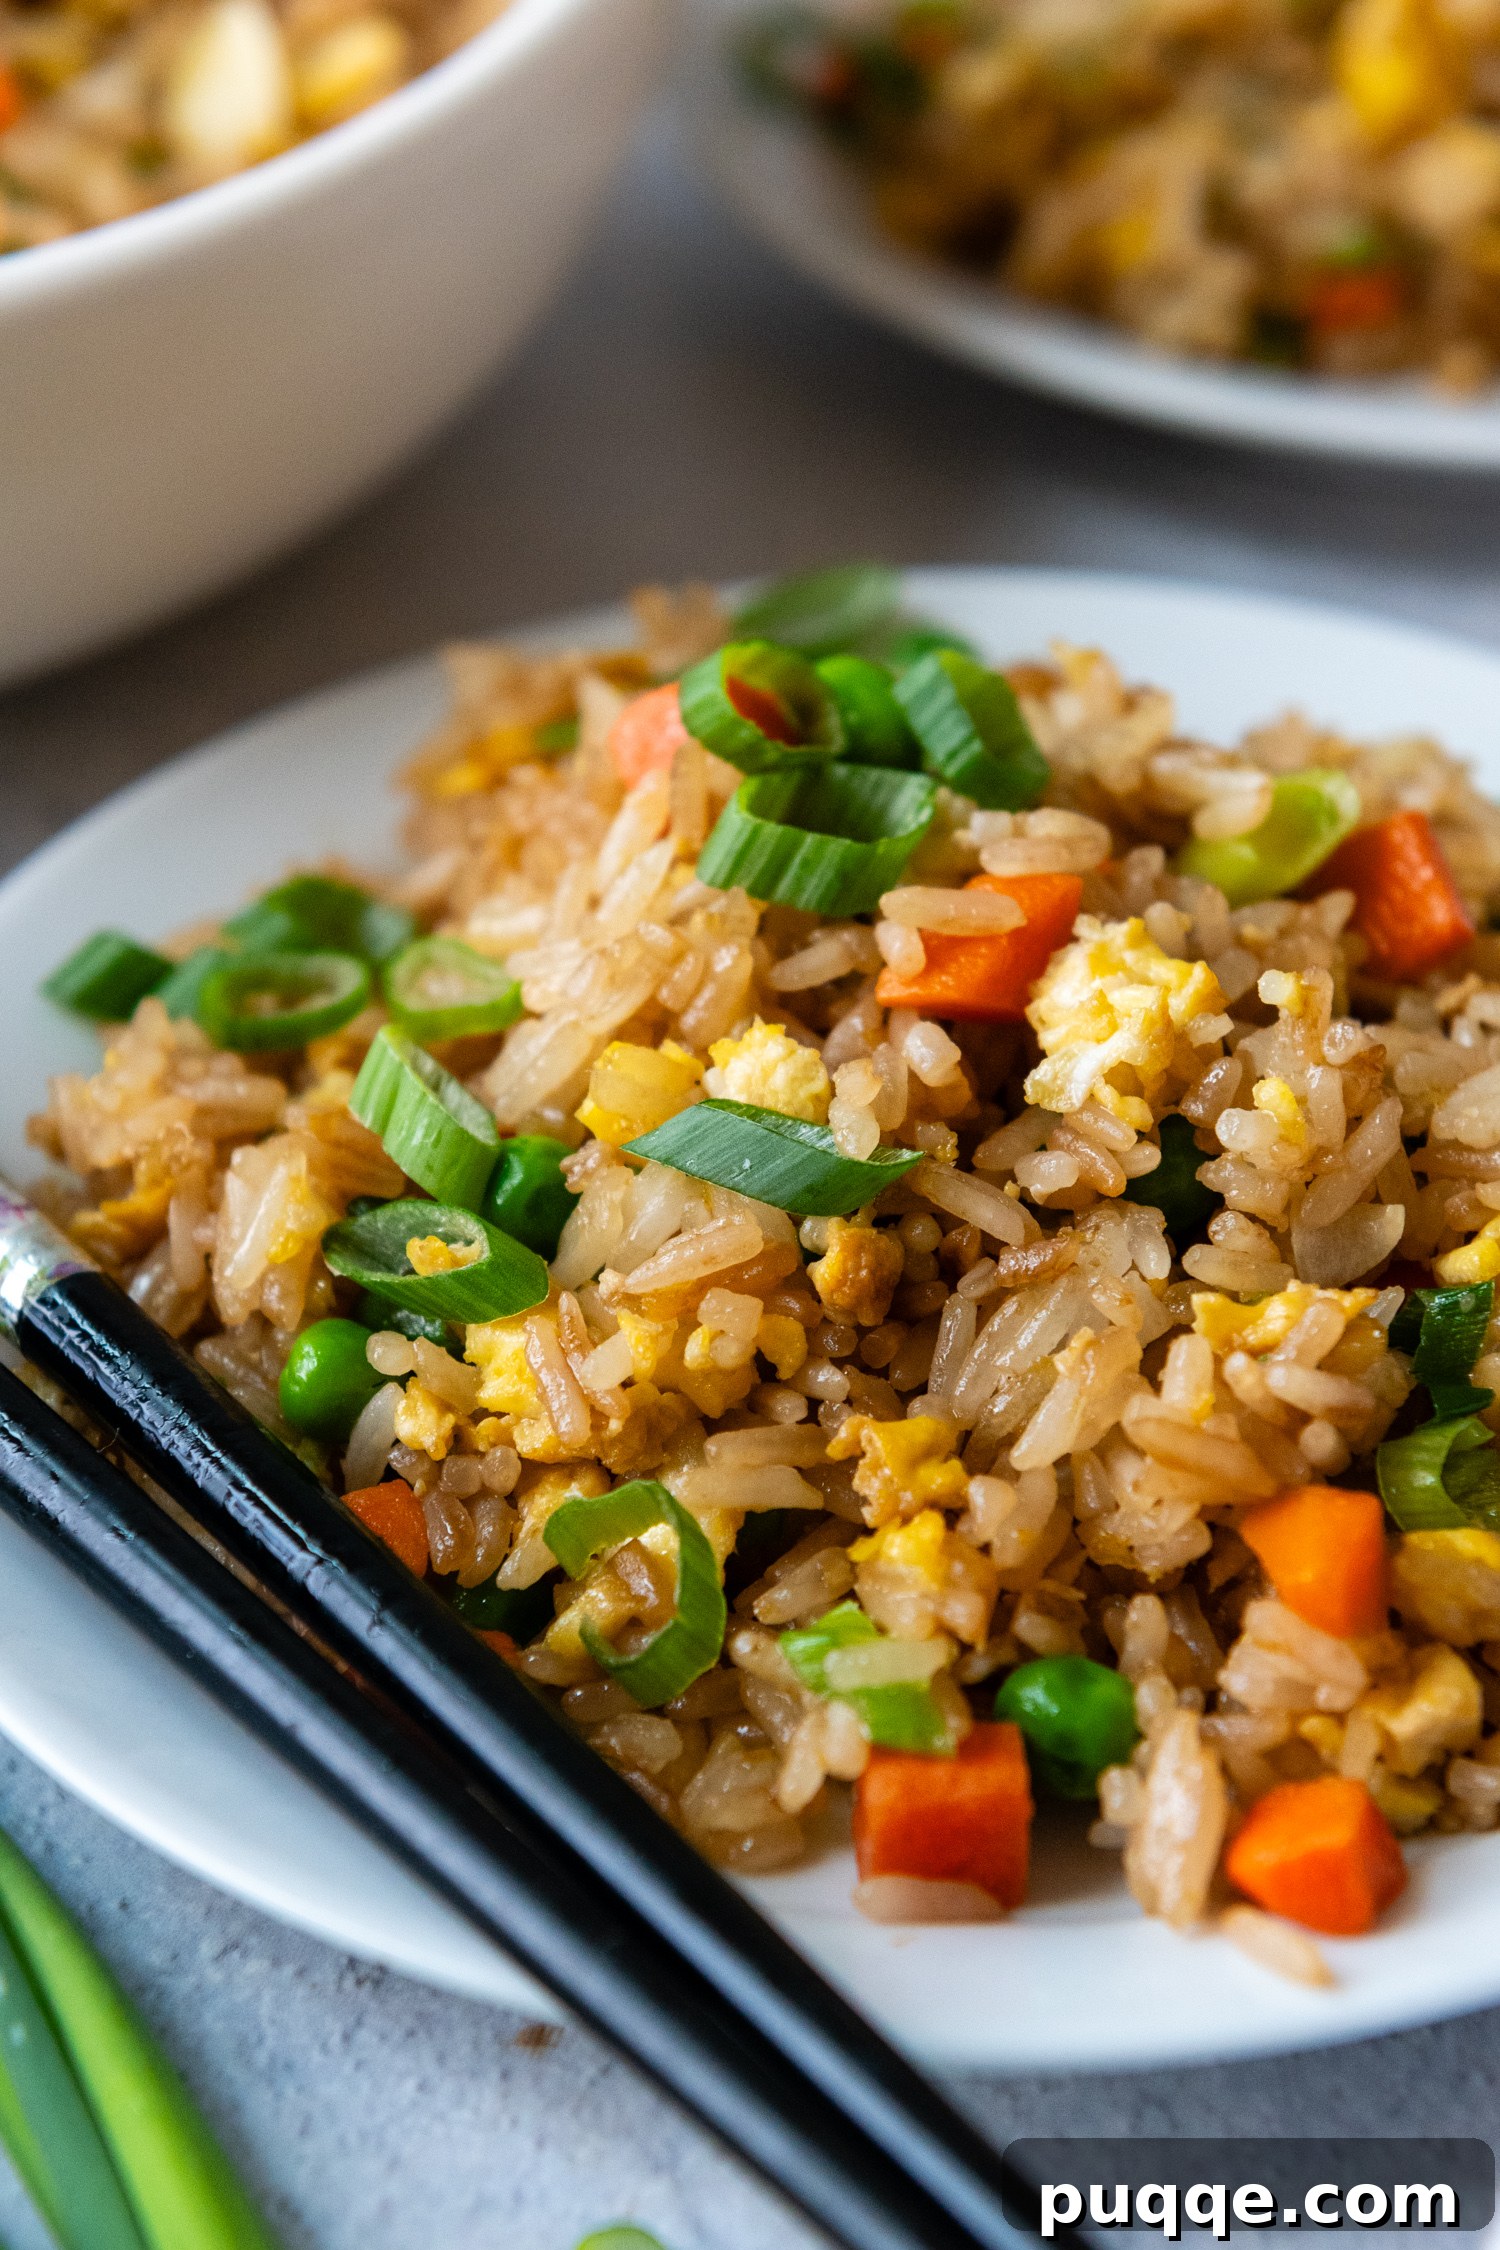
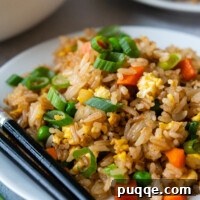
Unlock the secrets to crafting the ultimate **gluten-free fried rice** right in your own kitchen! Forget bland, mushy takeout versions and prepare to indulge in a dish bursting with vibrant flavors and perfectly separated, slightly crispy rice grains. This recipe is meticulously designed to be not only effortlessly simple but also consistently delicious, ensuring a truly satisfying culinary experience without any gluten worries. Whether you’re a seasoned chef or a kitchen novice, our comprehensive guide will walk you through every step, from selecting the ideal rice to mastering the perfect cooking technique, transforming a humble side dish into a star player at your dinner table.
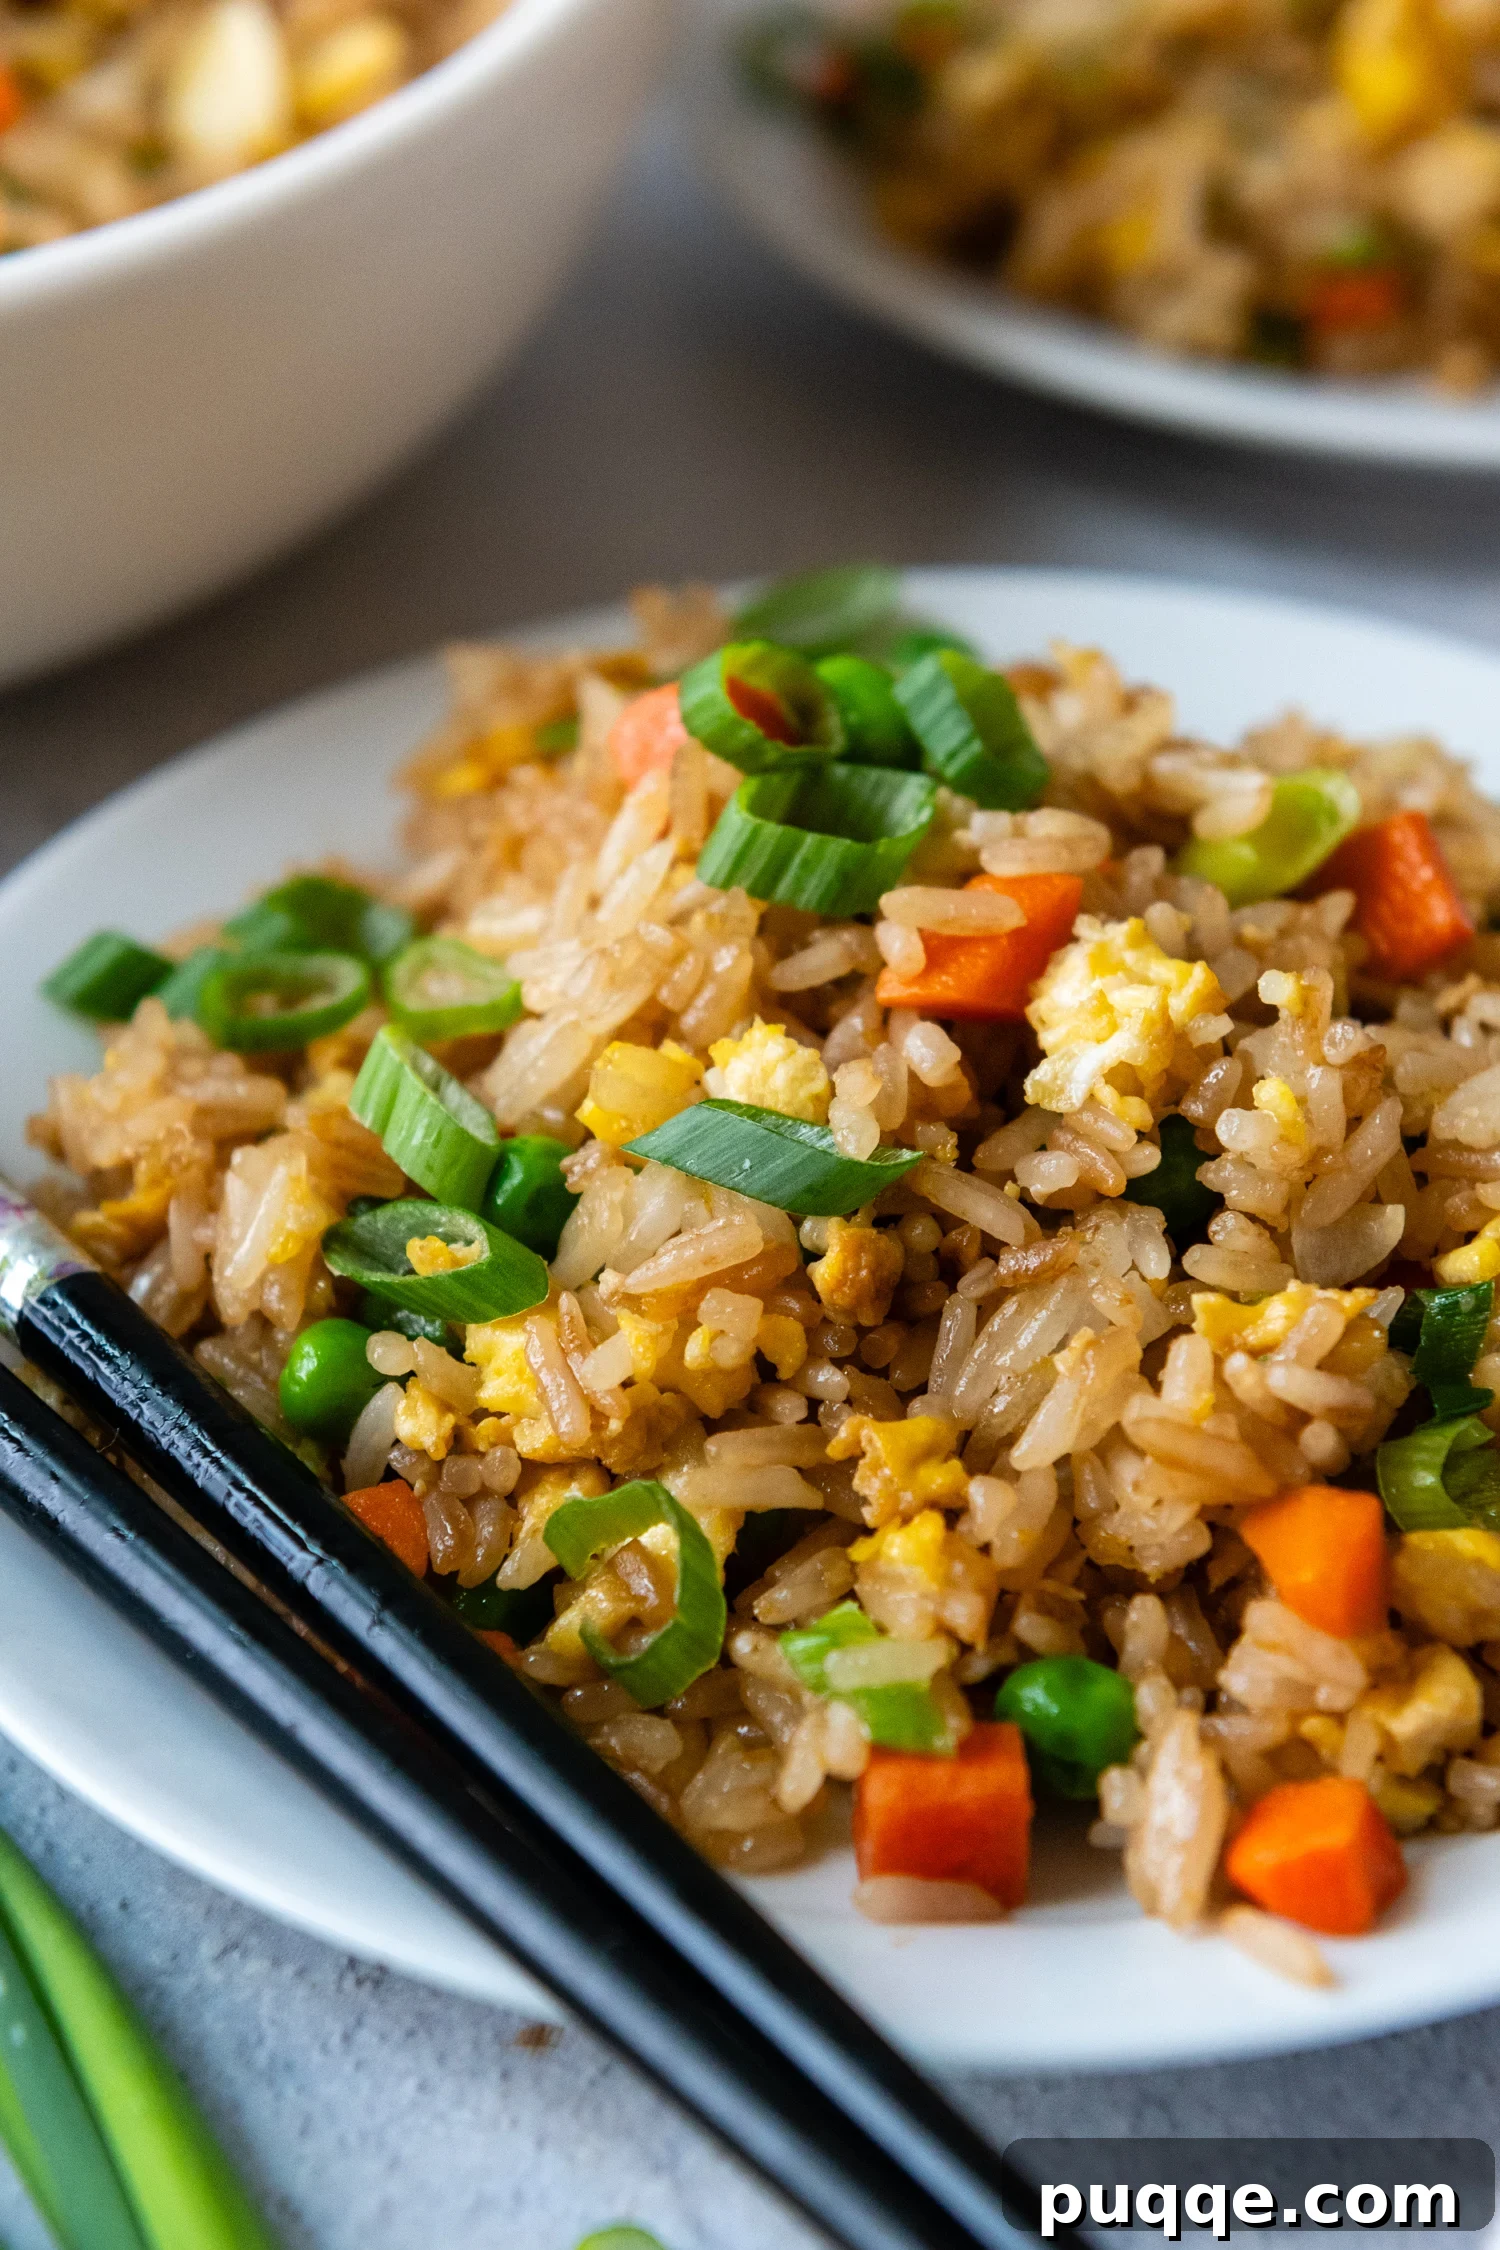
Why This Gluten-Free Fried Rice Recipe is a Game-Changer
Making fried rice gluten-free is often as simple as a mindful swap of soy sauce for a certified GF alternative like tamari. However, what truly elevates this homemade fried rice recipe above the rest isn’t just its gluten-free status, but its ability to deliver superior flavor and texture that rivals, if not surpasses, your favorite takeout.
Many home cooks struggle with common fried rice pitfalls: soggy, clumpy grains or a dish that simply lacks depth. Our recipe directly addresses these challenges head-on. We focus heavily on the often-overlooked art of preparing and cooling the rice, which is the cornerstone of achieving that desirable dry, separate, and slightly crispy texture. We believe that once you master the rice, the rest of the dish falls perfectly into place, creating a foundation that eliminates disappointment and ensures culinary success.
Furthermore, we understand the value of convenience. When searching for **easy gluten-free side dish ideas**, accessibility and speed are paramount. This recipe champions the use of readily available ingredients, many of which you likely already have on hand. The inclusion of shortcut ingredients like frozen, thawed peas and carrots means you can whip up this flavorful dish in minutes, making it perfect for busy weeknights or impromptu gatherings. We’re all about streamlining your cooking process without compromising on quality or taste.
And then there’s the flavor profile – a meticulously balanced blend of salty and umami notes that defines truly exceptional fried rice. This recipe is delicious enough to stand alone as a light meal, or it can be a fantastic canvas for additional proteins such as cooked chicken, shrimp, or pork. If you plan to serve it alongside other flavorful mains, like our unstuffed egg roll bowls or gluten-free sweet and sour chicken, you might consider slightly adjusting the amount of gluten-free soy sauce to ensure a harmonious balance of flavors across your entire meal.
The Secret to Perfect Fried Rice: Mastering the Rice Itself
Achieving a perfectly non-clumpy, non-mushy fried rice, especially when aiming for a gluten-free version, hinges on a critical trifecta of rice preparation techniques. If you’ve ever wondered why your homemade fried rice doesn’t quite measure up to the fluffy, flavorful dishes from your favorite Asian restaurant, these are the secrets you need to unlock:
- **Choose the Right Grain:** The type of rice you use plays a pivotal role in the final texture. For fried rice, long-grain varieties like jasmine or basmati rice are ideal. Their distinct grains cook up firm and separate easily, preventing the sticky, clumpy texture often associated with short-grain or medium-grain varieties. Jasmine rice, with its slightly floral aroma and soft texture, is a popular choice and works beautifully in this recipe.
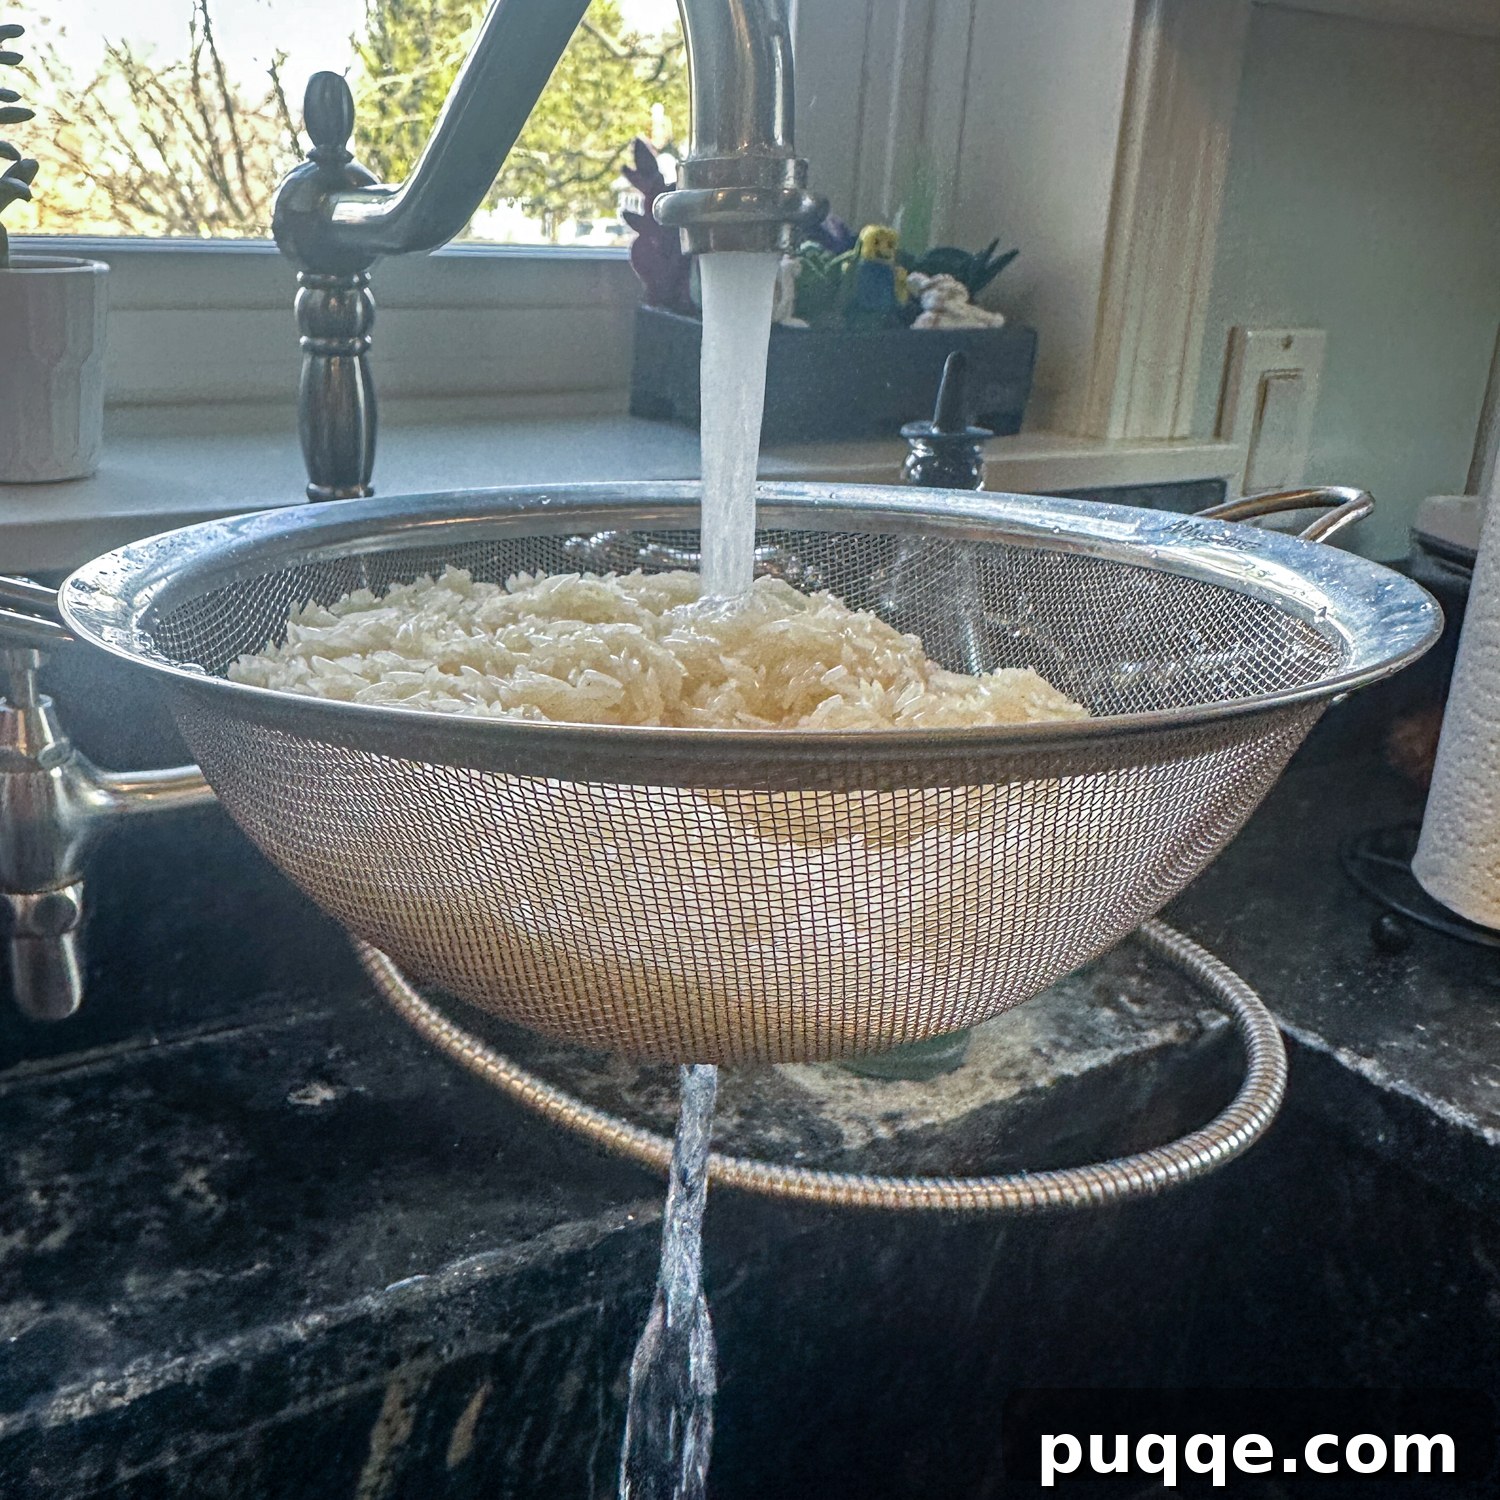
- **Rinse, Rinse, Rinse (Obsessively!):** This step is non-negotiable. Place your measured uncooked rice in a fine-mesh sieve and rinse it thoroughly under cold running water. Agitate the rice with your hand until the water draining from the bottom of the sieve runs completely clear. This process removes excess starch from the exterior of the grains, which is the primary culprit behind mushy and sticky fried rice. Dedicate at least a minute to this step—it makes all the difference!
- **Cook, Cool, and Chill:** After cooking your rice (using a slightly lower water-to-rice ratio as detailed in our recipe notes helps achieve a drier grain), it’s crucial to cool it down completely. Spread the cooked rice in a thin, even layer on a baking tray. This maximizes the surface area, allowing steam to escape quickly and efficiently. Once spread, pop the tray into the refrigerator for at least 30 minutes, or ideally, overnight. Cold, day-old rice is firm, has a lower moisture content, and will hold up beautifully to the high heat of stir-frying, resulting in those coveted individual, slightly toasted grains. This chilling process prevents the rice from steaming in the pan and becoming gummy.
By diligently following these three steps, you’ll lay the perfect foundation for a truly spectacular gluten-free fried rice that boasts an impeccable texture, making every bite a delight.
Let’s Make This *Together*: A Step-by-Step Guide
(The following provides detailed step-by-step instructions with accompanying photos. For precise ingredient measurements and the full recipe card, please scroll down.)
1. Prep and Cook Your Rice – The Right Way
As discussed, the foundation of great fried rice is perfectly prepared rice. Begin by rinsing your uncooked rice with an almost obsessive dedication. Place the measured rice in a fine-mesh sieve and rinse it under cold running water for at least a minute, using your hand to move the grains around. Continue until the water draining from beneath the sieve is completely clear – a sign that excess starch has been removed. For this recipe, we prefer using jasmine rice due to its natural tendency to cook with a slightly lower water-to-rice ratio, yielding drier grains that separate effortlessly when stir-fried. Once cooked according to the method in our recipe notes (which ensures optimal dryness), spread the rice out in a thin layer on a baking sheet and allow it to cool completely in the refrigerator. This critical step sets the stage for crispy, individual grains, not clumpy mush.
2. Don’t Skimp on the Oil or Pan Size
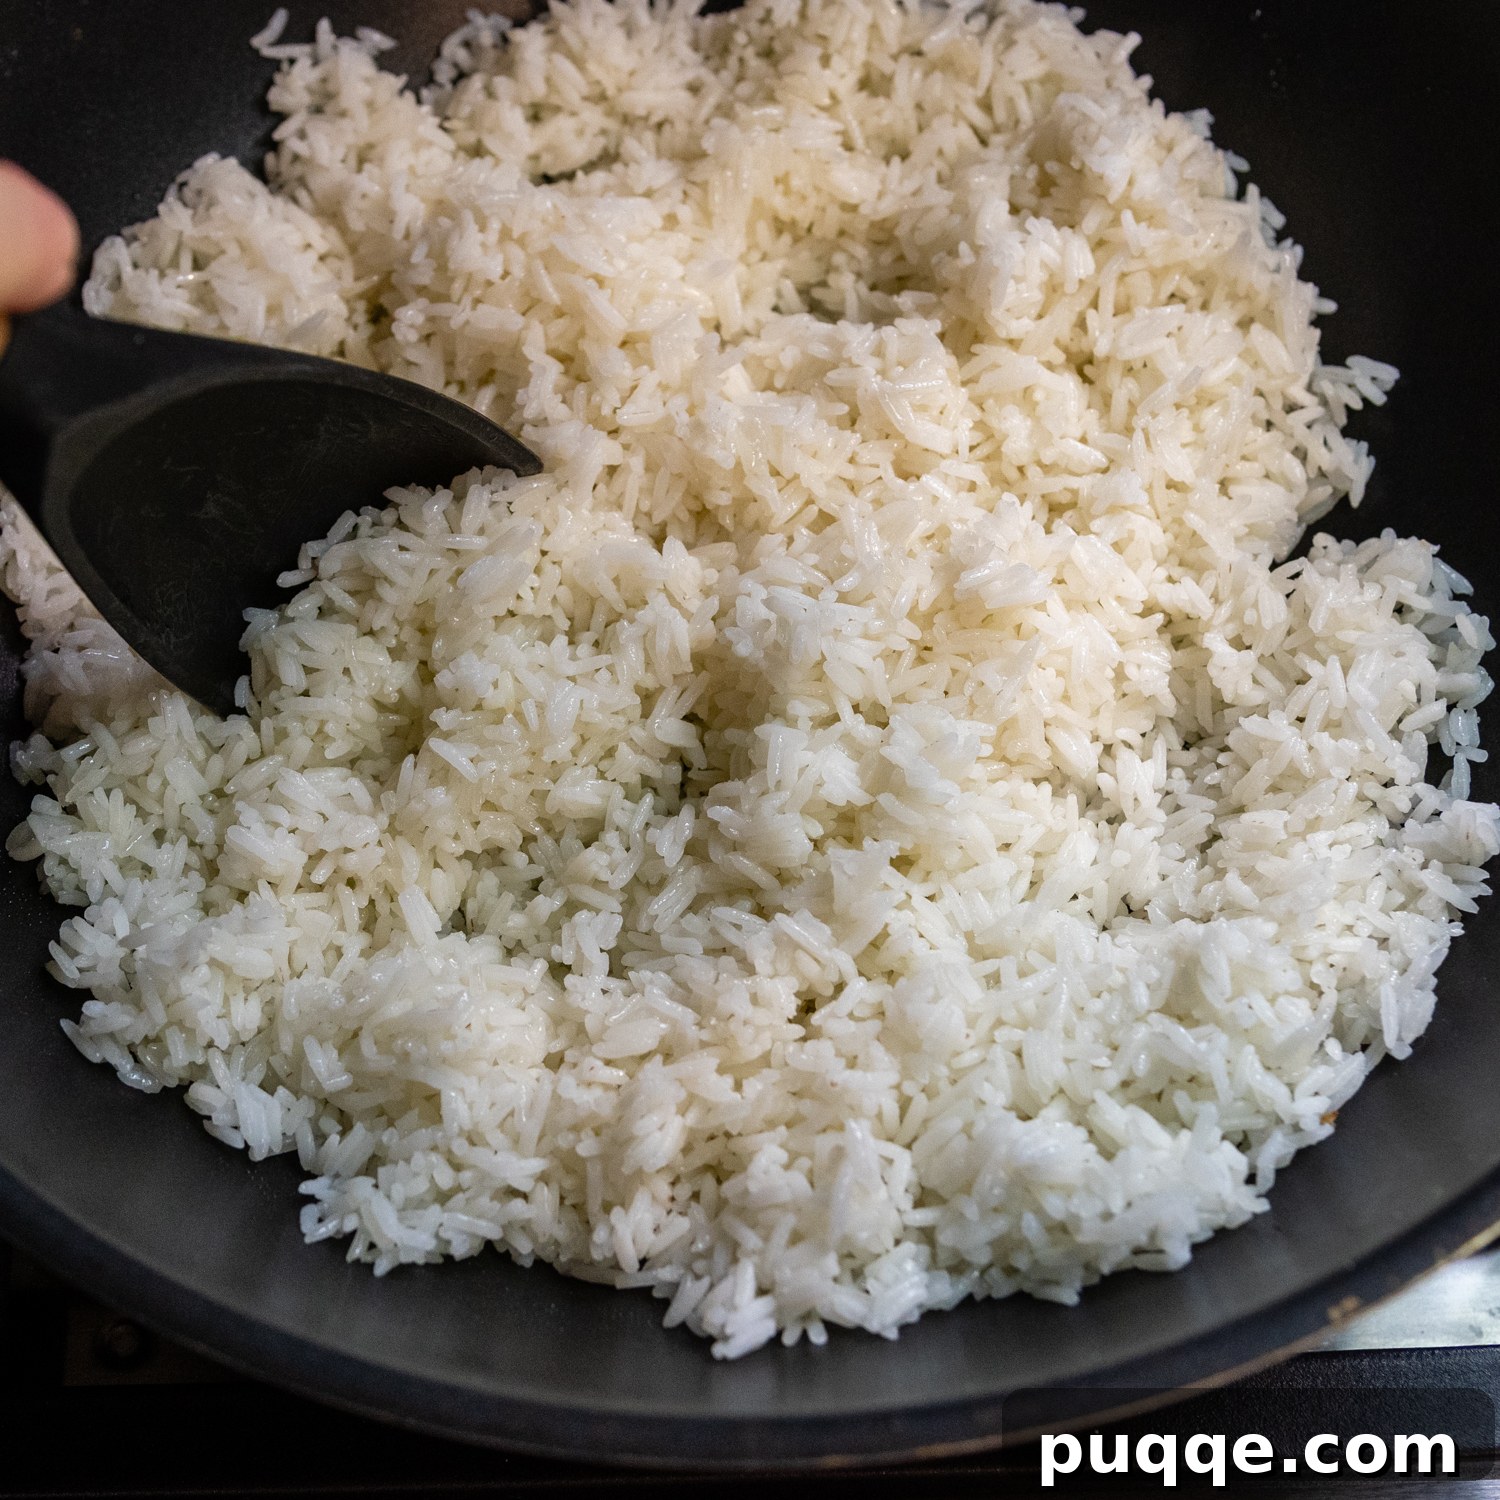
The right equipment and technique for cooking are just as important as the rice prep. Choose a pan large enough to allow you to move the rice around freely without overcrowding it – this is essential for achieving proper toasting and separation, rather than steaming. A wok is traditionally the best choice, providing even heat distribution and a high cooking surface, but a large, deep skillet or a wide, non-stick pan will also work effectively. Ensure you use enough vegetable oil to generously coat the bottom of the pan and the rice. The oil facilitates even cooking, helps toast the rice, and prevents sticking, contributing to that desirable texture.
3. Time for Eggs: The Protein Boost
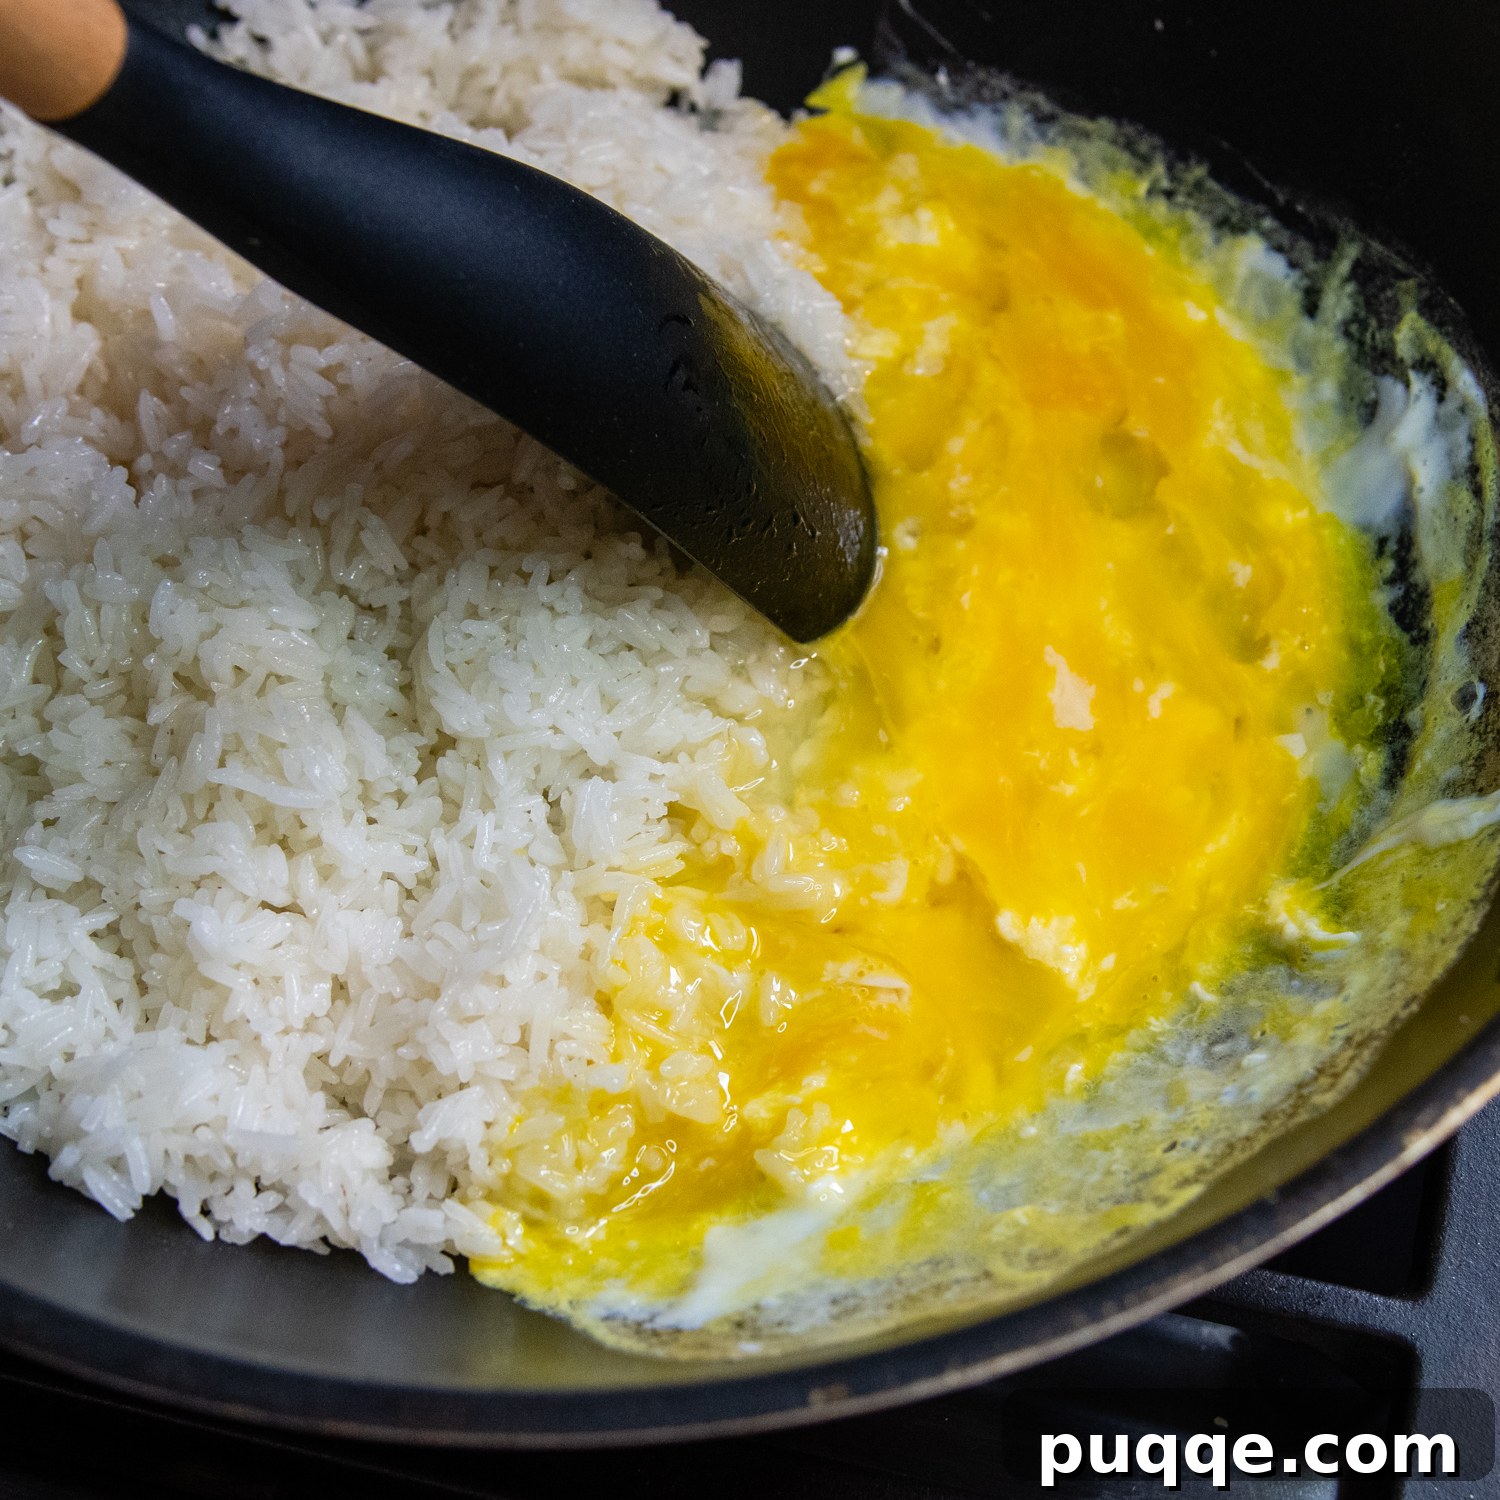
Once your rice has fried for a few minutes and started to toast, create a cleared space on one side of the pan by pushing the rice to the other side. Crack the eggs directly into this empty space. There’s no need to beat them beforehand – simply scramble them right there in the pan, next to the rice. As the eggs begin to set and are almost cooked through, start incorporating them into the rice. Stir gently but thoroughly, breaking the eggs into smaller pieces and distributing them evenly throughout the grains. This method allows the eggs to cook quickly and integrate seamlessly into the fried rice, adding a crucial layer of texture and protein.
4. Flavor Finish: Bringing It All Together
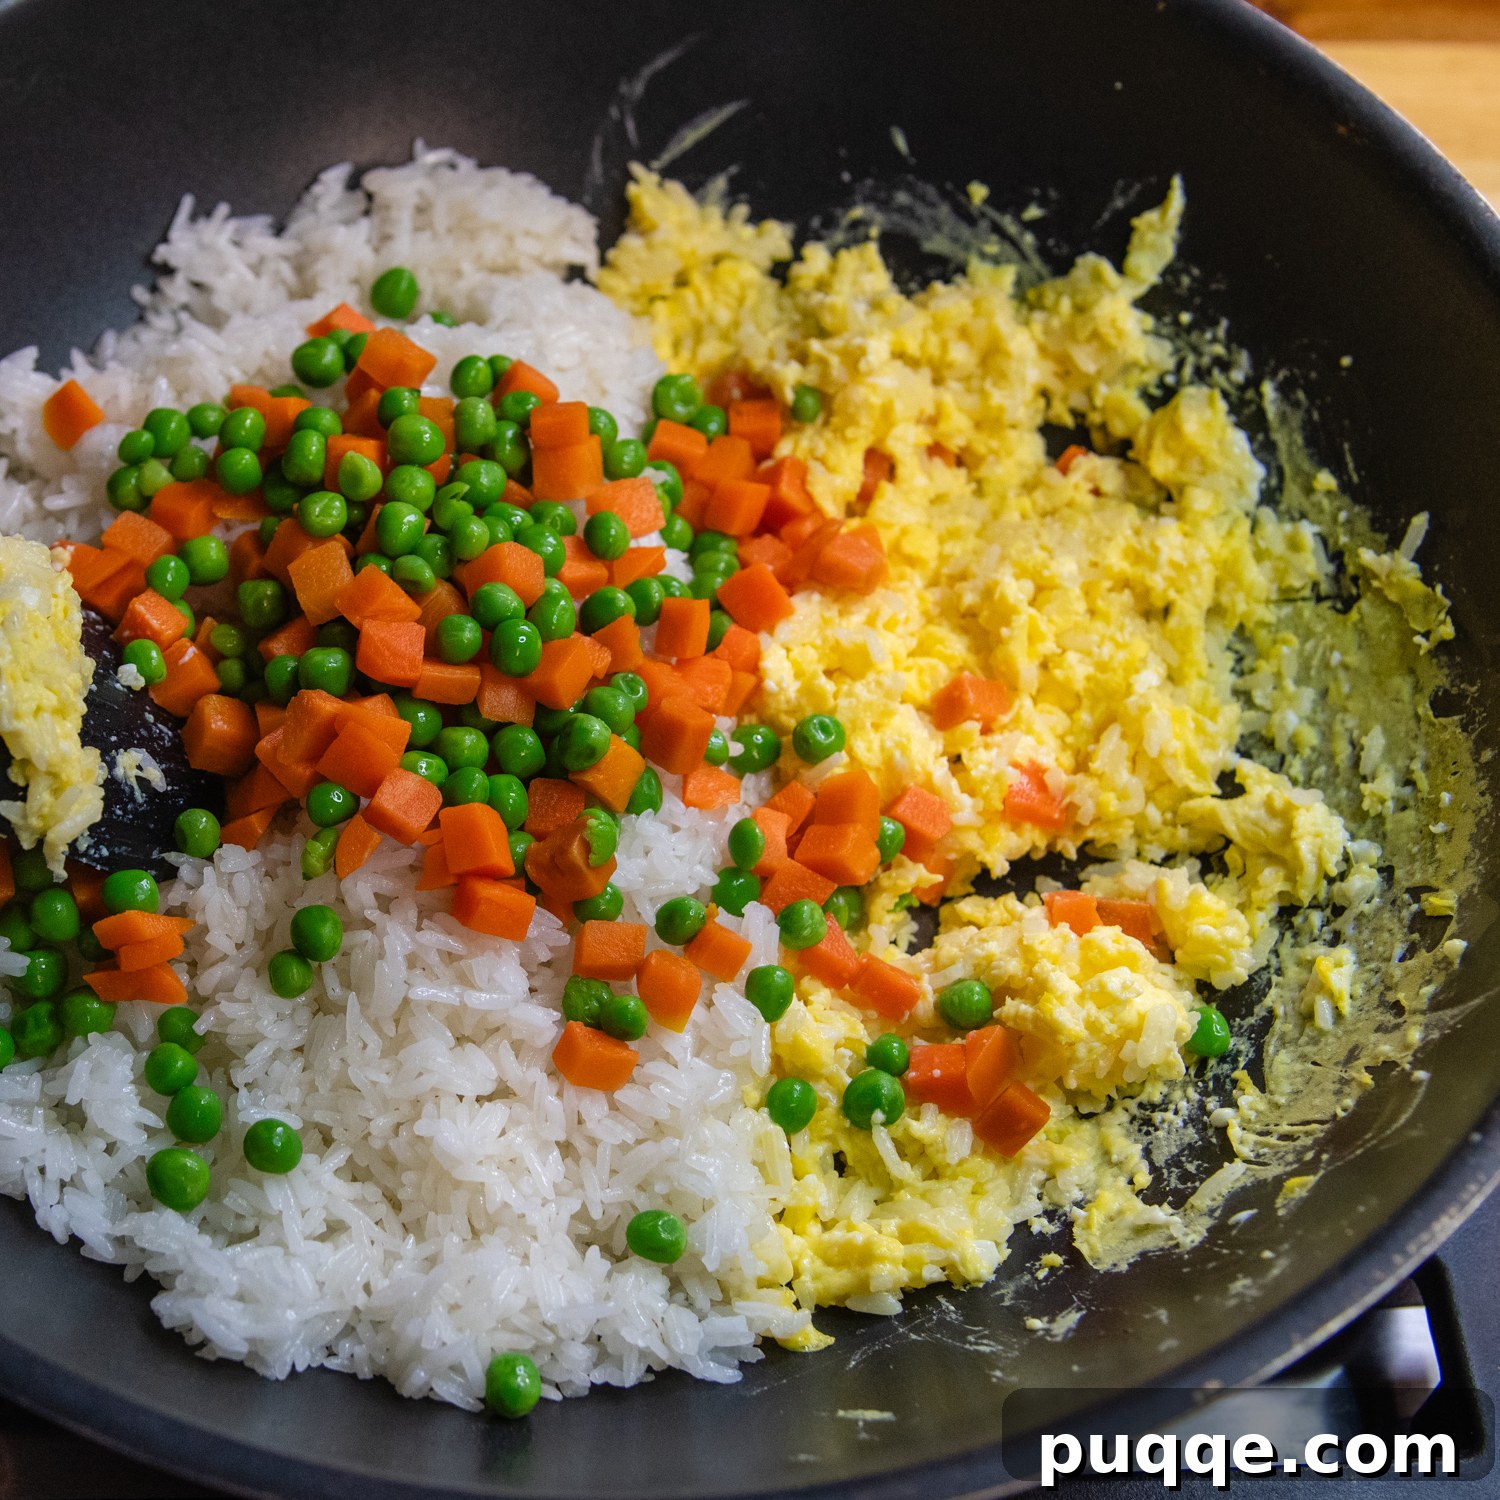
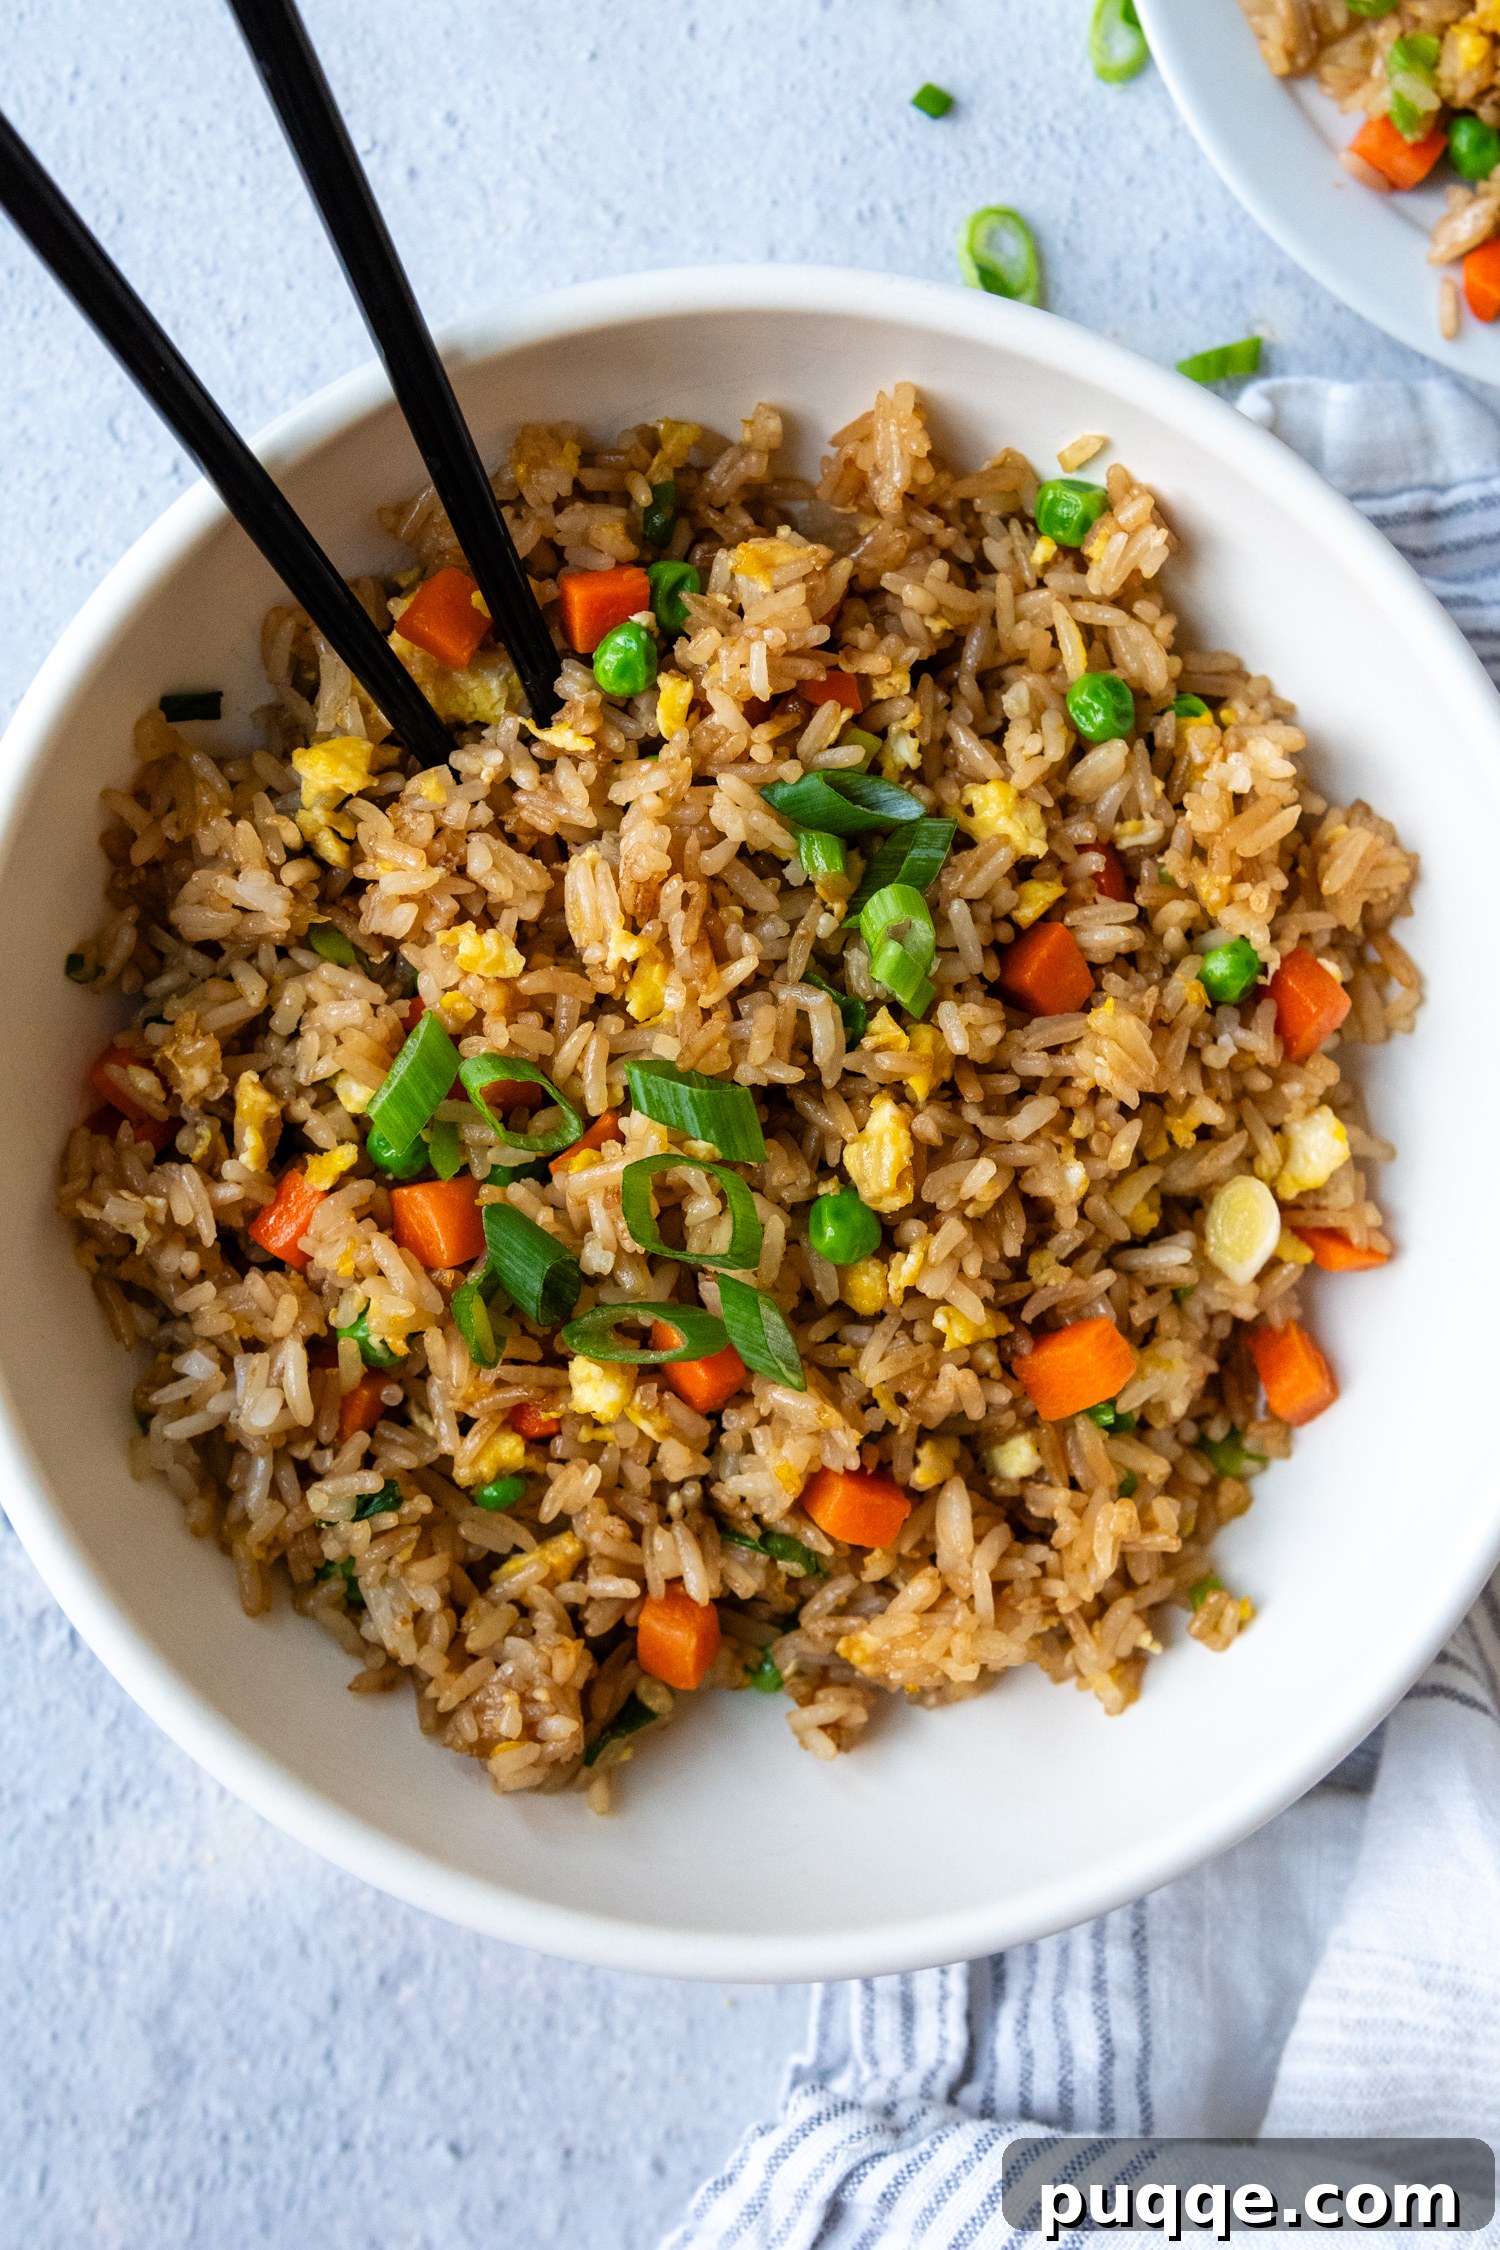
Now for the grand finale – transforming our toasty rice and eggs into quintessential fried rice. Add a cup of thawed peas and carrots (a convenient shortcut that doesn’t compromise flavor), freshly sliced green onions for a fresh, pungent kick, and your chosen gluten-free soy sauce. If you have a bottle of toasted sesame oil on hand, a small splash at this stage is highly recommended; it introduces an incredible nutty aroma and authentic depth of flavor that truly elevates the dish. Stir everything together briskly, cooking until all ingredients are thoroughly heated through and evenly combined. And just like that, you’ve achieved easy, peasy, lemon squeezy success with your homemade, perfectly flavored, gluten-free fried rice!
Navigating the world of gluten-free alternatives for soy sauce is easier than you might think! Many brands now offer certified gluten-free soy sauce, such as La Choy or Kikkoman GF soy sauce (always check for the clear gluten-free label, as they also produce a regular version). Beyond these, excellent substitutes include tamari (a Japanese soy sauce that is typically gluten-free), liquid aminos, or coconut aminos. Each offers a similar savory, umami flavor, making it simple to keep your fried rice completely gluten-free without sacrificing taste.
Feeling Fancy? Yummy Flavor Additions & Variations
While our basic gluten-free fried rice recipe is incredibly satisfying on its own, it’s also a fantastic canvas for culinary creativity. If you’re looking to elevate your dish and impress your taste buds, here are some tasty and complementary additions and variations to explore:
- **Aromatics:** For an extra layer of flavor, sauté minced garlic or ginger (or both!) in the oil before adding the rice. This infuses the entire dish with a wonderful fragrance.
- **Proteins:** Transform your fried rice into a complete meal by mixing in cooked protein. Diced ham, leftover cooked chicken, succulent shrimp, tender pork, or even thinly sliced beef are all excellent choices. Add them after the eggs have cooked through and heat until warmed.
- **Extra Veggies:** Beyond peas and carrots, the possibilities are endless! Consider adding finely diced broccoli florets, sliced mushrooms, colorful bell peppers, crisp bok choy, sweet snap peas, or extra sautéed onion for added texture and nutrients. Add heartier vegetables earlier in the cooking process to ensure they cook through.
- **Sweet & Tangy Twist:** For a Hawaiian-inspired touch, stir in some small chunks of fresh or canned pineapple (drained). The sweetness offers a delightful contrast to the savory elements.
- **Umami Boosters:** A dash of fish sauce (always check the label to ensure it’s gluten-free) can add another layer of savory depth. A splash of toasted sesame oil at the very end enhances the nutty flavor and aroma significantly.
- **Spice It Up:** For those who love a bit of heat, a pinch of red pepper flakes or a drizzle of sriracha can be stirred in at the end.
Don’t be afraid to experiment with your favorite combinations to customize your gluten-free fried rice exactly to your liking. Each addition offers a unique twist, making this versatile dish exciting every time you prepare it!
Save This Recipe to Your Pinterest Board!
Let’s be friends on Pinterest! I’m always sharing great recipes!
Did you make this recipe? I love hearing from you! Leave a star rating and comment below the recipe card. It helps others when searching for recipes and I appreciate feedback from our community. You will always hear back from me! -Melissa
Frequently Asked Questions About Gluten-Free Fried Rice
- Can I use brown rice for this recipe?
- While white long-grain rice like jasmine or basmati is traditionally recommended for its firm texture and ability to separate, you can use brown rice. However, brown rice tends to be chewier and absorbs more moisture, so ensure it’s cooked even drier and cooled completely (preferably overnight) to prevent mushiness. The overall texture will be different but still delicious.
- How can I make this fried rice vegetarian or vegan?
- To make it vegetarian, simply omit any meat additions. The eggs are a great protein source. For a vegan version, you’ll need to replace the eggs with a plant-based alternative like scrambled tofu (crumbled and seasoned tofu) or simply increase the amount of vegetables. Ensure your gluten-free soy sauce alternative (like tamari or coconut aminos) is also vegan-friendly.
- What’s the best way to store and reheat leftover fried rice?
- Store leftover fried rice in an airtight container in the refrigerator for up to 3-4 days. To reheat, you can either microwave it (though this might soften the rice) or, for best results, reheat it in a skillet or wok over medium-high heat with a tiny bit of oil. Stir-fry until heated through, breaking up any clumps. This method helps restore some of the crispy texture.
- Why is my homemade fried rice always mushy?
- Mushy fried rice is usually due to too much moisture or starch. The key solutions are: 1) Thoroughly rinsing your rice before cooking to remove excess starch. 2) Using a slightly lower water-to-rice ratio when cooking. 3) Spreading the cooked rice thinly and chilling it completely in the refrigerator (preferably overnight) before frying. Cold, dry rice is crucial for preventing mushiness.
- Can I add other vegetables?
- Absolutely! Fried rice is incredibly versatile. Feel free to add finely chopped broccoli, sliced mushrooms, bell peppers, snap peas, corn, or even bean sprouts. Just be mindful of their cooking times – add harder vegetables earlier and softer ones later to ensure everything is perfectly cooked but still retains some crispness.
Your New Go-To Gluten-Free Fried Rice Recipe
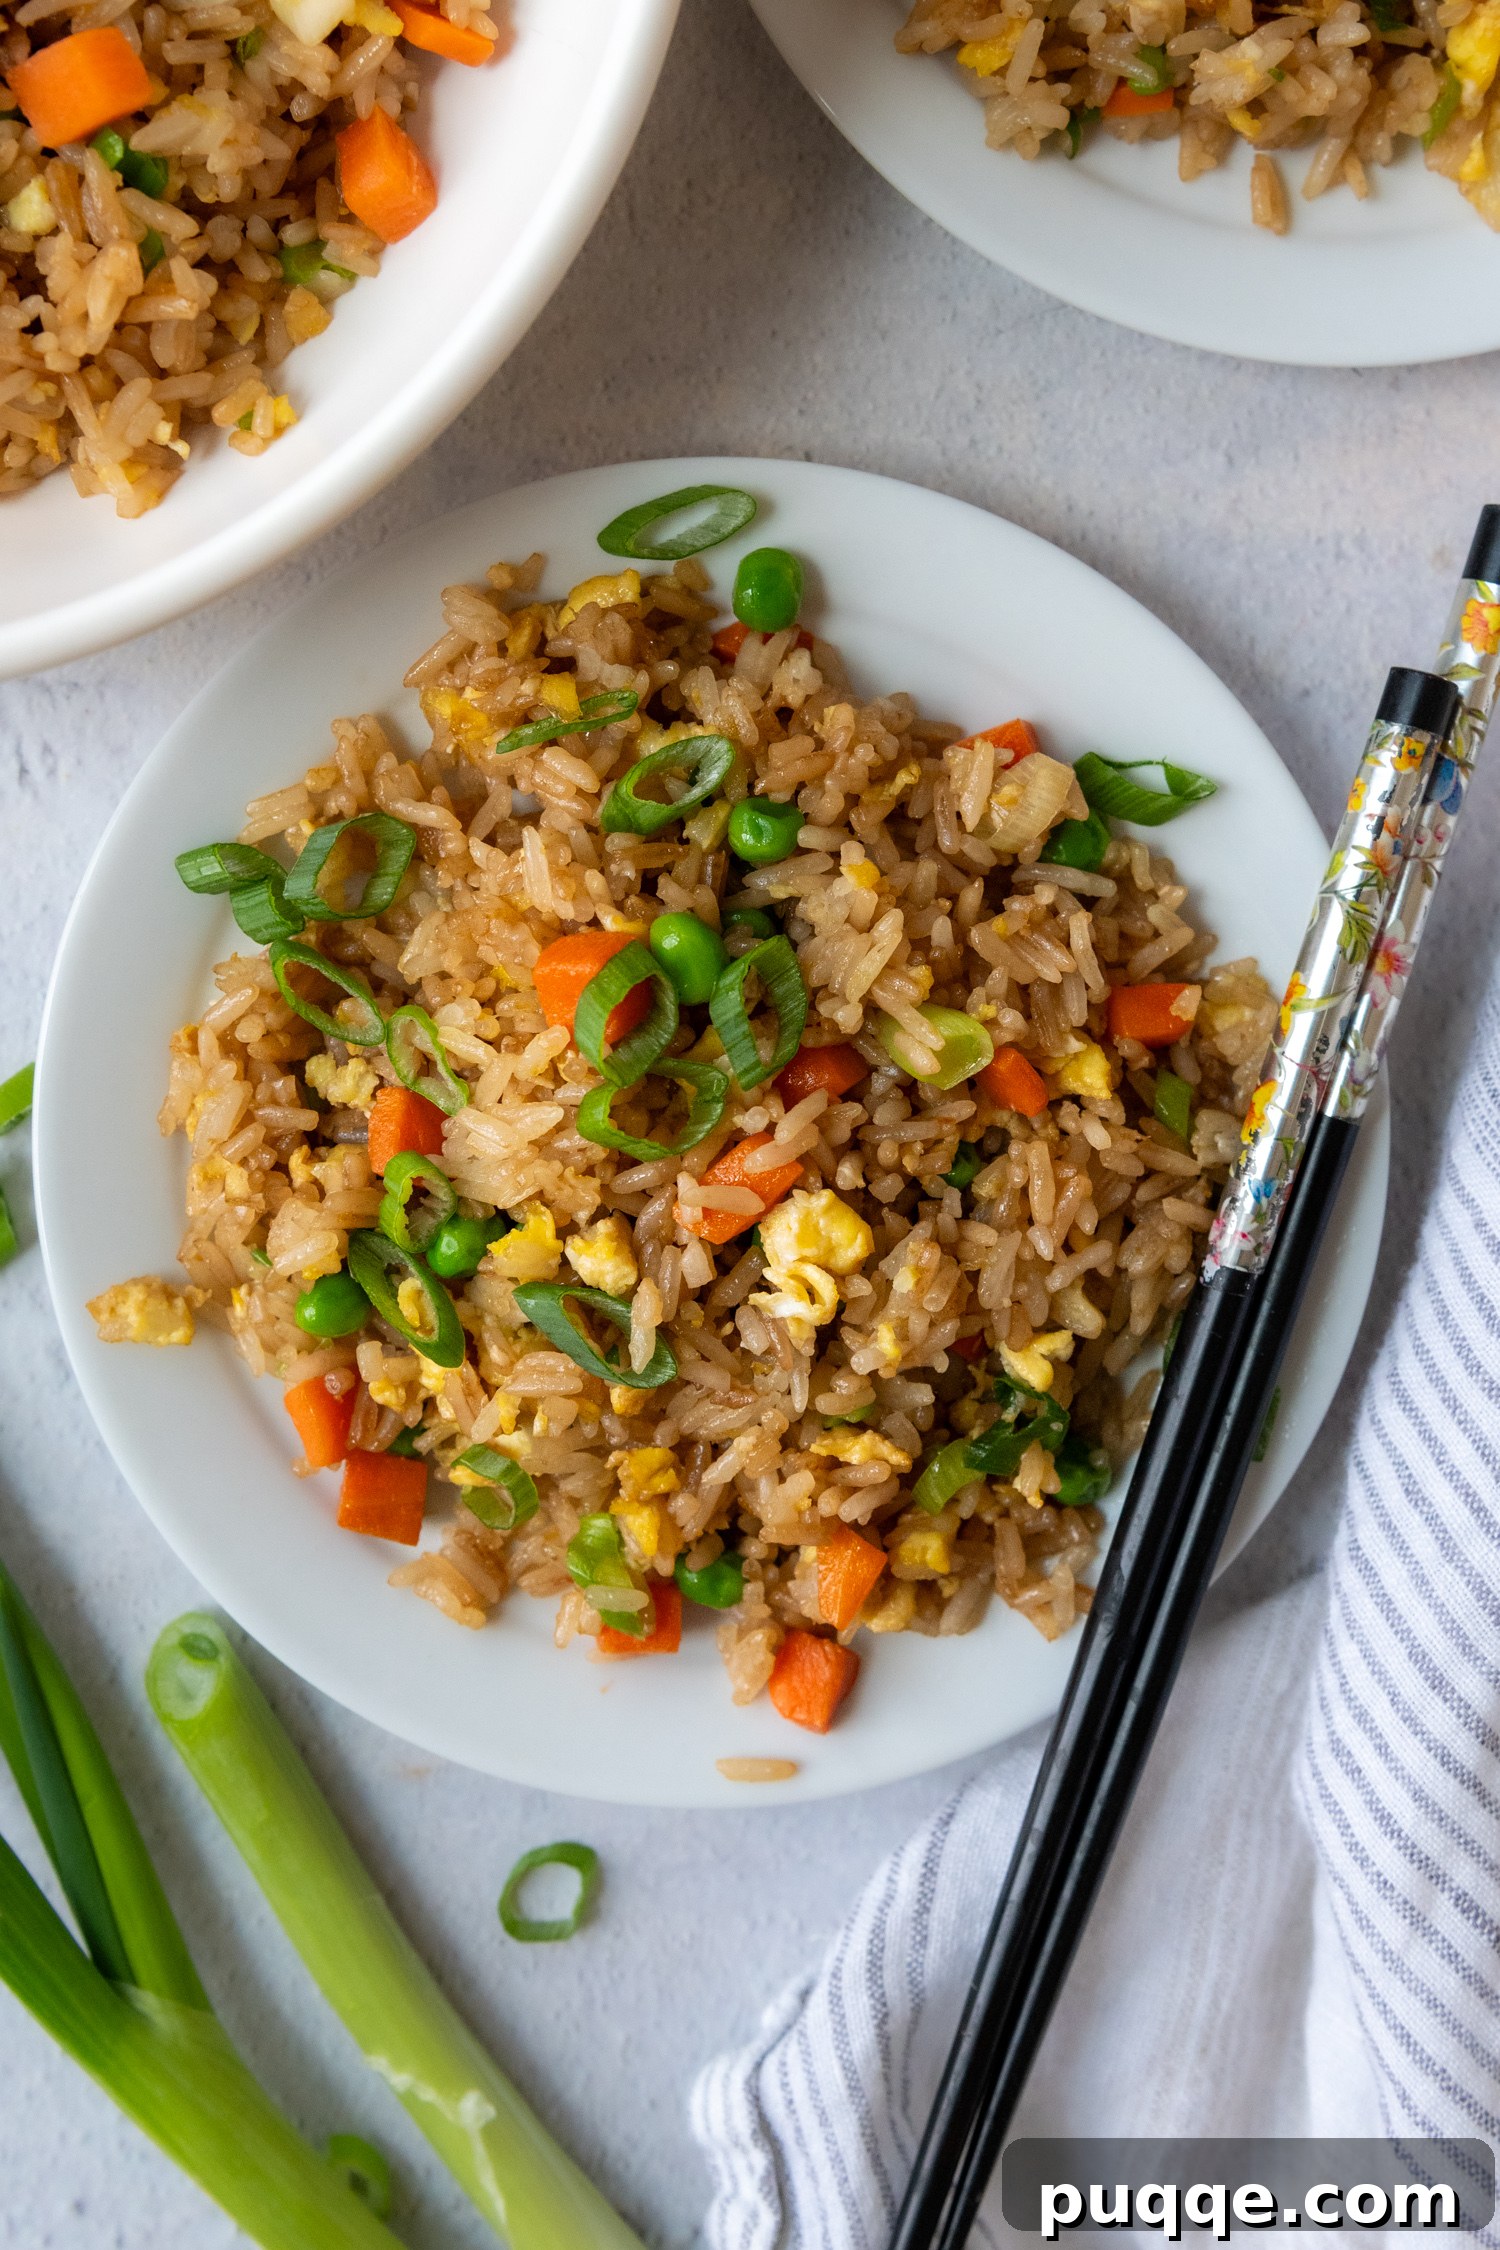
There you have it – a comprehensive guide to mastering the art of homemade, **easy gluten-free fried rice**. By focusing on proper rice preparation, utilizing accessible ingredients, and employing smart cooking techniques, you can consistently achieve a dish that is far superior to any takeout option. This recipe promises not just a meal, but a delightful culinary experience – packed with flavor, boasting perfect texture, and completely free from gluten. Whether as a versatile side or a satisfying main, this fried rice is destined to become a staple in your rotation. We encourage you to try it, experiment with your favorite additions, and rediscover the joy of perfectly crafted fried rice!
★
★
★
★
Simple Weeknight Fried Rice (Gluten Free)

Melissa Erdelac
6
1 hour
15 minutes
1 hour
15 minutes
Pin
Rate
Remove Ads
Ingredients
- 3 tablespoons vegetable oil
- 5 cups (packed) cold cooked jasmine rice, see recipe notes for cooking and cooling technique
- 3 large eggs
- 1 cup frozen peas and carrots, thawed, optional
- 3 green onions, sliced
- 3 tablespoons gluten-free soy sauce
- 1 teaspoon sesame oil, optional
Equipment
-
Wok
-
Strainer
Instructions
-
Heat a wok or large deep skillet over medium-high heat. Add the oil, then the cold rice, stirring to coat the rice in oil and breaking up any chunks. Fry for about 3-4 minutes, allowing the rice to lightly toast and crisp.3 tablespoons vegetable oil, 5 cups (packed) cold cooked jasmine rice
-
Reduce heat slightly and move the rice to one side of the pan, creating an empty space. To this empty side, add the eggs. Cook and stir to scramble the eggs, continuing until they are almost cooked through.3 large eggs
-
Combine the scrambled eggs with the rice. Stir in the optional thawed peas and carrots, sliced green onions, gluten-free soy sauce, and the optional sesame oil. Continue to stir and cook until all ingredients are well combined and heated through. Serve immediately for best flavor and texture.1 cup frozen peas and carrots, thawed, 3 green onions, sliced, 3 tablespoons gluten-free soy sauce, 1 teaspoon sesame oil
Notes
Recommended Cooking and Cooling Rice Technique
- Place 2 cups jasmine rice in a sieve and rinse thoroughly under cold water until the water runs completely clear.
- Transfer the rinsed rice to a medium saucepan and add 2 ¼ cups water. Heat, uncovered, until the water starts to boil.
- Reduce the heat to medium-low until the rice begins to rise above the water level. Cover slightly (leaving a small gap for steam to escape) and let cook for 5 minutes.
- Once the water appears to be absorbed, turn off the heat, but leave the pot on the turned-off burner. Cover completely with a tight-fitting lid and let it sit undisturbed for 10 minutes.
- Fluff the rice gently with a fork and immediately transfer it to a large baking sheet. Spread it out into a thin layer, separating the grains as much as possible to maximize cooling. Place the baking sheet in the fridge for at least 30 minutes, or ideally, overnight, to cool completely. This is a crucial step for achieving perfect fried rice texture.
Calories: 283kcal
,
Carbohydrates: 40g
,
Protein: 7g
,
Fat: 10g
,
Saturated Fat: 2g
,
Polyunsaturated Fat: 5g
,
Monounsaturated Fat: 3g
,
Trans Fat: 0.1g
,
Cholesterol: 82mg
,
Sodium: 80mg
,
Potassium: 139mg
,
Fiber: 1g
,
Sugar: 0.3g
,
Vitamin A: 2395IU
,
Vitamin C: 4mg
,
Calcium: 36mg
,
Iron: 1mg
Did you make this recipe?
Please leave a star rating and review below. It helps others when searching for recipes and I LOVE feedback!