
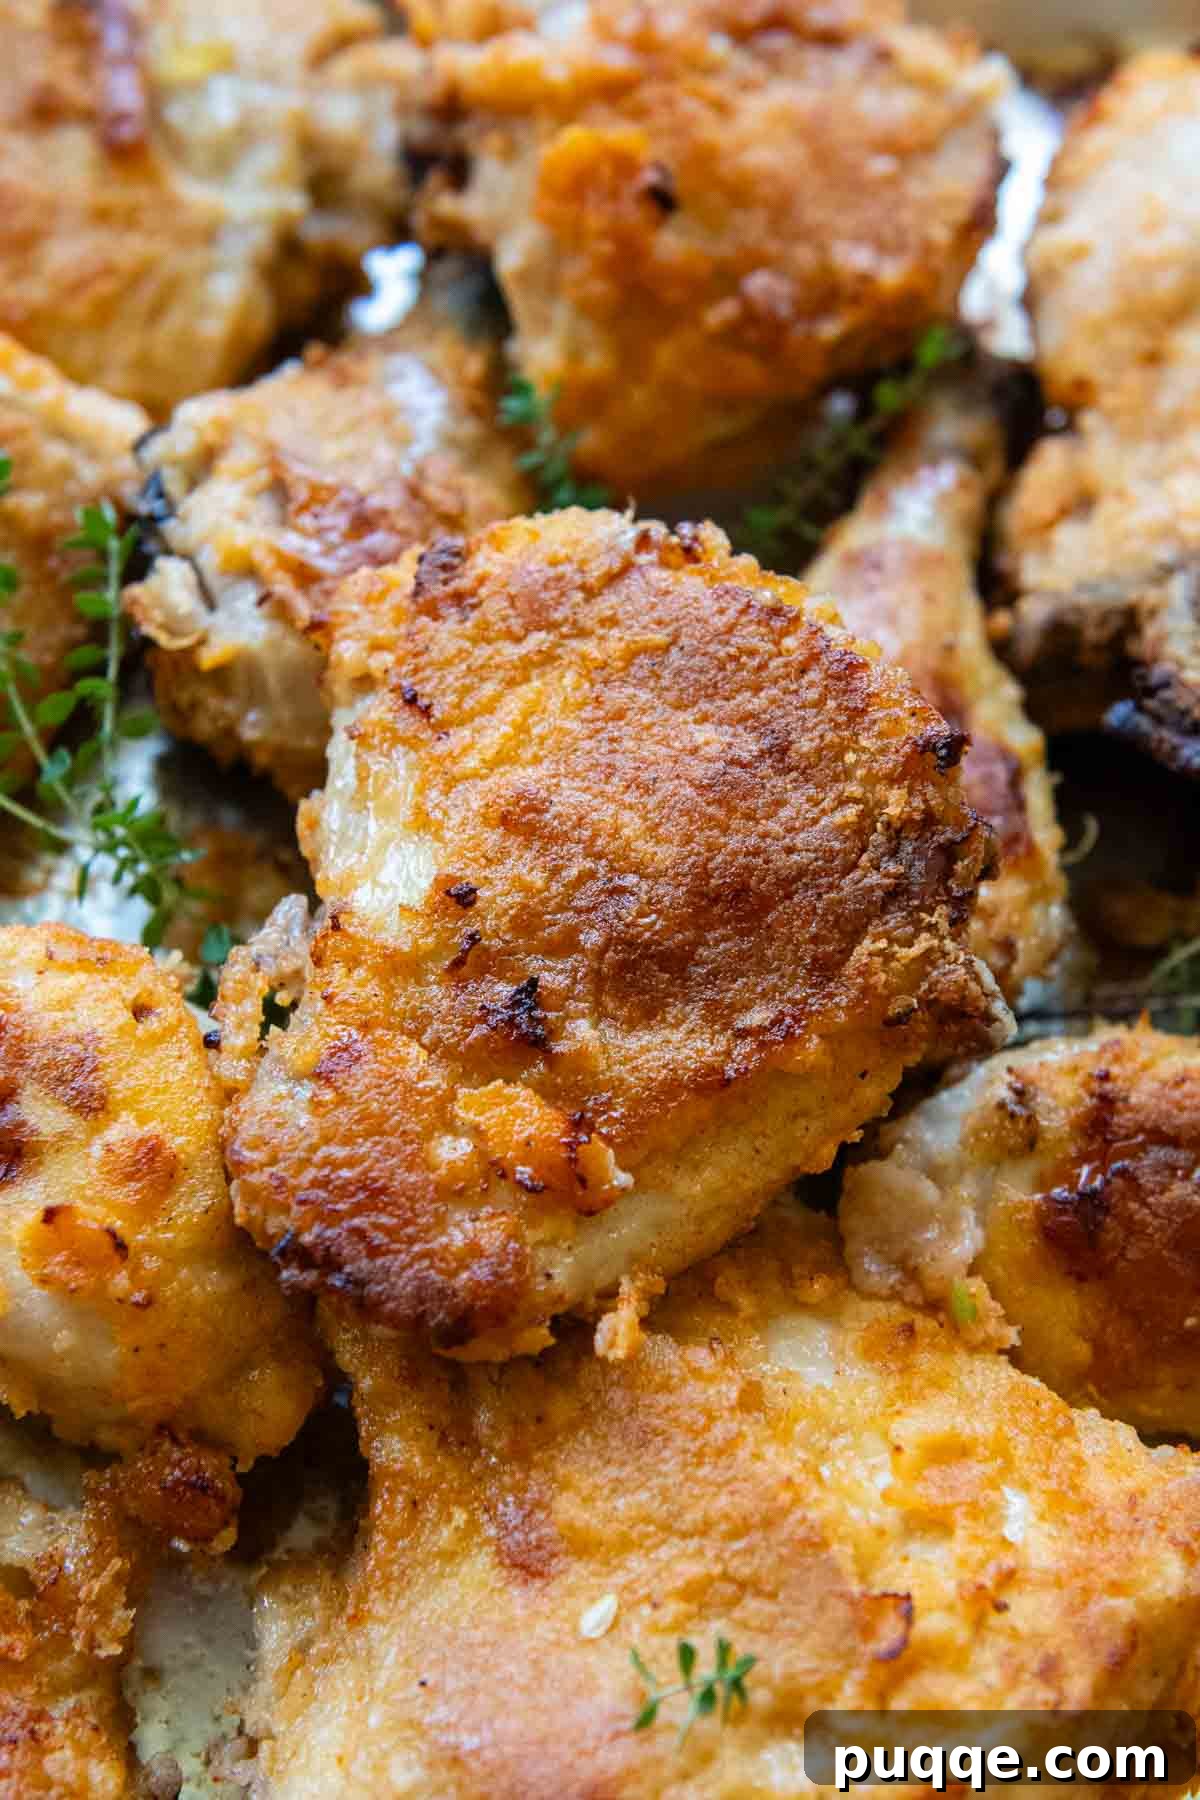
Craving the undeniable crunch and juicy tenderness of classic fried chicken but need it gluten-free and without the greasy mess of deep frying? Look no further! This incredibly easy **gluten-free oven-fried chicken** recipe delivers all the flavor and texture you love, proving that you don’t need to be an expert chef or spend hours in the kitchen to achieve perfection. Say goodbye to traditional breadcrumbs, complicated steps, and unnecessary cleanup. Thanks to a simple yet powerful buttermilk marinade and a seasoned gluten-free breading, you’ll create irresistibly crispy chicken with meat that’s unbelievably moist and tender, all baked to golden, crispy perfection.
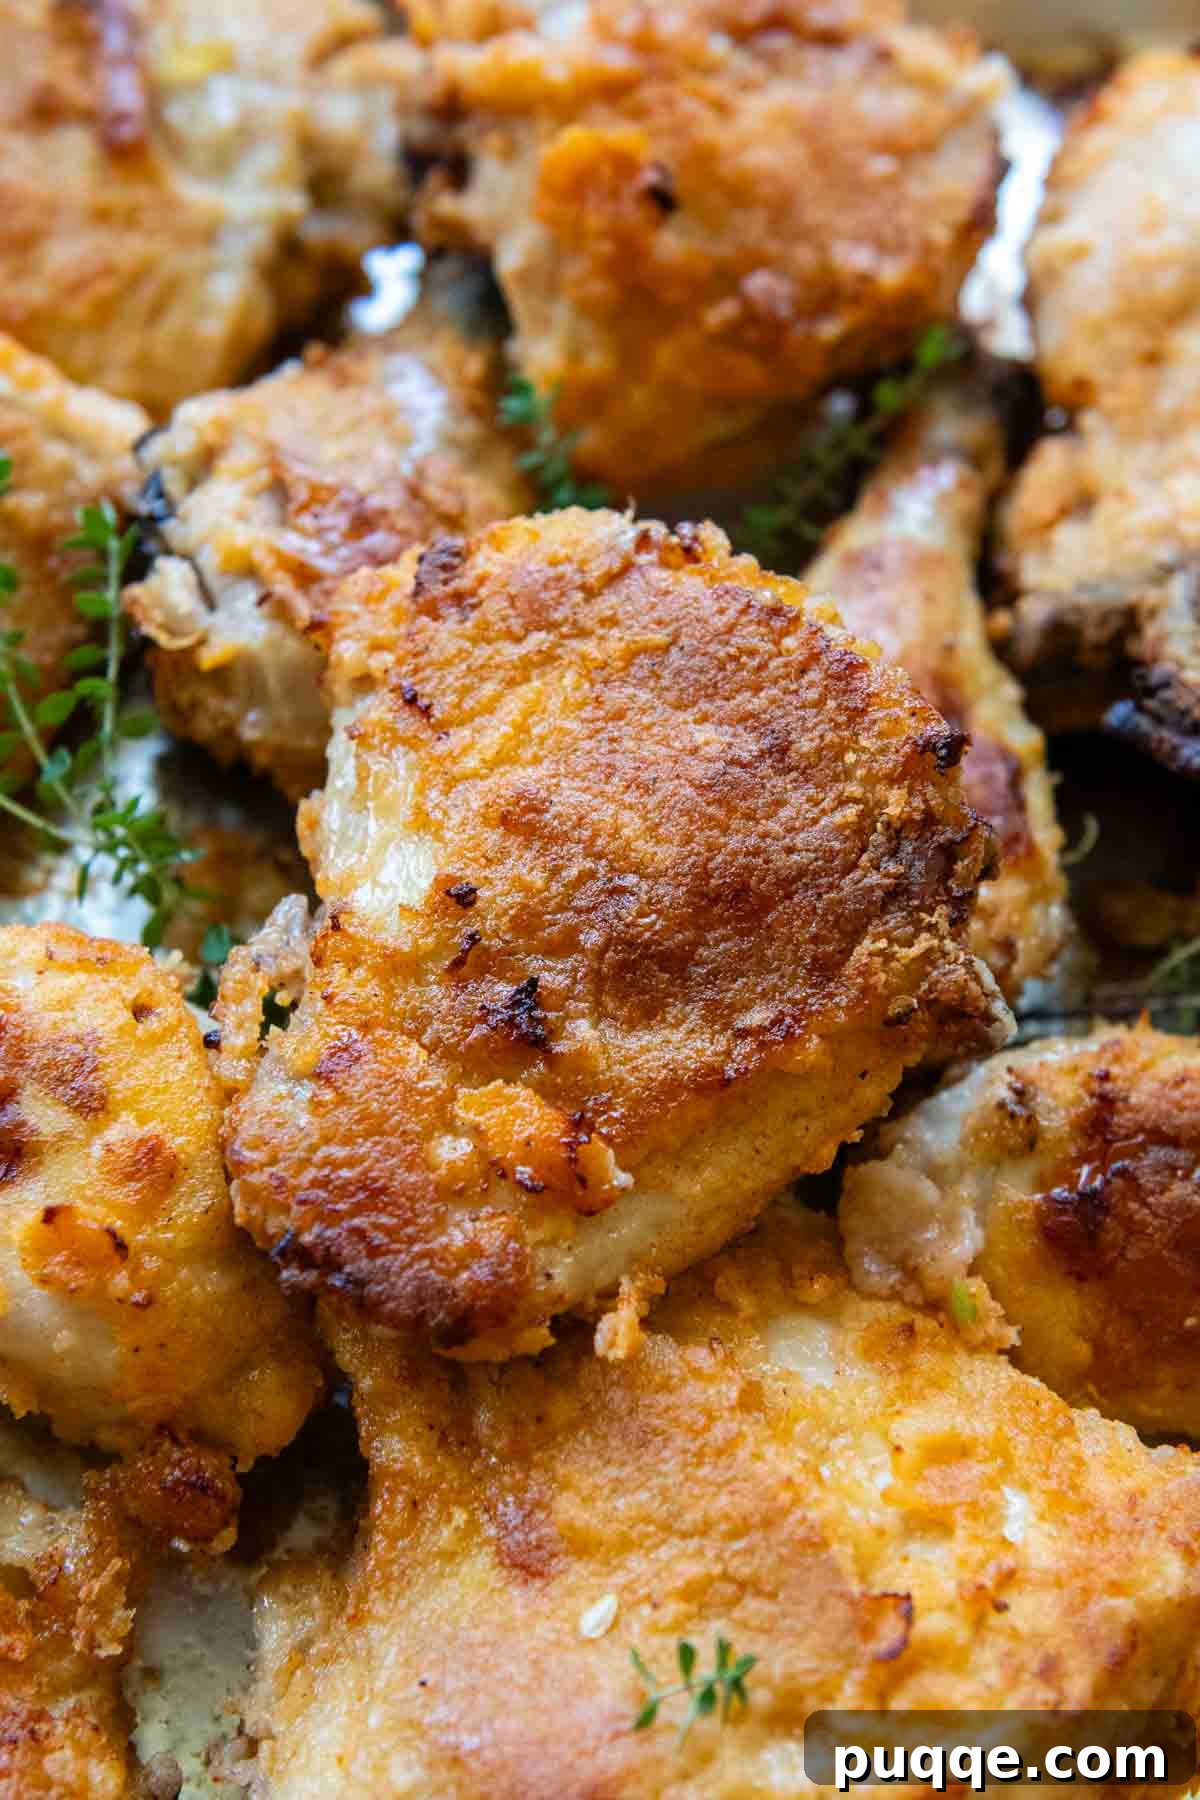
The Ultimate Gluten-Free Oven-Fried Chicken – Crispy & Delicious!
For years, I believed certain comfort food classics were simply off-limits in their gluten-free variations, fearing they wouldn’t live up to the original. Achieving that signature crispy coating on fried chicken seemed like an insurmountable challenge without traditional wheat flour. However, after successfully mastering other “impossible” gluten-free delights, like our popular pub-style gluten-free fish and chips and our addictive gluten-free French fried onions, I felt empowered to tackle the ultimate: **crispy gluten-free fried chicken**.
My goal for this oven-fried recipe was clear: it needed to be easy enough for a busy weeknight dinner, yet deliver the authentic taste and satisfying texture of a classic, Southern-style fried chicken. This meant a perfectly crispy exterior paired with an incredibly moist, juicy interior. As with many of my best recipes, I turned to my ultimate source of culinary inspiration: my mom. Her homemade fried chicken was legendary, so much so that I requested an “obscene amount” of it for my high school open house – a testament to its undeniable deliciousness. Her secret? A simple recipe found on a Bisquick box. This humble beginning became the foundation for our gluten-free marvel.
To elevate that timeless recipe into an even tastier gluten-free version, I incorporated a crucial ingredient hack perfected in my other GF fried recipes: **white rice flour**. When used in gluten-free breading for chicken, white rice flour plays a vital role. It significantly improves the adhesion of the coating to the meat, preventing it from sliding off during baking. More importantly, it contributes to a wonderfully lighter and airier texture in the final crispy crust, a characteristic often missing in dense gluten-free alternatives. This ensures every bite offers that delightful crunch without feeling heavy.
Next, I focused on simplifying the preparation. Who doesn’t appreciate a little more ease in their daily routine? The solution lies in a rich **buttermilk marinade**. This isn’t just about flavor; it’s your insurance policy against dry chicken. The buttermilk’s natural acidity works magic, tenderizing the chicken proteins, boosting moisture content, and infusing the meat with a subtle, tangy flavor that elevates the overall profile. Believe me, this marinating step is absolutely worth the wait, guaranteeing a succulent result every single time. It’s a triple win for tenderness, juiciness, and flavor.
Embracing my mom’s “shake and bake” philosophy, the cooking process is wonderfully straightforward. Once the chicken has fully absorbed the buttermilk goodness, simply shake a few pieces at a time in the seasoned gluten-free coating. Then, transfer them to a preheated, hot baking sheet, allowing your oven to do all the hard work of crisping them up to golden perfection. While your chicken bakes, you’ll have ample time to whip up a batch of our creamy copycat KFC gluten-free coleslaw, setting the stage for an epic, satisfying meal that will impress even the most discerning palates.
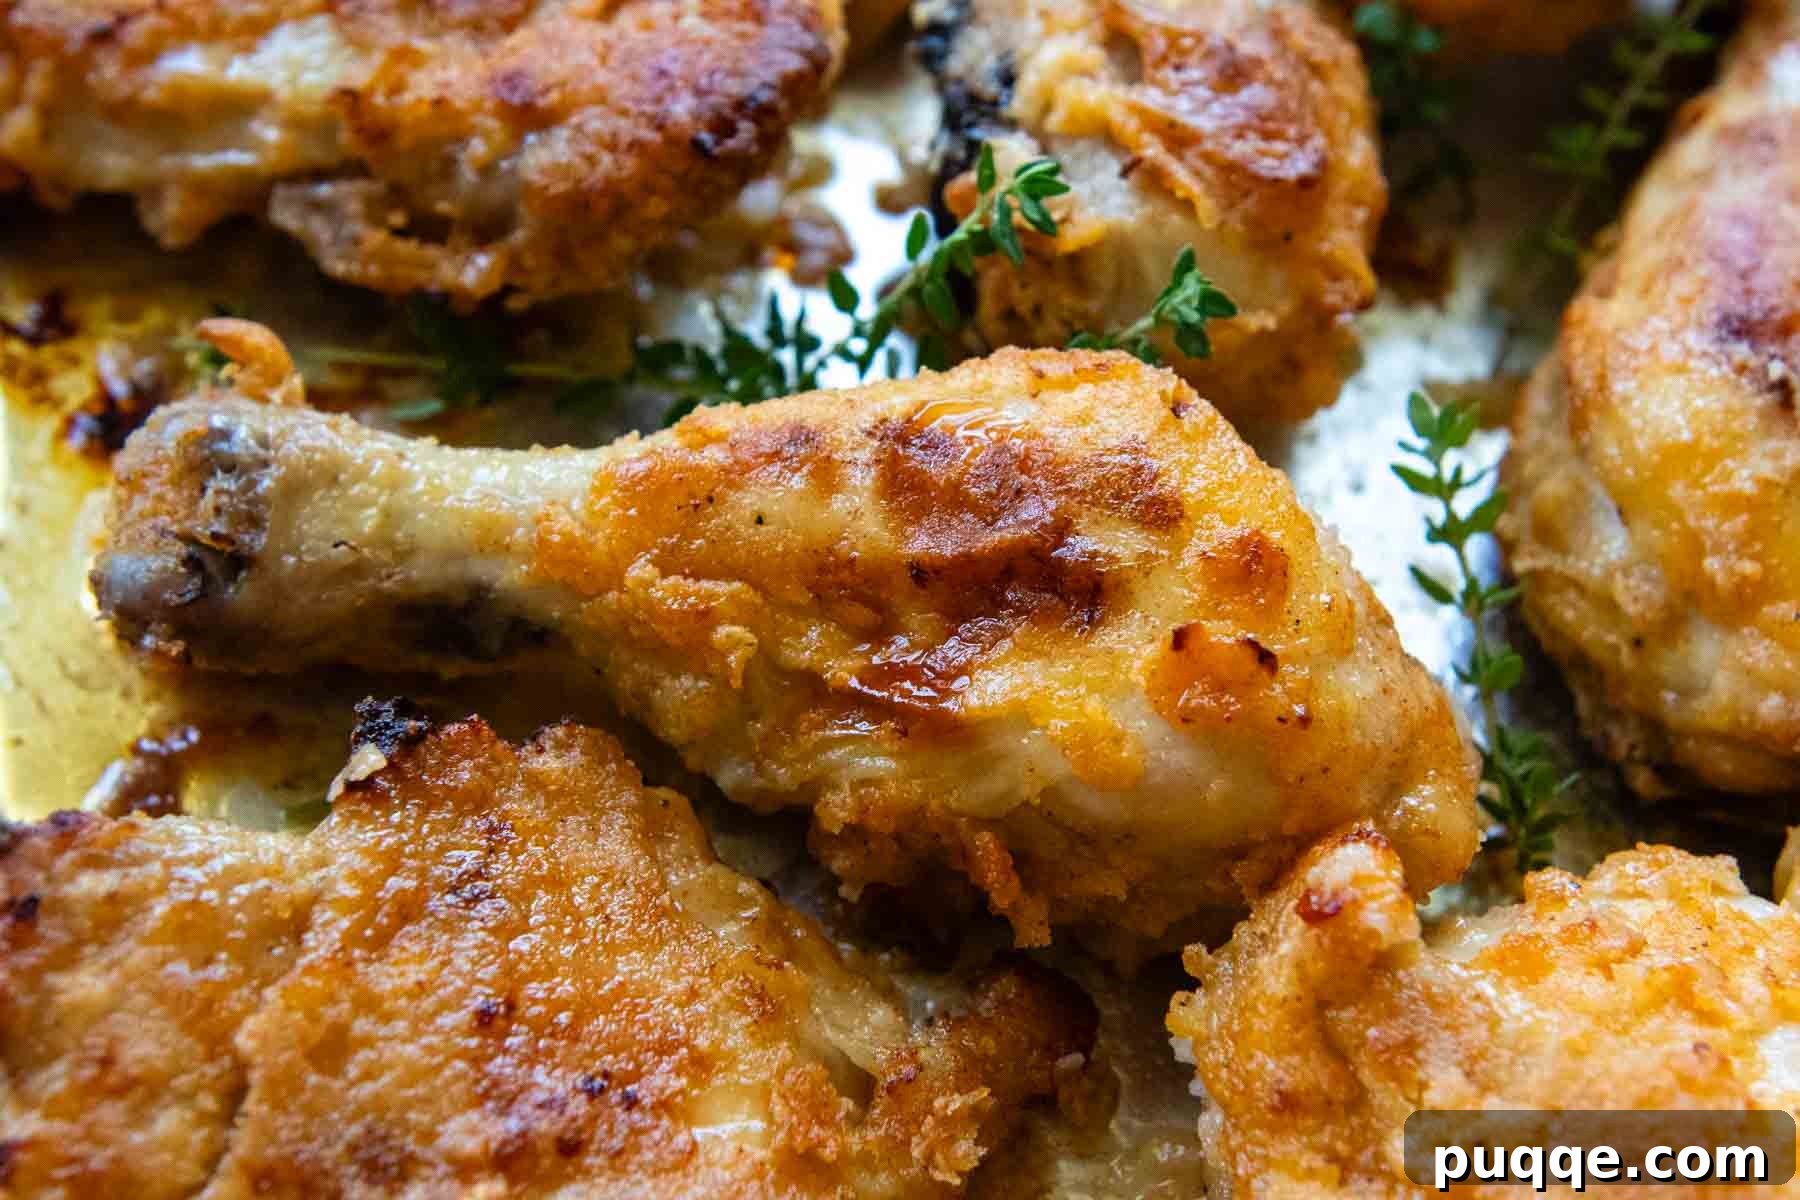
Essential Ingredient Insights for Perfect GF Fried Chicken
- Chicken: For the best oven-fried experience, opt for bone-in, skin-on chicken pieces. The bone helps conduct heat for even cooking, and the skin renders fat, contributing to incredible flavor and a crispy crust. If your grocery store doesn’t offer pre-cut whole chicken, a combination of skin-on thighs and drumsticks with separate skin-on, bone-in split chicken breasts works perfectly. Since breast pieces are often larger, use a sharp knife to halve them, ensuring all pieces cook evenly and reach optimal doneness simultaneously.
- Buttermilk: The buttermilk marinade is a carefully balanced blend of buttermilk, kosher salt, and a touch of hot sauce. Don’t let the hot sauce deter you – it won’t make your chicken spicy, but rather adds a subtle depth and acidity that complements the buttermilk’s tenderizing effects. While a minimum of 30 minutes of marinating time is acceptable in a pinch, the true magic of moisture and flavor infusion occurs when the chicken marinates for 4 hours, or ideally, overnight. This extended soak ensures deeply flavored and incredibly tender chicken.
- White Rice Flour: This is a game-changer for gluten-free breading. During recipe development, using only gluten-free all-purpose flour resulted in a slightly dense coating. Replacing a portion of the dry mixture with white rice flour yields a significantly lighter, airier texture and helps the coating adhere firmly to the chicken. If white rice flour isn’t available, cornstarch is an excellent runner-up, offering similar crisping properties.
- Gluten-Free All-Purpose Flour: Unlike delicate baking recipes where the specific GF flour blend can significantly impact the outcome, for oven-fried chicken, you have more flexibility. Feel free to use your preferred gluten-free all-purpose flour blend. Just ensure it’s a good quality blend for savory applications.
- Seasoning: To achieve that classic, savory “fried chicken” taste, our seasoning blend draws inspiration from copycat KFC-style recipes, ensuring a flavor profile that’s both familiar and irresistible. This blend includes paprika, onion powder, garlic powder, dry mustard, salt, and pepper. For those who enjoy a little extra kick, adding 1 teaspoon of cayenne pepper will transform your chicken into a Nashville-style hot chicken delight.
- Baking Powder: This might seem like an unusual addition, but it’s a brilliant trick borrowed from recipes for extra crispy gluten-free chicken wings. Baking powder works by increasing the pH level on the chicken’s skin, which helps to break down proteins and creates tiny air bubbles in the coating. These bubbles expand during baking, resulting in an exceptionally crispy and light texture. Always use aluminum-free baking powder to avoid any metallic aftertaste that regular baking powder can sometimes impart.
Let’s Make This Together! Step-by-Step Guide
(The following provides detailed, step-by-step photos and modified instructions to guide you. For the complete recipe, including precise ingredient amounts and nutritional information, please scroll down to the dedicated recipe card below.)
Easy, Doable Chicken Prep: Marinate for Flavor and Tenderness
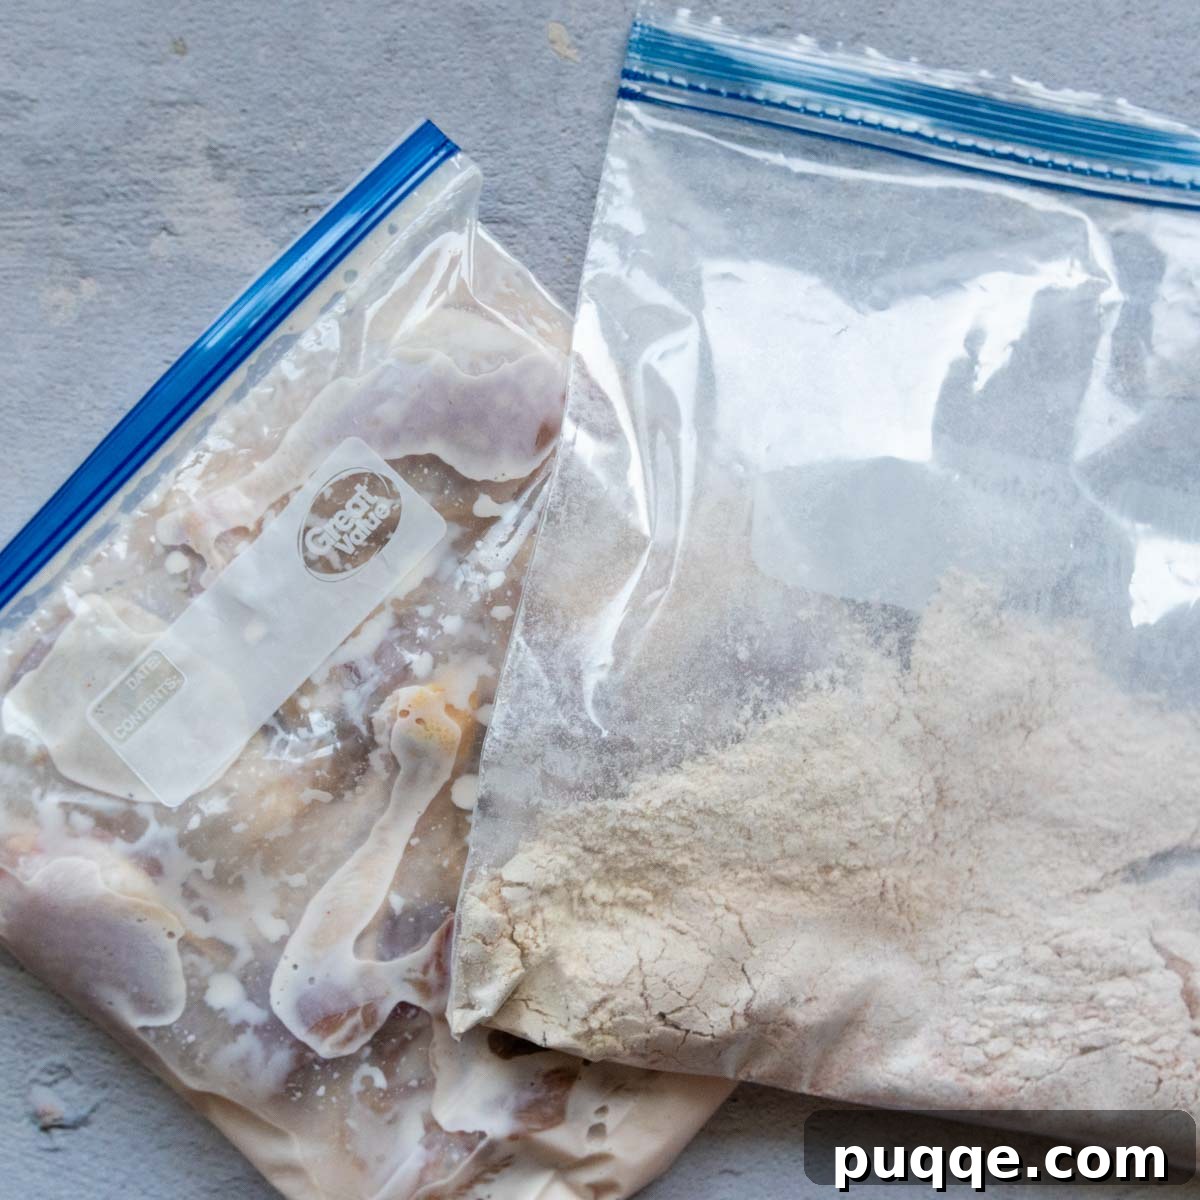
For remarkably easy cleanup and efficient marinating, I highly recommend using two large resealable plastic bags: one for the flavorful buttermilk marinade and another for the dry coating mixture. Begin by combining the buttermilk, hot sauce, and kosher salt in the first bag, then add your chicken pieces, ensuring they are thoroughly coated. Allow the chicken to marinate for a minimum of 4 hours, or ideally, overnight in the refrigerator. In the second bag, whisk together all the dry ingredients until evenly combined, creating your seasoned gluten-free breading.
Shake and Bake Time: Coating for Ultimate Crispiness
Prepare two baking sheets: one will serve as your staging area for coated chicken, and the other will be where the actual oven frying takes place. When ready, remove the marinated chicken from the buttermilk, allowing any excess liquid to drain away using a colander. Working with a few pieces at a time, transfer the chicken to the bag containing the dry breading mixture and shake vigorously until each piece is completely and evenly coated. Transfer the breaded chicken to your designated prep sheet, repeating this process until all chicken pieces are ready for baking.
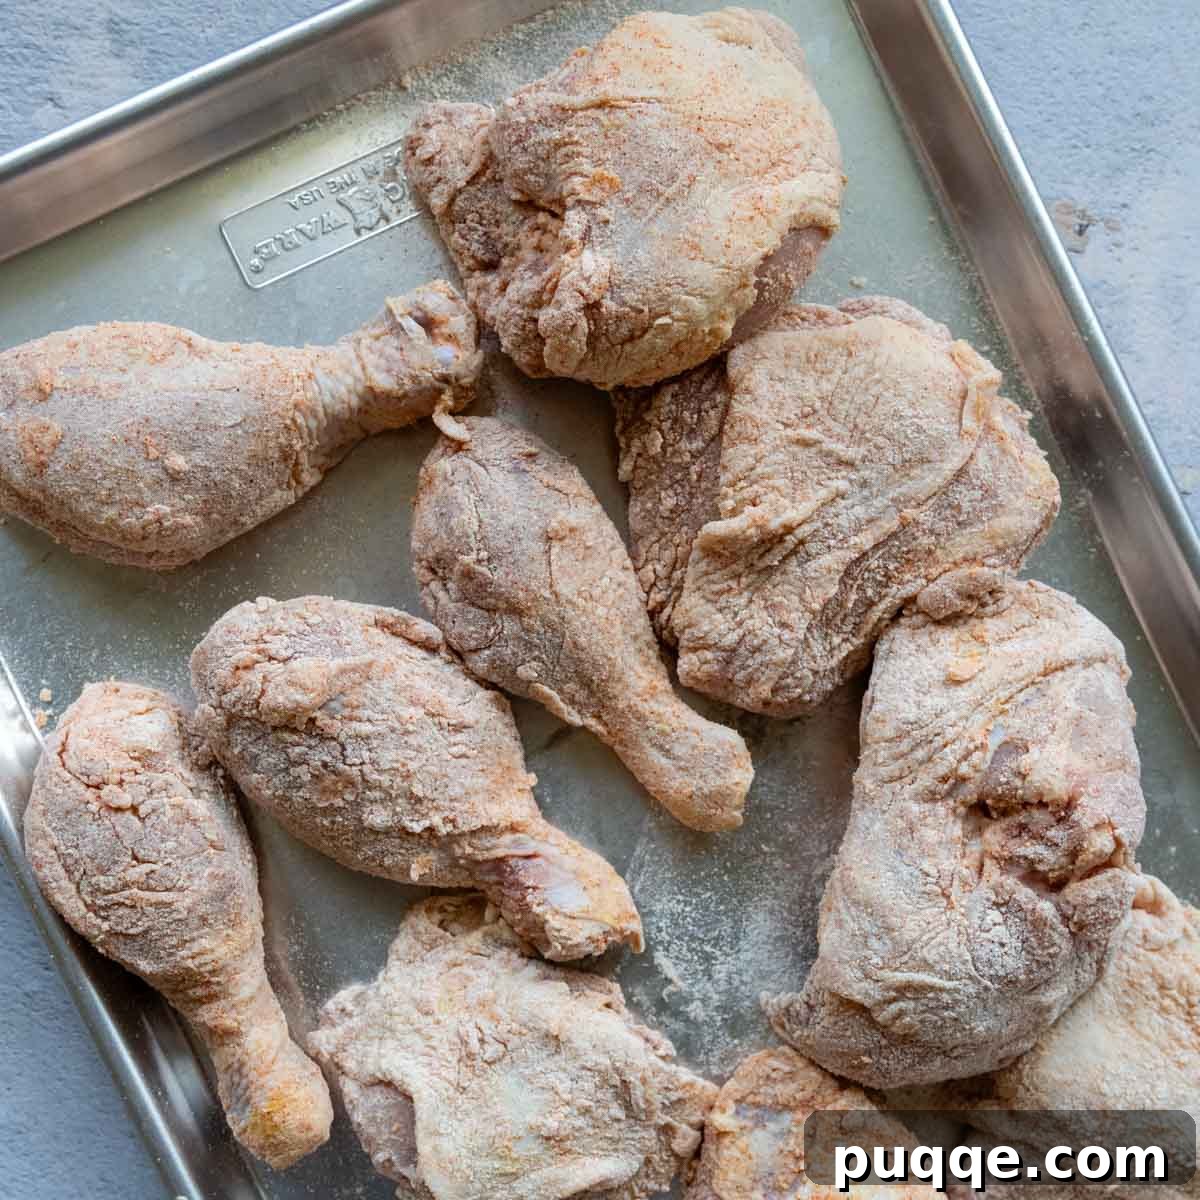
Oven-Fried, Crispy Perfection: Baking to Golden Brown
Before baking, place the butter directly onto the empty baking sheet you intend to use for cooking. Pop this sheet into a preheated 425°F (220°C) oven for about 5 minutes. This step allows the butter to melt completely and ensures the baking tray becomes piping hot, setting the stage for an immediate sizzle and crispy skin. Carefully remove the hot pan, spread the melted butter evenly, then arrange your prepped chicken pieces skin-side down. Bake for 30 minutes, then use a sturdy spatula to flip each piece. Continue baking for an additional 10-15 minutes, or until the chicken is beautifully golden, irresistibly crispy, and cooked through.
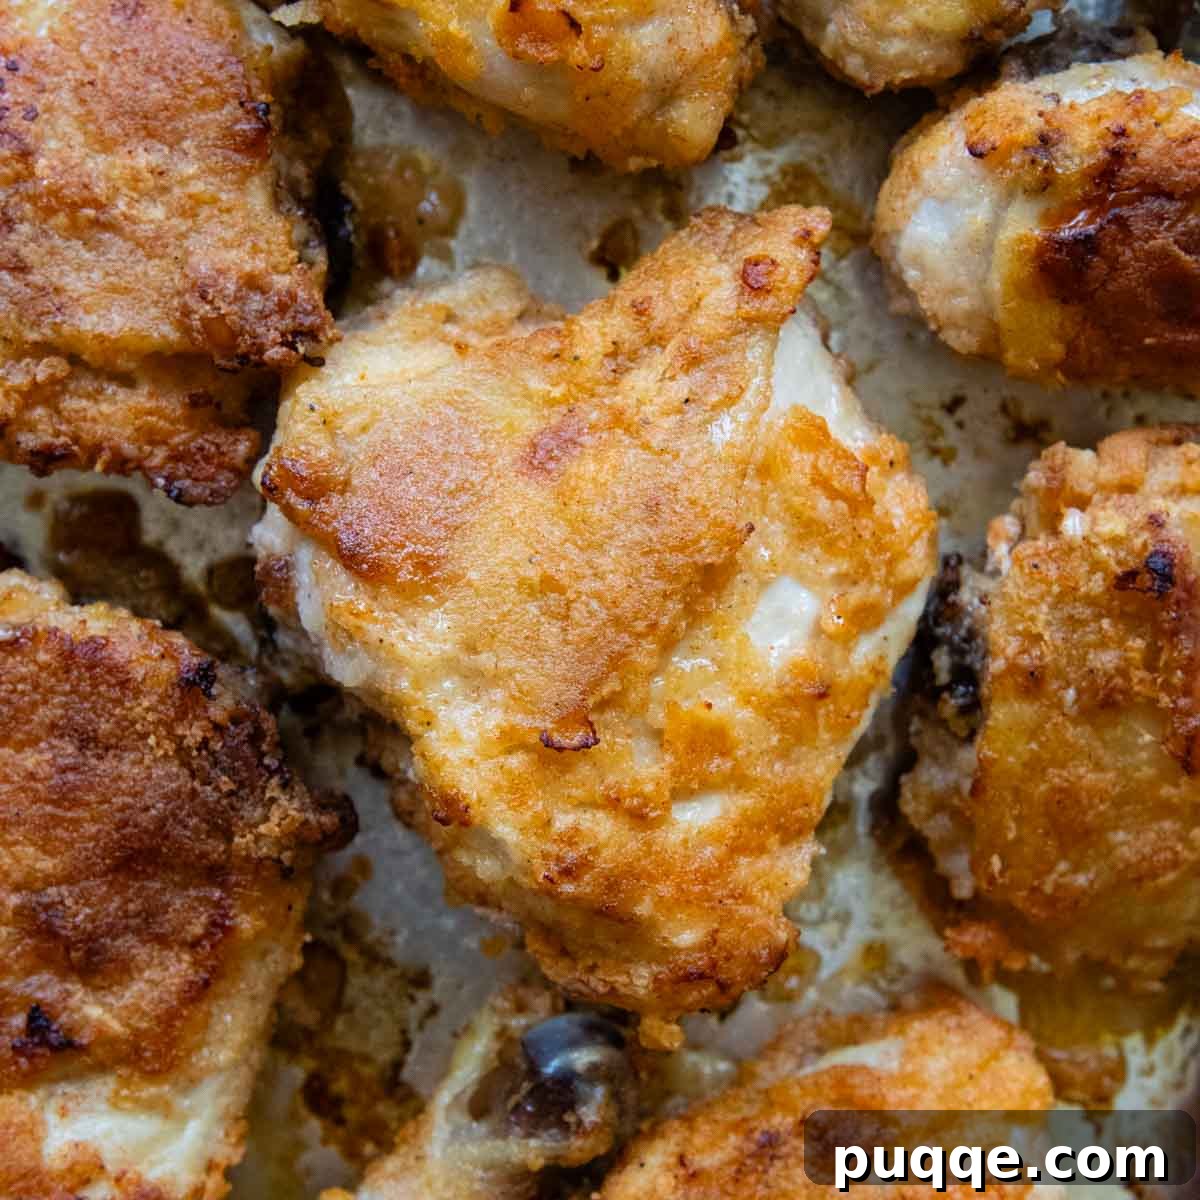
Expert Tips for Unbeatable Gluten-Free Oven Fried Chicken
Now that you’re armed with the secrets to making the best and easiest gluten-free fried chicken, here are some invaluable pro tips and bonus advice to ensure every batch is a resounding success:
- The Double Shake for Maximum Crispiness: Coating all the chicken pieces takes a bit of time, and as they sit, the moisture from the chicken can start to soak into the breading. This can lead to a less crispy result. The trick? Don’t discard that extra coating mixture! Before transferring the chicken to the hot baking sheet for baking, give each piece a brief “reshake” in the remaining dry mixture. This creates an extra layer of coating, ensuring a thicker, more robust, and incredibly crispy crust that holds up beautifully in the oven.
- Preheat the Pan for an Instant Sizzle: The key to developing a beautifully crispy skin from the start is a searing hot baking sheet. Placing the pan in the oven to preheat thoroughly with the butter melted on it provides an instant “fry” effect when the chicken touches the surface. This immediate high heat helps to crisp the skin quickly and prevent it from sticking. Always remember to place the chicken pieces skin-side down first on the hot pan to maximize the crisping of the most desirable part.
- Why the Extra Butter on the Baking Sheet? This addition is a nod to the original Bisquick recipe, which contained shortening. For oven-fried chicken, that extra fat is crucial. The butter on the baking sheet combines with the natural drippings from the chicken skin as it bakes. This creates a small amount of “frying” fat right in the pan, actively helping to crisp the coating and achieve that coveted deep-fried texture without the actual deep frying. Without this added fat, the coating may not brown and crisp as evenly or as intensely. For a dairy-free option, use a high-quality non-dairy butter substitute.
- Avoid Overcrowding: For optimal crispiness, ensure there’s enough space between each piece of chicken on the baking sheet. Overcrowding can steam the chicken rather than crisp it, leading to a soggy coating. If necessary, use two baking sheets to give each piece ample room.
- Resting is Essential: Once the chicken is cooked through, resist the urge to dive in immediately. Allowing the chicken to rest for 5-10 minutes after removing it from the oven allows the juices to redistribute throughout the meat. This results in a more tender, succulent chicken and ensures the crispy coating remains intact, rather than turning soggy from escaping steam.
Ensuring Perfectly Cooked Chicken: Doneness Guide
Baking fried chicken requires a careful balance – nobody wants undercooked poultry, but overcooking can quickly lead to dry, unappetizing results. Fortunately, this gluten-free oven-fried chicken recipe has a built-in advantage: the buttermilk marinade actively works to prevent the chicken from drying out, even if you bake it a few minutes longer than intended. Still, knowing precisely when it’s done is key to achieving perfect tenderness and safety.
The most reliable and foolproof method to check for doneness is by using an instant-read thermometer. This essential kitchen tool takes all the guesswork out of cooking. Insert the probe into the thickest part of the largest piece of chicken, making sure to avoid the bone. The chicken is perfectly cooked when the internal temperature registers 165°F (74°C). This temperature ensures both safety and optimal juiciness.
If you don’t have an instant-read thermometer, you can use a sharp knife to make a small incision into the meatiest part of the largest chicken piece. Observe the juices that run out: they should be completely clear, with absolutely no trace of pink. This indicates the chicken is thoroughly cooked. Additionally, the meat itself should be opaque white throughout. Once you’ve confirmed doneness, it’s always best practice to let the chicken rest for 5 minutes before serving. This brief resting period allows the internal juices to redistribute, ensuring maximum moisture and tenderness, while also allowing the crispy skin to set.
Save This Delicious Recipe to Your Pinterest Board!
Let’s be friends on Pinterest! I’m always sharing fantastic gluten-free recipes!
Did you make this recipe? I love hearing from you! Leave a star rating and comment below the recipe card. Your feedback is incredibly helpful to others searching for recipes and I genuinely appreciate hearing from our community. You will always hear back from me! -Melissa

Gluten-Free Oven Fried Chicken (Shake & Bake Style)
 Melissa Erdelac
Pin
Rate
Remove Ads
Ingredients
Buttermilk Marinade
- 2 cups buttermilk, see recipe notes for dairy-free option
- 2 teaspoons hot sauce
- 1 teaspoon kosher salt
- 4-5 pounds bone-in, skin-on chicken pieces, breasts, drumsticks, thighs (see recipe notes for cutting breasts)
Gluten-Free Coating
- ¾ cup gluten-free all purpose flour
- ½ cup white rice flour
- 1 ½ teaspoons aluminum-free baking powder
- 1 ½ teaspoons paprika
- 1 teaspoon onion powder
- 1 teaspoon garlic powder
- 1 teaspoon dry mustard
- 1 teaspoon salt
- ¼ teaspoon black pepper
- 2 tablespoons butter
Equipment
-
Baking Sheets
-
Cup4Cup Gluten Free Flour
-
White Rice Flour
Instructions
-
First, prepare the buttermilk marinade. In a large bowl or a resealable plastic bag, whisk together the buttermilk, hot sauce, and kosher salt until well combined. Add the chicken pieces to the marinade, ensuring all surfaces are fully coated. Refrigerate for at least 30 minutes, but for truly tender and flavorful chicken, aim for 4 hours or, ideally, overnight.2 cups buttermilk, 2 teaspoons hot sauce, 1 teaspoon kosher salt, 4-5 pounds bone-in, skin-on chicken pieces
-
When you are ready to coat and oven fry the chicken, preheat your oven to 425°F (220°C).
-
In a separate large resealable plastic bag, combine the gluten-free all-purpose flour, white rice flour, baking powder, paprika, onion powder, garlic powder, dry mustard, salt, and black pepper. Seal the bag and shake thoroughly to ensure all the dry ingredients are evenly distributed and mixed. This will be your seasoned gluten-free coating.¾ cup gluten-free all purpose flour, ½ cup white rice flour, 1 ½ teaspoons baking powder, 1 ½ teaspoons paprika, 1 teaspoon onion powder, 1 teaspoon garlic powder, 1 teaspoon dry mustard, 1 teaspoon salt, ¼ teaspoon pepper
-
Prepare two baking sheets. Designate one as your “prep” sheet, where you’ll place the coated chicken pieces. The second sheet will be the “baking” sheet. For now, set aside the baking sheet you will use for cooking.
-
Remove the chicken from the buttermilk marinade. You can either lift pieces individually, allowing excess marinade to drip back into the bag, or pour the entire contents into a colander to drain. Transfer a couple of chicken pieces at a time into the bag with the dry coating. Shake the bag vigorously to ensure the chicken is completely and evenly coated on all sides. Transfer the coated chicken to your prep baking sheet. Repeat this process with the remaining chicken until all pieces are breaded. (Refer to the recipe note tips for maximizing leftover coating for extra crispiness.)
-
On the baking sheet that you will cook the chicken on, place the 2 tablespoons of butter. Put this sheet into the preheated 425°F (220°C) oven for approximately 5 minutes, allowing the butter to melt completely and the pan to become nicely hot. Carefully remove the hot pan from the oven and spread the melted butter evenly across the surface.2 tablespoons butter
-
Carefully arrange the breaded chicken pieces on the hot baking pan, ensuring they are placed skin side down. Leave a little space between each piece for even cooking. Bake for 30 minutes.
-
After 30 minutes, use a sturdy spatula to carefully flip over all the chicken pieces. Continue baking for another 10-15 minutes, or until the chicken is golden brown, crispy, and the internal temperature of the thickest part of the chicken (avoiding bone) reaches 165°F (74°C) with an instant-read thermometer. Remove from oven and let rest for 5 minutes before enjoying, allowing the juices to redistribute for ultimate tenderness.
Notes
Dairy-Free Option
To make this recipe dairy-free, you can easily create a buttermilk substitute. Place 2 tablespoons of white vinegar or lemon juice in a 2-cup liquid measuring cup. Then, pour in your preferred non-dairy milk (such as unsweetened almond, oat, or soy milk) up to the 2-cup mark. Stir gently and let it sit for 5 minutes until it slightly curdles. Use this in place of dairy buttermilk. For the butter, replace it with an equal amount of a reliable non-dairy butter substitute, like Earth Balance, ensuring the same crisping results.
Chicken Pieces & Preparation
If you prefer not to cut a whole chicken into pieces, a convenient alternative is to purchase a pack of skin-on thighs and drumsticks, along with a separate pack of skin-on, bone-in split chicken breasts. The breast pieces are typically much larger than thighs or drumsticks, so for even cooking, I recommend using a sharp knife to carefully cut each breast in half. This ensures all chicken pieces are roughly similar in size, allowing them to bake in approximately the same amount of time and achieve consistent doneness.
Maximizing Coating Crispiness (Leftover Coating Tip)
Breading all the chicken pieces can take some time, and during this interval, the chicken’s natural moisture can begin to absorb into the coating, potentially reducing crispiness. To combat this and ensure an extra crunchy crust, do not discard the remaining dry coating mixture after initial breading. Just before you transfer the chicken to the hot baking sheet for baking, give each piece a quick, brief “reshake” in the leftover coating. This simple step creates a double-layered, extra crispy coating that will bake up beautifully golden and crunchy.