
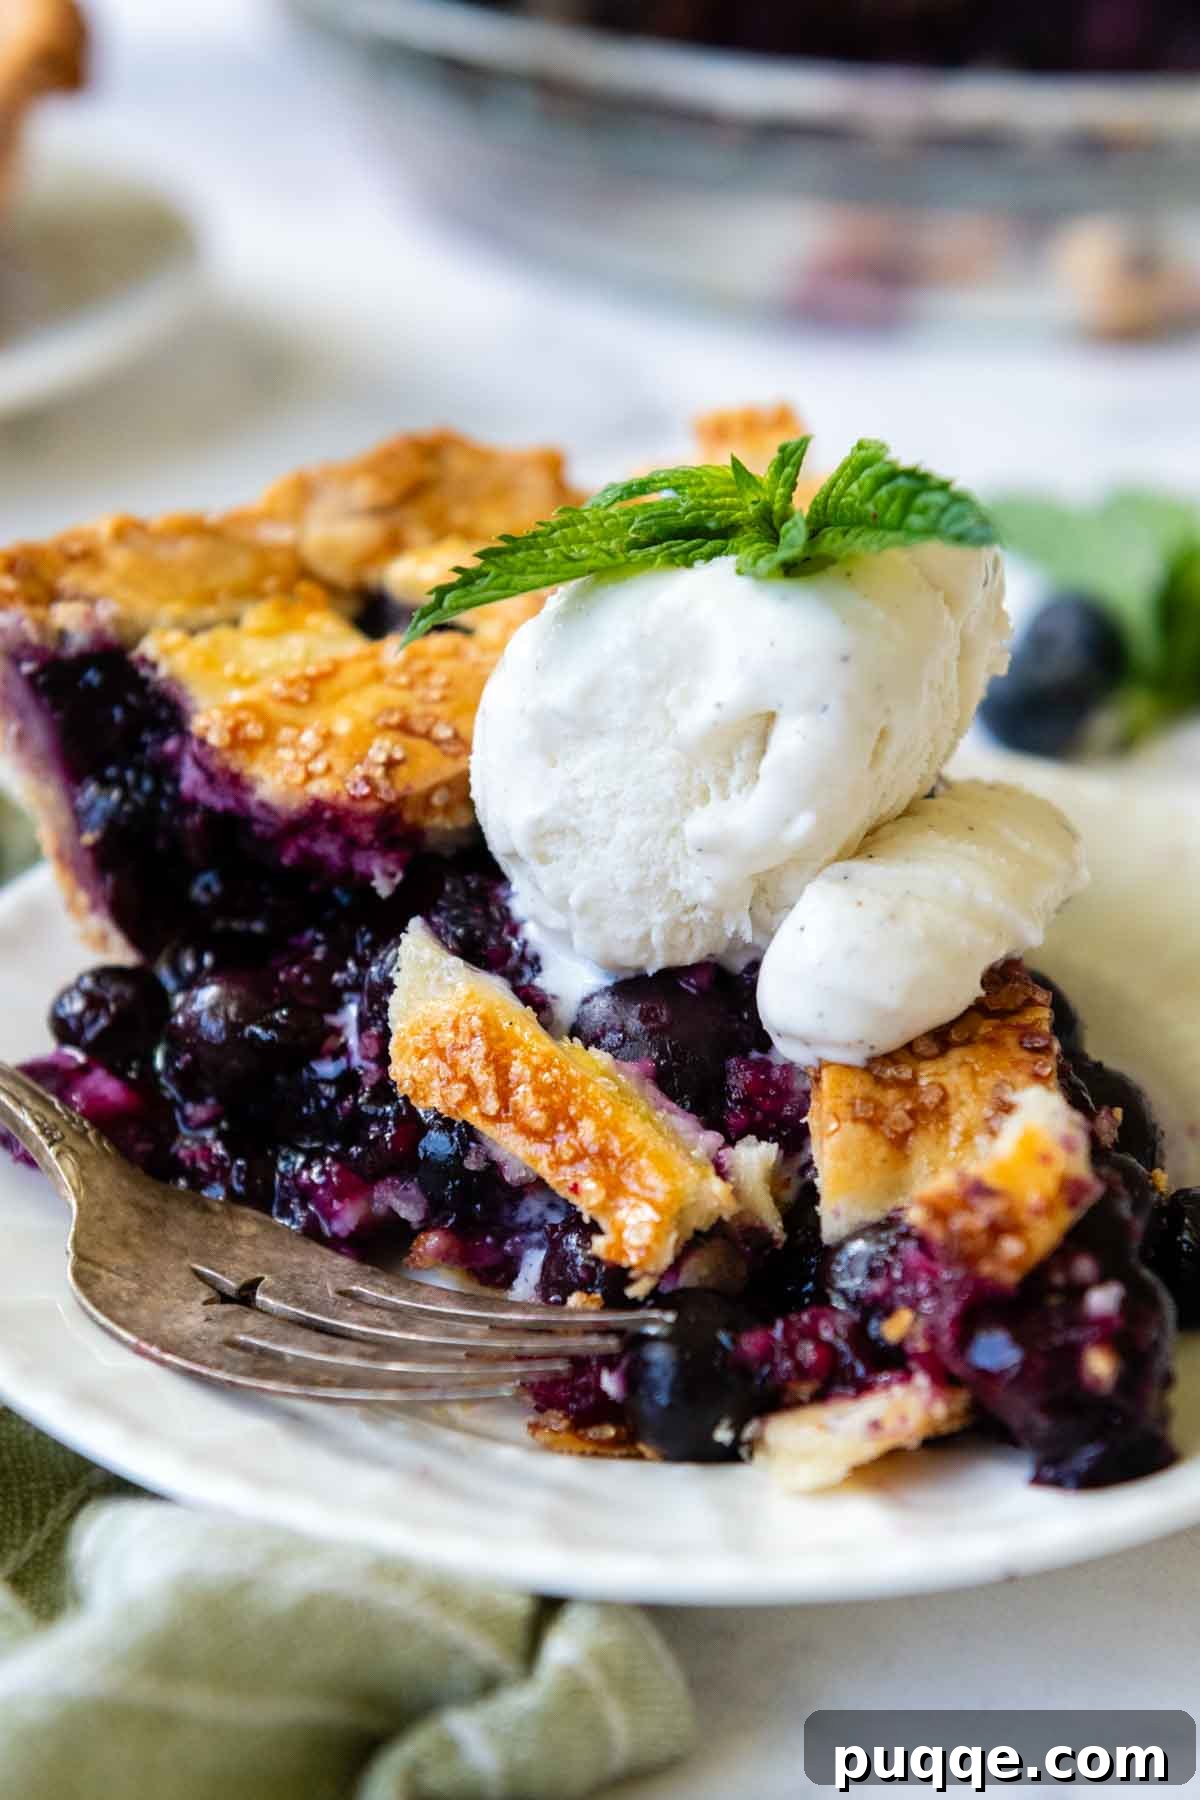
Imagine biting into a slice of blueberry pie where every element is perfected: a crust so unbelievably flaky it shatters delicately, yielding to a thick, luscious blueberry filling that’s bursting with sweet, juicy flavor. This isn’t just a dream – it’s the reality with our ultimate gluten-free blueberry pie recipe. Whether you’re aiming for a first-place ribbon at a baking competition or simply craving an unforgettable homemade dessert, this recipe promises to deliver a truly award-winning experience. It masterfully combines a spectacularly flaky crust, crafted from our favorite gluten-free pie dough, with an ingenious baking technique that guarantees a perfectly thickened filling, a beautifully crackled lattice top, and a gloriously golden-brown bottom crust that resists all sogginess.
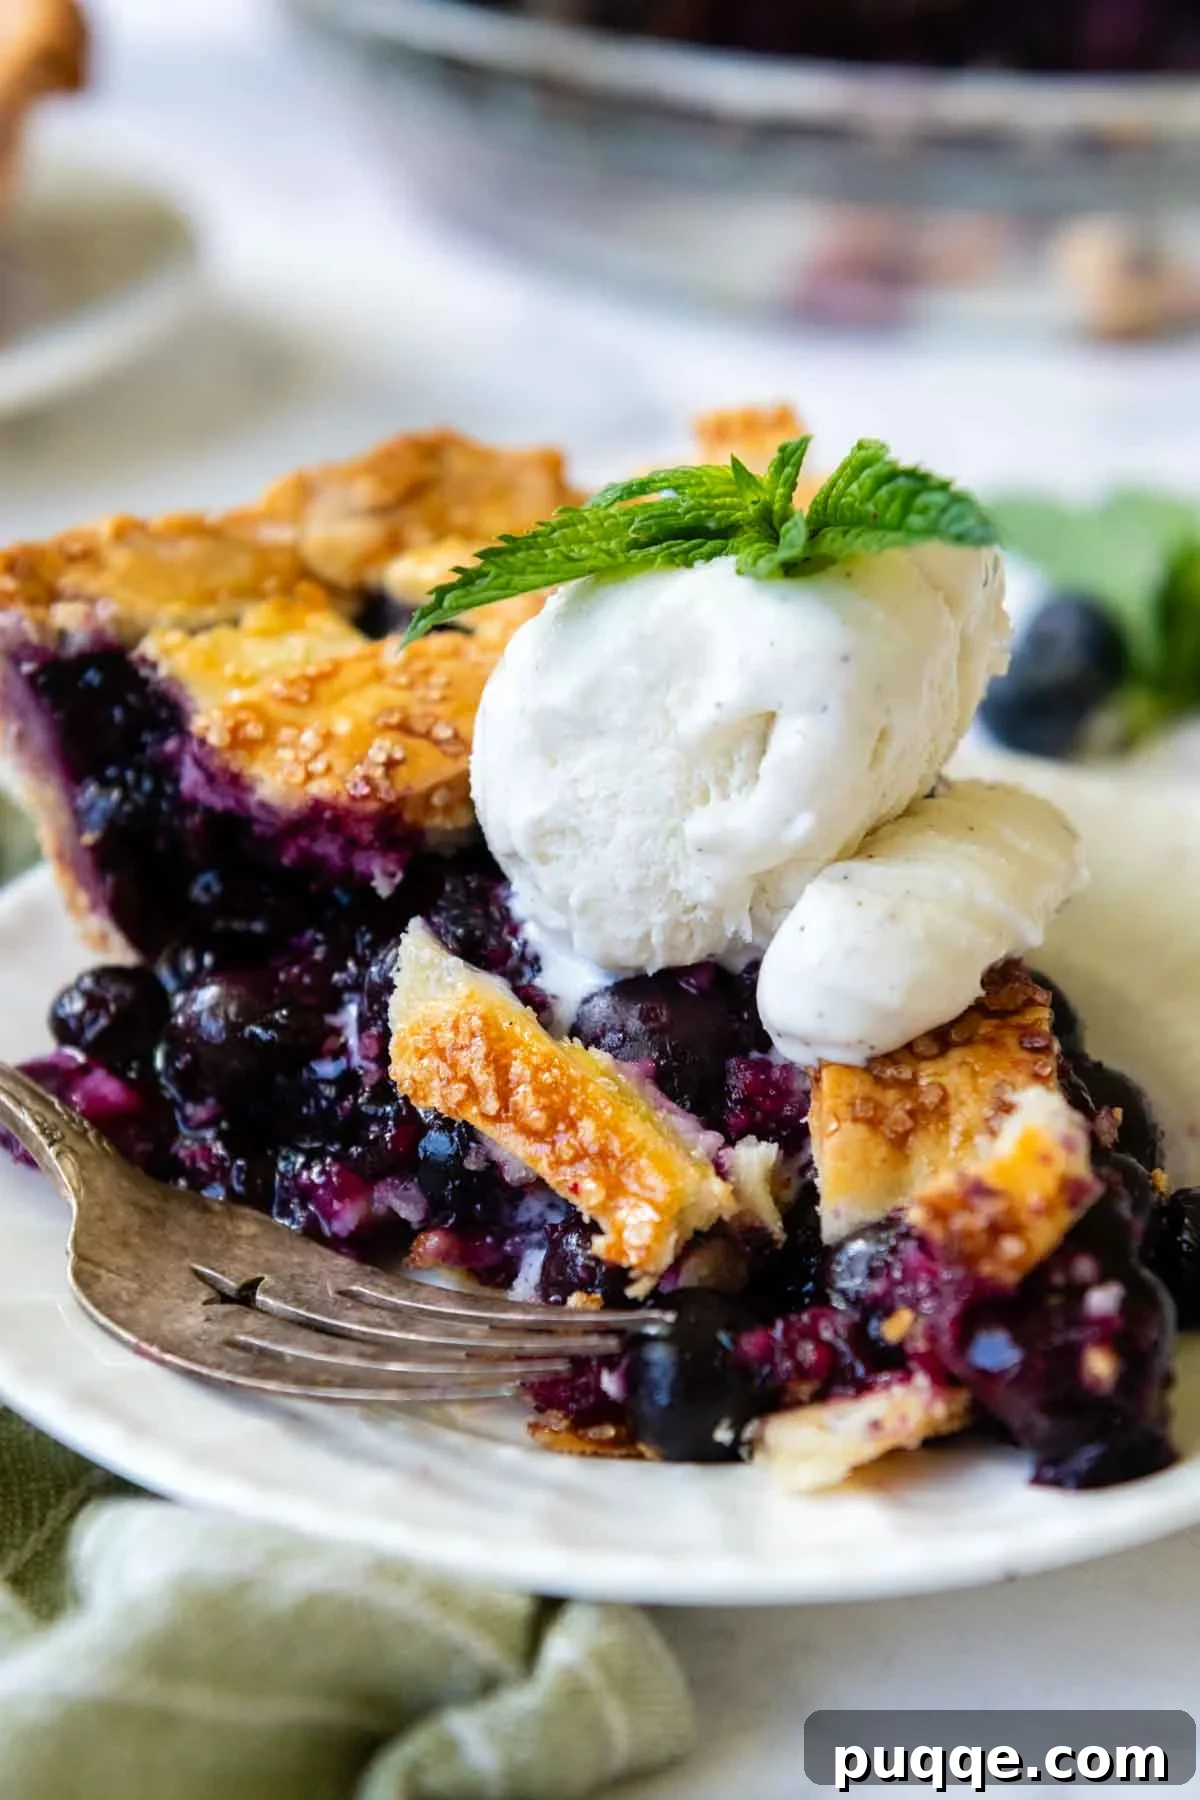
Unlocking the Secrets to an Impeccable Gluten-Free Blueberry Pie
For many, the idea of a truly exceptional homemade blueberry pie, especially one that’s gluten-free, seems almost unattainable. The challenges are real: achieving a tender, flaky crust that doesn’t crumble, and a fruit filling that’s perfectly set without being watery or gummy. As an avid baker, I firmly believe that dietary restrictions shouldn’t prevent anyone from savoring the pure joy of a classic pie. My midsummer cravings for blueberry pie led me on a quest to develop a recipe that addresses all the common gluten-free baking hurdles, resulting in a dessert that stands proudly alongside its traditional counterparts.
The foundation of any great pie is its crust, and in the world of gluten-free baking, a golden, impossibly flaky crust is the holy grail. It’s paramount to all my favorite GF pie recipes. A common frustration when working with gluten-free dough and high-moisture fruit fillings is the notorious soggy bottom crust. This unwelcome outcome can quickly turn a baking triumph into a disappointing mess. Through extensive testing and refinement, I discovered a simple yet revolutionary technique that guarantees a crisp, flaky bottom crust every single time.
The Genius of a Preheated Baking Sheet: Say Goodbye to Soggy Bottoms
The secret to banishing the soggy bottom forever lies in one simple step: baking your gluten-free pies on a preheated metal baking sheet. This isn’t just a convenient trick; it’s a science-backed method. When you place your pie directly onto a hot baking sheet, the metal radiates intense, direct heat upwards into the bottom crust. This initial burst of heat instantly begins to set the crust, cooking it rapidly and preventing it from absorbing excess moisture from the juicy blueberry filling. It creates a crisp, golden barrier that ensures your pie has a perfectly flaky base, whether you’re making sweet fruit pies like this one or savory recipes, such as a 5-star gluten-free chicken pot pie.
Mastering the Filling: The Unsung Hero, Instant Tapioca
Beyond the crust, the other crucial element is achieving a gluten-free pie filling that sets beautifully, slices cleanly, and isn’t disappointingly runny. This goal hinges entirely on selecting the ideal gluten-free thickener for fruit pie fillings. While many gluten-free pie recipes instinctively reach for cornstarch, my research and baking experiments consistently pointed to a superior alternative: instant tapioca. And isn’t consistency always the ultimate goal in baking?
Let’s delve into why instant tapioca is a game-changer. Cornstarch, a common thickener, releases its full thickening power only once it reaches a boiling point during baking. However, it also has a tendency to break down over time, particularly with acidic fruits, which can lead to a thinner, more liquid filling once the pie cools. This breakdown increases the likelihood of a runny, unstable pie filling.
Instant tapioca, on the other hand, offers far more reliable results. As it heats within the pie, it gradually absorbs the liquid released by the blueberries, forming a thick, glossy, and sticky blueberry sauce. It’s naturally gluten-free, which is a key advantage, and it breaks down completely clear during baking. This allows the vibrant color and natural beauty of the juicy blueberries to shine through, creating an appealing visual as well as a delightful taste. The resulting texture is wonderfully firm and sliceable, ensuring that each piece of pie holds its shape perfectly without any unfortunate oozing. This reliable performance makes instant tapioca my go-to choice for fruit pies, guaranteeing a consistently thick and luscious filling that truly complements the flaky crust. I really love to geek out over these small but impactful recipe techniques, so please don’t hesitate to ask any questions in the comments below. We can bond over the perfect slice of pie!
Essential Ingredients and Smart Substitutions
Crafting the perfect blueberry pie involves selecting quality ingredients and understanding how each contributes to the final masterpiece. Here’s a detailed look at what you’ll need and how you can adapt it to your preferences:
- Gluten-Free Pie Crust: The recipe calls for my meticulously developed favorite gluten-free pie dough, linked directly within the full recipe card below. This dough is engineered for maximum flakiness and ease of handling. However, for those seeking a convenient shortcut, feel free to use two pre-made gluten-free crusts from your freezer section. We also discuss alternative options below, such as a full double crust or a delightful crumb topping, giving you flexibility.
- Blueberries: This recipe was rigorously tested using fresh blueberries, which offer optimal flavor and texture. Nonetheless, frozen blueberries work just as wonderfully! There’s no need to defrost them beforehand; simply mix the frozen berries directly into the filling mixture. When using frozen berries, you might need to extend the baking time by a few minutes to ensure the filling reaches its ideal thickened consistency.
- Sugar: The specified amount of sugar is a guideline and is completely adjustable to your taste and the natural sweetness of your blueberries. If your blueberries are particularly ripe and sweet, you might reduce the sugar to as little as ½ cup. Conversely, if they are tart, you might add a touch more. For those managing sugar intake, other granulated low-sugar sweeteners can also be substituted effectively.
- Instant Tapioca: This is a critical ingredient for our perfectly set blueberry filling. It’s essential to use granulated, instant, or quick-cooking tapioca. Tapioca pearls, often used for tapioca pudding, are larger and will retain their shape, which is not what we want for a smooth pie filling. Instant tapioca dissolves and breaks down beautifully during baking, ensuring a clear, thick, and smooth sauce. If you only have tapioca starch, you can use it, but you’ll need to increase the amount to ½ cup to achieve the desired thickening power.
- Butter: Adding a small amount of diced butter to fruit fillings is a trick that truly elevates the flavor. The butter melts into the filling, enriching it with a subtle creaminess and depth that enhances the natural sweetness of the blueberries. Trust me on this—it’s a game-changer! For dairy-free versions, a high-quality dairy-free butter substitute can be used with excellent results.
- Lemon Juice: A squeeze of fresh lemon juice brightens the blueberry flavor and adds a touch of acidity to balance the sweetness, preventing the pie from tasting cloyingly sweet.
- Vanilla Extract: Pure vanilla extract complements the blueberries, adding a warm, aromatic note that enhances the overall dessert profile.
- Cinnamon and Salt: Just a pinch of cinnamon adds a subtle warmth that pairs beautifully with blueberries, while a touch of salt brings out and balances all the other flavors.
Crafting Your Masterpiece: A Step-by-Step Visual Guide
Embark on the journey to bake this incredible gluten-free blueberry pie with confidence. Below, you’ll find step-by-step photos accompanied by modified instructions designed to guide you through each stage. For precise ingredient amounts and the complete printable recipe, please scroll down to the dedicated recipe card.
Preparing Your Flaky Pie Dough
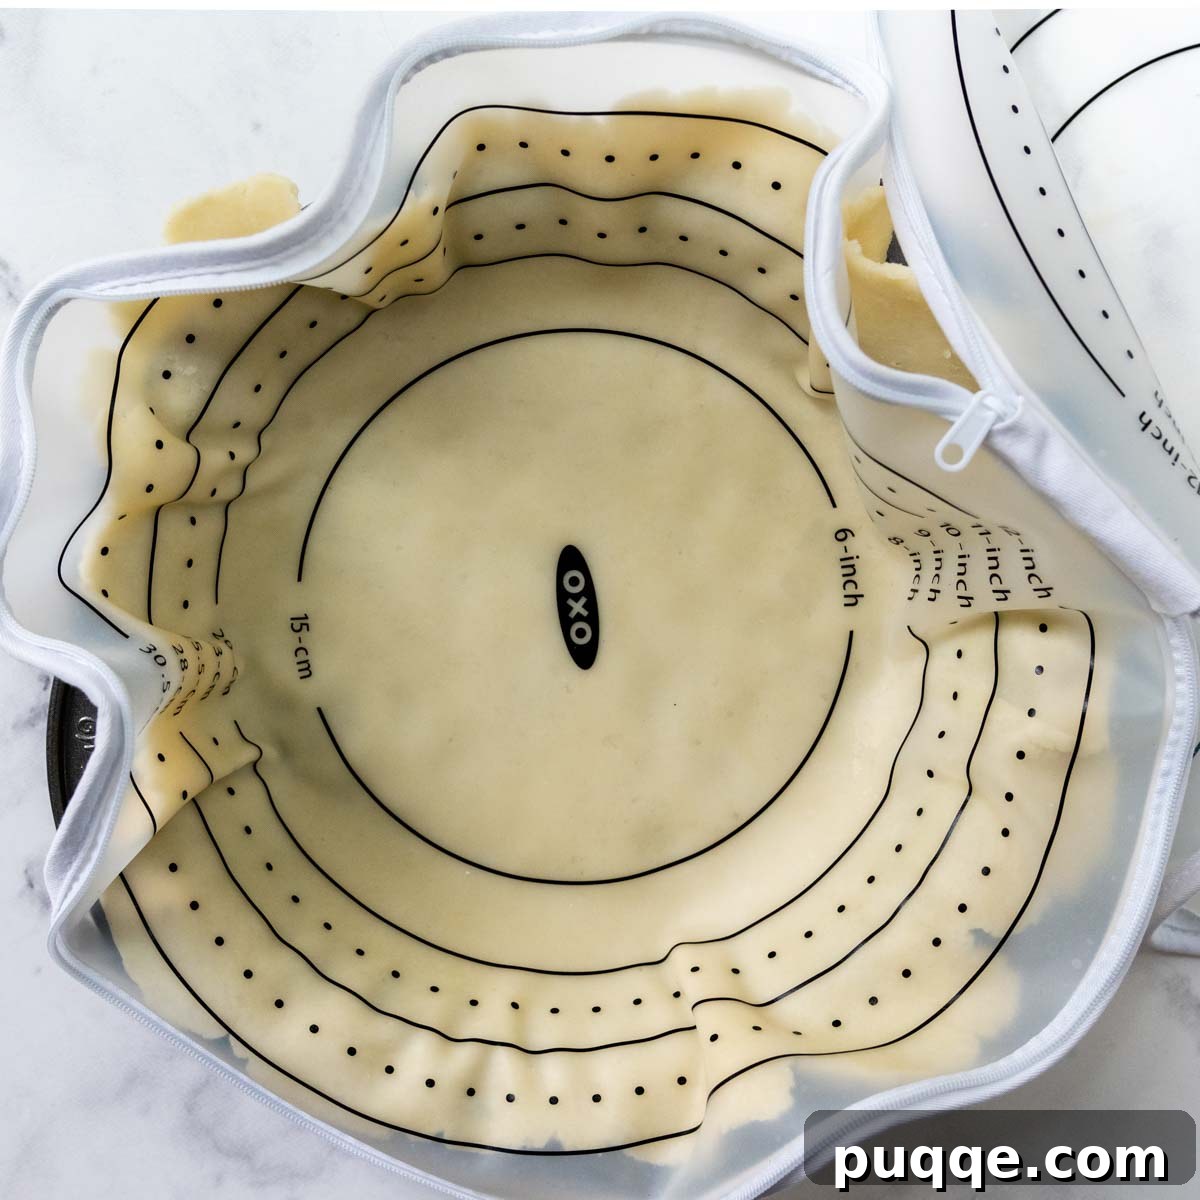
Once you’ve prepared your gluten-free pie dough (detailed step-by-step instructions, including my recommended gluten-free flour blend, can be found in this easy gluten-free pie crust recipe), it’s time to roll it out. Using a pastry bag is an incredibly simple and mess-free way to roll out gluten-free dough, but rolling between two sheets of parchment paper also works perfectly. Carefully fit one disc of the rolled-out dough into a 9-inch pie pan, ensuring it’s evenly pressed against the bottom and sides.
Assembling the Luscious Blueberry Filling
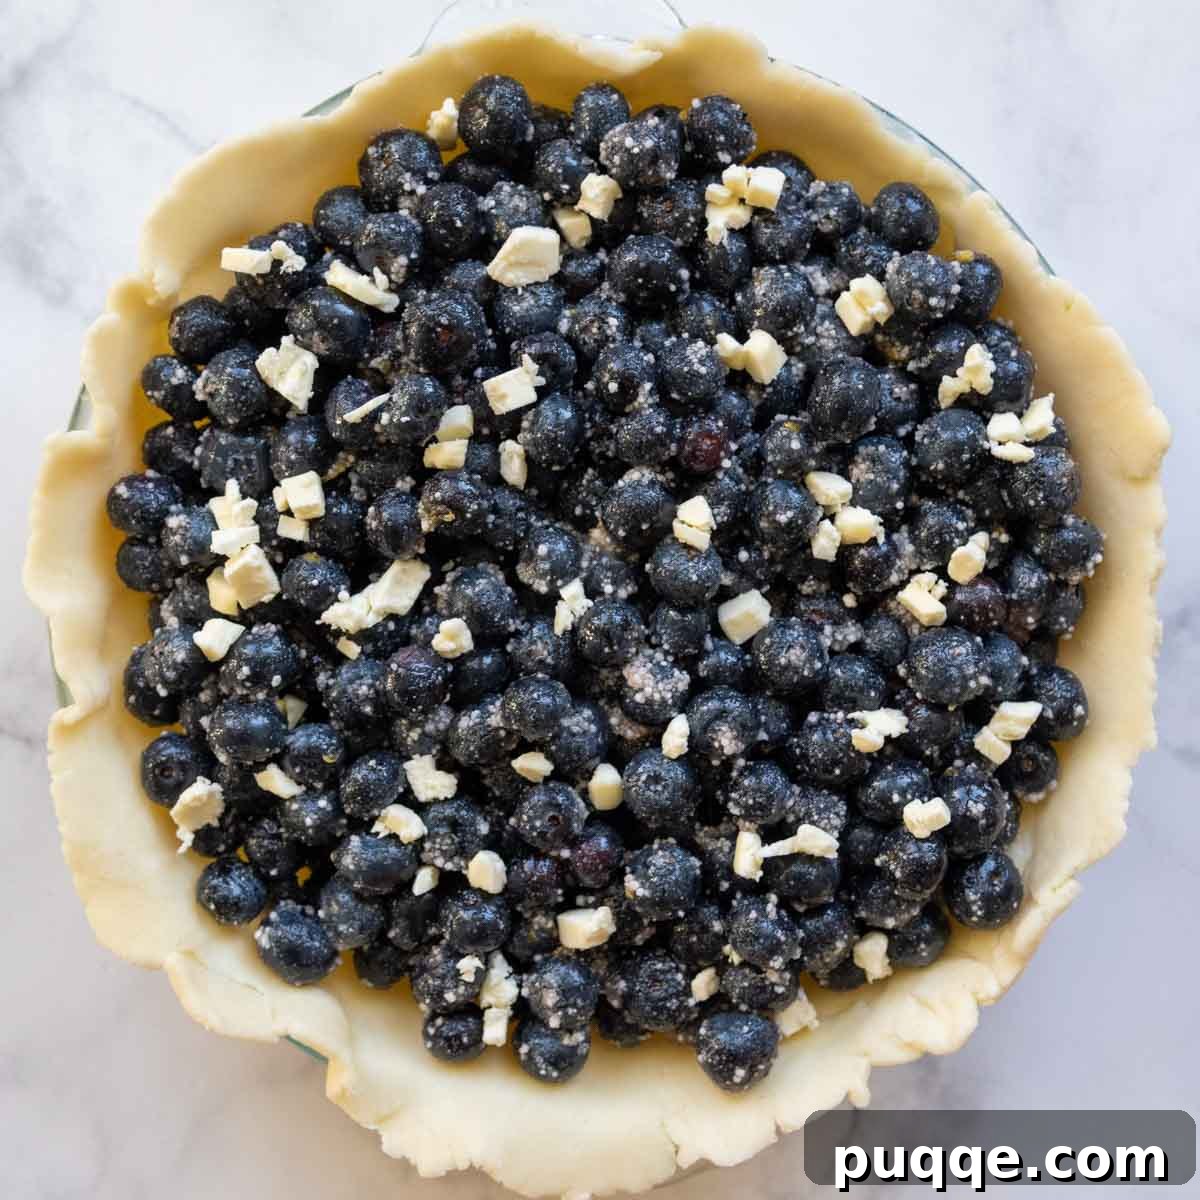
In a large mixing bowl, combine all the filling ingredients: fresh or frozen blueberries, granulated sugar, instant tapioca, vanilla extract, lemon juice, and ground cinnamon. Stir everything together gently until the blueberries are evenly coated. Pour this vibrant mixture into your chilled bottom crust. Then, dot the top of the filling with small pieces of diced cold butter. While you proceed to roll out and cut the dough for your lattice top, transfer the pie back to the refrigerator. Keeping the pie cold is essential because cold pies bake up the flakiest!
Rolling and Cutting the Elegant Lattice Top
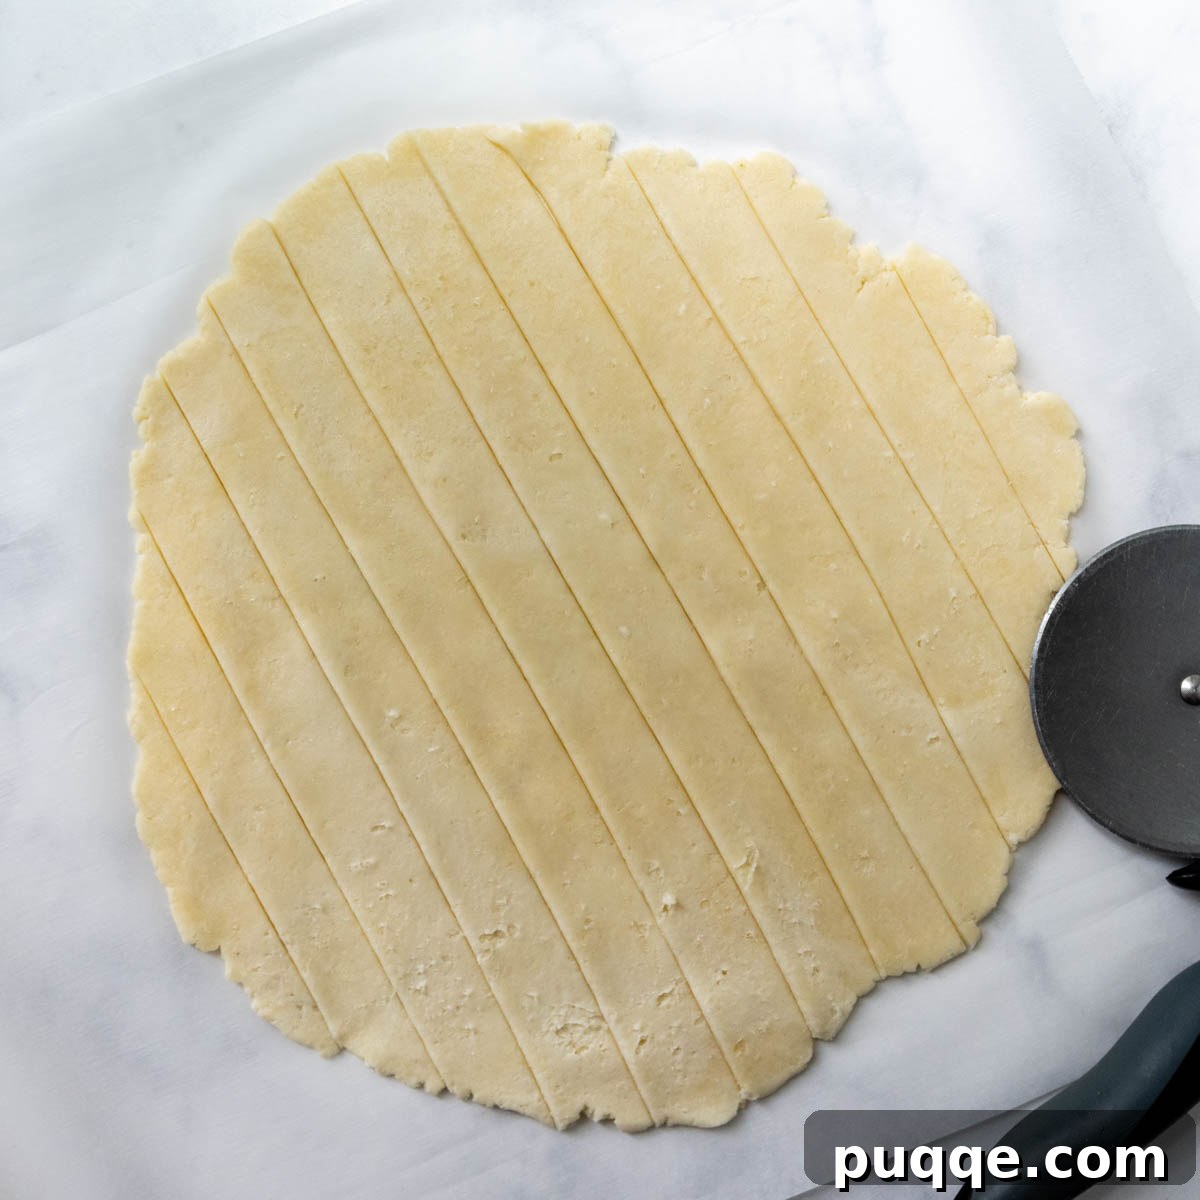
Take your second disc of pie dough and roll it out into a consistent 12-inch circle. If you’re using a pastry bag for rolling, carefully invert the rolled dough onto a sheet of parchment paper. Next, use a pizza cutter, a dedicated pastry cutter, or a sharp knife to slice the dough evenly into twelve 1-inch wide strips. Precision here contributes to a beautiful, symmetrical lattice.
The Art of Weaving Your Lattice
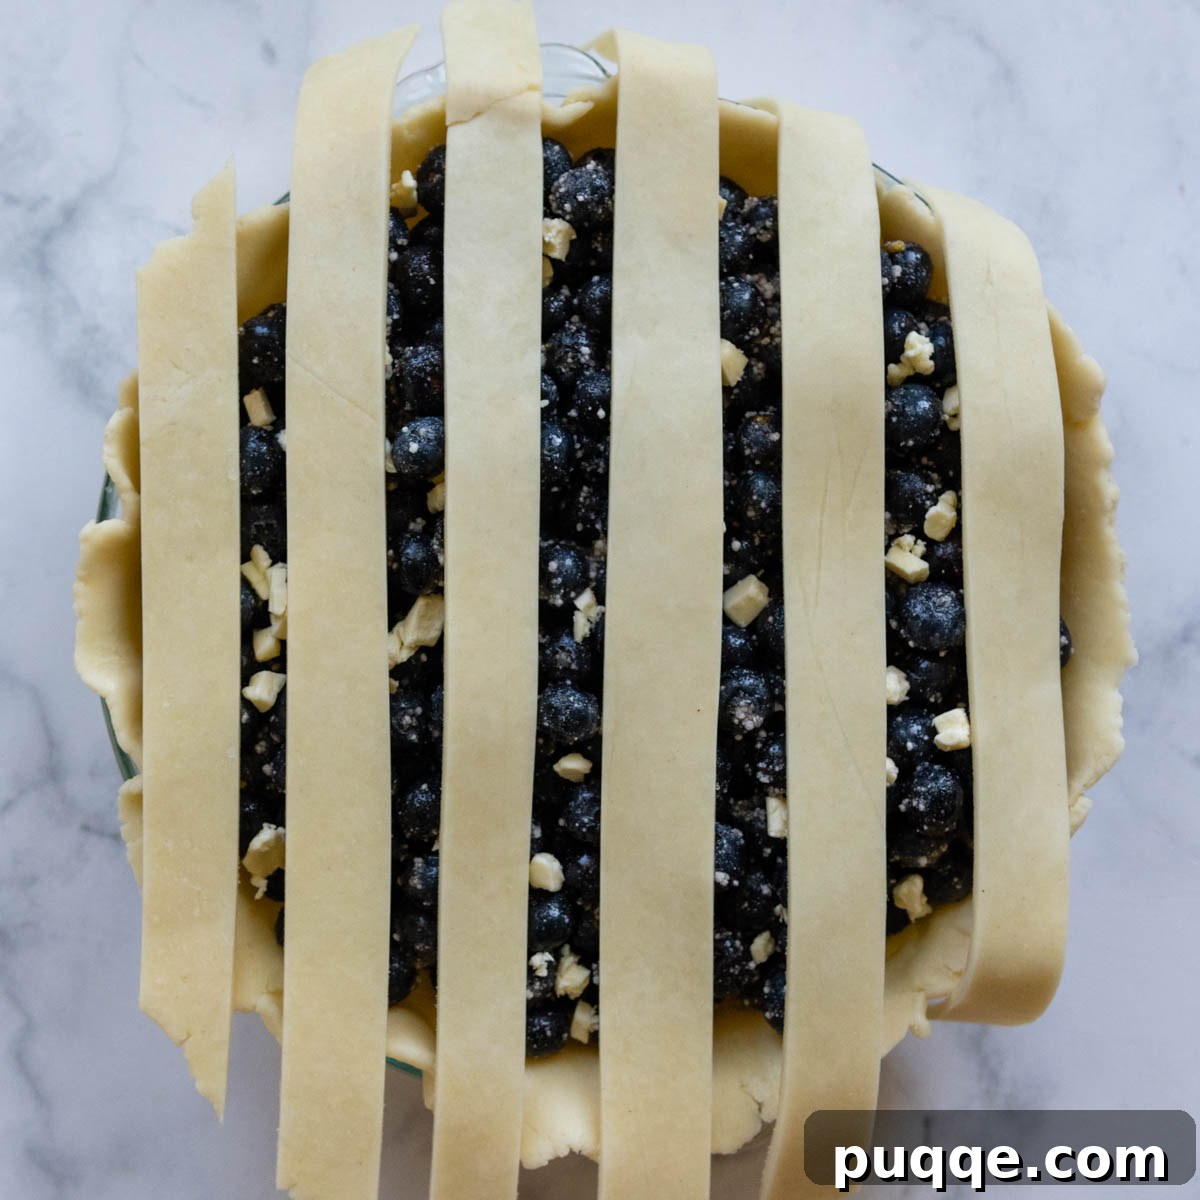
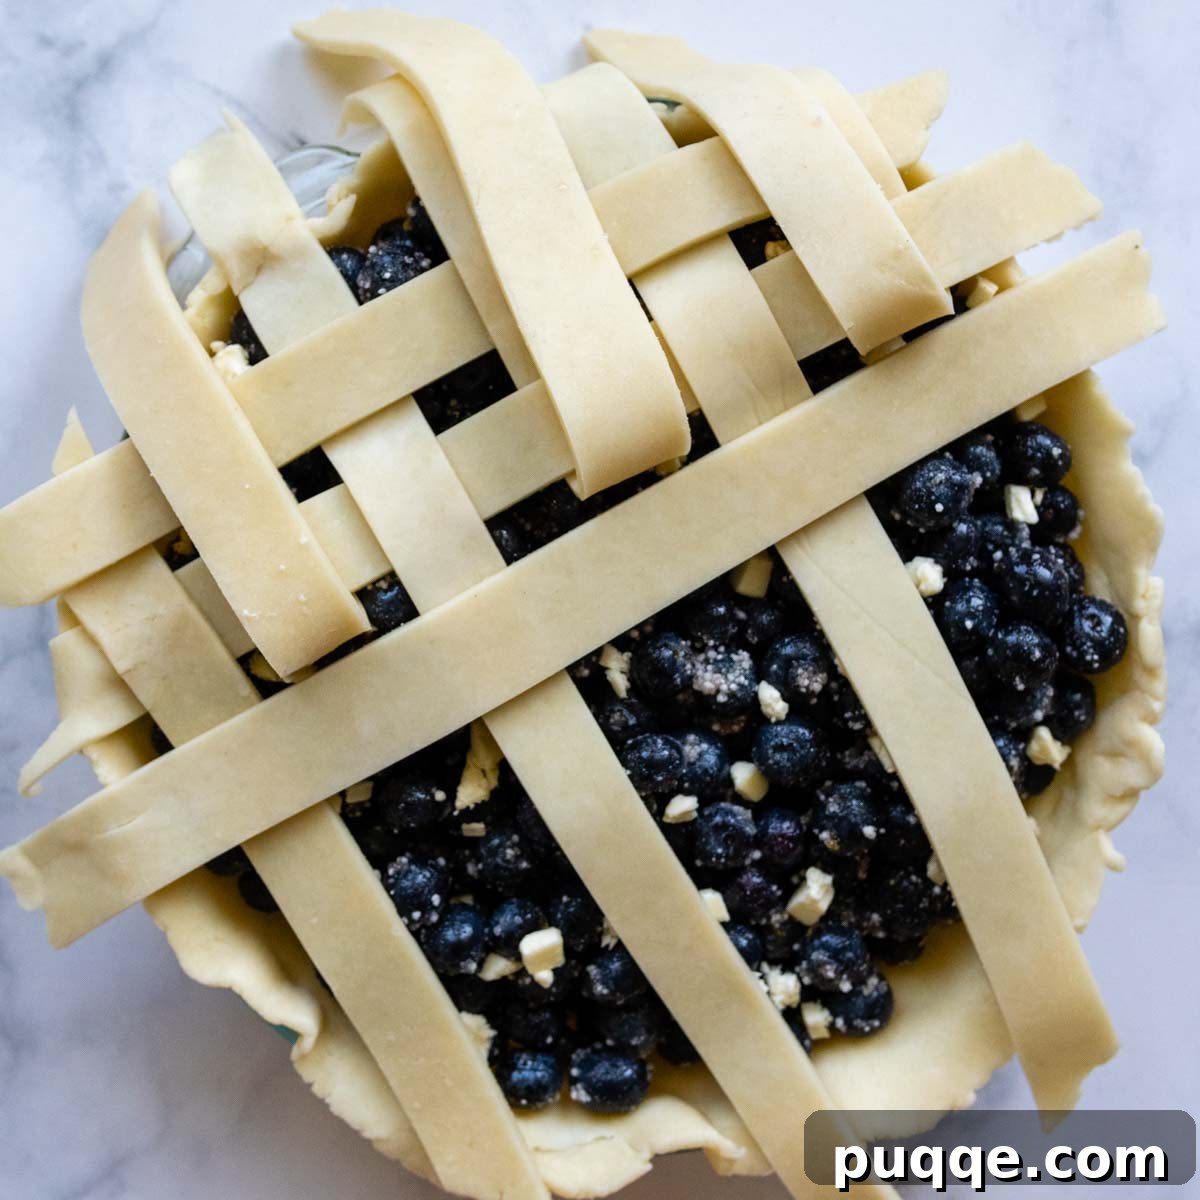
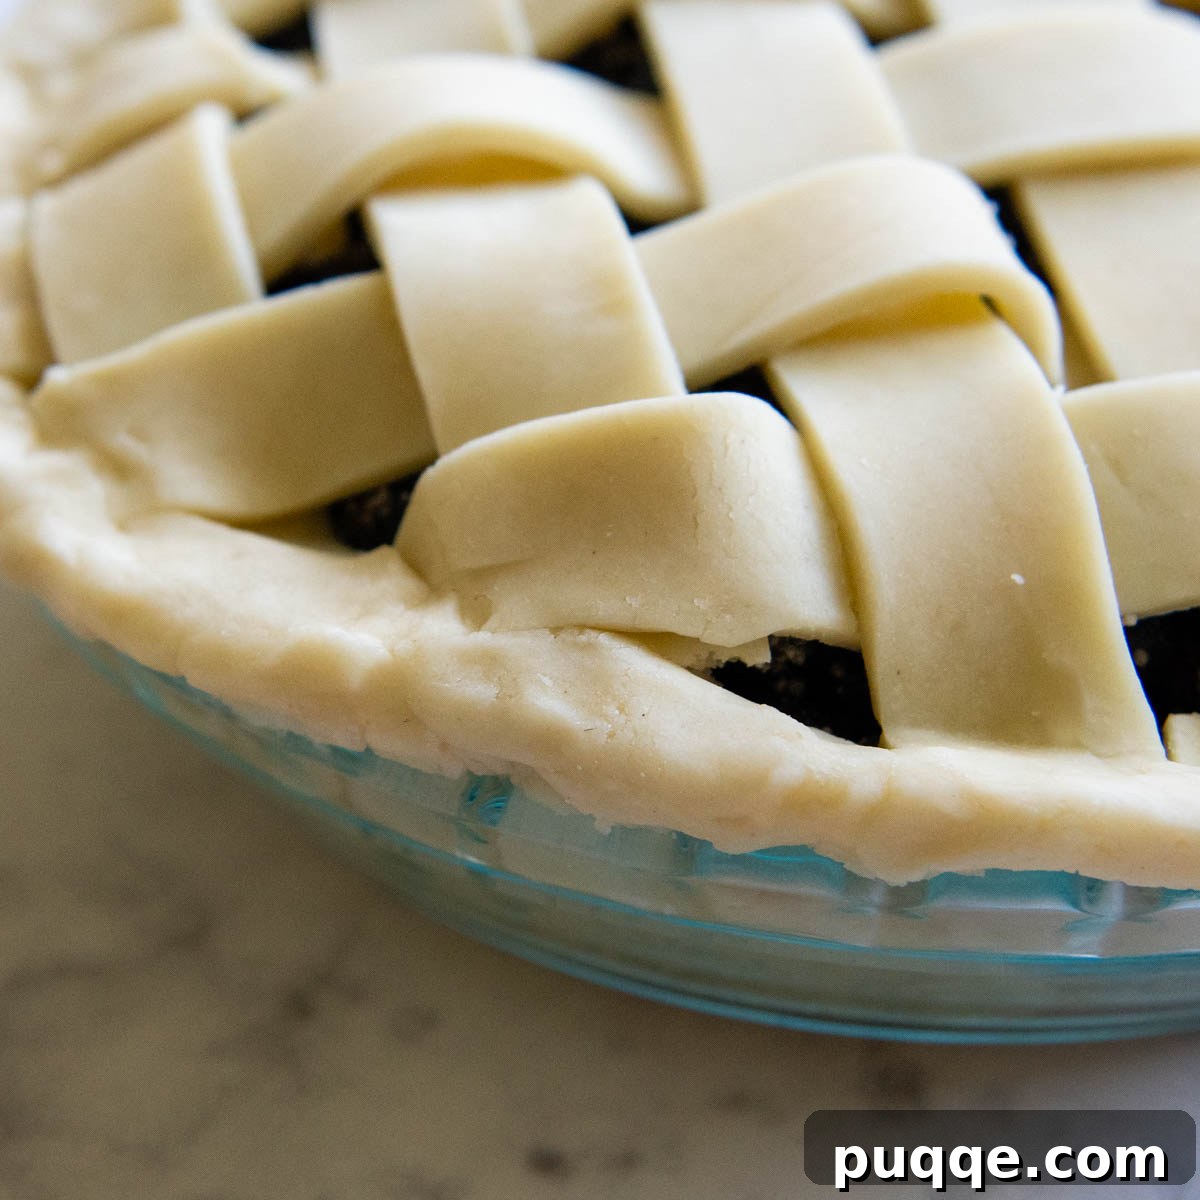
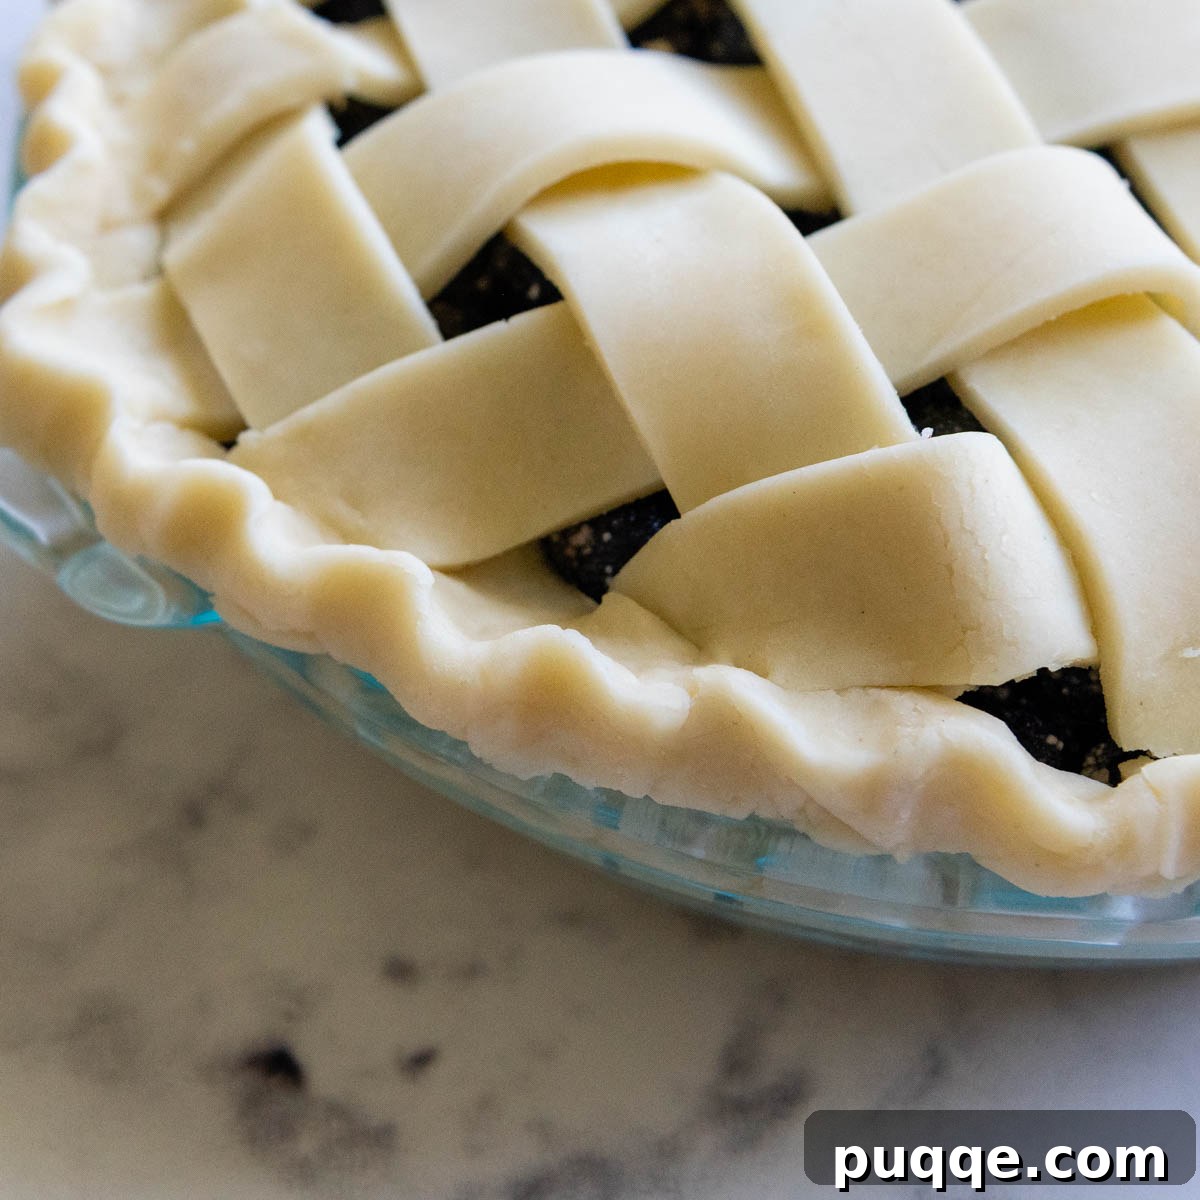
Now for the creative part! Lay 6 of your dough strips, spaced evenly apart, across the blueberry filling. Next, fold back 3 alternating strips (e.g., strips 1, 3, and 5) almost all the way off the pie. Take one of your unused strips and lay it perpendicularly right against where the folded-back strips begin. Carefully return the folded strips back over the pie, allowing them to cover the new strip you just placed. Repeat this process: fold back the *other* 3 alternating strips (e.g., strips 2, 4, and 6), place another unused strip against the fold, and then return the original strips. Continue this weaving technique, alternating which strips you fold back, until all your strips are placed. Don’t be surprised if you feel a surge of satisfaction when you see your intricate lattice pattern emerge!
Finishing Touches: Shaping and Chilling
Once your lattice is complete, carefully trim off any excess dough from the edges, leaving a small overhang. Then, gently fold the dough edges under, neatly sealing the lattice crust strips with the bottom crust. It’s crucial that these two crusts are well sealed to prevent the filling from bubbling out during baking. Use your fingers and thumb to create a beautiful, decorative crimped or fluted edge around the perimeter of the pie. Finally, for optimal flakiness and to ensure the pie holds its shape perfectly, freeze the assembled pie for 15 minutes before it goes into the oven. This final chill is a small step that makes a big difference!
Expert Baking Techniques for a Golden Finish
As you near the completion of your pie assembly, preheat your oven to a robust 425ºF (220ºC). Simultaneously, place a metal baking sheet, preferably lined with parchment paper or foil to catch any potential drips, onto the middle rack of the oven. Allowing the baking sheet to heat up with the oven is vital for achieving that coveted crisp bottom crust. The hot metal conducts heat much more efficiently than a cold surface, providing an immediate surge of heat to the bottom of the pie, which helps to set the crust quickly and prevent sogginess.
Once your pie has completed its final chill, carefully transfer it directly onto the preheated baking sheet in the oven. Bake at 425ºF (220ºC) for an initial 25 minutes. This high heat phase helps to rapidly brown the crust and begin the thickening process of the filling. After this initial bake, reduce the oven temperature to 375ºF (190ºC) and continue baking. This gentler temperature allows the crust to finish baking evenly without burning and gives the blueberry filling ample time to fully thicken and set. To prevent the edges of your pie from over-browning, it’s advisable to cover them with a pie shield. If the entire top crust is browning too quickly, you can also loosely tent a piece of foil over the top.
Determining when your blueberry pie is perfectly done requires observation. You’ll notice the filling begin to bubble, first around the edges, then progressively moving towards the center. It’s crucial to wait until the juices are actively bubbling even closer to the center of the pie, indicating that the filling is hot and thick throughout. Given the longer bake time, keeping a watchful eye on the crust is key. Once bubbling, remove from the oven.
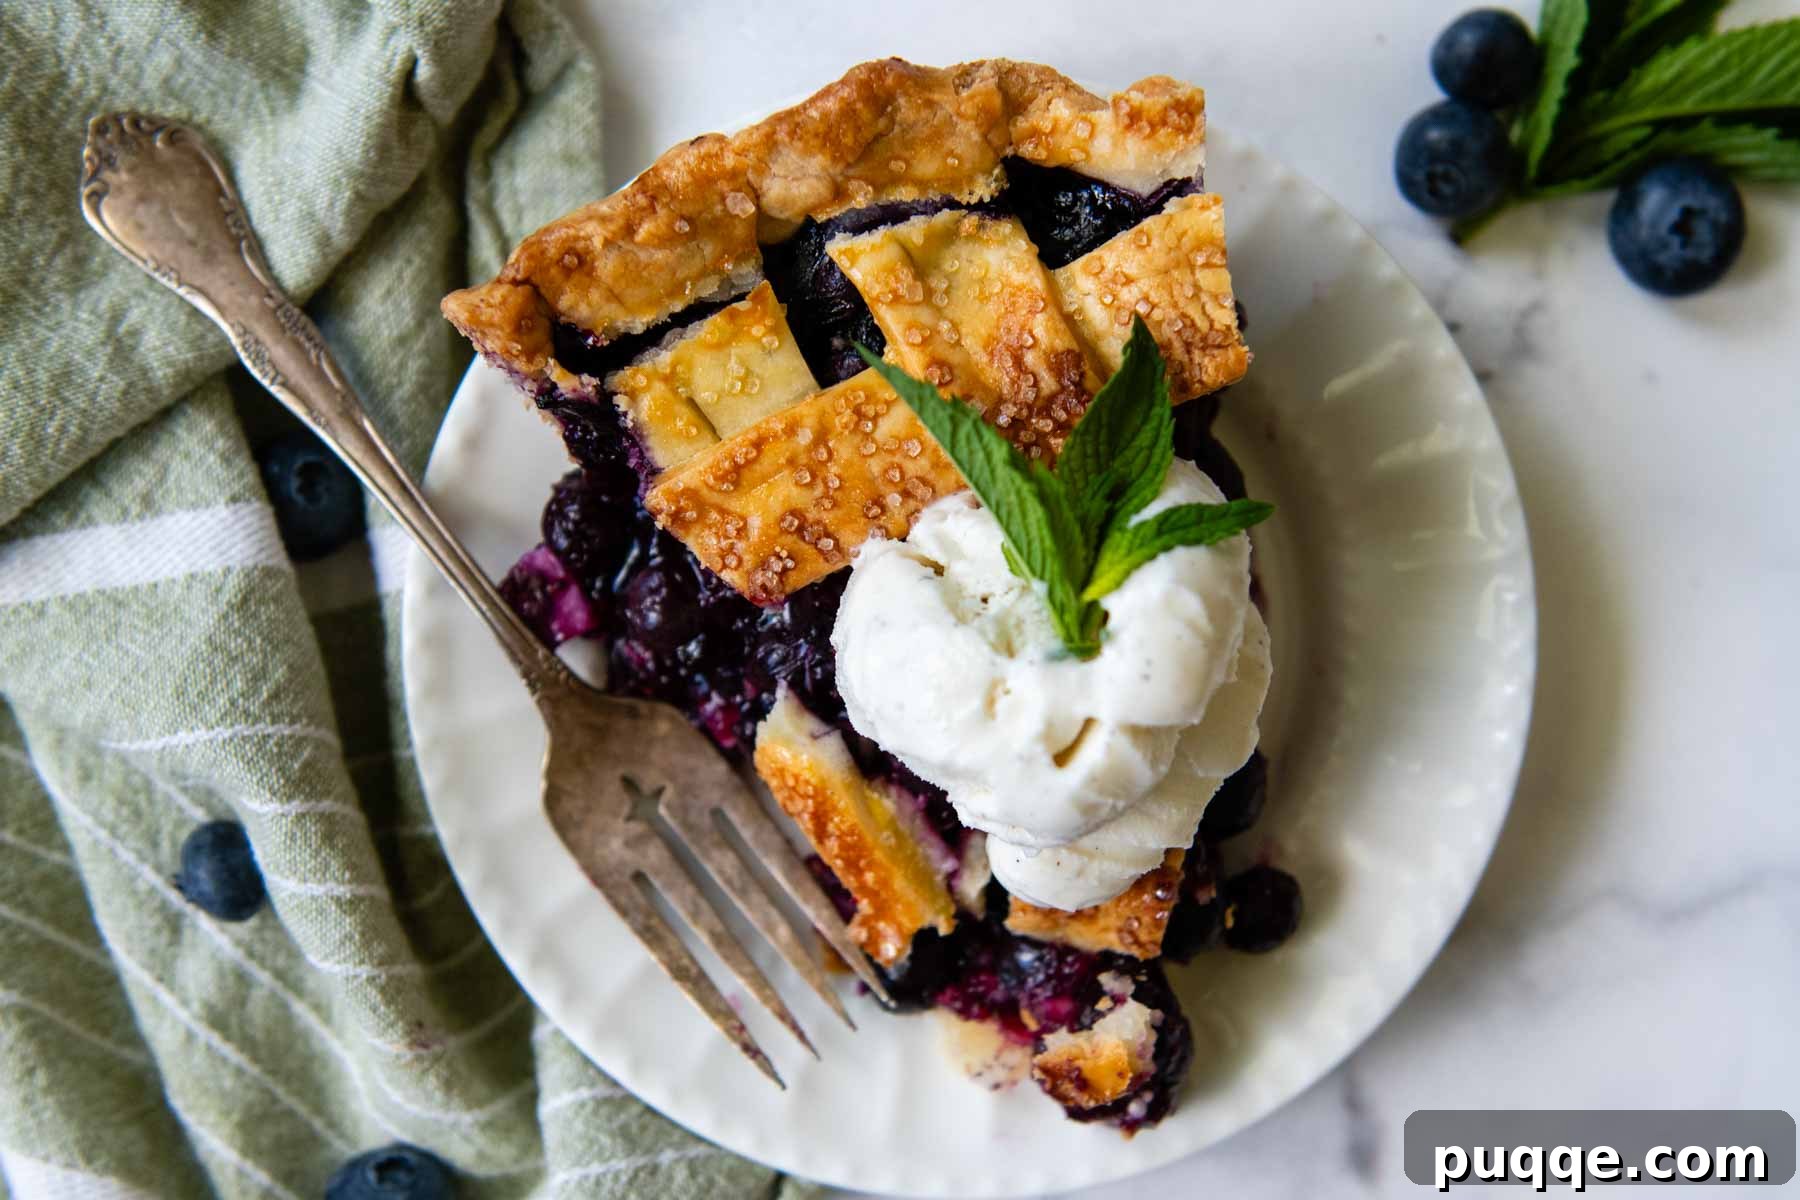
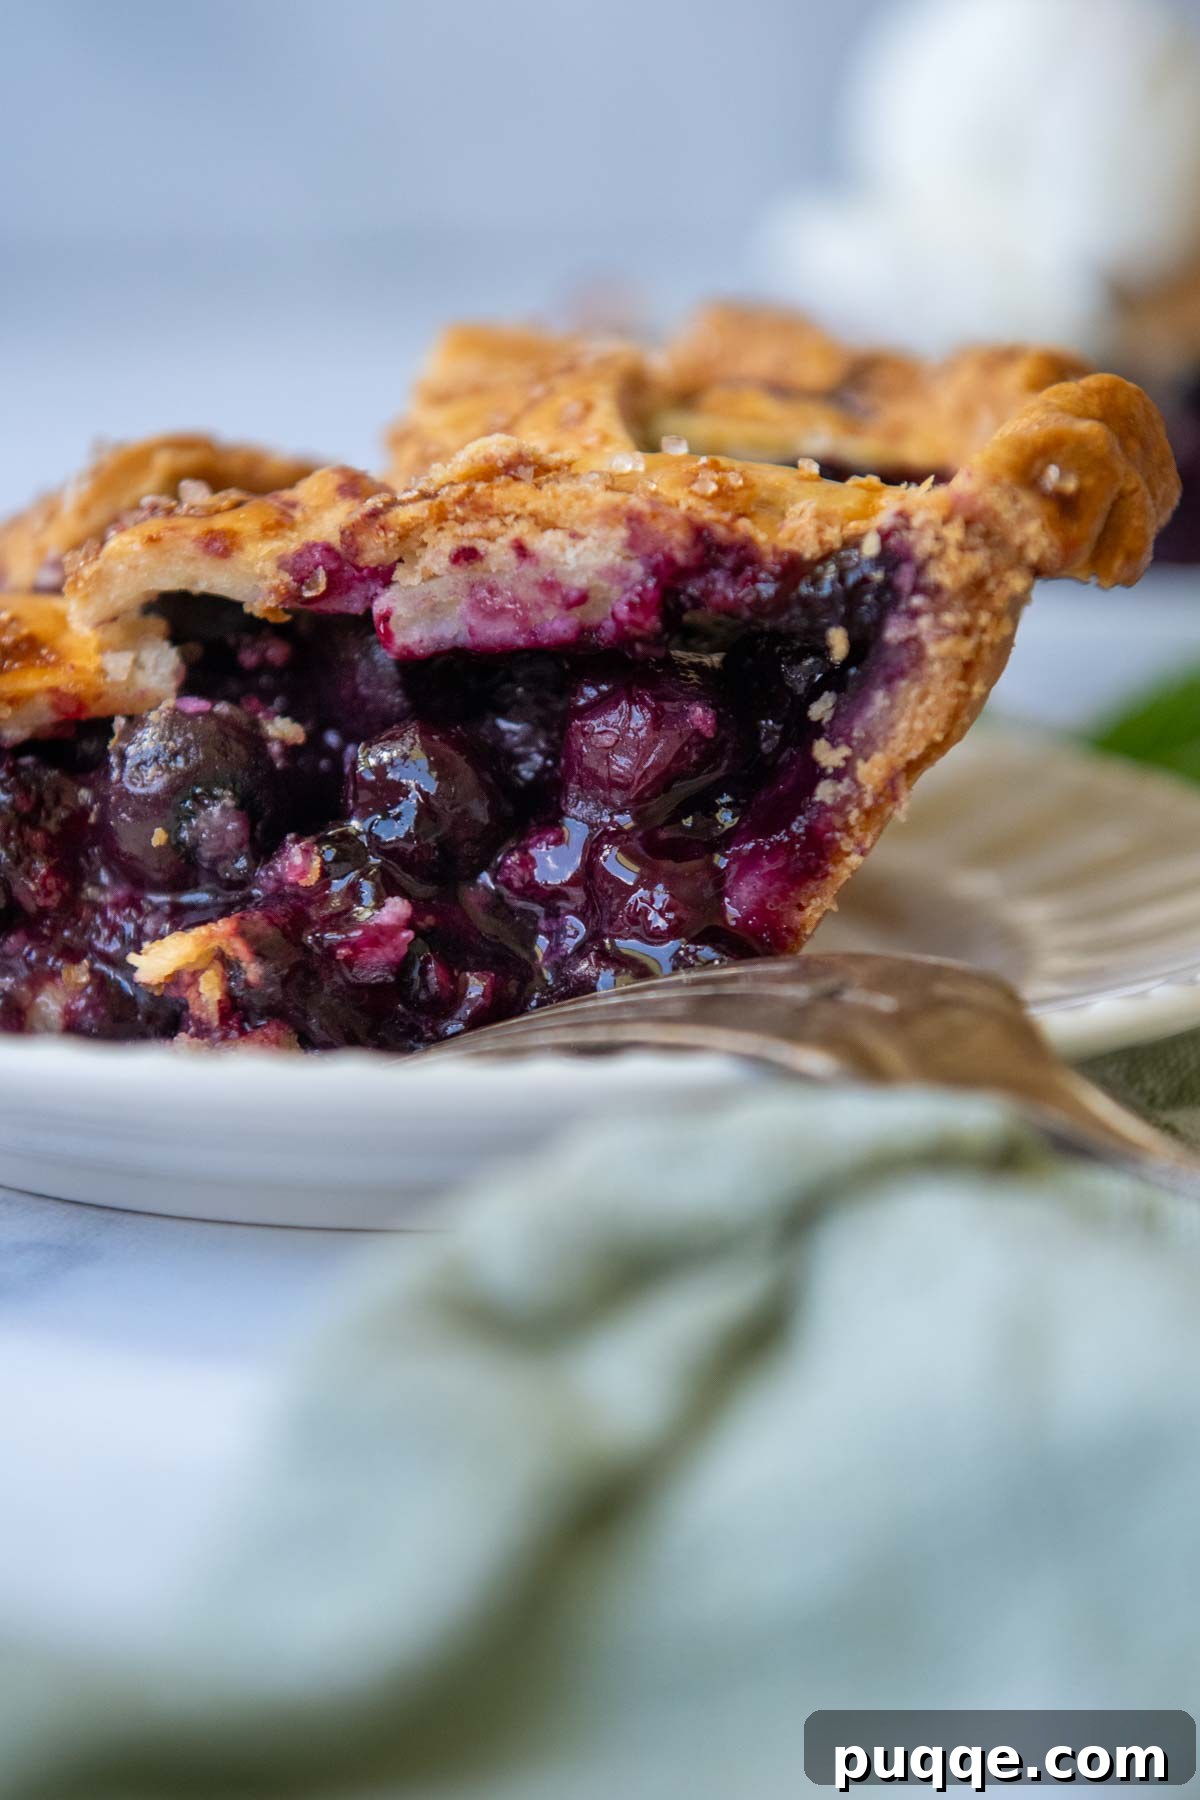
Now comes arguably the hardest part: the wait. While tempting to slice into immediately, for a perfectly set and sliceable pie, it absolutely must cool for a minimum of 3 hours on a wire rack. Ideally, waiting 4 hours or even longer is better. This extended cooling period allows the tapioca-thickened filling to fully gel and stabilize, ensuring that when you cut into it, you’re met with a clean slice and a luscious, not runny, filling. The pie will still retain a delightful warmth, making it absolutely heavenly, especially when served with a generous scoop of vanilla ice cream.
Beyond the Lattice: Creative Crust Options
While a lattice top adds a beautiful artisanal touch, it’s perfectly understandable if you prefer a simpler approach or wish to explore different textures for your gluten-free blueberry pie. Fortunately, there are several other fantastic options for the top crust:
The Classic Double Crust: If you’d rather not venture into weaving a lattice, a traditional double crust is a wonderful choice. Simply roll out your second disc of pie dough into a circle, just as you would for the bottom crust, and carefully fit it over the blueberry filling. Once placed, press the edges of the top crust and the bottom crust firmly together to seal them. You can then flute or crimp the edges decoratively. Before baking, remember to cut 3-4 slits or make small perforations in the top crust. These vents are crucial for allowing steam to escape during baking, preventing a soggy top crust and ensuring even cooking of the filling. The baking times and temperatures remain the same as for the lattice pie.
The Delightful Crumb Topping: For a completely different texture profile, consider swapping the second crust for a sweet, buttery crumb topping. This option adds a wonderful textural contrast and an extra layer of flavor. You can use the crumb topping recipe from my fresh gluten-free strawberry pie recipe as a guide. Simply prepare the crumb mixture and sprinkle it generously over the blueberry filling. When using a crumb topping, follow the baking instructions as outlined in the strawberry pie recipe, which typically involves a slightly different baking approach to ensure the crumb topping achieves a golden crispness without burning. You can even add a small amount of the crumb topping to the blueberry filling mixture itself for an additional layer of texture and structure within the pie.
Save This Recipe to Your Pinterest Board!
Let’s be friends on Pinterest! I’m always sharing great recipes!
Did you make this recipe? I love hearing from you! Leave a star rating and comment below the recipe card. Your feedback helps others discover amazing recipes, and I truly appreciate hearing from our community. You’ll always hear back from me! -Melissa
Blue Ribbon Gluten-Free Blueberry Pie with Flaky Crust

Melissa Erdelac
This award-worthy gluten-free blueberry pie delivers on every promise: a golden, impossibly flaky crust and a perfectly thick, juicy blueberry filling. Utilizing an expert combination of dough technique and filling thickeners, this recipe guarantees a crackly lattice top, a golden-brown bottom crust, and a dessert that will earn rave reviews every time. Perfect for any occasion, from casual family dinners to holiday feasts.
Pin
Rate
Remove Ads
Ingredients
Gluten-Free Lattice Crust
- 2 sticks (226 g) unsalted butter, cut into cubes and frozen for 10 minutes
- 5 tablespoons ice water
- 3 tablespoons sour cream
- 3 teaspoons apple cider vinegar
- 2 ½ PLUS ⅓ cup (416 g) gluten free flour, I highly recommend Cup4Cup gluten-free flour
- 3 teaspoons granulated sugar
- 1 teaspoon salt
Gluten-Free Blueberry Filling
- 6 cups (1.14 kg) blueberries, about 3 ½ pints
- ⅔ cup (134 g) granulated sugar
- ¼ cup (48 g) instant granulated tapioca
- 1 tablespoon lemon juice
- 2 teaspoons vanilla extract
- ¼ teaspoon ground cinnamon
- ¼ teaspoon salt
- 1 tablespoon (14 g) cold butter, diced
- eggwash: 1 egg whisked with 1 tbsp milk
- optional coarse sugar, for sprinkling on crust
Equipment
- Pie Shield
- Food Processor
- Pastry Rolling Bag
Instructions
Gluten-Free Double Crust
- Place the cubed butter in the freezer for 10 minutes. Mix together the cold water, sour cream, and vinegar in a small bowl. Place the liquids bowl in the refrigerator until ready to use.
- FOOD PROCESSOR: Pulse flour, sugar, and salt together until mixed. BY HAND: Whisk dry ingredients in a medium-sized bowl.
- FOOD PROCESSOR: Process the butter into the flour mixture until well incorporated, evenly dispersed, and without large chunks. BY HAND: Use a pastry blender, fork, or fingers to cut and knead butter into the dough until it is well incorporated throughout.
- FOOD PROCESSOR: Add the liquids to the food processor and pulse until the flour becomes moistened and small dough clumps appear. If dough doesn’t start to come together, add a touch more cold water. BY HAND: Add half the liquids and knead with fingers or a fork. Pour in the remaining liquids. Knead until the dough starts to come together and the liquids are well mixed with flour. TIP: To check if you have enough liquid, clump and flatten a small bit of dough. If it doesn’t stick together, is crumbly, or breaks apart easily, add a small dash of ice water. Pulse a few times and recheck. If the dough is too wet or sticky, add a dash of flour. Pulse a few times and recheck.
- Divide the dough between 2 large sheets of plastic wrap and flatten into a thick 1″ disk. Wrap tightly and refrigerate for at least 1 hour or freeze for 30 minutes.
Blueberry Filling
- After the pie dough has chilled, prepare the filling. In a large bowl combine the blueberries, sugar, tapioca, lemon juice, vanilla, cinnamon, and salt. (The 1 tbsp butter will be used when filling the pie.) Let the mixture sit at room temp for at least 10 minutes while the crust is rolled out.
Shaping Crust and Baking
- Preheat the oven to 425ºF (220ºC). Place a baking sheet, lined with parchment paper or foil, on the middle rack. The baking sheet heats, along with the oven, to place the pie on. The metal conducts the heat better, which makes a crisp bottom crust. The foil or parchment catches drips, saving you clean up!
- To roll the pie dough, lay a large piece of parchment paper on your workspace. Place one unwrapped dough disc in the middle and place a same-sized sheet on top. Alternatively, use the pastry rolling bag pictured in the post. Use a rolling pin to press and spread out down from the middle out. Roll out into a circle slightly larger than your pie dish, about 11-12 inches.
- Remove the top paper, and invert into the pie dish. Press the dough to fit securely against the pie plate. Remove the second paper. Tip: If the dough warmed while rolling, it may be trickier to take the paper off. If this happens, leave the paper on, and stick the whole thing in the fridge for 5-10 minutes. Once the crust is chilled again it’s much easier to pull off the paper.
- Pour the pie filling into the bottom crust. Scatter the diced butter pieces over the top and place the pie in the fridge while you repeat the rolling process with the top crust.
How to Make Lattice Crust
- Roll out the second disc into a 12-inch circle. If using the pastry rolling bag, invert the rolled crust onto a piece of parchment paper for cutting. Use a pizza cutter or knife to slice the dough into twelve 1-inch strips. Lay 6 strips, evenly spaced, across the pie. Use the shorter strips at the ends, longer strips towards the middle.
- Fold back 3 alternating strips almost all the way off of the pie. Take one unused strip and lay it right against where the strips are folded back. Return the strips back over the pie so they cover the strip just placed.
- Fold back the other 3 vertical strips. Take another unused strip and lay it against where the strips are folded back. Return the vertical strips back over it. You will start to see the woven pattern. Repeat the process with the remaining strips.
- Trim any excess dough from the edges, then fold the dough under, securely sealing the lattice crust strips with the bottom crust. Use your finger and thumb to make a decorative edge. Freeze the pie for 15 minutes before baking.
Baking Instructions
- After the pie has chilled in the freezer, brush on the egg/milk mixture on the top crust and edges to make a shiny crust. Sprinkle with the optional coarse sugar.
- Use a pie shield to protect the edges or shield with strips of foil circled around. Place the pie directly on the heated baking sheet. Bake for 25 minutes.
- Leave the pie in the oven, but lower the temperature to 375℉ (190ºC). If the crust is becoming too browned, loosely tent a piece of foil over the top. Continue to bake for 40-50 minutes, or until the juices start to bubble throughout the vents.
- Cool the pie on a wire rack for at least 4 hours before slicing. This allows enough time for the pie to cool and the sauce to set. It’s best served the same day or see recipe notes for make-ahead tips.
Notes
Make-Ahead and Storage Tips
For maximum flakiness, enjoy the pie on the day it is made. The crust naturally becomes softer after 24 hours as it absorbs moisture from the blueberries.
When storing leftovers, keep the pie at room temperature and loosely tent foil over the top (do not seal tightly) to allow moisture to escape. Enjoy within 3 days, keeping in mind that the crust will soften on days 2 and 3.
For a make-ahead blueberry pie: Follow the recipe for assembly until just before baking. Freeze the assembled pie until solid, then wrap securely with plastic wrap and foil. Return to the freezer for up to 2 months.
When ready to serve, bake directly from frozen – do not thaw. Unwrap the pie and bake as directed, placing it on a preheated baking sheet. Once the oven temperature is lowered, it will require approximately 10-20 minutes of additional baking time. Ensure the edges are covered with a pie shield and foil is loosely tented over the top to prevent over-browning.
Did you make this recipe?
Please leave a star rating and review below. It helps others when searching for recipes and I LOVE feedback!