
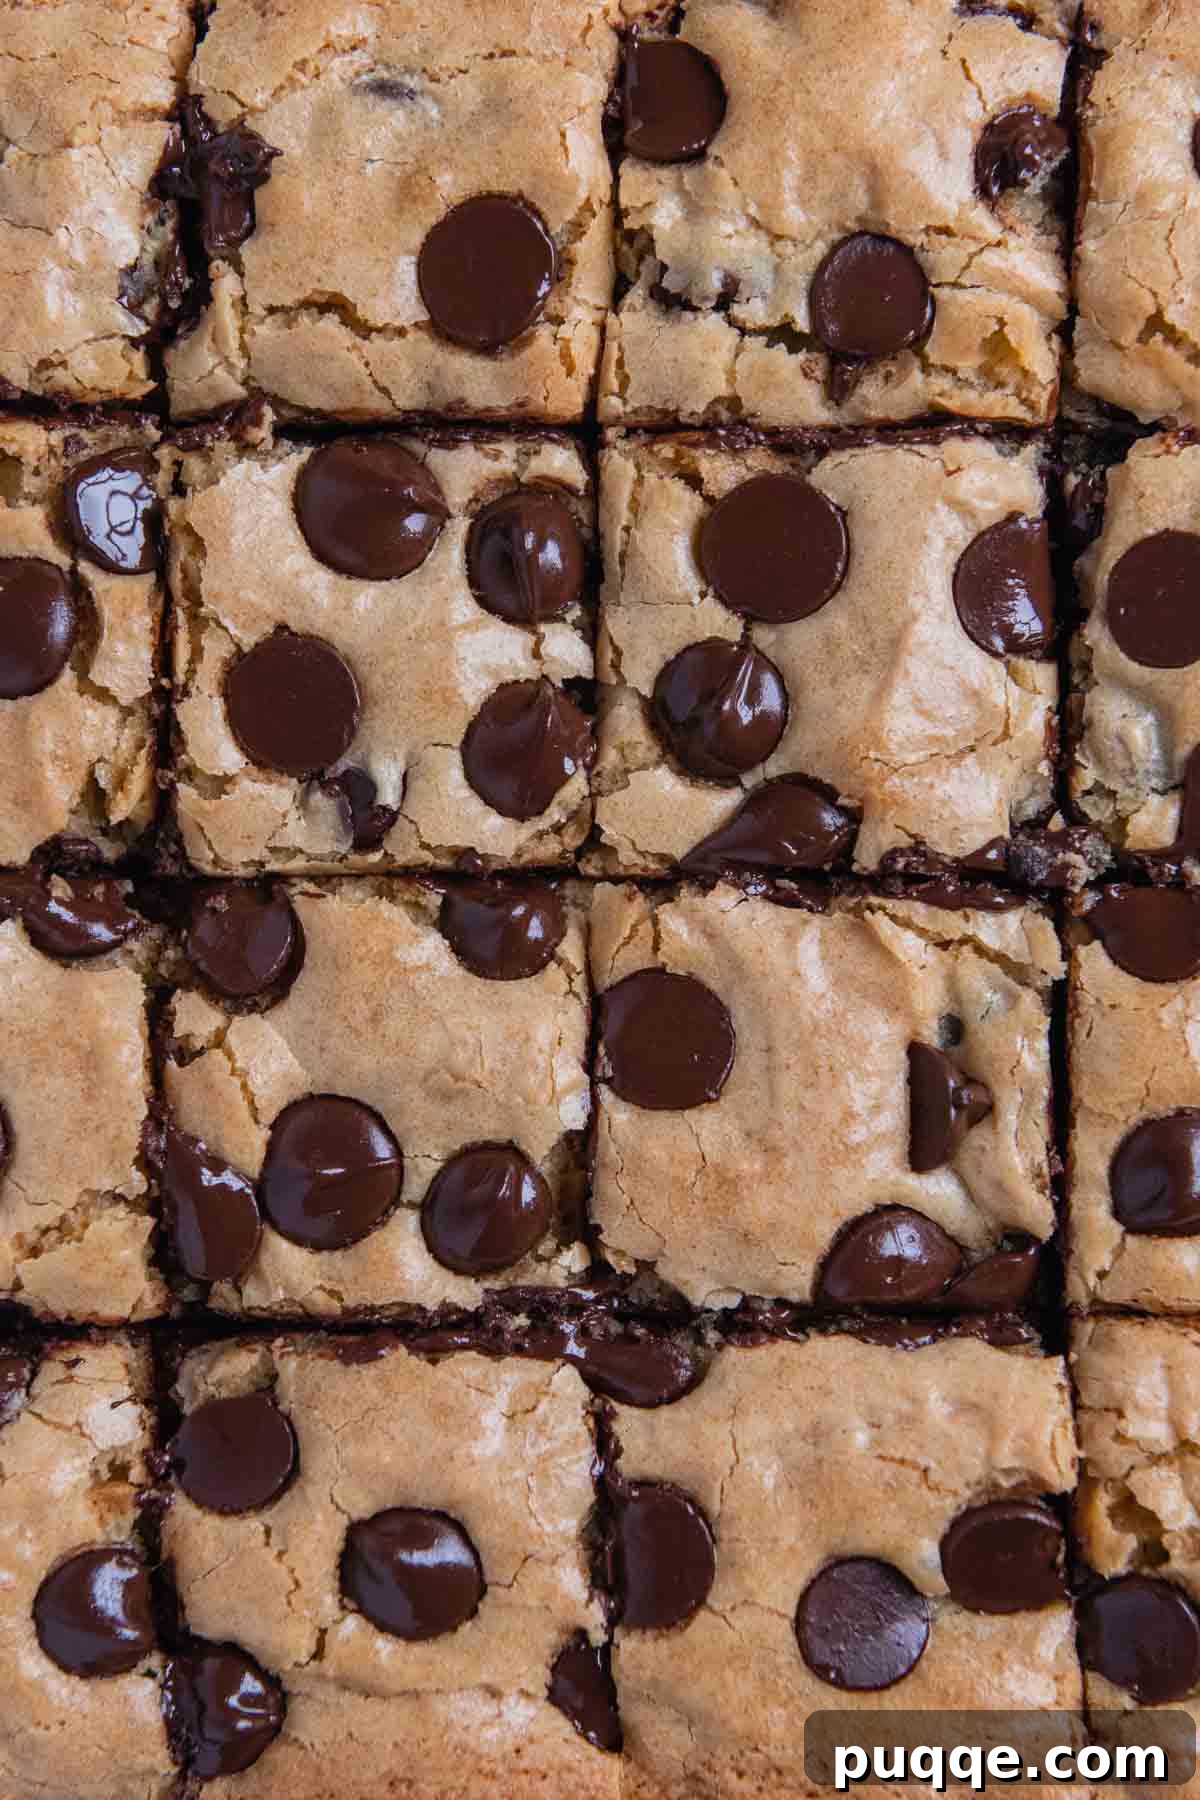
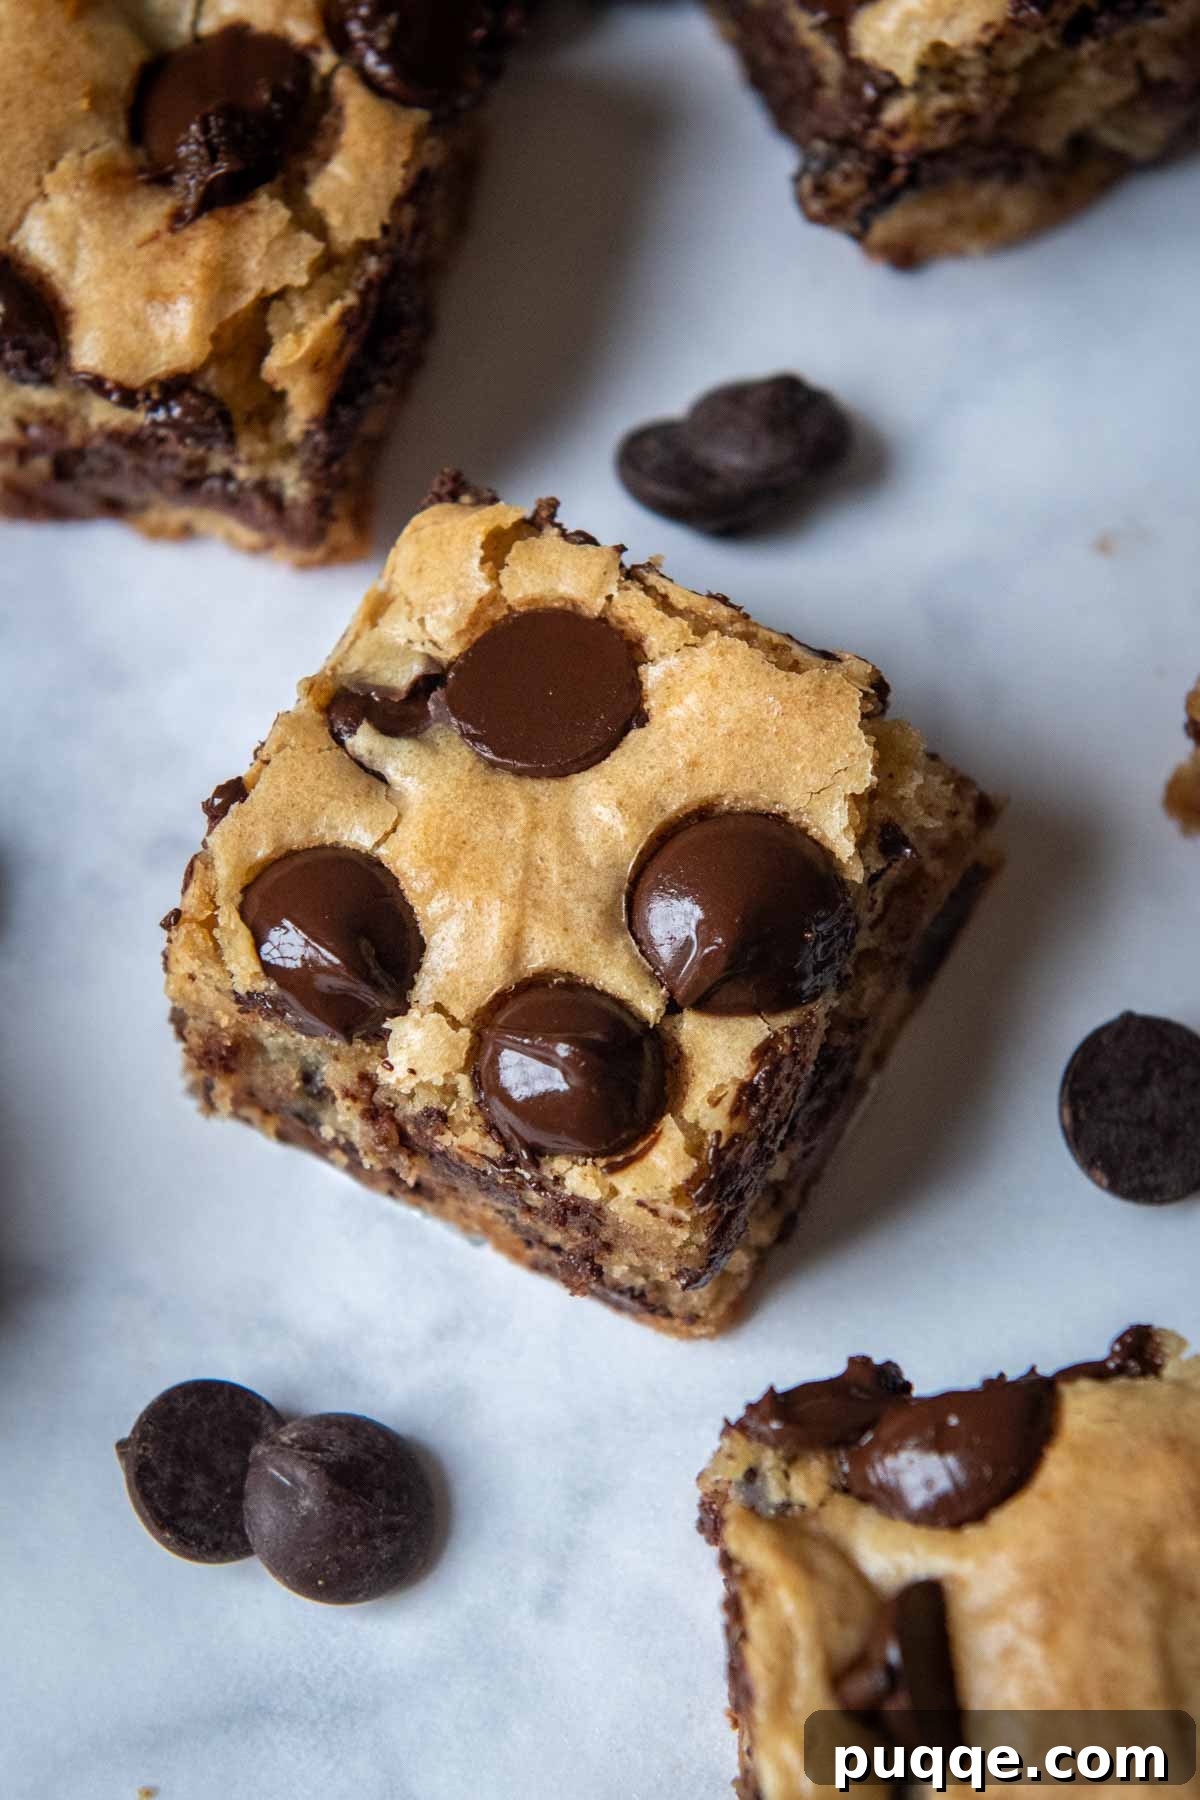
Indulge in the ultimate sweet escape with our recipe for **irresistibly soft, thick, and chewy gluten-free blondies**! These golden-hued “blonde brownies,” crafted with the finest gluten-free flour, are generously **packed with melty chocolate chips** in every single bite. Prepare to be amazed, as their delightful taste and perfect texture are so remarkably close to the classic version, **no one will ever guess they’re gluten-free!**
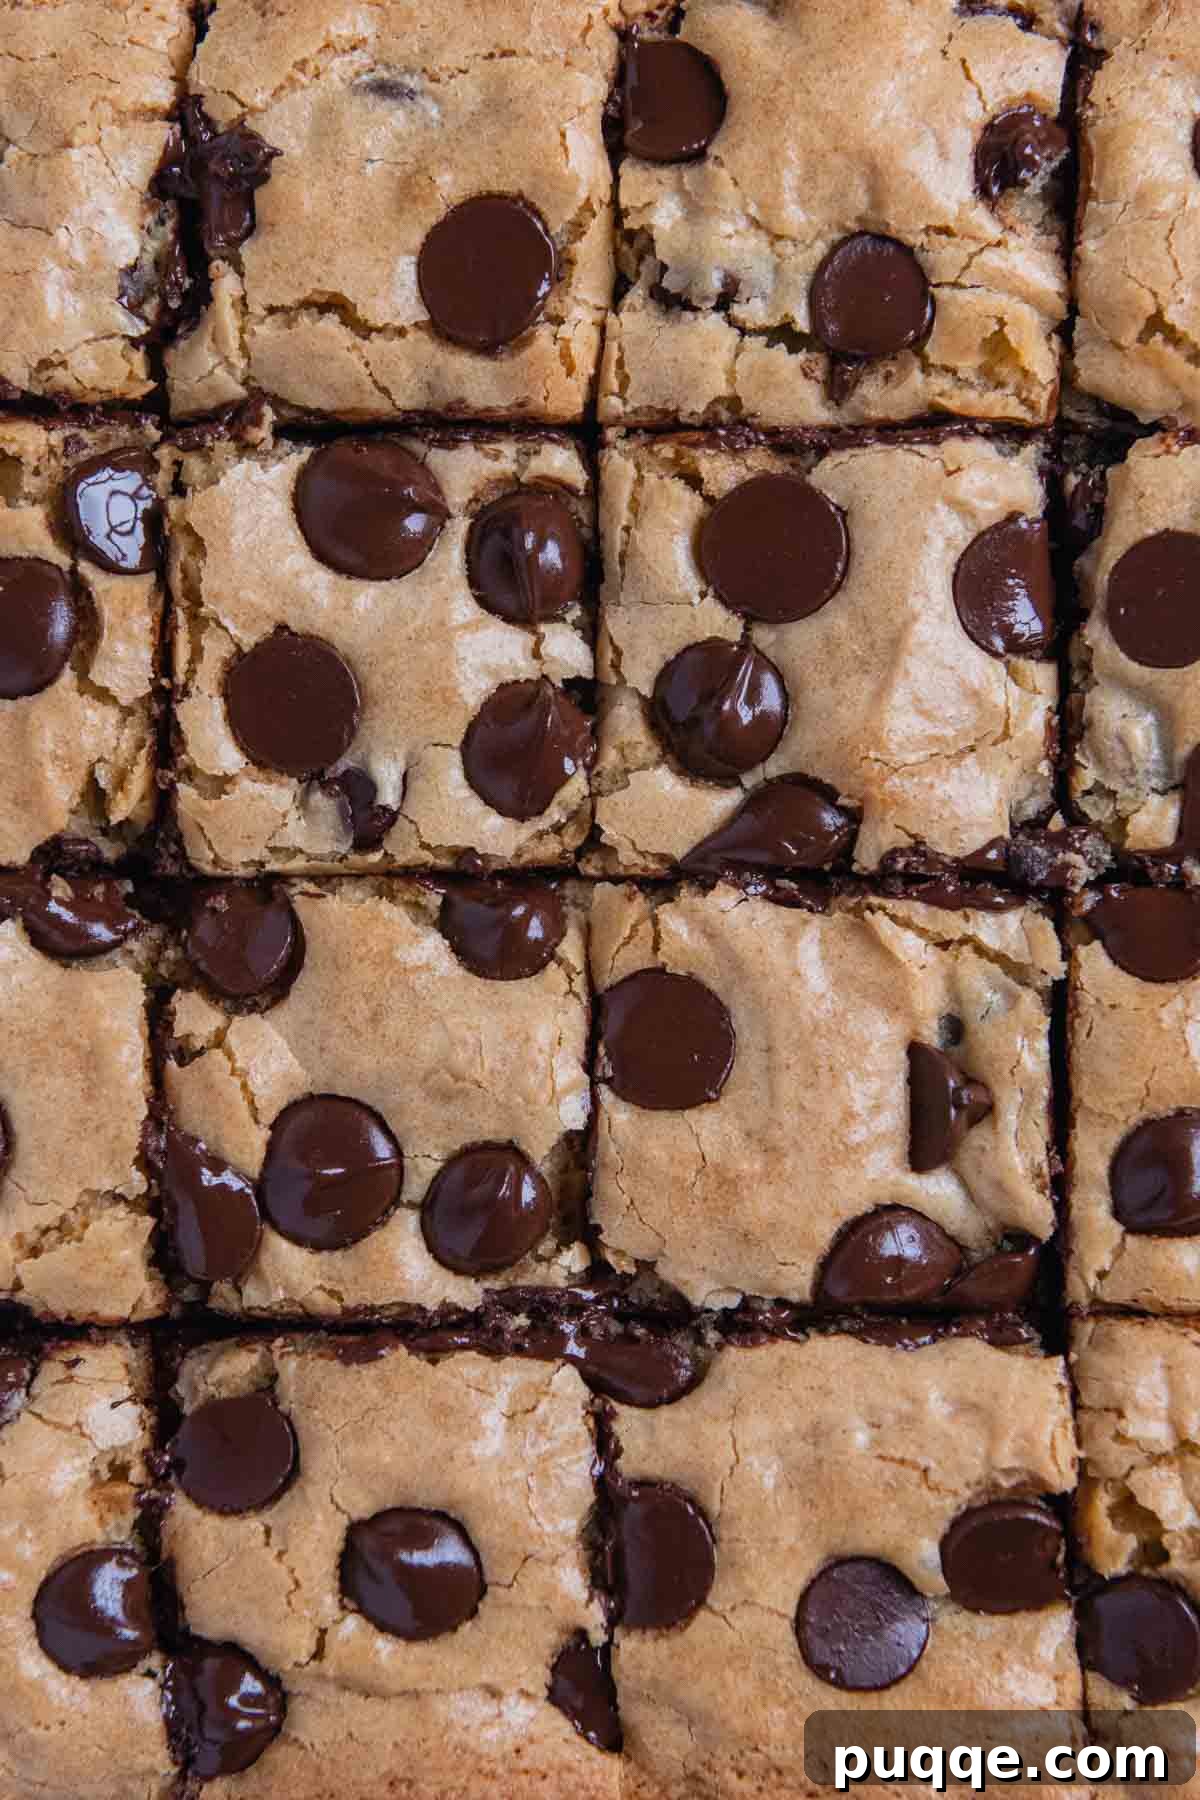
Discover the Best Gluten-Free Blondie Brownies Recipe
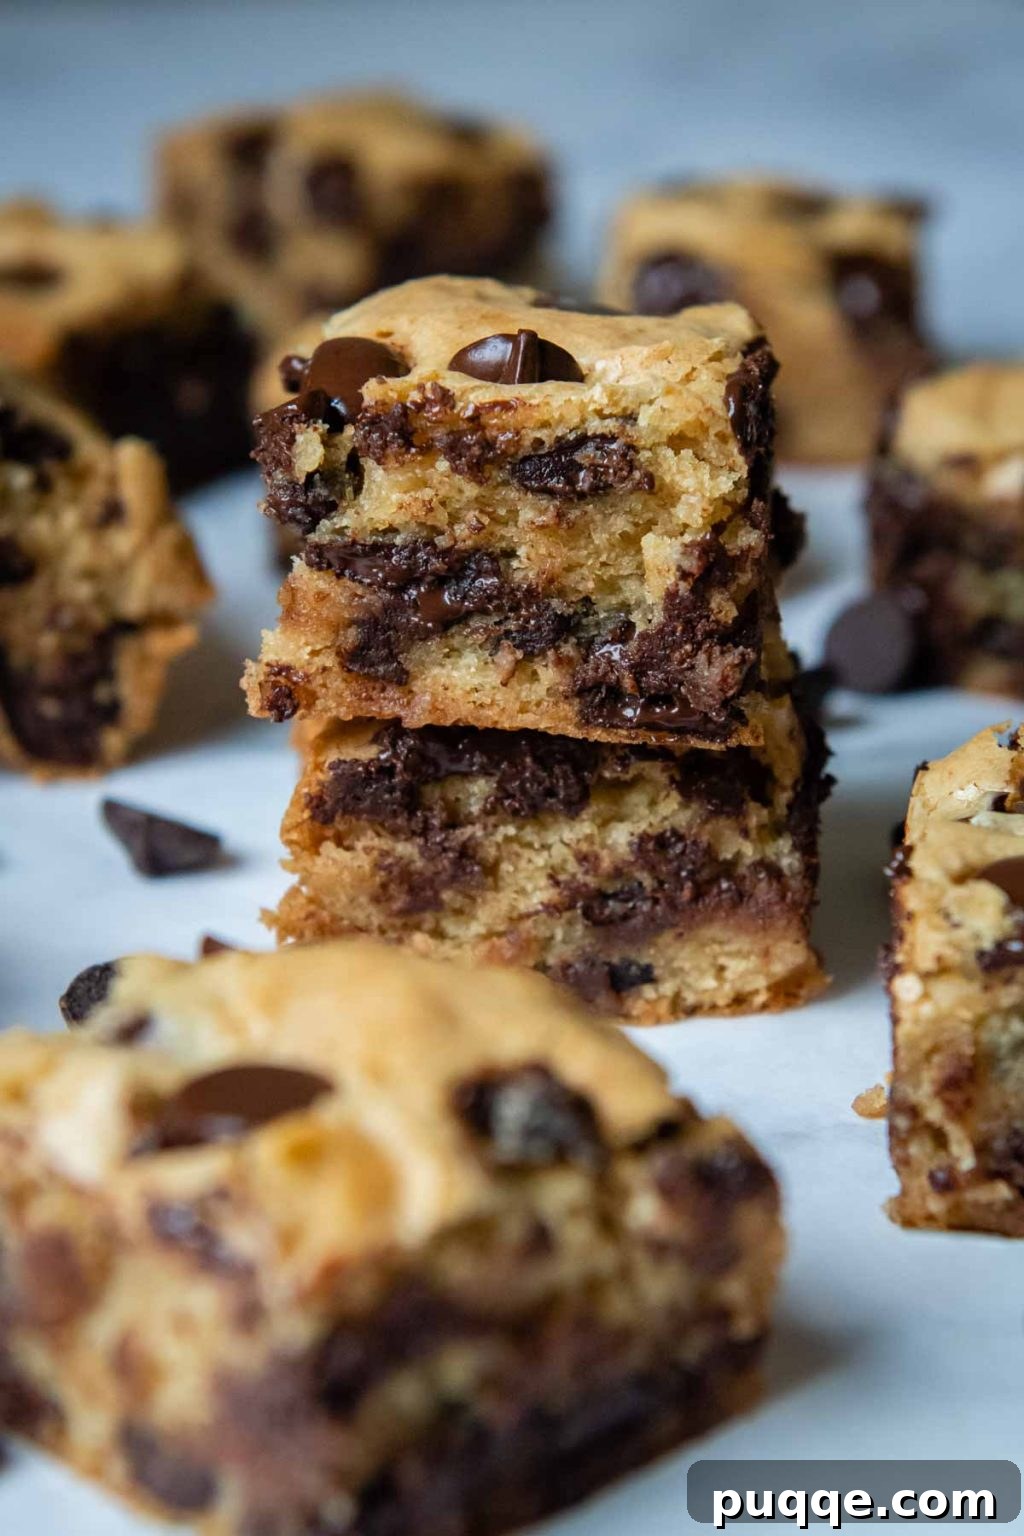
If you’re yet to experience the sublime joy of a butterscotch-flavored brownie, then you are in for an extraordinary treat! Our gluten-free blondies offer everything you adore about the traditional version and more. Imagine buttery, slightly crisp edges giving way to an ultra-soft, dense, and intensely chewy center that simply melts in your mouth. Unlike some alternative recipes, such as almond flour blondies, this particular gluten-free rendition utilizes a premium all-purpose gluten-free flour blend. The result? A blondie brownie texture that is virtually indistinguishable from the cherished classics you grew up with, guaranteeing a nostalgic and deeply satisfying dessert experience for everyone, regardless of dietary needs.
The addition of abundant chocolate chips elevates these blondies, infusing them with that universally loved, comforting flavor of a classic chocolate chip cookie. However, instead of individual cookies, you get to savor this delightful taste in the form of a thick, substantial bar cookie. Think of them as the perfect hybrid: the rich chewiness of a brownie combined with the familiar sweetness of your favorite cookie, almost like a giant, delectable gluten-free cookie cake, ready to be sliced and shared (or not!).
My quest to perfect this gluten-free dessert recipe led me to adapt principles from America’s Test Kitchen’s renowned GF cookbook, How Can It Be Gluten Free. I’ve meticulously refined their foundation to create an even more accessible and streamlined process, allowing you to achieve phenomenal, consistent results with minimal fuss. This recipe is designed for ease, often requiring just one bowl for mixing, which means less cleanup and more time to enjoy your baking.
Below, I’ll guide you through every aspect of creating these sensational gluten-free blondies. We’ll cover detailed ingredient notes, discuss simple modifications for a dairy-free version, provide essential storage tips to keep them fresh, and share my top expert gluten-free baking tips to ensure your success. Get ready to add this incredible recipe to your permanent baking rotation!
Why This Gluten-Free Blondie Recipe Stands Out
- **Authentic Texture:** Using the right gluten-free flour blend ensures these blondies are moist, tender, and chewy, never crumbly or gritty.
- **Rich Butterscotch Flavor:** A carefully balanced blend of sugars creates that signature, deep butterscotch taste that defines a perfect blondie.
- **Effortless One-Bowl Preparation:** My adapted method means less mess and a quicker path to delicious homemade treats.
- **Versatile & Customizable:** Easily adapt this base recipe with various mix-ins to suit any craving or dietary need.
- **Loved by All:** Even those without gluten sensitivities will rave about these blondies, making them a crowd-pleasing dessert for any occasion.
Essential Ingredients for Perfect Gluten-Free Blondies
Crafting the perfect gluten-free blondies starts with understanding the role of each ingredient. Here’s a detailed look at what you’ll need and why it matters:
- Sugar Harmony – The secret to that iconic butterscotch flavor lies in the precise combination of light brown sugar and granulated sugar. Brown sugar contributes moisture and a deeper, caramelized note, while granulated sugar adds essential sweetness and helps achieve those desirable crisp edges. I have not tested this specific recipe with reduced sugar amounts or sugar-free substitutes, as altering these ratios can significantly impact both texture and flavor.
- The Right Gluten-Free Flour – This is arguably the most crucial ingredient for successful gluten-free baking. I consistently use and highly recommend Cup4Cup gluten-free all-purpose flour. Its unique blend is exceptional because it doesn’t leave a tell-tale gritty texture often associated with gluten-free alternatives. Instead, it flawlessly mimics the structure and consistency of traditional baked goods, ensuring your blondies are tender and chewy. While Cup4Cup is my top choice, you can explore other highly-rated gluten-free flour suggestions and their characteristics through this helpful resource to find what works best for you.
- Milk (or Non-Dairy Alternative) – A small amount of milk plays a significant role in this recipe. Its primary function is to adequately hydrate the various starches present in gluten-free flour. This hydration process is key to eliminating any potential “sandiness” or dryness, resulting in a wonderfully smooth and cohesive blondie batter. For those following a gluten-free dairy-free diet, simply swap out the regular milk for an unsweetened non-dairy alternative like almond milk or oat milk.
- Customizable Chocolate Chips – While I adore a classic blondie with semi-sweet chocolate chips, this ingredient offers fantastic flexibility for customization. Feel free to omit them entirely if you prefer a pure butterscotch blondie, or experiment with other delightful variations. Consider using butterscotch chips for an intensified butterscotch experience, creamy milk chocolate chips, sweet white chocolate chips, or even a combination of your favorites. Just a quick but important note: if opting for butterscotch chips, always double-check the ingredient label. Some brands may contain barley, which is not suitable for a strict gluten-free diet due to its gluten content.
- Butter – Melted butter forms the rich base of these blondies, contributing to their decadent flavor and chewy texture. Ensure it’s cooled slightly before mixing to prevent cooking the eggs.
- Eggs – Large eggs bind the ingredients together, add moisture, and contribute to the blondies’ structure and rise.
- Vanilla Extract – A touch of pure vanilla extract enhances all the other flavors, especially the butterscotch notes, adding warmth and depth to the overall taste.
- Baking Powder & Salt – Baking powder provides a slight lift, ensuring the blondies aren’t overly dense, while salt balances the sweetness and brings out the complexity of the flavors.
How to Make Perfect Gluten-Free Blondies: A Step-by-Step Guide
Making these gluten-free blondies is surprisingly simple, designed for ease and enjoyment. Follow these clear steps to achieve a batch of golden, chewy perfection. (Note: This is a comprehensive tutorial with accompanying pictures to guide you. For precise ingredient quantities and a printable recipe card, please refer to the bottom of this post.)
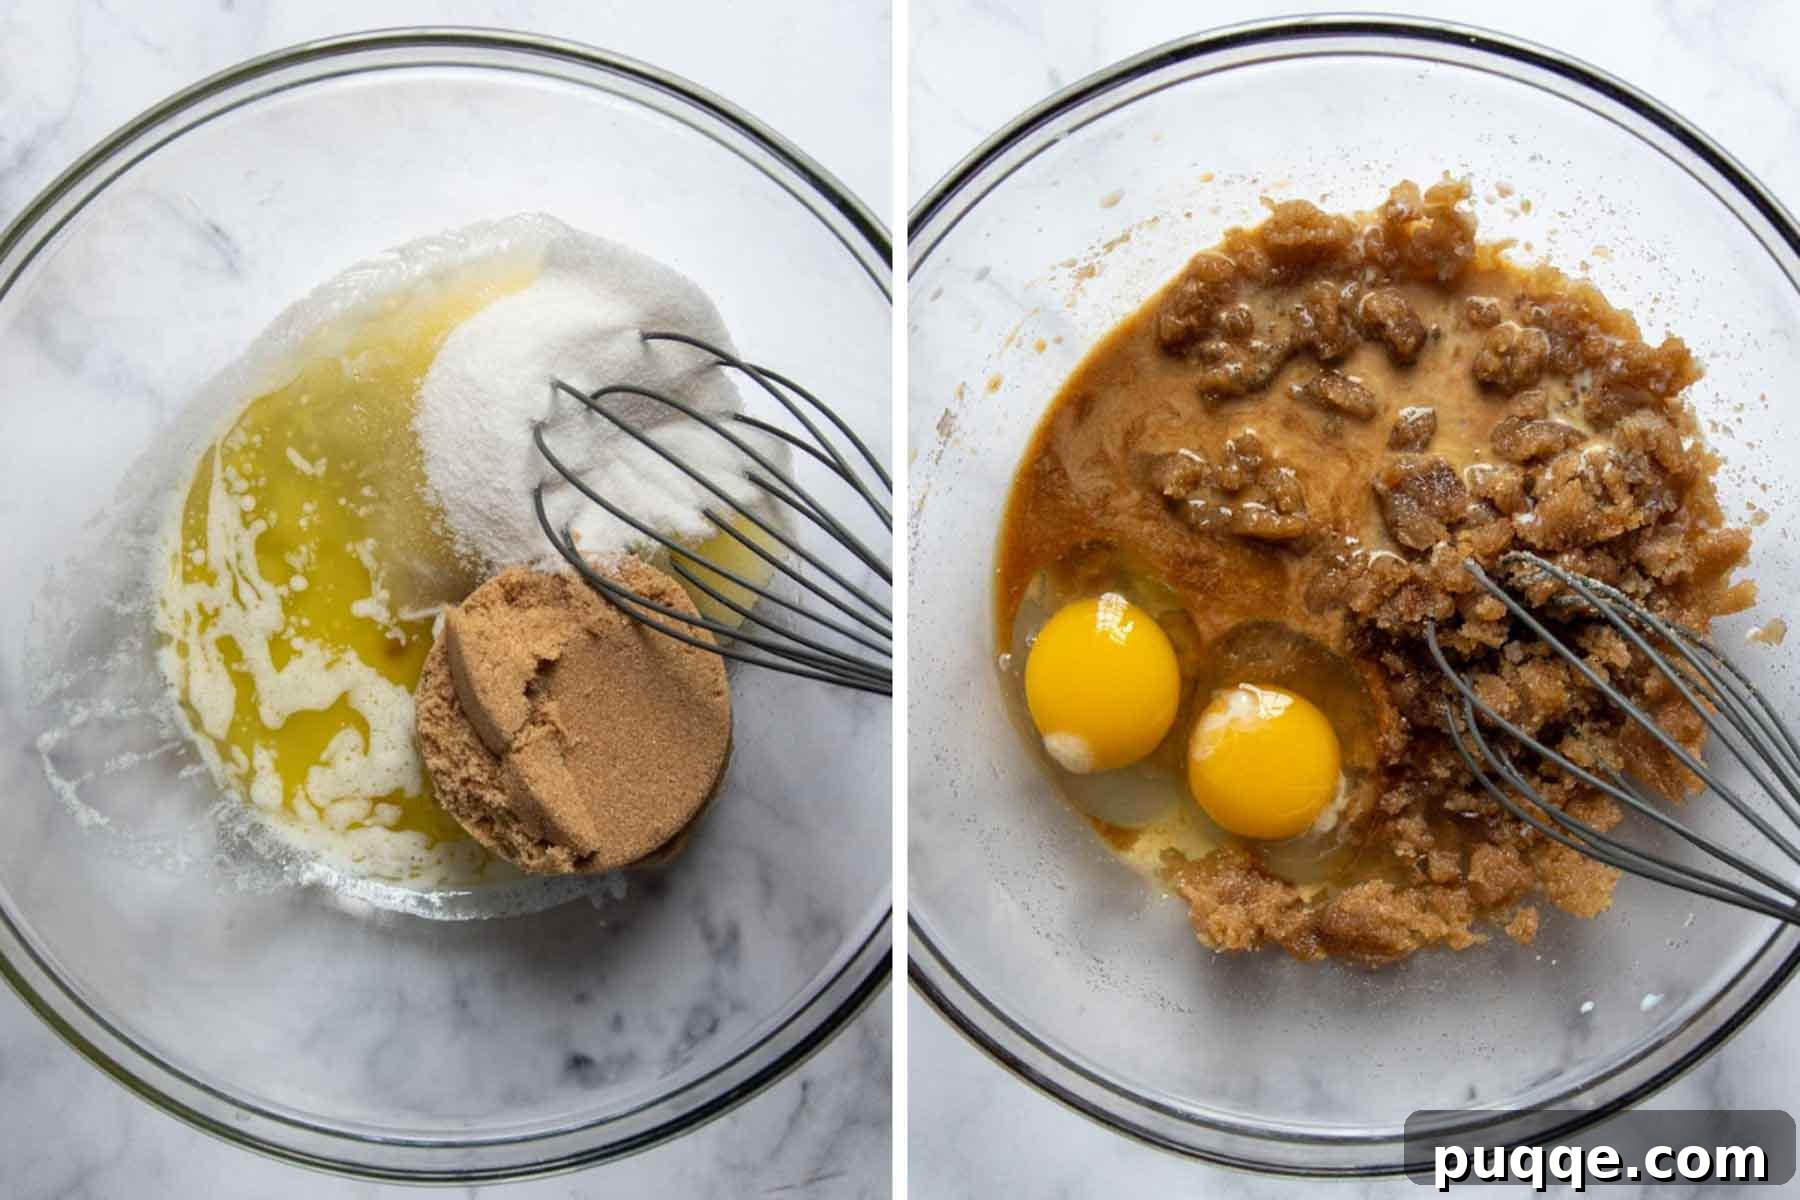
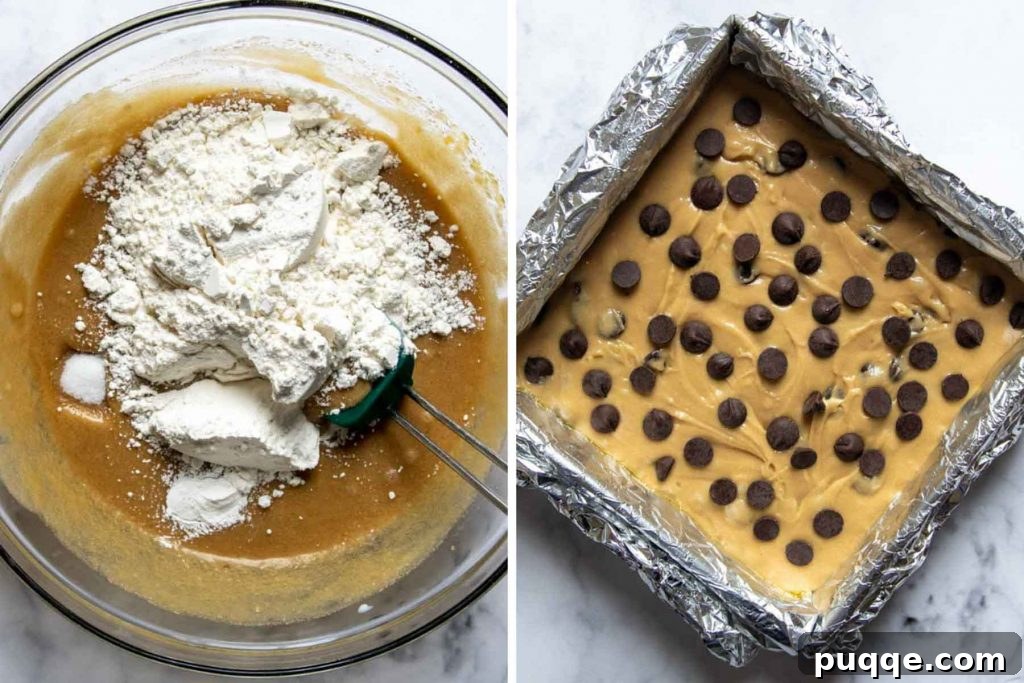
- Prepare Your Pan: First, preheat your oven to 325ºF (160ºC). For the easiest removal and cleanest cuts, line an 8×8 inch (20×20 cm) baking pan with aluminum foil, allowing extra foil to hang over the sides to create “slings.” Lightly spray the foil with non-stick cooking spray. If you prefer, you can simply grease the pan thoroughly, but the foil method is highly recommended.
- Combine Wet Ingredients: In a large mixing bowl, start by whisking together the melted butter (ensure it has cooled slightly), light brown sugar, and granulated sugar until the mixture is smooth and creamy.
- Add Remaining Wet Ingredients: Next, incorporate the eggs, milk (or your chosen non-dairy alternative), and vanilla extract. Whisk everything together thoroughly until all ingredients are fully combined and the mixture is uniform.
- Fold in Dry Ingredients and Chips: Gradually add the gluten-free flour, baking powder, and salt to the wet mixture. Stir gently with a spatula or wooden spoon until just combined, being careful not to overmix; a few small lumps are fine. Then, fold in ¾ cup of your semi-sweet chocolate chips.
- Bake to Perfection: Pour the blondie batter evenly into your prepared 8×8 inch baking pan. Sprinkle the remaining ¼ cup of chocolate chips over the top of the batter. Bake for approximately 37-40 minutes, rotating the pan halfway through baking for even browning. The blondies are done when the top is golden and shiny, and a toothpick inserted into the center comes out clean or with only a few moist crumbs attached.
- Cool for the Best Texture: This step is crucial! Once baked, resist the urge to cut into them immediately. Allow the blondies to cool completely in the pan for at least 1-2 hours. This cooling time allows them to fully set, firm up, and develop their signature chewy texture. Once cooled, use the foil slings to lift the entire blondie block out of the pan, then transfer to a cutting board and slice into perfect squares.
Customizing Your Blondies: Dairy-Free & Mix-in Ideas
One of the many joys of this gluten-free blondie recipe is its incredible versatility. It serves as a fantastic base for endless flavor combinations and can easily be adapted for various dietary needs.
Easy Dairy-Free Modifications
Making these blondies dairy-free is straightforward, allowing everyone to enjoy this delightful treat. Simply substitute the regular milk with an equal amount of your favorite non-dairy milk alternative, such as almond milk, oat milk, or soy milk. For the chocolate chips, ensure you use certified dairy-free chocolate chips. Brands like Enjoy Life offer excellent dairy-free options that melt beautifully. If you prefer to skip the chocolate chips altogether, the blondies will still be wonderfully delicious with their rich butterscotch flavor.
Exciting Mix-ins and Flavor Twists
Get creative and transform your gluten-free blondies with these exciting mix-in and modification ideas:
- **Chips Galore:** While semi-sweet chocolate chips are classic, consider swapping them for or adding to them with other varieties. For a true gluten-free butterscotch blondie experience, use gluten-free butterscotch chips (remember to always check labels for barley!). White chocolate chips add a creamy sweetness, while peanut butter chips introduce a nutty, savory element. A combination of a few different chip types can create a dynamic flavor profile.
- **Sweet and Salty Perfection:** For a gourmet touch that balances the sweetness, sprinkle a pinch of flaky sea salt over the blondie batter just before baking. The tiny crystals of salt will melt slightly, offering a delightful contrast to the rich, buttery flavors.
- **Crunchy Nut Additions:** Blondies are wonderful with the added texture and flavor of nuts. Stir in about ½ to 1 cup of chopped walnuts, pecans, or macadamia nuts. For a truly indulgent and tropical twist, swap the chocolate chips for white chocolate chips and add chopped macadamia nuts – a spin that evokes the deliciousness of GF white chocolate macadamia nut cookies!
- **Toffee Bits:** For an extra layer of caramel flavor and crunch, try adding gluten-free toffee bits to the batter.
- **Dried Fruit:** A handful of dried cranberries or chopped apricots can add a lovely tanginess and chewiness to your blondies.
Doubling the Recipe for Larger Batches
Hosting a party or simply craving more blondies? This recipe scales up beautifully! To make a larger batch of blondies in a standard 9×13 inch (23×33 cm) baking pan, simply double all the ingredients. When baking, you’ll need to extend the cook time by approximately 5-10 minutes, or until the blondies are golden brown and a toothpick inserted into the center comes out clean.
Storing Your Delicious Gluten-Free Blondies
To keep your blondies fresh and delicious, proper storage is key:
- Room Temperature: Store cooled blondie bars in an airtight container at room temperature for up to 2 days. This helps maintain their soft, chewy texture.
- Freezer Storage (for longer freshness): For extended storage, wrap individual bars or the entire cooled slab securely in plastic wrap, then place them in a freezer-safe ziplock bag. They can be frozen for up to 3 months. When ready to enjoy, simply thaw them at room temperature for a few hours. You can also warm them gently in the microwave for a few seconds for an extra gooey treat!
Top Tips for Gluten-Free Blondie Baking Success
Achieving bakery-quality gluten-free blondies is easy when you keep these expert tips in mind:
- Choose the Right Flour Wisely: This recipe has been specifically developed and optimized for an all-purpose gluten-free flour blend. I strongly advise against swapping it out for traditional wheat flour or single-grain flours like homemade almond flour, as the liquid ratios and overall structure will be significantly altered, leading to unpredictable and often disappointing results. Stick to a high-quality gluten-free all-purpose blend for the best outcome.
- Embrace the Low and Slow Bake: You might notice the baking temperature for this recipe, 325ºF (160ºC), is slightly lower than some other dessert recipes. This isn’t an oversight – it’s a deliberate technique for superior results! A longer, slower bake time allows ample opportunity for the gluten-free starches in the flour to fully hydrate and soften. This critical process is what eliminates any potential grittiness and contributes to the wonderfully soft, moist, and chewy texture that defines these blondies. Patience here truly pays off.
- The Golden Rule of Cooling: I know how tempting it is to dive into warm, freshly baked blondies right out of the oven! However, for optimal texture and ease of slicing, it is absolutely essential to allow your blondies to cool completely. This means cooling them in the pan for at least 1-2 hours (or even longer) before attempting to slice them into bars. During this cooling period, the blondies continue to set, firm up, and develop their perfect chewy consistency. Cutting them too soon can result in crumbly or overly soft bars.
Frequently Asked Questions About Gluten-Free Blondies
Here are answers to some common questions about making and enjoying gluten-free blondies:
What is the difference between a blondie and a brownie?
The primary difference lies in the chocolate. Brownies traditionally use cocoa powder and/or melted chocolate for their distinct dark color and rich chocolate flavor. Blondies, on the other hand, are sometimes called “blonde brownies” because they are made without cocoa or melted chocolate, relying instead on brown sugar and vanilla for their golden color and rich butterscotch-like flavor profile. They offer a similarly dense and chewy texture to brownies.
Can I make these blondies ahead of time?
Absolutely! Blondies are an excellent make-ahead dessert. They actually firm up and develop even more flavor overnight. You can bake them a day or two in advance and store them at room temperature in an airtight container. For longer storage, they freeze beautifully (see storage tips above).
How do I know when my gluten-free blondies are fully baked?
Look for a golden-brown top that appears set and slightly crinkled. A reliable test is to insert a toothpick into the center of the pan. If it comes out clean or with just a few moist crumbs attached (no wet batter), they are ready. Be careful not to overbake, as this can lead to dry blondies.
Can I use a different gluten-free flour blend?
While this recipe is optimized for Cup4Cup due to its superior performance in mimicking traditional flour, other all-purpose gluten-free flour blends may work. However, results can vary greatly depending on the specific starches and gums in the blend. Some may require slight adjustments to liquid or baking time. Always look for a blend that is recommended for “cup-for-cup” or “all-purpose” use in baking.
My blondies came out gritty. What happened?
Grittiness in gluten-free baked goods often occurs when the starches in the flour haven’t had enough time or moisture to fully hydrate. Ensure you’re using a high-quality, fine-textured gluten-free flour blend (like Cup4Cup), and don’t reduce the milk content. Also, baking at the recommended lower temperature for the full duration helps with starch hydration, preventing grittiness.
Don’t forget to save this incredible gluten-free blondies recipe to your PINTEREST board!
Let’s connect on Pinterest! I’m always sharing delicious and inspiring recipes!
Soft & Chewy Gluten-Free Blondies
 Melissa Erdelac
Ingredients
- 7 tablespoons melted butter,, cooled
- 1 cup light brown sugar
- ½ cup granulated sugar
- 2 large eggs
- 2 tablespoons milk or non-dairy milk
- 1 tablespoon vanilla extract
- 1 ¾ cup gluten free all-purpose flour, I recommend Cup4Cup gluten-free flour
- ¾ teaspoon salt
- ½ teaspoon baking powder
- 1 cup semi-sweet chocolate chips,, divided
Equipment
- Cup 4 Cup Gluten Free Flour
- 8X8 Baking Dish
- Silicone Spoon
Instructions
- Preheat the oven to 325°F (160°C). For easier cutting, line an 8X8 baking pan with a foil sling by folding 2 sheets lengthwise and placing in the pan perpendicular to each other. Press into corners and up sides and then spray with non-stick cooking spray. Alternatively, liberally spray an 8X8 baking pan with non-stick cooking spray. Set aside.
- In a large bowl whisk together the melted butter, brown sugar, and granulated sugar. Add in the eggs, milk, and vanilla extract. Whisk until well combined.7 tablespoons melted butter,, 1 cup light brown sugar, ½ cup granulated sugar, 2 large eggs, 2 tablespoons milk or non-dairy milk, 1 tablespoon vanilla extract
- Stir in the gluten free flour, salt, and baking powder until no flour pockets remain. Stir in ¾ cup chocolate chips.1 ¾ cup gluten free all-purpose flour, ¾ teaspoon salt, ½ teaspoon baking powder, 1 cup semi-sweet chocolate chips,
- Spread the batter in the prepared pan and sprinkle with the remaining ¼ cup chocolate chips. Bake for 37-40 minutes, or until a toothpick inserted in the center comes out clean.
- For best results, let the bars cool for 1-2 hours in the pan before lifting out by the foil handles to cut into bars. Store cooled bars in an airtight container at room temperature for up to 2 days.
- DID YOU MAKE THIS RECIPE?? DON’T FORGET TO LEAVE FEEDBACK AND RATE BELOW!
Notes
Best tips / modifications
- Gluten-free blondies recipe may be adapted for a variety of flavors and add-ins. Stir in chopped nuts, peanut butter chips, butterscotch (read label for GF), or white chocolate chips instead, or in addition to, the chocolate.
- For a sweet and salty twist, sprinkle on flaky sea salt before baking.
- I know it’s tempting to dive in right away, but the blondies will set up better as they cool. For best results, cool for 2 hours before slicing into bars.
- For longer storage, wrap bars securely with plastic wrap and place in ziplock freezer bag. Freeze up to 3 months.
This post contains affiliate links. My opinions are always my own. If you purchase a product through an affiliate link, I make a small commission – at no cost to you. Read full disclosure policy here.