
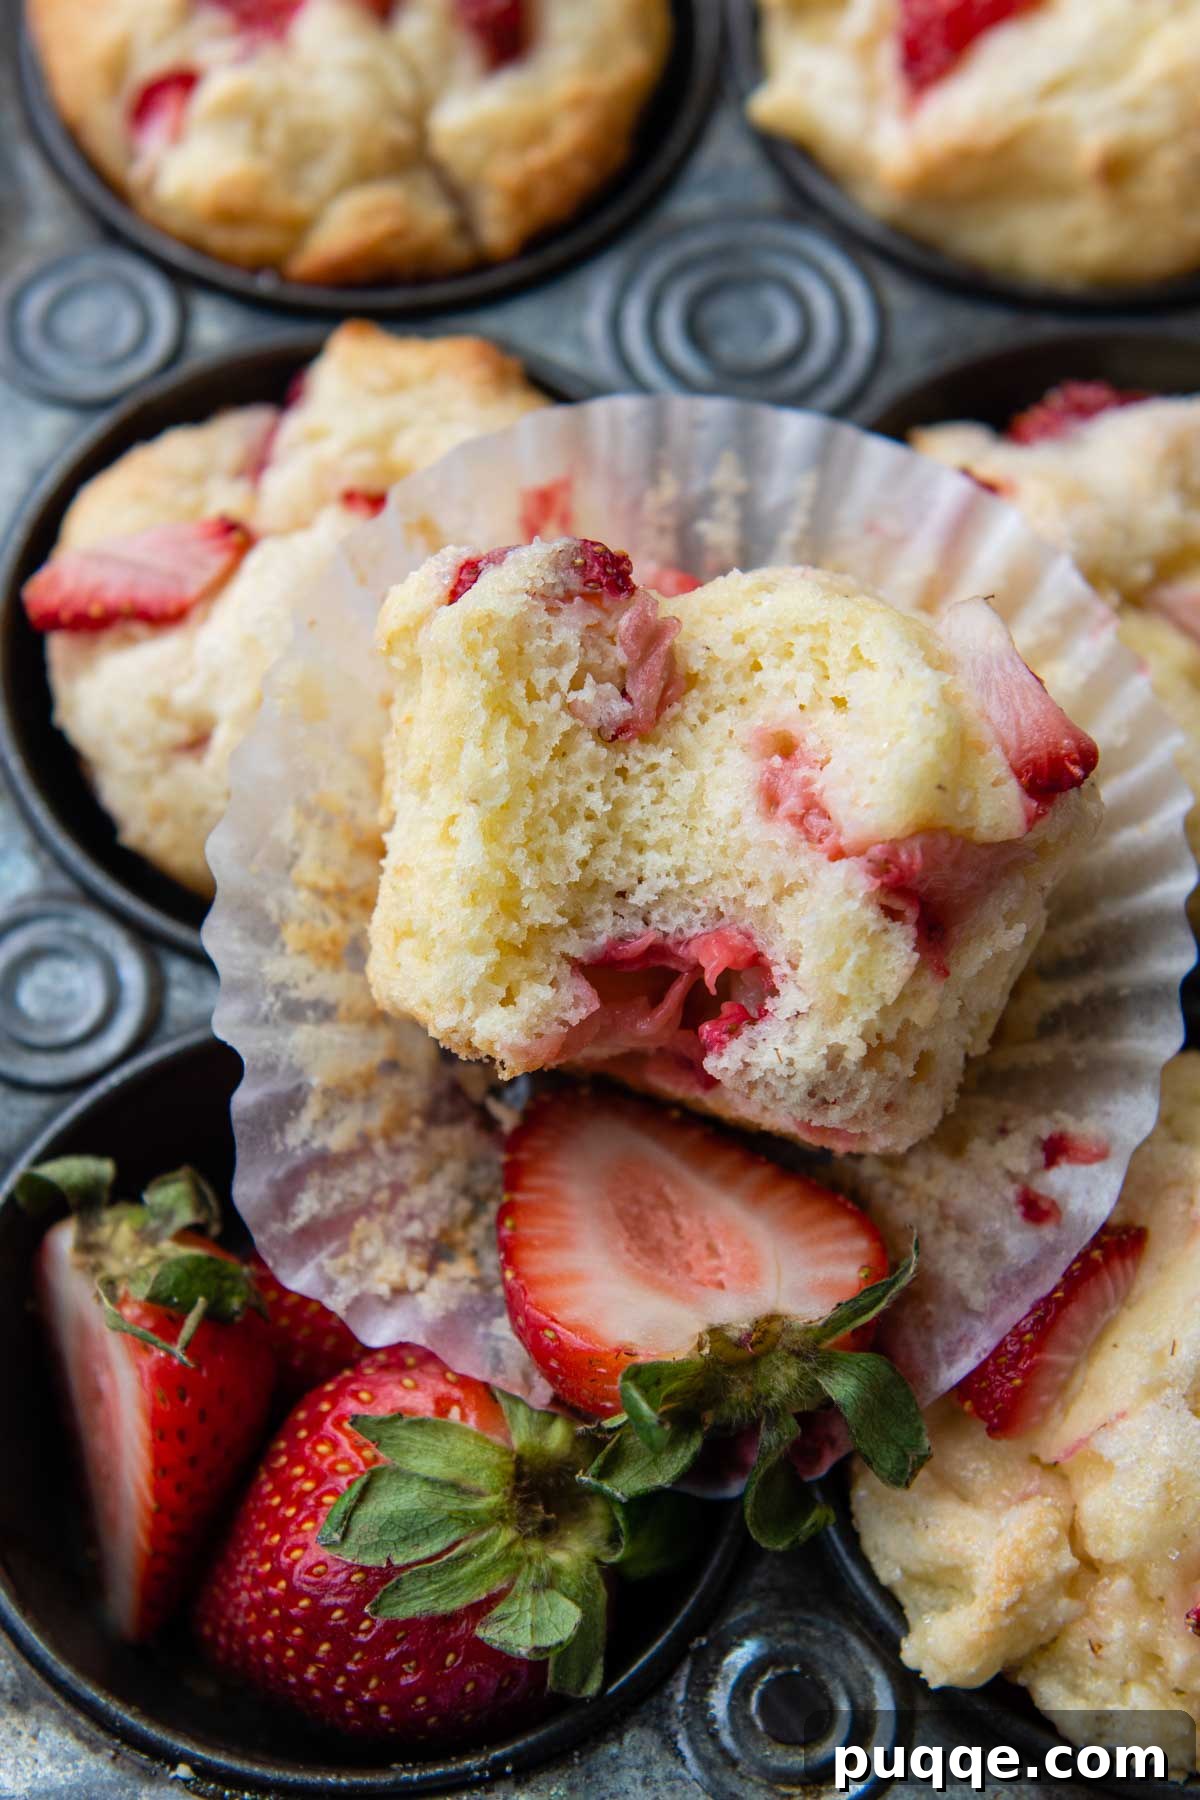
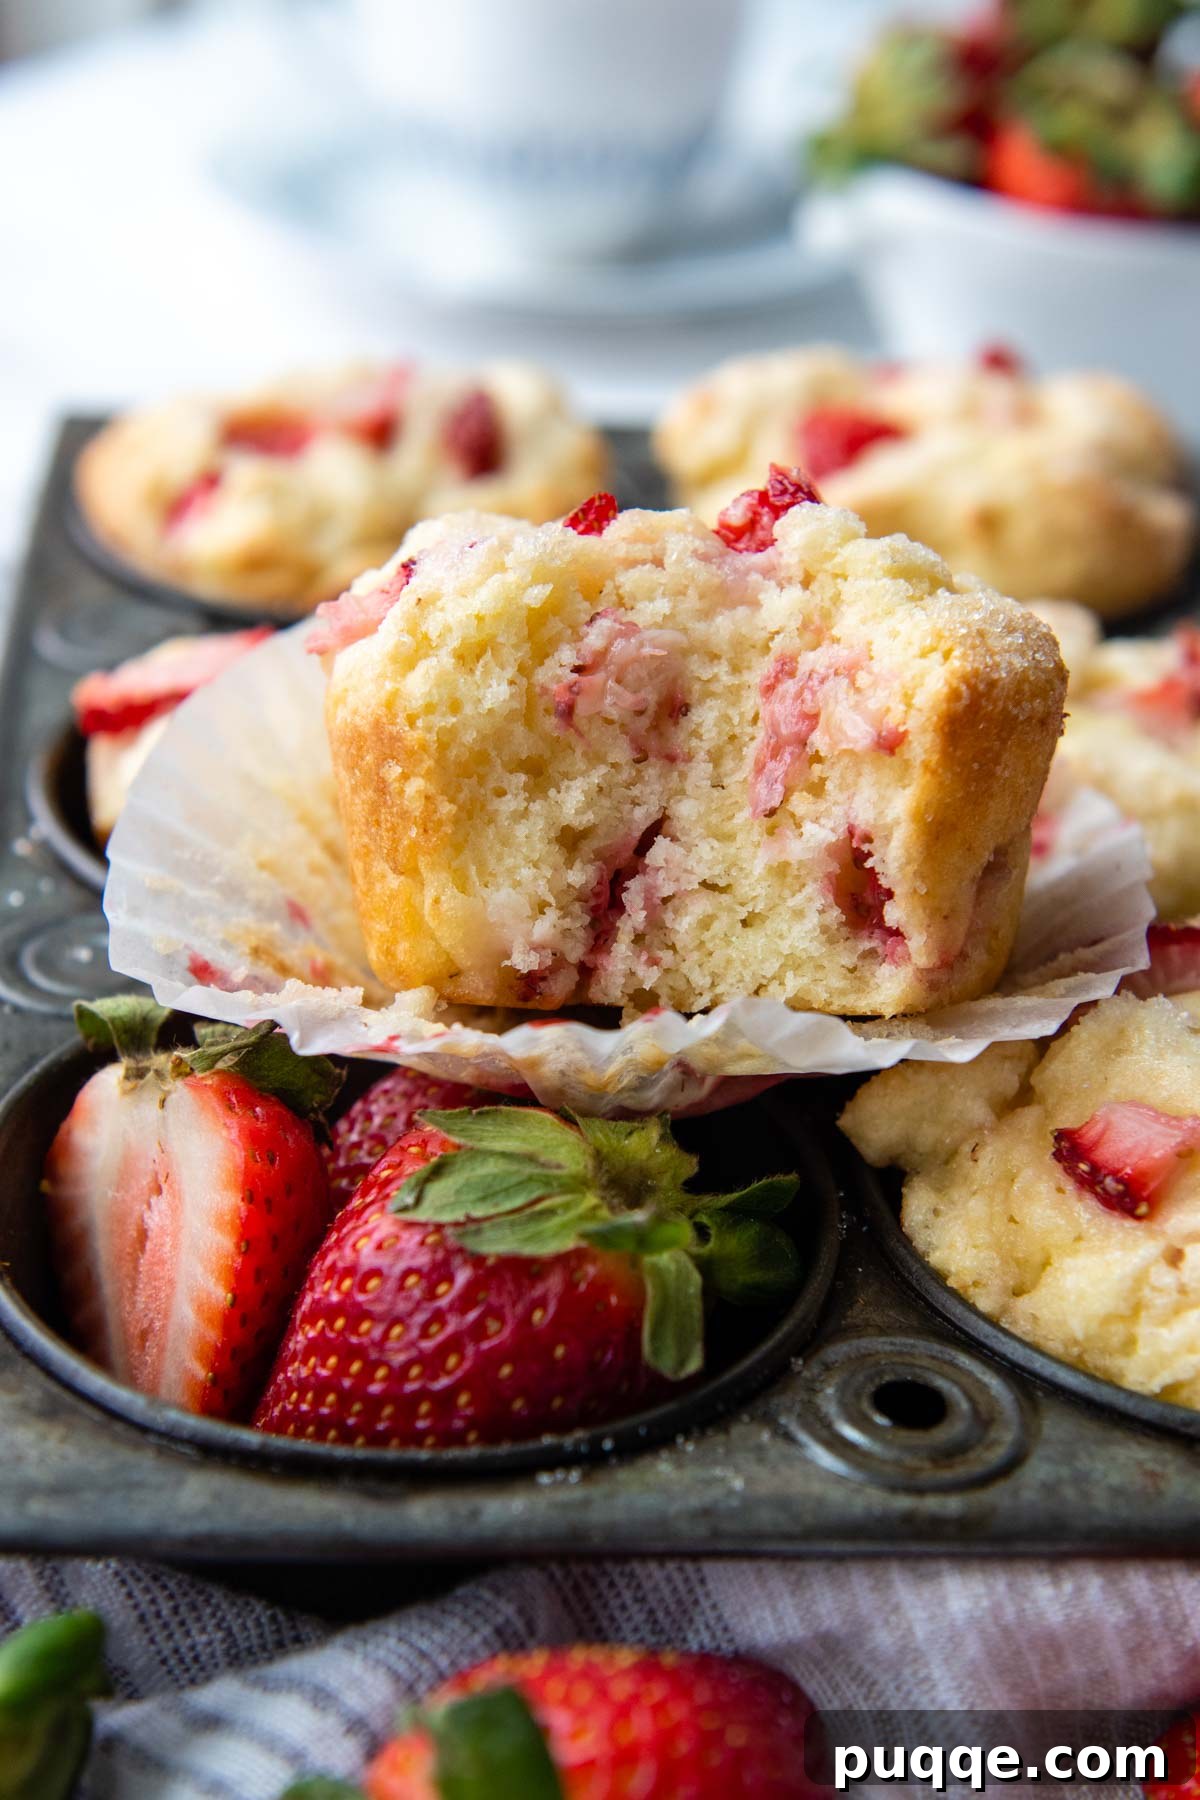
Unlock the secret to baking the most delightful gluten-free strawberry muffins with this incredibly easy and versatile recipe! Imagine biting into a light, tender muffin, bursting with the sweet juiciness of fresh strawberries and crowned with a delicate, crunchy sweet topping. This recipe is not only a triumph for gluten-free baking but is also easily adaptable for dairy-free diets and can be customized with a variety of fruit flavors. Whether you’re new to gluten-free baking or a seasoned pro, these muffins promise to be a fluffy, flavorful revelation that will make you forget they’re gluten-free!
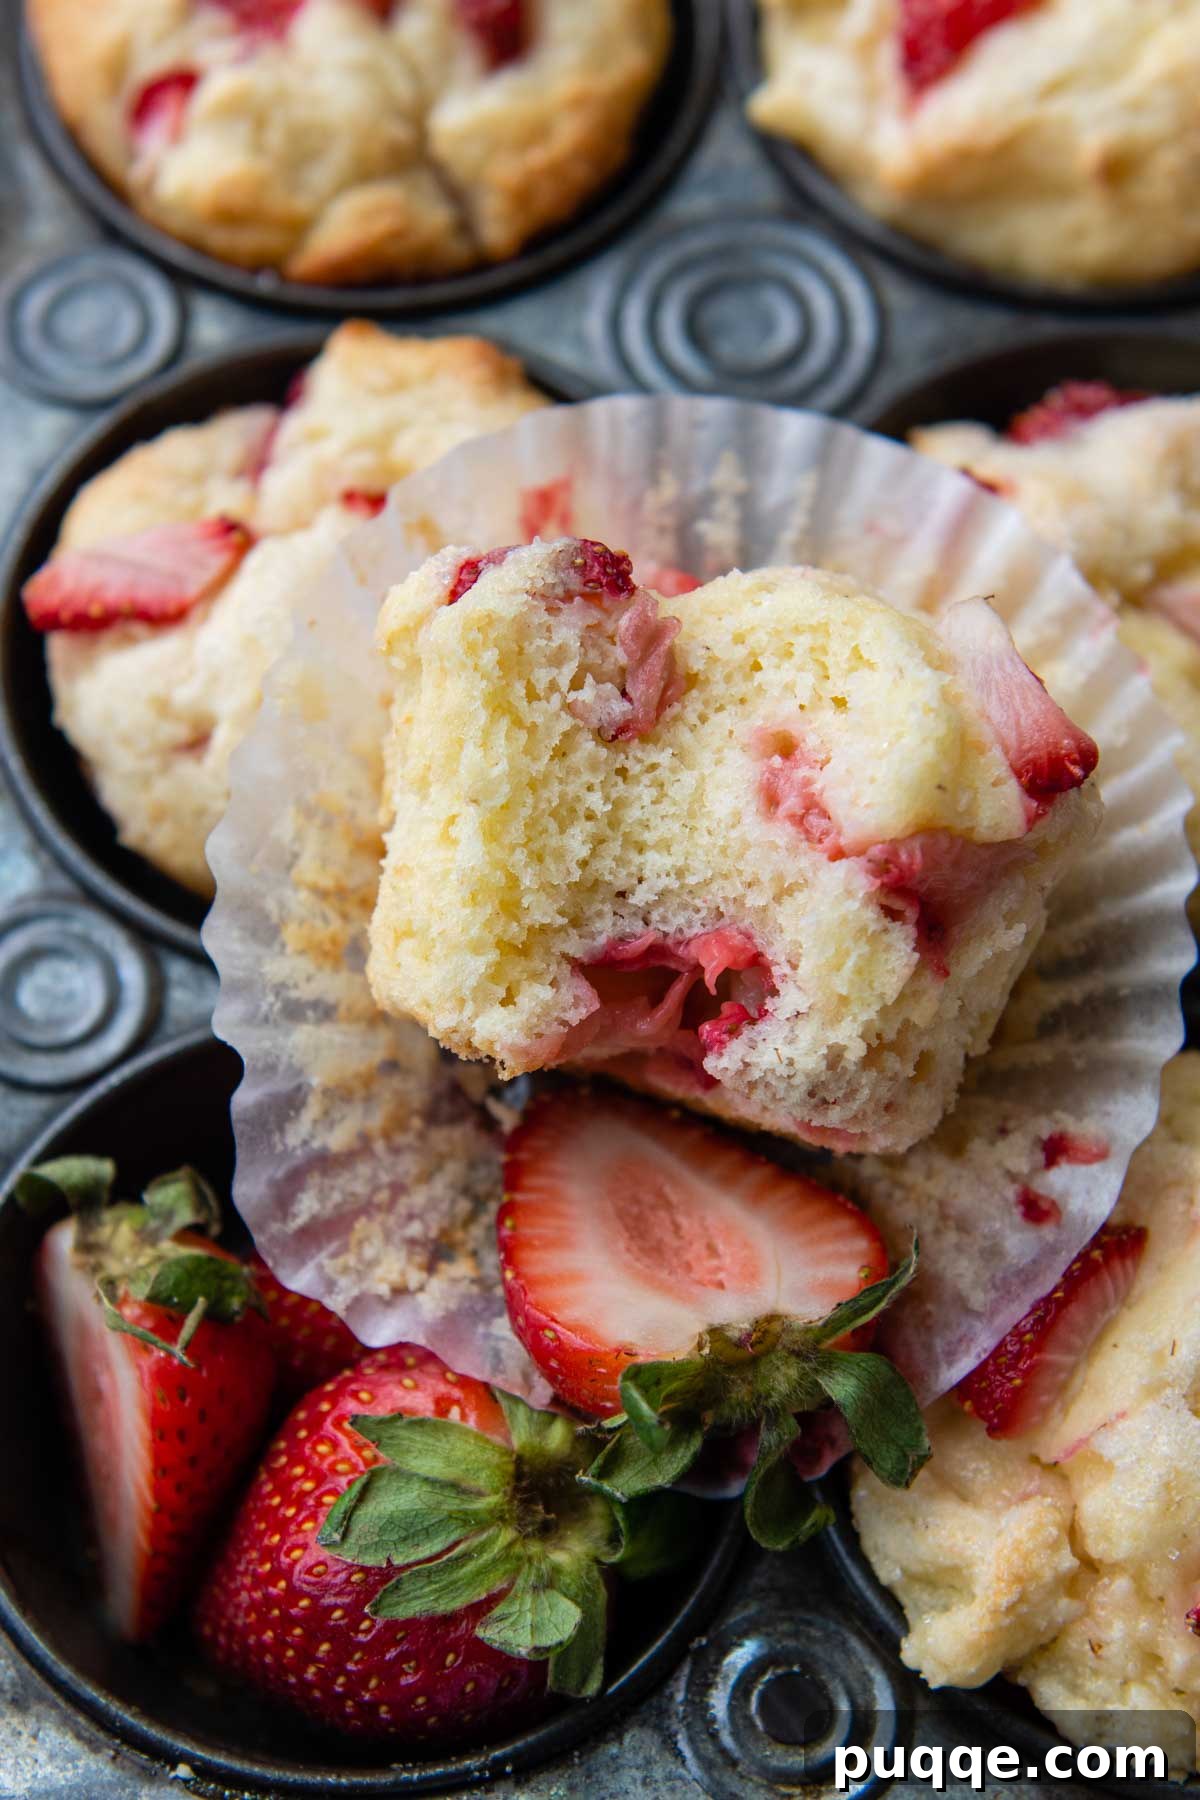
The Secret to Fluffy Gluten-Free Strawberry Muffins
Often, gluten-free baked goods are criticized for being dry, crumbly, or having a gummy texture. However, with the right techniques and ingredients, you can achieve muffins that are wonderfully light, moist, and flavorful, rivaling their gluten-containing counterparts. Our recipe for gluten-free strawberry muffins defies expectations, delivering a texture and taste so exceptional, you might just call them “too good to be gluten-free.” We’ve perfected the balance of moisture, fat, and leavening to ensure every bite is pure bliss.
This recipe transforms any strawberry haul – whether you’re using fresh berries from the market, those slightly past their prime, or a stash of frozen fruit – into a shining star. These muffins stand proudly alongside other beloved strawberry treats like tender gluten-free strawberry shortcake and fresh gluten-free strawberry pie with a delicious crumble topping. But the magic doesn’t stop there! This recipe serves as an excellent foundation for countless other homemade gluten-free muffins. Imagine vibrant blueberry muffins, tart blackberry muffins, a medley of mixed berries, or even an invigorating strawberry lemon twist.
Choosing Your Strawberries: Fresh or Frozen?
Both fresh and frozen strawberries work beautifully in this recipe, offering slightly different advantages. Fresh strawberries, when in season, provide a vibrant color and a burst of natural sweetness. They tend to release less liquid during baking, resulting in distinct pockets of fruit. If using fresh, ensure they are ripe, firm, and thoroughly washed before chopping. For out-of-season moments or convenience, frozen strawberries are an excellent alternative. There’s no need to thaw them beforehand; simply toss the frozen chopped berries directly into the batter. This helps prevent them from sinking to the bottom and can even add a touch of extra moisture as they bake. If you notice a little extra moisture from frozen berries, a slight increase in baking time might be needed. Regardless of your choice, make sure to chop them into small, bite-sized pieces for even distribution throughout your fluffy muffins.
Essential Ingredients for Perfect Gluten-Free Muffins
Crafting superior gluten-free muffins starts with understanding the role of each ingredient. Here’s a closer look at the key components that make these strawberry muffins so special:
- Gluten-Free Flour Blend: The Foundation of Fluffiness
The choice of gluten-free flour is paramount for achieving the best texture. After extensive experimentation, I consistently recommend Cup4Cup gluten-free flour. Its unique blend of rice flour, cornstarch, and milk powder (in the original version) provides an incredible balance, mimicking traditional wheat flour remarkably well. This blend helps create a light crumb and avoids the gritty or dense textures often associated with other gluten-free flours. While Cup4Cup is my top pick, many readers have reported success with other high-quality, all-purpose gluten-free blends that contain xanthan gum. If your chosen blend doesn’t include xanthan gum, add about ¾ teaspoon per cup of flour for optimal structure and elasticity. - Eggs: More Than Just a Binder
This recipe calls for 3 large eggs, which is a slightly higher quantity than many traditional muffin recipes. In gluten-free baking, eggs play a crucial multi-faceted role. They provide essential moisture, act as a binder to compensate for the lack of gluten, and contribute to the leavening and rich flavor. The extra egg here is key to preventing a gummy crumb by adding moisture without making the thick batter heavy. Ensure your eggs are at room temperature, as this allows them to emulsify more effectively with the other ingredients, leading to a smoother batter and a more consistent final product. - Sour Cream or Yogurt: The Secret to Moisture and Tang
Sour cream or full-fat plain yogurt introduces a delightful tang similar to buttermilk, while also adding significant moisture and richness. The fat content helps keep the muffins incredibly tender, and the acidity reacts with the baking soda to promote a lighter, airier texture. For those seeking dairy-free muffins, simply substitute with a high-fat coconut or almond milk yogurt. Look for unsweetened varieties to control the sugar content and ensure the best flavor. - Butter: Melted for Enhanced Hydration
Unlike many muffin recipes that use softened butter, this recipe calls for melted butter. Melting the butter allows it to disperse more thoroughly into the batter, hydrating the dry ingredients more effectively. This results in a moister muffin with a finer crumb. If you’re making dairy-free muffins, solid vegan butter sticks (often found in the refrigerated section) are an excellent 1:1 substitute. Just remember to melt them as instructed. - Strawberries: The Star of the Show
As discussed, both fresh and frozen chopped strawberries work wonderfully. Fresh berries offer a bright, seasonal flavor and retain their shape beautifully. Frozen berries are convenient and can be added directly from the freezer, ensuring they don’t get mushy. For best results, avoid over-mixing the batter once the strawberries are folded in to prevent their juices from bleeding excessively, which can tint the batter and sometimes affect the texture. - Leavening Agents (Baking Powder & Baking Soda) and Salt
These ingredients are vital for creating the light and fluffy texture we crave. Baking powder provides initial lift, while baking soda reacts with the acidic sour cream/yogurt to create additional carbon dioxide, resulting in a tender, well-risen muffin. Salt enhances all the flavors, balancing the sweetness and making the strawberry notes pop.
Let’s Bake These Delicious Muffins Together!
Get ready to create bakery-quality gluten-free strawberry muffins right in your own kitchen. Follow these detailed steps, and remember, the full recipe with precise ingredient amounts can be found in the recipe card below.
- Prepare the Butter & Muffin Pan: Begin by melting the butter and setting it aside to cool to room temperature. This step is crucial for the texture. Next, line a standard-size muffin pan with paper liners or grease each cup generously with nonstick cooking spray. We’ll preheat the oven slightly later, allowing the batter to rest and the gluten-free starches to hydrate properly.
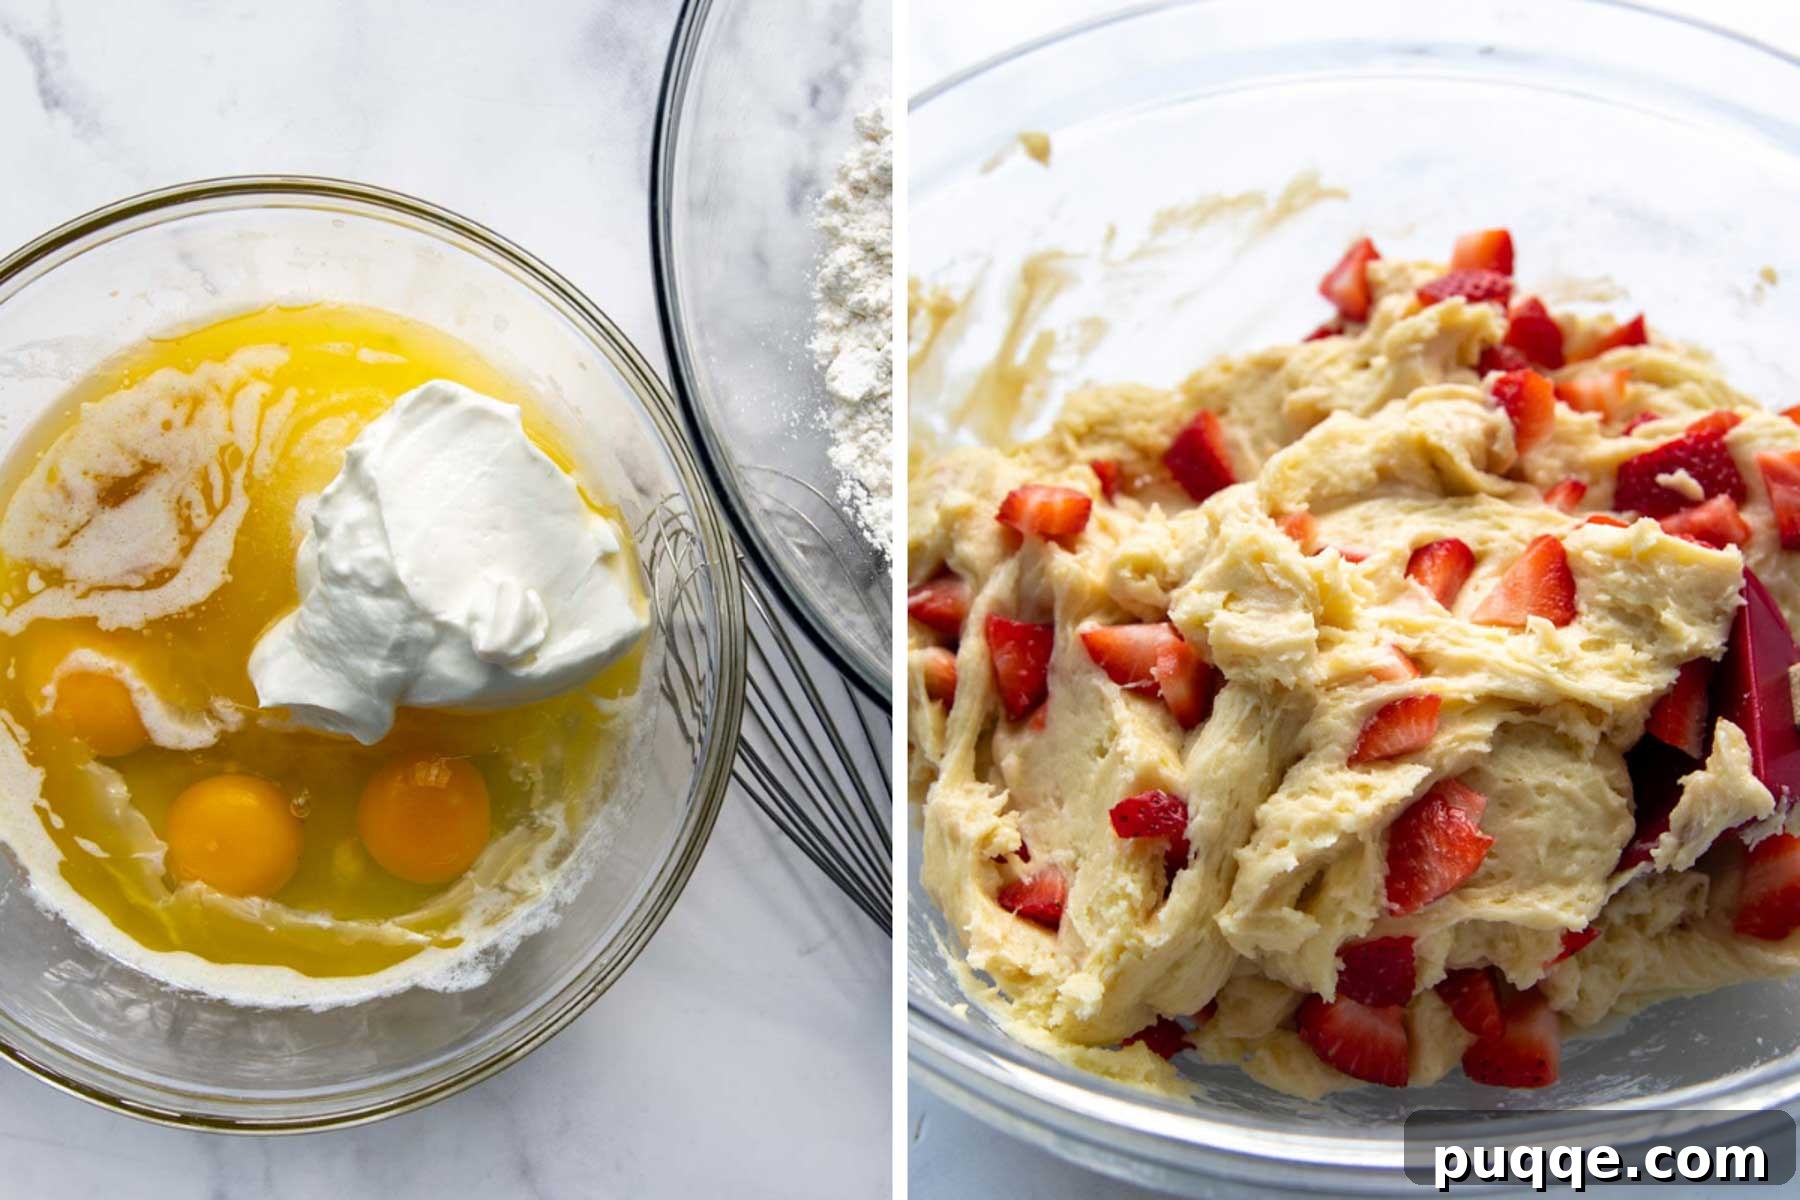
- Combine Wet Ingredients: In a large mixing bowl, whisk together the cooled melted butter, granulated sugar, sour cream or yogurt, room temperature eggs, and vanilla extract until the mixture is smooth and well combined. Ensure there are no lumps of sour cream or yogurt.
- Incorporate Dry Ingredients & Strawberries: Add the gluten-free flour blend, baking powder, baking soda, and salt to the wet ingredients. Stir gently with a spoon or spatula until just combined, being careful not to overmix. A few small lumps are perfectly fine. The batter will be quite thick. Finally, gently fold in the chopped strawberries until they are evenly distributed throughout the batter. Overmixing here can cause the strawberries to break down and tint the batter.
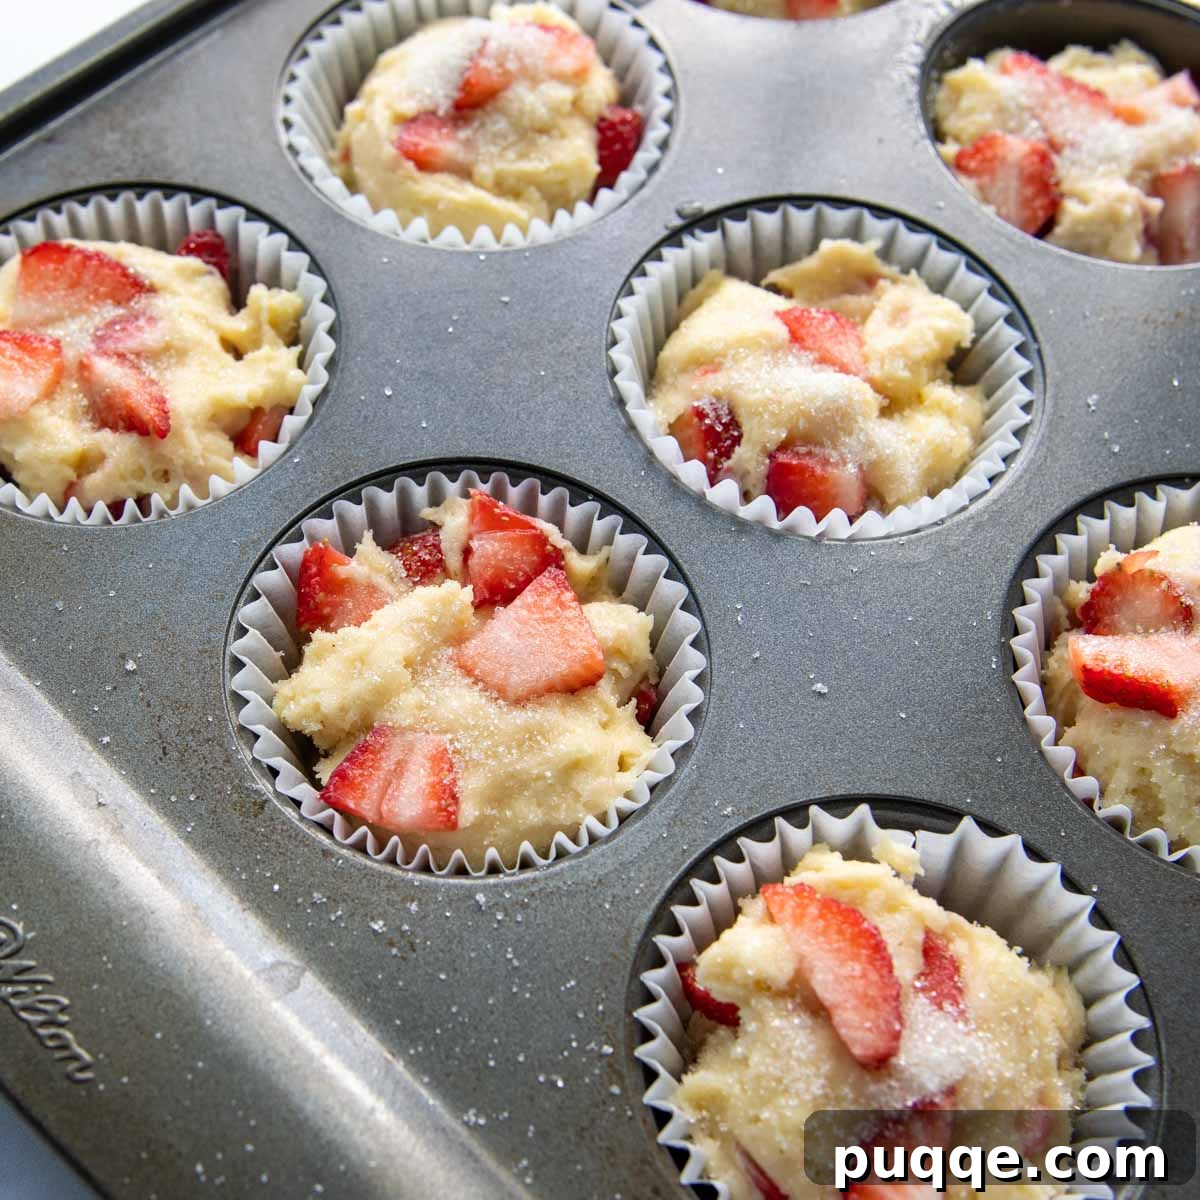
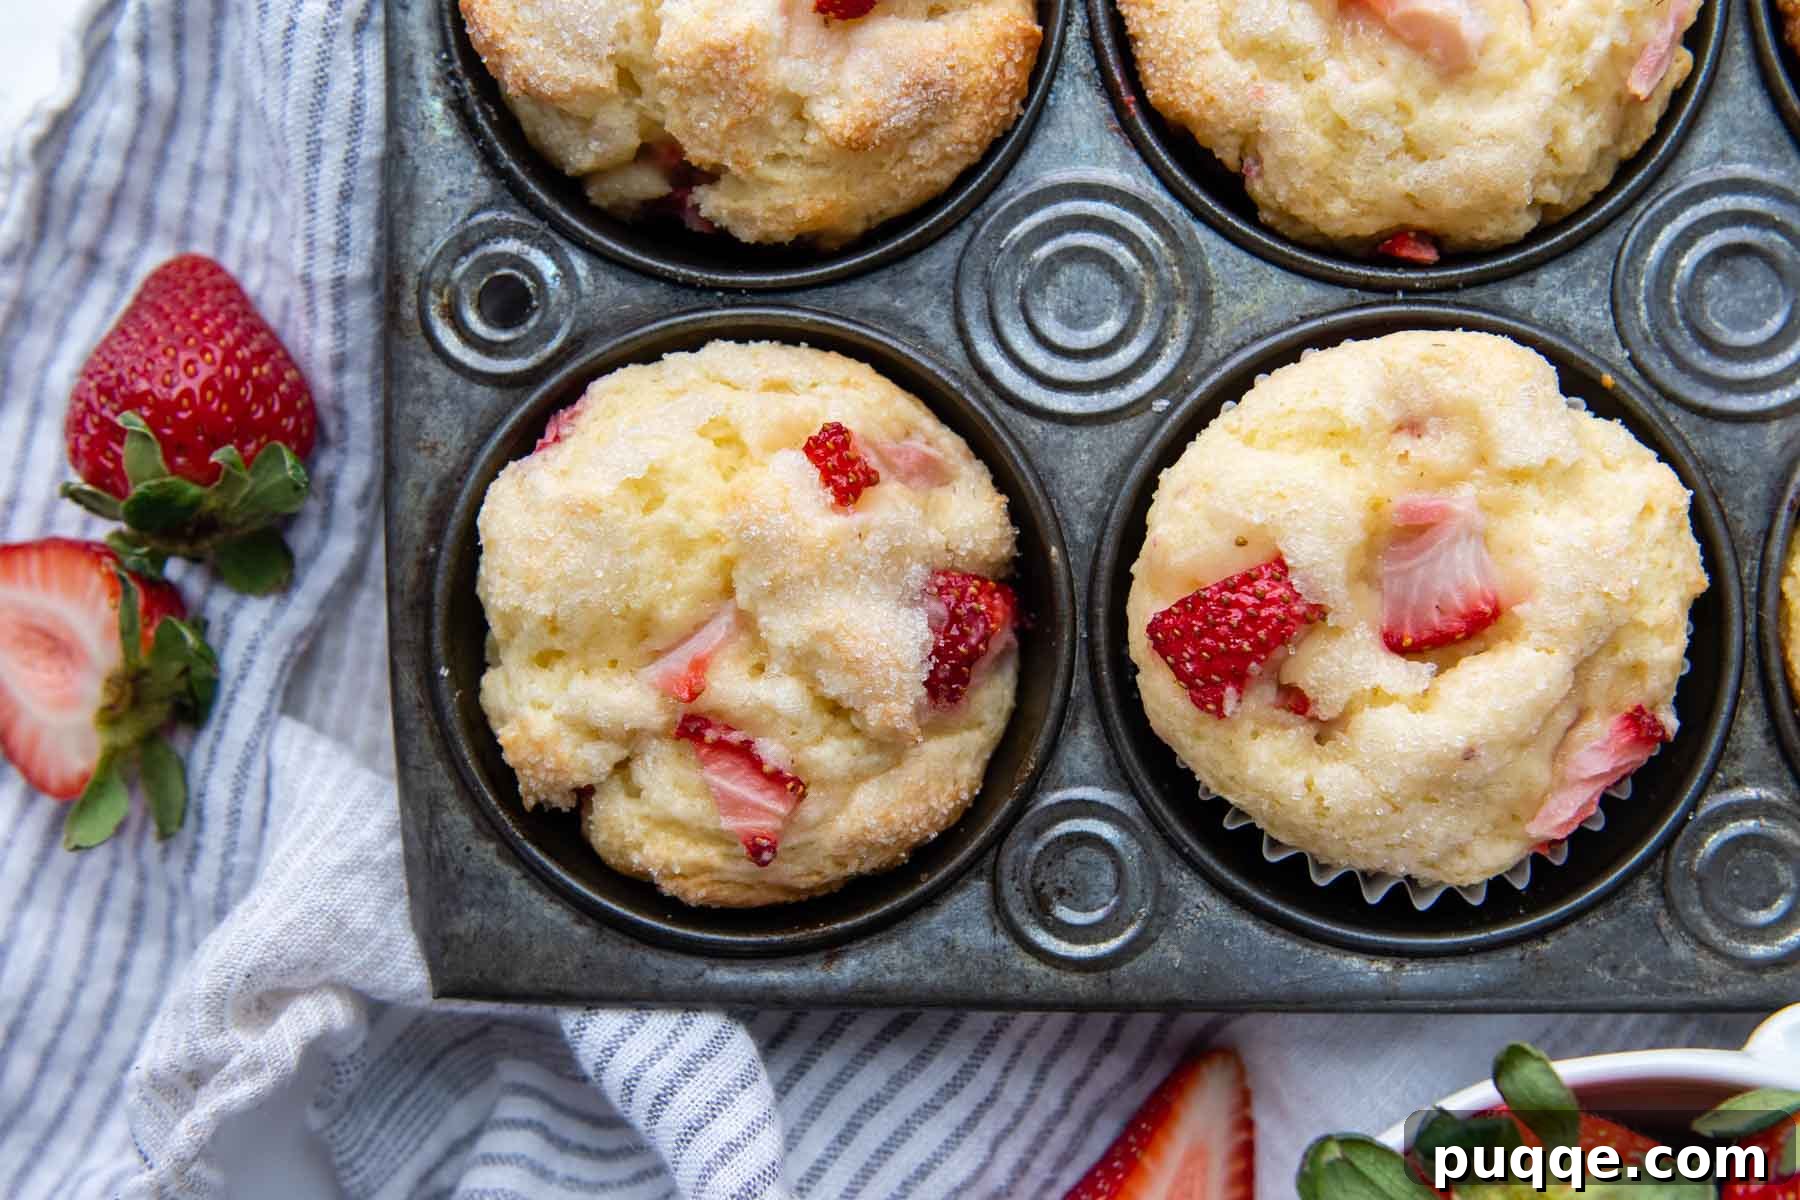
- Rest, Preheat & Fill: Now, cover the bowl and let the batter rest for 10-15 minutes at room temperature. This brief rest is a secret weapon for gluten-free baking, allowing the starches to absorb moisture and relax, leading to a softer, less crumbly muffin. While the batter rests, preheat your oven to 350°F (175°C). After resting, use a large trigger scoop or a spoon to evenly distribute the thick batter among the prepared muffin cups. For a neat finish, you can use slightly wet fingers to gently pat down the tops of the batter. If you wish, press a few extra chopped strawberries on top of each muffin for a beautiful presentation. Sprinkle generously with turbinado (coarse) sugar for an irresistible crunchy topping.
- Bake to Perfection: Place the muffin pan into the preheated oven and bake for 20-22 minutes. To ensure even baking, rotate the pan halfway through the baking time. The muffins are ready when a toothpick inserted into the center comes out clean or with a few moist crumbs attached.
- Cool & Enjoy: Allow the muffins to cool in the pan for about 5 minutes before carefully transferring them to a wire rack to cool completely. This helps them set and prevents them from becoming soggy.
Mix-Ins and Variations: Step Up Your Homemade Muffin Game
This gluten-free muffin recipe is incredibly versatile, serving as a perfect base for endless flavor combinations. Don’t hesitate to get creative!
- Strawberry Lemon Muffins: For a bright, zesty twist, add 1 tablespoon of fresh lemon zest to the muffin batter along with the wet ingredients. Once cooled, drizzle the tops with a simple lemon glaze made from powdered sugar and lemon juice.
- Decadent Crumb Topping: Elevate your muffins with a sweet, buttery streusel. Head over to our easy GF apple muffin recipe for the precise streusel topping ingredients and directions. It adds an incredible texture and richness.
- Mixed Berry Medley: No strawberries? No problem! Swap them out with an equal amount (1 ½ cups) of any other fresh or frozen fruit or berries. Blueberries, raspberries, blackberries, or even chopped peaches would be delicious.
- Chocolate Chip Delight: Fold in ½ to 1 cup of your favorite gluten-free chocolate chips (dairy-free if preferred) along with the strawberries for an extra treat.
- Spiced Strawberry Muffins: Add ½ teaspoon of ground cinnamon or a pinch of nutmeg to the dry ingredients for a warm, comforting flavor profile.
Pro Tips for Achieving the Fluffiest GF Muffins
Many home bakers struggle with gluten-free muffins ending up dry and crumbly, or disappointingly dense and gummy. These common baking woes can be easily overcome with a few smart adjustments. Having tested hundreds of baking recipes and even authored a gluten-free cookbook, I’ve gathered invaluable insights. Here are my top tricks for consistently baking the best, fluffiest gluten-free muffins:
- The Essential Batter Rest: One of the most critical steps in gluten-free baking is allowing the batter to rest before it goes into the oven. This resting period, typically 10-15 minutes, gives the gluten-free starches ample time to fully hydrate and relax. Unlike wheat flour, which develops gluten strands upon mixing, gluten-free flours rely on proper hydration to achieve a tender, moist crumb. A well-hydrated batter will result in muffins that are less gritty and crumbly, and wonderfully soft. However, be mindful not to let the batter sit for too long (e.g., hours), as this can lead to excessive moisture absorption and dry muffins. This technique also works wonders for other baked goods, like our homemade gluten-free strawberry cake.
- Invest in a Superior Gluten-Free Flour Blend: The quality of your gluten-free flour blend makes a world of difference. There’s a wide array of blends available on the market, varying significantly in price and composition. Based on extensive experimentation, Cup4Cup gluten-free flour consistently outperforms others for its ability to produce baked goods with an excellent texture. Look for blends that have a balanced ratio of different starches and flours, and often include a binder like xanthan gum. A high-quality blend will prevent your muffins from being too starchy, gritty, or dense.
- Incorporate Almond Flour for Texture and Moisture: To combat the potentially gritty texture sometimes found in gluten-free baked goods and to add an extra layer of moisture, try replacing a small portion of your gluten-free all-purpose flour with almond flour. For every cup of gluten-free flour called for in a recipe, remove 2 tablespoons and substitute with almond flour. Almond flour contributes healthy fats and a delicate flavor, resulting in a more tender and less dry muffin.
- Understand the Nuances of Gluten-Free Baking Science: Simply swapping out traditional wheat flour for a gluten-free blend in an existing recipe often leads to subpar results. Gluten-free starches absorb fats and liquids differently than wheat flour, which can lead to muffins that are either too dry or unexpectedly greasy. This is why our homemade recipe specifically incorporates ingredients like yogurt or sour cream. These additions introduce extra fat and acidity, balancing the texture, enhancing moisture, and contributing to the overall structure and tenderness of the muffin. Successful gluten-free baking often involves more than a simple 1:1 substitution; it requires thoughtful ingredient pairings and technique adaptations.
Save This Recipe to Your Pinterest Board!
Let’s be friends on Pinterest! I’m always sharing great recipes!
Did you make this recipe? We love hearing from you! Leave a star rating and comment below the recipe card. Your feedback helps other bakers find delicious recipes, and I truly appreciate hearing from our community! -Melissa

★
★
★
★
Gluten-Free Strawberry Muffins (Light & Fluffy)

Melissa Erdelac
18
muffins
20
mins
20
mins
40
mins
Pin
Rate
Remove Ads
A video tutorial for making Gluten Free Strawberry Muffins will be displayed here.
Ingredients
- 8 tablespoons unsalted butter, melted and cooled (see recipe notes for dairy-free)
- ¾ cup granulated sugar
- ½ cup sour cream or yogurt, full fat preferred (see recipe notes for dairy-free)
- 3 large eggs, room temperature
- 1 teaspoon vanilla extract
- 2 ¼ cup gluten free all purpose flour, I recommend Cup4Cup GF flour
- 1 ½ teaspoon baking powder
- 1 teaspoon baking soda
- ½ teaspoon salt
- 1 ½ cup chopped strawberries, (fresh or frozen)
- (optional) turbinado (coarse) sugar, for sprinkling on tops
Equipment
-
Large Cookie Scoop
-
Muffin Tins
-
Cup 4 Cup Gluten Free Flour
Instructions
-
Melt the butter so it has time to cool before mixing with the other ingredients. Line standard-size muffin cups with paper liners or grease with nonstick cooking spray. The oven preheats later while the muffin batter rests. (This allows time for the gluten-free starches to soften and hydrate with the liquids.)
-
In a large bowl whisk together the cooled butter, sugar, yogurt or sour cream, eggs, and vanilla.
-
Stir in the gluten-free flour, baking powder, baking soda, and salt until no flour pockets remain. The batter will be thick. Gently fold in the chopped strawberries until evenly distributed.
-
Preheat the oven to 350°F (175°C). While the oven is preheating, use a large trigger scoop to distribute the batter between the muffin cups. Use slightly wet fingers to pat down the tops evenly. If desired, gently press in additional chopped strawberries on top. Sprinkle on optional turbinado sugar. The muffins should be resting about 10-15 minutes at this point before baking.
-
Bake for 20-22 minutes, rotating pan halfway through baking. Bake until a toothpick inserted in the center comes out clean. Cool in the muffin pan for 5 minutes before turning out onto a wire rack to cool completely.
Notes
Storing and Freezing
Once completely cooled, store the muffins in an airtight container at room temperature for up to 2 days. Avoid storing them in the fridge, as this can dry them out. For optimal freshness, I recommend freezing any leftover gluten-free muffins right away, as they don’t stay fresh as long as traditional muffins. Wrap individual muffins in plastic wrap and place them in a freezer-safe container or bag for up to 3 months. Thaw at room temperature or gently warm in the microwave.
Dairy-Free Muffins
To make these delicious muffins dairy-free, simply replace the sour cream or yogurt with a full-fat coconut or almond milk yogurt. The higher the fat content, the better the result. For the butter, use vegan butter sticks, but be sure to reduce the salt in the recipe to ¼ teaspoon, as vegan butters can sometimes be saltier than unsalted dairy butter.
Carbohydrates: 21g,
Protein: 3g,
Fat: 8g,
Saturated Fat: 4g,
Polyunsaturated Fat: 0.5g,
Monounsaturated Fat: 2g,
Trans Fat: 0.2g,
Cholesterol: 44mg,
Sodium: 178mg,
Potassium: 72mg,
Fiber: 2g,
Sugar: 10g,
Vitamin A: 236IU,
Vitamin C: 7mg,
Calcium: 39mg,
Iron: 1mg
Did you make this recipe?
Please leave a star rating and review below. It helps others when searching for recipes and I LOVE feedback!