
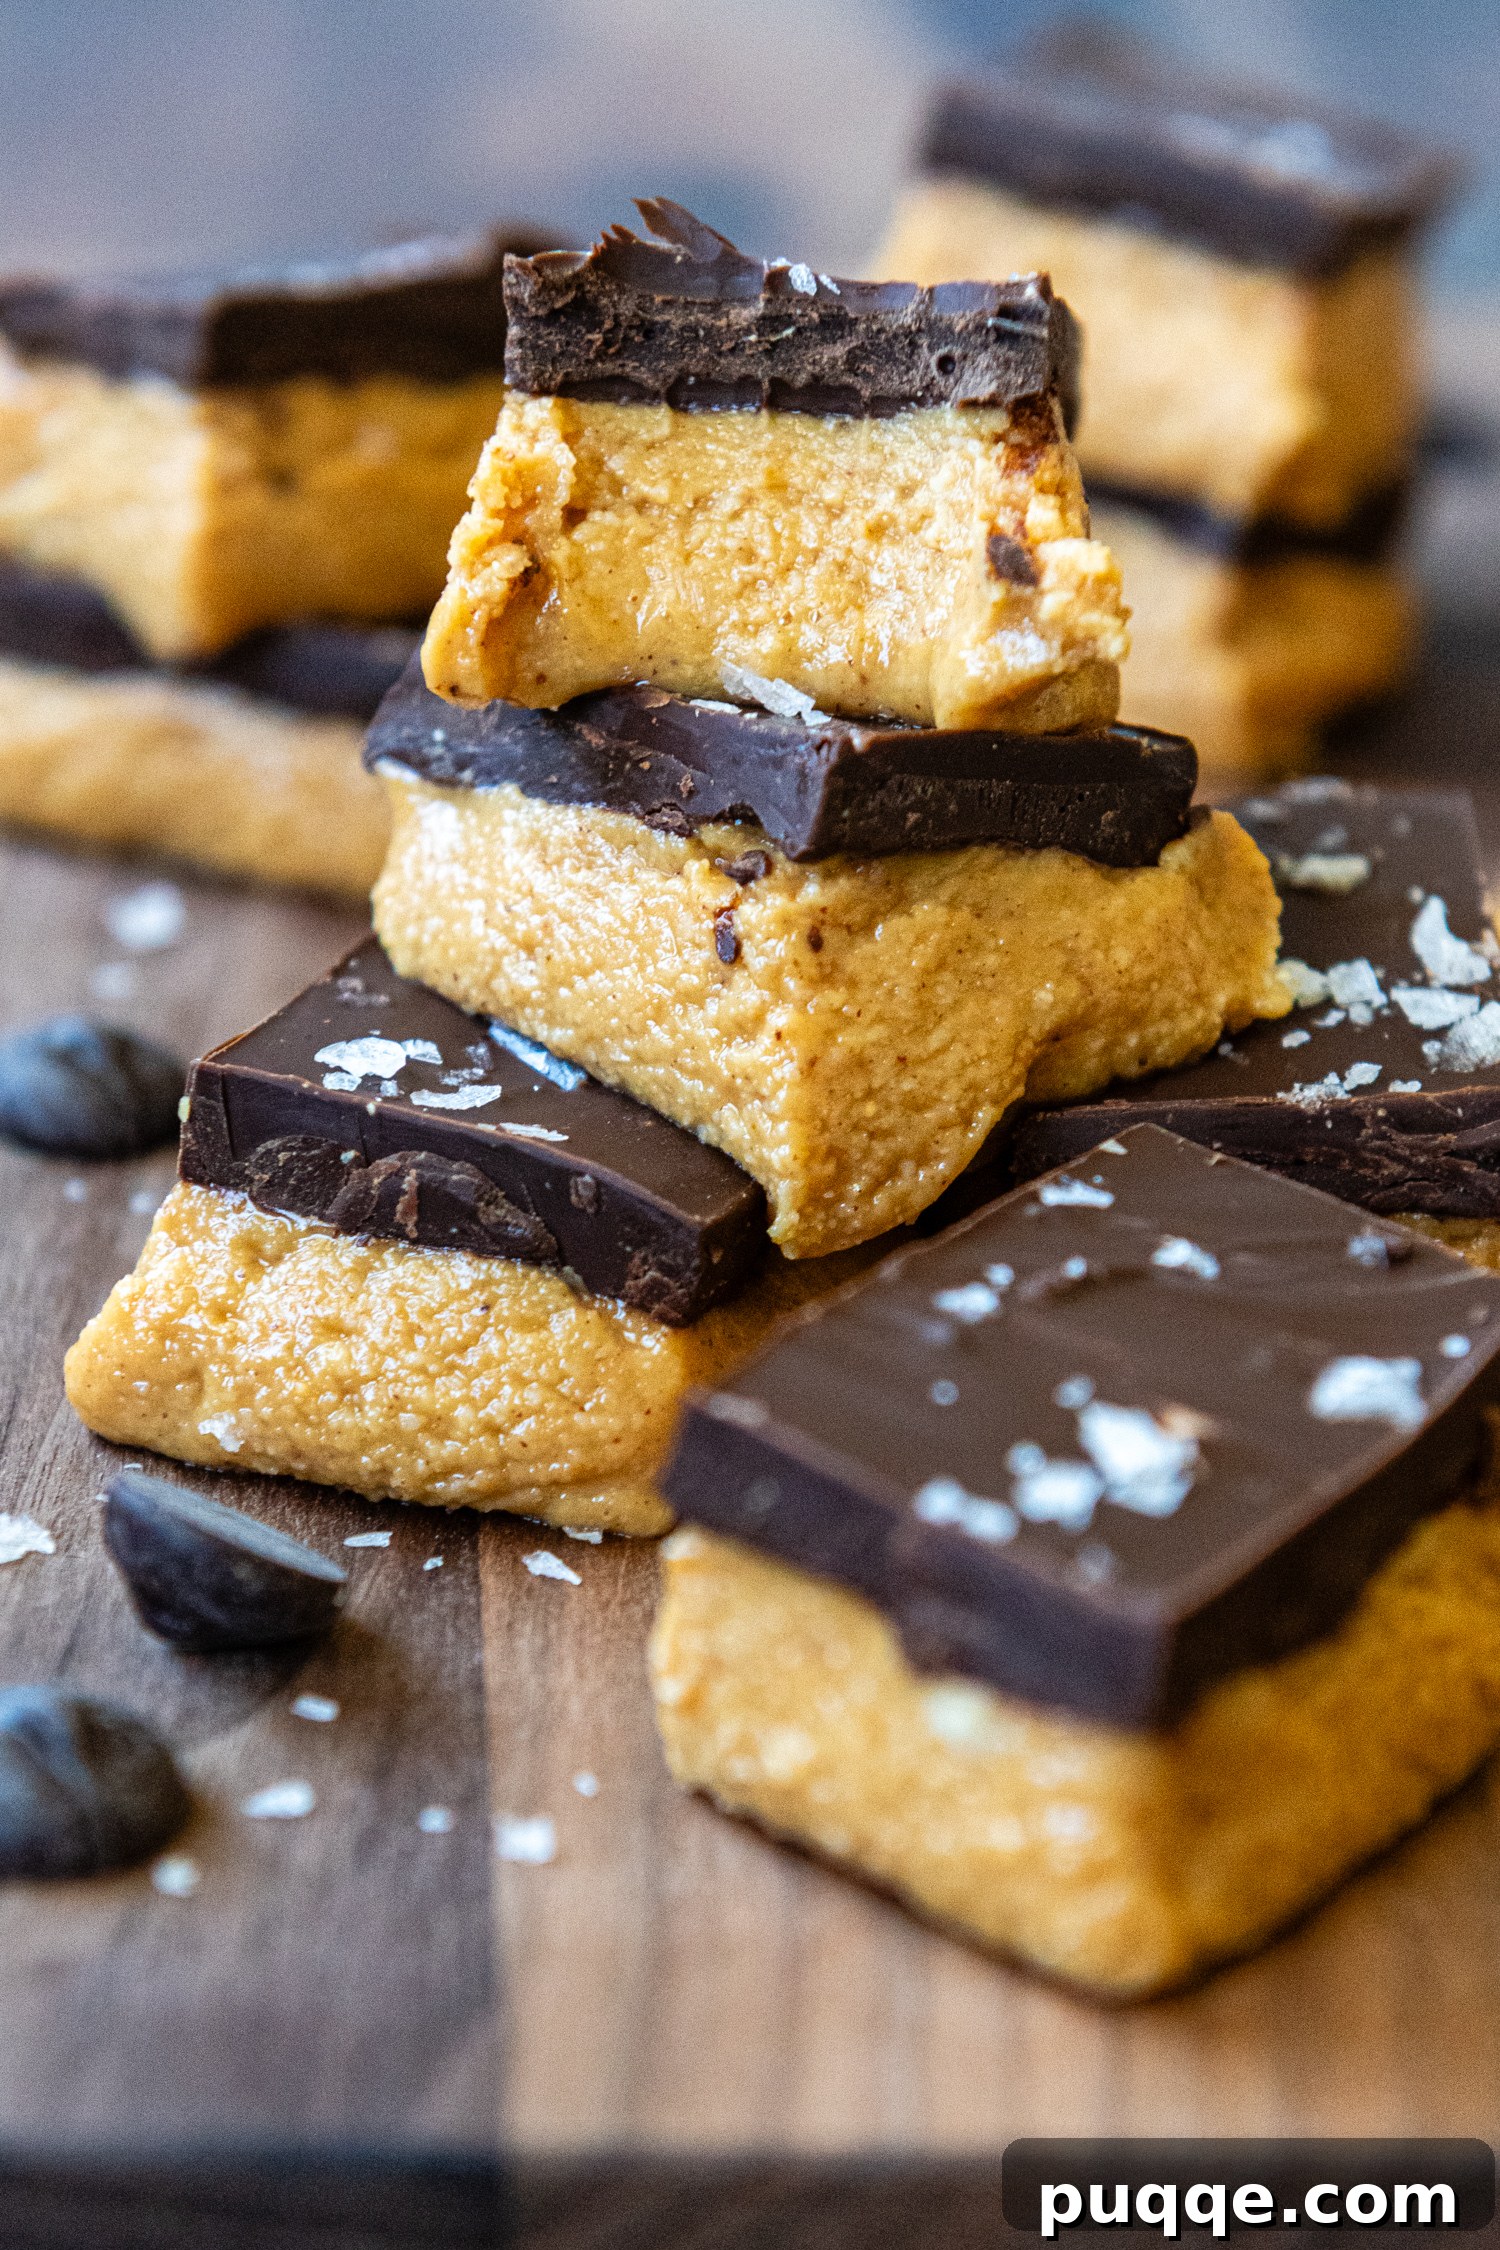
Step into a delightful world of nostalgic treats with these incredible no-bake chocolate peanut butter bars. Imagine the rich, creamy essence of a Reese’s Peanut Butter Cup, but in a perfectly sliceable, homemade bar form. This recipe brings that beloved flavor profile to life in just 10 minutes of active prep time, offering a simple yet utterly decadent dessert experience. Forget the fuss of baking or the need for graham cracker crumbs; our innovative approach uses wholesome, nutty almond flour to create an irresistibly smooth and firm peanut butter base. Topped with a generous, luscious layer of smooth chocolate, these bars are not just a treat for your taste buds, but also a fantastic gluten-free option for everyone to enjoy.
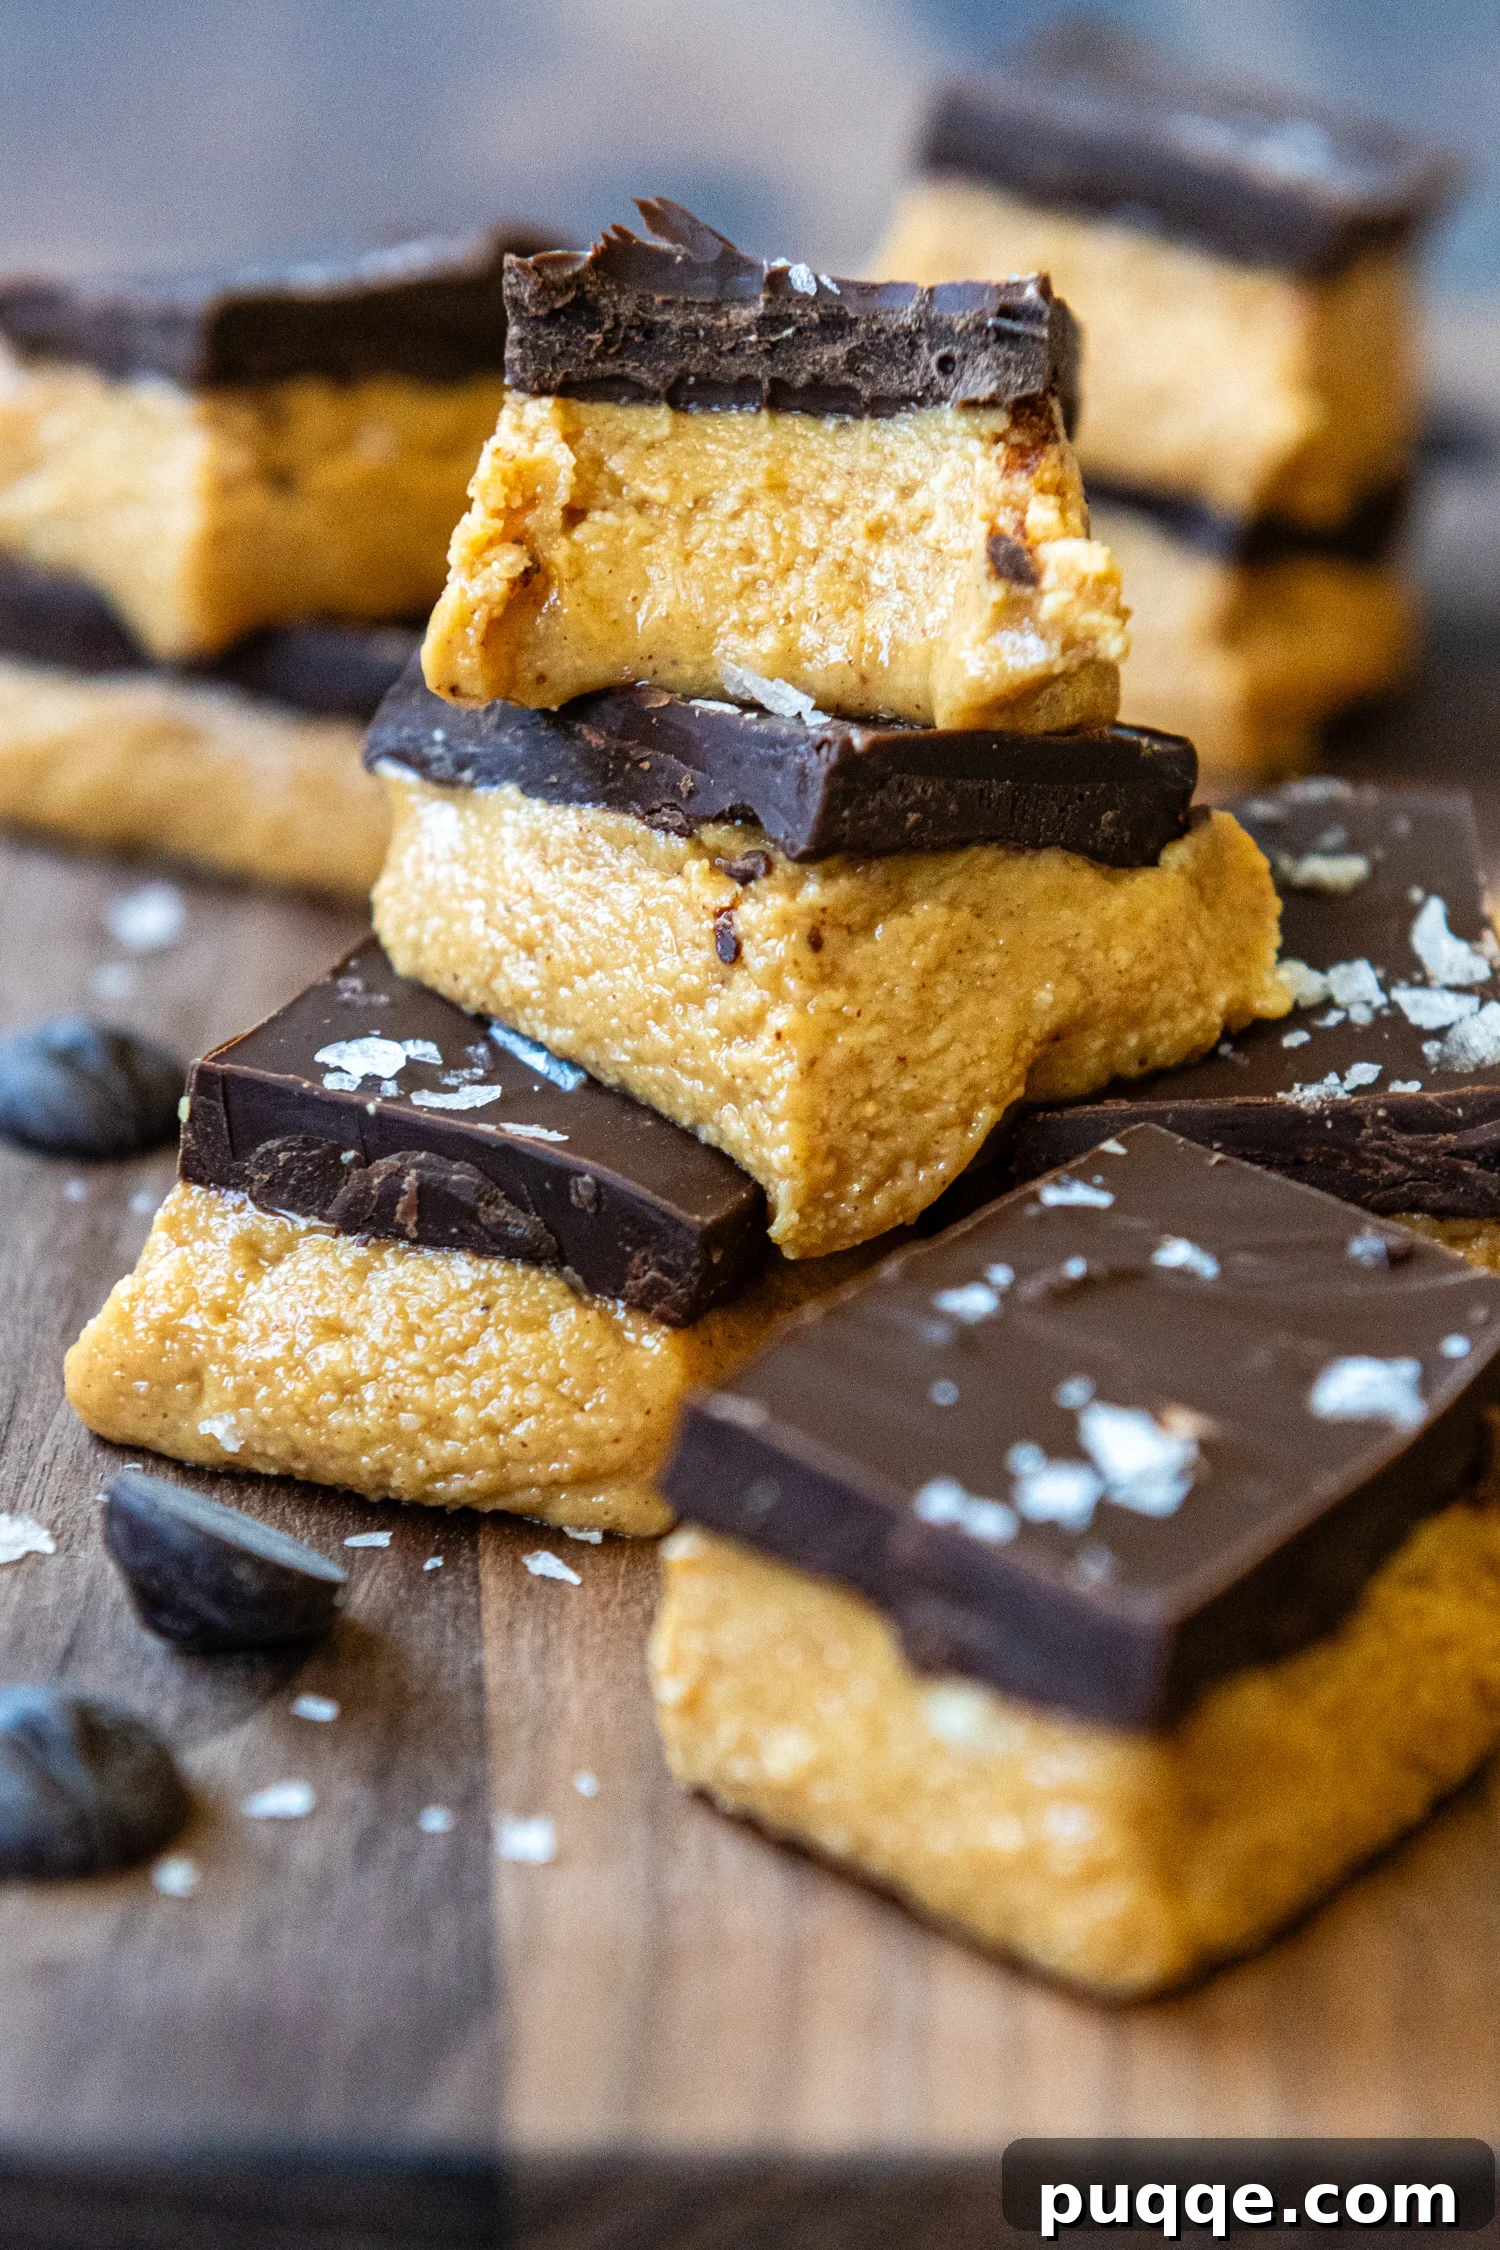
No-Bake Gluten-Free Peanut Butter Bars with Almond Flour: A Modern Classic
There’s a unique joy in discovering that a cherished, old-school delicacy can be naturally or easily adapted to be gluten-free. Much like my famous flourless monster cookies or those irresistibly gooey browned butter gluten-free rice krispies, these peanut butter bars offer a winning solution for anyone seeking a delicious gluten-free dessert without compromising on flavor or requiring extensive adjustments. This recipe embraces simplicity and wholesome ingredients, ensuring a delightful outcome every time.
When developing this version of gluten-free peanut butter bars, I decided to thoughtfully tweak the traditional ingredient list. As an adult, the classic combination of an excessive amount of powdered sugar, butter, and peanut butter felt a bit over the top for my palate and dietary preferences. My goal was to create a treat that captured that nostalgic taste without being overly sweet or heavy. Furthermore, I aimed to avoid expensive or hard-to-find ingredients, making it a point to craft these bars without relying on crushed graham crackers, a common ingredient in many no-bake recipes. This commitment ensures that anyone can easily whip up these delightful bars using readily available pantry staples.
To construct the perfectly nutty and tender base, I turned to one of my all-time favorite grain-free ingredients: blanched almond flour. The decision to make no-bake almond flour peanut butter bars means they are not only gluten-free and grain-free but also feature unrefined sugar in the form of honey, replacing the copious amounts of powdered sugar found in many conventional recipes. The result is a bar that still perfectly encapsulates those classic Reese’s Peanut Butter Cup vibes, but with a more balanced sweetness and a satisfying, sliceable texture. It’s a guilt-free indulgence that doesn’t skimp on flavor.
Despite requiring only five incredibly simple ingredients, this dessert recipe offers immense versatility, allowing for easy experimentation and customization. These bars are a true kitchen hero: effortlessly make-ahead and wonderfully freezer-friendly. This means you can whip up a batch whenever a sweet craving strikes during a busy weeknight, or prepare them in advance for special occasions. They are decadent enough to grace any holiday treat tray, sitting perfectly alongside ultra-creamy gluten-free fudge, or simply enjoyed as a delightful everyday pick-me-up. Their ease and deliciousness make them an instant favorite for any dessert lover.
Essential Ingredients and Smart Substitutions
Crafting the perfect no-bake peanut butter bar starts with understanding the role each ingredient plays. Here’s a closer look at the key components and how you can adapt them to your preferences or what you have on hand.
- Almond Flour: Since I set out to create these bars without the use of graham crackers, I needed a gluten-free alternative to provide structure and body to the base. Almond flour proved to be the ideal choice, offering a delicate, nutty flavor that harmonizes beautifully with peanut butter. It lends a tender, slightly crumbly texture to the bars that truly elevates them. If almond flour isn’t available or you prefer an alternative, an equal amount of oat flour can be used. Ensure you use certified gluten-free oat flour if managing a strict gluten-free diet.
- Peanut Butter: The type of nut butter you select is crucial for the overall consistency and how well these bars hold their shape. For optimal results and a firm, sliceable bar, I highly recommend using a traditional, thick, and creamy peanut butter – think brands like Skippy or Jif. These tend to have a more stable texture. However, if you prefer to use natural or organic peanut butter, which often has a thinner, oilier consistency, your bars might be a bit softer. Don’t worry, there are still ways to make them work! Check out our dedicated nut butter section below for detailed tips and tricks on how to manage different consistencies.
- Honey: The sweetness level in these bars is incredibly flexible, allowing you to tailor it to your personal preference. The amount of honey suggested provides a balanced sweetness that complements the rich peanut butter and chocolate. If you prefer a less sweet treat, feel free to reduce the quantity slightly. For those looking for alternatives, pure maple syrup or agave nectar can be used as direct substitutes. Just keep in mind that maple syrup and agave might not offer quite the same robust sweetness as honey, so you might need to adjust amounts to taste.
- Vanilla Extract: A splash of vanilla extract might seem like a small detail, but it plays a significant role in enhancing the overall flavor profile. It adds a warm, aromatic depth that complements both the peanut butter and chocolate, bringing out their best qualities. Don’t skip this ingredient for the fullest flavor experience!
- Chocolate Chips: For the decadent topping, dark or semi-sweet chocolate chips work wonderfully, providing a rich, satisfying contrast to the peanut butter layer. The quality of your chocolate will directly impact the final taste, so choose a brand you love.
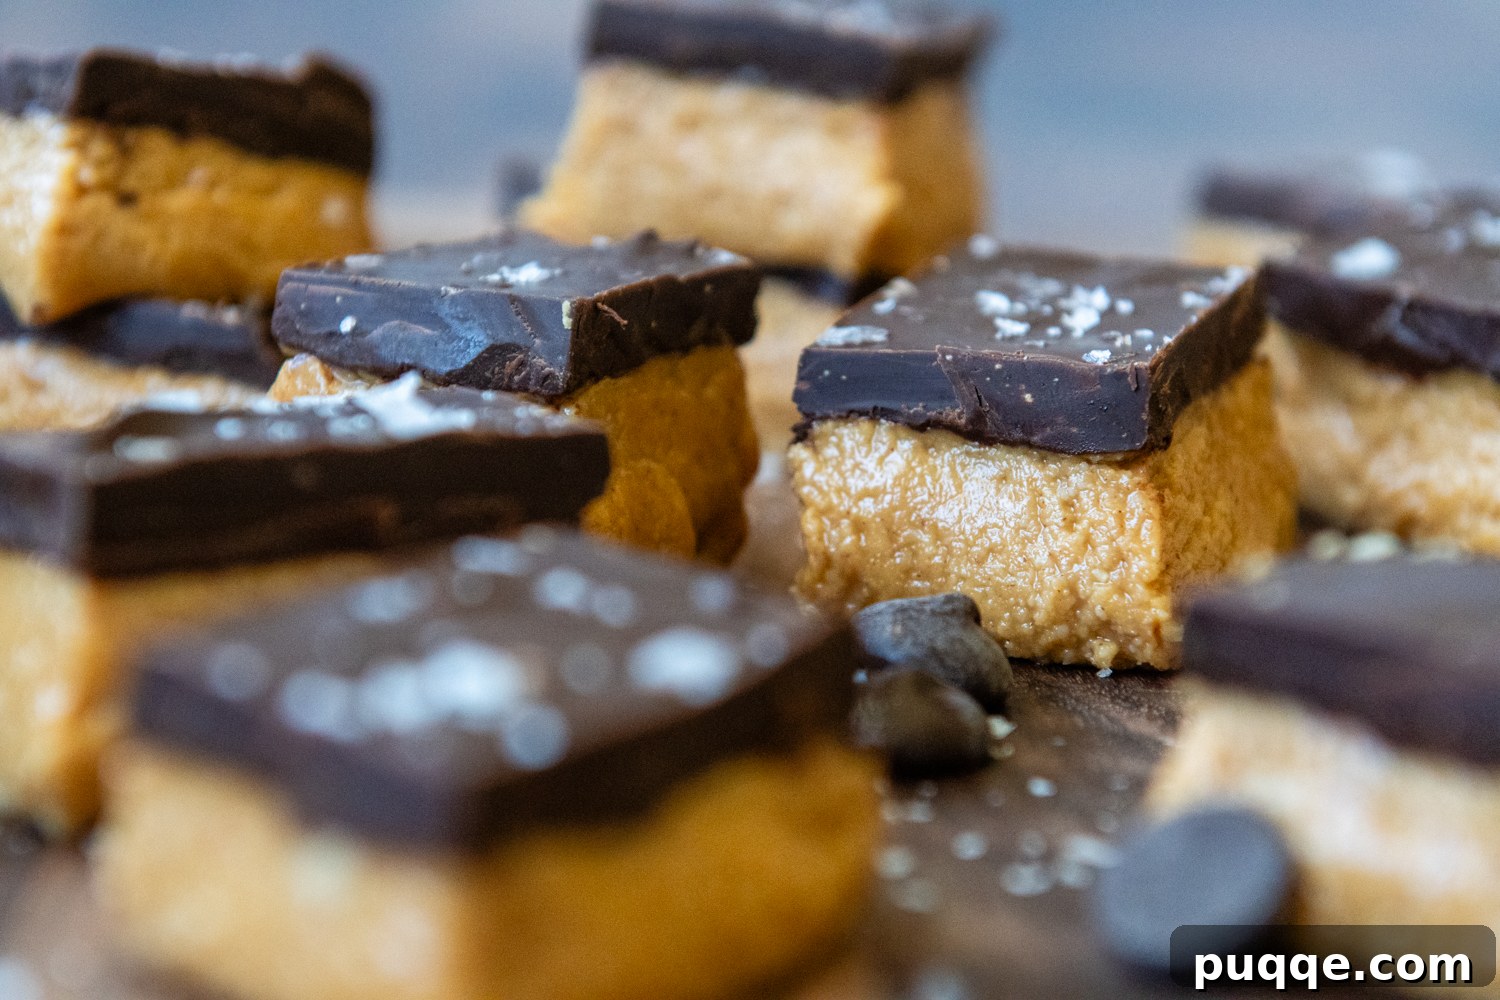
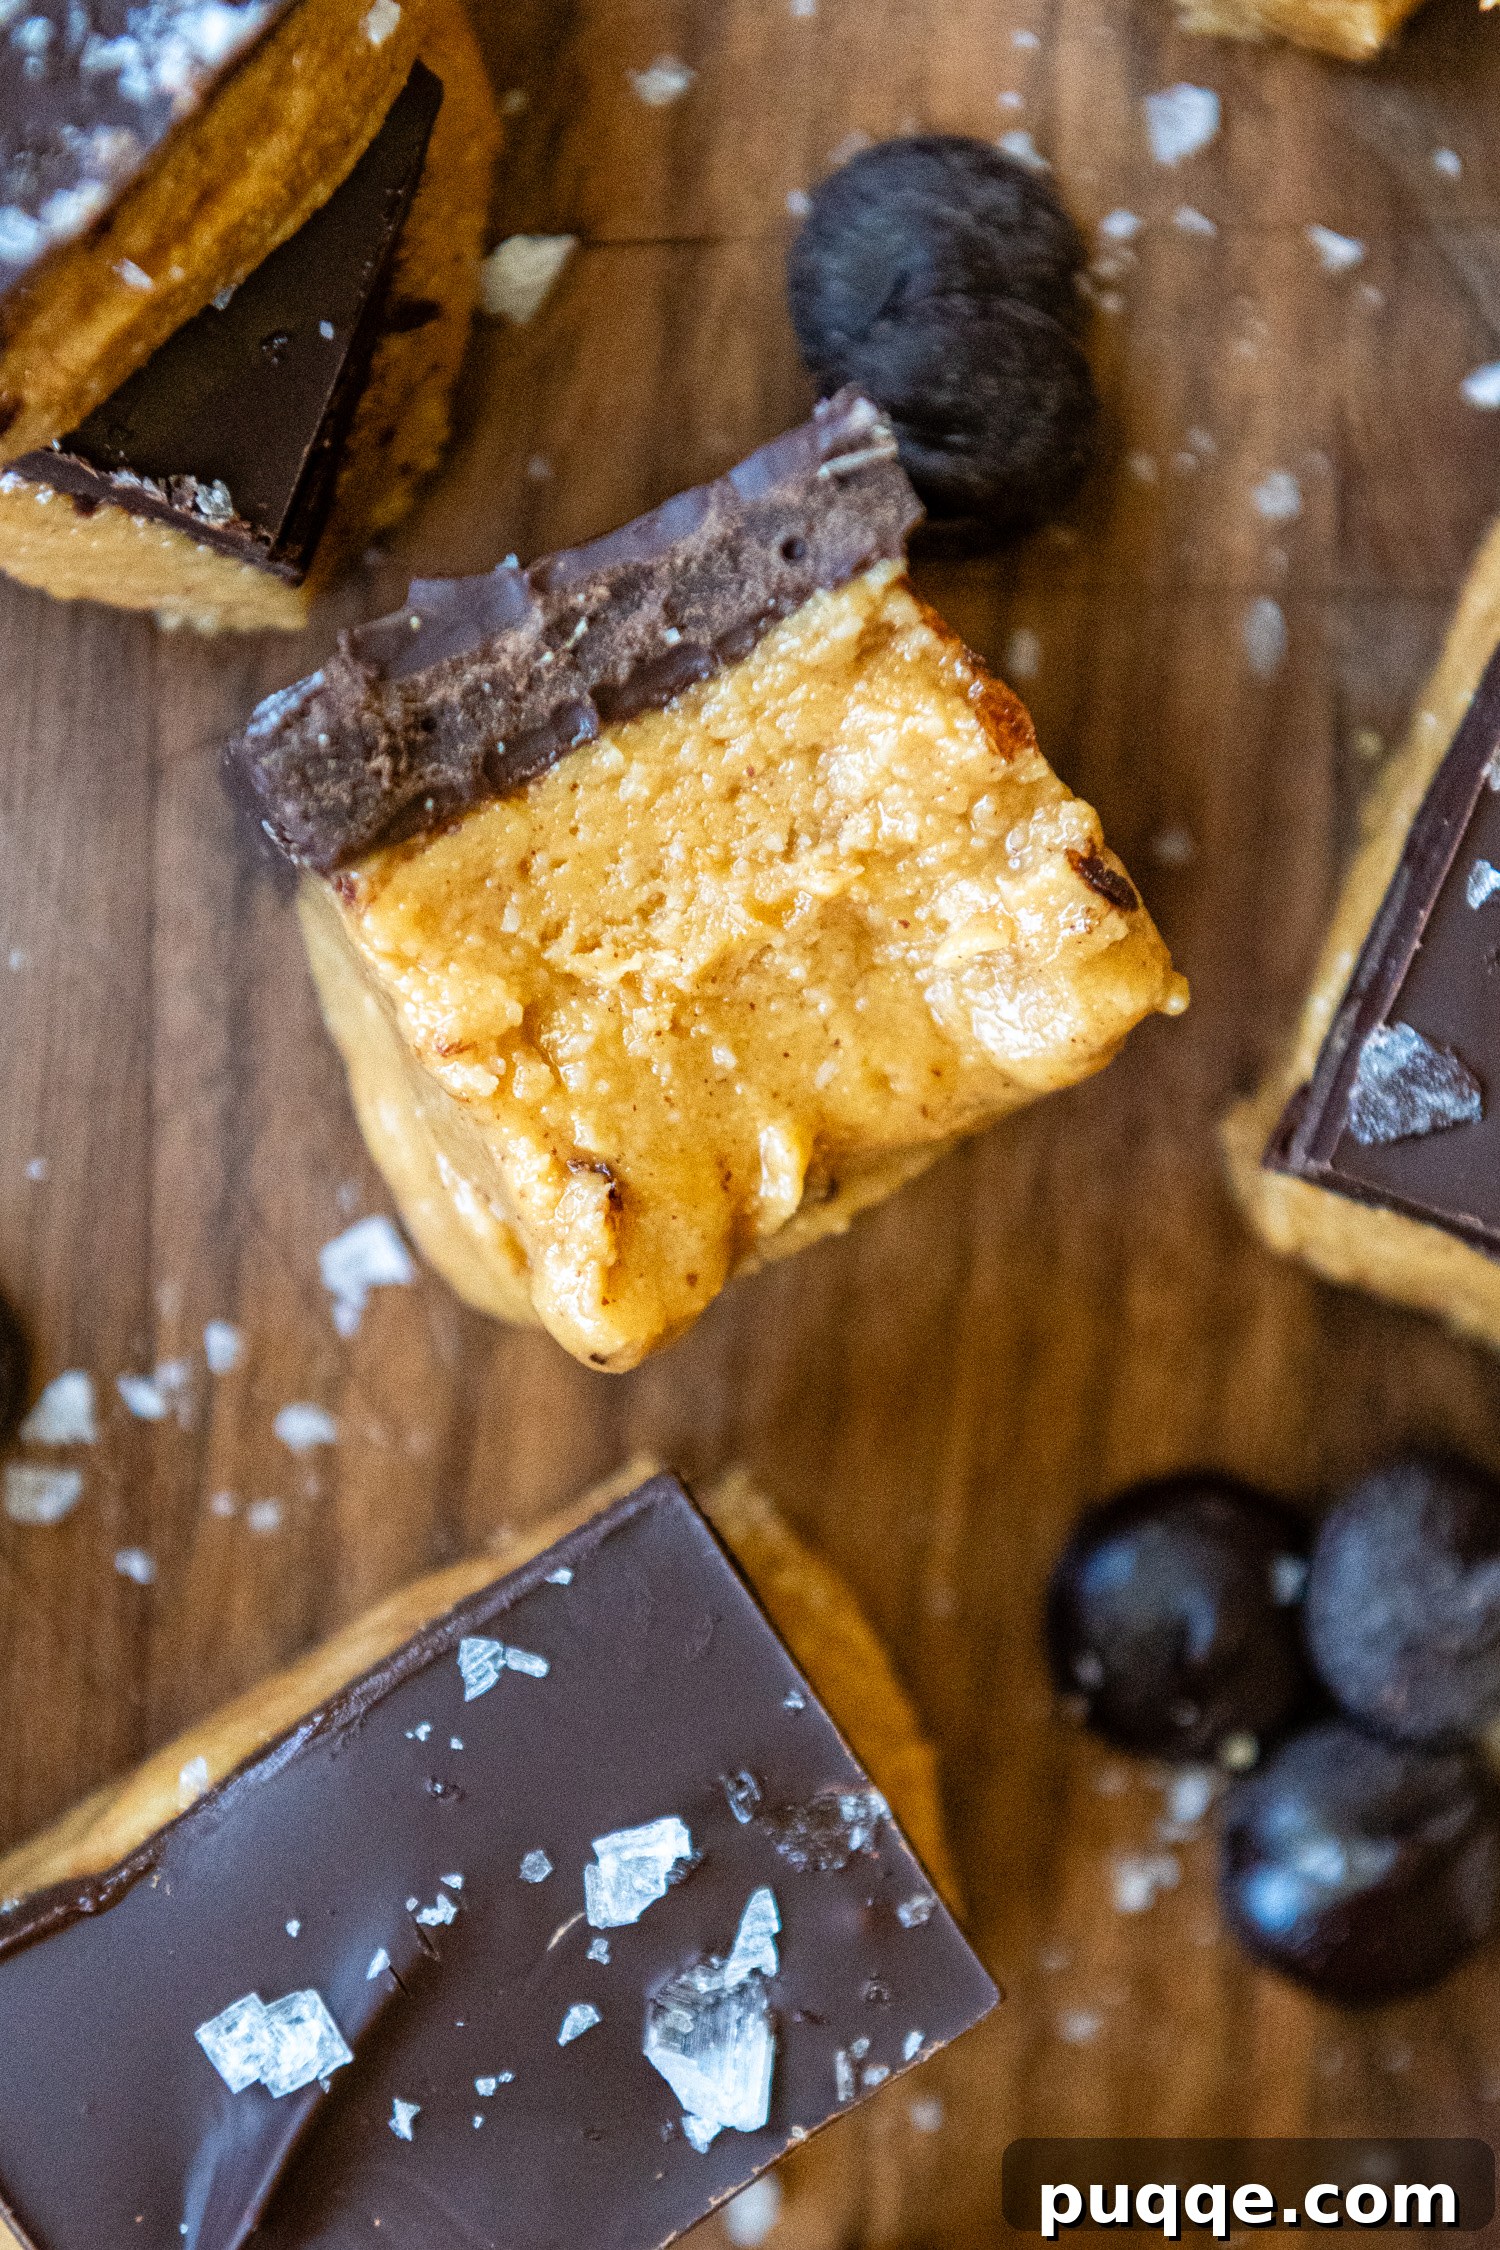
- Toppings (Optional): Once your melted chocolate topping is spread evenly, you can certainly leave it as is for a classic look. However, this is also a fantastic opportunity to get creative with additional toppings! A sprinkle of flaky sea salt can beautifully enhance the chocolate-peanut butter combination, adding a gourmet touch. Chopped roasted peanuts provide extra crunch and reinforce the peanut flavor. And for a truly playful, Reese’s-inspired finish, a scattering of colorful Reese’s Pieces will delight any fan!
Let’s Craft These Delectable Bars Together!
Creating these no-bake peanut butter bars is a simple and rewarding process. Follow these step-by-step instructions, complete with visual guidance, to ensure perfect results every time. (For precise ingredient measurements and the full recipe details, please refer to the complete recipe card found further down the page.)
Prepare Your Pan for Easy Release
Before you even begin mixing, prepare your pan to ensure a smooth, mess-free removal of your finished bars. Line a 9×5 inch loaf pan with parchment paper, allowing the paper to overhang generously on the longer sides. This overhang will act as handles, making it incredibly easy to lift the entire batch of bars out of the pan once they’re firm. Lightly grease the parchment paper with a nonstick cooking spray or a thin layer of butter to prevent sticking. Set this prepared pan aside.
Mix Up the Irresistible Peanut Butter Base
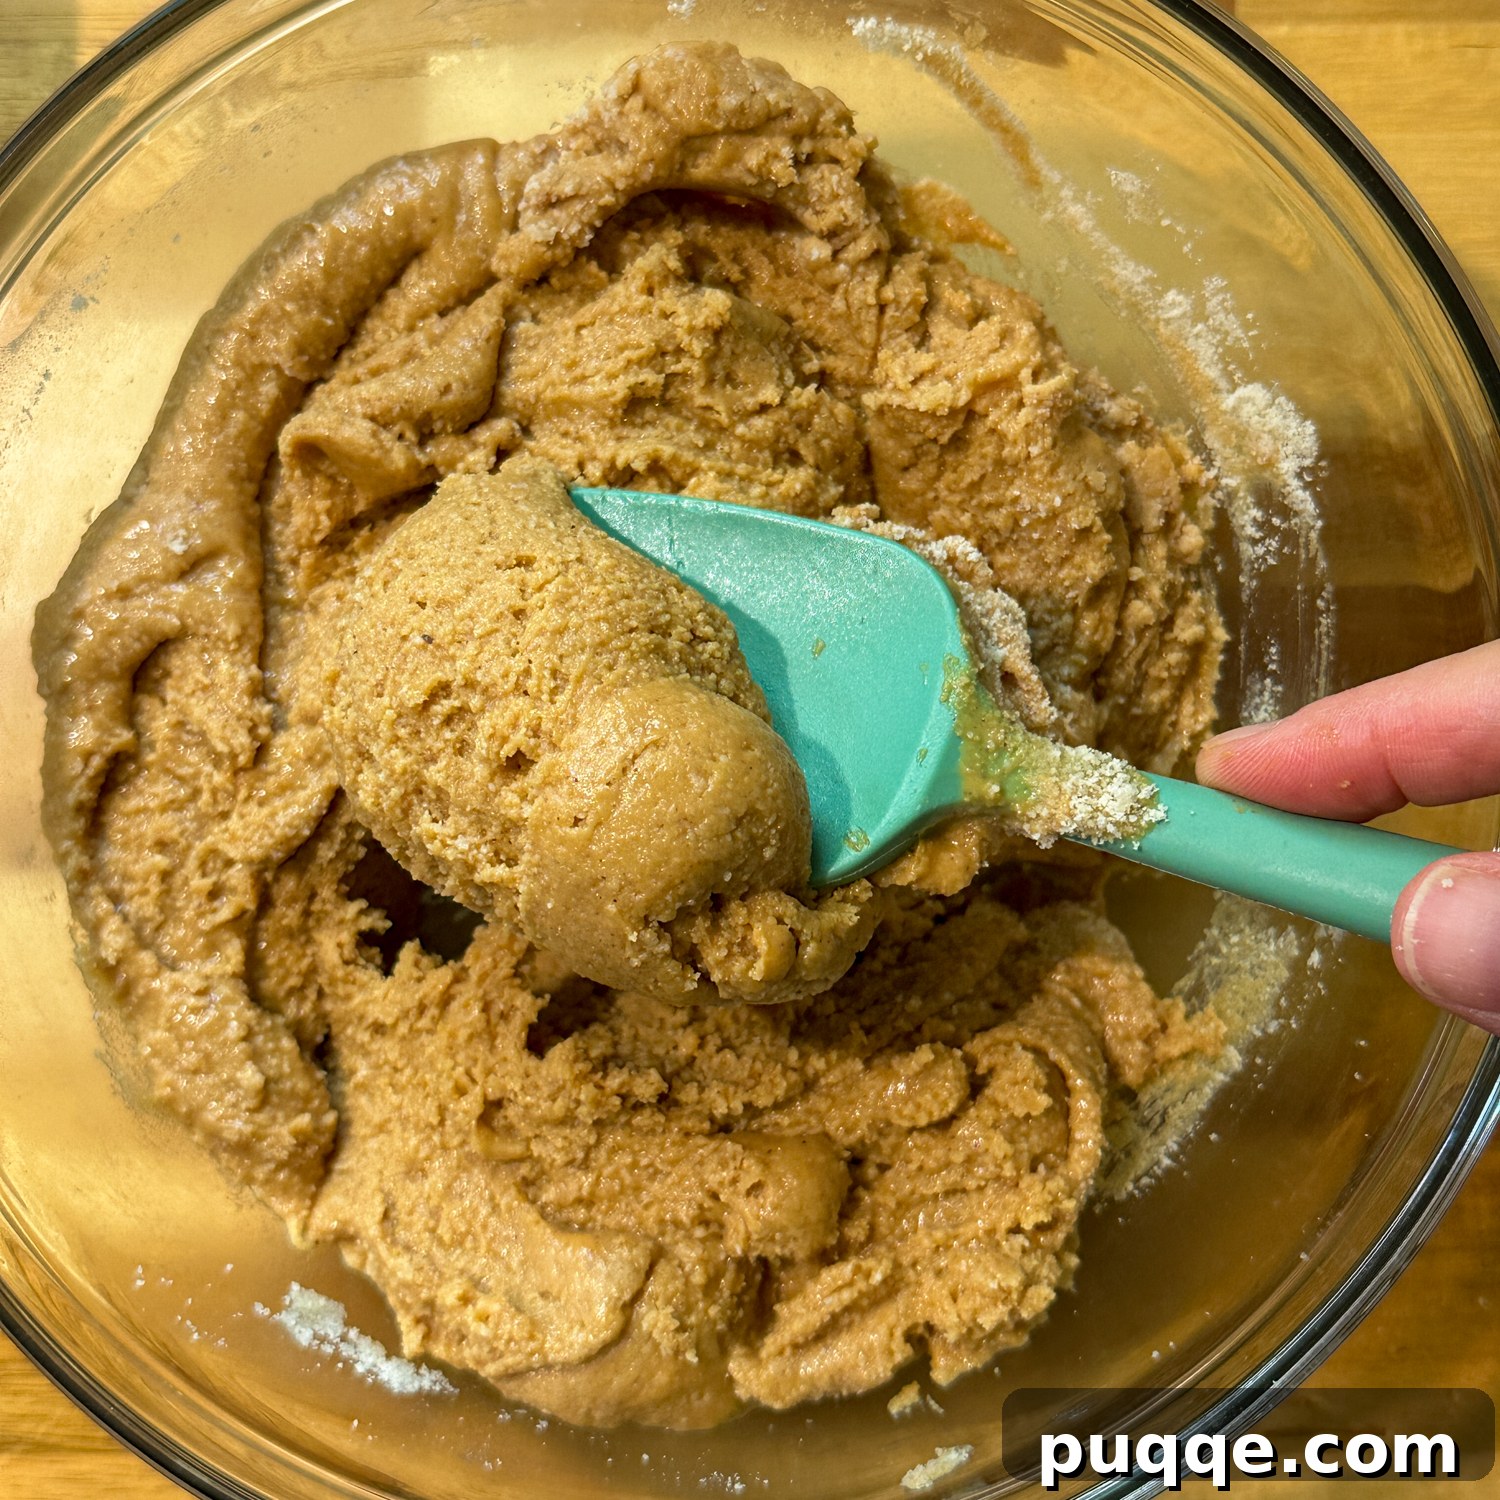
In a large mixing bowl, combine the creamy peanut butter, golden honey, and fragrant vanilla extract. Stir these ingredients together until they are well blended and smooth. Next, gradually add in the blanched almond flour, mixing until no dry flour pockets remain and a truly thick, cohesive dough forms. This base should be dense and pliable. For a thicker, more substantial peanut butter layer, I prefer using a 9×5-inch loaf pan, as outlined in the pan preparation step. If you desire thinner bars, an 8×8-inch square pan can also be used; just be sure to adjust the chilling time slightly as thinner bars will firm up faster. Scoop the peanut butter mixture into your prepared pan and use the back of a spoon or a spatula to press it down evenly into the bottom. Ensure it’s tightly packed for a solid base. Pop the pan into the refrigerator for a few minutes while you move on to preparing the decadent chocolate topping. This brief chill helps the base firm up further before the chocolate is added.
Scoop, Press, and Perfect the Base
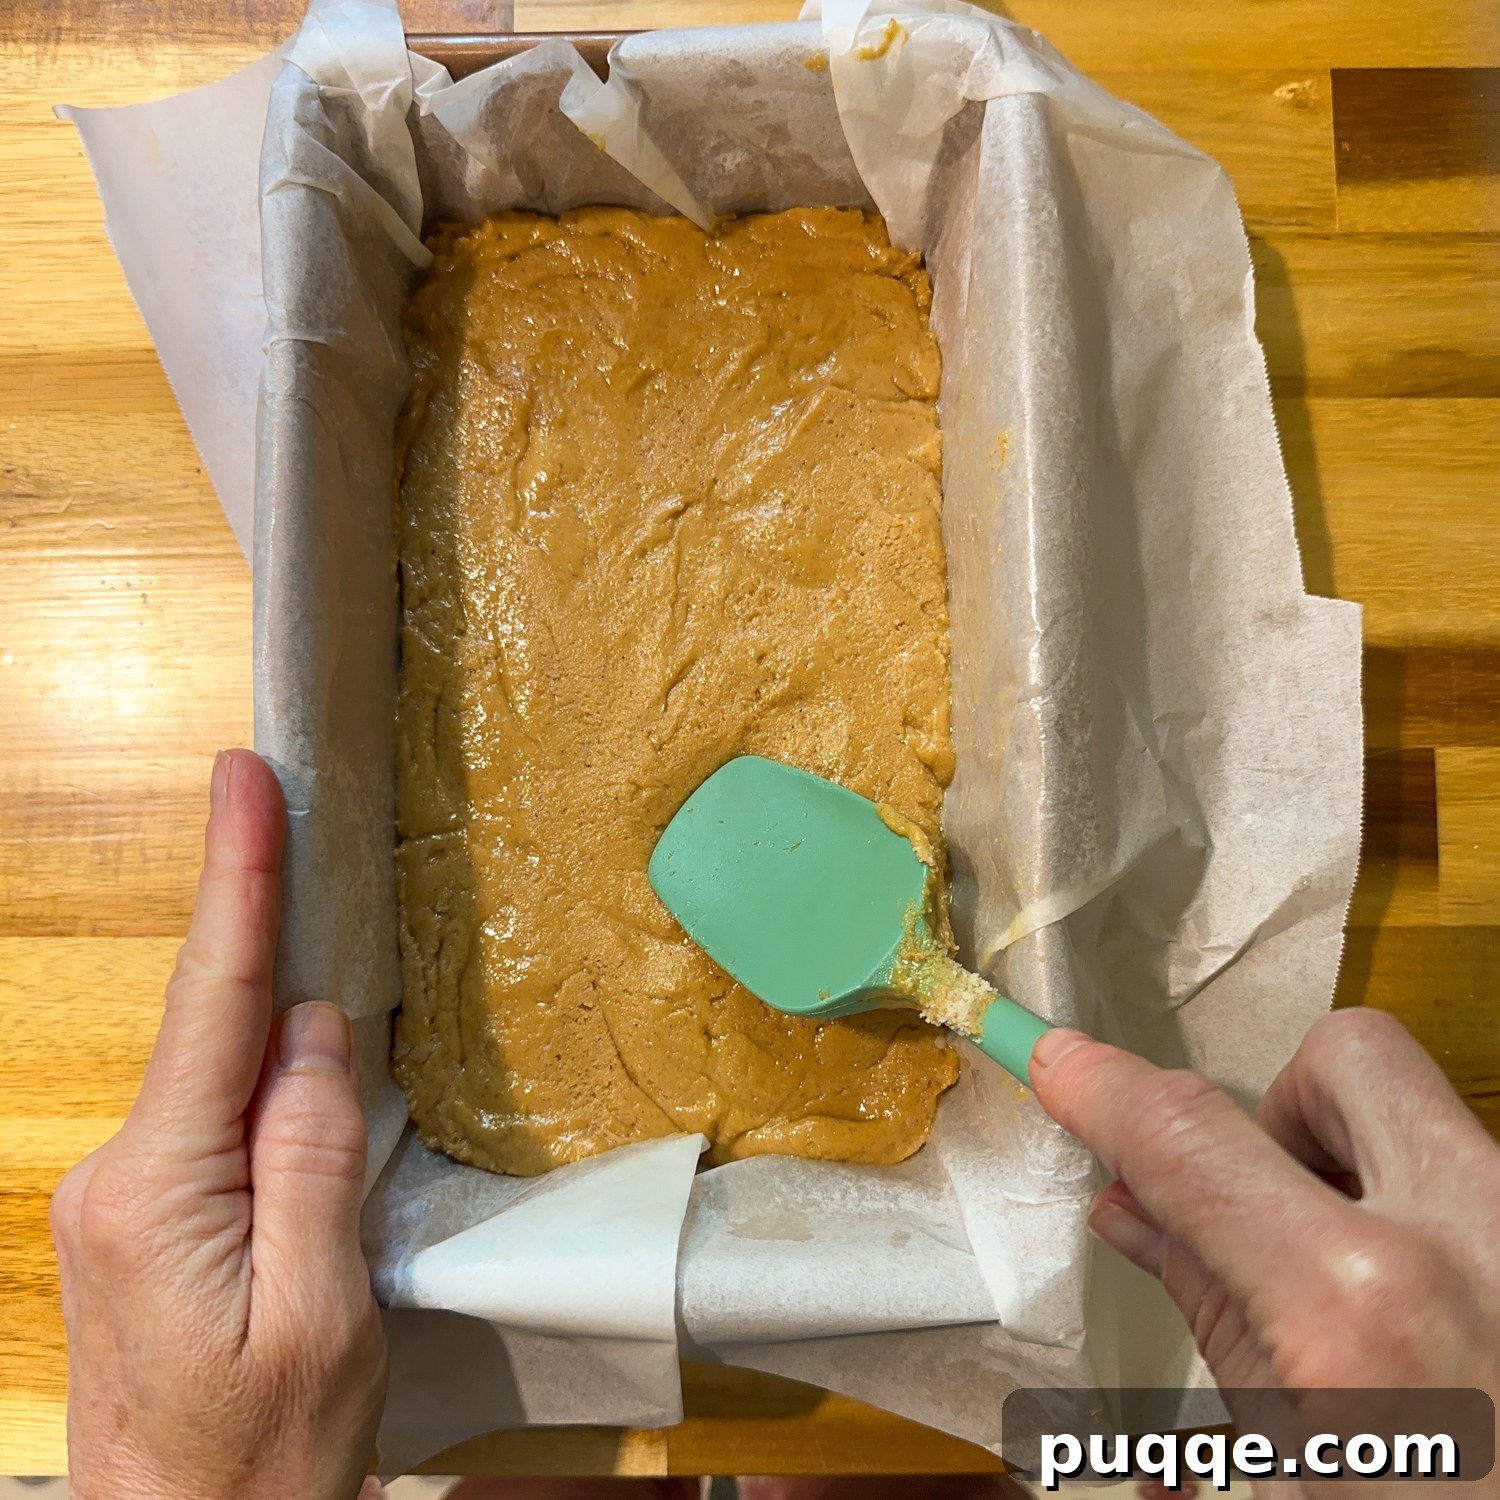
Now it’s time to transform that rich peanut butter dough into the foundation of your bars. Take the prepared pan with its parchment paper lining. Scoop the entire peanut butter mixture into the pan. Using a spatula or the back of a spoon, evenly spread the mixture across the bottom, pressing it down firmly and uniformly. This creates a compact and smooth base for your chocolate topping. A well-pressed base ensures your bars hold together beautifully when sliced. Once smoothed, place the pan back into the refrigerator for a few minutes. This quick chill helps the peanut butter layer set slightly while you prepare the next exciting component: the chocolate topping.
The Melty Chocolate Topping and Final Chill
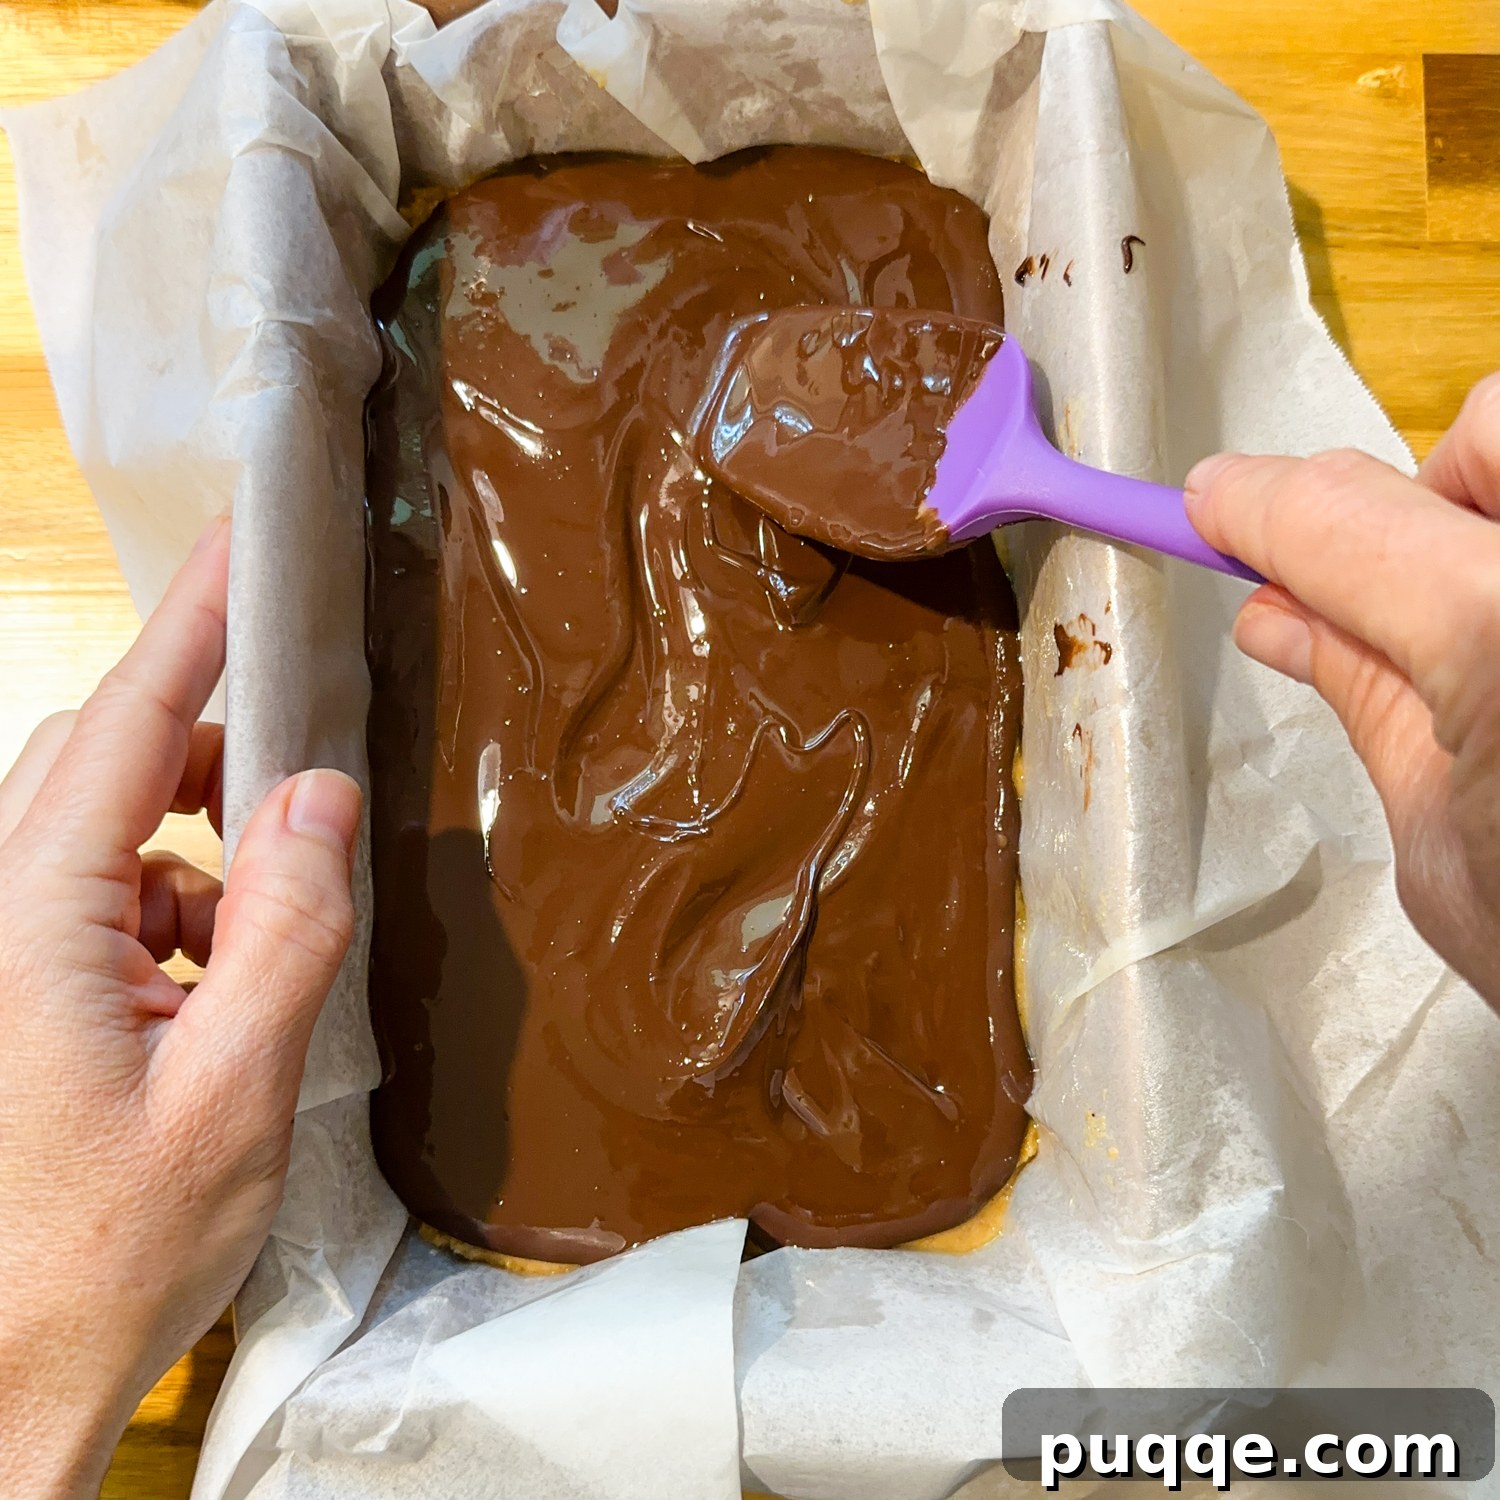
With your peanut butter base chilling, it’s time for the crowning glory – the chocolate topping! In a microwave-safe bowl, combine the chocolate chips and the two tablespoons of creamy peanut butter. This clever addition of peanut butter to the chocolate is key; it helps to create a topping that remains slightly soft and pliable, preventing it from cracking apart when you slice your finished bars. Microwave the mixture in 30-second intervals, stirring thoroughly after each interval, until the chocolate is completely smooth and melted. Be careful not to overheat it. Once smooth, pour the melted chocolate over the chilled peanut butter base and spread it evenly with a spatula. This is also the perfect moment to add any optional toppings you desire – a sprinkle of flaky sea salt, a scattering of chopped peanuts, or even some festive Reese’s Pieces. Finally, return the pan to the refrigerator and chill for at least two hours, or until the chocolate layer is completely solid and firm. This patience is rewarded with perfectly set bars!
Diving Deeper: The Art of Nut Butters in No-Bake Bars
The choice of nut butter is perhaps the most critical factor influencing the texture and stability of your no-bake bars. While the core flavor will always be delicious, getting the consistency just right ensures your bars hold together perfectly and slice beautifully. If your primary goal is to achieve firm, neat bars that maintain their shape exceptionally well, I strongly advise using a thicker, classic “no-stir” peanut butter. Brands like Skippy or Jif are excellent choices for this purpose. Their consistency is more uniform and less prone to separation, providing a robust base that sets up beautifully.
I have experimented with natural and organic peanut butters, which are often prized for their minimal ingredients and healthier profile. However, it’s important to note that these varieties typically have a thinner, runnier consistency due to the natural oil separation. When using a thinner nut butter, the resulting bars may not hold their shape quite as firmly, leading to a slightly softer, more delicate texture. This isn’t necessarily a bad thing – they’ll still be incredibly delicious – but they might require more careful handling.
The good news is that this recipe is quite versatile, allowing you to explore other nut butters such as almond butter or cashew butter. The same principle applies here: the thinner the consistency of the nut butter, the looser the bottom layer of your bars will be. But don’t let that deter you! There are simple adjustments you can make to achieve your desired outcome. If you find your mixture too soft after incorporating the almond flour, you can add an additional tablespoon or two of almond flour, or even oat flour, until the desired thick, dough-like consistency is reached. This extra flour will help absorb excess oil and bind the ingredients more effectively. Furthermore, regardless of the nut butter you choose, always storing these peanut butter bars in the refrigerator or freezer will significantly help them maintain their shape and firmness, ensuring a perfect bite every time. This flexibility allows you to customize the bars to suit your dietary needs and taste preferences while still achieving a fantastic treat.
Love This Recipe? Pin it for Later!
Let’s connect on Pinterest! I’m always sharing delightful recipes and kitchen inspiration!
Made these delicious bars? I absolutely love hearing from you! Please consider leaving a star rating and a comment below the recipe card. Your feedback is invaluable, not only for me but also for other home cooks searching for fantastic recipes within our community. I always make sure to respond! -Melissa
Easy Old School Peanut Butter Bars (Gluten Free)

Melissa Erdelac
Remember those classic no bake chocolate peanut butter bars with Reese’s peanut butter cup vibes? Recreate them with this easy, 10-minute prep, homemade gluten-free peanut butter bars recipe. They are made without graham cracker crumbs, using nutty almond flour to build out a smooth, creamy peanut butter base and a thick layer of chocolate smoothed on top.
Pin Recipe
Rate & Comment
Ingredients
- 1½ cups (375 g) creamy peanut butter, see recipe notes for substitutes
- ⅓ cup (113 g) honey, or pure maple syrup
- 1 teaspoon vanilla extract
- 1½ cups (140 g) blanched almond flour
Topping
- 1 cup (170 g) dark or semi-sweet chocolate chips
- 2 tablespoons creamy peanut butter
Equipment
- Almond Flour (linking to general product category as a utility)
- 9×5 inch loaf pan
- Offset Spatula
- Large mixing bowl
- Microwave-safe bowl
Instructions
- Prepare the Pan: Line a 9×5 inch loaf pan with parchment paper, ensuring it overhangs on the longer sides for easy removal. Grease the paper lightly with nonstick cooking spray. Set aside.
- Make the Peanut Butter Base: In a medium bowl, stir together the 1½ cups creamy peanut butter, ⅓ cup honey, and 1 teaspoon vanilla extract until well combined. Gradually add in the 1½ cups blanched almond flour, mixing thoroughly until no flour pockets remain and a thick, uniform dough forms.
- Press into Pan & Chill: Press the peanut butter mixture evenly into the prepared loaf pan, using a spatula to smooth the top. Ensure it’s packed firmly. Place the pan in the refrigerator while you prepare the chocolate topping.
- Prepare Chocolate Topping: In a microwave-safe bowl, combine the 1 cup dark or semi-sweet chocolate chips and 2 tablespoons creamy peanut butter. Microwave in 30-second intervals, stirring well after each, until the chocolate is smooth and fully melted. This added peanut butter helps the chocolate stay soft for easier slicing later.
- Assemble & Chill: Pour the melted chocolate topping over the chilled peanut butter base, spreading it evenly across the surface. If desired, sprinkle with flaky sea salt, chopped peanuts, or Reese’s Pieces. Return the pan to the refrigerator and chill for at least 2 hours, or until the chocolate layer is completely firm and set.
- Slice & Serve: Once fully chilled, lift the bars out of the pan using the parchment paper overhang. For best results and to prevent the chocolate from cracking, let the bars sit at room temperature for about 15 minutes before cutting. Use a sharp knife to score the chocolate layer a few times before cutting all the way through to create 18 bars (typically 3 rows by 6 rows). Serve immediately or store for later.
Notes & Tips for Success
Choosing Your Peanut Butter
The type of peanut butter significantly impacts the bar’s texture. For a firm, sliceable bar that holds its shape well, classic creamy peanut butter (like Jif or Skippy) is recommended. If you opt for natural or organic peanut butter, which tends to be runnier, the bars may be softer and require more chilling time or an additional tablespoon or two of almond/oat flour to firm up the base. All types will taste delicious, but their structural integrity will vary.
Expert Cutting Tips
To achieve clean, professional-looking slices without cracked chocolate, keep the bars in the pan while cutting. Use a very sharp knife. Before making a full cut, gently score the chocolate layer a few times with the tip of the knife along your desired cut lines. This helps to ‘break’ the chocolate cleanly. Then, press down firmly to cut all the way through. Once all rows are cut, you can easily lift the entire batch out of the pan using the parchment paper to separate and serve the individual bars.
Storage Suggestions
These no-bake peanut butter bars are incredibly versatile when it comes to storage. Store them in an airtight container in the refrigerator for up to 2 weeks for optimal freshness and firmness. For longer storage, they freeze beautifully for up to 2-3 months. Simply thaw in the refrigerator or at room temperature for a few minutes before enjoying. They can also be kept at cool room temperature for a few days, though they may soften slightly, especially if your kitchen is warm.
Flavor Variations
Feel free to experiment with the chocolate topping! You can use milk chocolate for a sweeter profile, or even white chocolate for a different look and taste. A sprinkle of mini chocolate chips on top of the melted chocolate before chilling adds extra visual appeal and texture. For an additional crunch, mix finely chopped peanuts or pretzels into the peanut butter base. A pinch of cinnamon or a tiny dash of cayenne pepper in the chocolate can also add an unexpected layer of flavor complexity.
Nutrition Information (per bar)
Calories: 269kcal, Carbohydrates: 18g, Protein: 8g, Fat: 20g, Saturated Fat: 5g, Polyunsaturated Fat: 3g, Monounsaturated Fat: 7g, Trans Fat: 0.01g, Cholesterol: 1mg, Sodium: 101mg, Potassium: 192mg, Fiber: 3g, Sugar: 12g, Vitamin A: 5IU, Vitamin C: 0.03mg, Calcium: 38mg, Iron: 1mg
Did you make this recipe?
Please leave a star rating and review below. It helps others when searching for recipes and I LOVE feedback!