

Welcome to the world of truly exceptional gluten-free baking! If you’ve been on a quest for the perfect savory treat that’s both light and satisfying, these **Gluten-Free Cheese Scones** are about to become your new obsession. Imagine the irresistible aroma of warm, fluffy scones, bursting with sharp cheddar cheese and a hint of garlic – a delightful experience that rivals even the most beloved bakery creations. For those who adore Red Lobster’s famous Cheddar Bay Biscuits, prepare to be amazed, because this easy recipe delivers a remarkably similar, tender, and incredibly flaky gluten-free version right in your own kitchen.
What makes these cheese scones stand out from the crowd? The secret lies in a few key techniques that guarantee a tender crumb and prevent the common pitfalls of dry, gritty gluten-free baked goods. We swap traditional buttermilk for creamy plain yogurt and incorporate a crucial, yet simple, resting period for the dough before baking. These steps work wonders to eliminate grittiness and ensure every bite is wonderfully moist and flaky. Let’s embark on this baking adventure together and create perfect, savory gluten-free cheese scones every time!

The Best Savory Cheese Scones: A Gluten-Free Revelation
Crafting homemade gluten-free cheddar scones has become a consistent joy in my kitchen. Forget complicated processes or a pile of dirty dishes; everything comes together effortlessly in a single bowl. Simply drop the dough onto a baking pan, and let the oven work its magic. But more importantly, the results are consistently phenomenal, delivering a taste and texture so authentic, you’d never guess they were gluten-free. This recipe truly redefines expectations for gluten-free baking, proving that “gluten-free” doesn’t have to mean compromising on flavor or texture.
This savory cheddar version is a beloved spin-off from another community favorite: our incredibly popular fluffy gluten-free biscuits recipe. With countless rave reviews in our extensive gluten-free bread recipe collection, it was a natural evolution to adapt that successful base into these absolutely divine cheddar and garlic flavored scones. The cheddar biscuit experiment was an undeniable triumph, and frankly, I’m finding it hard to return to my original biscuit recipe because these cheese scones are just too good to resist! Their versatility makes them a perfect accompaniment to breakfast spreads, an ideal afternoon snack, or, for the ultimate indulgence, smothered in rich, creamy gluten-free sausage gravy. They are truly a treat for any time of day.
“These were amazing! My celiac son loved them and the rest of us at our share as well! You’d never know they were GF. I’ll definitely be making them again!”
—Erika
Mastering Tender, Flaky Gluten-Free Scones: Essential Tips
Achieving the perfect texture in gluten-free baking can sometimes feel like a challenge, but with these proven techniques, you’ll avoid dry, crumbly homemade scones and instead create consistently tender and flaky results:
- Embrace Yogurt Over Buttermilk: Unlike traditional wheat flour, gluten-free flours absorb liquids differently. Buttermilk tends to make gluten-free dough spread too much, resulting in flat, dense scones. Plain whole-milk yogurt, however, provides the necessary acidity and moisture without over-hydrating, leading to a beautifully structured and tender scone. This is a game-changer for maintaining shape and achieving a soft interior.
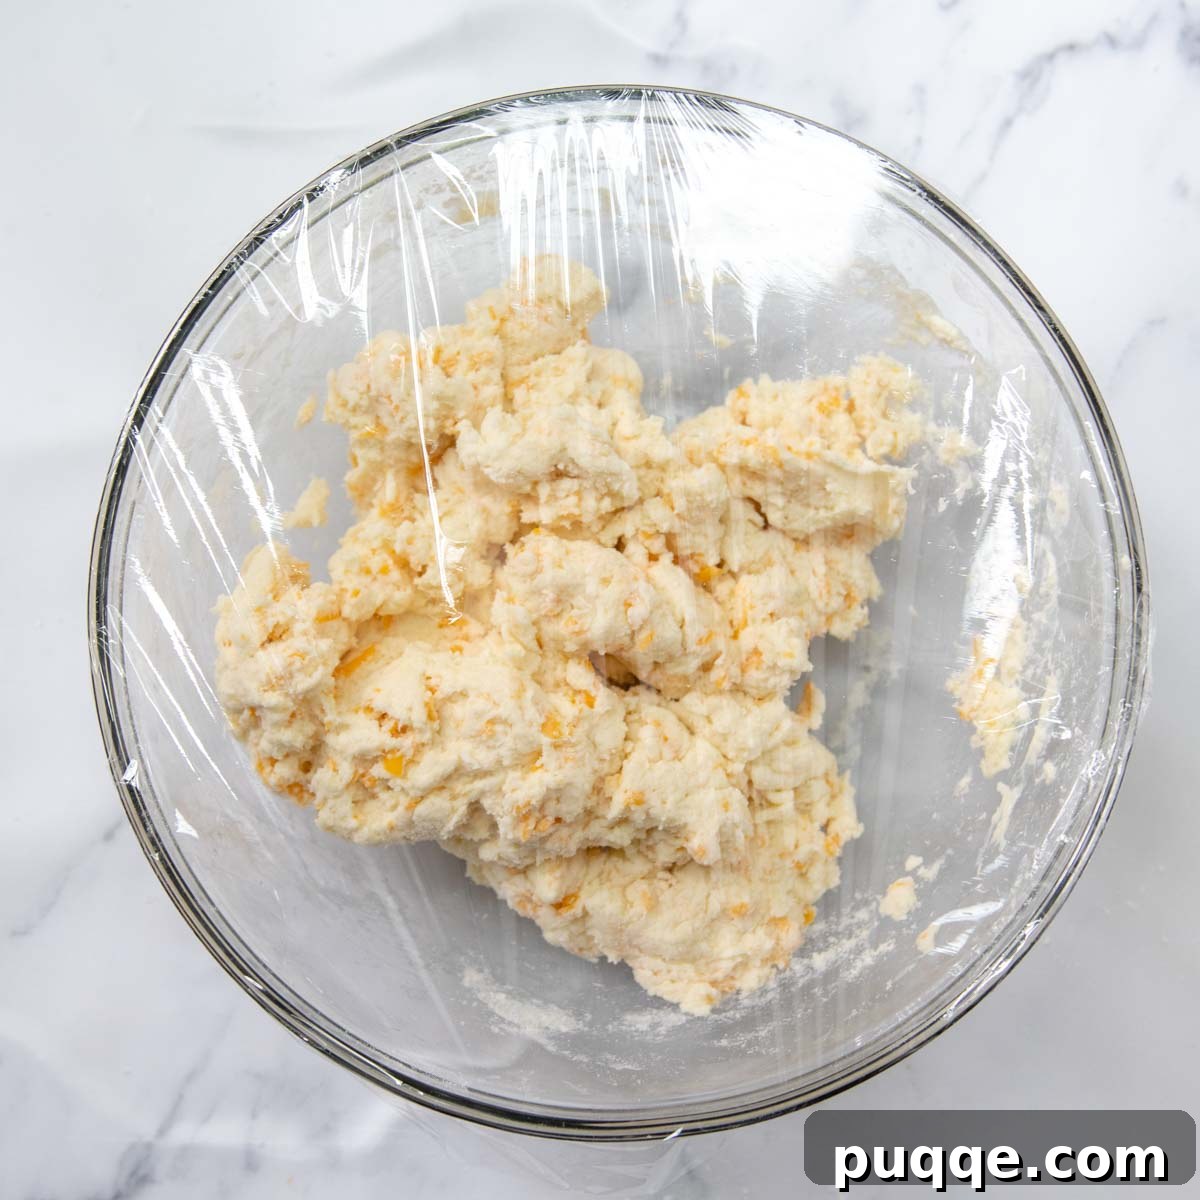
- The Power of Resting the Dough: This might seem like an extra step, but it’s crucial for gluten-free recipes. After mixing all the ingredients, cover the dough with plastic wrap and chill it for a minimum of 30 minutes. This resting period allows the various gluten-free starches in your flour blend to fully hydrate. Proper hydration eliminates any potential grittiness and ensures a smooth, cohesive dough that bakes up incredibly tender and moist. Skipping this step often leads to a less refined texture.
- Strategic Placement on the Baking Sheet: For maximum tenderness and a delightful rise, arrange your scones relatively close together on the baking sheet. This seemingly small detail is incredibly effective. As the scones bake, the trapped steam between them creates a humid micro-environment. This steam helps the scones to rise higher and become exceptionally light and fluffy inside, preventing them from drying out on the edges.
- Invest in a Quality Gluten-Free Flour Blend: The foundation of any great gluten-free baked good is the flour. Not all gluten-free flour blends are created equal. I consistently recommend Cup4Cup all-purpose gluten-free flour because of its superior performance. Its unique blend, often including cornstarch, contributes to a remarkably soft texture and boasts a neutral, pleasing taste that won’t overpower the delicious cheddar and garlic flavors of your scones. Using a reliable blend makes a significant difference in your baking success.

Let’s Bake These Savory Scones: A Detailed Guide
Baking delicious gluten-free cheese scones is an enjoyable process, especially when you understand each step. Below, you’ll find step-by-step photos and detailed instructions. For the complete recipe, including precise ingredient amounts and nutritional information, please scroll down to the dedicated recipe card.
Step 1: Whisk the Dry Ingredients and Cut in Cold Butter
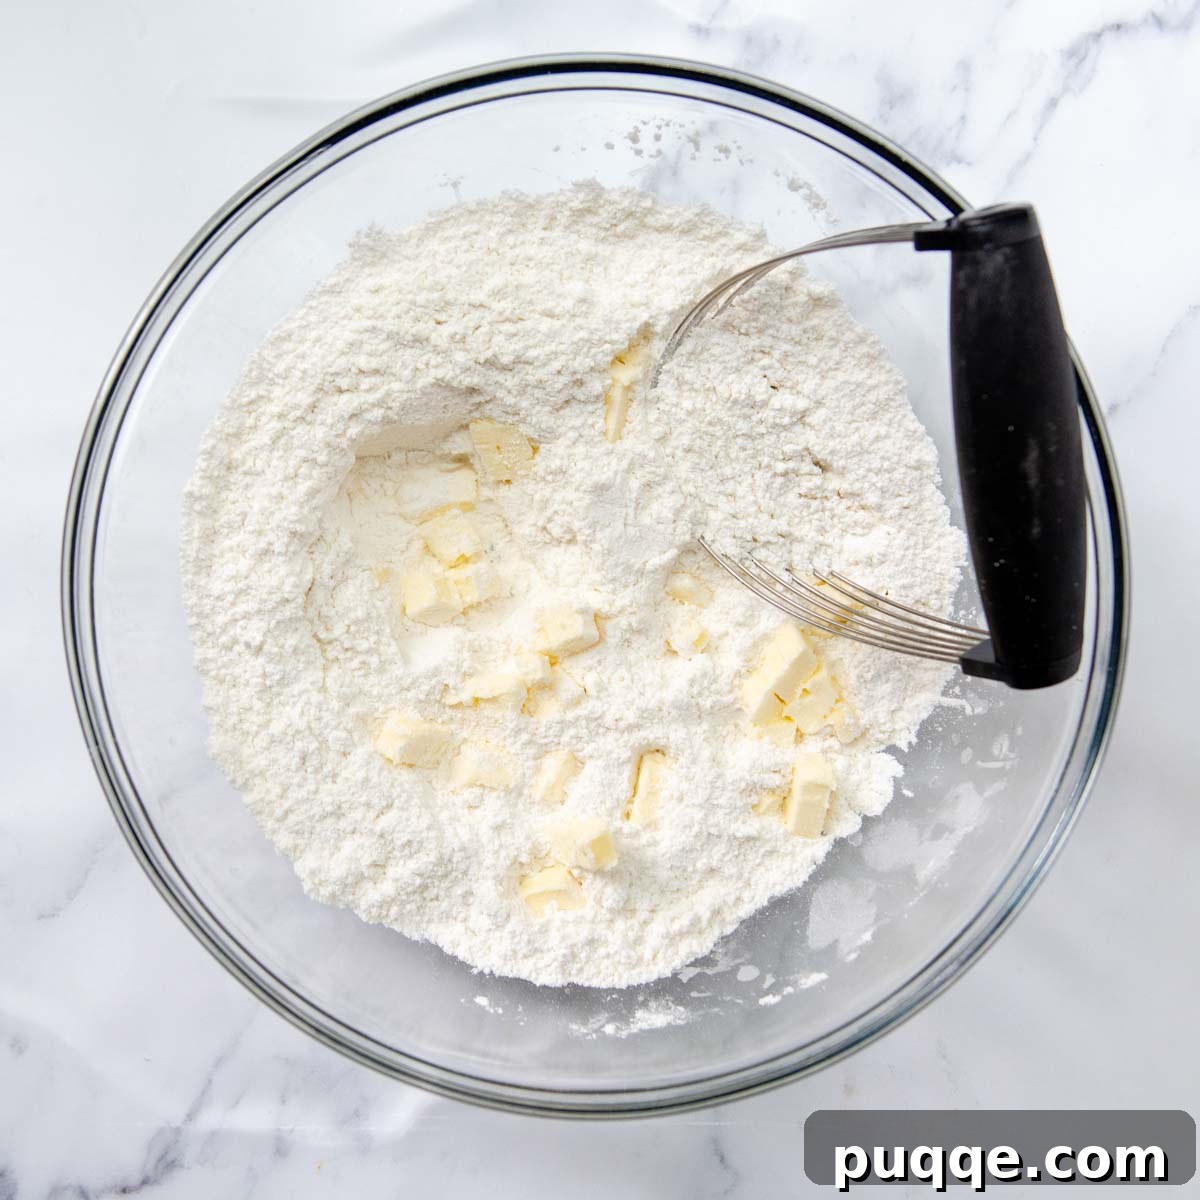
Begin by combining all your dry ingredients – the gluten-free flour blend, baking powder, garlic powder, sugar, salt, and baking soda – in a large mixing bowl. Whisk them thoroughly until they are uniformly combined, ensuring an even distribution of leavening agents and seasonings. Next, introduce the very cold butter, cut into small pieces. It’s time to work the butter into the dry mixture. You can use a pastry blender, a sturdy fork, or even your fingertips. The goal is to incorporate the butter until the mixture resembles coarse sand with small, pea-sized pieces of butter still visible. Avoid overworking it; the small pockets of butter are what create those desirable flaky layers when baked.
Step 2: Add Wet Ingredients, Cheesy Goodness, and Crucial Rest
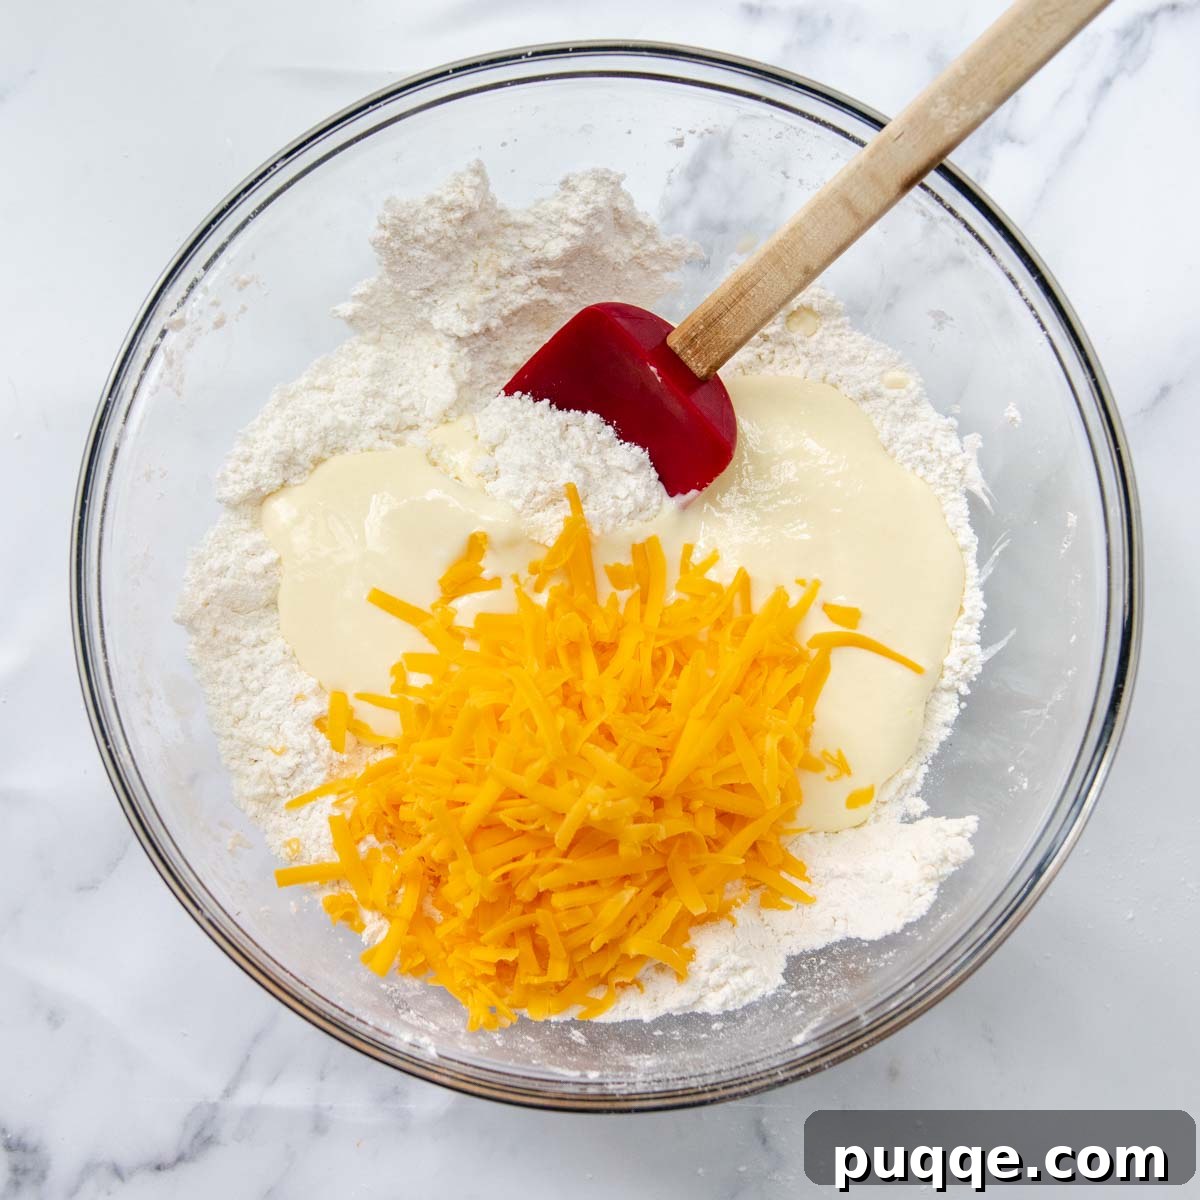
In a separate, smaller bowl, whisk together the wet ingredients: vegetable oil, a large egg, the plain whole-milk yogurt, and fresh lemon juice (or vinegar, if substituting). Once well combined, pour this wet mixture into the flour and butter mixture. Now, it’s time to add the star ingredient – your freshly grated sharp cheddar cheese. Gently stir everything together until a soft, cohesive dough forms. Be careful not to overmix; just combine until no dry flour pockets remain. Once the dough is ready, cover the bowl tightly with plastic wrap and transfer it to the refrigerator to chill for at least 30 minutes. This chilling period is absolutely crucial. It allows the gluten-free starches to fully hydrate and absorb the moisture and fat, preventing the scones from becoming dry and gritty. This easy step is a secret to achieving a soft, tender texture every time.
Step 3: Easy to Shape Drop Scones and Strategic Placement
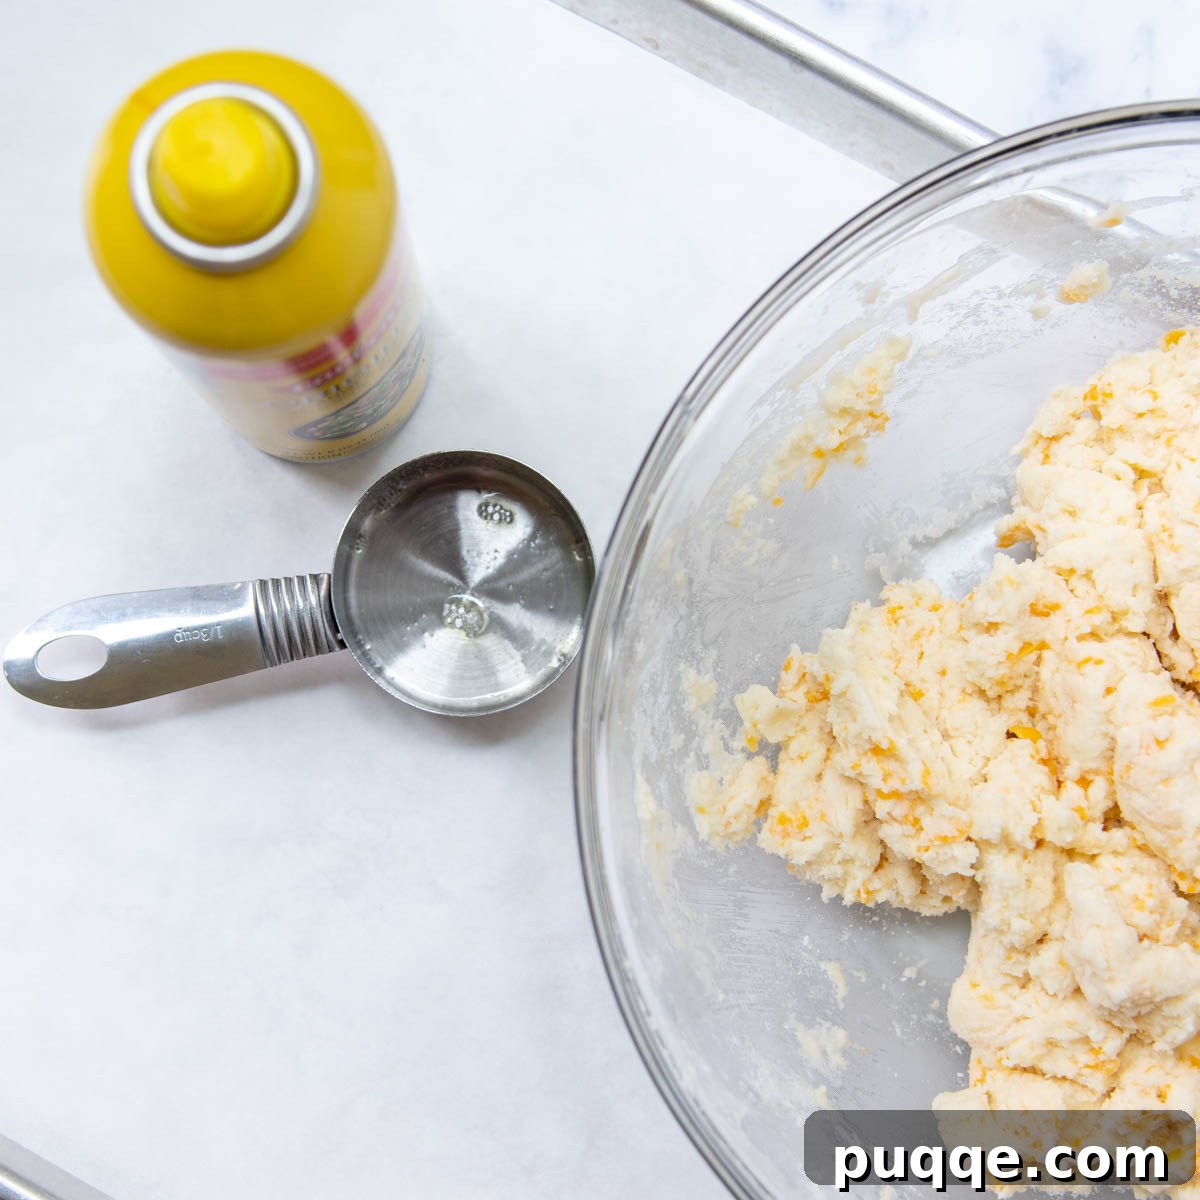
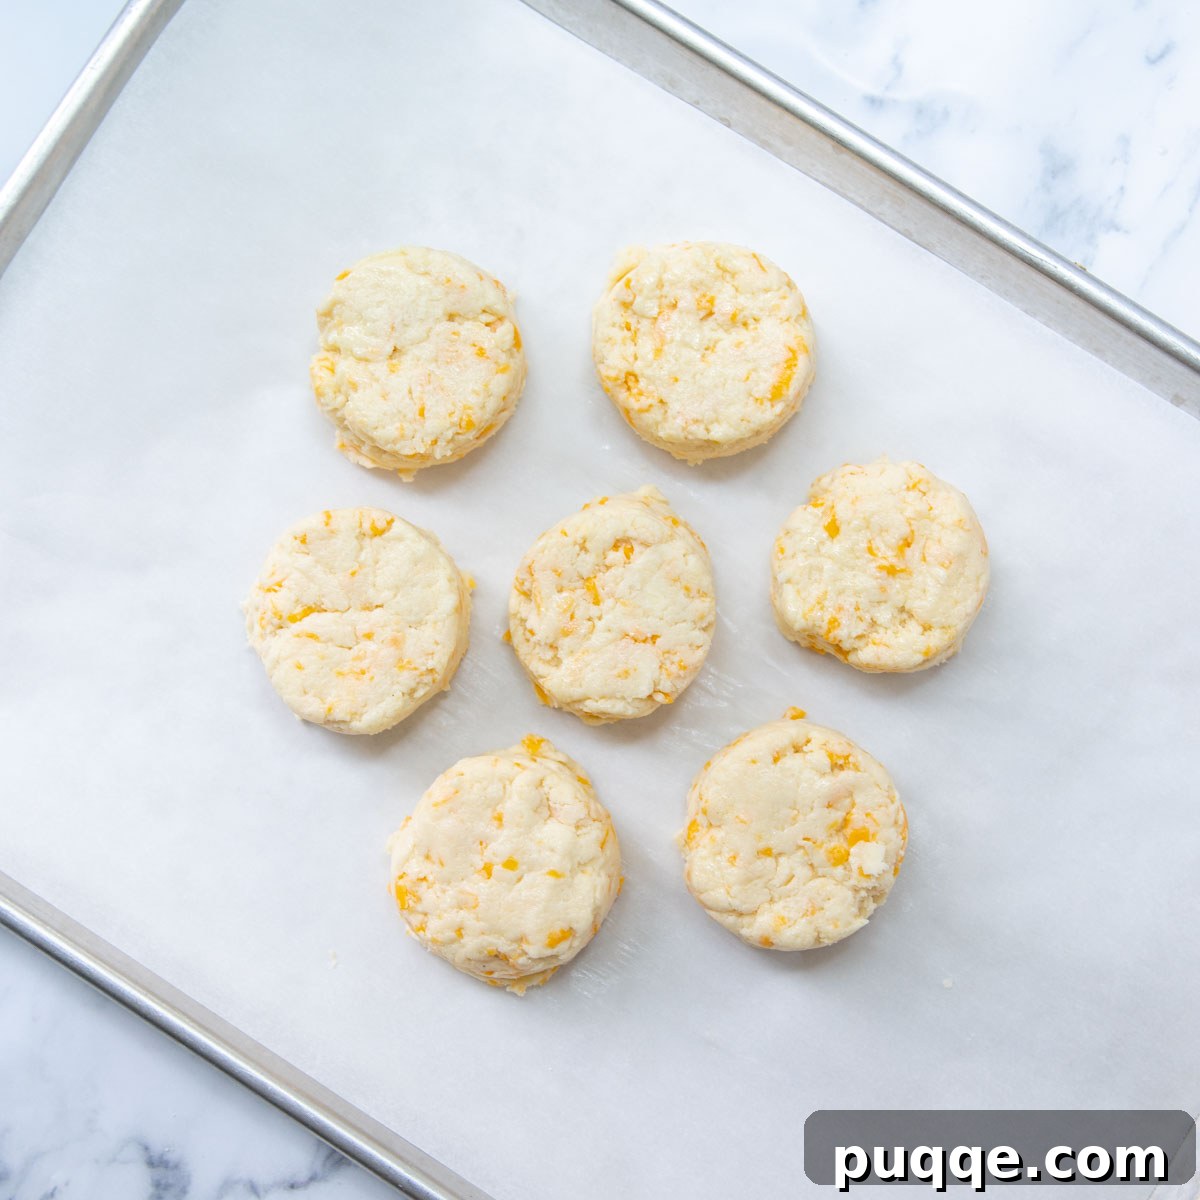
If the thought of shaping homemade scones has ever intimidated you, you’ll absolutely love the simplicity of these drop scones. There’s no rolling or cutting required! To create uniform portions, lightly grease a 1/3-cup measuring cup with cooking spray. Scoop a heaping amount of the chilled dough into the cup, then gently plop it onto a baking sheet that has been lined with parchment paper. This method ensures quick and easy portioning. To maximize tenderness and achieve a beautiful rise, arrange the scones fairly close together, about 1/2 inch apart, in the center of the baking sheet. This close proximity helps to trap steam during baking, which in turn results in wonderfully fluffy and soft scones with an irresistibly tender crumb. Preheat your oven to 450ºF (230ºC) while you arrange your scones.
Unleash Your Creativity: Yummiest Add-In Ideas for Savory Scones
While these savory cheddar scones are absolutely incredible as they are, their robust flavor profile makes them an ideal canvas for a variety of delicious additions. Feel free to experiment and customize them to your heart’s content!
- Fresh Herbs: Elevate the flavor with finely chopped fresh chives, scallions, parsley, or rosemary. These add a wonderful aromatic quality and a pop of color.
- Crumbled Cooked Bacon: For a smoky, salty, and utterly irresistible kick, fold in crispy, crumbled cooked bacon. Bacon and cheddar are a match made in heaven!
- Spicy Enhancements: If you enjoy a bit of heat, a pinch of cayenne pepper or a dash of red pepper flakes can add a delightful warmth without overwhelming the cheese flavor.
- Different Cheeses: Don’t limit yourself to just cheddar! Experiment with other varieties like spicy pepper jack for a kick, creamy mozzarella, nutty Swiss, sharp Parmesan, or rich Gouda for a unique twist. A blend of cheeses can also be fantastic.
- Sausage or Ham: For a heartier scone, especially perfect for breakfast or brunch, fold in finely crumbled cooked breakfast sausage or diced cooked ham.
- Onion or Garlic: Finely minced sautéed onions or additional roasted garlic cloves can deepen the savory profile. Just ensure they are cooked and cooled before adding.
- A Touch of Sweetness: While savory, a small amount of finely peeled and chopped apple can add a subtle sweetness and moisture, creating a lovely contrast.
Bonus Ingredient Swaps and Expert Baking Tips
To ensure your gluten-free cheese scones are always a success, here are some additional tips and flexible ingredient substitutions:
- Yogurt Alternatives: If you don’t have plain whole-milk yogurt on hand, full-fat sour cream can be substituted with equally excellent results, providing the same crucial moisture and tang. I’ve also had success using vanilla-flavored yogurt, which surprisingly doesn’t negatively affect the savory taste of the scones. Just ensure it’s not a highly sweetened variety.
- Lemon Juice Substitution: Fresh lemon juice adds a bright note and helps activate the baking soda. If you’re out of lemons, white vinegar or apple cider vinegar can be substituted in equal amounts, yielding similarly good results.
- Choosing Your Cheddar: For the most pronounced and delicious cheese flavor, I highly recommend using sharp cheddar cheese. Its robust profile truly shines through. However, if you prefer a milder taste or that’s what you have available, mild cheddar can be substituted without issue.
- Freshly Grated Cheese is Best: Whenever possible, grate your own cheese from a block. Pre-shredded bagged cheeses often contain anti-caking agents like cellulose or potato starch, which can hinder melting and affect the overall texture of your scones. Freshly grated cheese melts beautifully, integrating seamlessly into the dough for a richer, creamier cheesy goodness.
- Preventing Burnt Bottoms: Gluten-free scones often bake at a higher temperature to achieve a crisp exterior and proper rise. To prevent the bottoms from burning before the centers are fully cooked, use two baking sheets stacked together. This creates an insulating layer, distributing the heat more evenly and ensuring your scones are perfectly golden all around.
- Maximizing Tenderness: As mentioned in the main instructions, arranging the biscuits closely together in the center of the baking sheets is a clever trick. This simple act traps steam during baking, creating a more humid environment that contributes significantly to the scones’ tender and fluffy internal texture. Don’t spread them too far apart!
- Storage and Reheating: Leftover cheese scones can be stored in an airtight container at room temperature for up to 2 days, or in the refrigerator for up to 5 days. For best results, gently reheat them in a toaster oven or microwave until warm and soft.

Save This Recipe to Your Pinterest Board!
Let’s be friends on Pinterest! I’m always sharing great recipes and baking inspiration!
Did you make this recipe? I love hearing from you! Leave a star rating and comment below the recipe card. Your feedback is invaluable to our community and helps others discover fantastic recipes. I always make sure to respond! -Melissa

Gluten Free Cheese Scones (Extra Tender)
 Melissa Erdelac
Pin
Rate
Remove Ads
Ingredients
- 2 cups (292 g) all-purpose gluten free flour blend, I recommend Cup4Cup gluten-free flour
- 4 teaspoons baking powder
- 1 teaspoon garlic powder
- 1 teaspoon sugar
- ½ teaspoon salt
- ¼ teaspoon baking soda
- 3 tablespoons (42 g) butter, chilled and cut into small pieces
- ¾ cup (190 g) plain whole-milk yogurt, (low-fat may be substituted)
- 1 large egg
- 2 tablespoons (27 g) vegetable oil
- 2 teaspoon lemon juice, (I’ve substituted vinegar for this with good results)
- 1 cup (125 g) shredded Sharp cheddar cheese
Equipment
-
Cup4Cup Gluten Free Flour
-
Pastry Cutter
-
Baking Sheets
Instructions
-
Whisk together the gluten-free flour blend, baking powder, garlic powder, sugar, salt, and baking soda in a large bowl until thoroughly combined. Add the chilled butter, cut into small pieces, and cut it into the dry ingredients using a pastry blender, fork, or your fingertips until small, pea-sized pieces of butter remain and the mixture resembles coarse sand.2 cups (292 g) all-purpose gluten free flour blend, 4 teaspoons baking powder, 1 teaspoon garlic powder, 1 teaspoon sugar, ½ teaspoon salt, ¼ teaspoon baking soda, 3 tablespoons (42 g) butter
-
In a separate bowl, whisk together the plain whole-milk yogurt, large egg, vegetable oil, and lemon juice. Pour this wet mixture into the flour and butter mixture, then add the shredded sharp cheddar cheese. Stir everything gently until just combined and no pockets of dry flour remain. Avoid overmixing. Cover the bowl with plastic wrap and chill the dough in the refrigerator for 30 minutes. This essential step allows the gluten-free starches to properly hydrate, making the dough easier to handle and ensuring tender, non-gritty scones. While the dough chills, preheat your oven to 450ºF (230ºC).¾ cup (190 g) plain whole-milk yogurt, 1 large egg, 2 tablespoons (27 g) vegetable oil, 2 teaspoon lemon juice, 1 cup (125 g) shredded Sharp cheddar cheese
-
To prepare your baking surface, place one baking sheet inside another, creating a double layer for even heat distribution. Line the top baking sheet with parchment paper. Lightly grease a 1/3-cup measuring cup with cooking spray. Scoop a heaping amount of the chilled dough into the greased cup, then gently drop it onto the prepared baking sheet. Arrange the scones relatively close together, spacing them about 1/2 inch apart, preferably in the center of the sheet. This close placement helps to trap steam during baking, contributing to an extra tender and fluffy texture.
-
Bake the scones in the preheated oven for approximately 15-17 minutes, or until they are beautifully golden brown on top and cooked through. Keep a close eye on them, as oven temperatures can vary, and rotate the pan halfway through baking to ensure even browning.
-
Once baked, transfer the baking sheet to a wire rack and allow the scones to cool for 5-10 minutes before serving. This brief cooling period helps them set and ensures they are warm and tender, perfect for enjoying.
Notes
Tips and Tricks
- You can substitute sour cream for the yogurt with great results. I’ve also substituted vanilla yogurt without affecting the taste.
- If you don’t have lemon juice on hand, substitute vinegar.
- Using Sharp cheddar really gives a great cheese flavor, but mild cheddar may be substituted.
- I prefer using freshly grated cheese because it melts better. It’s free from the anti-clumping coating bagged shredded cheese contains.
- Bake on two baking sheets stacked together. These bake at a very high temperature. You don’t want to burn bottoms before fully cooked.
- Space the biscuits close together in center of baking sheets to trap steam and make them more tender.
Adapted from America’s Test Kitchen: The How Can it Be Gluten Free Cookbook