
The Ultimate Gluten-Free Oat Flour Banana Bread: A 5-Minute Prep Recipe
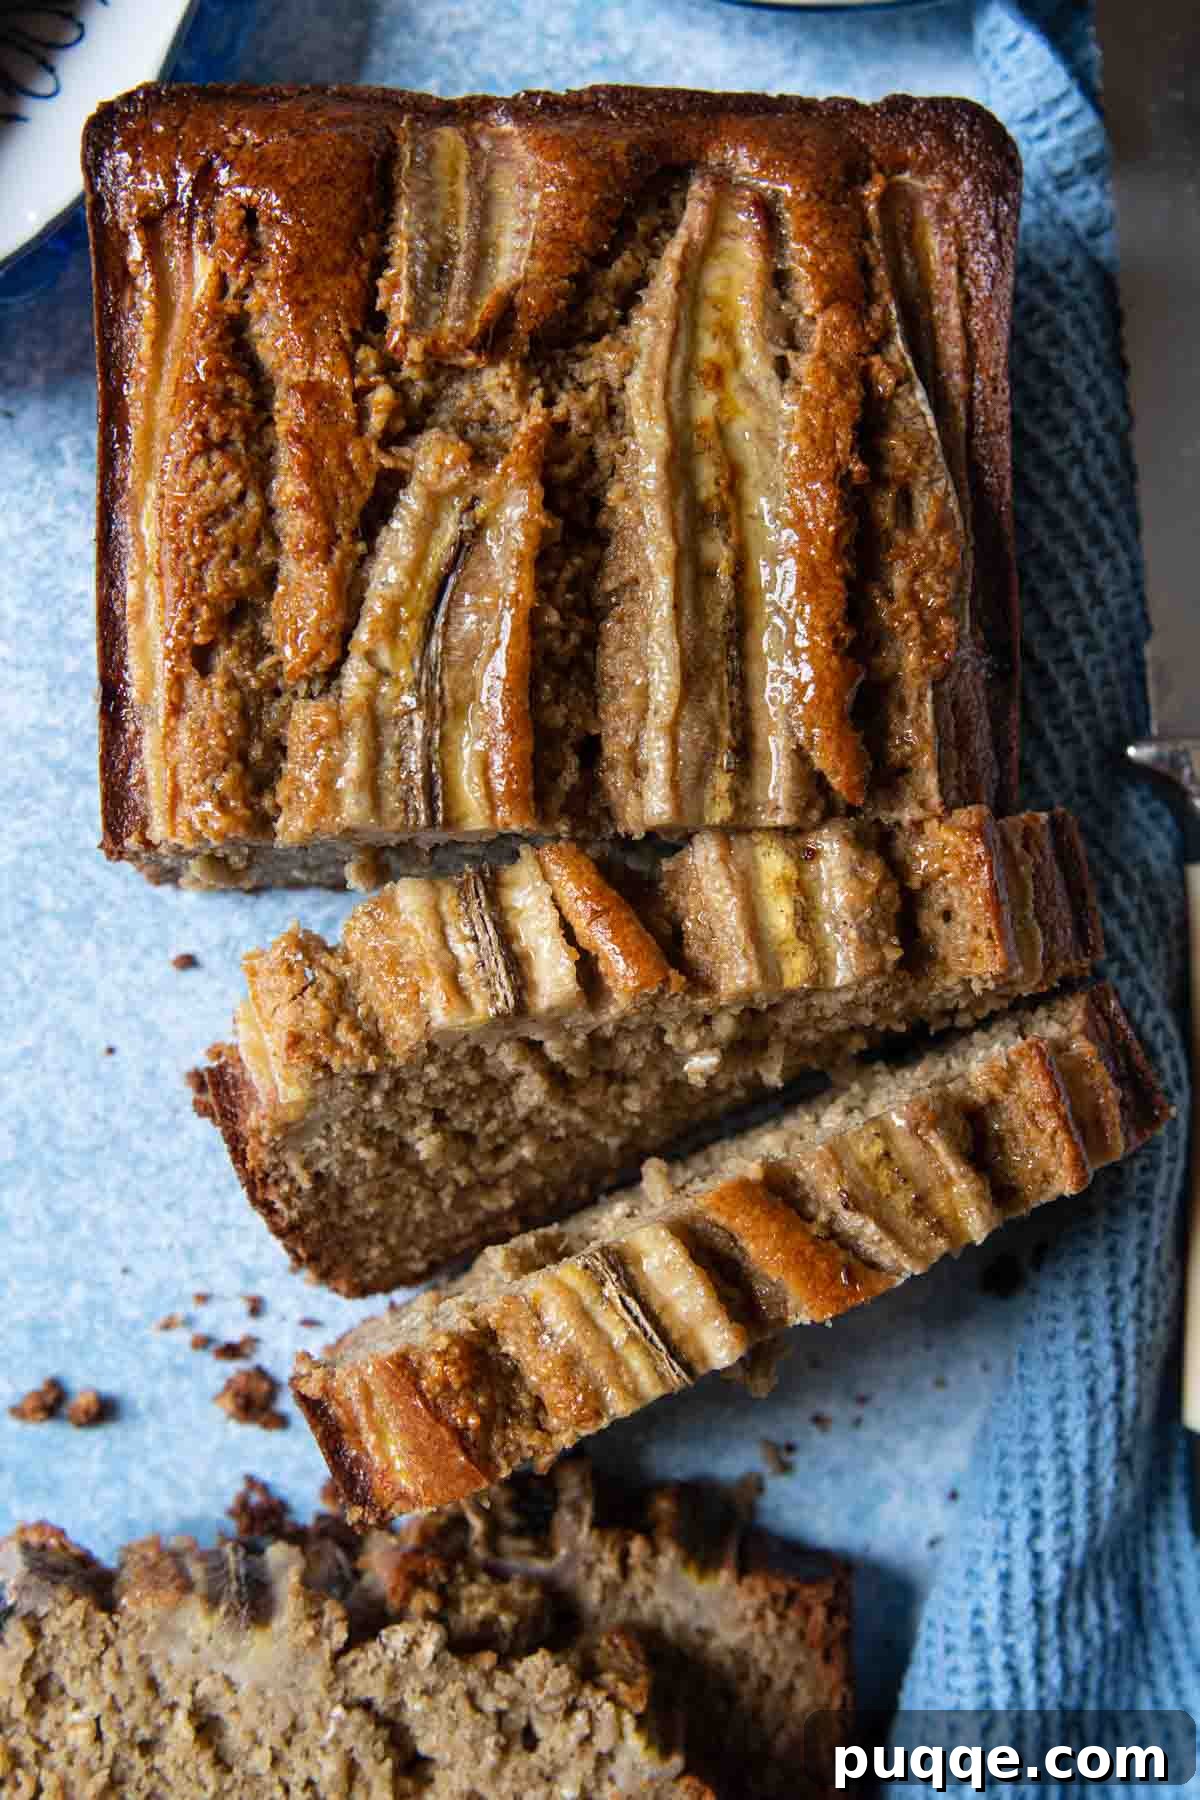
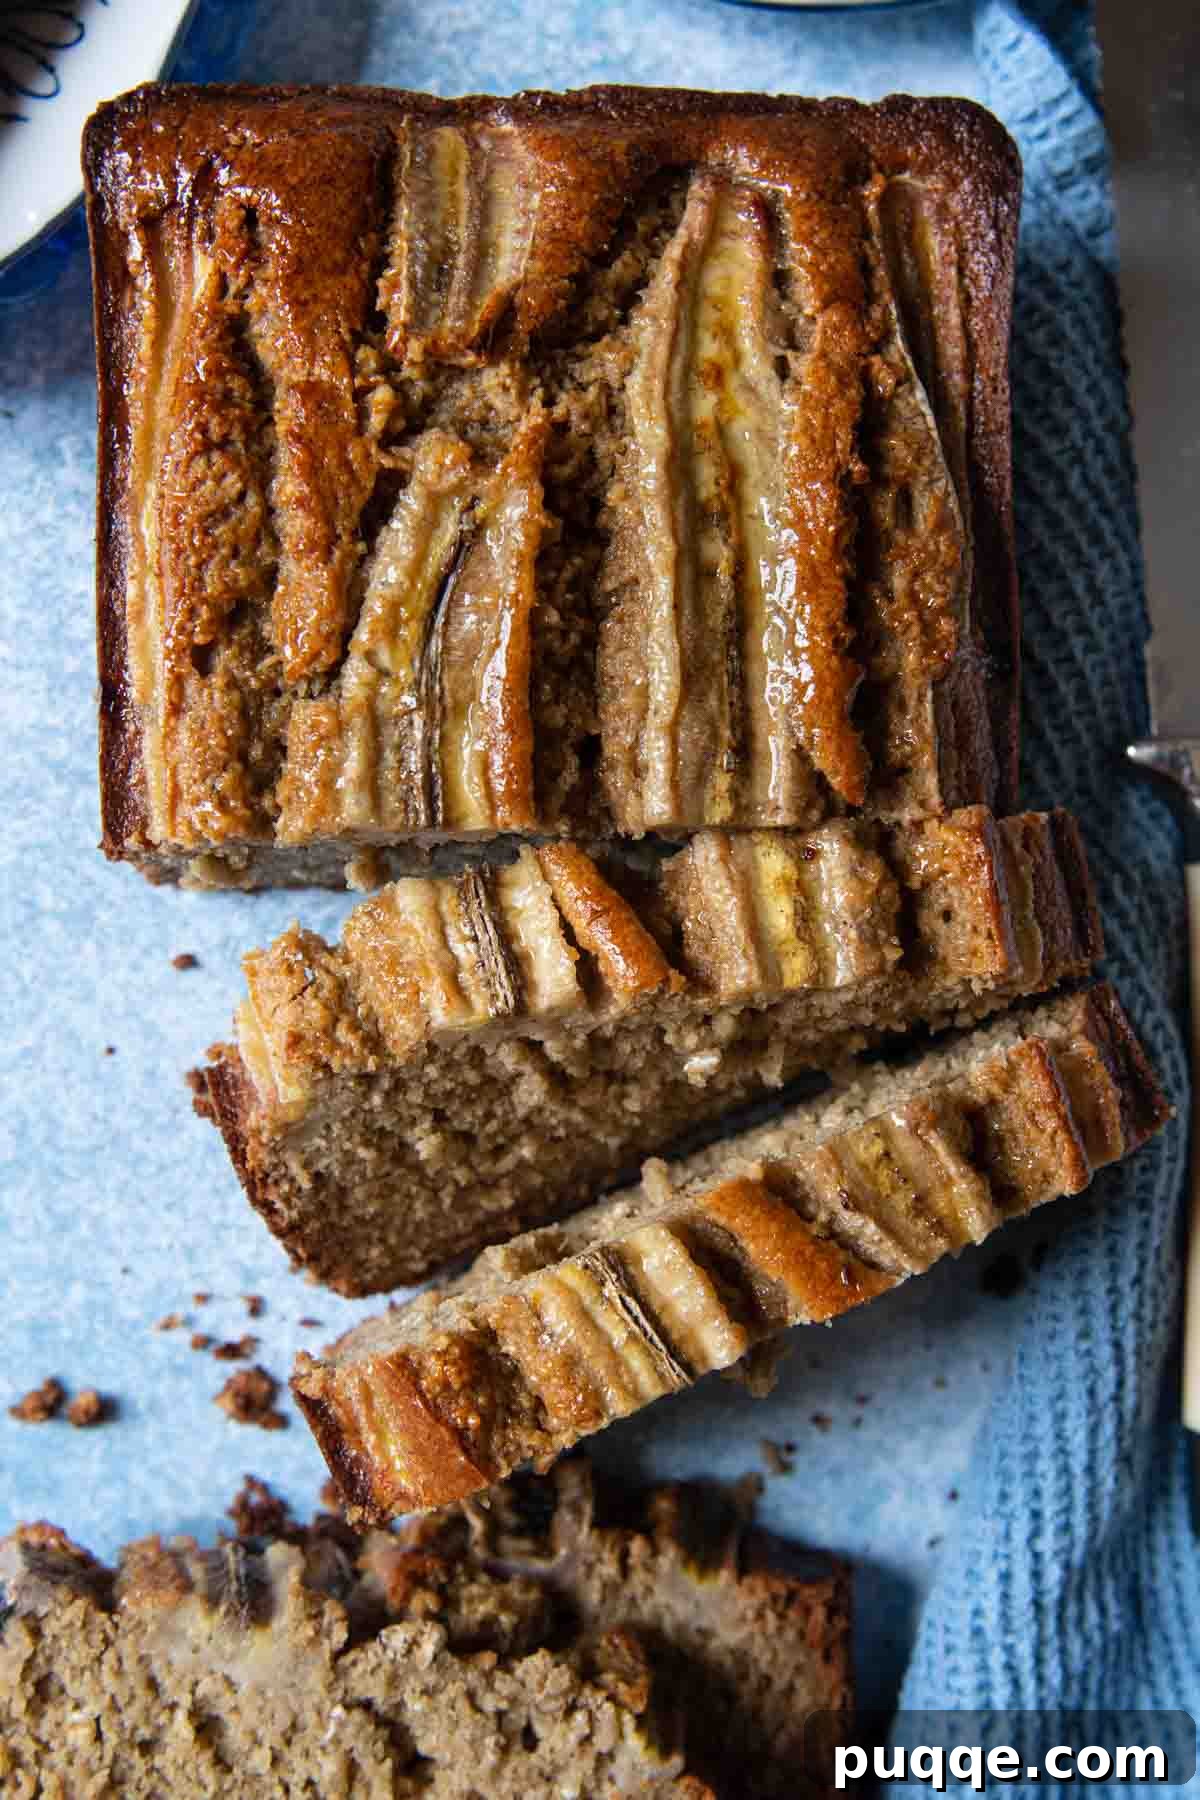
Imagine a golden, miraculously moist banana bread that’s not only incredibly delicious but also completely gluten-free, made exclusively with wholesome oats, and requires minimal effort to prepare. This dream is now a reality! Our oat flour banana bread recipe delivers a fluffy, tender loaf that’s naturally gluten-free, boasts a rich, comforting flavor, and comes together with just 5 minutes of active prep time. Utilizing simple, affordable ingredients often found right in your pantry, this homemade quick bread is a guaranteed crowd-pleaser, beloved by kids and adults alike, and vanishes surprisingly fast from any table.
Discover the Magic of Oat Flour: Healthy, Delicious, and Naturally Gluten-Free
Why settle for ordinary when you can bake extraordinary? This incredible recipe for homemade oat flour banana bread draws inspiration from popular, ridiculously easy gluten-free oatmeal bread recipes that have taken the internet by storm. The secret lies in a brilliant, yet simple substitution: instead of traditional wheat flour, we use 100% ground oats. This innovative approach means no yeast, no complex kneading, and an unbelievably quick and simple preparation process that yields a taste and texture so remarkable, it will truly impress you.
Using oats ground into flour is not merely an affordable hack for gluten-free baking; it’s a culinary revelation. Oats lend a distinctively nutty, wholesome flavor profile that perfectly complements the sweet, caramelized notes of ripe bananas. Furthermore, oats are naturally rich in fiber and essential nutrients, transforming your banana bread into a healthier, more satisfying treat. The versatility of oats allows us to create a bread that is not only naturally gluten-free but also boasts a wonderfully moist and tender crumb, making it a staple for anyone seeking delicious baked goods without gluten.
The beauty of this recipe is its simplicity and accessibility. You can effortlessly make gluten-free bread with inexpensive ingredients you likely already have in your pantry. No need for specialty flours or lengthy proofing times. Just pure, wholesome oats transformed into a delightful quick bread that brings joy to every bite.
Effortless Baking: How to Make Banana Bread in Just 5 Minutes
The preparation process for this oat flour banana bread is designed for maximum ease and minimal fuss. It begins in much the same way as creating tender, fluffy oat biscuits – with your trusty blender or food processor. In mere seconds, you can transform whole rolled oats into a fine, powdery flour. This eliminates the need for purchasing expensive specialty flours and ensures freshness.
Once your oat flour is ready, simply add the remaining ingredients directly into the same blender or food processor. A few more seconds of processing are all it takes to combine everything into a smooth, pourable batter. There’s no separate mixing bowls, no intricate steps, and definitely no kneading involved. Pour the batter into your prepared loaf pan, and it’s ready for the oven. This entire active preparation takes just minutes, allowing you to whip up a fresh-baked loaf of wholesome, flavorful banana bread with oat flour without any traditional flour, yeast, or extensive effort. It’s the ultimate solution for busy mornings or unexpected cravings for a homemade treat.
Essential Ingredients for Your Perfect Oat Flour Banana Bread
Crafting the perfect loaf of oat flour banana bread starts with understanding each ingredient and its role. Here’s a closer look at what you’ll need and why:
The Star: Oats & Oat Flour
For this recipe, you have the flexibility to either make your own homemade oat flour or use your favorite store-bought brand. If you opt to make your own, you’ll need 2 ½ cups of rolled oats, which will yield approximately the same amount of fine oat flour after blending. It’s a fantastic, cost-effective way to get fresh oat flour. However, for those with gluten sensitivities or celiac disease, it is absolutely crucial to use certified gluten-free oats, regardless of whether you’re grinding them yourself or buying pre-made flour, to prevent cross-contamination.
Bananas – The Ripeness Factor
When it comes to banana bread, the riper your bananas, the better the flavor. Overripe bananas, often speckled with brown spots, are ideal because their sugars have fully developed, providing a more pronounced, naturally sweet, and caramelized taste to the bread. They also mash more easily, creating a smoother batter. If your bananas aren’t quite ripe enough, you can speed up the process by placing them in a paper bag with an apple for a day or two.
Psyllium Husk: The Gluten-Free Binder
Psyllium husk powder is a truly remarkable ingredient that has become a recent, highly recommended addition to this recipe. In gluten-free baking, it acts as an exceptional binder, mimicking the elastic properties of gluten. This results in a banana bread that is more cohesive, significantly less crumbly, and much easier to slice without falling apart. While you can technically make the bread without it, I strongly encourage incorporating this affordable ingredient, as it vastly improves the texture and structure, and is a versatile staple for many other gluten-free baking endeavors.
Sweeteners & Fats
The type and amount of sweetener can greatly influence the final taste. Brown sugar is used in this recipe, providing a deep, molasses-like sweetness that gives the bread an old-fashioned, comforting flavor. However, the natural sweetness of ripe bananas means you have the flexibility to adjust the sugar content to your preference. For a less sweet loaf, reduce the brown sugar down to ⅓ cup. Alternatively, you can replace it with unrefined sweeteners like coconut sugar, pure maple syrup, or honey for a different flavor profile and potentially healthier option. As for oil, you can use any preferred variety such as coconut oil, canola oil, or olive oil. Keep in mind that the specific type of oil you choose will subtly affect the bread’s overall taste and aroma.
Dairy & Leavening
Milk is the sole dairy ingredient in this recipe, but it can be easily swapped out for a dairy-free alternative like almond milk, soy milk, or oat milk to make the bread completely dairy-free. This offers great flexibility for those with dietary restrictions. Baking powder and baking soda are the essential leavening agents, ensuring that your banana bread rises beautifully and achieves that desirable light and fluffy texture.
Step-by-Step Guide: Crafting Your Golden Loaf
(For specific ingredient amounts and detailed instructions, please refer to the comprehensive recipe card below. This section provides a step-by-step tutorial with helpful tips.)
Preparing Your Oat Flour Base
Begin by preheating your oven to 350ºF (175ºC) and generously greasing a 9×5-inch loaf pan with non-stick cooking spray. For an extra layer of non-stick assurance and easy removal, you can line the bottom of the pan with a piece of parchment paper and spray that as well. Set the prepared pan aside.
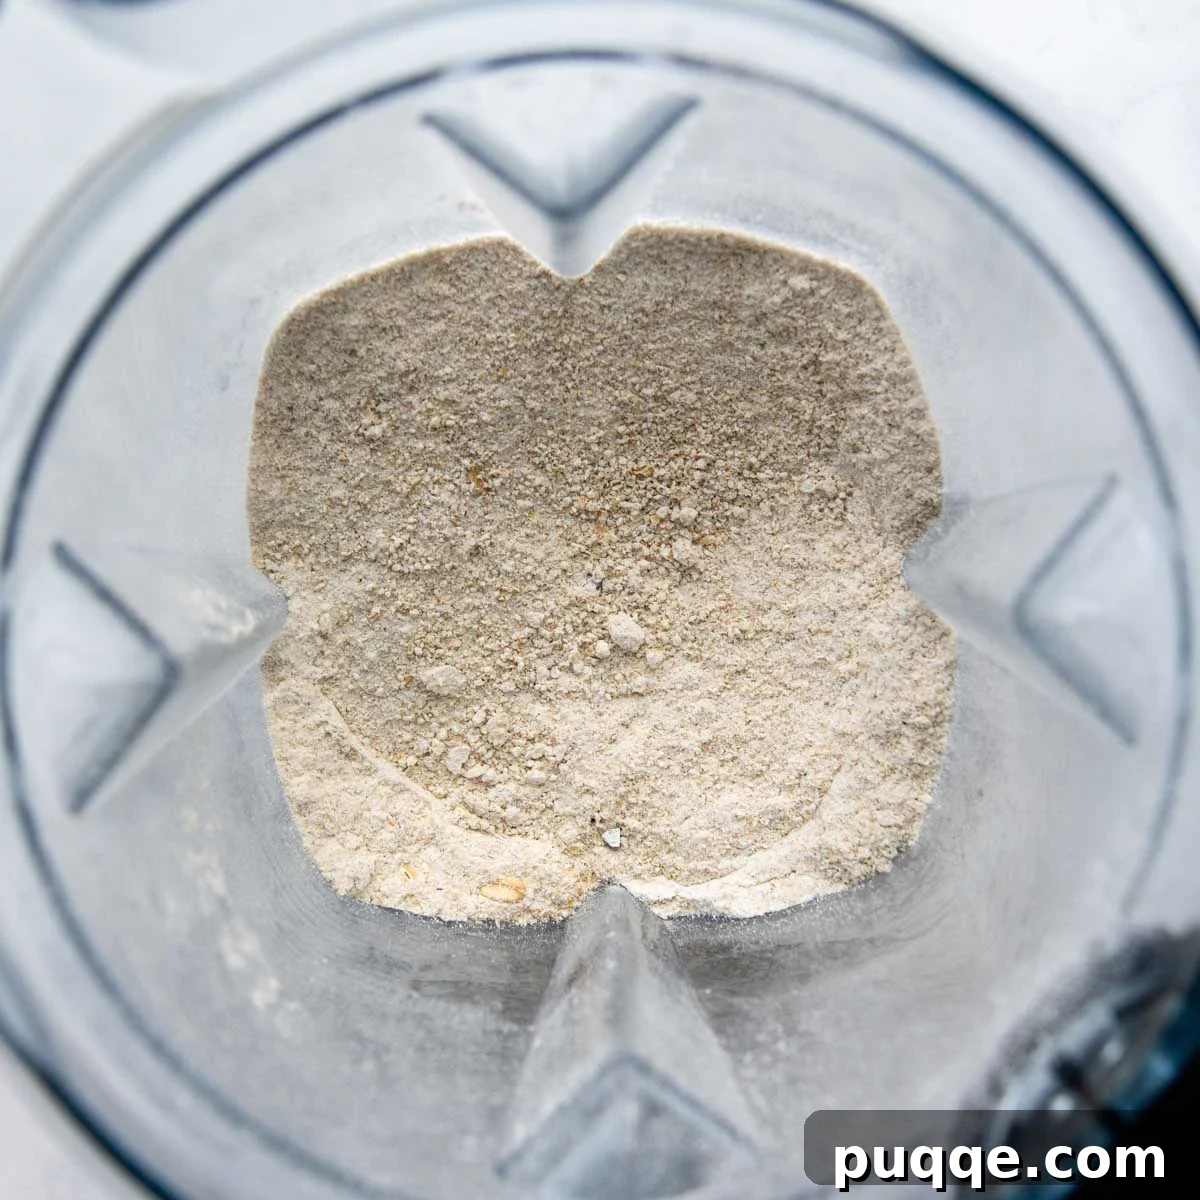
Next, if you’re making your own oat flour, place 2 ½ cups of rolled oats into a high-powered blender or food processor. Blend the oats until they transform into a fine, powdery flour. This usually takes about 30 seconds to 1 minute. Achieving a fine consistency is key for the best texture in your banana bread.
Blending for Perfection
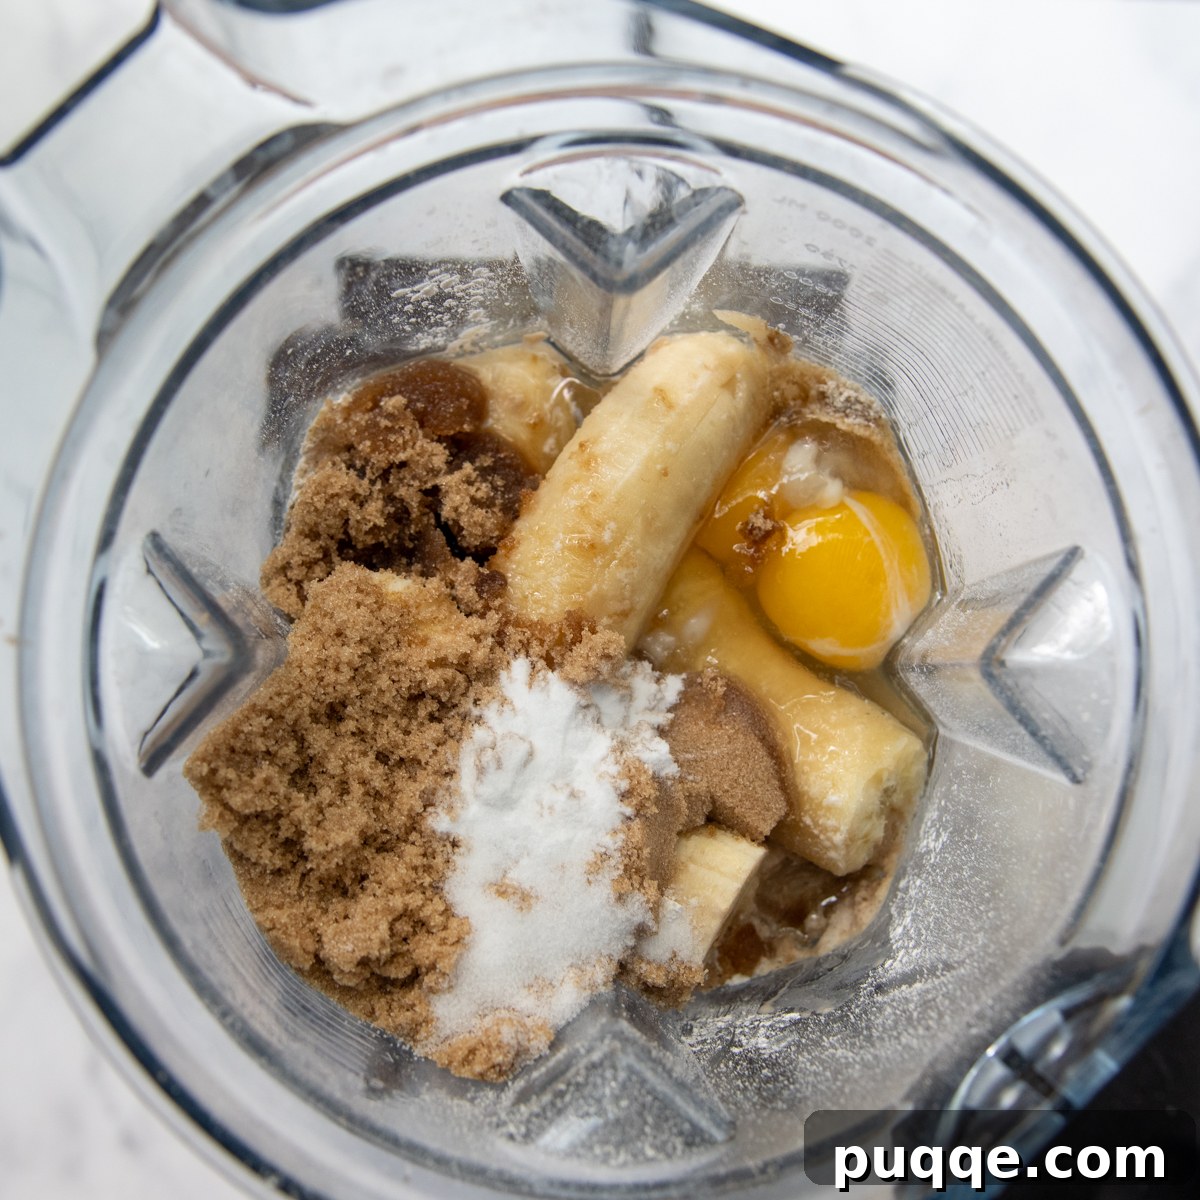
To the freshly made oat flour (or purchased oat flour), add the remaining wet and dry ingredients: the optional psyllium husk powder, mashed ripe bananas, brown sugar, milk (dairy or non-dairy), eggs, oil, baking powder, baking soda, salt, and vanilla extract. Blend all these ingredients together thoroughly until the mixture is smooth and well combined. You may need to pause and scrape down the sides of your blender or food processor halfway through to ensure everything is incorporated evenly.
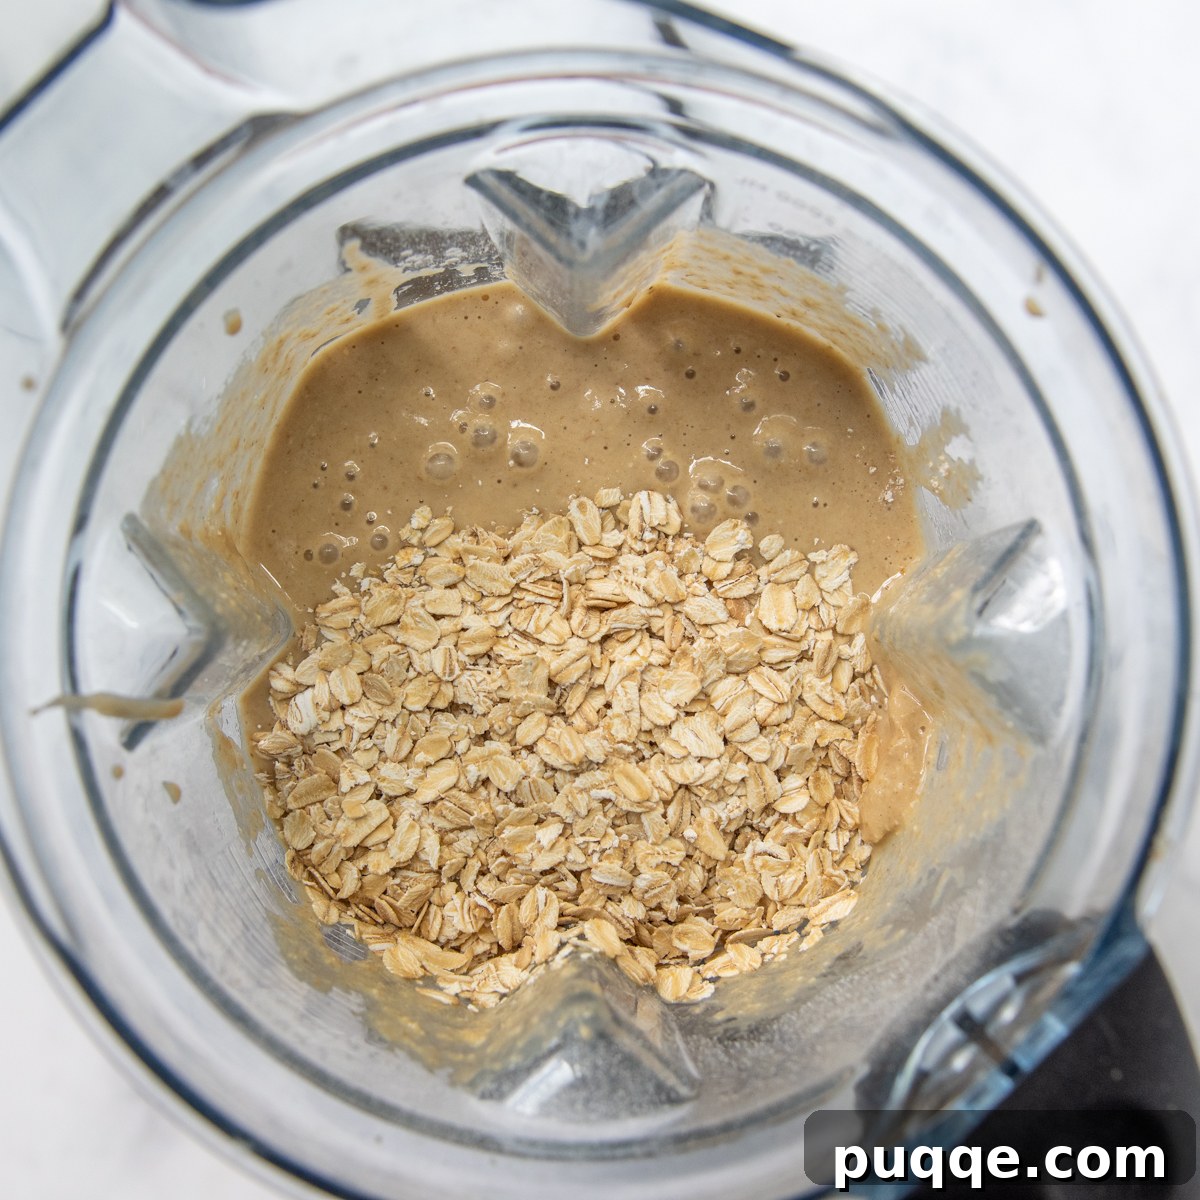
At this stage, the batter will appear quite thin, which is perfectly normal for this recipe. Now, add the remaining 1 cup of old-fashioned rolled oats to the blender. Pulse the mixture just 2-3 times – enough to combine the oats without finely grinding them. You want these oats to remain mostly whole, adding a lovely texture to the finished bread.
The Final Touches Before Baking
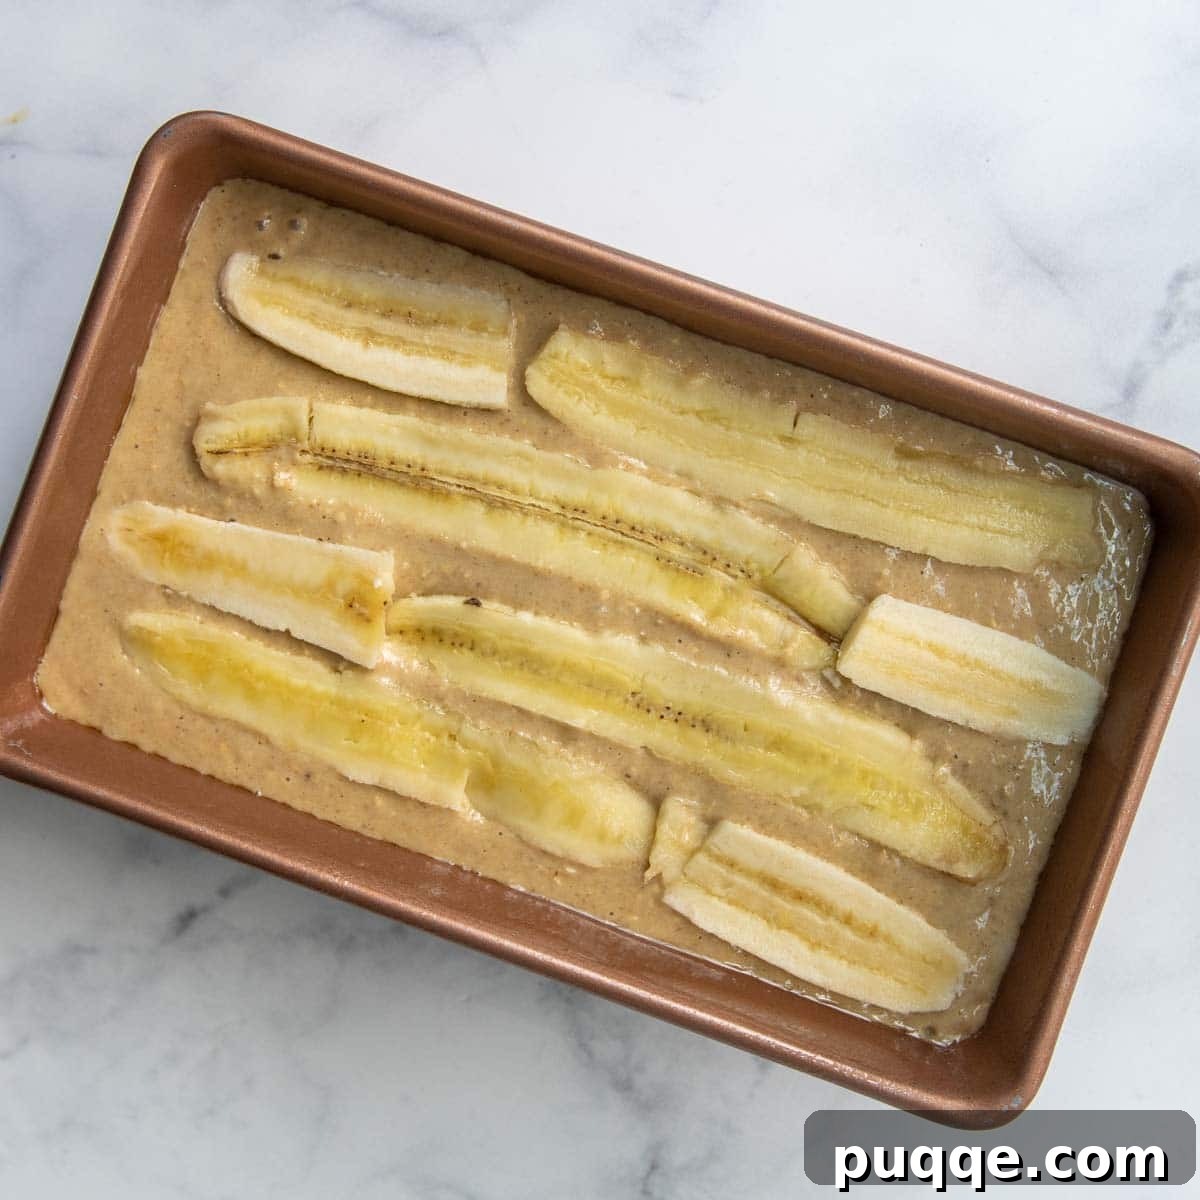
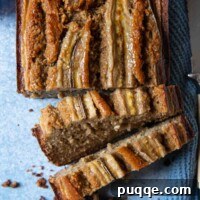
Finally, pour the smooth batter into your prepared and greased loaf pan. If you’re feeling a bit fancy and want to impress your guests (or just yourself!), you can thinly slice an additional banana lengthwise and artfully arrange the slices on top of the batter before baking. This creates a beautiful, caramelized topping as the bread bakes. Place the pan in the preheated oven and bake for approximately 70 minutes. To ensure your banana bread is perfectly cooked through, be sure to consult our detailed tips on checking for doneness below!
Achieving Baking Perfection: Knowing When Your Banana Bread is Done
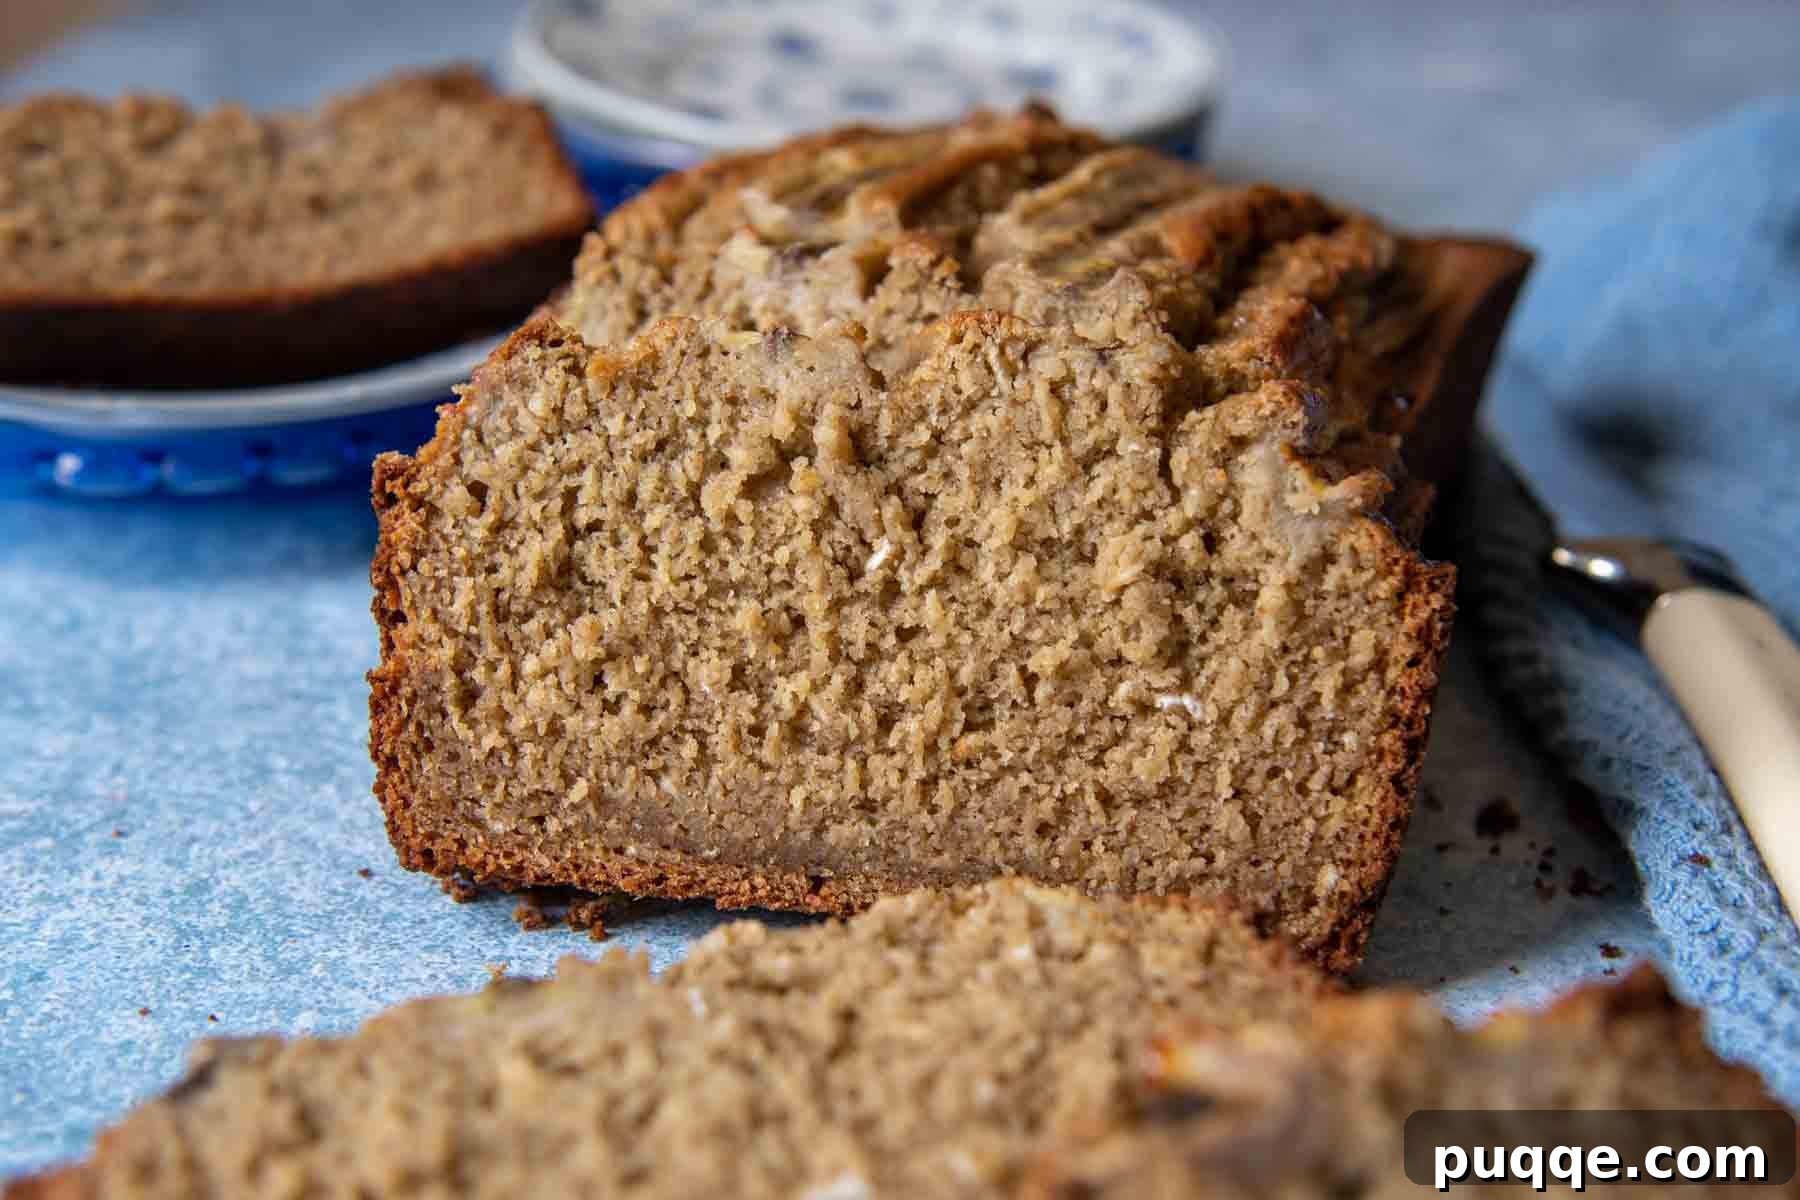
Baking with oat flour, especially a moist quick bread like banana bread, requires a little extra attention to ensure it’s cooked all the way through. Oat bread tends to retain a lot of moisture, meaning it needs ample time for the liquid to be fully absorbed and for the interior to set. A common pitfall is removing the bread too early because the crust appears perfectly golden and done, while the inside remains undercooked and gummy.
To confidently determine if your oat flour banana bread is thoroughly baked, always perform a simple test: insert a long wooden skewer or a thin knife into the very center of the loaf. It should come out clean, without any wet batter or crumbs clinging to it. If you see moist crumbs, continue baking for a few more minutes and test again. This step is crucial for banana bread, regardless of whether it’s made with traditional flour or oats.
For absolute certainty and to eliminate any guesswork, I highly recommend using an instant-read thermometer. When inserted into the middle of the loaf, the internal temperature should register between 190-200ºF (88-93ºC). This method provides an accurate reading and guarantees a perfectly cooked, moist, and tender crumb every time.
Customize Your Creation: Tips, Tricks, and Variations
This oat flour banana bread recipe is incredibly versatile and can be easily adapted to suit your taste preferences or dietary needs. Here are some bonus tips and delightful suggestions:
- No-Blender Method: If you don’t have a blender or food processor, you can still make this delicious bread! You will need to purchase pre-made oat flour. First, whisk together all the dry ingredients (oat flour, psyllium husk, baking powder, baking soda, and salt) in a large bowl. In a separate bowl, thoroughly mash your ripe bananas, then whisk in the eggs, milk, brown sugar, oil, and vanilla extract until well combined. Gently stir the wet ingredients into the dry ingredients until just combined, being careful not to overmix. Finally, fold in the remaining cup of whole rolled oats.
- Flavorful Add-ins: Get creative with your banana bread!
- For a delightful twist, add ½ cup of miniature chocolate chips to create a scrumptious oatmeal banana chocolate chip bread.
- If you love a nutty crunch, incorporate 1 cup of chopped pecans or walnuts for a classic banana nut bread.
- Enhance the warm, comforting flavor by adding 1 teaspoon of ground cinnamon, or even a pinch of nutmeg and ginger.
- Prevent Sticking: If your loaf pan doesn’t have a reliable non-stick coating, consider lining it with a piece of parchment paper. This simple step ensures the bread releases effortlessly after baking, preventing any frustration.
- Avoid Over-Browning: Should your banana bread start to brown too quickly on top during the baking process, simply tent a piece of aluminum foil loosely over the pan for the last 20-25 minutes of baking. This protects the crust from burning while allowing the interior to finish cooking perfectly.
Save this recipe to your Pinterest board!
Let’s be friends on Pinterest! I’m always sharing great recipes!
Rating: 4.87 stars (15 ratings)
Moist Oat Flour Banana Bread (5-Minute Recipe)
 Melissa Erdelac
Pin
Rate
Remove Ads
Ingredients
- 2 ½ cups (263 g) oat flour, (same as 2 ½ cups rolled oats blended into flour)
- 1 tablespoon (11 g) psyllium husk powder, (optional but greatly enhances texture – what is psyllium husk?)
- 3 medium ripe bananas , (optional – add 1 more banana for top)
- ¾ cup (176 g) packed brown sugar, (see recipe notes for low-sugar)
- ½ cup (123 g) milk, (or non-dairy milk)
- 2 large eggs
- ⅓ cup (73 g) canola or vegetable oil, (or melted coconut oil)
- 2 teaspoons baking powder
- ½ teaspoon baking soda
- 1 teaspoon salt
- 2 teaspoons vanilla extract
- 1 cup (105 g) old fashioned rolled oats, (use certified gluten free oats)
Equipment
-
High-power blender (e.g., Vitamix)
-
Food Processor
-
9X5 inch loaf pan
Instructions
-
Preheat the oven to 350ºF (175ºC). Liberally grease a 9×5-inch loaf pan using non-stick cooking spray. For best results, line the bottom with a piece of parchment paper and spray. Set aside.
-
Make the oat flour by placing 2 ½ cups rolled oats in a high-powered blender or a food processor. Blend the oats until it turns into a fine, powdery flour, about 30 seconds – 1 minute.
-
To the oat flour, add the optional psyllium husk, bananas, brown sugar, milk, eggs, oil, baking powder, baking soda, salt, and vanilla. Blend well, scraping down the sides halfway through. The batter will be thinner.
-
Add the remaining 1 cup oats to the blender. Pulse 2-3 times, until just combined but not finely ground.
-
Pour the batter into the prepared loaf pan. If desired, slice an additional banana lengthwise and lay on top before baking.
-
Bake for 1 hour and 5-10 minutes, rotating the pan halfway through. If the bread is becoming overly brown, loosely tent a piece of foil over the top for the last 20-25 minutes. Insert a long wooden skewer or knife in the center, making sure it comes out without wet dough. For best results, insert an instant read thermometer in the bread to make sure the temperature is 200ºF (93ºC).
-
Cool in the pan for 10 minutes before removing to a wire rack to cool completely. For best slicing, allow the bread to cool at least 30 minutes first.
Notes
Storing and Freezing
For best results, let the bread cool about 30 minutes before slicing. After it has cooled completely, store in an airtight container at room temperature for up to 3 days.
To freeze, slice completely cooled bread and store in a ziplock freezer bag, with air removed, for up to 3 months.
Nutrition Information (per serving)
- Calories: 277 kcal
- Carbohydrates: 42 g
- Protein: 6 g
- Fat: 10 g
- Saturated Fat: 1 g
- Trans Fat: 1 g
- Cholesterol: 28 mg
- Sodium: 264 mg
- Potassium: 334 mg
- Fiber: 3 g
- Sugar: 18 g
- Vitamin A: 78 IU
- Vitamin C: 3 mg
- Calcium: 76 mg
- Iron: 2 mg