
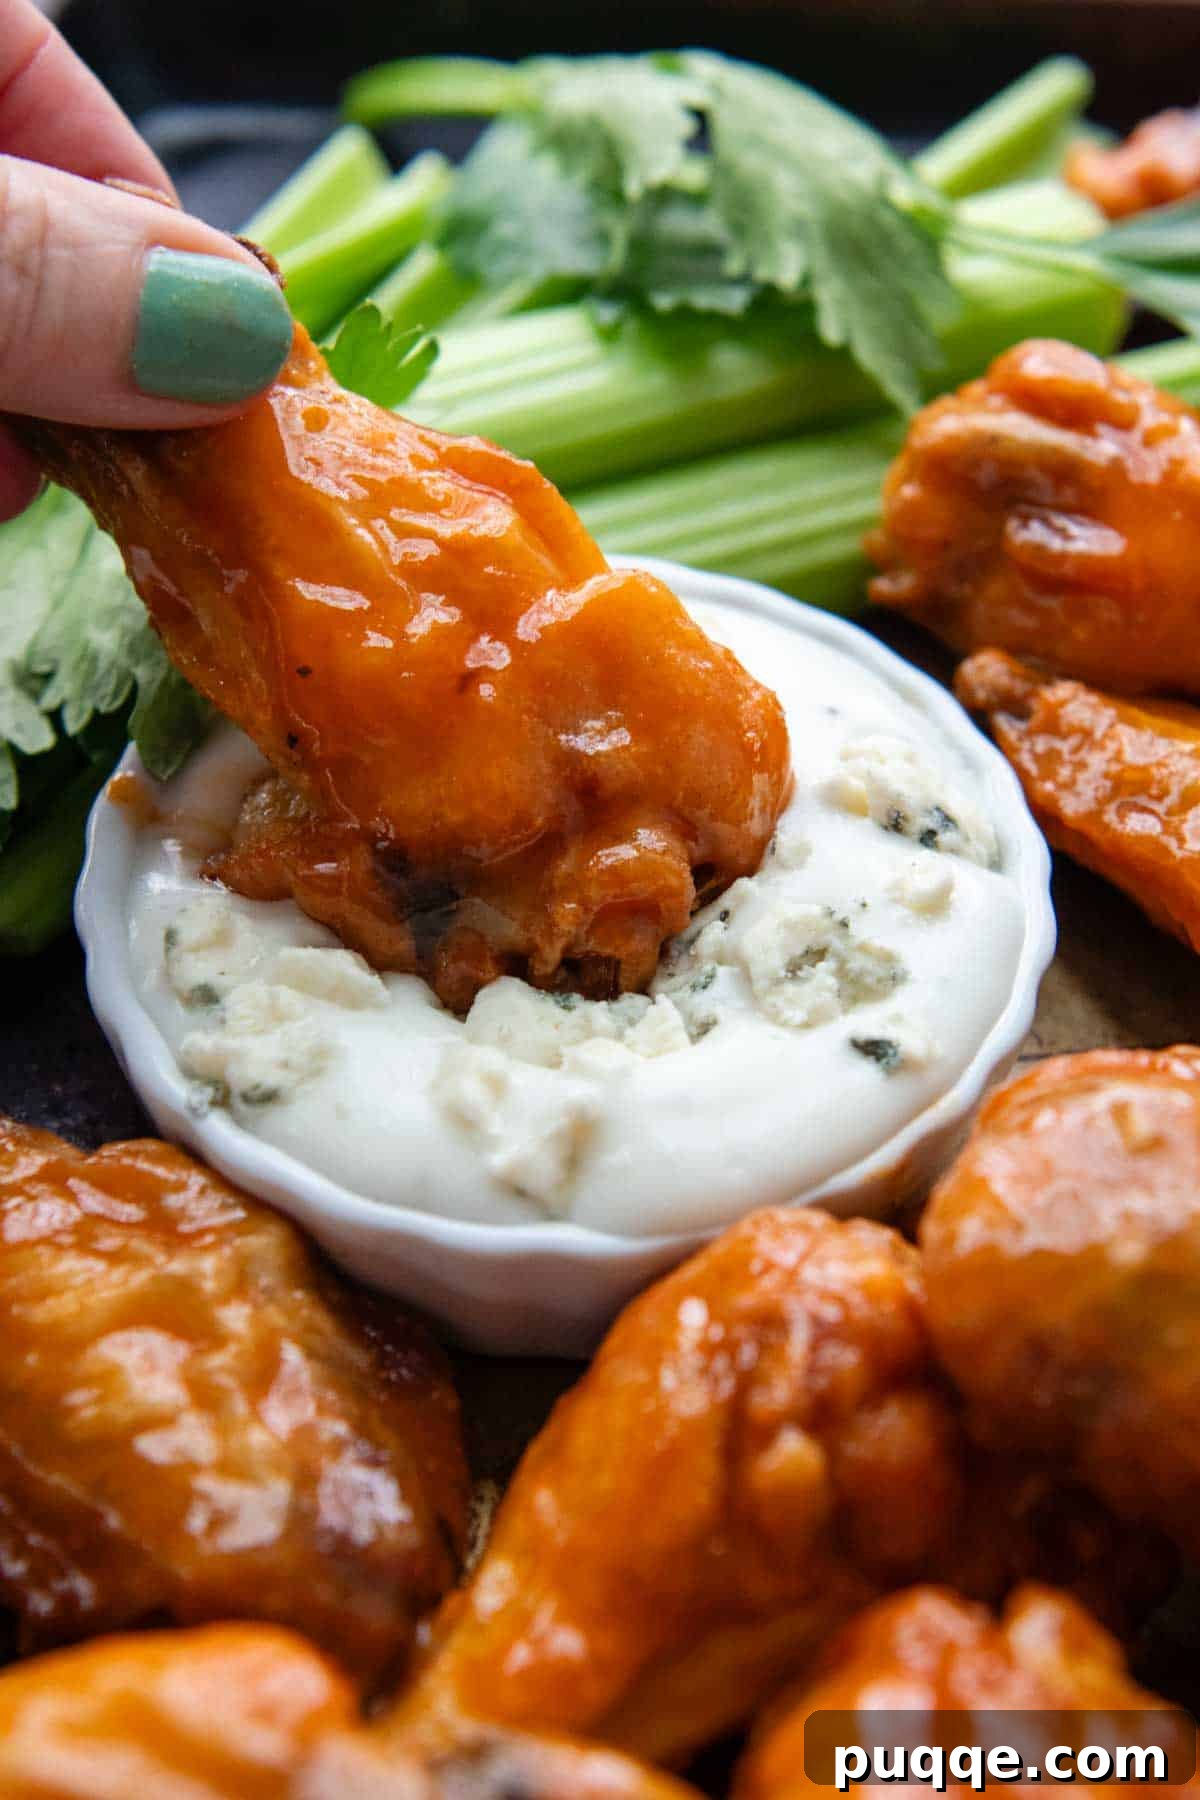
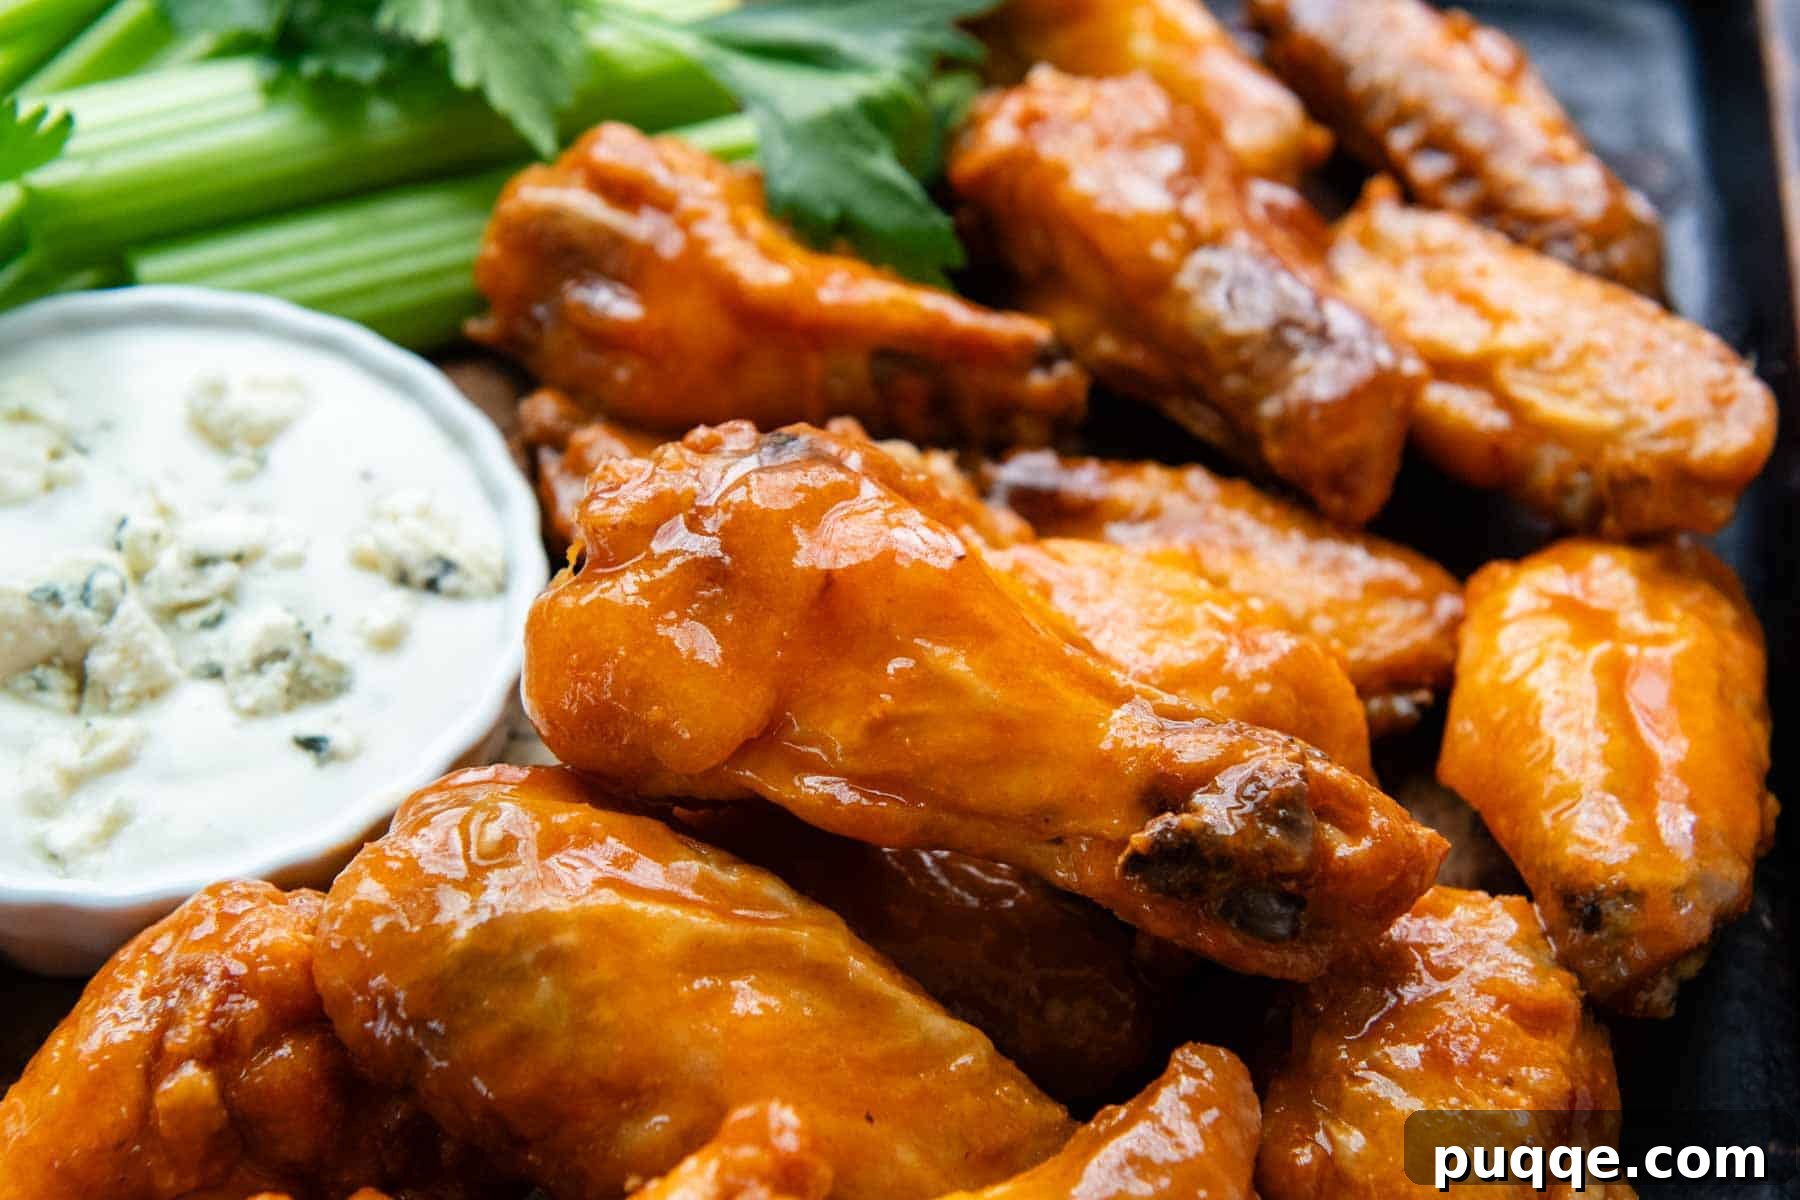
Prepare to revolutionize your perception of homemade appetizers! If you’ve ever felt that creating crispy, flavorful gluten-free chicken wings at home was an insurmountable challenge, it’s time to reconsider. This meticulously crafted buffalo wing recipe simplifies the process dramatically, requiring only 5 minutes of active preparation time. It employs a brilliant combination of baking powder and cornstarch for a unique coating, coupled with a specialized baking technique. The result? Wings that boast an irresistibly tender, succulent interior encased in an extra-crispy, golden-brown skin. Once perfectly baked, these wings are generously tossed in a luscious, sticky gluten-free buffalo sauce, delivering a platter of restaurant-quality, finger-licking goodness with unparalleled ease. Get ready to impress your family and friends with a dish that tastes complex but is surprisingly simple to achieve!
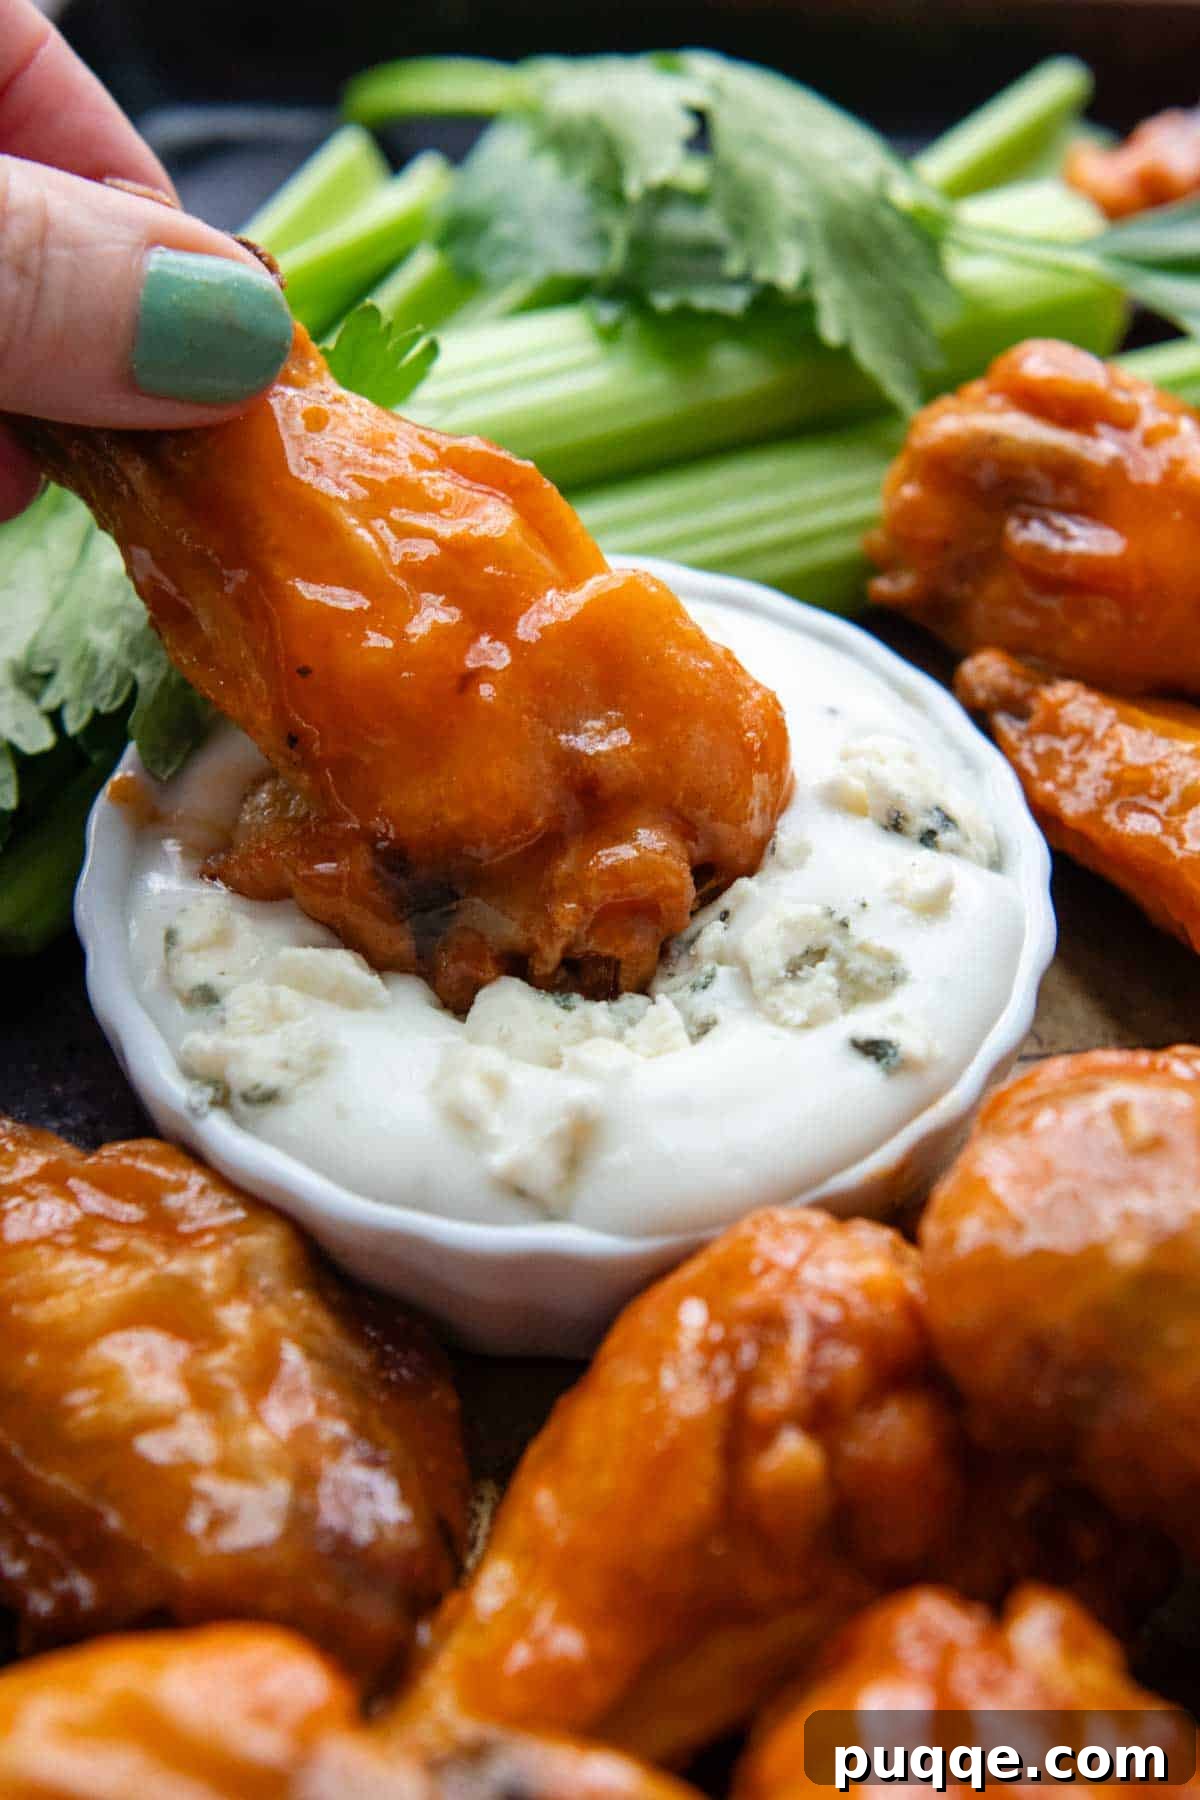
Unlocking the Secret to Effortless Gluten-Free Crispy Chicken Wings
Before diving into the extensive recipe testing for these gluten-free buffalo wings, I must confess to a degree of apprehension. The idea of achieving truly extra-crispy skin and a perfectly juicy, moist interior through oven baking alone seemed almost too good to be true. Conventional wisdom often suggests deep-frying for that ultimate crispness, a method many gluten-free home cooks, myself included, prefer to avoid due to mess and added fat.
My skepticism, thankfully, was entirely misplaced. The journey of experimentation pleasantly revealed just how straightforward and remarkably affordable it is to create homemade chicken wings that rival any restaurant version, all without the need for specialized gluten-free flours or complicated techniques. The magic lies in a simple, everyday coating of baking powder and cornstarch. This approach is a true win for anyone seeking delicious GF snacks and appetizers without hunting for obscure ingredients, much like the convenience of making cheesy baked GF jalapeño poppers.
The Science Behind Unbelievably Crispy Baked Wings
You might wonder, why baking powder? What role does this common pantry staple play in creating such a spectacular texture on baked chicken wings? This recipe beautifully illustrates how fundamental kitchen science can elevate everyday cooking. Baking powder, when combined with the chicken skin, works by raising the pH level on the surface. This alkaline environment causes the peptide bonds in the chicken skin proteins to break down, resulting in a drier surface and a more porous texture. As the wings bake, this modified skin dehydrates and crisps up far more effectively than untreated skin, yielding that coveted crunch.
However, this recipe takes it a step further by incorporating a small amount of cornstarch into the coating blend. This addition serves two crucial purposes. Firstly, it helps to mitigate any potential metallic or aluminum aftertaste that can sometimes occur if too much baking powder is used, especially if you’re not using aluminum-free baking powder. Secondly, and perhaps more importantly, cornstarch acts as a moisture sealant. It forms a thin, crispy barrier around the skin, trapping the juices within the meat while simultaneously contributing to an incredibly crisp exterior. This dual action ensures a tender, juicy interior and an undeniably crunchy skin, striking the perfect balance for an exceptional wing experience.
The Superior Oven-Baking Method
Now that we’ve established an easy, naturally gluten-free coating for our wings, the next question is: what’s the optimal cooking method? Here’s more good news: no messy deep-frying is necessary! It is absolutely possible to achieve a superior texture and tenderness right in your oven. The key lies in a strategic two-stage baking process, inspired by techniques perfected by culinary experts like America’s Test Kitchen.
To begin, the wings are arranged on a wire rack fitted inside a baking sheet. This setup is critical because it allows hot air to circulate completely around each wing, ensuring even cooking and maximum crisping on all sides. The initial phase of baking starts at a lower oven temperature, specifically 250ºF. This gentle, prolonged heat serves to gradually render the fat from the chicken skin, allowing it to slowly crisp up without burning. Simultaneously, this lower temperature bakes the meat without stripping it of its precious moisture, guaranteeing a succulent, tender interior.
After this initial rendering phase, the oven temperature is dramatically increased to 425ºF. This high heat blast is where the magic truly happens, transforming the rendered skin into an ultra-crispy, golden shell while sealing in all the delicious juices. This precise two-stage baking method consistently produces the best gluten-free chicken wings with perfect oven-crisp results every single time!
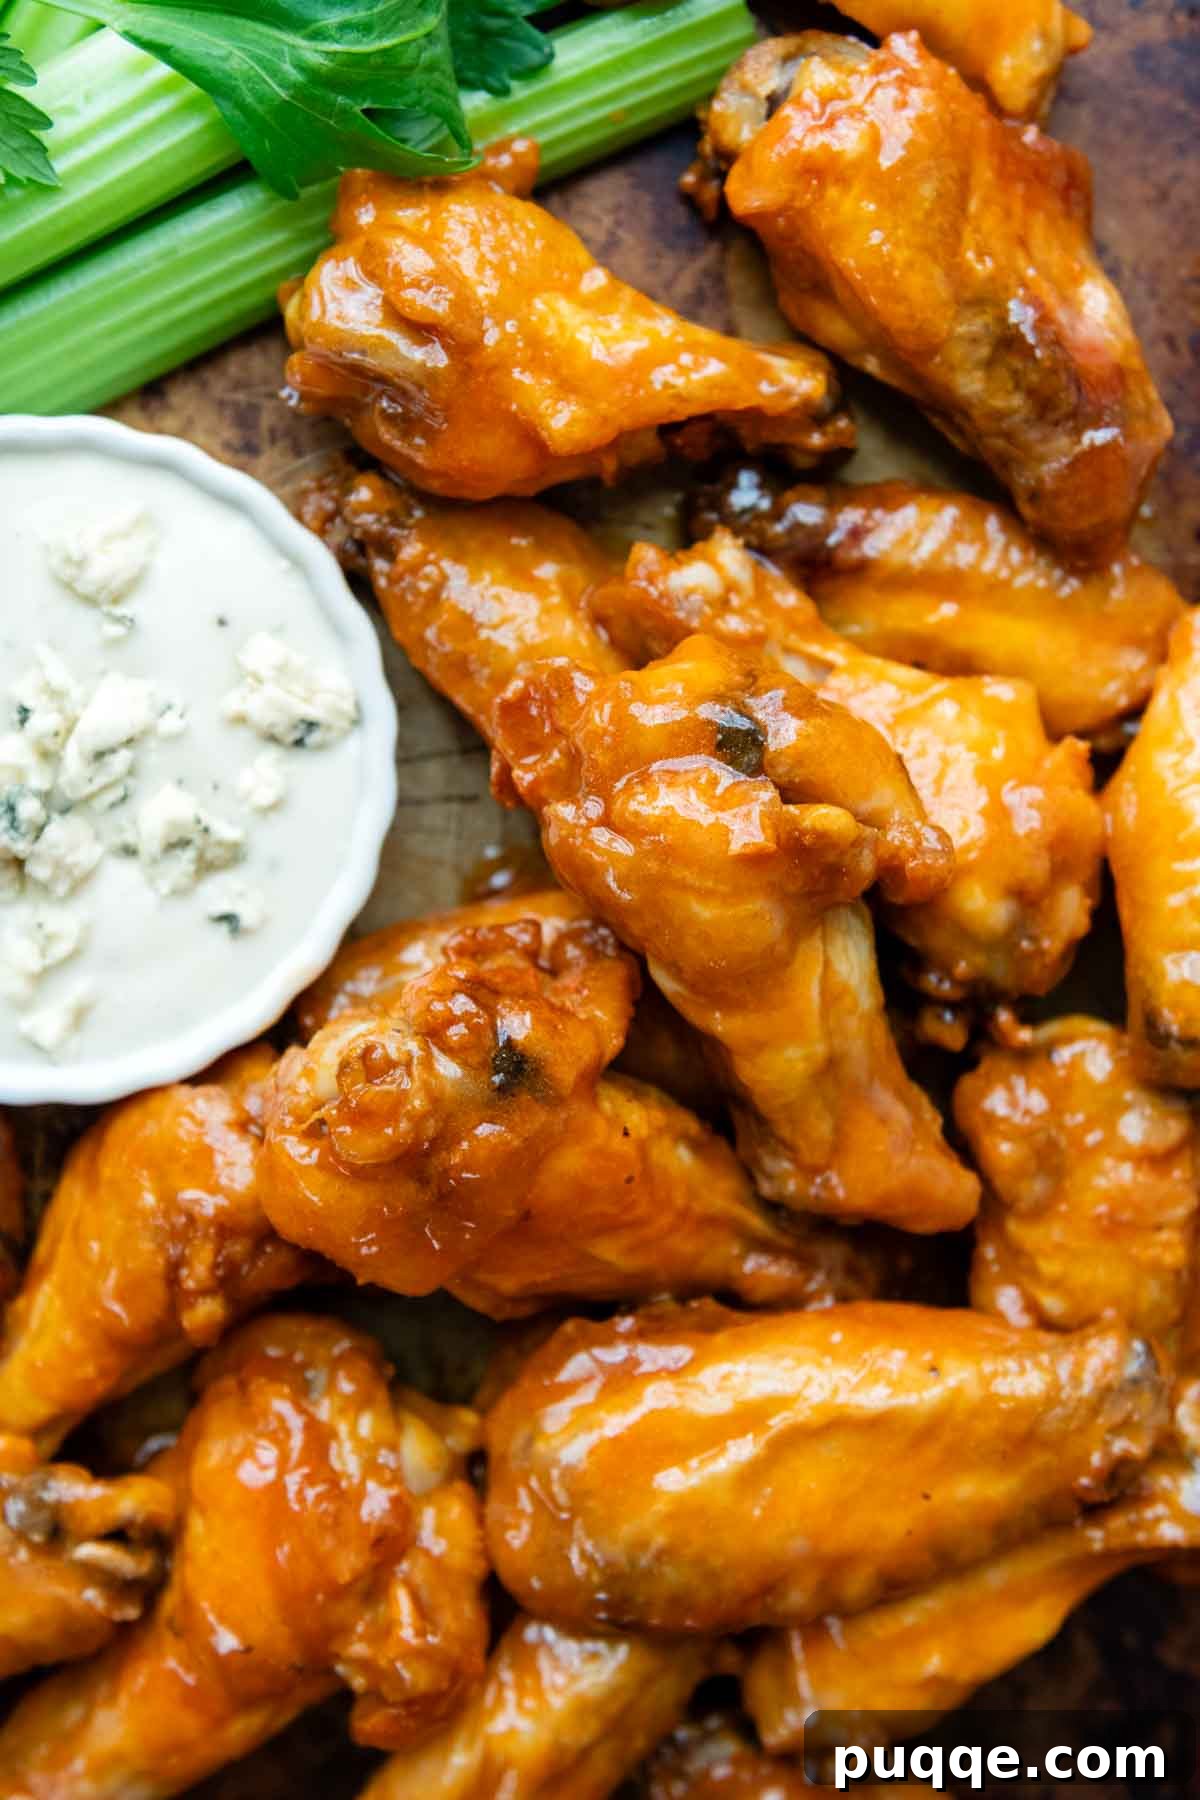
Essential Ingredients for Perfect Gluten-Free Wings
Crafting the perfect batch of crispy gluten-free chicken wings starts with understanding your ingredients. Here’s a closer look at what you’ll need and why each component is vital:
- Chicken Wings and Drumettes: A combination of both flats (wings) and drumettes offers variety, allowing guests to choose their preferred style. For a party of six as an appetizer, three pounds of chicken typically yields about 20 wings. If you’re catering to a larger crowd, simply double the recipe. Remember to use two baking sheets and rotate them halfway through cooking to ensure even crisping across all wings.
- Baking Powder: As discussed, this is the secret weapon for achieving truly crispy skin. It works by raising the pH level on the chicken surface, facilitating the breakdown of proteins and promoting a drier, crispier texture. Always opt for aluminum-free baking powder to avoid any undesirable metallic taste, and be sure not to confuse it with baking soda, which has different chemical properties and will not yield the same results.
- Cornstarch: A small but mighty addition, cornstarch helps to seal in moisture, keeping the chicken juicy, while simultaneously contributing to an incredibly crispy exterior. It creates a delicate, crunchy crust without the need for gluten-free flour, a technique also utilized in our popular baked gluten-free sweet and sour chicken recipe.
- Spices (Salt, Pepper, Garlic Powder, Smoked Paprika): While a simple seasoning of salt and pepper will suffice, enhancing your wings with garlic powder and smoked paprika adds a wonderful depth of flavor. This is particularly recommended if you plan to enjoy your wings “naked” – without any sauce – as these spices provide a delightful aromatic and subtly smoky kick. Feel free to adjust quantities to suit your taste preferences.
- Gluten-Free Buffalo Sauce: The quintessential buffalo sauce is made by combining a high-quality gluten-free hot sauce, such as Frank’s Red Hot, with rich melted butter. A touch of honey adds a subtle sweetness that perfectly balances the heat. For those who prefer a spicier kick, you can easily increase the amount of hot sauce, slightly reduce the butter, and even omit the honey for a more fiery flavor profile. Always double-check labels to ensure your hot sauce is certified gluten-free.
Let’s Make These Crispy Wings Together!
(Below, you’ll find detailed step-by-step photos and simplified instructions to guide you. For the precise ingredient measurements and a complete recipe, please scroll down to the dedicated recipe card.)
1. Prepare and Dry Your Wings
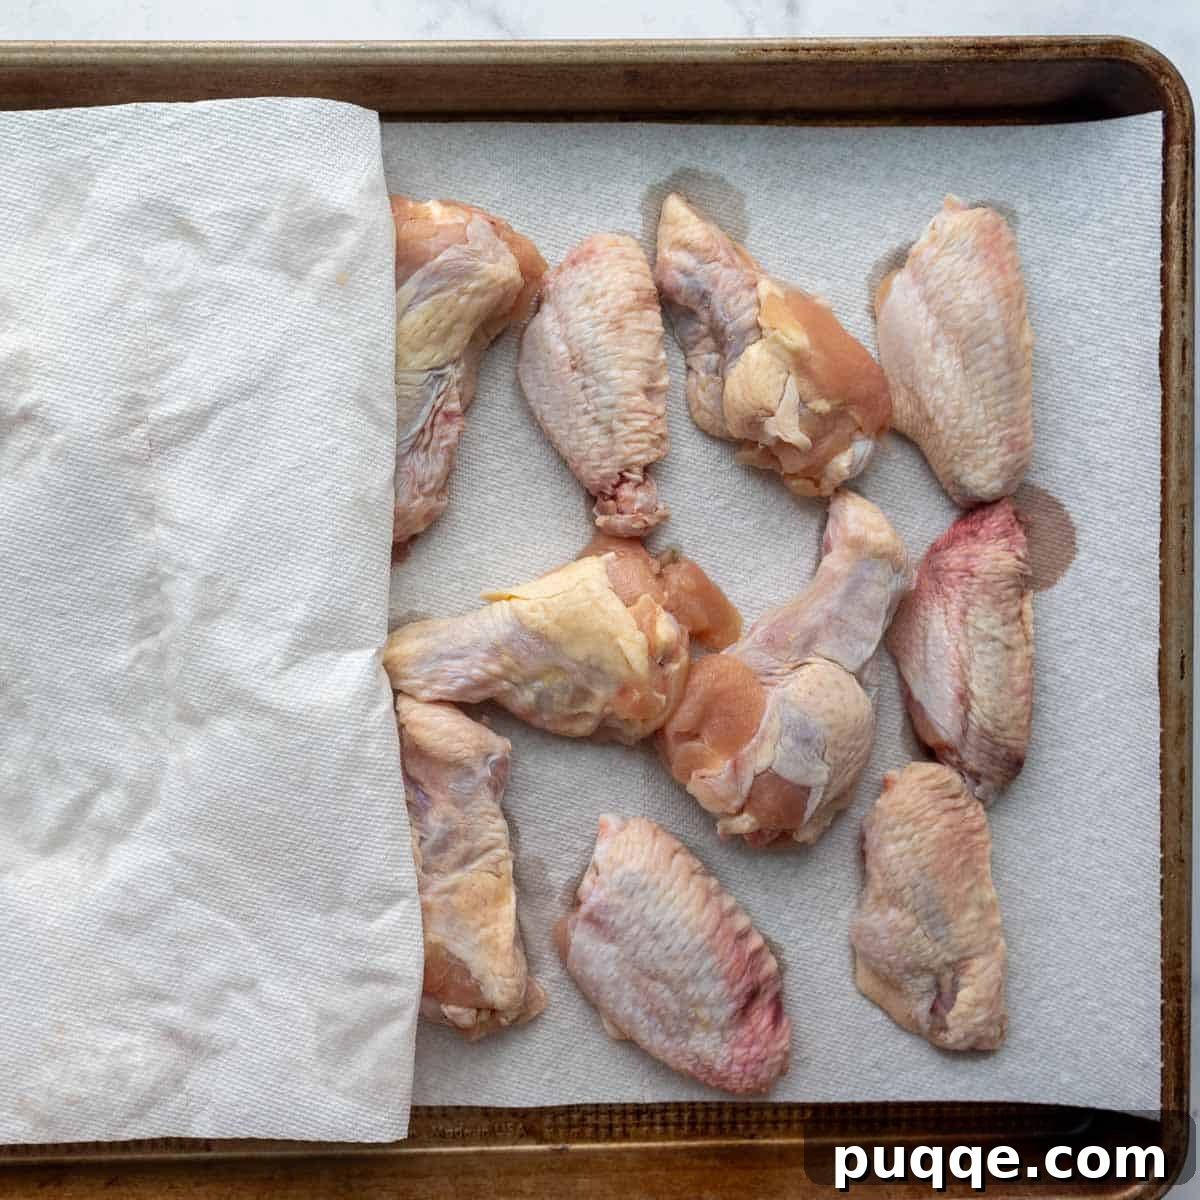
Begin by preheating your oven to 250°F (120°C), setting the stage for the initial fat-rendering phase. Thoroughly drying the chicken wings is a crucial step for achieving maximum crispiness. Line a baking sheet with a single layer of paper towels. Arrange your chicken wings and drumettes in a single layer on top, then cover them with another layer of paper towels. Press firmly to absorb as much surface moisture as possible. Excess moisture is the enemy of crispy skin!
2. Apply the Easy Shake Coating
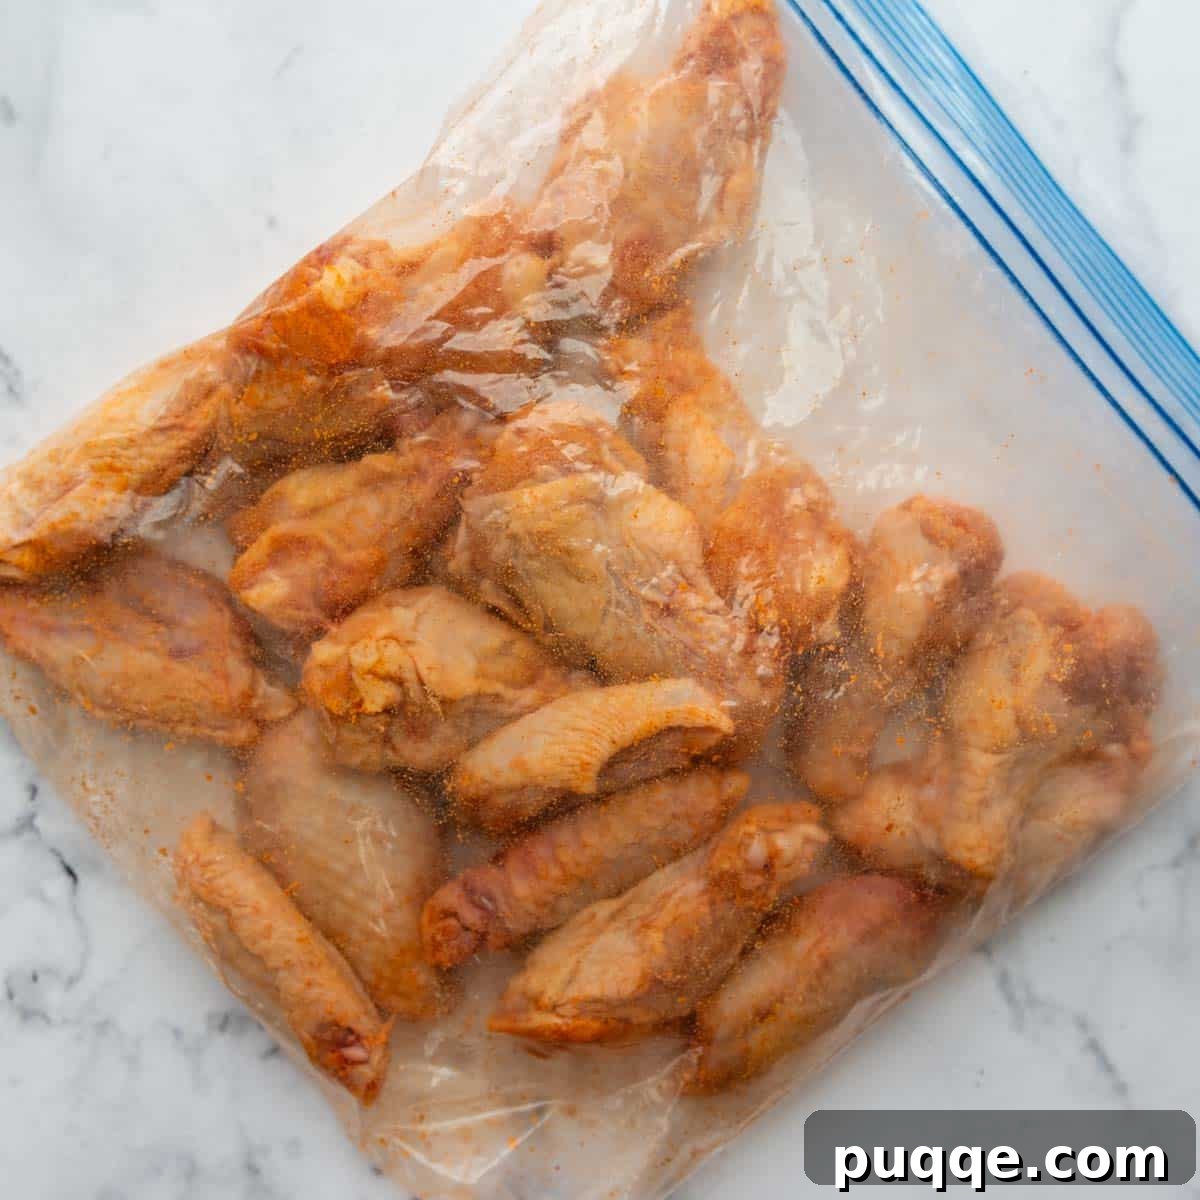
In a large, sturdy ziplock bag, combine the baking powder, cornstarch, salt, garlic powder, and smoked paprika. Seal the bag and shake vigorously to ensure the spices are well mixed. Add the thoroughly dried chicken wings to the bag, reseal it, and shake again until every piece of chicken is evenly coated. This simple “shake and coat” method ensures a uniform application of our magic crisping mixture. The hard part is already over!
3. Execute the Best Oven Crisping Method
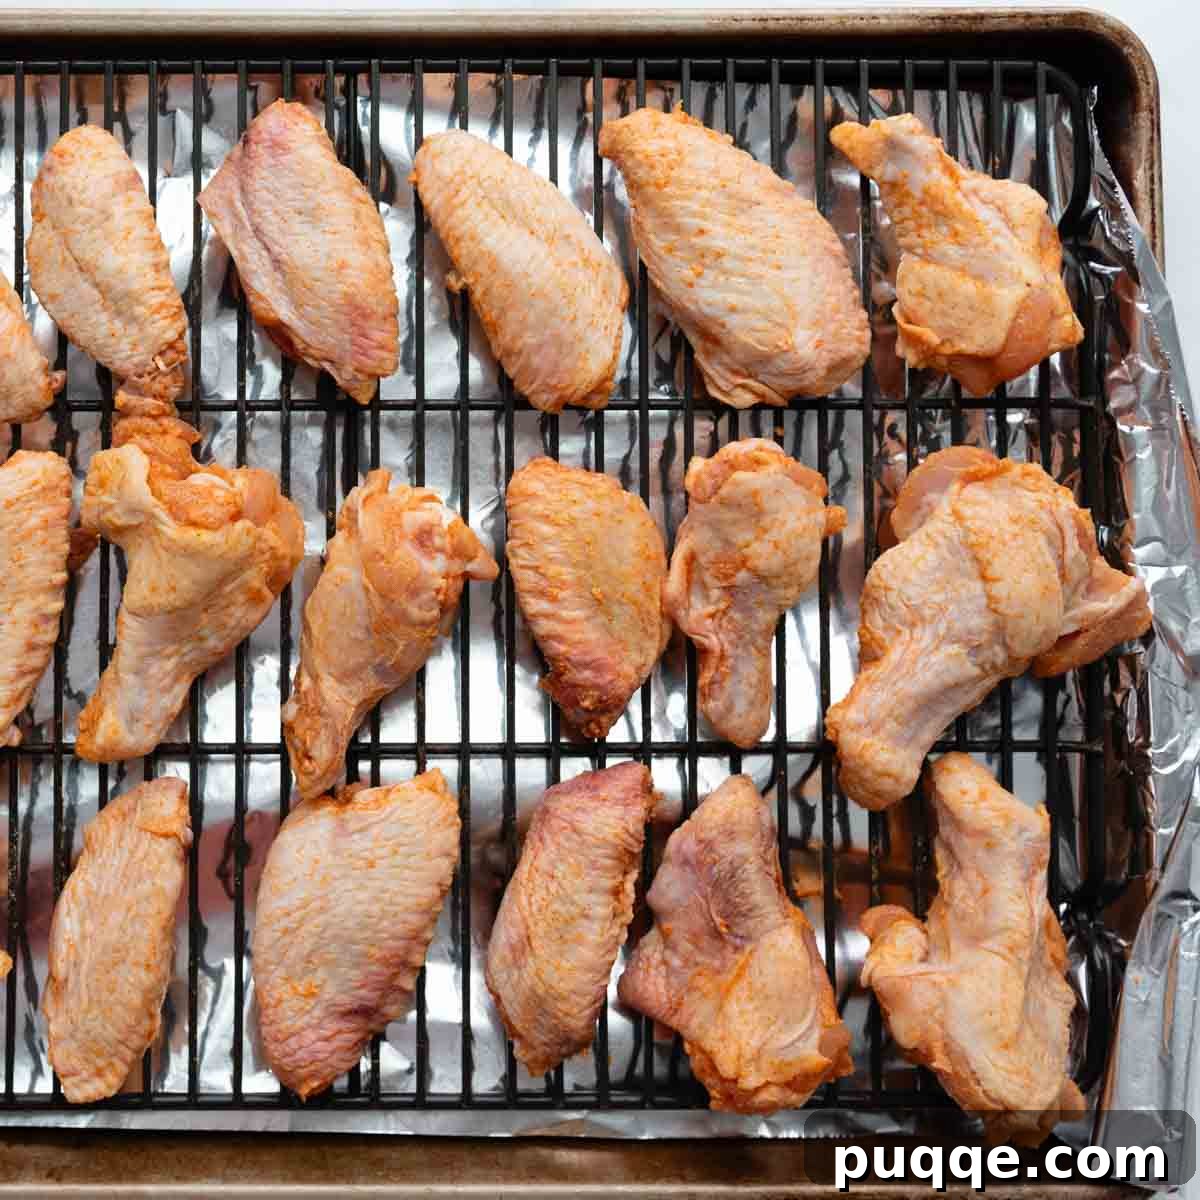
Discard the paper towels from your baking sheet and line it with aluminum foil for easier cleanup. Place a wire rack over the foil-lined sheet and lightly spray the rack with nonstick cooking spray. Arrange the coated chicken wings on the rack, ensuring they are evenly spaced with no pieces touching, which allows for optimal air circulation. Place the baking sheet on the middle rack of your preheated 250°F oven and bake for 30 minutes. This initial low-temperature bake is crucial for rendering fat and ensuring the meat becomes wonderfully tender.
Without removing the baking sheet, increase the oven temperature to 425°F (220°C) and continue baking for another 20 minutes. During this stage, the higher heat begins to crisp up the skins beautifully.
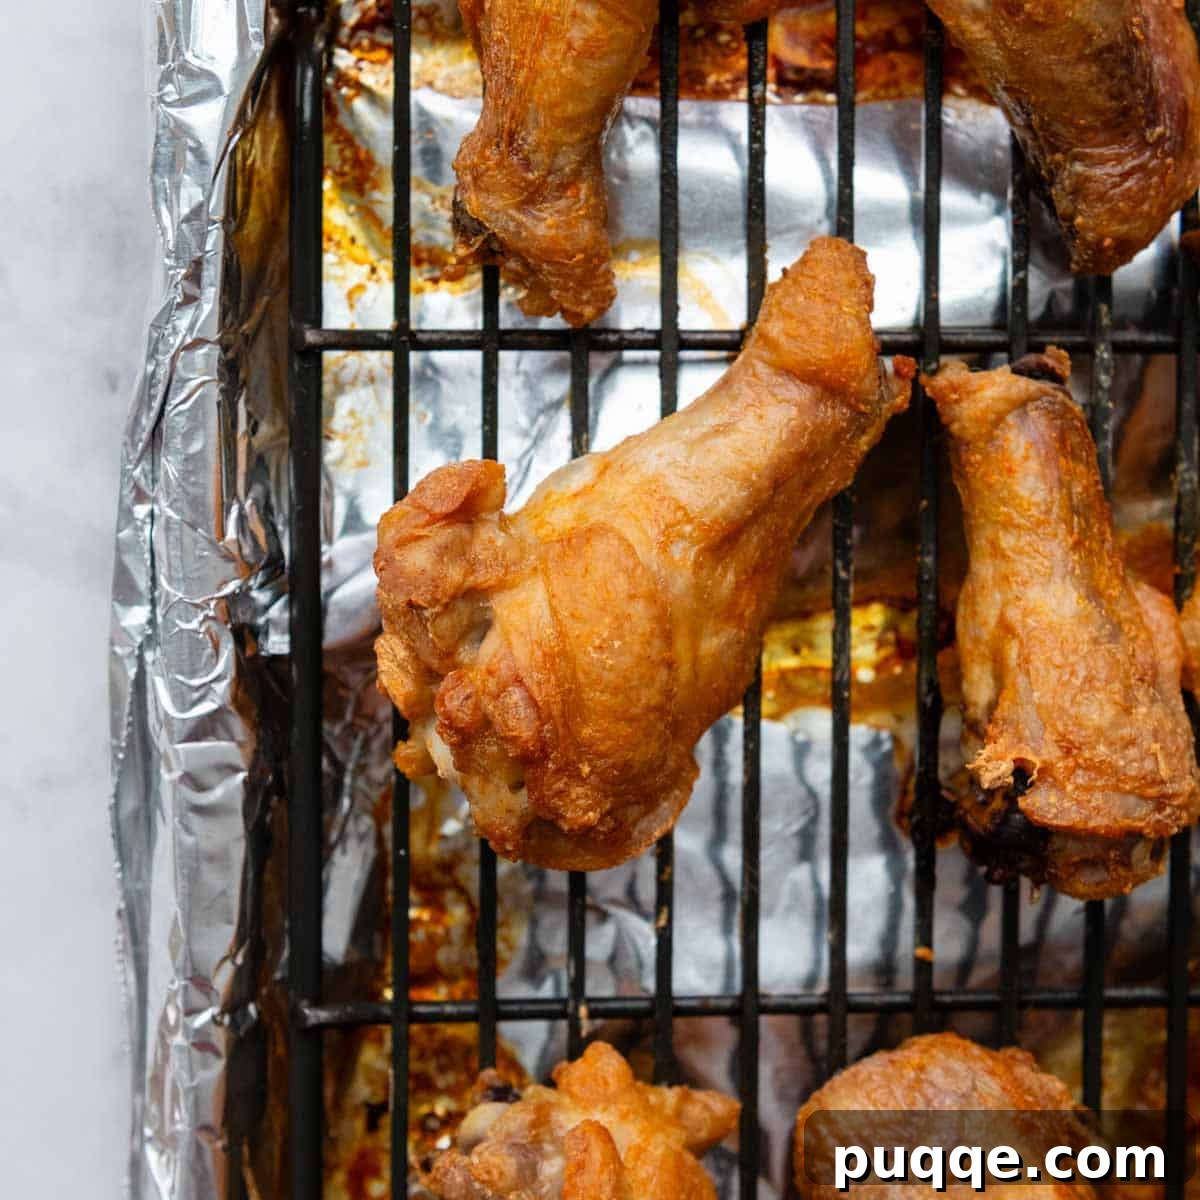
Finally, adjust the oven rack to the upper third position. Rotate the baking sheet 180 degrees to ensure even browning and bake for an additional 20 minutes. Keep a close eye on them during the final stage to prevent over-browning. You’ll know they’re perfect when they are deeply golden brown and audibly crispy!
4. Time for the Luscious Sauce
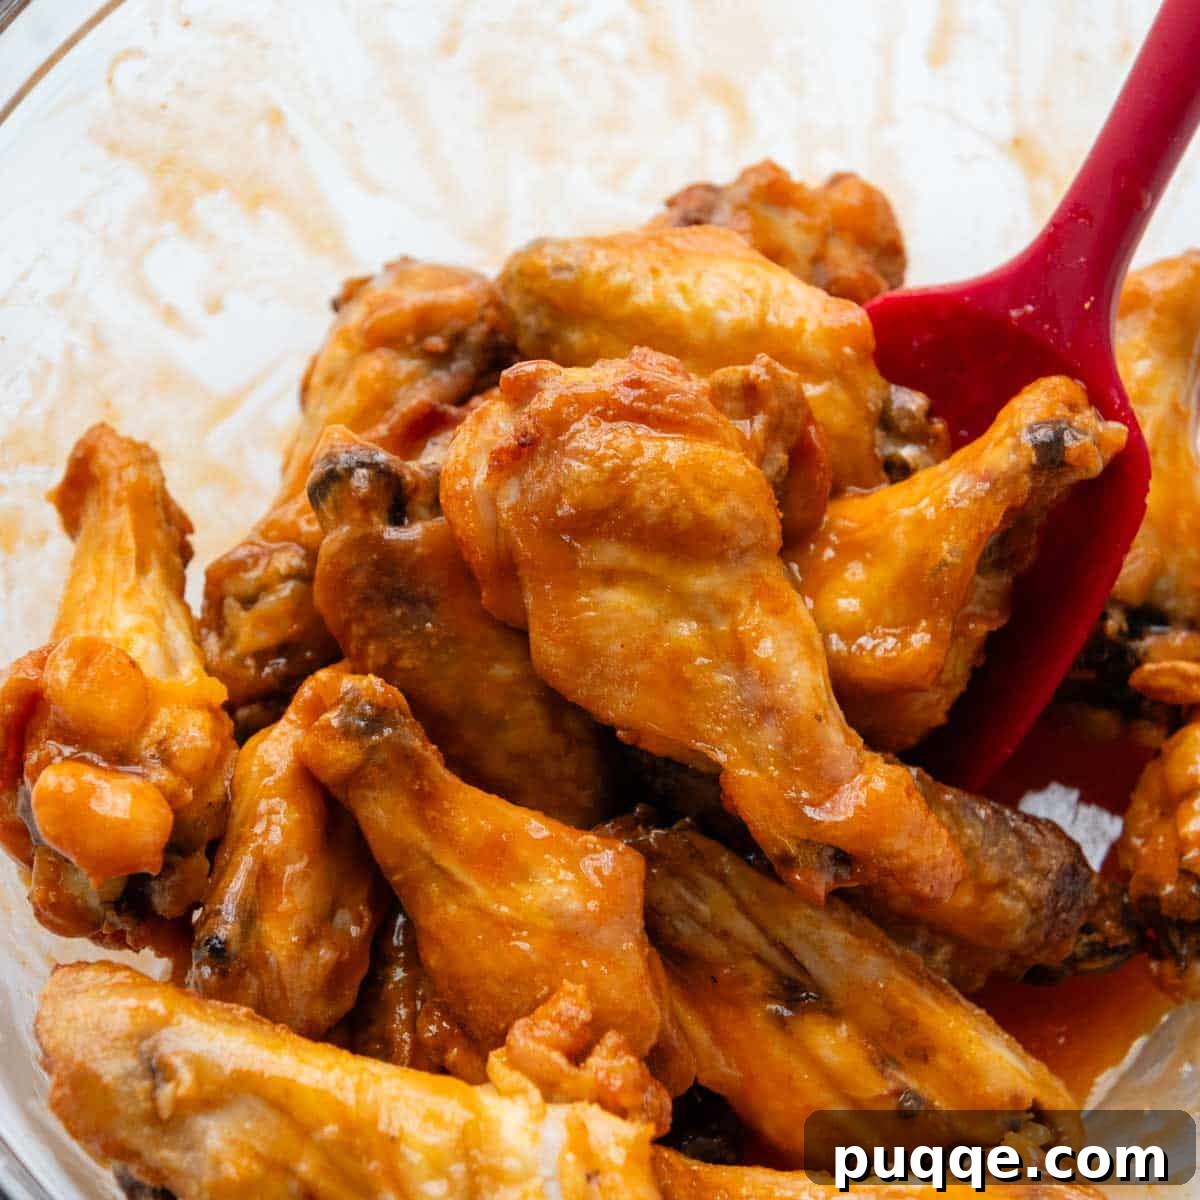
While your wings are finishing their last minutes in the oven, prepare your buffalo sauce. In a large mixing bowl, combine the melted butter, gluten-free hot sauce, and honey (if using). Stir well to create a smooth, unified sauce. Once the wings emerge from the oven, hot and crispy, immediately transfer them to the bowl with the buffalo sauce. Toss gently but thoroughly until each wing is glistening with the sticky, flavorful sauce. Serve immediately and get ready for game day or your next gathering!
Beyond Buffalo: Delicious Gluten-Free Chicken Wing Sauce Options
While classic buffalo sauce is a timeless favorite, don’t limit your culinary creativity! To prepare our signature buffalo sauce, simply melt butter and combine it with your chosen gluten-free hot sauce and a touch of honey for sweetness. Whisk everything together in a large bowl, then toss your hot, crispy wings as soon as they emerge from the oven.
If you’re in the mood for something different, a world of other gluten-free sauce options awaits. When opting for prepared, store-bought sauces, always exercise diligence: meticulously read the ingredient labels and, when in doubt, consult the manufacturer’s website to ensure they are certified gluten-free. Here are some fantastic alternatives to inspire your next batch of wings:
- BBQ Sauce: Many popular brands, such as Sweet Baby Ray’s, offer gluten-free varieties that provide a rich, smoky, and tangy coating.
- Gluten-Free Teriyaki: For an umami-rich, savory-sweet flavor, a good quality gluten-free teriyaki sauce is an excellent choice.
- Honey Garlic Sauce: A sticky, sweet, and garlicky sauce is always a crowd-pleaser. You can easily whip this up at home with honey, soy sauce (or tamari for GF), garlic, and a touch of ginger.
- Lemon Pepper: For a dry rub option that’s bright and zesty, a generous coating of lemon pepper seasoning offers a refreshing departure from traditional sauces.
- Jerk Sauce: Bring the vibrant, complex flavors of the Caribbean to your wings with a spicy and aromatic jerk sauce. Just ensure it’s a gluten-free version.
- Hot Honey Sauce: A sweet and spicy fusion, hot honey adds a fantastic glaze with a delightful kick, perfect for those who enjoy a balance of flavors.
Accelerate Your Crisp: The Air Fryer Method
For those seeking an even quicker route to crispy wings, the air fryer is a phenomenal tool! While the general principle of the baking powder and cornstarch coating remains the same, the cooking time is significantly reduced. You’ll need to cook the wings in batches, depending on the capacity of your air fryer, to ensure optimal crisping. Crucially, arrange them in a single layer within the air fryer basket, leaving ample space for hot air to circulate freely around each wing.
Preheat your air fryer to 400ºF (200°C) and lightly spray the rack or basket with nonstick cooking spray to prevent sticking. Place a single layer of coated wings in the basket and cook for approximately 15-16 minutes. Remember to flip the wings halfway through the cooking process to achieve uniform crispiness on both sides. Once cooked, transfer them to a large bowl and toss with your chosen gluten-free sauce. The air fryer delivers incredible crispiness in a fraction of the time, making it perfect for quick snacks or smaller batches.
Expert Tips for Flawless Gluten-Free Chicken Wings
- Pat Dry, Thoroughly: This cannot be stressed enough. Any residual moisture on the chicken skin will steam instead of crisp, resulting in chewy rather than crunchy wings. Take the extra time to pat them exceptionally dry with paper towels.
- Don’t Overcrowd: Whether baking in the oven or air frying, ensure wings are arranged in a single layer with space between them. Overcrowding lowers the temperature and traps steam, hindering crispiness. Use multiple baking sheets or work in batches if necessary.
- Aluminum-Free Baking Powder: While regular baking powder can work, aluminum-free versions are highly recommended to prevent any metallic aftertaste. Check the label carefully.
- Rotate for Even Cooking: When using the oven, rotating the baking sheet midway through the higher temperature phase helps ensure all wings receive even heat exposure and crisp up uniformly.
- Serve Immediately: For the absolute best texture, serve the wings as soon as they’re tossed in sauce. While they’ll still be delicious later, the crispiness is at its peak right after cooking.
- Pre-Separated Wings: To save prep time, look for “party wings” or “wingettes and drumettes” at your grocery store, which are already separated. If you buy whole wings, you’ll need to separate them at the joint.
Frequently Asked Questions (FAQs)
- Can I make these wings ahead of time?
- You can prepare and coat the wings a few hours in advance and store them uncovered in the refrigerator on the wire rack. This further air-dries the skin, potentially leading to even crispier results. However, it’s best to bake them fresh for optimal texture.
- How do I store leftover wings?
- Store leftover wings in an airtight container in the refrigerator for up to 3-4 days. Note that the crispiness will diminish once refrigerated, especially if they are already sauced.
- What’s the best way to reheat crispy gluten-free wings?
- Preheat your oven to 350ºF (175°C) and arrange the wings on a baking sheet. Lightly spritz them with water (or lightly moisten your fingers and drip water over them) to prevent drying out. Bake for 10-15 minutes, or until thoroughly heated through and the skin begins to crisp again. An air fryer can also reheat them quickly at 375°F (190°C) for 5-8 minutes.
- Can I use a different oil for the wire rack?
- Yes, you can use any high-smoke-point cooking oil spray, like avocado oil or canola oil, instead of traditional nonstick spray.
Save This Irresistible Recipe to Your Pinterest Board!
Let’s be friends on Pinterest! I’m always sharing great recipes!
Did you make this recipe? I love hearing from you! Leave a star rating and comment below the recipe card. Your feedback helps others discover delicious recipes, and I truly appreciate hearing from our community! -Melissa

Extra Crispy Gluten-Free Chicken Wings (Baked)

Melissa Erdelac
6
5 mins
1 hr 10 mins
1 hr 15 mins
Pin Recipe
Ingredients
- 3 pounds chicken wings and drumettes, (about 20 wings / drumettes)
- 2 teaspoons baking powder
- 1 teaspoon cornstarch
- 1 teaspoon salt
- ½ teaspoon garlic powder
- ½ teaspoon smoked paprika, or sweet paprika
Gluten-Free Buffalo Sauce
- ¼ cup melted butter, see recipe notes for spicy sauce
- ¼ cup hot sauce, such as Frank’s Red Hot
- 1 tablespoon honey
- ranch or blue cheese dressing,, for serving
Equipment
-
Baking Sheets
-
Wire rack
-
Large Mixing Bowl
Instructions
-
Preheat the oven to 250°F (120°C). Line a baking sheet with a single layer of paper towels. Arrange the chicken wings on top and layer with another layer of paper towels. Press to absorb any moisture and thoroughly dry the chicken.3 pounds chicken wings and drumettes
-
In a large ziplock bag, combine the baking powder, cornstarch, salt, garlic powder, and smoked paprika. Shake to combine the dry ingredients. Add the dried chicken, reseal the bag, and shake again until each piece is evenly coated.2 teaspoons baking powder, 1 teaspoon cornstarch, 1 teaspoon salt, ½ teaspoon garlic powder, ½ teaspoon smoked paprika
-
Discard the soiled paper towels and line the baking sheet with aluminum foil for easy cleanup. Place a wire rack over the foil. Spray the rack generously with nonstick cooking spray. Arrange the chicken wings on the rack, ensuring they are evenly spaced with no pieces touching.
-
Bake for 30 minutes on the middle rack of the oven. This low temperature renders the fat and makes the meat exceptionally tender. After 30 minutes, leave the baking sheet in the oven and increase the temperature to 425℉ (220°C). Bake for an additional 20 minutes.
-
Move the baking sheet to the upper third of the oven. Rotate the baking sheet 180 degrees and bake for 20 additional minutes, or until the wings are deeply golden brown and incredibly crispy.
-
During the last 5 minutes of baking, combine the buffalo sauce ingredients (melted butter, hot sauce, honey) in a large bowl and stir well. Once the wings are done baking, carefully transfer the hot, crispy wings to the sauce bowl and gently toss to combine until every wing is coated. Serve immediately with any leftover wing sauce and a side of ranch or blue cheese dressing.¼ cup melted butter, ¼ cup hot sauce, 1 tablespoon honey
Notes
Spicy Buffalo Sauce
To make a spicier buffalo sauce, increase the hot sauce to ⅓ cup and decrease the melted butter to 2 tablespoons. You may also choose to omit the honey for a purely spicy kick.
Reheating Buffalo Wings
To reheat, preheat your oven to 350ºF (175°C). Arrange the wings on a baking sheet. Lightly spritz them with water to prevent them from drying out as they reheat (if you don’t have a spray bottle, just wet your fingers and lightly drip some water over the top). Bake for 10-15 minutes, or until they are hot and have regained some crispiness. An air fryer at 375°F (190°C) for 5-8 minutes also works wonderfully.