
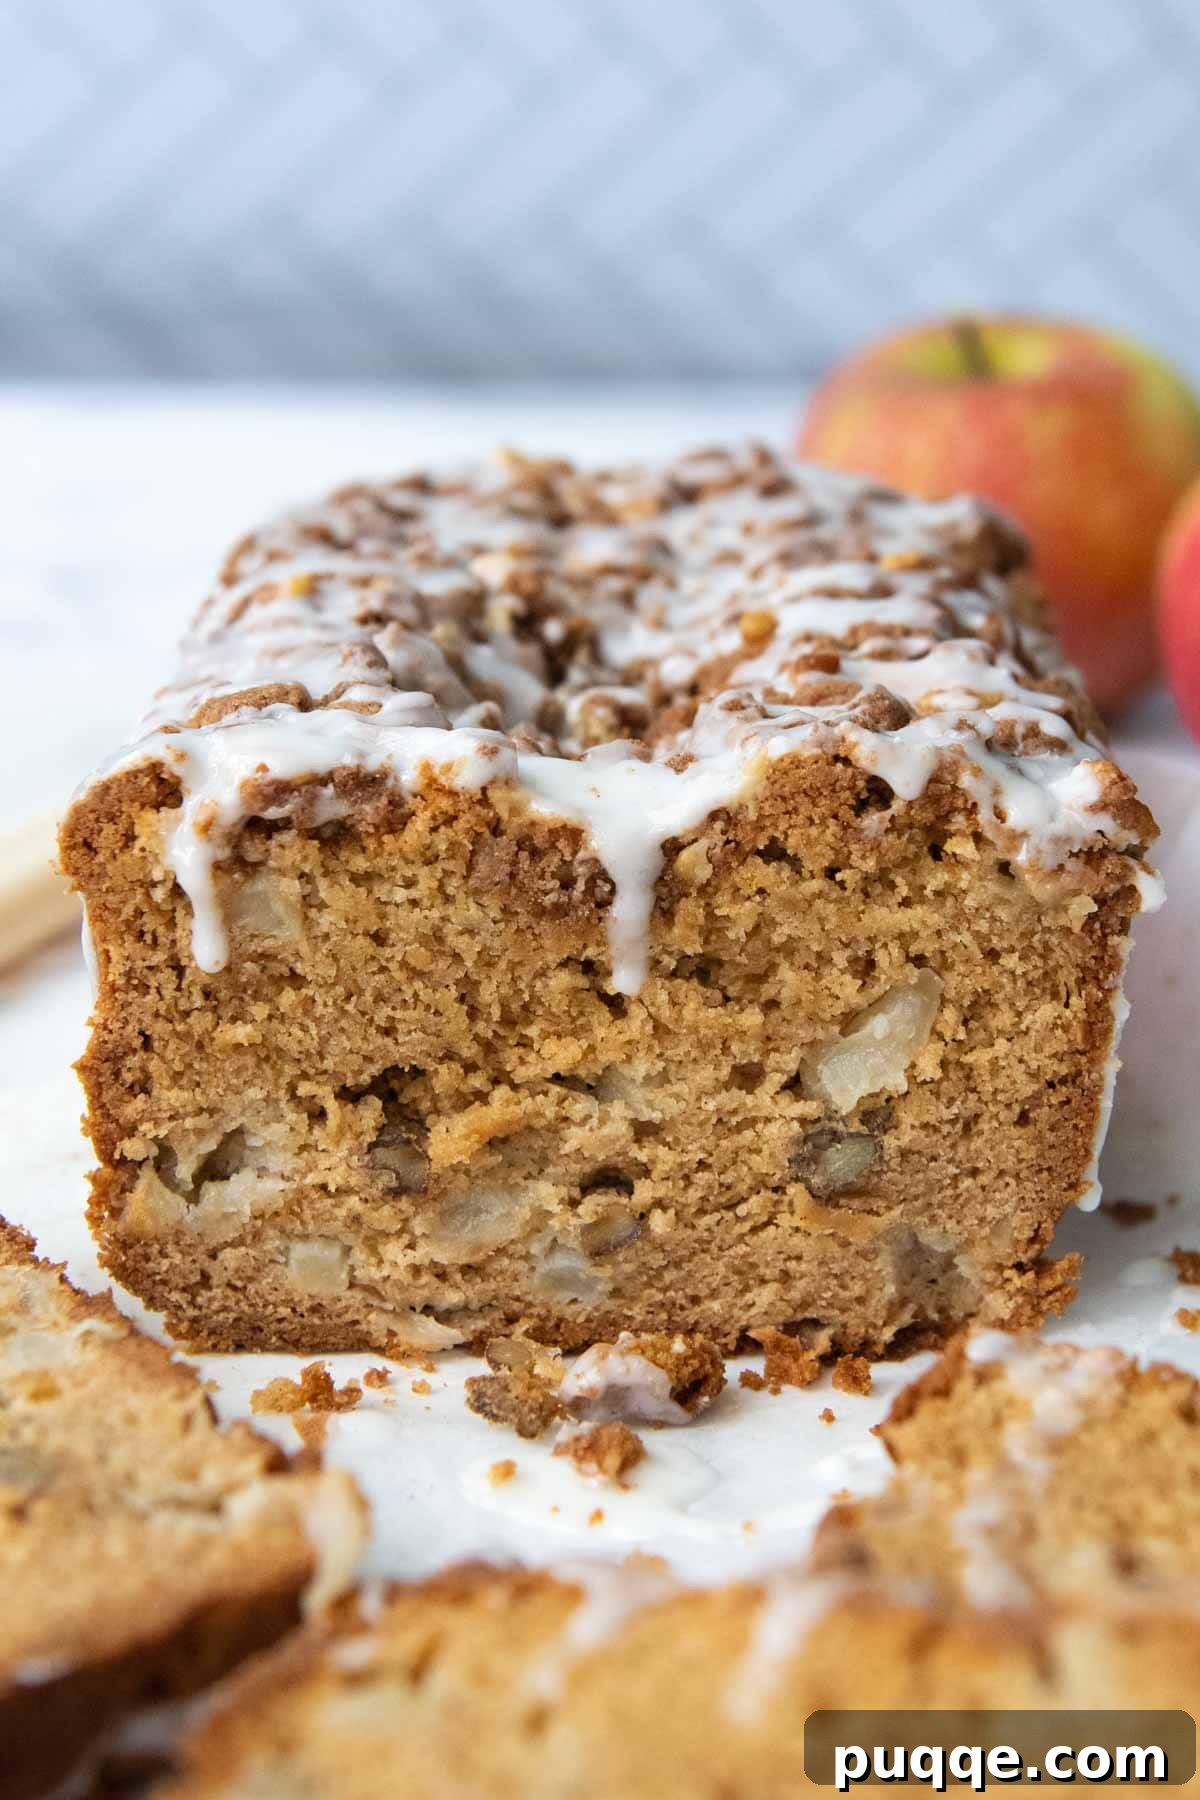
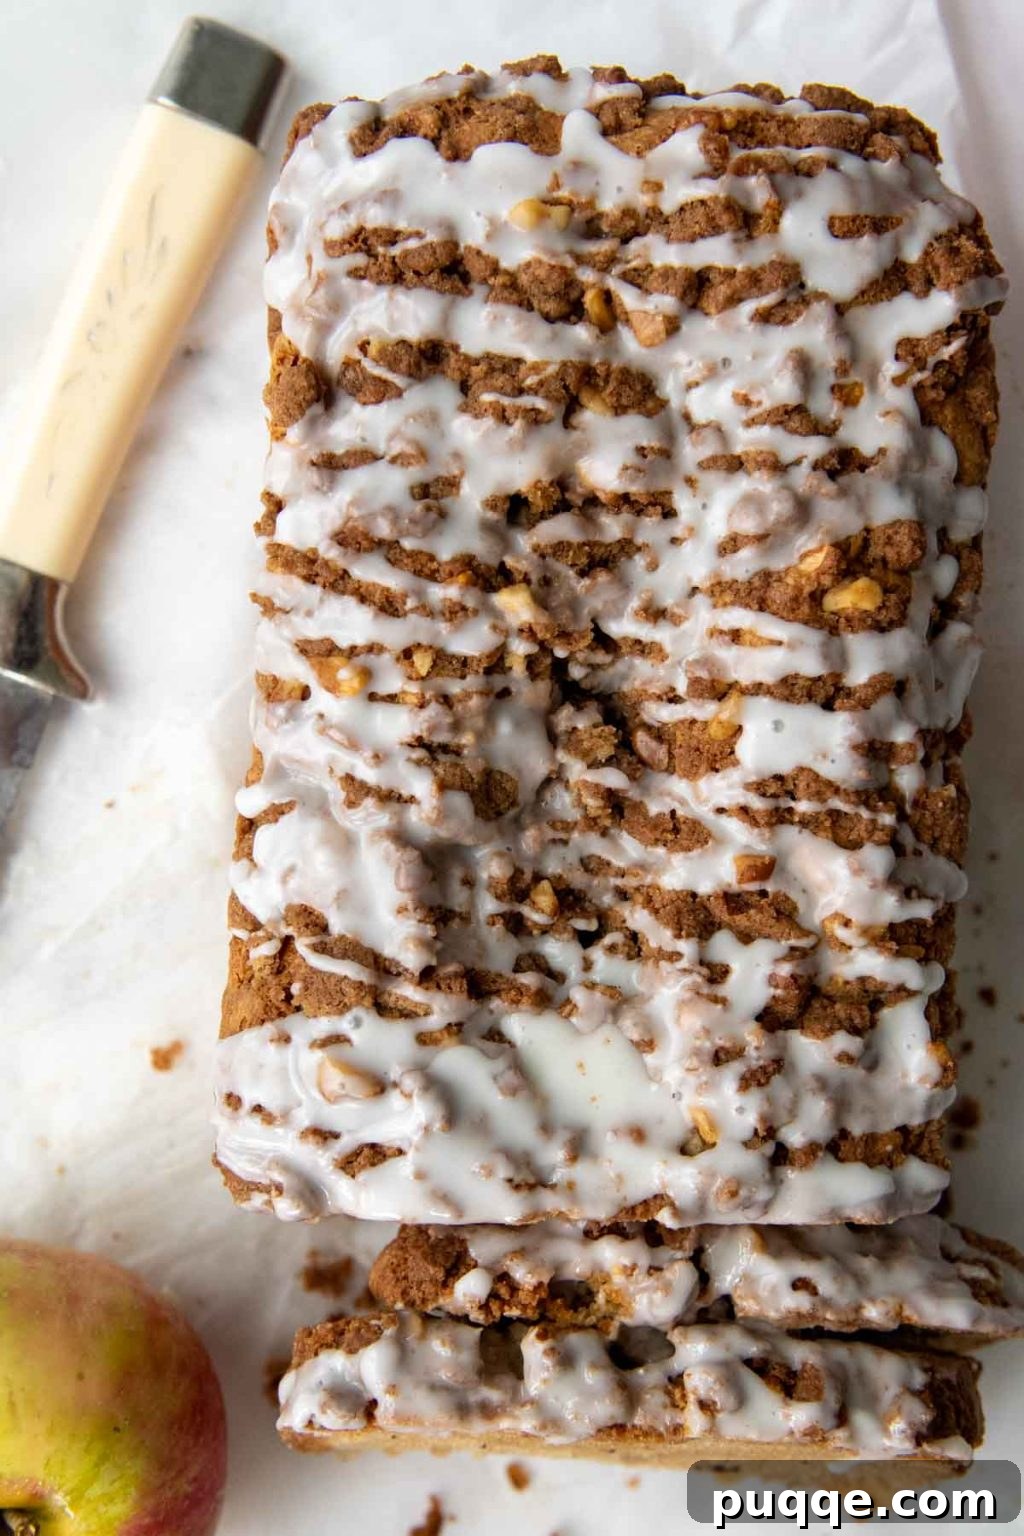
Welcome to the ultimate guide for crafting a truly exceptional Gluten-Free Apple Bread. This isn’t just a recipe; it’s an invitation to experience the comforting embrace of a tender, moist loaf, bursting with juicy apple chunks and warm spices, all crowned with a delectable cinnamon streusel and a luscious vanilla glaze. Perfect for any occasion, from a cozy breakfast to an elegant dessert, this bread defies expectations, proving that gluten-free baking can be utterly irresistible.
Discovering the Magic of Gluten-Free Apple Bread
Autumn’s crisp embrace often brings a craving for warm, spiced treats, and this easy gluten-free apple quick bread recipe perfectly captures that essence. Imagine the inviting aroma of cinnamon and baked apples wafting through your home – it’s an instant mood lifter. This loaf is incredibly versatile, making it an ideal choice for welcoming new neighbors, a satisfying after-school snack, or a delightful companion to your morning coffee or tea. Its humble appearance belies a richness and flavor profile that will surprise even the most discerning palates.
Our recipe takes the most beloved elements from classic baked goods – the tender crumb of gluten-free apple muffins, the textural delight of a crumb topping, and the sweet finish of a gooey vanilla glaze – and transforms them into an effortlessly elegant loaf cake. The beauty of this bread lies in its simplicity; the batter comes together with a straightforward mix-and-dump method, yet the result is a decadently moist, flavorful, and utterly irresistible loaf that will have everyone asking for more.
Essential Ingredients for Your Gluten-Free Apple Bread
One of the joys of this recipe is that it relies on common pantry staples, making it accessible year-round. Much like our favorite gluten-free banana bread recipe, it’s an excellent way to utilize any extra fruit you might have on hand. Beyond the fresh apples, most ingredients are likely already in your kitchen, ready to be transformed into this spectacular treat.
- Gluten-Free Flour: The foundation of any successful gluten-free bake. For this recipe, I highly recommend Cup4Cup gluten-free flour. Its unique blend of rice flour, cornstarch, tapioca starch, and milk powder consistently delivers the best taste and texture, closely mimicking traditional wheat flour. This flour blend ensures a light, fluffy crumb without the gritty texture sometimes associated with gluten-free baking. It’s my go-to for all the breads in my homemade gluten-free recipe collection, guaranteeing reliable results every time.
- Butter: Opting for butter over oil in this quick bread recipe is key to achieving its exceptional texture. Butter contributes a rich, nuanced flavor and helps create a lighter, fluffier crumb that homogenizes beautifully with gluten-free flour, preventing a dense or rubbery result. If you require a dairy-free alternative, high-quality vegan butter sticks can be substituted; just remember to omit any additional salt from the recipe if your vegan butter is salted.
- Sugars: A thoughtful combination of brown sugar and white granulated sugar provides both depth of flavor and structural integrity. Brown sugar imparts a delicious caramel note and extra moisture, while white sugar contributes to the bread’s tender crumb and golden crust. For those looking to reduce sugar content, this recipe is forgiving – you can comfortably cut the total sugar by up to half without significantly compromising taste or texture.
- Apples: The star of the show! While I used Honeycrisp for its perfect balance of sweetness and tartness, many apple varieties excel in baking. Excellent choices include Golden Delicious, Granny Smith (for a tarter profile), and Gala. These apples hold their shape well during baking and offer delightful flavor. Crucially, avoid Red Delicious apples, as they tend to become mushy and lack flavor when baked, which would detract from the bread’s texture.
- Warming Spices: Ground cinnamon is essential, infusing the bread with that classic, comforting aroma and flavor that pairs perfectly with apples. A touch of baking powder and baking soda provides the necessary lift, ensuring a light and airy loaf, while vanilla extract enhances the overall sweetness and complexity.
This is PHENOMENAL!!!! My new favorite recipe, I would eat this every day all day if I could.
—Michelle
Baking This Delectable Loaf Together!
(Follow these detailed step-by-step instructions. For precise ingredient amounts, please scroll down to the complete recipe card below.)
Crafting the Next-Level Streusel Topping
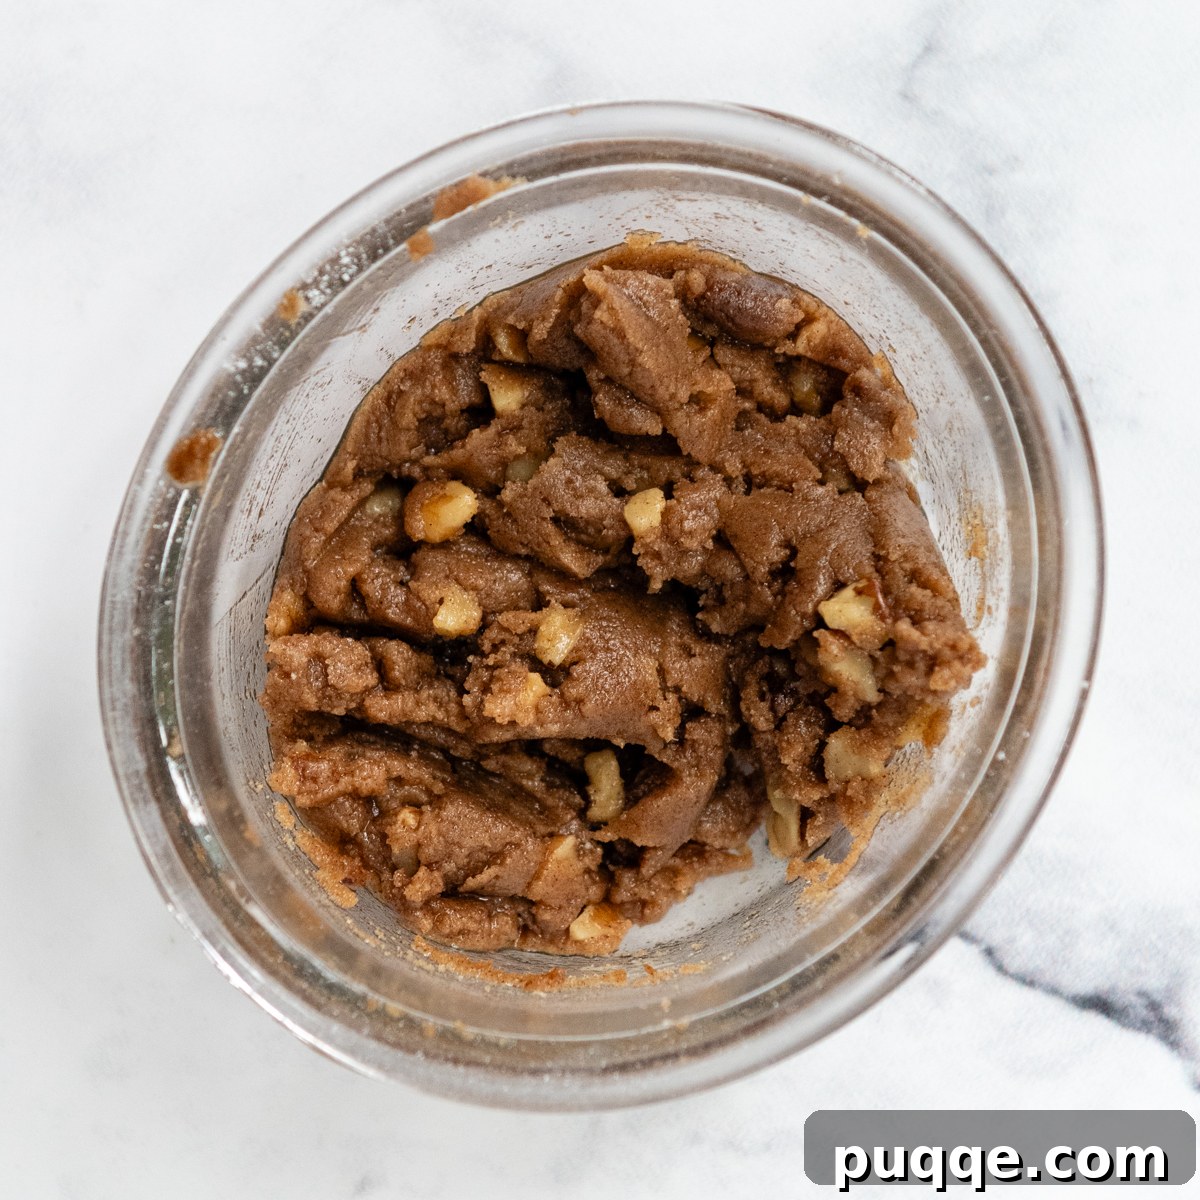
Our journey to exceptional apple bread begins with the streusel. In a small bowl, combine melted butter, gluten-free flour, brown sugar, fragrant cinnamon, and finely chopped walnuts (if using). Stir these ingredients together until crumbly, then set it aside. This topping adds a delightful crunch and extra burst of flavor, making each slice even more special.
Starting with Creamy Butter and Sugars
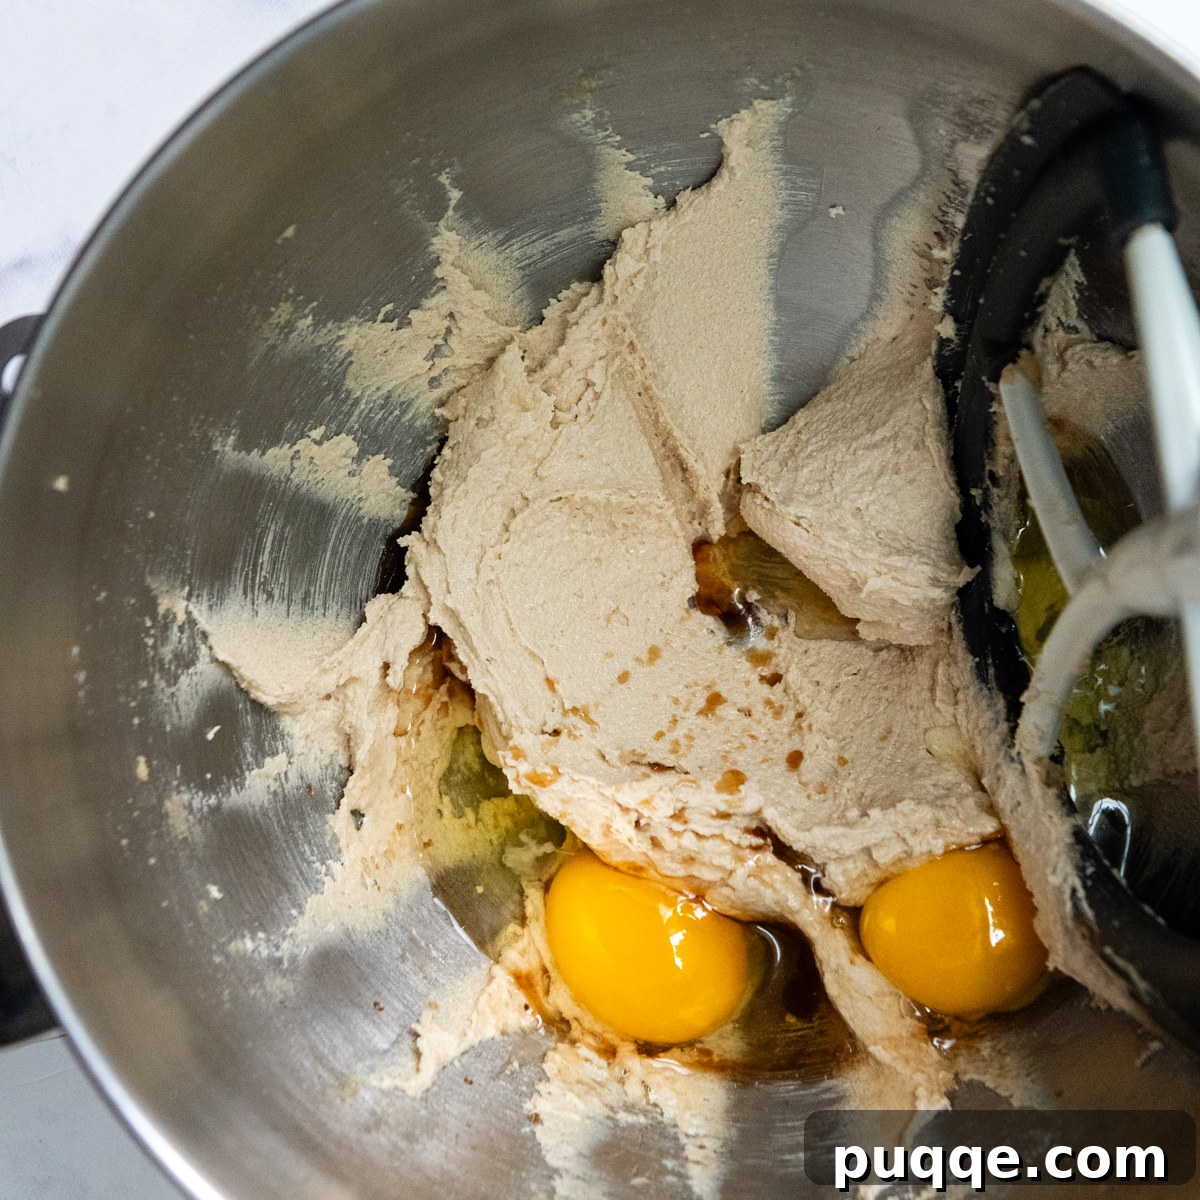
In a large mixing bowl, using a stand mixer or a hand mixer, cream together the softened unsalted butter with both the granulated and light brown sugars. Beat on high speed for 2-3 minutes until the mixture is light, fluffy, and noticeably pale. This step is crucial, especially in gluten-free baking, as it incorporates air and helps build the essential structure of the apple bread, preventing a dense loaf. Many beginner bakers stop too soon, but that extended whipping time is vital for a beautifully textured outcome.
Next, beat in the large eggs one at a time, followed by the vanilla extract, mixing until just combined after each addition. To streamline your process and minimize cleanup, add the smaller dry ingredients directly into the wet mixture: baking powder, baking soda, ground cinnamon, and salt. Mix these on low speed until they are just incorporated. Then, add the gluten-free flour and mix on low speed again until no dry streaks remain.
Finally, increase the mixer speed to high and beat for one minute. This additional mixing step is specifically beneficial for gluten-free flours. It helps soften and relax the starches within the blend, allowing them to fully hydrate with the wet ingredients, which in turn contributes to a more tender and cohesive crumb.
Folding in the Goodness (with Delicious Options)
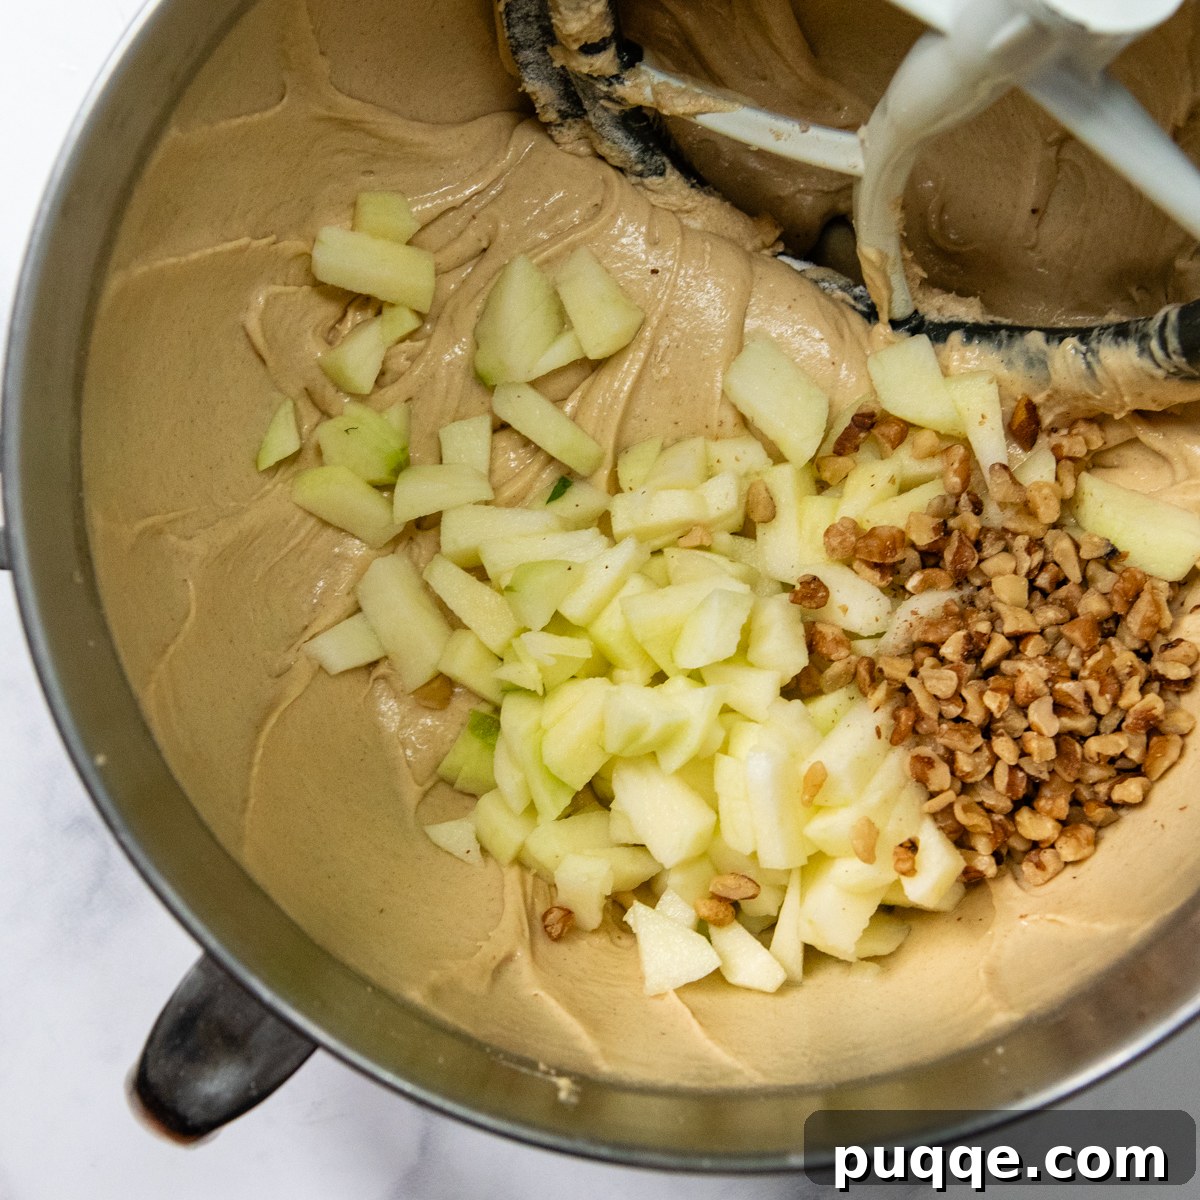
Gently fold in the chopped fresh apples and any optional nuts you’ve chosen to include. The goal is to distribute them evenly without overmixing the batter. This homemade quick bread is also incredibly adaptable to other delightful mix-ins. Consider adding mini chocolate chips for a touch of sweetness, shredded coconut for a tropical twist, dried cranberries or raisins for chewy pockets of flavor, or even white or cinnamon baking chips for extra indulgence. Always be sure to carefully read the ingredient labels for baking chips to ensure they are gluten-free, as formulations can vary.
Crumble, Rest, and Bake to Perfection
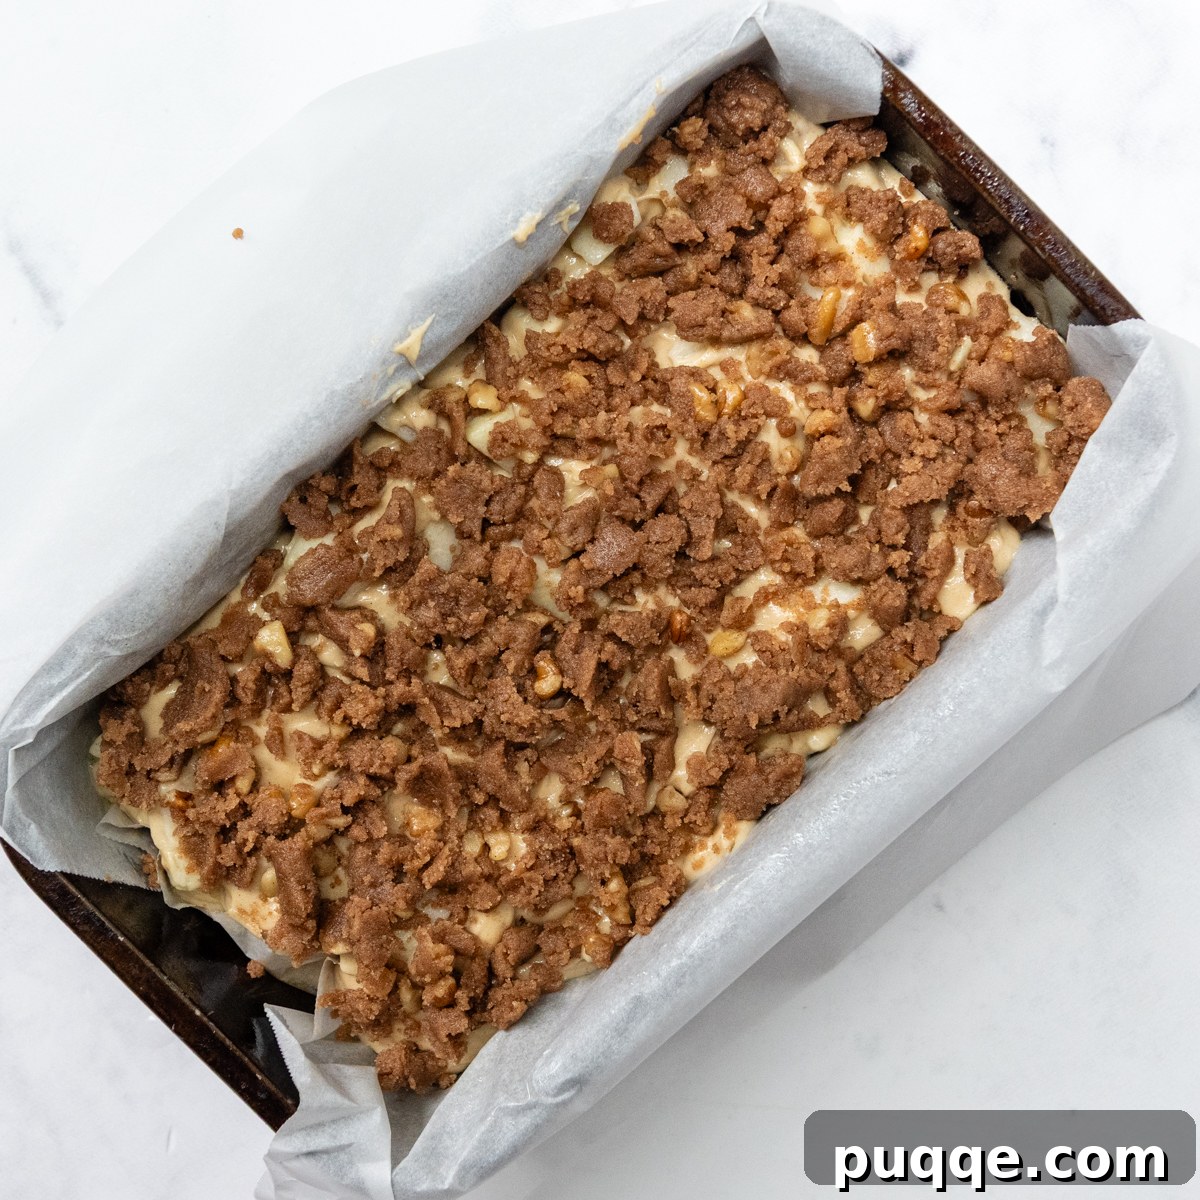
Pour the prepared batter evenly into your greased and parchment-lined bread pan. Then, generously sprinkle the streusel topping over the entire surface. Before baking, allow the bread to rest in the pan for about 10 minutes. This resting period is a crucial trick for gluten-free baking; it gives the GF starches additional time to absorb moisture, which significantly helps in building out the bread’s structure and prevents the dreaded sinking middle.
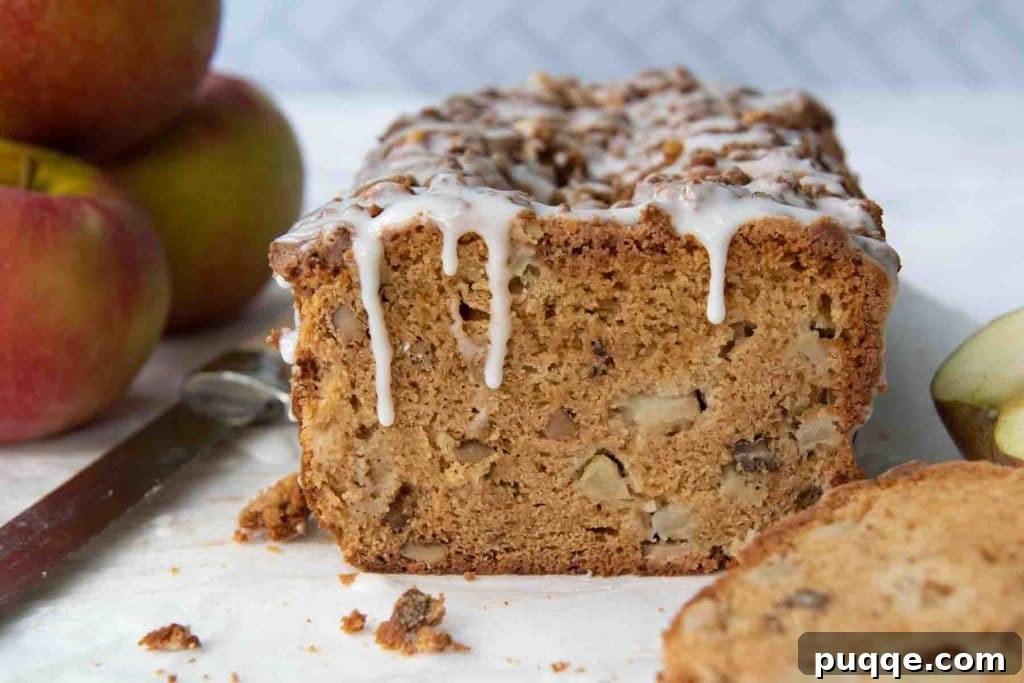
Bake for 65-70 minutes, or until a wooden toothpick inserted into the center (past the streusel topping) comes out clean, indicating no wet dough. Once baked, if you desire an extra layer of sweetness and visual appeal, allow the bread to cool slightly before drizzling with the vanilla glaze. The recipe for this simple yet exquisite glaze is provided below. Enjoy the fruits of your labor!
Selecting the Best Apples for Baking
The type of apple you choose can significantly impact the final texture and flavor of your bread. Many varieties are well-suited for baking due to their ability to hold shape and offer balanced sweetness or tartness. As I cover in more detail in this gluten-free apple cobbler recipe, Honeycrisp, Jonagold, Golden Delicious, Granny Smith, and Pink Lady apples are all excellent choices. Honeycrisp offers a delightful crispness and sweet-tart flavor, while Granny Smith provides a pleasant tartness that cuts through the richness of the bread. Remember to always peel and dice your apples into small, consistent pieces to ensure even distribution and cooking throughout the loaf.
For optimal results, I’ve thoroughly tested this recipe with both 9×5 and 8×4 loaf pans. The 9×5 loaf pan consistently yields superior results, leading to more even baking, a faster bake time, and a beautifully domed top without the common issue of a fallen center. The 8×4 loaf, in my experience, often takes considerably longer to bake through and doesn’t achieve the same desirable, even rise.
Troubleshooting: Preventing a Sinking Middle in Gluten-Free Bread
One of the most common frustrations in gluten-free baking is a loaf that sinks in the middle. If you’ve encountered this issue with previous gluten-free bread recipes, fret not! I have a couple of straightforward tricks that will help you achieve a perfectly domed, consistently baked loaf every time.
First, quick breads like this gluten-free apple loaf require a relatively long bake time. To encourage a gentle, steady rise and allow ample time for liquids to evaporate and structural elements to set, I recommend setting your oven temperature a bit lower, to 325°F (160°C). This slight reduction in temperature extends the baking duration, ensuring the bread cooks through thoroughly from the inside out without over-browning the exterior, ultimately building a robust internal structure.
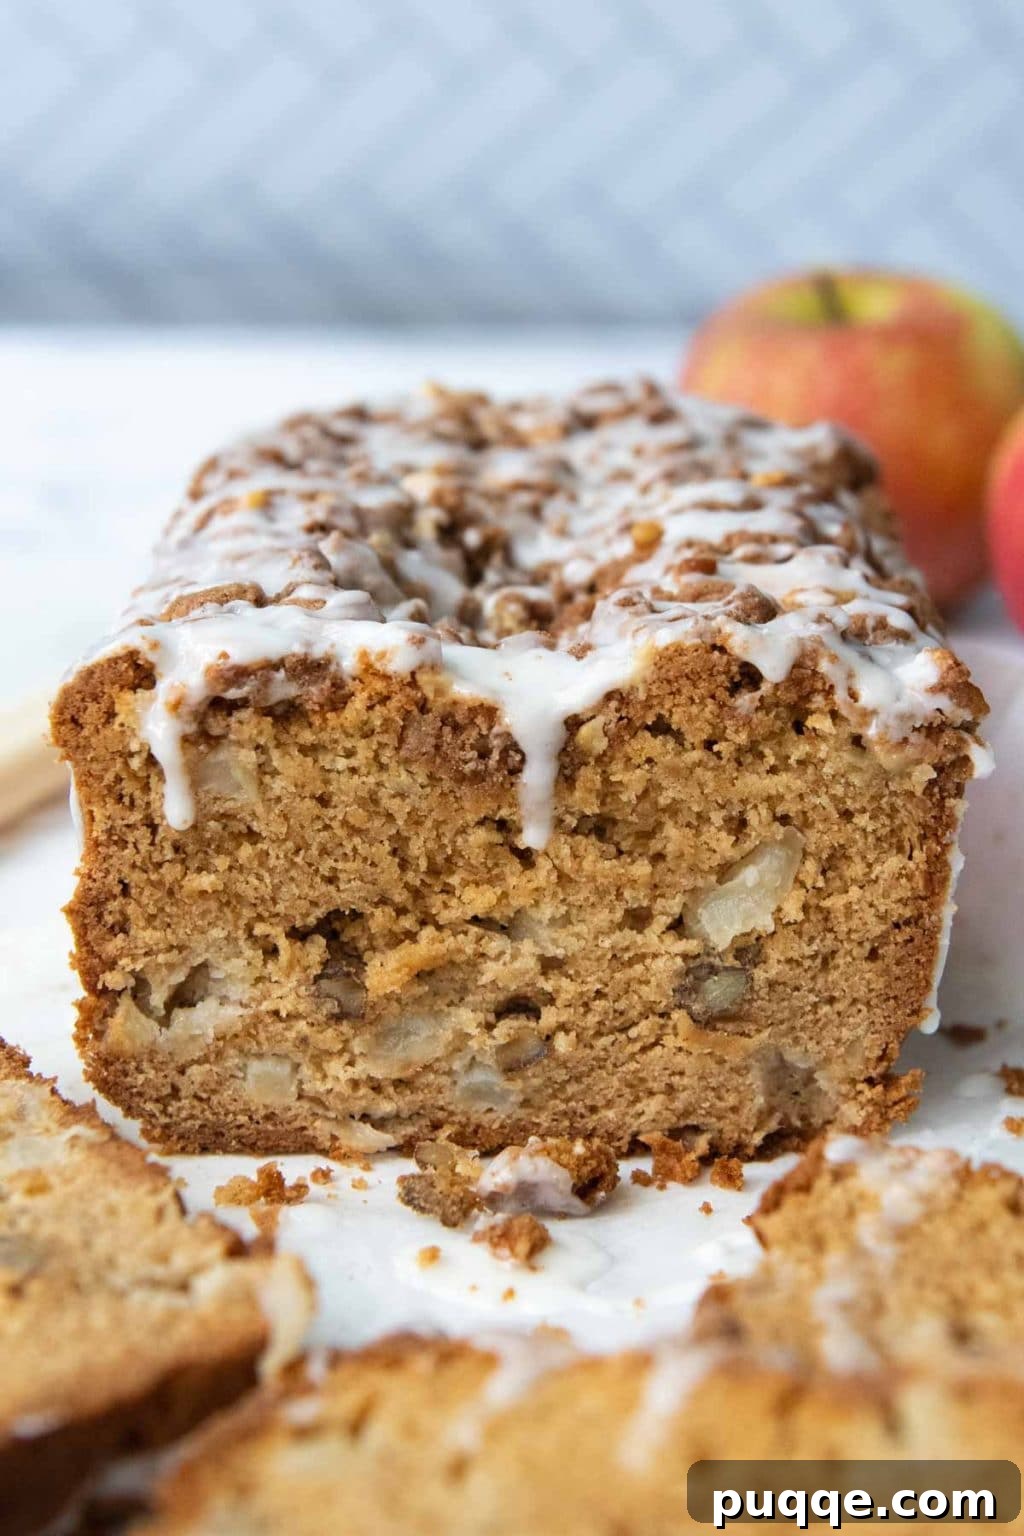
Second, and equally important, I highly recommend letting your unbaked bread batter rest in the pan for approximately 10 minutes before placing it in the oven. Gluten-free starches, unlike wheat-based flours, can be a bit more challenging when it comes to moisture absorption. This brief resting period provides a crucial head start, allowing the flour blend to fully hydrate and the starches to relax. Through extensive testing, I’ve found that this resting step makes a significant difference, consistently resulting in a beautifully domed, full-bodied top, rather than a sunken center.
Save This Irresistible Recipe to Your Pinterest Board!
Let’s be friends on Pinterest! I’m always sharing great recipes and gluten-free baking tips!
Did you make this recipe? I love hearing from you! Leave a star rating and comment below the recipe card. Your feedback is invaluable to our community and helps others discover fantastic recipes. I always respond to comments! -Melissa
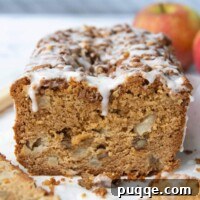
Moist Gluten-Free Apple Bread With Cinnamon Streusel and Vanilla Glaze

Melissa Erdelac
Tantalizing Gluten-Free Apple Bread recipe features juicy apple chunks and salty chopped nuts, all bound within a fluffy loaf cake, generously topped with a delightful cinnamon streusel and a rich, gooey vanilla glaze. This comforting bake is surprisingly easy and utterly delicious.
Pin Recipe
Rate This Recipe
Ingredients
Streusel Topping
- 2 tablespoons (28 g) butter, melted
- 3 tablespoons (27 g) gluten-free all-purpose flour (Cup4Cup recommended)
- 2 tablespoons (30 g) light brown sugar
- 2 tablespoons (19 g) chopped walnuts (optional)
- 1 teaspoon ground cinnamon
Gluten-Free Apple Bread
- ½ cup (113 g) unsalted butter, softened
- ½ cup (100 g) granulated sugar
- ½ cup (117 g) light brown sugar
- 2 large eggs, room temperature
- 2 teaspoons vanilla extract
- 1 teaspoon baking powder
- ½ teaspoon baking soda
- ½ teaspoon ground cinnamon
- ¼ teaspoon salt
- 2 cups (292 g) gluten-free all-purpose flour (Cup4Cup recommended)
- 1 ½ cup (195 g) apples, cored, peeled, and diced
- ¼ cup (38 g) chopped walnuts (optional)
Vanilla Glaze
- ½ cup (60 g) powdered sugar
- 1 ½ tablespoons milk
Equipment
- 9×5 loaf pan
- Stand Mixer (or hand mixer)
- Cup4Cup Gluten-Free Flour (for convenience)
Instructions
- Preheat your oven to 325°F (160°C). For the best results and easiest removal, line a 9×5 inch loaf pan with parchment paper, allowing an overhang on two sides. This creates “handles” that make lifting the baked bread out of the pan effortless, ensuring the delicate streusel topping remains intact.
- To make the irresistible streusel topping, melt the butter in a small microwave-safe bowl. Add the gluten-free flour, light brown sugar, ground cinnamon, and chopped walnuts (if using). Stir these ingredients together until they form a crumbly mixture, then set it aside.
- In a large mixing bowl, cream together the softened unsalted butter with both the granulated sugar and light brown sugar. Beat on high speed for 2-3 minutes, until the mixture is light, fluffy, and visibly pale. This aeration is key for a tender gluten-free loaf. Next, beat in the eggs one at a time, followed by the vanilla extract, mixing until just combined after each addition.
- Reduce the mixer speed to low. Add the baking powder, baking soda, ground cinnamon, and salt. Mix until just incorporated. Then, add the 2 cups of gluten-free all-purpose flour and mix on low speed again until the dry ingredients are fully moistened and no streaks of flour remain.
- Increase the mixer speed to high and beat the batter for one minute. This crucial step helps to soften and fully hydrate the gluten-free starches, contributing to a wonderfully moist and cohesive texture in the finished bread. Gently fold in the cored, peeled, and diced apples and any optional chopped walnuts.
- Pour the prepared apple bread batter into your parchment-lined loaf pan and spread it evenly. Distribute the streusel topping generously over the entire surface of the batter, breaking up any large clumps. Allow the bread to rest in the pan for 10 minutes before baking. This resting period is vital for gluten-free flours, giving them time to absorb moisture and build structure, which helps prevent the middle from sinking during baking. Bake for 65-70 minutes, or until a wooden toothpick inserted into the center (making sure to go past the streusel) comes out clean, indicating the bread is fully cooked.
- Carefully lift the bread out of the pan using the parchment paper overhangs and transfer it to a wire rack to cool. After approximately 20 minutes, while the bread is still slightly warm but not hot, whisk together the powdered sugar and milk in a small bowl until a smooth, pourable vanilla glaze forms. Drizzle this delectable glaze generously over the cooled loaf. Allow the glaze to set completely before slicing and serving for the best presentation and flavor.
Notes
Storing and Freezing Tips
For an unsliced loaf, ensure the bread has completely cooled for several hours before wrapping it tightly in foil or plastic wrap. Store at room temperature for up to 3-4 days. Wrapping while still warm will trap moisture, making the bread soggy.
This bread also freezes beautifully! Once completely cooled, slice the loaf and store the slices in an airtight freezer bag or container for up to 3 months. You can pull out individual slices as needed to thaw at room temperature, or gently defrost them on low power in the microwave for a quick treat.
Calories: 300kcal
,
Carbohydrates: 43g
,
Protein: 4g
,
Fat: 14g
,
Saturated Fat: 7g
,
Polyunsaturated Fat: 3g
,
Monounsaturated Fat: 3g
,
Trans Fat: 1g
,
Cholesterol: 53mg
,
Sodium: 193mg
,
Potassium: 101mg
,
Fiber: 3g
,
Sugar: 27g
,
Vitamin A: 348IU
,
Vitamin C: 1mg
,
Calcium: 55mg
,
Iron: 1mg
Did you make this recipe?
Please leave a star rating and review below. It helps others when searching for recipes and I LOVE feedback!