
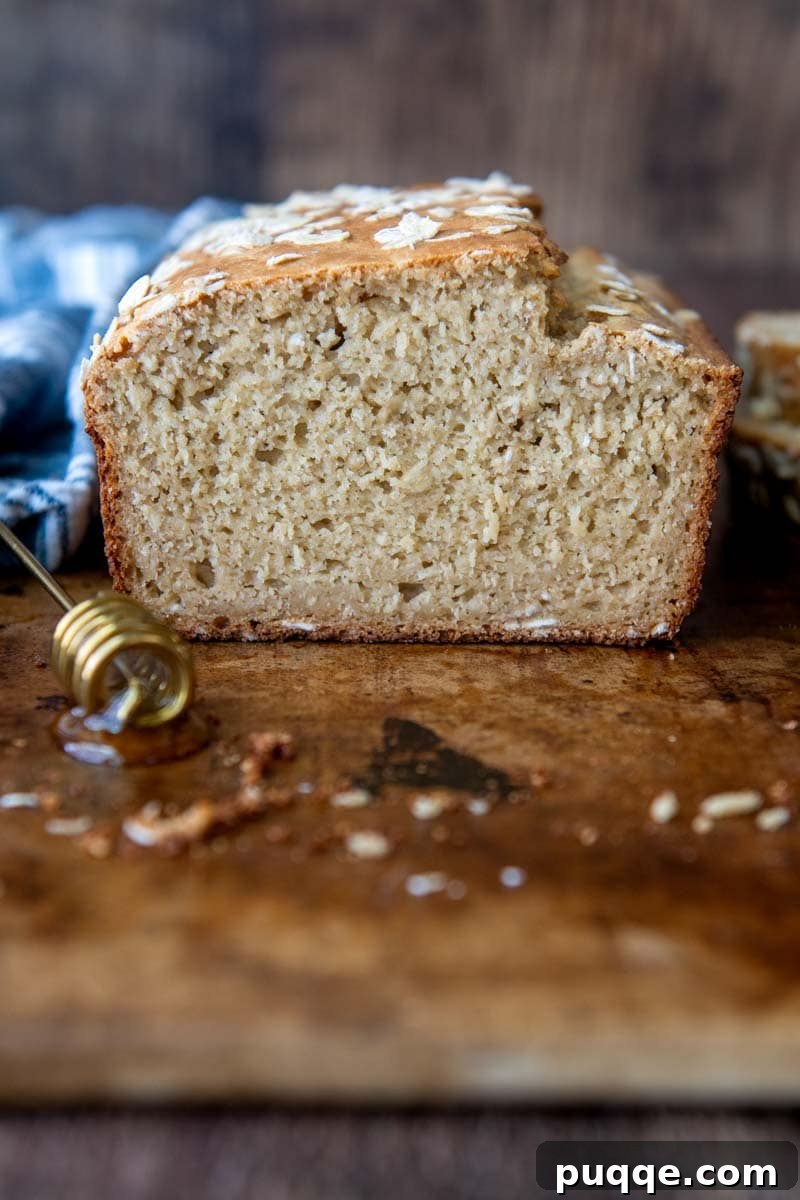
Discover the revolutionary Oat Flour Bread recipe – a truly effortless and delicious way to enjoy homemade, gluten-free bread crafted entirely from oats! This innovative recipe eliminates the need for traditional flour, yeast, and laborious kneading, allowing you to whip up a wholesome loaf in a fraction of the time, all with the convenience of a blender. Prepare to savor the comforting taste of classic oatmeal bread, reimagined for modern, health-conscious kitchens.
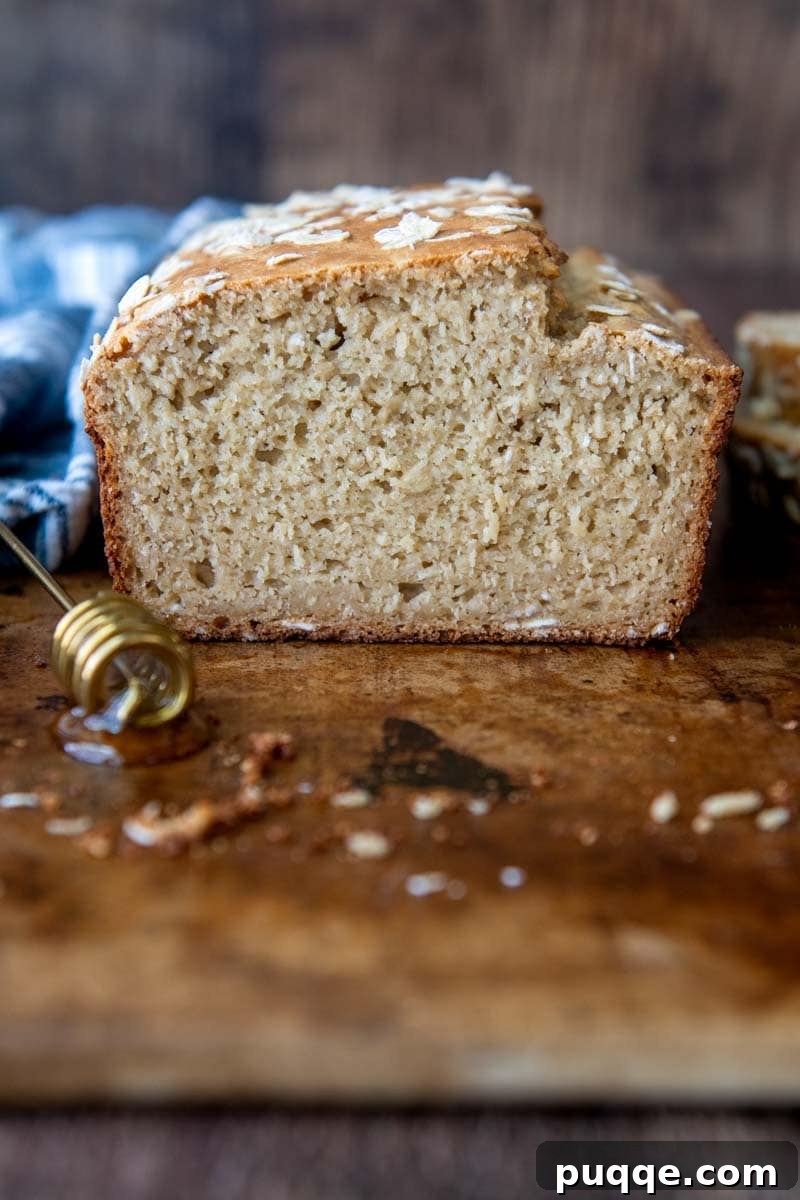
The Ultimate Gluten-Free Oat Flour Bread: 100% Oats, No Wheat Flour, No Yeast!
For those who adore the simplicity and delightful results of baking with pure oat flour, much like in popular oat flour cookies, prepare to be captivated by this savory oat flour bread. This remarkably easy, flourless bread recipe is inherently gluten-free, relying solely on wholesome oats—no wheat flour, no complex yeast activation, and no lengthy proofing required. It’s a game-changer for gluten-sensitive individuals and busy home bakers alike.
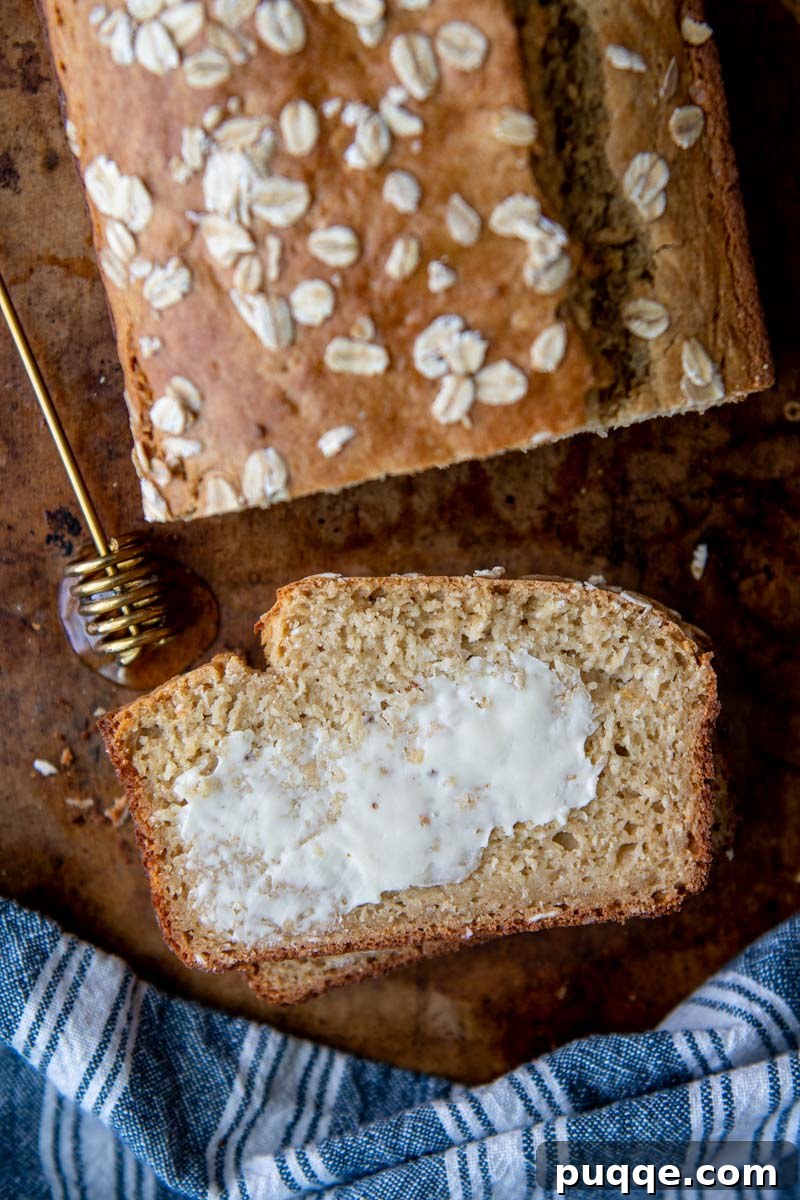
The flavor profile of this bread beautifully mimics traditional oatmeal bread, offering a subtle sweetness from honey, a wonderfully soft and tender crumb, and a delicate, nutty undertone. Yet, unlike its conventional counterpart, this oat flour bread comes together significantly faster. You won’t need a bulky bread machine, hours of rising, or strenuous kneading. This makes it an absolute win for baking novices and seasoned pros seeking efficiency without compromising on quality or taste.
The process is incredibly straightforward: simply combine all the ingredients in a blender or food processor, pour the smooth batter into a loaf pan, and bake. In under an hour, you’ll be pulling a warm, aromatic loaf of fresh, homemade gluten-free bread from your oven, made entirely with oat flour. Imagine the satisfaction of crafting such a wholesome staple with minimal effort!
This versatile bread serves as an excellent foundation for a nutritious gluten-free breakfast, whether slathered with creamy peanut butter and sliced bananas, or paired with avocado and a sprinkle of everything bagel seasoning. It’s equally fantastic for creating hearty sandwiches, gooey grilled cheese, or as a delightful accompaniment to any dinner. If you’re craving something on the sweeter side, don’t miss these equally delightful easy homemade oat flour muffins.
Why Choose Oat Flour Bread? Unlocking the Benefits
Beyond its incredible ease of preparation, this oat flour bread offers a myriad of benefits. Firstly, it’s a naturally gluten-free option, perfect for those with celiac disease or gluten sensitivity, ensuring peace of mind without sacrificing flavor or texture. Secondly, using 100% oats means you’re baking with a whole grain powerhouse. Oats are rich in fiber, particularly beta-glucan, which is known for its heart-healthy properties, including lowering cholesterol and regulating blood sugar levels. This makes your homemade loaf a significantly healthier choice than many processed breads on the market.
Furthermore, the “no-knead, no-yeast” method simplifies the baking process dramatically, making it accessible even for beginners. You avoid the guesswork of yeast activation and the physical effort of kneading dough. The blender does all the heavy lifting, transforming simple oats into a smooth, consistent batter ready for baking. This efficiency means more time enjoying your delicious creation and less time cleaning up.
The subtle, earthy flavor of oats, combined with a touch of honey, creates a naturally appealing taste that isn’t overly sweet, making it suitable for both sweet and savory applications. It’s a bread that truly caters to a variety of palates and dietary needs, offering a wholesome alternative to traditional wheat-based loaves. Embrace this recipe as a staple for a healthier, simpler, and more satisfying baking experience.
This bread is AMAZING!! It rose beautifully and looked artisan quality. I made it in my narrow gluten free metal tins which helped the bread rise nicely. I am so pleased with the ease of making this bread, and the Vitamix made the process a breeze. Thank you for sharing this true gem of a recipe!
—Ashley
Thank you so much! Have tried to eliminate wheat but oat flour bread is so expensive now. I had no problems at all with this recipe and even my husband loved the taste. Again, thanks!
—Jude
Essential Ingredients for Your Homemade Oat Flour Loaf
Crafting this delightful oat flour bread requires only a handful of affordable ingredients, many of which you likely already have in your pantry. We’ll dive into each one, along with some helpful tips and substitutions to ensure your baking success.
- Oats: The star of our show! For genuinely gluten-free bread, it is crucial to use certified gluten-free rolled oats. Standard oats can be cross-contaminated with wheat during processing. These oats will be quickly transformed into homemade oat flour in just one minute using your blender or food processor. Making your own oat flour is not only cost-effective but also ensures freshness.
- Psyllium Husk Powder: A recent, but highly recommended, addition to this recipe. Psyllium husk in gluten-free baking acts as a powerful binder, mimicking the elasticity of gluten. It is instrumental in providing structure, preventing the bread from crumbling, and making it perfectly sliceable for sandwiches. While the bread can be made without it, for the best texture and stability, we strongly advise incorporating this affordable ingredient. It truly elevates the final result.
- Plain Yogurt: This ingredient contributes moisture and a tender crumb to the bread. For a dairy-free alternative, unsweetened applesauce works wonderfully. Refer to the detailed baking notes in the recipe card for specific guidance on this substitution. Both options yield a moist and flavorful loaf.
- Eggs: Eggs play a vital role in binding the ingredients and adding richness to the bread. Many readers have inquired about an egg-free version. While we haven’t personally tested it extensively, other bakers have reported success using an egg replacer. Be aware that substituting eggs might result in a slightly looser crumb.
- Oil: We typically use canola oil due to its neutral flavor and accessibility, but feel free to use your preferred cooking oil. Whether it’s olive oil, avocado oil, or melted coconut oil, the recipe is forgiving and adapts well to various choices. Use what you love!
- Milk or Non-Dairy Substitute: Regular dairy milk works perfectly, but for a dairy-free loaf, any non-dairy milk such as almond, soy, or oat milk can be used interchangeably. This ensures the recipe is adaptable to different dietary preferences.
- Honey: Honey adds a touch of natural sweetness and helps with browning. Similar to oil, your choice of sweetener is flexible. Pure maple syrup is an excellent alternative, or you can adjust the amount of sweetener, or even omit it entirely, depending on your desired sweetness level.
- Baking Powder & Baking Soda: These are our leavening agents, crucial for giving the bread its rise and fluffy texture, especially since we’re not using yeast. They react with the acidic yogurt to create air bubbles, resulting in a light and airy loaf.
- Salt: A small amount of salt enhances all the other flavors in the bread, balancing the sweetness and bringing out the natural nuttiness of the oats.
Let’s Make This Effortless Oat Flour Bread Together!
Get ready to transform simple oats into a magnificent loaf of bread. The key to this recipe’s simplicity lies in the blender. First, you’ll create your own fresh oat flour, then combine the remaining ingredients for a quick mix. In a matter of minutes, you’ll have a smooth batter, and voilà – flourless, gluten-free oatmeal bread is on its way to your table!
(Note: This section provides a step-by-step pictorial guide. For precise ingredient measurements and detailed instructions, please refer to the comprehensive recipe card located at the bottom of this article.)
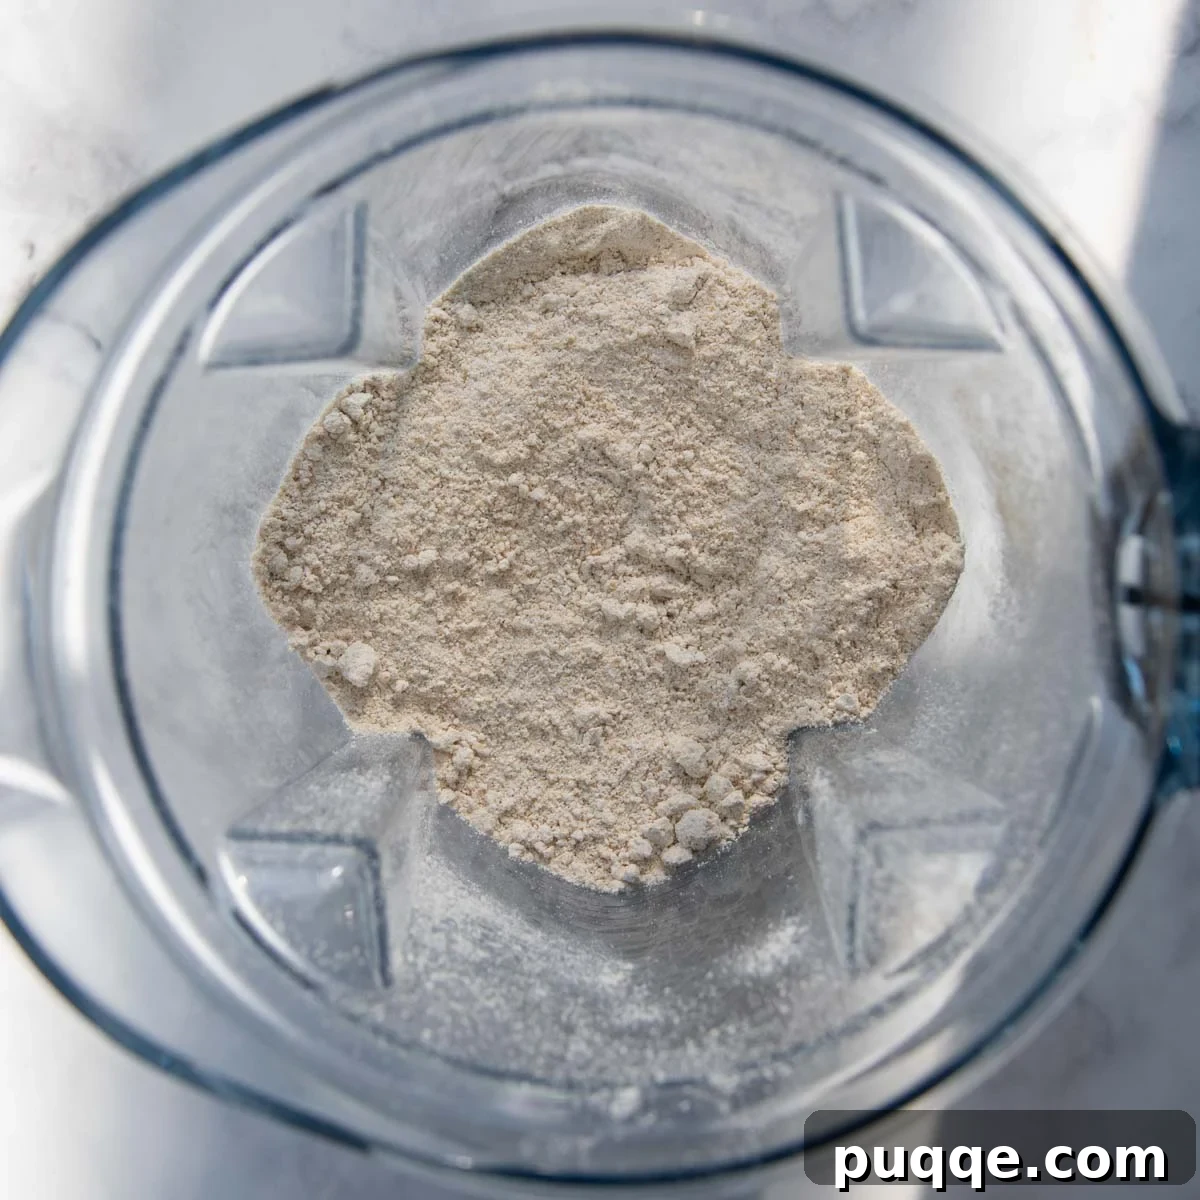
Step 1: Create Fresh, 1-Minute Oat Flour
Begin by placing 2 ½ cups of certified gluten-free whole rolled oats into your high-power blender or a food processor. Process the oats until they are transformed into a fine, powdery flour. This typically takes about 30 seconds to 1 minute. If you own these appliances, there’s no need to spend extra money on pre-made oat flour! However, if making your own isn’t feasible, simply use 2 ½ cups of store-bought oat flour. We promise, there’s no judgment here!
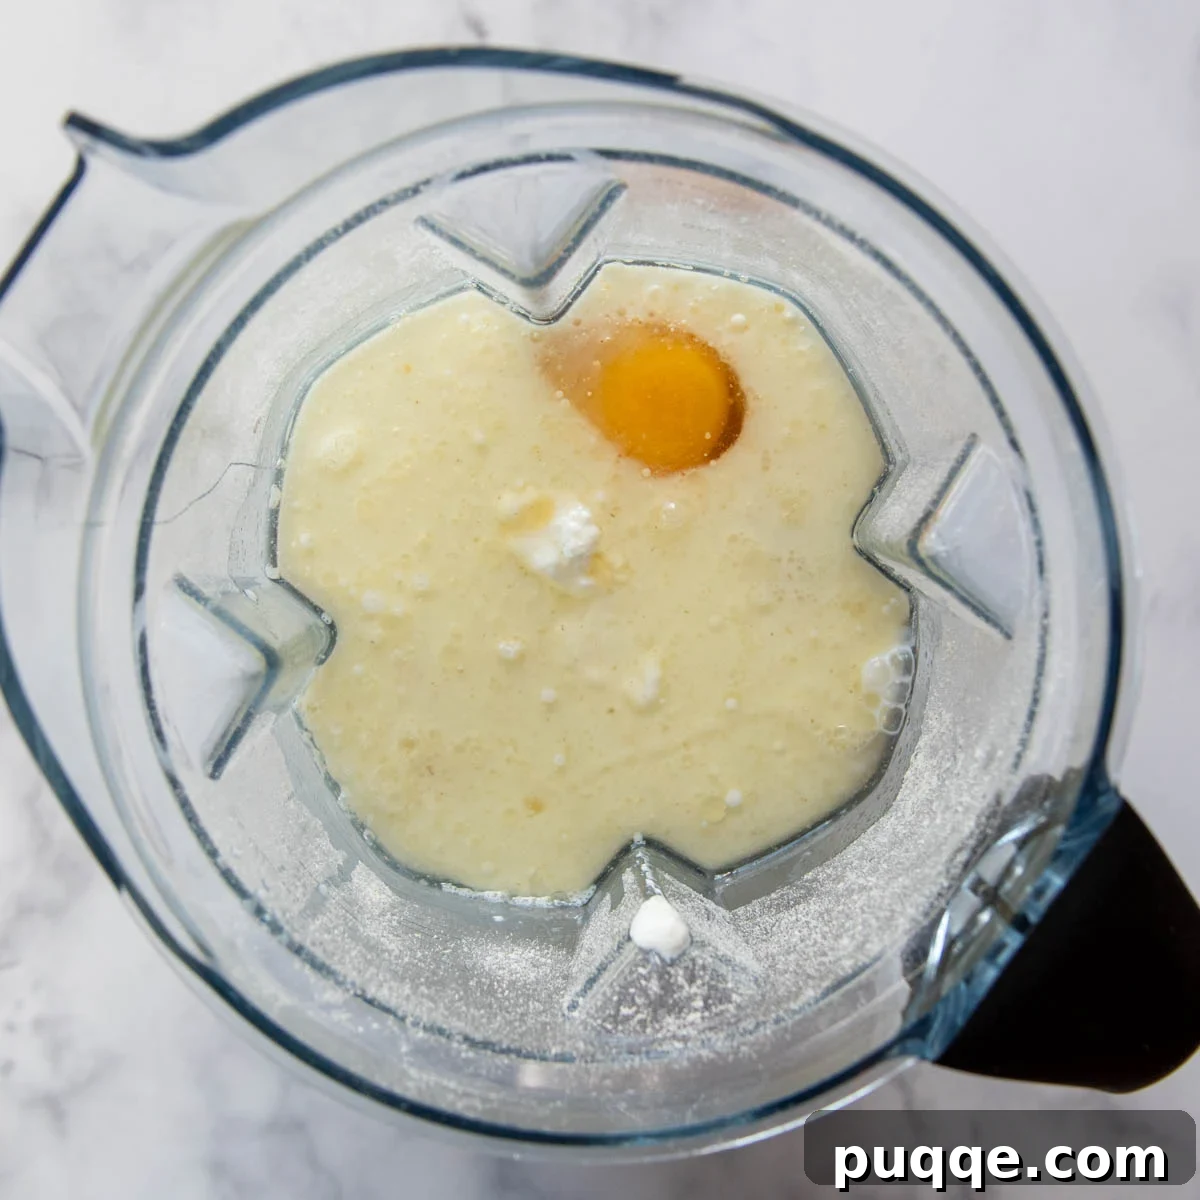
Step 2: Effortless Blending – Add & Combine
Once your fresh oat flour is prepared, simply add all the remaining ingredients to the blender or food processor. This includes the psyllium husk powder, baking powder, baking soda, salt, yogurt, milk, eggs, oil, and honey. Blend until all ingredients are well combined and the batter is smooth. Don’t be surprised, the batter will be noticeably thin and runny at this stage, which is perfectly normal for this recipe.
Step 3: The Oatmeal Magic – A Textured Boost
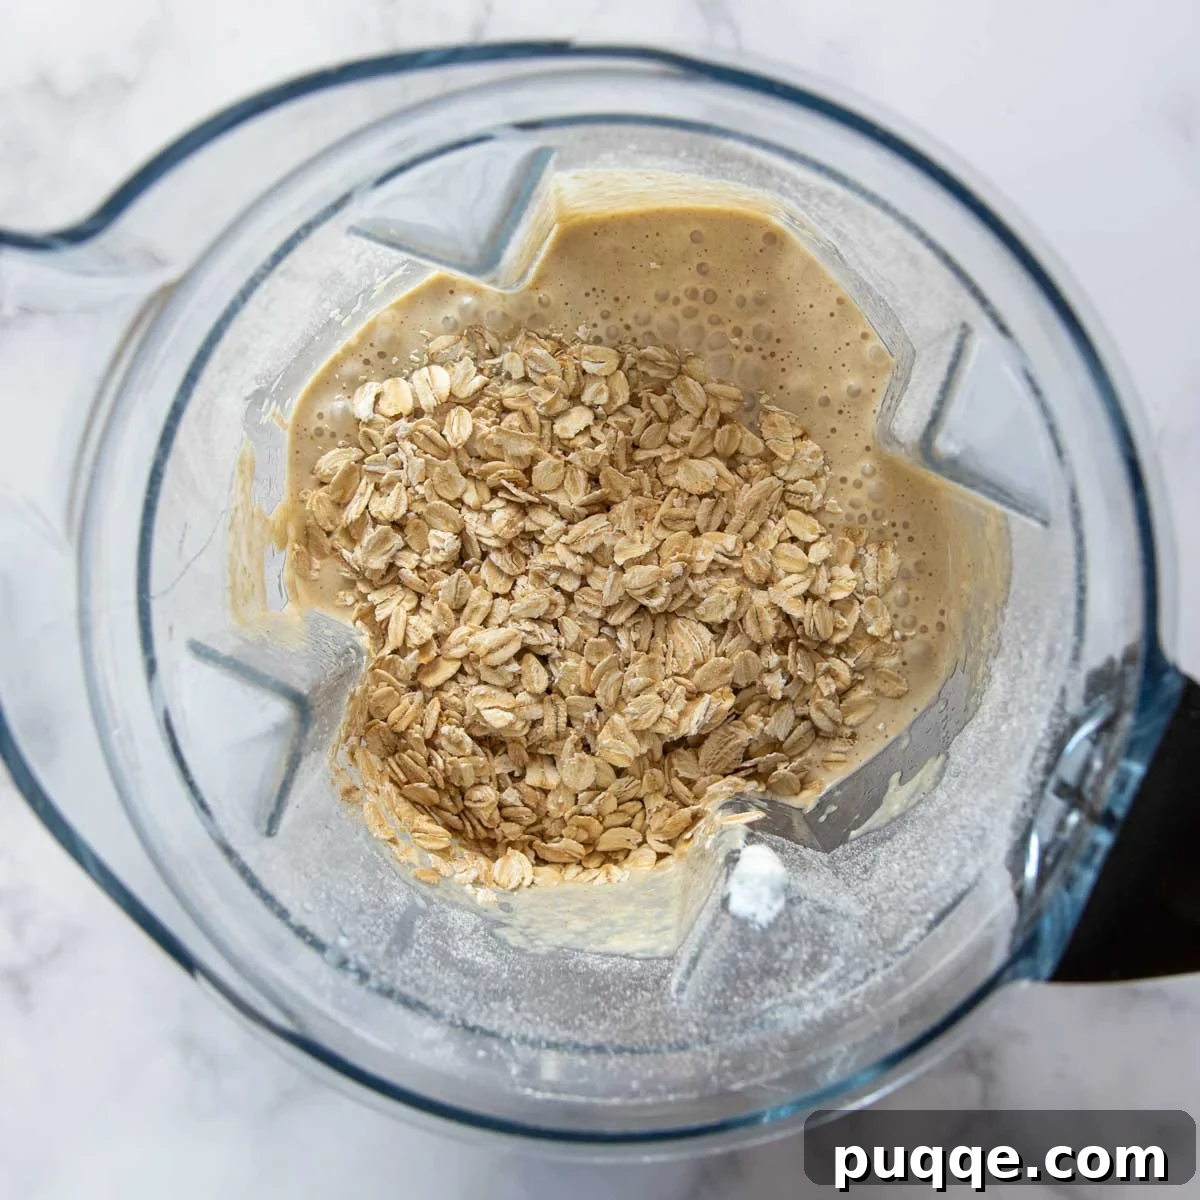
To add a delightful textural element and further build the bread’s structure, pulse in a little extra whole oats. Add the remaining 1 cup of old-fashioned rolled oats to the blender. Pulse 2-3 times, just enough to combine them into the batter without grinding them into a fine flour. This step ensures pockets of chewy oats throughout your loaf, enhancing the overall experience.
Step 4: Pour & Bake to Golden Perfection
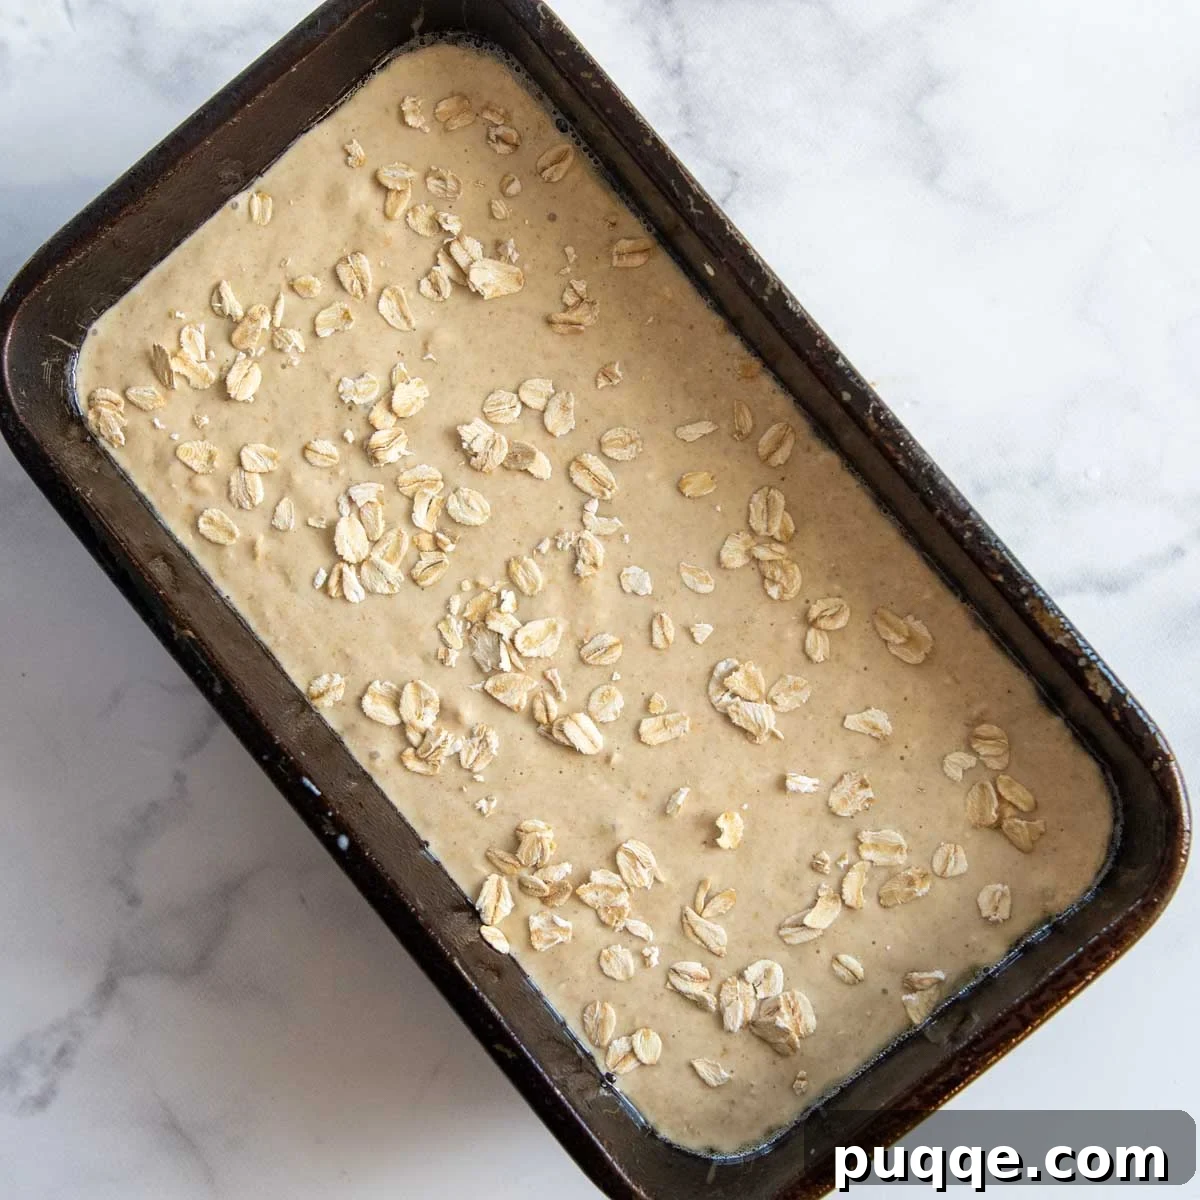
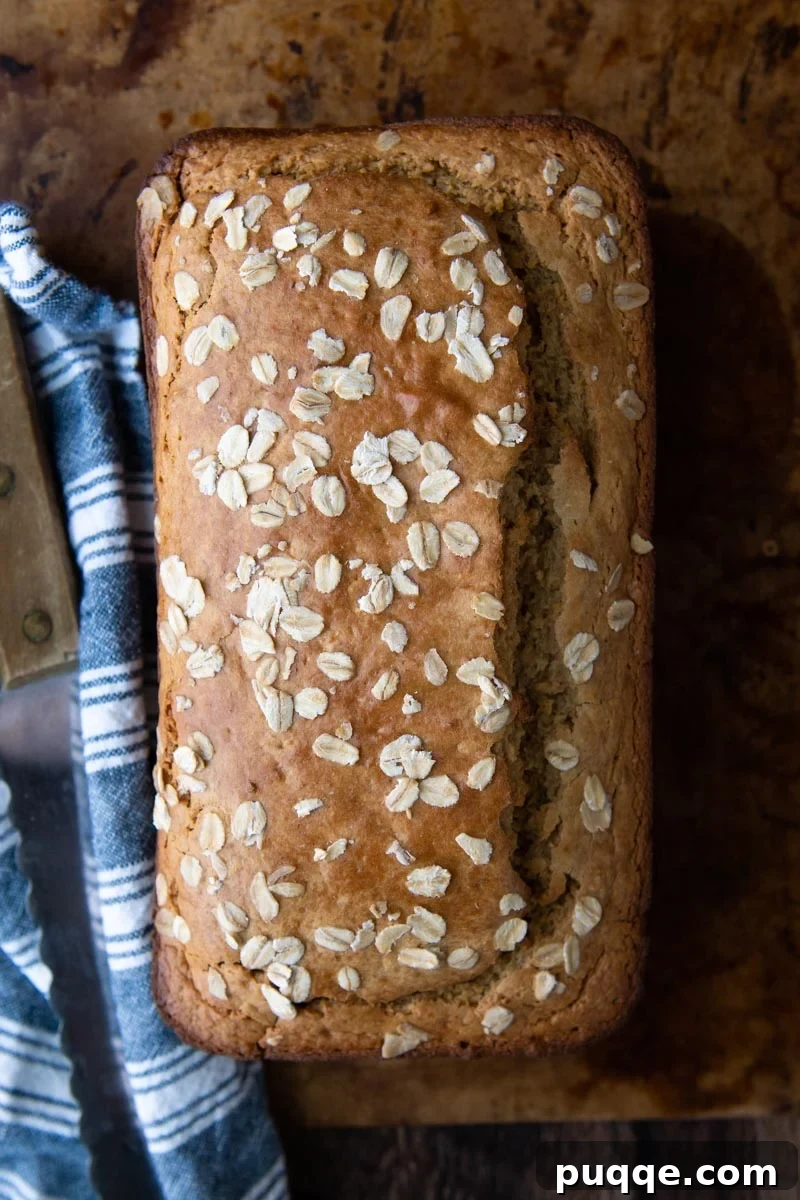
Generously grease an 8×4 inch loaf pan with non-stick cooking spray or line it with parchment paper. Pour the thin batter into the prepared loaf pan. The magic of oats lies in their incredible absorption power, which will transform this liquid batter into a firm, delicious loaf during baking. Bake for 50-55 minutes in a preheated oven. For the best slicing results, allow the bread to cool completely. If patience isn’t your strong suit, you can still enjoy a warm slice, though it might be a bit more fragile. The choice is yours!
Common Questions & Expert Tips for Oat Flour Bread Success
Achieving the perfect loaf of oat flour bread is simple with these helpful tips and answers to frequently asked questions. We’ve got you covered from preparation to storage.
What if I don’t have a high-powered blender or food processor?
It is certainly possible to make this delicious bread without a specialized appliance, but you will need to purchase pre-made oat flour. Once you have your oat flour, the process is slightly different:
- In a large mixing bowl, whisk together all the dry ingredients: oat flour, psyllium husk powder (if using), baking powder, baking soda, and salt.
- In a separate bowl, whisk together all the liquid ingredients: plain yogurt, eggs, milk, and honey until well combined.
- Pour the liquid mixture into the dry ingredients and mix thoroughly until a smooth batter forms.
- Stir in the remaining 1 cup of old-fashioned rolled oats by hand.
- Pour the batter into a greased loaf pan and bake as directed in the recipe card.
While the texture might be slightly different without the fine blend of fresh oat flour, the result will still be a wholesome and satisfying loaf.
How do I know when my oat flour bread is perfectly baked?
Undercooked bread will be dense, doughy, and may fall apart easily when sliced. This recipe contains a significant amount of moisture, so ensuring adequate baking time is key for the oats to fully absorb the liquid and set properly, even if the crust appears done.
For the most accurate assessment, insert an instant-read thermometer into the center of the loaf. The internal temperature should register 200°F (93°C). If you don’t have a thermometer, you can use a long wooden skewer or toothpick. Insert it into the deepest part of the bread; it should come out clean or with only moist crumbs attached, but no wet batter.
Can I make this oat flour bread vegan?
Making this bread completely vegan requires a couple of substitutions. For the yogurt, you can use an equal amount of unsweetened applesauce, as noted in the ingredients section, or a high-quality plain, unsweetened dairy-free yogurt. For the eggs, you would need to use an egg replacer. Flax eggs (1 tablespoon ground flaxseed meal mixed with 3 tablespoons water per egg, allowed to sit for 5 minutes) are often a good option in quick breads. Please note that while these substitutions will yield a vegan loaf, the texture may be slightly different, potentially a bit denser or more delicate, as eggs contribute significantly to structure and moisture.
How should I store and freeze oat flour bread?
To ensure the best texture and flavor, allow the bread to cool completely on a wire rack before slicing. Storing warm bread will trap moisture and can lead to a gummy texture. Once fully cooled, store the loaf in an airtight container at room temperature for up to 3 days. For longer storage, this bread freezes beautifully. Slice the completely cooled loaf, then place the slices in a freezer-safe zip-top bag, removing as much air as possible. It can be stored in the freezer for up to 3 months. Thaw slices as needed, or toast directly from frozen for a quick treat.
Save This Recipe to Your Pinterest Board!
Let’s be friends on Pinterest! I’m always sharing great recipes!
Did you make this recipe? I love hearing from you! Leave a star rating and comment below the recipe card. Your feedback helps others discover amazing recipes, and I truly appreciate hearing from our community. I promise to always get back to you! -Melissa
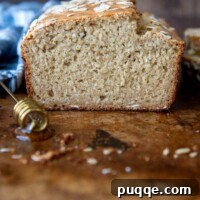
Fluffiest Oat Flour Bread (5 Minute Prep)

Melissa Erdelac
12 servings
5 mins
50 mins
55 mins
Pin Recipe
Rate This Recipe
Remove Ads
Ingredients
- 2 ½ cups (235 g) oat flour (same as 2 ½ cups quick oats blended into flour)
- 1 tablespoon (11 g) psyllium husk powder (optional but greatly enhances texture – what is psyllium husk?)
- 2 teaspoons baking powder
- ½ teaspoon baking soda
- ½ teaspoon salt
- ¾ cup (184 g) plain yogurt (see recipe notes for dairy-free substitution)
- ¾ cup (184 g) milk (or non-dairy milk)
- 2 large eggs
- ¼ cup (55 g) canola oil (or any preferred oil)
- ¼ cup (85 g) honey
- 1 cup (104 g) old fashioned rolled oats (use certified gluten-free oats)
Equipment
-
Vitamix or high-power blender
-
8×4 Inch Loaf Pan
-
Food Processor (alternative to blender)
Instructions
- Preheat your oven to 350ºF (175ºC). Liberally grease an 8×4 inch loaf pan using non-stick cooking spray or line it with parchment paper. Set aside.
- To make oat flour, place 2 ½ cups of rolled oats in a high-powered blender or a food processor. Blend the oats until they transform into a fine, powdery flour, typically taking about 30 seconds to 1 minute.
- Add the psyllium husk powder, baking powder, baking soda, salt, plain yogurt, milk, large eggs, canola oil, and honey to the oat flour in the blender. Blend thoroughly, pausing halfway through to scrape down the sides of the blender to ensure all ingredients are incorporated. The resulting batter will be thin and quite runny.
- Add the remaining 1 cup of old-fashioned rolled oats to the blender. Pulse 2-3 times, just until the oats are combined into the batter but not finely ground. This creates a pleasant texture in the finished bread.
- Pour the batter into your prepared loaf pan. If you wish, sprinkle a few extra rolled oats on top of the batter before baking for an aesthetic touch.
- Bake for 50-55 minutes. Halfway through the baking time, rotate the pan for even cooking and loosely tent foil over the top of the bread if it is browning too quickly. For ideal results, insert an instant-read thermometer into the center of the bread; it should read 200ºF (93°C). If you don’t have a thermometer, a long wooden skewer inserted into the center should come out clean, without any wet dough.
- Allow the bread to cool in the pan for 10 minutes before carefully removing it and transferring it to a wire rack to cool completely. For the cleanest slices and best texture, it is highly recommended to let the bread cool for at least 30 minutes, or preferably longer, before slicing.
Notes
Psyllium Husk Powder
Psyllium husk powder is a recent but invaluable addition to this recipe. It significantly aids in binding the ingredients, providing a more stable and less crumbly texture. Without psyllium powder, the bread remains tasty but will have a more delicate crumb, making it less suitable for sturdy sandwiches. We strongly recommend investing in this affordable ingredient, which can also be utilized in other gluten-free baking recipes, like our soft, white gluten-free bread.
Dairy-Free Adaptations
This recipe can be easily adapted for dairy-free diets. We have successfully tested the recipe replacing the plain yogurt with an equal amount of unsweetened applesauce. While the crumb may bind slightly less tightly, the overall results were very favorable.
To make dairy-free, use ¾ cup unsweetened applesauce and ¾ cup of your preferred non-dairy milk (such as almond or oat milk). Due to the potential increase in moisture, the bread might require baking for a few extra minutes until fully cooked.
Making Without a Food Processor / Blender
If you do not have a blender or food processor, you will need to purchase pre-made oat flour. Follow these alternative steps:
- In a large bowl, whisk together the dry ingredients: oat flour, psyllium husk powder (if using), baking powder, baking soda, and salt.
- In a separate bowl, whisk together the wet ingredients: yogurt, eggs, milk, and honey.
- Add the liquid mixture to the dry ingredients, mixing well until just combined.
- Stir in the remaining 1 cup of old-fashioned rolled oats.
- Pour the batter into a greased loaf pan and bake as directed.
Storing & Freezing Your Loaf
For the best slicing and texture, always allow the bread to cool completely before cutting. Store the fully cooled bread in an airtight container at room temperature for up to 3 days. To freeze, slice the cooled loaf and arrange the slices in a single layer on a baking sheet to freeze individually. Once frozen, transfer the slices to a freezer-safe zip-top bag, ensuring as much air as possible is removed. Frozen oat flour bread can be stored for up to 3 months. Thaw slices at room temperature or toast directly from frozen.
Nutrition Information
- Calories: 216 kcal
- Carbohydrates: 29 g
- Protein: 7 g
- Fat: 9 g
- Saturated Fat: 1 g
- Trans Fat: 1 g
- Cholesterol: 30 mg
- Sodium: 172 mg
- Potassium: 244 mg
- Fiber: 2 g
- Sugar: 8 g
- Vitamin A: 84 IU
- Vitamin C: 1 mg
- Calcium: 88 mg
- Iron: 2 mg
This post contains affiliate links. My opinions are always my own. If you purchase a product through an affiliate link, I make a small commission – at no cost to you. Read full disclosure policy here.