
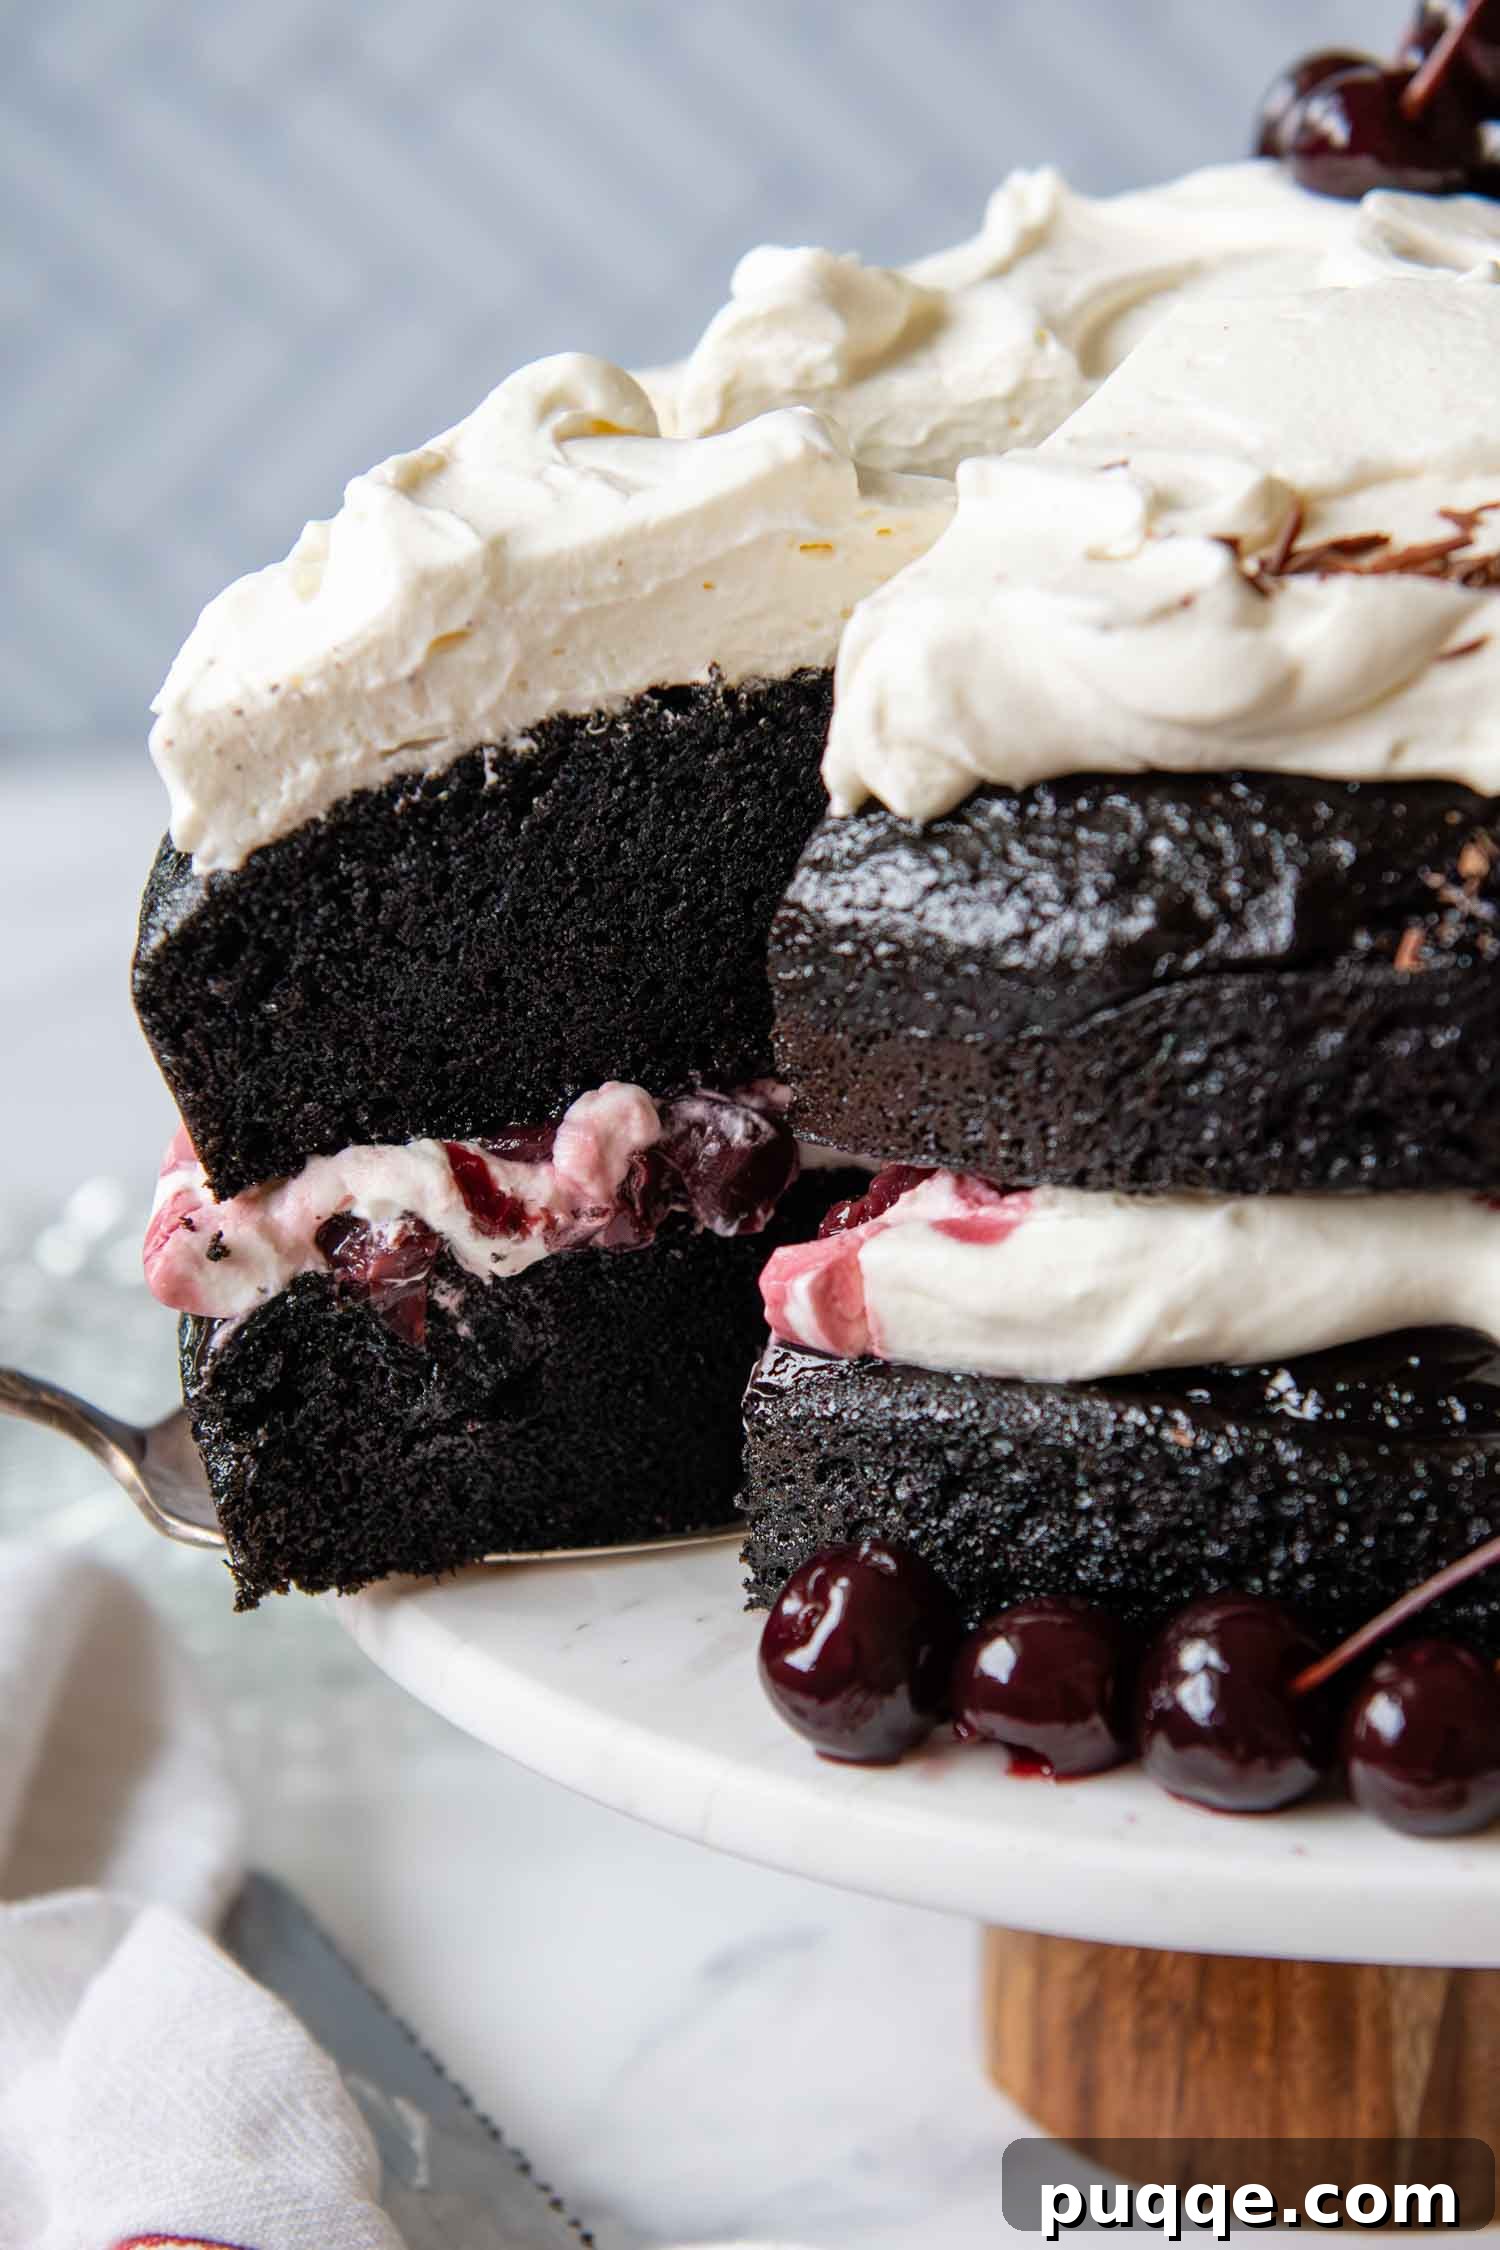
Craving an unforgettable dessert that’s both indulgent and gluten-free? Look no further than this incredibly moist and flavorful Gluten-Free Black Forest Cake. This show-stopping homemade Black Forest Gateau is guaranteed to impress your guests and satisfy even the most discerning palates, all while being surprisingly easy to prepare, even for those new to gluten-free baking. Our recipe uses simple, accessible ingredients, achieving its exceptional moisture through a unique technique involving boiling water. Each layer is generously soaked in rich cherry syrup, adorned with plump morello cherries, and crowned with generous swirls of fluffy whipped cream, creating a truly magnificent gluten-free chocolate cherry cake perfect for any celebration.
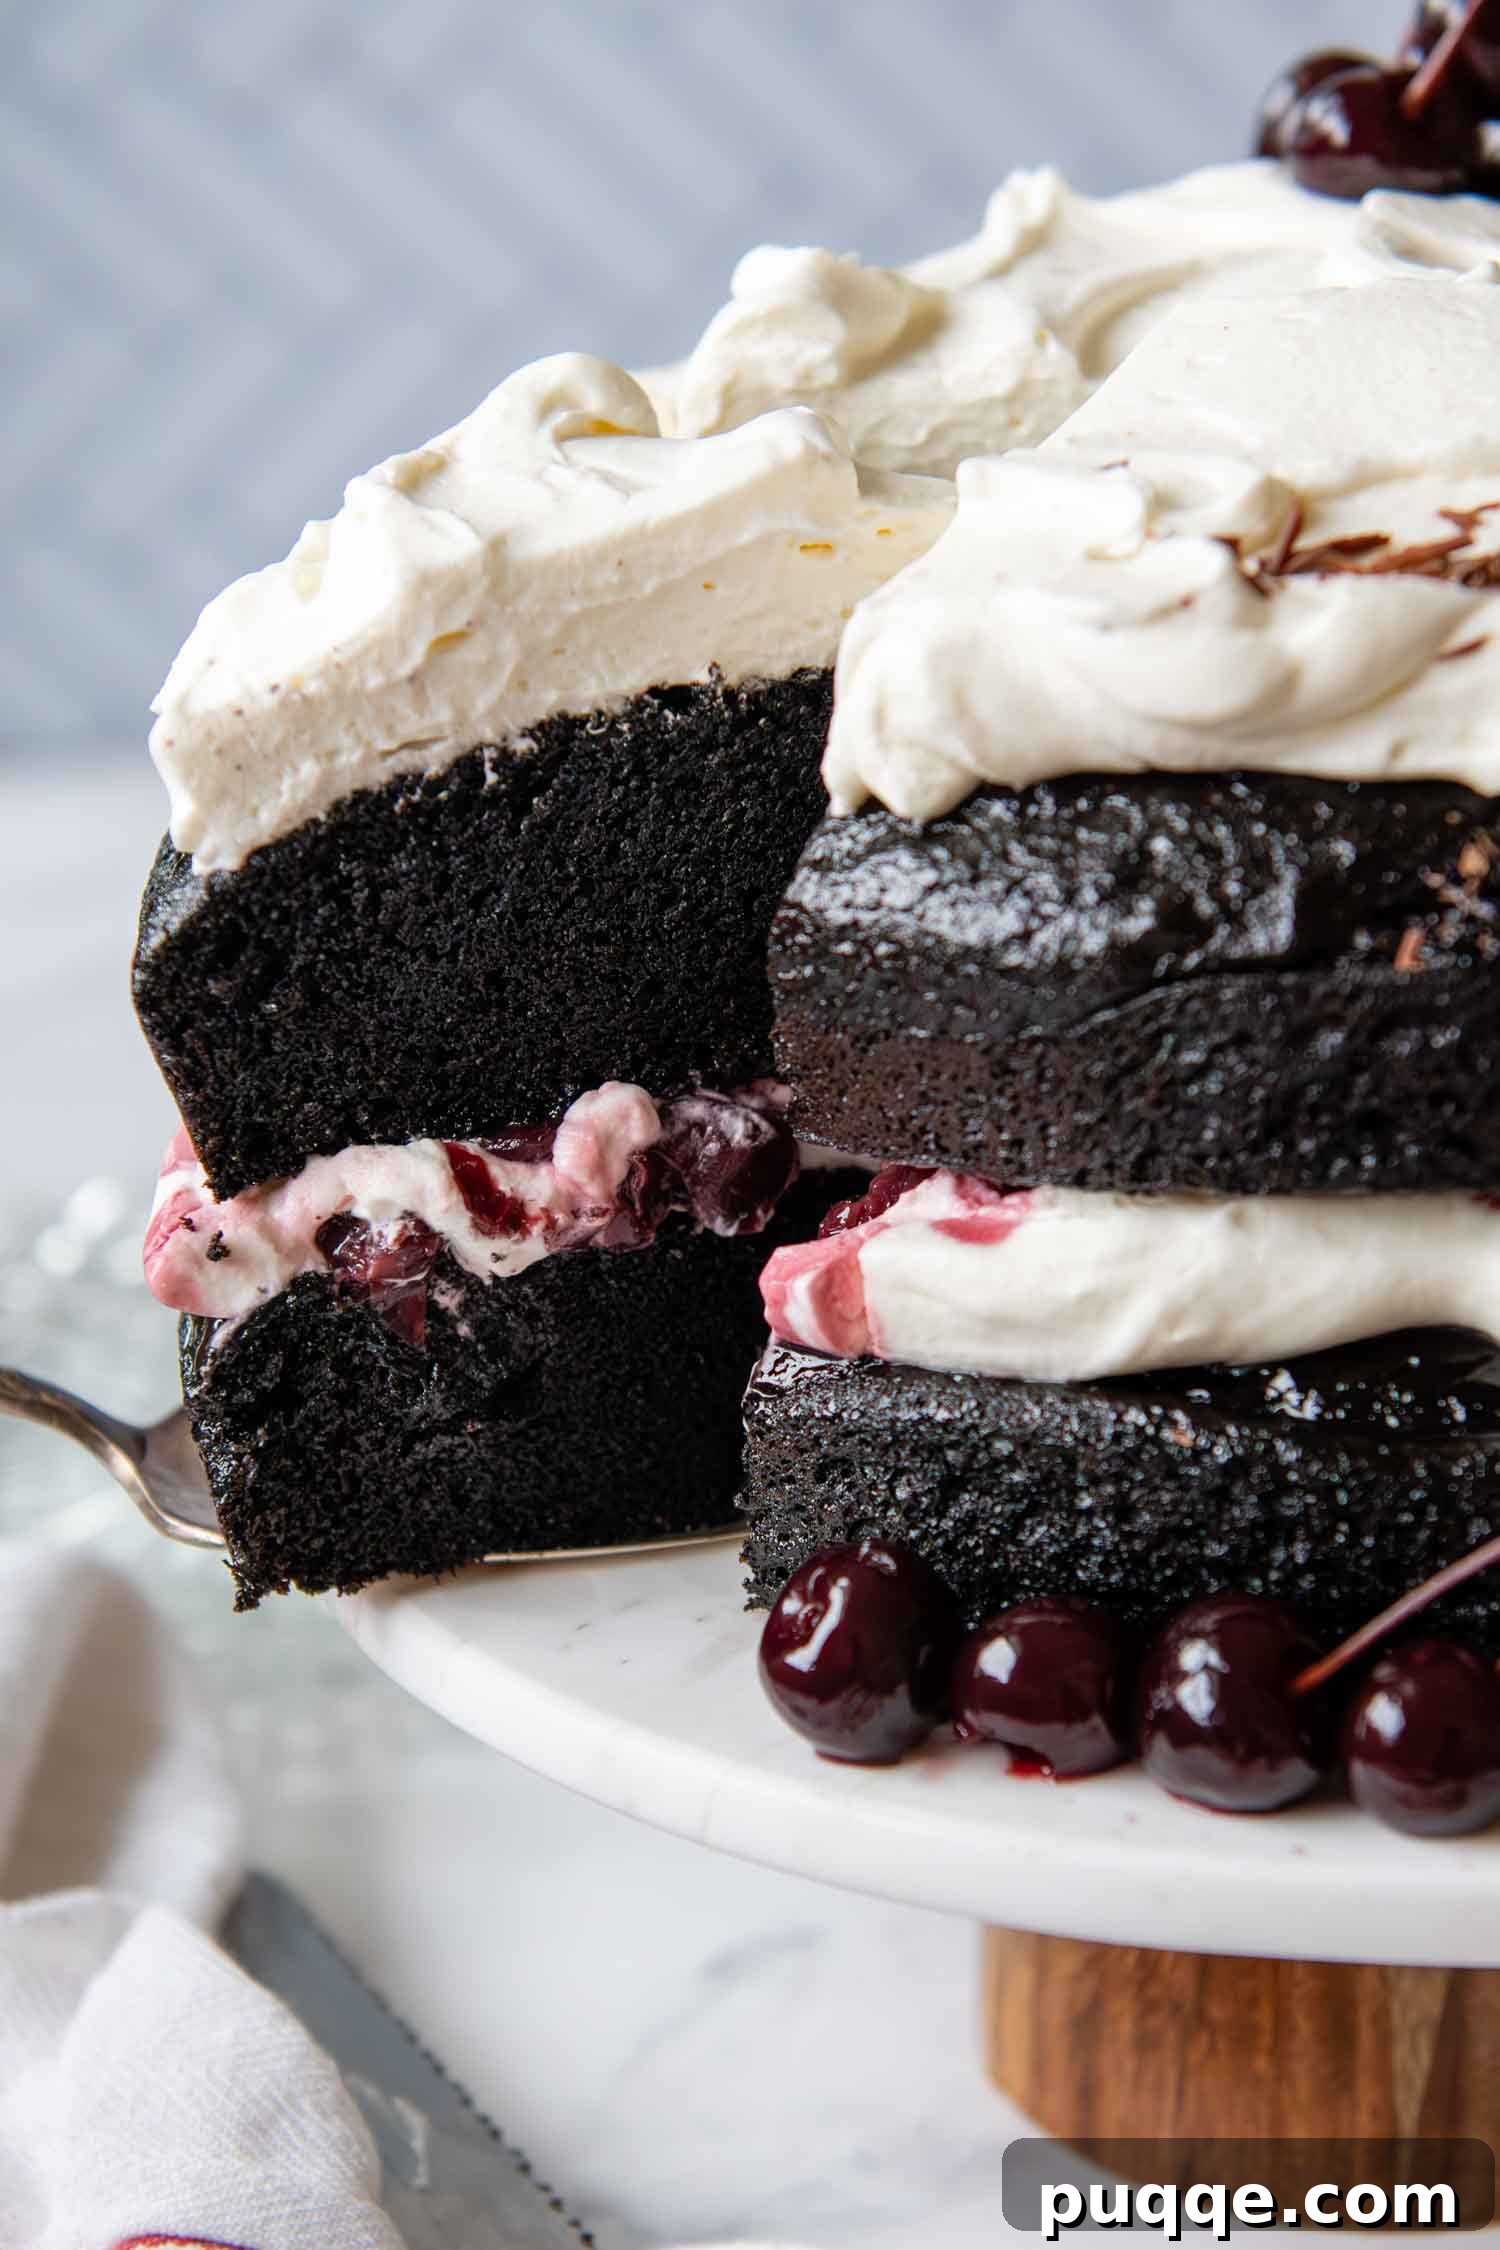
The Ultimate Easy Gluten-Free Black Forest Cake
As a passionate advocate for gluten-free living, I firmly believe that dietary restrictions should never mean sacrificing your favorite sweet treats. My mission has always been to craft a diverse collection of gluten-free desserts, ranging from timeless classics to innovative new creations that quickly become family favorites. This luscious Gluten-Free Black Forest Cake is a testament to that philosophy, proving that a classic can be made even better without gluten.
The inspiration for this particular recipe struck during a summer adventure through Switzerland. My husband and I were captivated by the breathtaking Alpine scenery and savored incredible local GF foods, like the intensely fudgy Basler Brunsli cookies – a definite must-try! However, amidst all the culinary delights, one dessert kept calling my name: the iconic Black Forest Gateau. Its decadent layers of chocolate cake, sweet cherries, and cream seemed to be everywhere, taunting me with its irresistible allure.
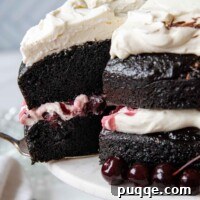
Upon returning home, I was determined to recreate that magic in a gluten-free form. And mission accomplished! After countless trials and joyful tastings, I finally achieved what I consider pure cake euphoria: thick, moist chocolate layers, perfectly balanced with sweet-tart dark cherries and generous swirls of homemade whipped cream frosting. This recipe delivers all the traditional flavors and textures of a classic Black Forest cake, minus the gluten.
To ensure the cake layers were truly exceptional, I leveraged my tried-and-true moist gluten-free chocolate cake recipe as a foundation. The secret weapon in this base recipe is boiling water. This simple ingredient does wonders for gluten-free starches, helping them fully hydrate and creating an incredibly soft, tender, and moist crumb that resists dryness – a common challenge in GF baking. Beyond moisture, boiling water also works to bloom the cocoa powder, intensifying its chocolate flavor for a deeper, more robust taste.
This depth of chocolate flavor is crucial for an authentic Black Forest Gateau. Traditionally, the cake features a profound, almost “black-out” chocolate intensity, typically achieved with Dutch-processed cocoa powder. For the best results, I highly recommend using black cocoa powder if you can find it, as it will give your cake that signature dark color and rich, bittersweet taste. While natural cocoa powder can be used as a substitute, be aware that your cake will have a lighter color and a milder chocolate profile.
Beyond selecting the right ingredients, creating this show-stopping layer cake from scratch is surprisingly straightforward. It’s an ideal recipe to showcase your gluten-free baking prowess, yielding a chocolate cherry dessert that looks and tastes incredibly impressive. But don’t worry, we’ll keep just how simple it was our little secret…🤐
Let’s Bake This Masterpiece Together!
(Below, you’ll find detailed step-by-step photos and expanded instructions to guide you through the process. For precise ingredient measurements and the complete printable recipe, please scroll down to the recipe card.)
Crafting the Perfect Chocolate Cake Layers
Begin by combining all your dry ingredients – gluten-free flour, sugar, cocoa powder, baking soda, baking powder, and salt – in a large mixing bowl or the bowl of a stand mixer fitted with a paddle attachment. Mix on low speed until just combined. Next, incorporate the liquid ingredients: room temperature buttermilk, oil, eggs, and vanilla extract. Beat again on low speed to ensure everything is thoroughly incorporated.
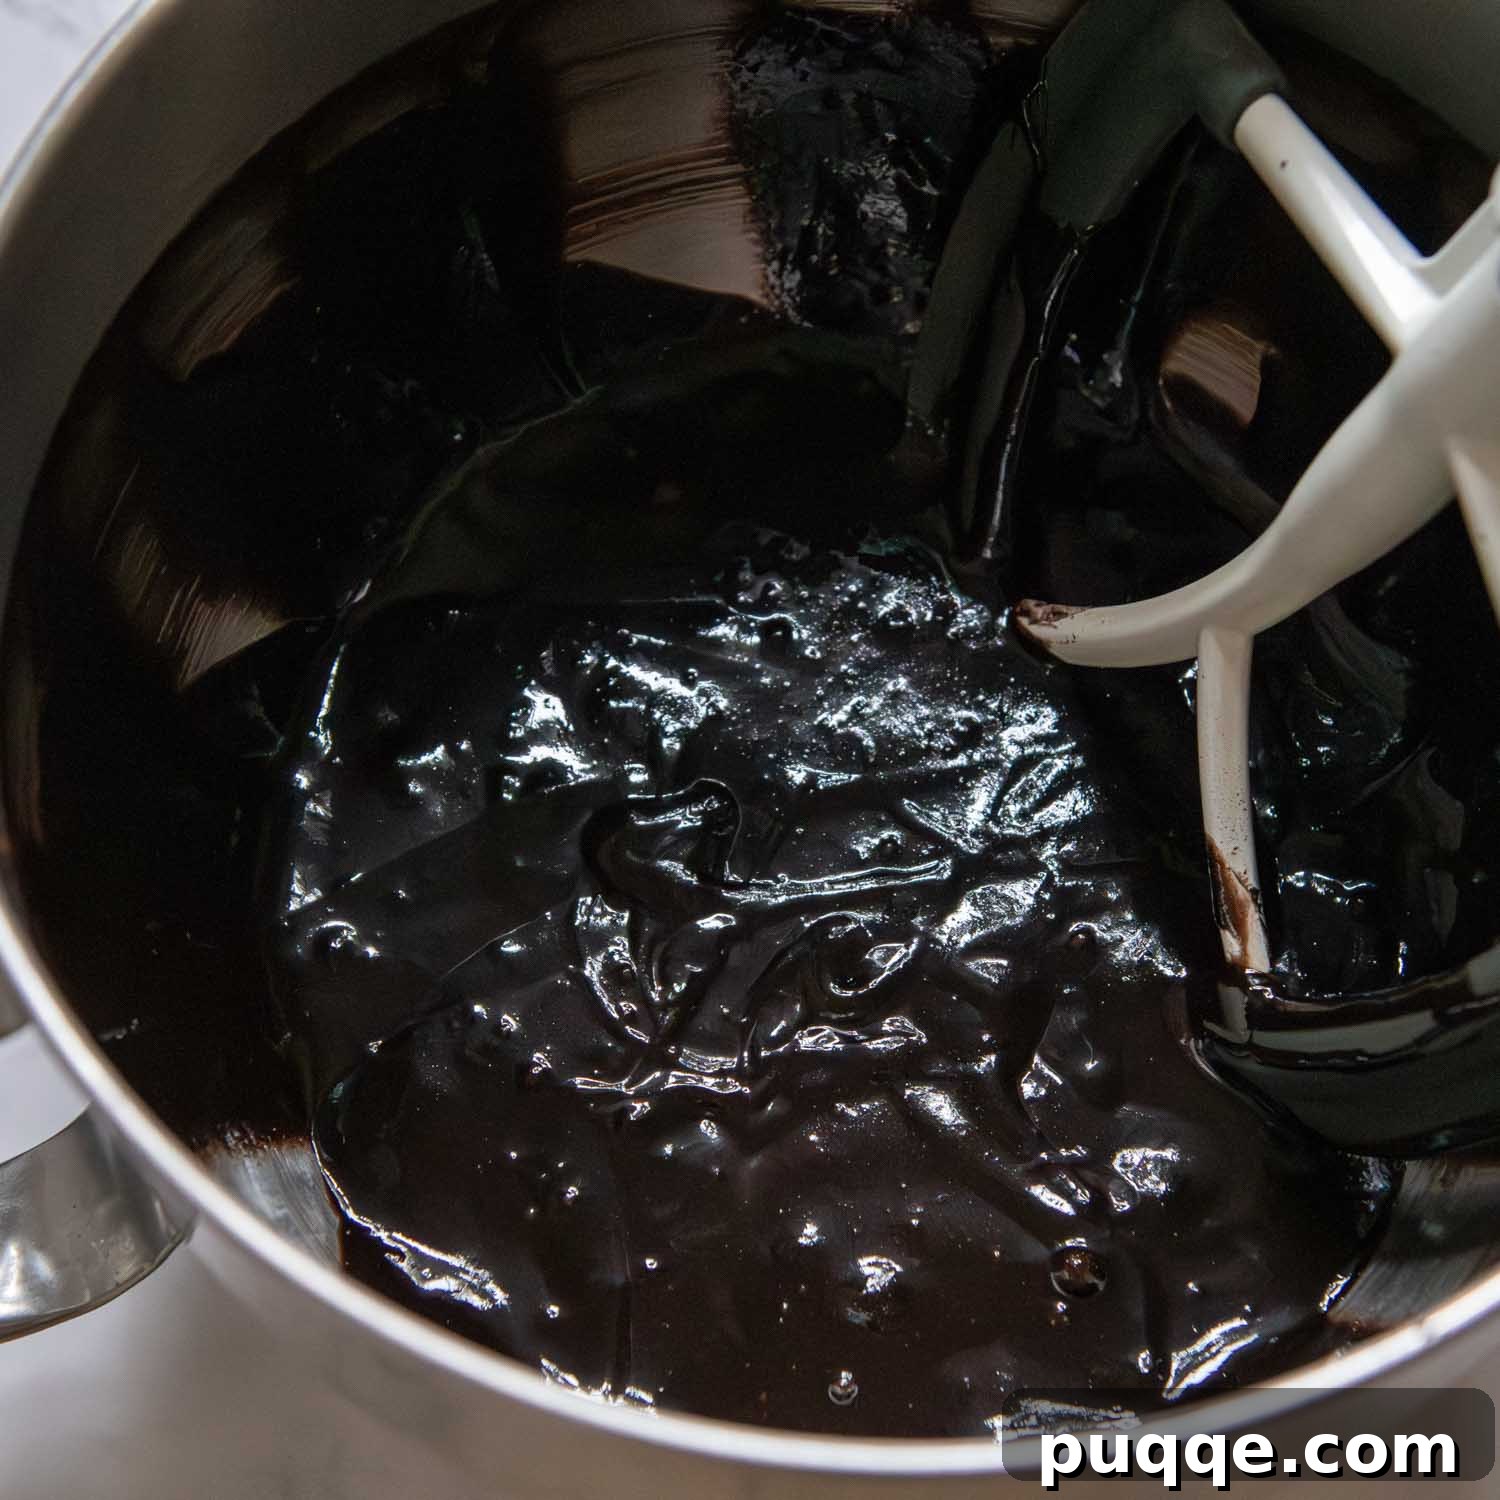
Now for our “secret” ingredient: boiling water. Slowly drizzle the hot water into the batter while mixing on low speed. This step is critical for activating the cocoa and fully hydrating the gluten-free starches, resulting in an exceptionally moist cake. Once all the water is added, increase the mixer speed to medium and beat for a full two minutes. This extended mixing time is beneficial for gluten-free cakes as it gives the starches more time to saturate and develop. Don’t be alarmed if the batter appears quite thin – this is exactly how it should look!
Divide the thin batter evenly between two prepped 9-inch cake pans. Bake for approximately 40 minutes. This baking time is slightly longer than some other cake recipes due to the high moisture content in Black Forest cake. It’s better to slightly overbake by a minute or two rather than underbake, as this ensures the center is completely set and prevents the cake from sinking or collapsing as it cools. Allow the cakes to cool in their pans for about 10 minutes before carefully inverting them onto a wire rack to cool completely. Ensure they are absolutely cold before proceeding with assembly.
Whipping Up the Luscious Cherry Sauce
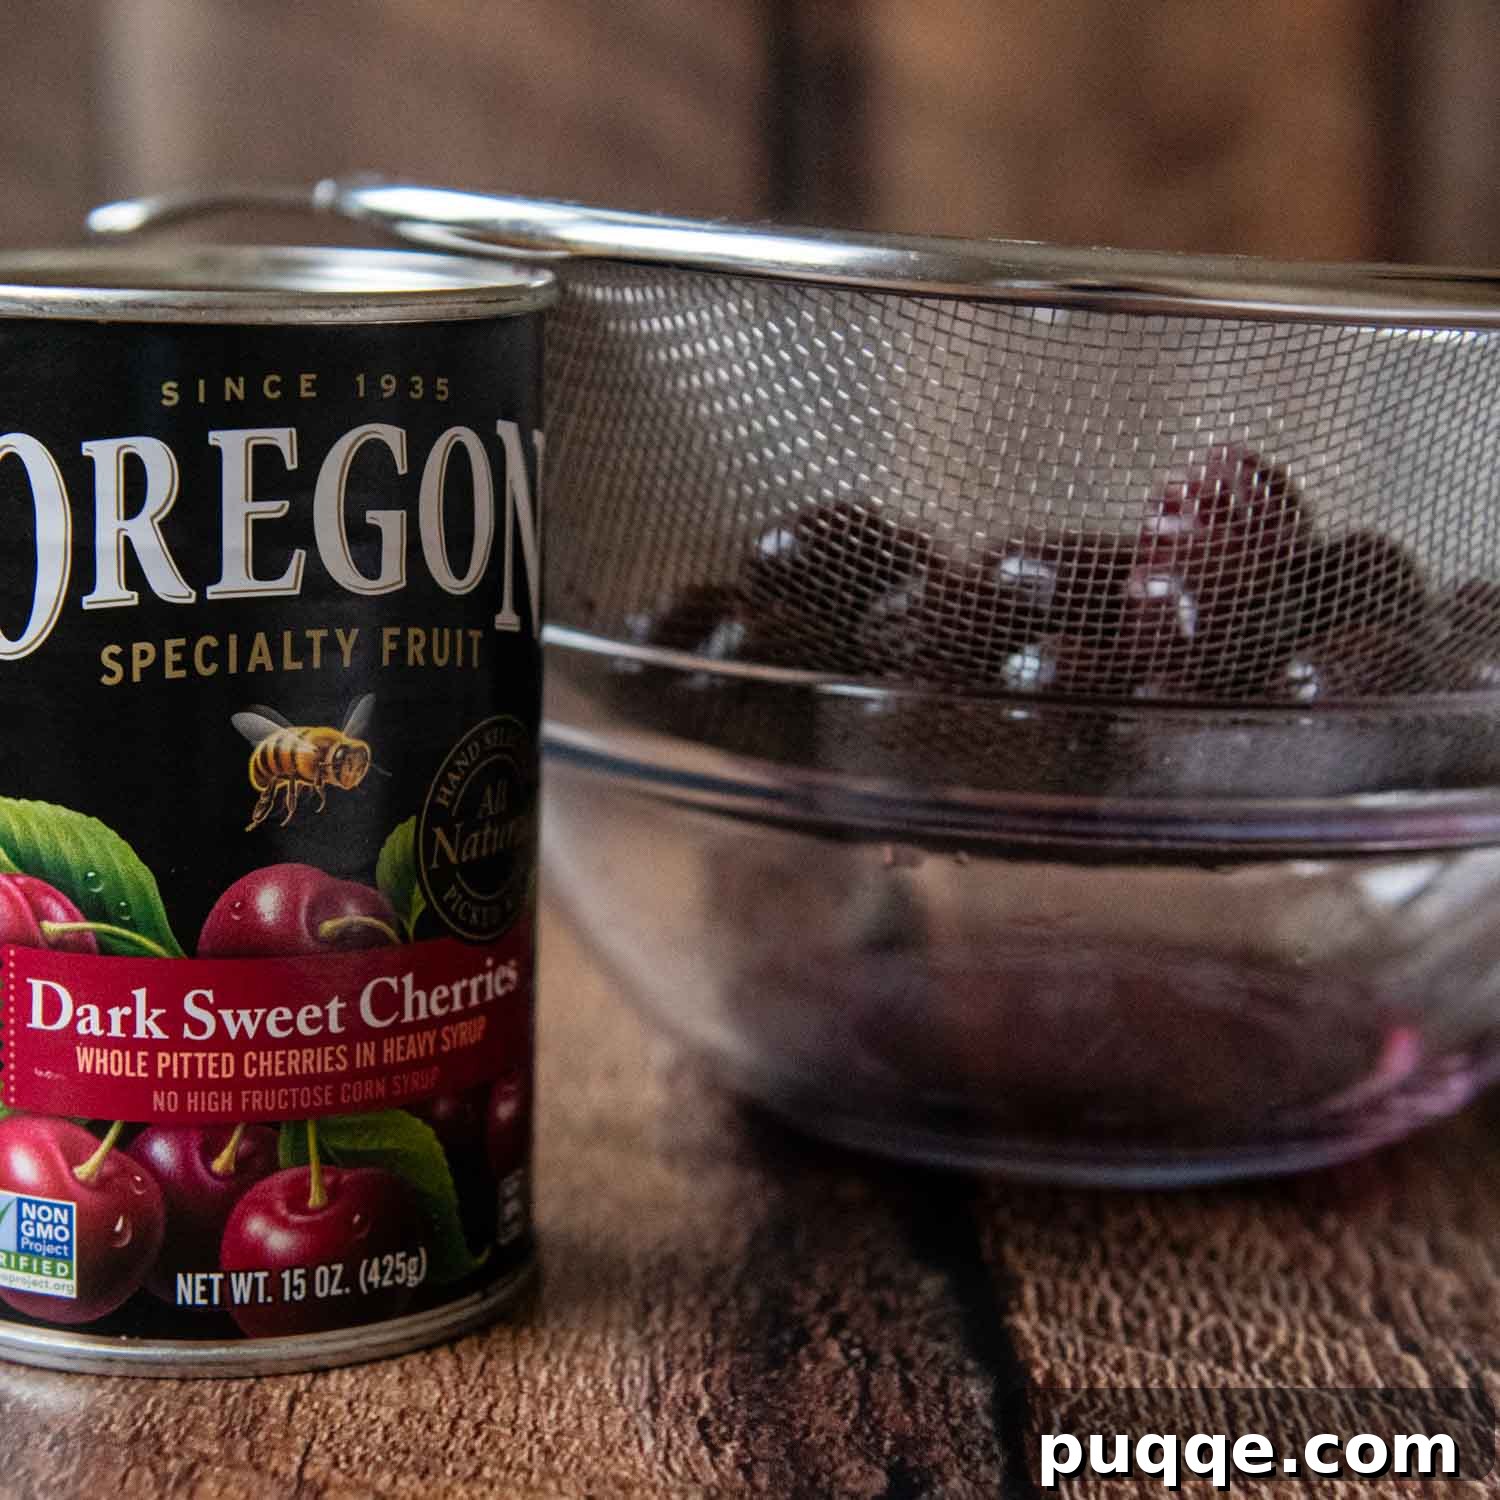
While your glorious cake layers are cooling, turn your attention to the delightful cherry sauce. Carefully drain the canned dark sweet cherries in a sieve, making sure to reserve every drop of that precious heavy syrup. Do not discard it! This syrup will be transformed into a rich, thickened concoction perfect for soaking into the cake layers, infusing them with intense cherry flavor. Keep the drained cherries in the sieve until ready to use, allowing any residual liquid to drain away. If you plan to use any whole cherries for decoration, ensure these are also thoroughly drained.
Pour the reserved cherry syrup into a small saucepan and add the Kirsch cherry liqueur. Simmer this mixture over low heat, allowing it to gently reduce until it thickens to about 1/4 cup. This process typically takes around 7-8 minutes. Keep in mind that the syrup will continue to thicken significantly as it cools, so don’t over-reduce it. Once reduced, set it aside to cool completely.
During this waiting period, prepare your decadent whipped cream frosting. In a cold mixing bowl, combine cold heavy cream, powdered sugar, and vanilla extract. Beat with an electric mixer until firm, stiff peaks form. The cream should be thick and hold its shape beautifully. Once whipped, refrigerate the frosting immediately to keep it perfectly chilled and stable until you are ready to assemble your cake.
Assembling Your Stunning Gateau
Once your cake layers and cherry syrup are completely cool, it’s time for the exciting part: assembly! Place one of your perfectly cooled chocolate cake layers onto your chosen cake platter or serving plate. For a neat presentation, I recommend tucking strips of wax paper or parchment paper underneath the edges of the cake. This will catch any drips during frosting and can be easily pulled away before serving, leaving your platter spotless.
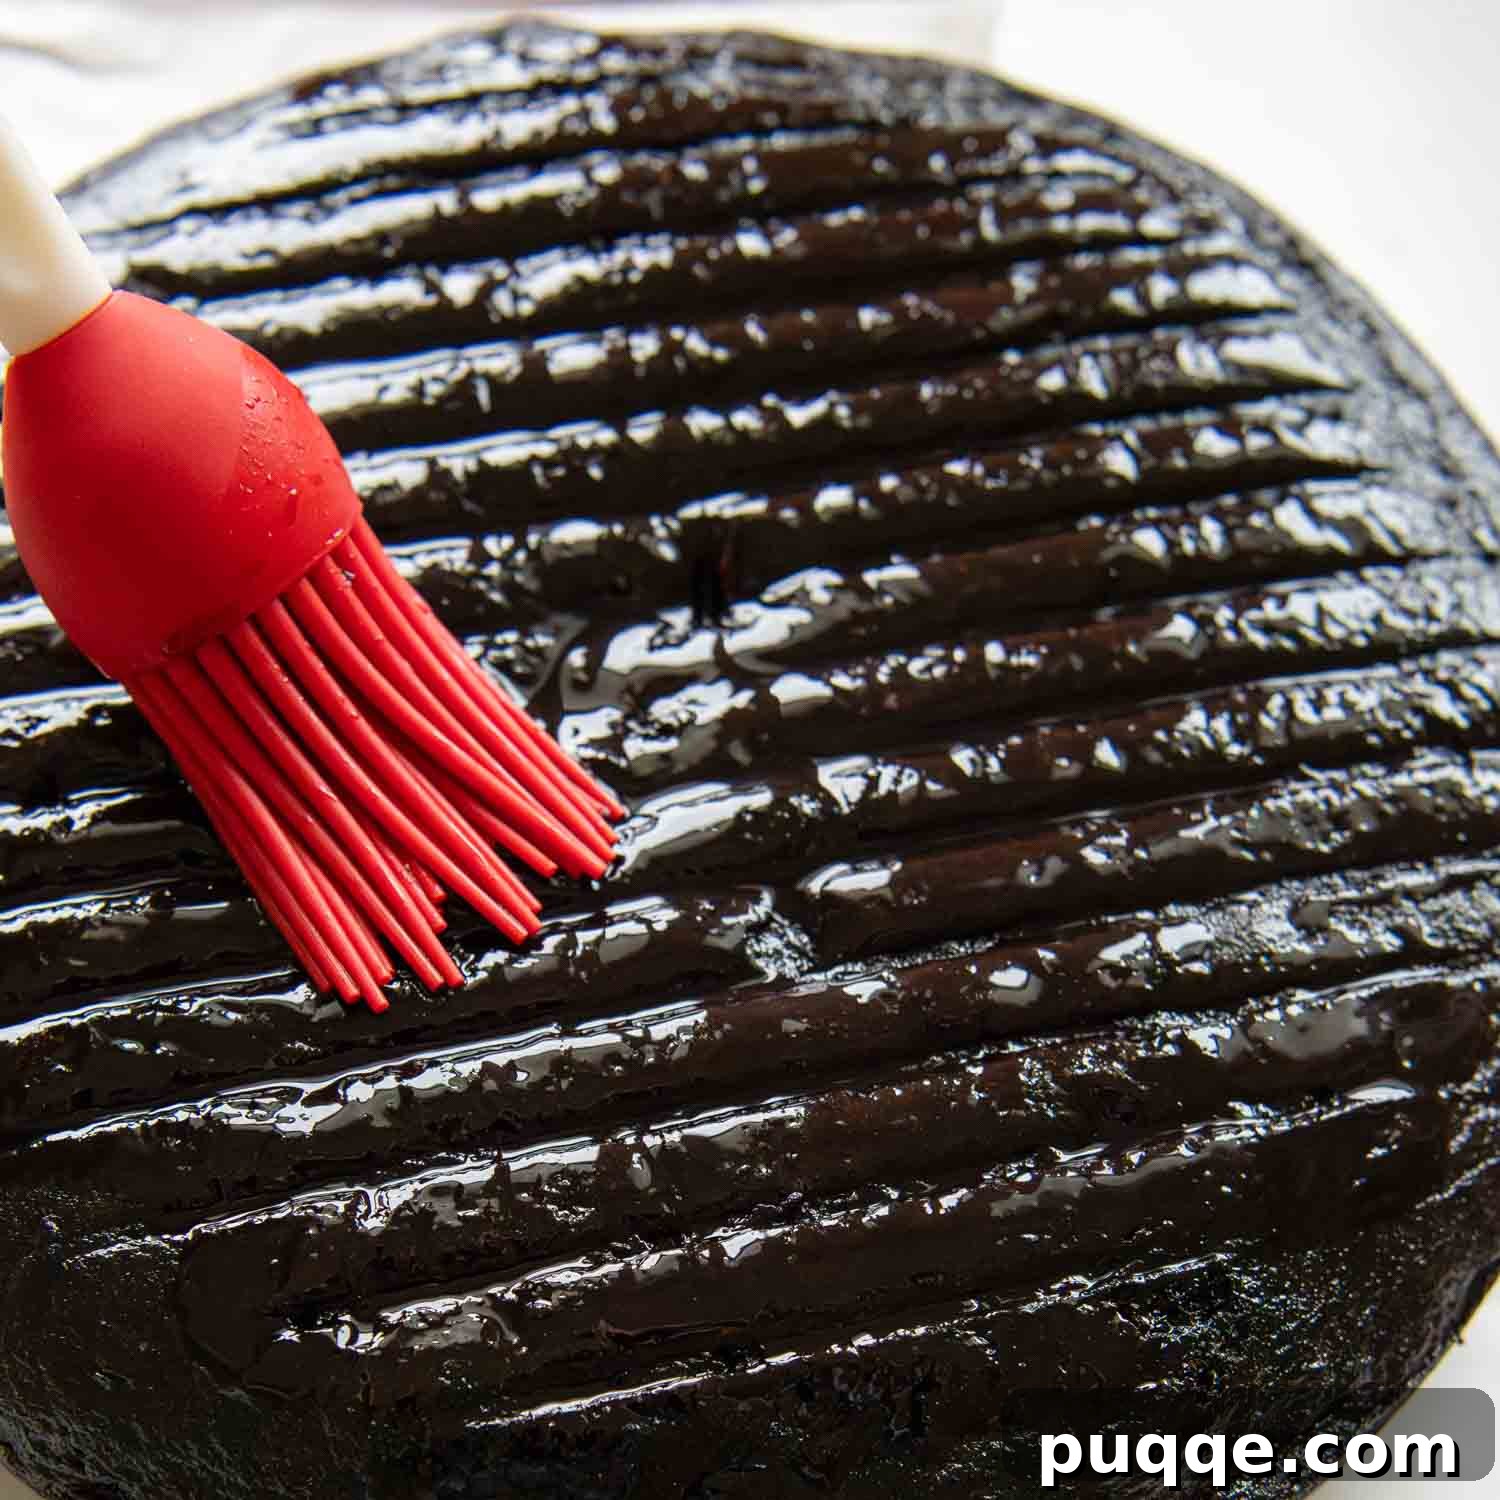
Now, take your cooled, reduced cherry syrup and generously brush it over the surface of this first cake layer. Use almost all of the syrup on this layer, but be sure to reserve about 1-2 tablespoons for the final assembly step. This syrup soak will infuse the cake with an incredible cherry flavor and add even more moisture, making each bite utterly divine.
Finishing Touches: Decorating Your Cake
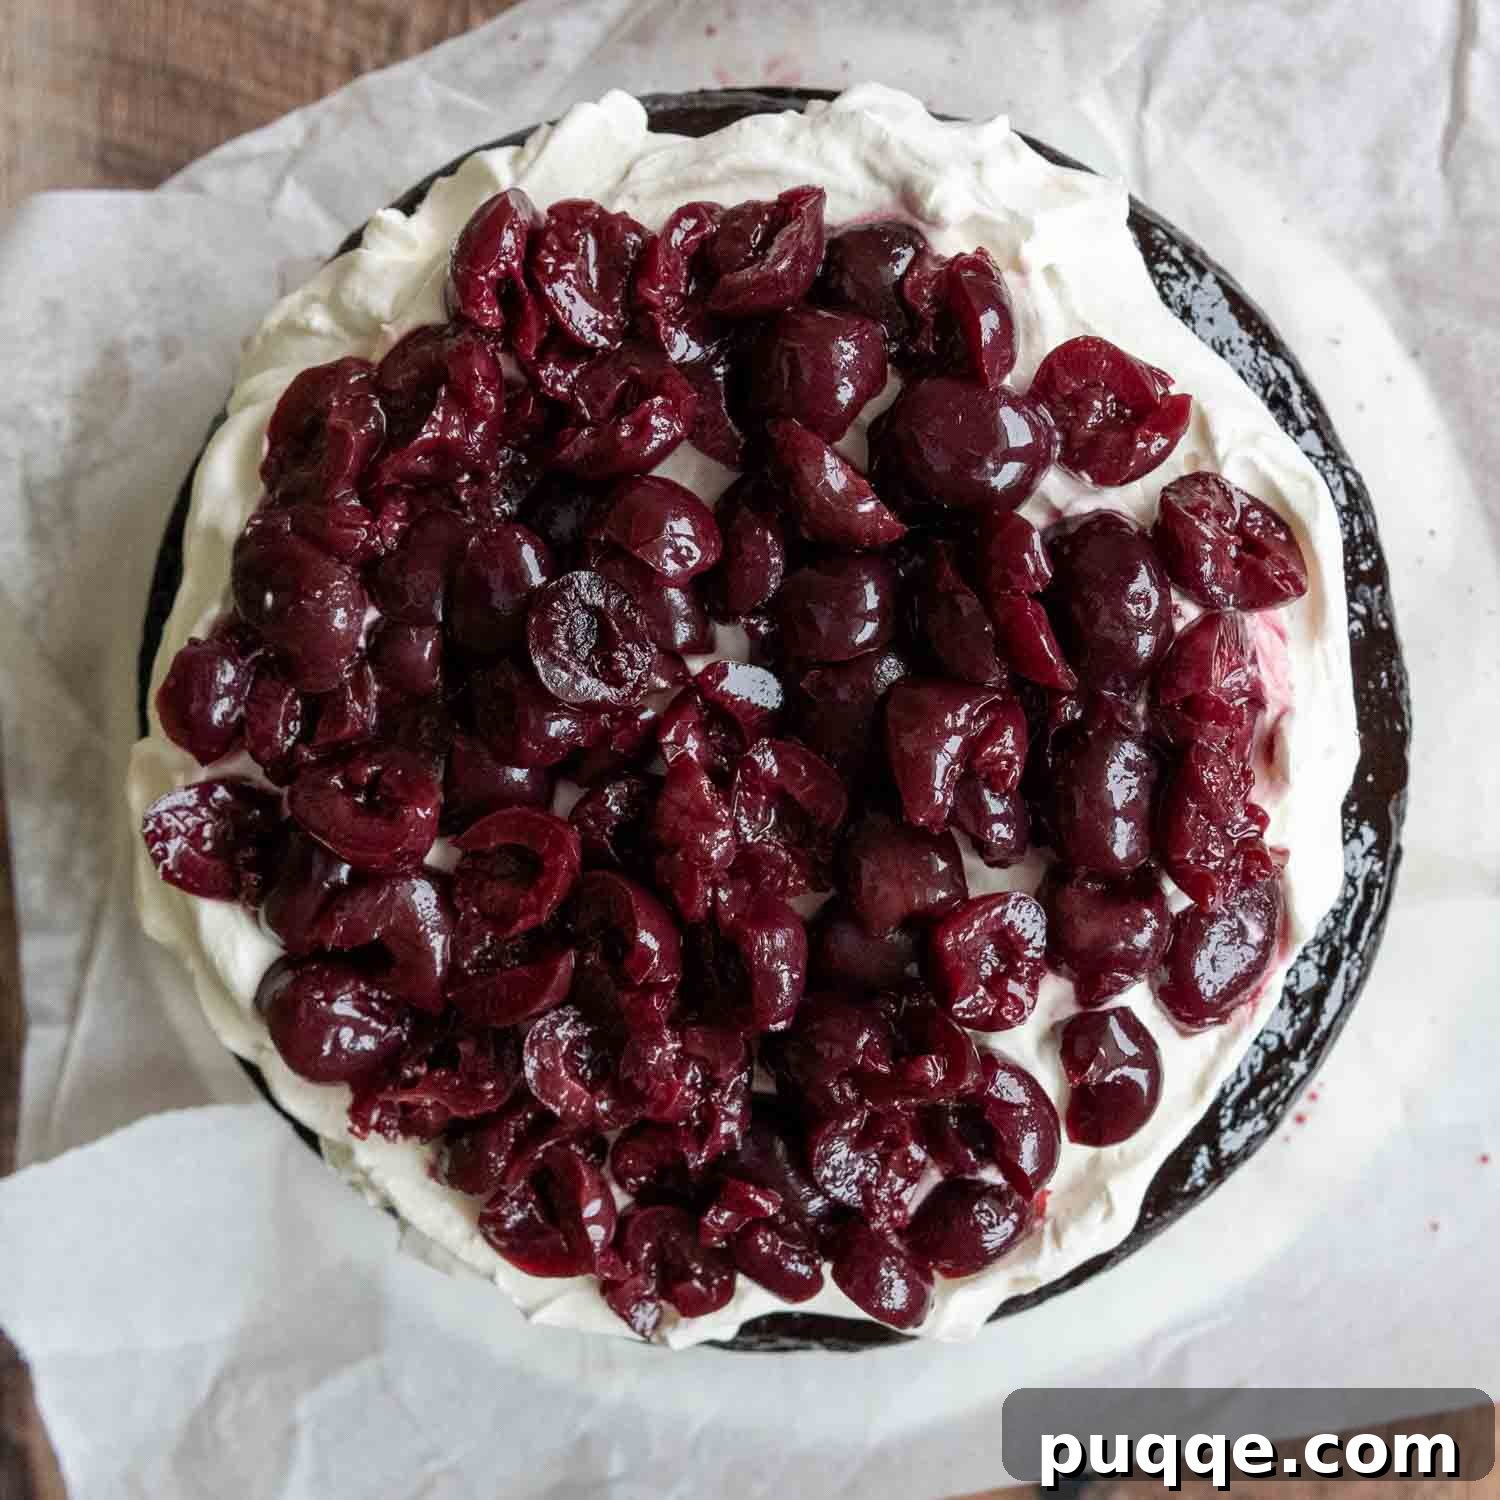
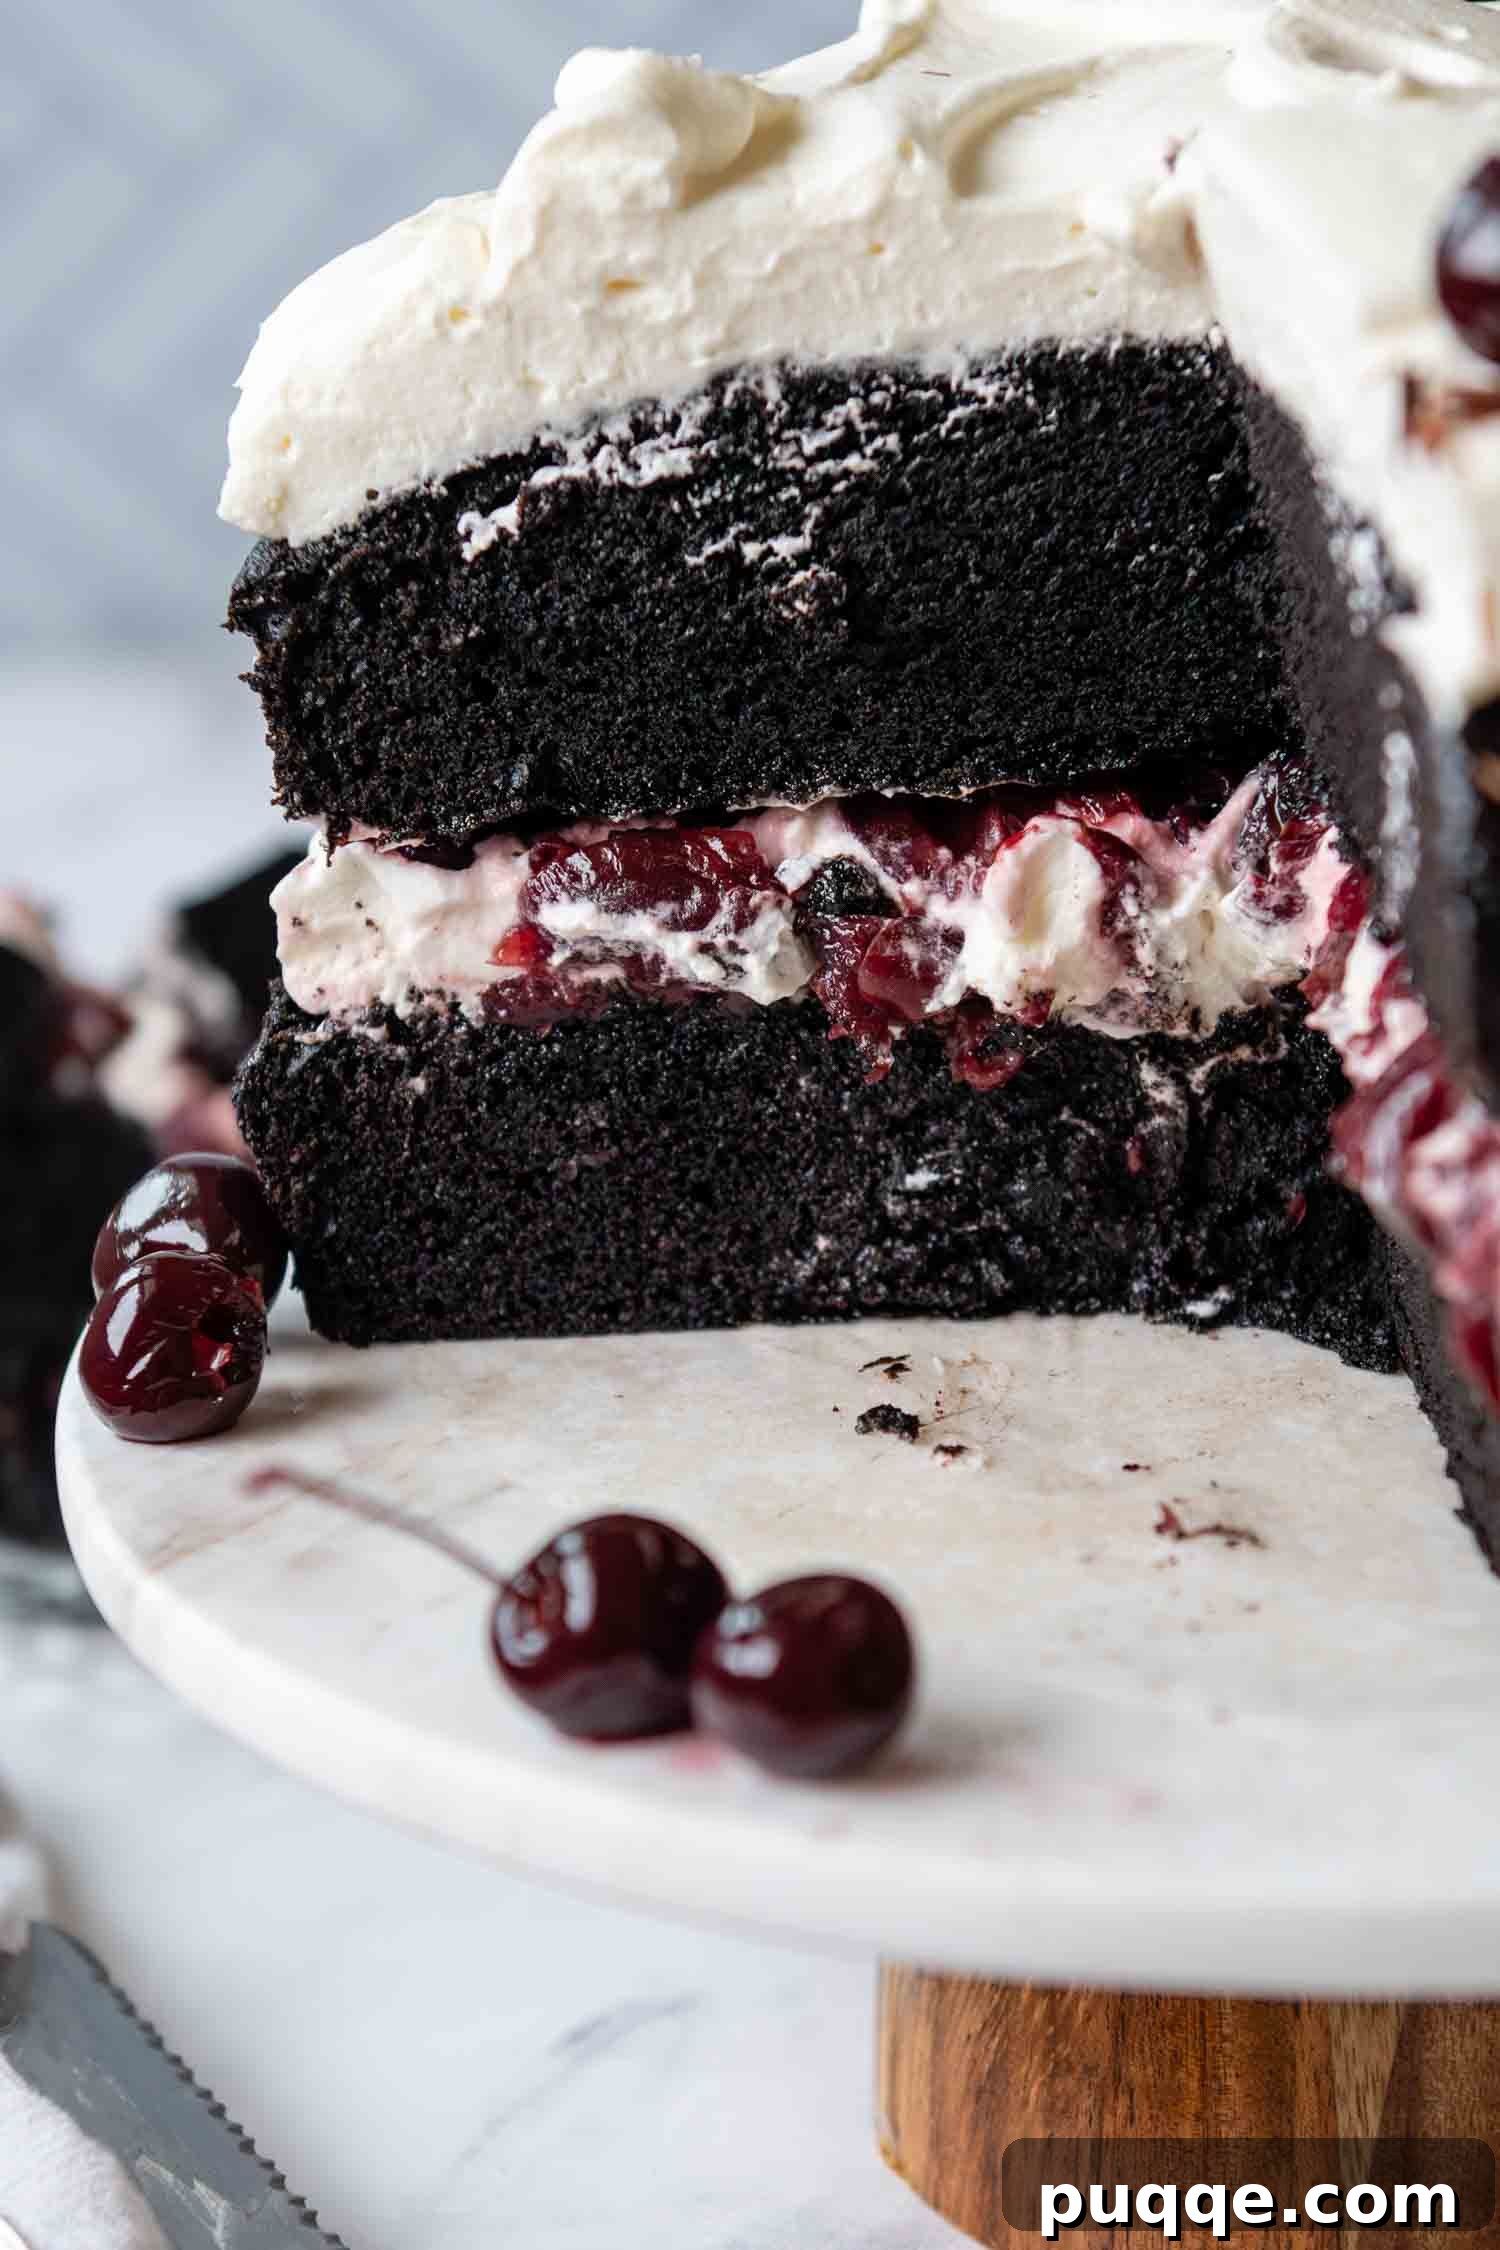
With the first cake layer soaked in cherry goodness, it’s time for the whipped cream. Spoon half of your chilled whipped cream frosting onto the syrup-brushed cake layer and gently spread it out into a thick, even cloud. This creates a beautiful, creamy base for our cherries. From your drained morello cherries, set aside about 8-10 of the most perfect ones for decorating the very top of your cake. Halve the remaining cherries and arrange them artfully over the whipped cream layer. Drizzle the previously reserved 1-2 tablespoons of cherry syrup over these halved cherries for an extra burst of flavor.
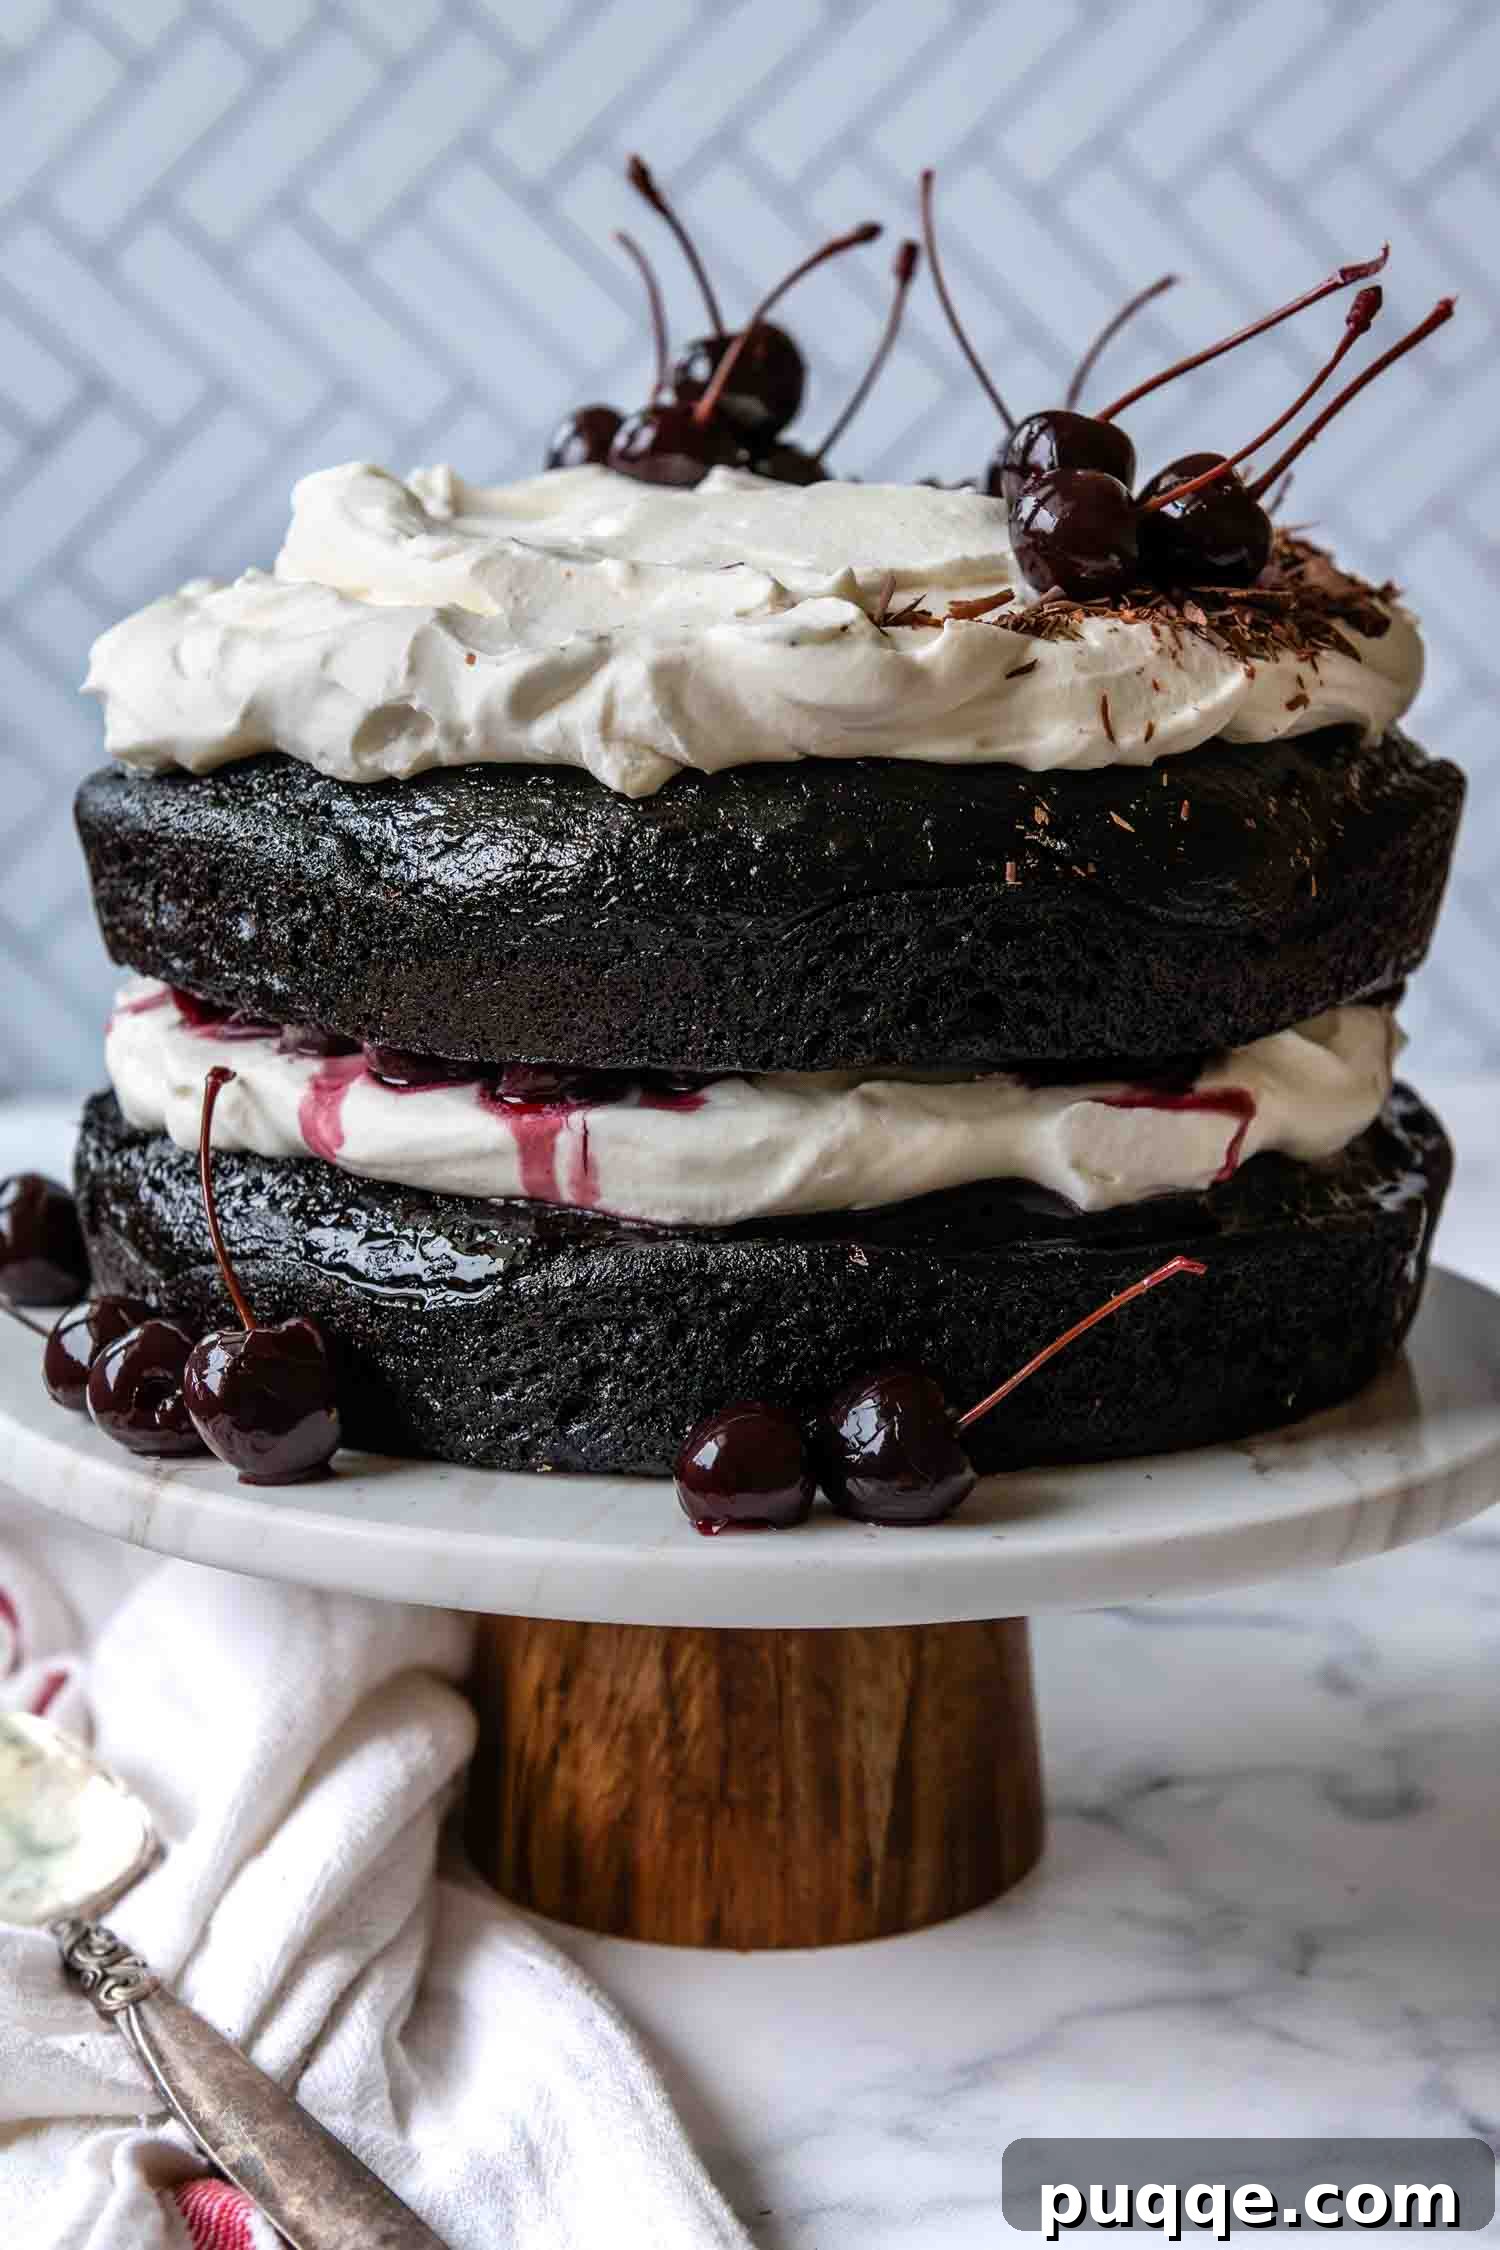
Carefully place the second chocolate cake layer on top, aligning it evenly. Now, spread the remaining whipped cream frosting over the top and sides of the entire cake, creating a smooth and elegant finish. The decorating is where you can truly let your creativity shine! Use the reserved whole cherries to adorn the top of the cake. For an extra touch of sophistication and professional flair, consider adding some optional chocolate shavings or curls. A vegetable peeler can be used on a bar of good quality dark chocolate to create beautiful shavings. Once decorated, your magnificent Gluten-Free Black Forest Cake is ready to be admired and devoured!
If finding Kirsch cherry liqueur proves difficult, don’t fret! You have excellent alternatives. Some specialty liquor stores or gourmet food shops might carry brandied morello cherries already soaked in Kirsch liqueur, eliminating the need for separate flavoring. Otherwise, a general cherry liqueur or cherry brandy can be used as a direct substitute. For an alcohol-free option, simply omit the liqueur and enhance the cherry syrup by simmering it with 1 teaspoon of almond extract. The almond extract beautifully complements the cherry flavor, offering a delightful alternative.
Essential Tips and Clever Modifications for Black Forest Cake Success
- Cooling is Key: It is absolutely crucial that both your chocolate cake layers and the cherry syrup are completely cooled to room temperature, or even slightly chilled, before you begin layering with the whipped cream. Attempting to assemble a warm cake or warm syrup with cold whipped cream will lead to a melty, sliding disaster. Patience is a virtue in cake assembly!
- Drain Cherries Thoroughly: For the best texture and to prevent excess moisture in your cake, ensure the canned cherries are drained for a minimum of 30 minutes, or even longer. Placing them in a fine-mesh sieve over a bowl and gently stirring them occasionally will help extract as much liquid as possible. This extra step prevents soggy cake layers.
- Decorative Cherries: While the morello cherries you use for filling are suitable for decoration, for an extra polished look, I sometimes purchase a separate small jar of stemmed dark sweet cherries. These often have a more uniform appearance and firmer texture, making them ideal for garnishing the top of your cake.
- Sheet Cake Conversion: To transform this elegant layer cake into a more casual sheet cake, simply pour the batter into a greased and floured 9×13-inch baking pan. You will need to increase the baking time by approximately 15 minutes, but keep a close eye on it, testing for doneness with a skewer. The amount of whipped cream frosting will remain the same, spread in a single, generous layer on top.
- Four-Layer Extravaganza: For a taller, more dramatic cake with additional layers, carefully slice each of your two baked cake rounds horizontally into two thinner layers. This will give you four beautiful layers. If doing so, I highly recommend increasing the amount of canned dark sweet cherries to two cans to ensure ample cherries and syrup for all layers. You will also need to adjust the whipped cream frosting quantities: use 2 ½ cups heavy cream, ¾ cup powdered sugar, and 1 ½ teaspoons vanilla extract to accommodate the extra layers.
- Storage Instructions: This cake is best enjoyed fresh, but leftovers can be stored covered in the refrigerator for up to 3-4 days. The flavors tend to meld beautifully overnight, making it even more delicious the next day.
What Type of Cherries Do I Use (and Which to Avoid)?
Choosing the right cherries is paramount to the success of your Black Forest Cake. For this recipe, canned dark sweet cherries in heavy syrup are the gold standard. You can typically find them in the canned fruit aisle of most grocery stores. I’ve had great success with various brands; the brand pictured above is one option, but other varieties like stemmed morello cherries (though often pricier) also work wonderfully. The key here is the heavy syrup, which is crucial for making the rich reduction that soaks into our cake layers.
Please avoid using maraschino cherries, as their artificial color and flavor are not suitable for the authentic taste profile of a Black Forest Gateau. Similarly, sour cherries (often found canned or frozen) are too tart for this recipe unless you significantly adjust the sugar content in the syrup, which can alter the overall balance of flavors.
I also strongly advise against using fresh or frozen cherries for the filling and syrup. While fresh cherries can be beautiful for decoration, they lack the intense flavor and, more importantly, the readily available syrup that is integral to this cake. Fresh cherries would need to be cooked down with sugar to create a syrup, adding an extra, time-consuming step. Frozen, thawed cherries tend to release too much excess liquid, which could make your cake layers watery and lead to structural instability – something we definitely want to avoid for a beautiful layered cake. Stick to canned dark sweet cherries in heavy syrup for ease and best results.
Save This Delectable Recipe to Your Pinterest Board!
Let’s be friends on Pinterest! I’m always sharing fantastic recipes you won’t want to miss.
Did you whip up this incredible recipe? I absolutely love hearing from you! Please leave a star rating and comment below the recipe card. Your feedback is invaluable to our community and helps others discover delicious recipes. I personally respond to every comment! -Melissa
★★★★★
Extra Moist, Easy Gluten-Free Black Forest Cake
 Melissa Erdelac
Pin
Rate
Remove Ads
Ingredients
Chocolate Cake
- 2 cups (292 g) all-purpose gluten-free flour, (I use and recommend Cup4Cup gluten-free flour)
- 2 cups (400 g) granulated sugar
- ¾ cup dutch-processed cocoa
- 2 teaspoons baking soda
- 1 teaspoon baking powder
- ½ teaspoon salt
- 1 cup (245 g) buttermilk*, room temp
- ½ cup (109 g) oil, any preferred
- 2 large eggs, room temp
- 2 teaspoons vanilla extract
- 1 cup (240 g) boiling water
Cherries
- 1 (15 ounce) can dark sweet cherries in heavy syrup
- 1 tablespoon Kirsch cherry liqueur, see recipe notes for substitutes
Whipped Cream Frosting
- 2 cup (480 g) heavy cream, cold
- ½ cup (60 g) powdered sugar
- 1 teaspoon vanilla extract
Equipment
-
Stand Mixer
-
Offset Spatula
-
9 inch Cake Pans
Instructions
- Preheat the oven to 350°F (175°C). Line the bottoms of two 9-inch cake pans with parchment paper cut to size. Grease the pans generously with nonstick cooking spray and set aside.
- In a large bowl or the bowl of a stand mixer fitted with a paddle attachment, combine the gluten-free flour, granulated sugar, cocoa powder, baking soda, baking powder, and salt. Mix on low speed until all dry ingredients are thoroughly combined.
- Add the buttermilk, oil, large eggs, and vanilla extract to the dry ingredients. Mix on low speed until just combined. Slowly drizzle in the boiling water while continuing to blend on low speed. Once all the water is incorporated, increase the speed to medium and beat for 2 minutes. The batter will be thin, which is normal for this recipe.
- Evenly divide the thin batter between the two prepared cake pans. Bake for 40 minutes, or until a cake tester inserted into the center of the cakes comes out clean. It’s important to ensure the middle is fully set to prevent the cake from sinking. Cool in the pans for 10 minutes, then invert onto a wire rack to cool completely.
- While the cakes are cooling, prepare the cherries and whipped cream frosting. Drain the canned dark sweet cherries in a sieve, making sure to reserve all of the heavy syrup. Set the drained cherries aside in the sieve so any excess liquid can continue to drain.
- Pour the reserved cherry syrup into a small saucepan. Add the Kirsch cherry liqueur (or your chosen substitute, see notes below). Simmer over low heat, allowing the syrup to reduce to about ¼ cup, which should take 7-8 minutes. The syrup will thicken further as it cools. Set aside to cool completely.
- While the syrup cools, prepare the whipped cream frosting. In a cold bowl, beat together the cold heavy cream, powdered sugar, and vanilla extract until stiff peaks form. Refrigerate immediately until ready to assemble the cake.
- Assemble the cake only after the cake layers and cherry syrup have cooled completely. If desired, reserve about 8-10 whole cherries for decorating the top of the cake. Halve the remaining cherries.
- Place one cooled cake layer on your chosen cake platter. Generously brush this layer with most of the cooled cherry syrup, reserving 1-2 tablespoons for a later step.
- Spread half of the chilled whipped cream frosting evenly over the syrup-soaked cake layer. Arrange the halved cherries on top of the whipped cream, then drizzle with the remaining 1-2 tablespoons of cooled cherry syrup. Place the second cake layer on top.
- Finish the cake by spreading the remaining whipped cream frosting over the top and sides. Garnish with the reserved whole cherries and, if you like, some chocolate shavings for an extra special touch. Refrigerate any leftovers.
Notes
Substitutes for Kirsch Cherry Liqueur
If traditional Kirsch is hard to find, you have a few excellent options. Some liquor stores may offer brandied morello cherries already soaked in Kirsch liqueur, which can be used to flavor your syrup directly. Alternatively, a cherry liqueur or cherry brandy can serve as a suitable substitute. For an alcohol-free version, simply omit the liqueur and enhance the cherry syrup by simmering it with 1 teaspoon of almond extract, which beautifully complements the cherry flavor.