
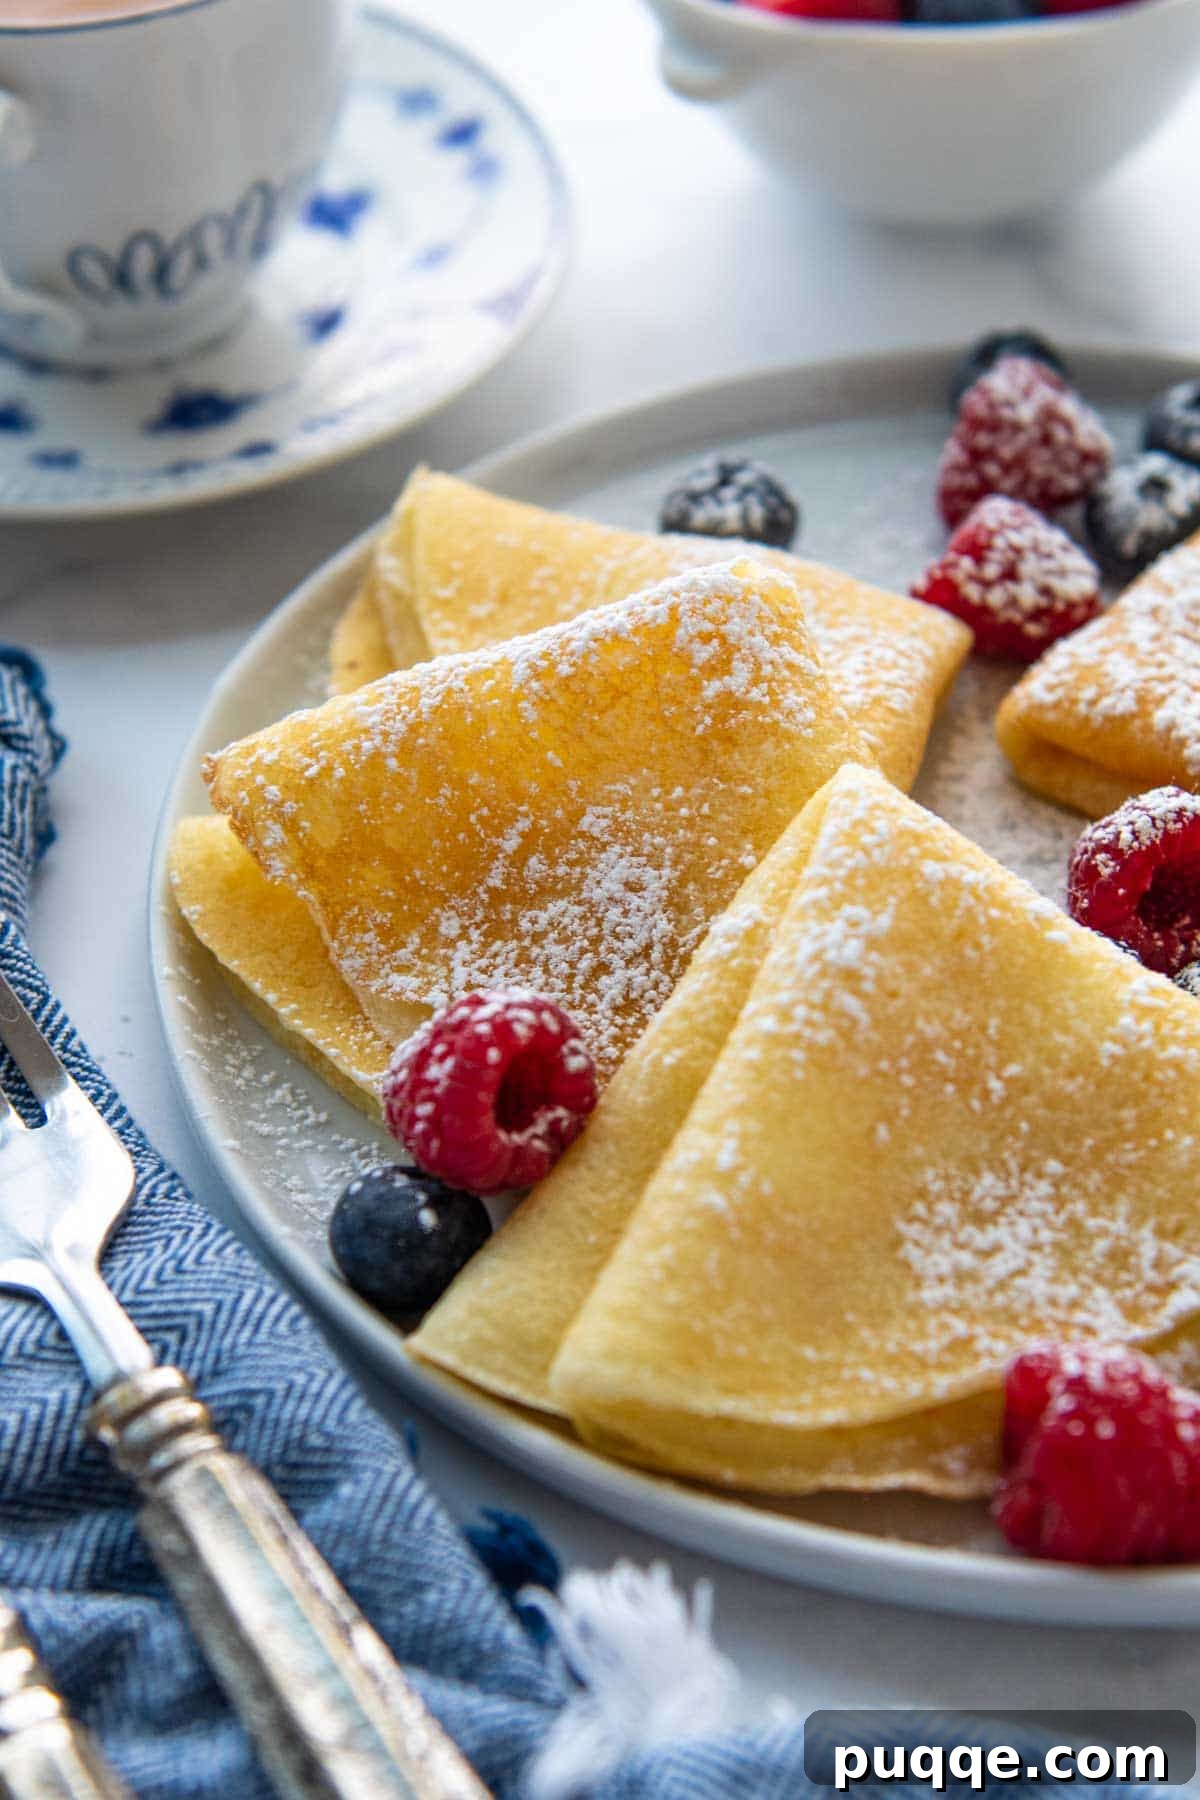
Welcome to the definitive guide for crafting the most delectable gluten-free crepes right in your own kitchen! Forget the notion that going gluten-free means compromising on taste or texture. These skillet-made crepes are incredibly thin, boast perfectly crispy edges, and serve as an exquisitely versatile canvas for an array of sweet or savory culinary creations. As a seasoned gluten-free baker, I’ve dedicated countless hours to perfecting a foolproof method that consistently yields crepes indistinguishable from their traditional counterparts.
The secret to achieving this delicate balance lies in two critical recipe adjustments, which I’ll share in detail. These aren’t mere ingredient swaps; they’re foundational tweaks that ensure your gluten-free crepes are not just edible, but truly exceptional. Prepare to delight your palate and impress your guests with these light, airy, and utterly delicious gluten-free wonders!
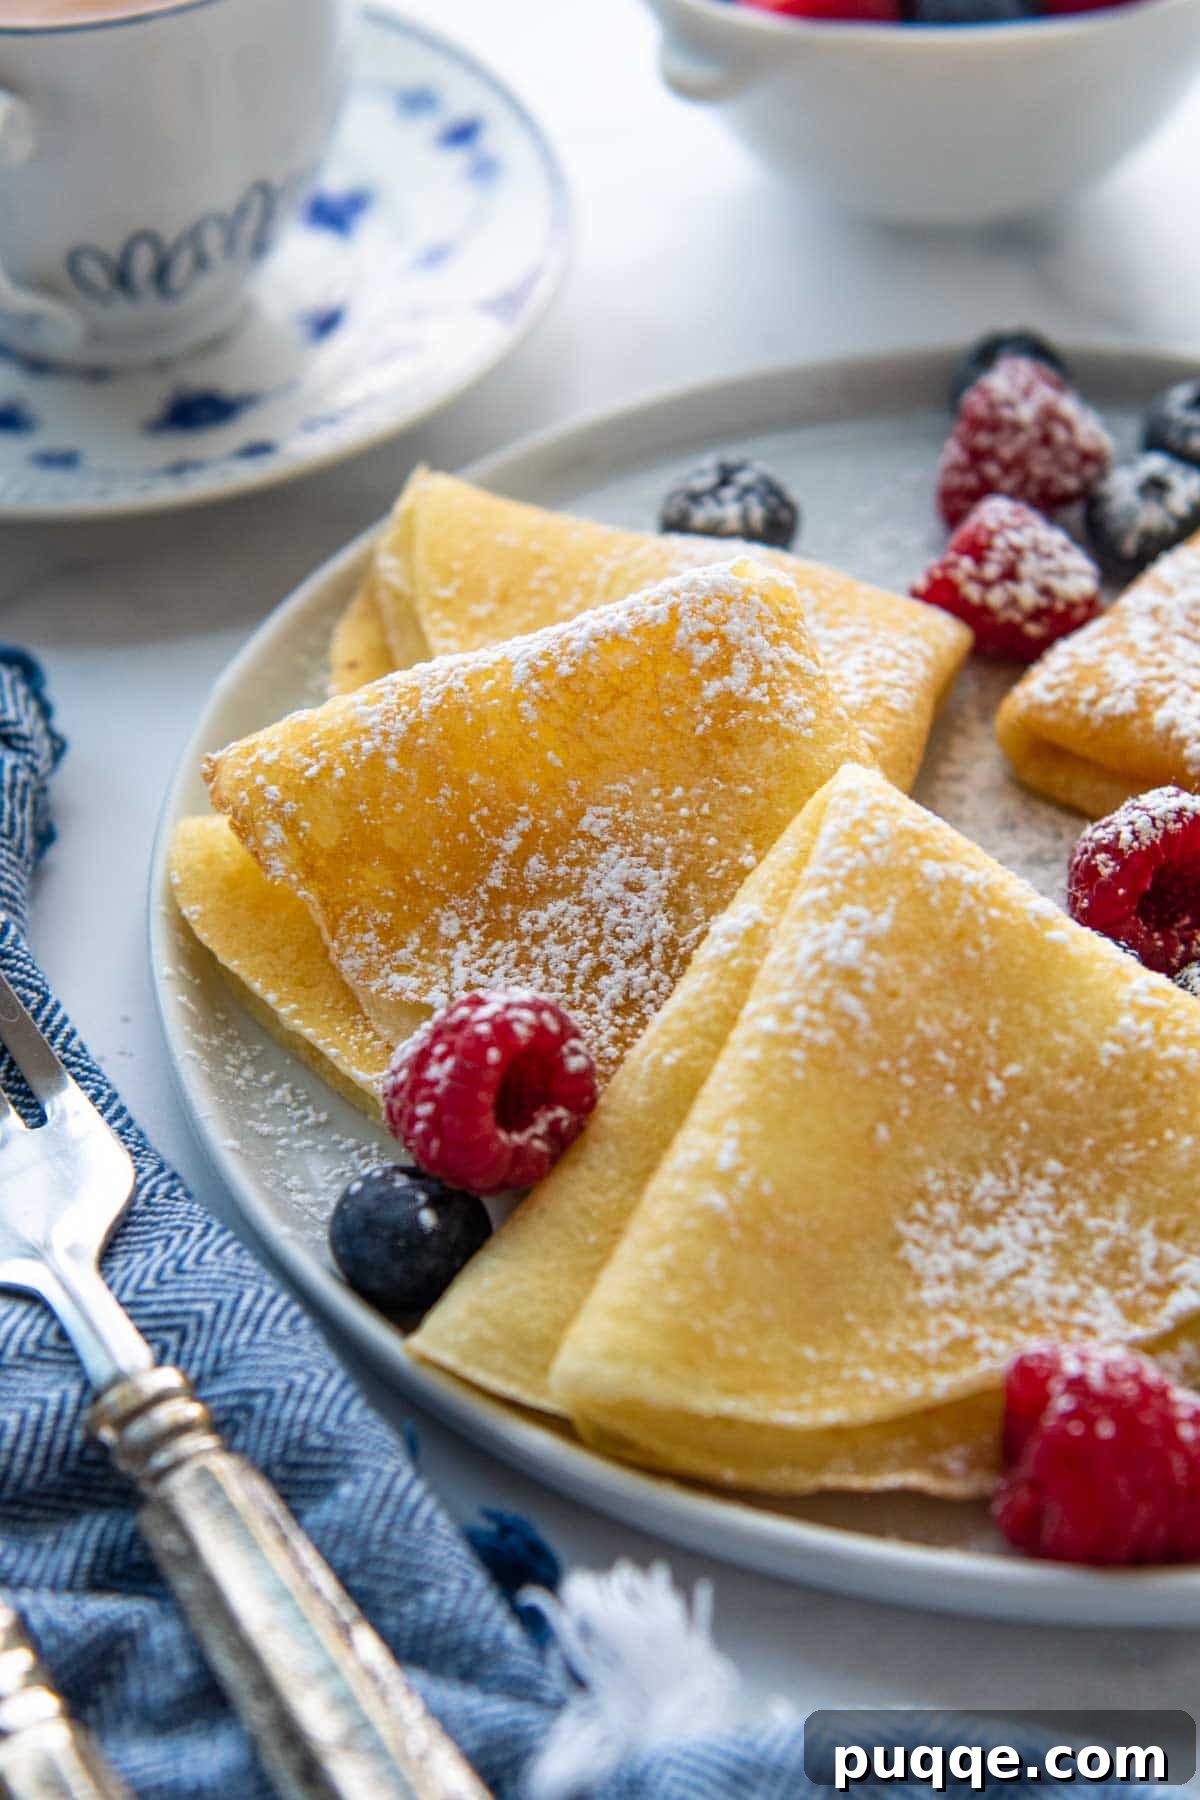
Mastering Gluten-Free Crepes: A Culinary Journey
Crepes, a timeless French delicacy, are celebrated for their thin, delicate texture and incredible adaptability. While traditionally made with wheat flour for sweet varieties or buckwheat flour for savory Galettes, adapting them for a gluten-free diet often presents unique challenges. This particular gluten-free crepe recipe draws inspiration from the rigorous testing and insights found in America’s Test Kitchen’s How Can It Be Gluten-Free Cookbook, a resource that has significantly influenced many of my own popular gluten-free breakfast recipes.
It’s a common misconception that simply swapping wheat flour for a gluten-free blend in traditional recipes will yield perfect results. Unfortunately, the absence of gluten, which provides elasticity and structure, can lead to a less-than-ideal outcome. When I first experimented with a direct flour exchange, the batter often resulted in crepes with an unappetizing gummy and rubbery texture. This is primarily because gluten-free starches behave differently, absorbing moisture less efficiently and lacking the protein network that typically gives crepes their signature chew and flexibility.
To truly replicate the delicate nature and crispy edges of classic crepes, two crucial adjustments are necessary when working with gluten-free flour. Firstly, the amount of liquid in the batter must be carefully reduced. Gluten-free flours, particularly starches like tapioca or potato, don’t absorb water in the same way wheat flour does. Excess liquid can lead to a fragile crepe that tears easily or remains soggy. By reducing the liquid, we ensure the batter achieves the perfect consistency—thin enough to spread easily, but robust enough to hold together.
Secondly, lowering the cooking temperature and extending the cooking time slightly is paramount. This allows sufficient time for the moisture within the crepe to evaporate slowly, preventing gumminess and promoting that desired crispiness, especially around the edges. This gentle, longer cooking process also gives the gluten-free starches ample opportunity to fully hydrate and set, resulting in a more stable and palatable texture. It’s a subtle but significant change that transforms your gluten-free crepes from good to truly great, ensuring they are just as satisfying as any traditional version.
Thank you!! Was so worried to attempt making gluten free crepes for a friend. Hosting a party and she is the only one, this recipe was so easy to follow, love the details and they came out great!
—Nancy
Essential Ingredients for Your Gluten-Free Crepe Batter
Crafting delicious gluten-free crepes begins with a handful of simple, readily available ingredients. Understanding the role of each component and being aware of potential substitutions will empower you to create a perfect batter every time. Below, I delve into the specifics of each key ingredient and offer practical alternatives.
- Gluten-Free Flour Blend – The foundation of our crepes. While many gluten-free all-purpose flour blends exist, I consistently recommend Cup4Cup gluten-free flour for this recipe, as it’s the blend extensively tested to achieve optimal results. Different GF flour blends contain varying ratios of starches (like tapioca, potato, or cornstarch) and grains (like rice flour, sorghum flour, or almond flour), which can significantly impact the batter’s consistency and the final crepe’s texture. Some blends might absorb more liquid, while others less. If you opt for a different blend, be prepared to make minor adjustments to the liquid content, adding a touch more milk if the batter is too thick, or a sprinkle more flour if it’s too runny, until it resembles a thin, pourable cream. For best accuracy, consider weighing your flour rather than using volume measurements.
- Milk – Milk contributes richness, flavor, and helps achieve the desired thinness of the batter. For the most decadent, buttery taste, I suggest using whole milk or at least 2%. The higher fat content not only adds to the flavor but also aids in browning and creating a tender texture. For those following a dairy-free diet, a seamless substitution can be made with your favorite non-dairy milk alternative. Almond milk, soy milk, oat milk, or light coconut milk (from a carton, not canned) all work wonderfully. Be aware that these alternatives might impart a subtle flavor difference and could slightly alter the final texture, though typically not enough to compromise the quality.
- Butter – Melted butter adds unparalleled flavor, tenderness, and a beautiful golden color to the crepes. If you’re using salted butter, remember to omit the added salt from the recipe to avoid over-salting. For a dairy-free version, plant-based butter sticks, such as Earth Balance vegan butter sticks, are an excellent choice. Melted coconut oil can also be used as a dairy-free alternative, but it might impart a faint coconut flavor, which can be lovely in sweet crepes.
- Granulated Sugar – Sugar plays a dual role: it enhances the flavor of sweet crepes and assists in achieving that desirable golden-brown color during cooking. The amount of sugar is highly adaptable; you can adjust it to your personal preference for sweetness or omit it entirely if you plan on making savory crepes. For savory applications, a pinch of herbs or spices can be added instead to complement your chosen fillings.
- Eggs – Eggs are crucial for structure, binding, richness, and slight leavening. They help create a cohesive batter that won’t fall apart in the pan and contribute to the overall tender texture. Always use large eggs at room temperature, as they incorporate more smoothly into the batter.
- Salt – A small amount of salt is essential, even in sweet recipes. It balances the flavors, enhances the sweetness, and adds depth to the overall taste profile of the crepes.
Step-by-Step Guide: Crafting Your Gluten-Free Crepes
Creating perfect gluten-free crepes is a straightforward process, especially when you follow these detailed steps. Below, I provide a comprehensive guide with accompanying photos to ensure your success. (For exact ingredient amounts and the full printable recipe, please scroll down to the recipe card below.)
Prepare and Whisk Ingredients – A Quick Start!
Begin by combining your dry ingredients. In a medium-sized bowl, whisk together the gluten-free flour, sugar, and salt until they are thoroughly blended. This ensures an even distribution throughout the batter. In a separate, larger bowl, whisk the eggs with the milk until the mixture is smooth and well-combined. Aim for a consistent, pale yellow liquid.
Next, gradually incorporate three-fourths of the milk and egg mixture into the dry ingredients. Whisk continuously until the batter is smooth and free of lumps. This partial addition helps prevent clumping. Finally, add the remaining wet ingredients and the melted (and slightly cooled) butter, whisking again until everything is perfectly combined and the batter has a thin, pourable consistency, similar to heavy cream. Avoid over-whisking at this stage to prevent excessive air incorporation.
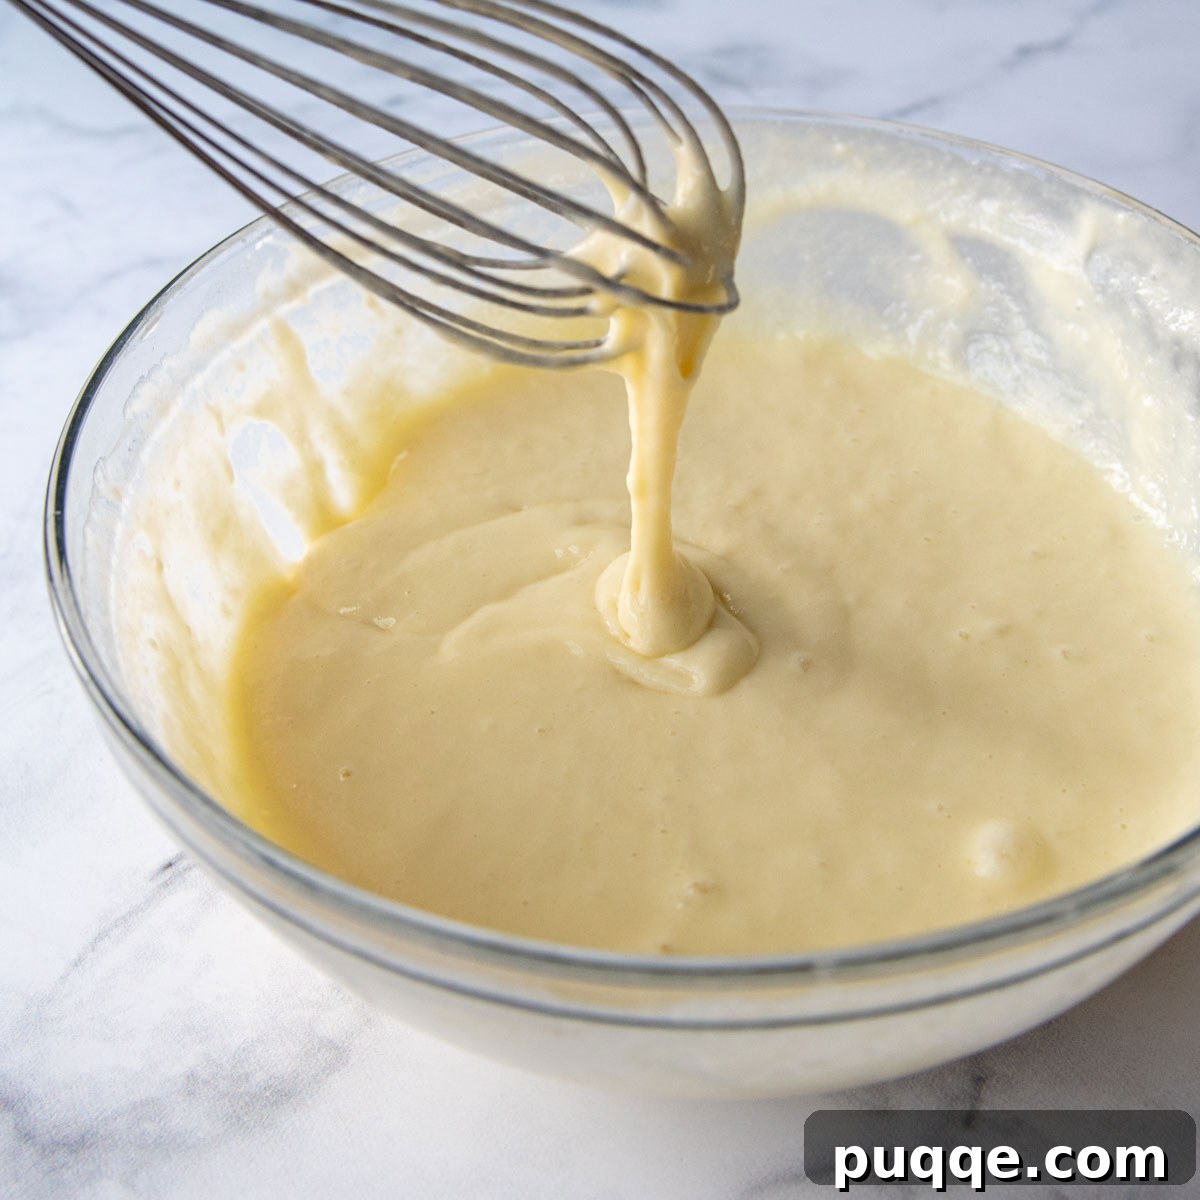
Allow to Rest, Then Cook to Perfection
This step is crucial for gluten-free crepes: let the batter rest. While your crepe pan or nonstick skillet preheats, allow the batter to sit undisturbed for at least 15-30 minutes at room temperature. This resting period is vital as it gives the gluten-free starches ample time to fully hydrate and relax, resulting in a smoother batter and a less fragile, more pliable crepe. Meanwhile, heat a 10-inch nonstick skillet or a dedicated crepe pan over medium-low heat for about 5-7 minutes. Proper preheating ensures even cooking and prevents sticking.
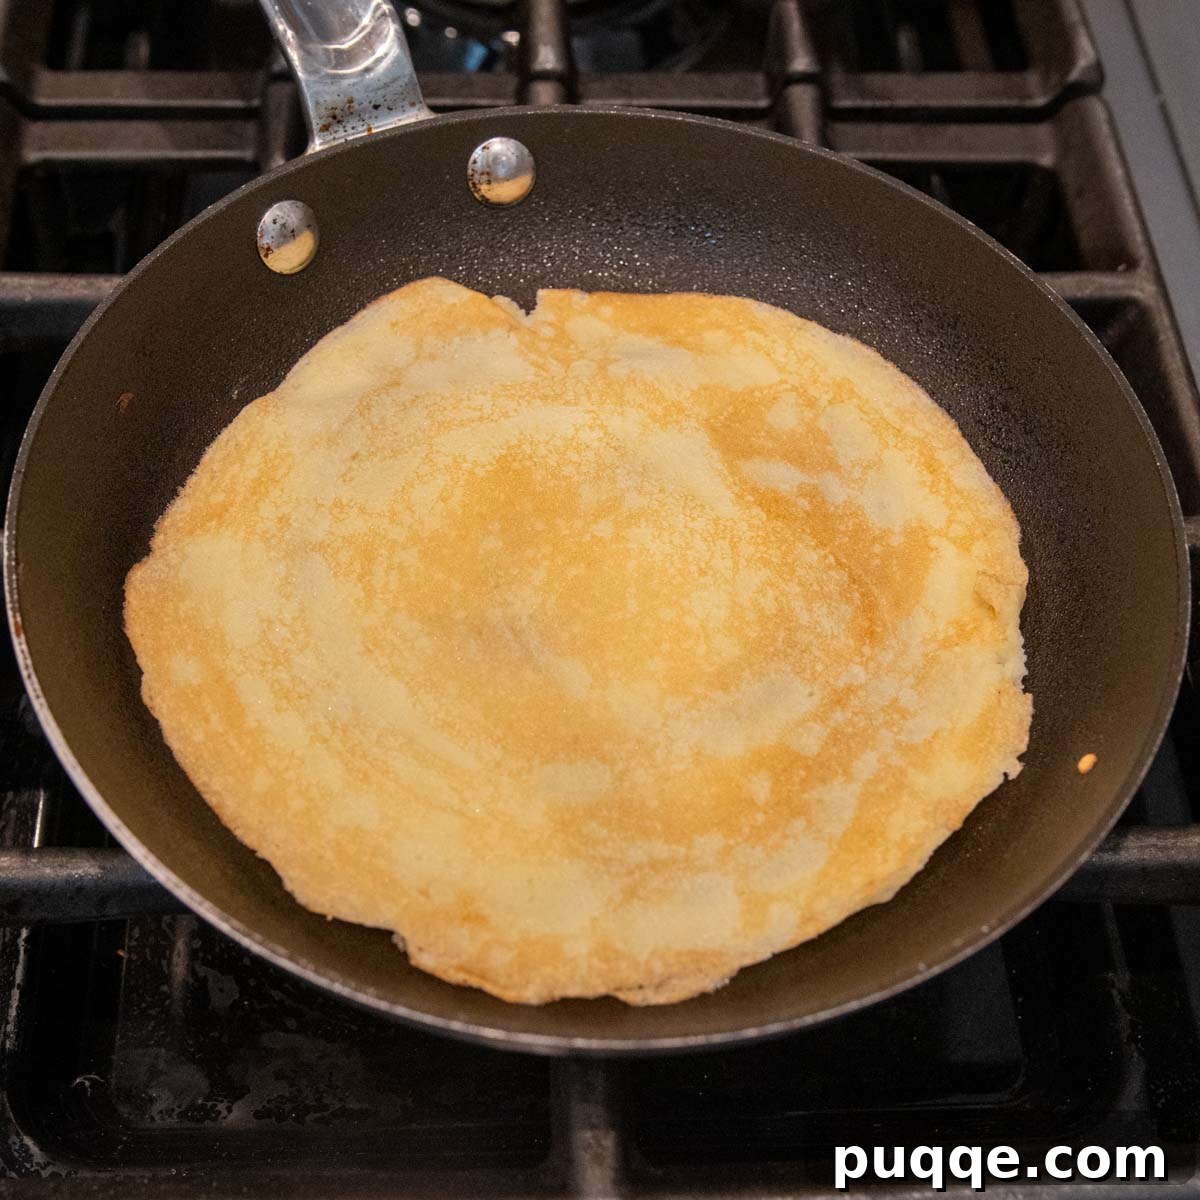
Once your pan is hot, lightly grease it with about 1/2 teaspoon of vegetable oil, then wipe away any excess with a paper towel, leaving just a thin, even film. Give the batter a final quick whisk just before pouring. Ladle approximately 1/4 cup of batter into the center of the hot pan, immediately tilting and swirling the pan to evenly spread the batter into a thin, uniform circle. Cook for about 20-30 seconds, or until the top surface appears opaque and dry, and the edges begin to crisp and lift slightly. Gently slide a thin rubber spatula under the crepe and flip it to cook the second side for another 15-20 seconds, until lightly golden. That’s it! Slide the cooked crepe onto a wire cooling rack or plate and repeat the process, lightly greasing the pan between each crepe.
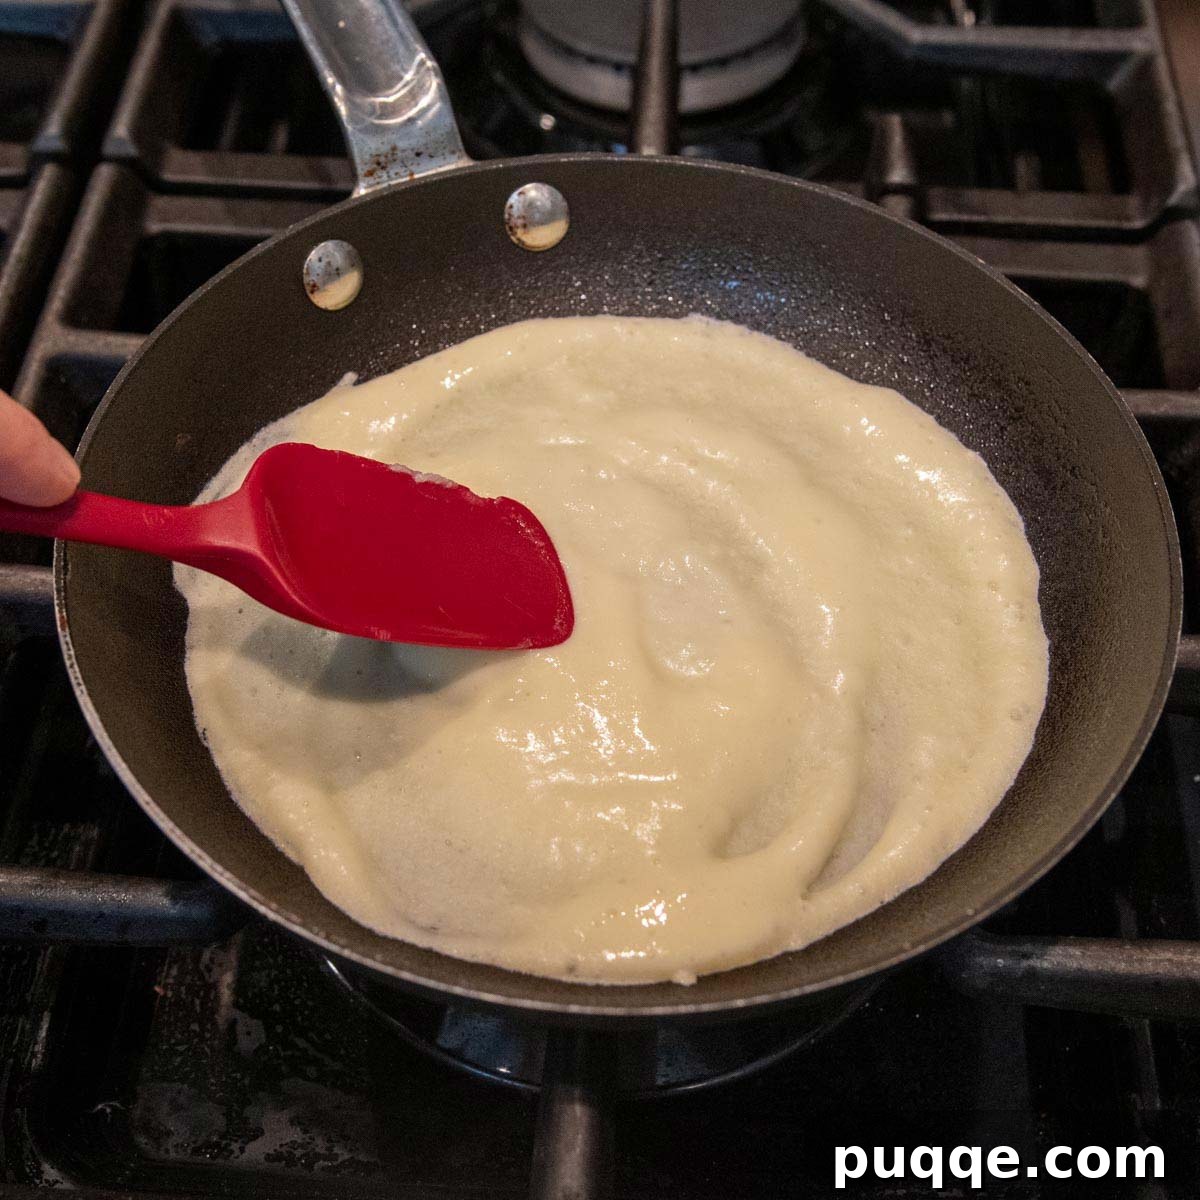
Stack, Serve, and Store!
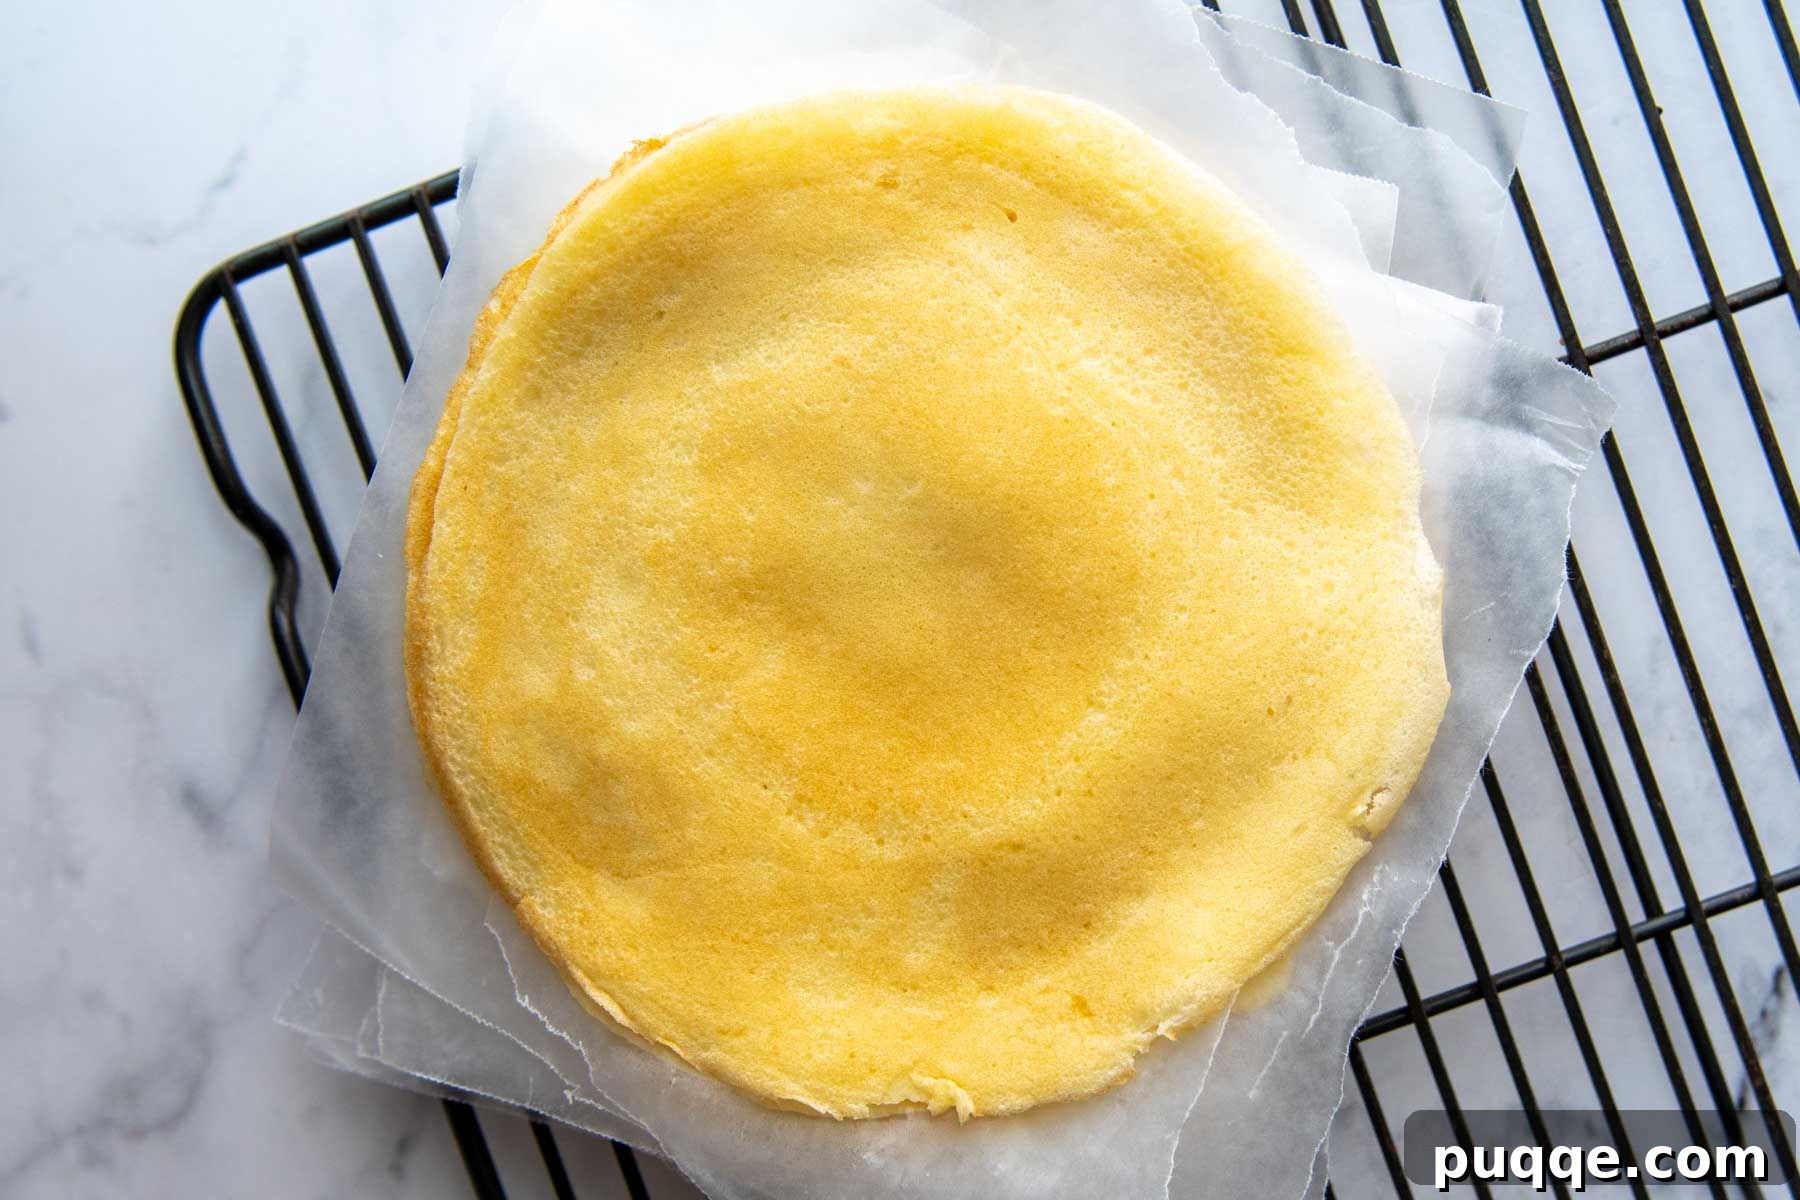
As you finish cooking each crepe, you can stack them with sheets of wax paper in between to keep them warm and prevent sticking, especially if you’re making a large batch for immediate serving. If you plan to store them for later enjoyment, lay the cooked crepes out individually on a wire rack to cool completely before stacking. Once cooled, you can stack them with wax paper separators, transfer them to an airtight container, and refrigerate for up to 3 days or freeze for longer storage. This method ensures they remain fresh and easy to separate when you’re ready to indulge again.
Essential Equipment for Gluten-Free Crepe Making
While the thought of making perfect crepes might conjure images of specialized kitchen gadgets, the truth is you don’t need extensive expertise or fancy equipment to achieve excellent results at home. In fact, many successful batches of these gluten-free crepes have been made using a standard nonstick skillet. The key is understanding the role of your cooking vessel.
However, choosing the right size pan can significantly impact the quality of your crepes. An 8-inch skillet, for instance, will produce slightly thicker crepes. While still delicious, they will have a firmer, more pancake-like texture compared to the delicate thinness of traditional crepes. For an ideal outcome—ultra-thin crepes with even cooking and superior nonstick performance—I highly recommend a quality 10-inch nonstick skillet or a dedicated crepe pan.
For those looking to expand their crepe-making arsenal, here are some commercial kitchen tools and appliances often used:
- 10-inch Crepe Pan – These pans are specifically designed with shallower sides, which makes sliding a spatula underneath and flipping the crepes incredibly easy. They are generally quite affordable, and while heavy-duty cast iron versions exist, the performance difference for home use might not justify the significant jump in price. The nonstick surface is paramount for smooth release.
- Electric Crepe Griddle – A plug-in electric griddle offers precise temperature control via a dial, which can be very beneficial for consistent cooking. Like dedicated crepe pans, they feature no raised sides, facilitating effortless flipping and removal. The main consideration is storage, as they can be somewhat bulky compared to a skillet. They are particularly useful if you’re making large quantities of crepes frequently.
- Crepe Spreader – This T-shaped tool is used to evenly distribute the batter in the pan, creating a perfectly thin and uniform crepe. While professional crepe makers often use them, I don’t find them strictly necessary for homemade crepes, especially with practice. However, if you’re striving for absolute perfection or producing multiple batches at once, a spreader can certainly come in handy.
Delightful Serving Suggestions & Flavor Variations
One of the greatest joys of making crepes is their incredible versatility. Whether you prefer sweet indulgence or savory satisfaction, gluten-free crepes can be customized to suit any craving. Here are some ideas to inspire your next crepe creation:
Sweet Crepe Fillings:
- Classic Fruit & Cream: Fill with fresh berries (strawberries, blueberries, raspberries), sliced bananas, and a dollop of freshly whipped cream or a dusting of powdered sugar.
- Nutella & Banana: A perennial favorite! Spread a generous layer of Nutella (or your favorite chocolate-hazelnut spread) and add sliced bananas.
- Lemon & Sugar: A simple yet sophisticated option. Squeeze fresh lemon juice over warm crepes and sprinkle with granulated sugar for a bright, tangy treat.
- Jam or Fruit Preserves: Any fruit jam, marmalade, or fruit butter makes for a quick and easy filling.
- Chocolate Lover’s Dream: Drizzle with warm chocolate sauce, add chocolate shavings, and a scoop of vanilla ice cream for an ultimate dessert.
- Crepe Cake: Layer multiple crepes with whipped cream, pastry cream, or chocolate ganache in between to create an impressive multi-layered cake.
Savory Crepe Fillings:
- Ham & Cheese: A classic combination. Fill with sliced ham, Gruyère or Swiss cheese, and perhaps a touch of Dijon mustard. Bake briefly to melt the cheese.
- Spinach & Feta: Sautéed spinach, crumbled feta cheese, and a hint of garlic make for a light and flavorful meal.
- Smoked Salmon & Cream Cheese: A brunch favorite! Spread with cream cheese, lay on smoked salmon, and garnish with fresh dill and capers.
- Chicken & Mushroom: A creamy chicken and mushroom filling, often made with a béchamel sauce, transforms crepes into a hearty main course.
- Breakfast Burrito Style: Fill with scrambled eggs, cheese, beans, and salsa for a unique breakfast experience.
Creative Culinary Ideas:
- Crepe “Tacos”: Offer a spread of fillings and let everyone build their own sweet or savory crepe tacos.
- Appetizer Rolls: For savory crepes, thinly spread a filling, roll tightly, and slice into pinwheels for elegant appetizers.
- Dessert Wraps: Fill with a sweet cream cheese mixture and fruit, then bake for a few minutes until golden.

Troubleshooting Common Gluten-Free Crepe Issues
Even with a perfected recipe, baking can sometimes throw a curveball. Here’s a guide to common gluten-free crepe issues and how to troubleshoot them, ensuring your next batch is flawless.
- My crepes are too thick or gummy: This is often a sign that your batter is too thick, or you’re using too much batter per crepe. Gluten-free flours, especially those high in starches, can become gummy if overcooked or if the batter is too dense.
- Solution: Thin out your batter with a tablespoon or two of milk until it flows easily like heavy cream. Ensure you’re only pouring about 1/4 cup of batter per 10-inch crepe, tilting and swirling immediately to spread it thinly. Also, verify your pan temperature isn’t too low, which can prevent moisture from evaporating properly.
- My crepes are tearing easily or are too fragile: If your crepes are falling apart, the batter might be too thin, or they might not be cooked enough before flipping. Fragility can also result from a lack of binding agents in the flour blend or insufficient resting time.
- Solution: Try adding a tablespoon of gluten-free flour to thicken the batter slightly. Ensure each side is cooked until opaque and lightly golden before attempting to flip. The resting period is crucial for starches to hydrate and create a more stable structure; try resting your batter for at least 30 minutes, or even an hour.
- Crepes are sticking to the pan: A common frustration! This usually indicates improper pan preparation or insufficient fat.
- Solution: Always ensure your nonstick pan is well-seasoned and sufficiently hot before pouring the batter. Lightly grease the pan with a small amount of vegetable oil or melted butter between each crepe, wiping off any excess with a paper towel. This leaves a thin, nonstick film that promotes easy release.
- Crepes are not browning evenly or at all: Lack of browning suggests your pan isn’t hot enough, or there isn’t enough sugar/fat in the recipe to aid in caramelization.
- Solution: Increase the heat slightly, but remain on medium-low. Ensure your pan preheats for the full 5-7 minutes. If making sweet crepes, confirm the sugar content is correct. For savory crepes, the browning will be more subtle but still present if cooked properly.
- Crepes have an uneven texture or holes: This can happen if the batter isn’t smooth, contains lumps, or if the pan has hot spots.
- Solution: Whisk your batter thoroughly to eliminate all lumps. Allow it to rest for at least 15-30 minutes for the flour to fully hydrate, which creates a smoother consistency. If using a standard skillet, ensure it heats evenly across the surface.
With these tips, you’ll be well-equipped to tackle any crepe-making challenge and consistently create beautiful, delicious gluten-free crepes!
Save This Recipe to Your Pinterest Board!
Let’s be friends on Pinterest! I’m always sharing great recipes!
Did you make this recipe? I love hearing from you! Leave a star rating and comment below the recipe card. It helps others when searching for recipes and I appreciate feedback from our community. You will always hear back from me! -Melissa

Quick Gluten-Free Crepes (Thin with Crisp Edges)
 Melissa Erdelac
Pin
Rate
Remove Ads
Ingredients
- 1 ¼ cups all purpose gluten-free flour, (Cup4Cup gluten-free flour recommended)
- 3 tablespoons granulated sugar
- ¼ teaspoon salt
- 1 ½ cups whole or 2% milk, (see recipe notes for dairy-free recipe)
- 2 large eggs
- 2 tablespoons unsalted butter, melted and cooled
- vegetable oil, for greasing pan
Equipment
-
Nonstick Skillet
-
Crepe Pan
-
Electric Crepe Griddle
Instructions
-
In a medium bowl whisk together the gluten-free flour, sugar, and salt. In a separate bowl whisk together the eggs with the milk.1 ¼ cups all purpose gluten-free flour, 3 tablespoons granulated sugar, ¼ teaspoon salt, 1 ½ cups whole or 2% milk, 2 large eggs, 2 tablespoons unsalted butter
-
Add three-fourths of the milk / egg mixture to the flour and whisk until smooth. Add the remaining wet ingredients and melted butter, then whisk again until well combined.
-
Let the mixture sit while your crepe pan preheats. This allows time for the gluten-free starches to relax and hydrate. Heat a 10-inch nonstick skillet over medium low heat for 5 minutes.
-
Drizzle about 1/2 teaspoon vegetable oil in the skillet and then wipe with a paper towel so the pan has a thin film of oil. Whisk the batter again and then pour 1/4 cup batter into the pan. Using a rubber spatula, evenly cover the bottom of the pan with batter. Cook, without moving, until the top surface is opaque and dry, about 20-30 seconds.
-
Gently release the edges with a rubber spatula and flip to cook the other side until both sides are lightly browned, about 20 seconds longer. Slide onto a wire cooling rack and repeat the oil / cooking process with the remaining batter. Makes 8-10 crepes.
-
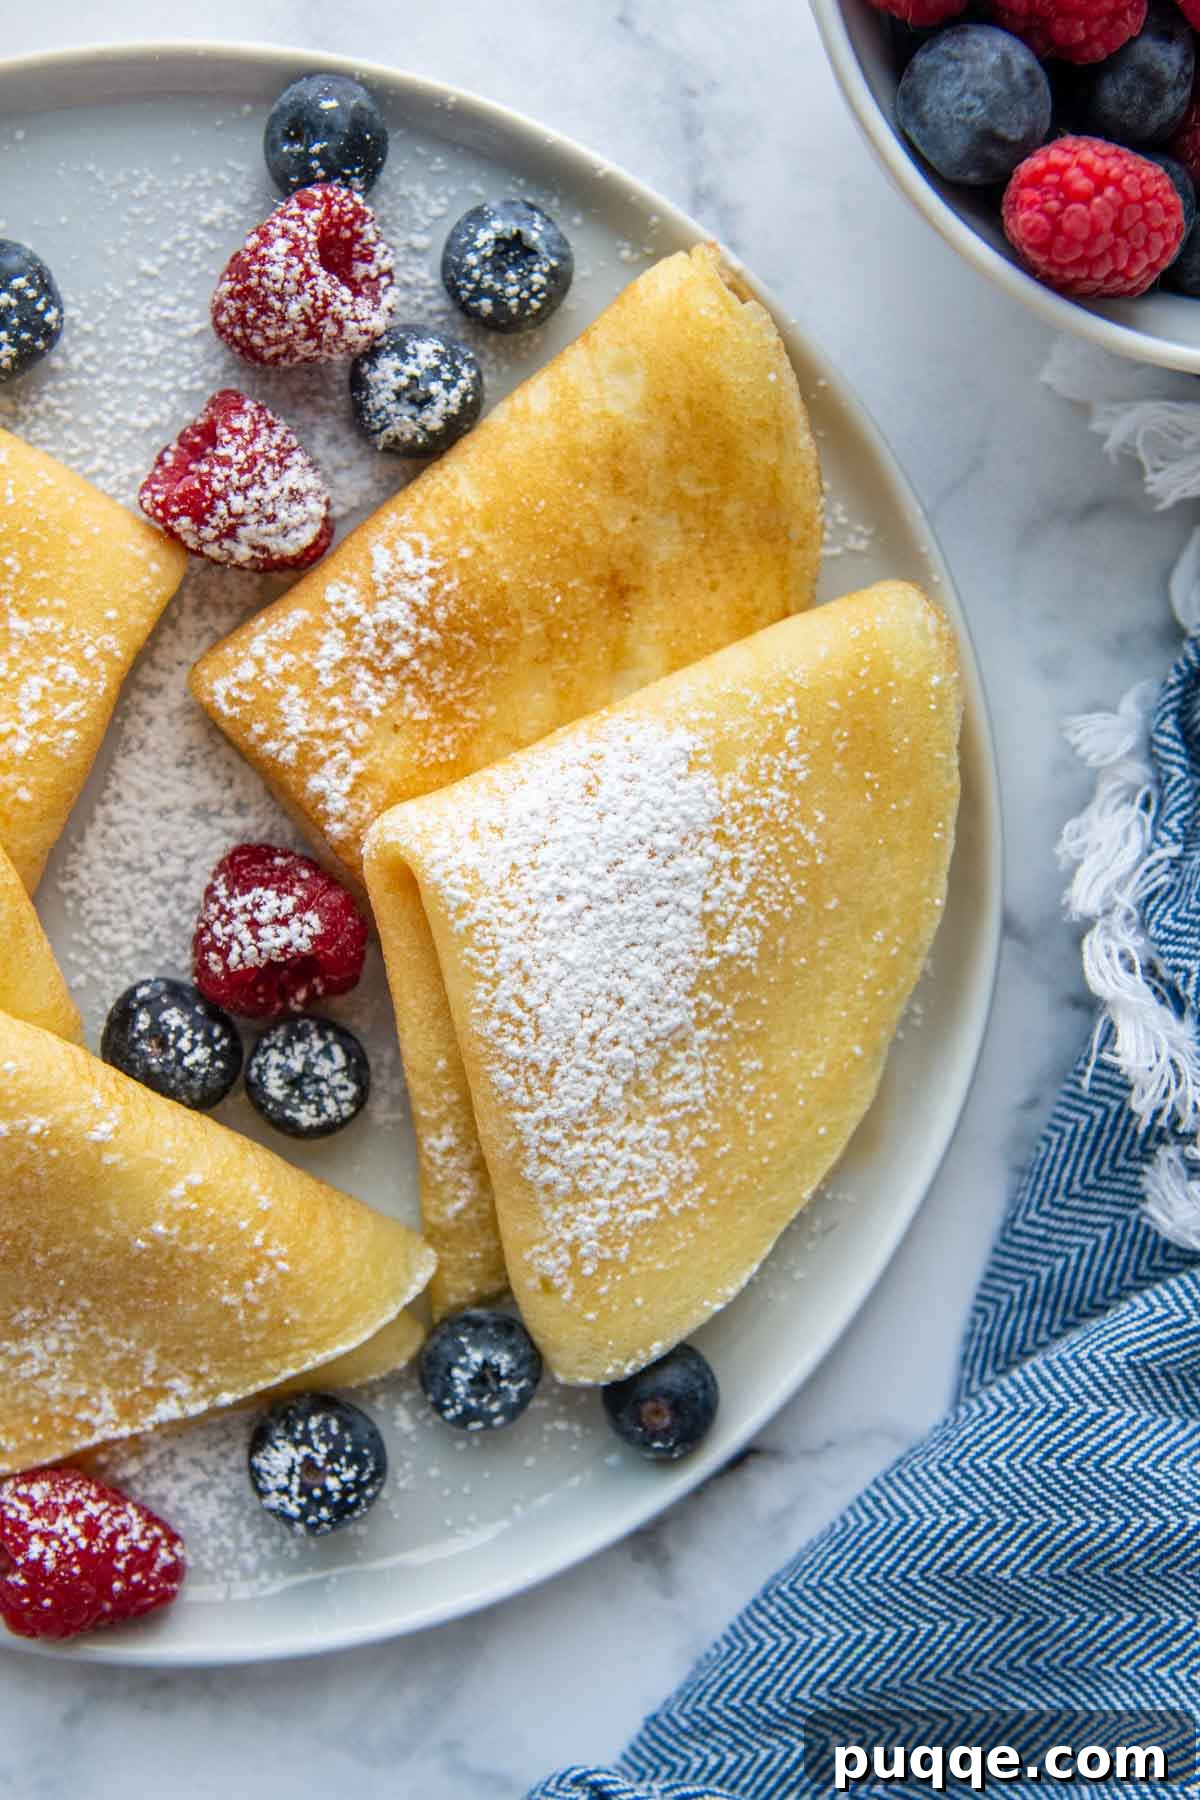
To serve, place the crepe on a plate, laying flat. Top with desired fillings and roll or fold into a triangle.
Notes
Pro Tips To Remember
- Let the batter sit while the pan preheats, at least 5-10 minutes. This allows time for the gluten-free starches to relax and hydrate.
- Test the pan’s temperature before cooking by making a tiny “mini-crepe” first. The bottom of the crepe should become golden in about 20-30 seconds if the pan is heated properly.
- Between each crepe, grease the pan with a little vegetable and wipe excess oil with a dry paper towel so a thin film is left.
- To keep the crepes warm while cooking them, stack with sheets wax paper in between.
Dairy-Free Modifications
To make dairy-free crepes, substitute your favorite dairy-free substitute, such as almond milk or coconut milk. For the butter, use vegan butter or melted coconut oil.
Storing, Freezing, and Reheating
Storing: Once cooled, store in an airtight container, refrigerated up to 3 days. To easily release the crepes from each other, I suggest placing square wax paper sheets in between.
Freezing: Once cooled, stack the crepes with sheets of wax paper in between. Transfer to a ziplock freezer bag and freeze up to 3 months. Thaw overnight in the refrigerator and reheat when ready to serve.
Reheating: Remove the wax paper and reheat in the microwave for 15-20 seconds before filling. To reheat a batch at one time, I used my microwave tortilla pouch, which duly serves as a warmer for serving.
Recipe adapted from America’s Test Kitchen