
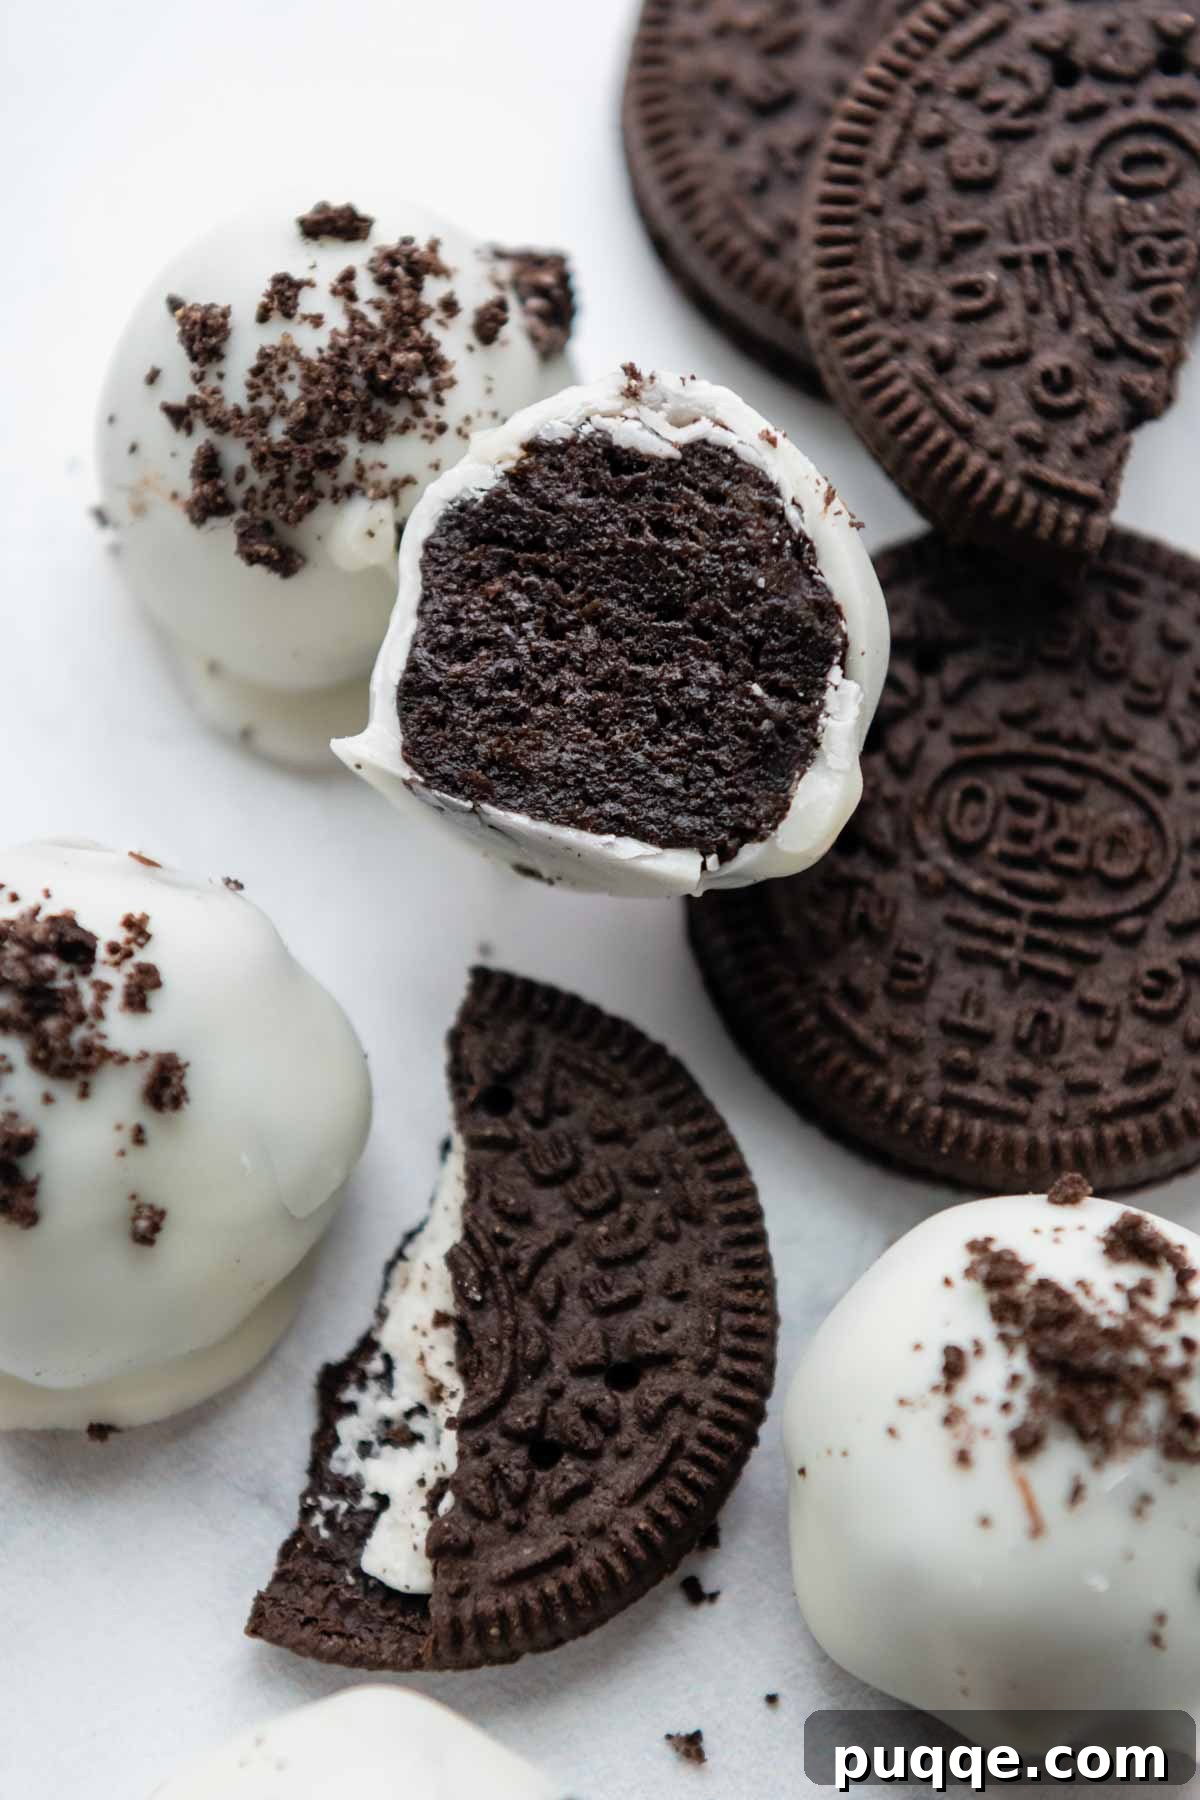
Get ready to indulge in one of the most delightful and incredibly simple gluten-free desserts imaginable: our beloved Gluten-Free Oreo Balls! What’s not to adore about an easy, no-bake treat that requires just three ingredients and delivers maximum flavor? If you’re searching for a quick, crowd-pleasing dessert that caters to gluten-sensitive diets, your quest ends here. In this comprehensive guide, we’ll walk you through everything you need to know, from the perfect way to dip your Oreo truffles without making a mess to inspiring decorating ideas for any occasion, and expert tips to ensure they stay fresh and delicious.
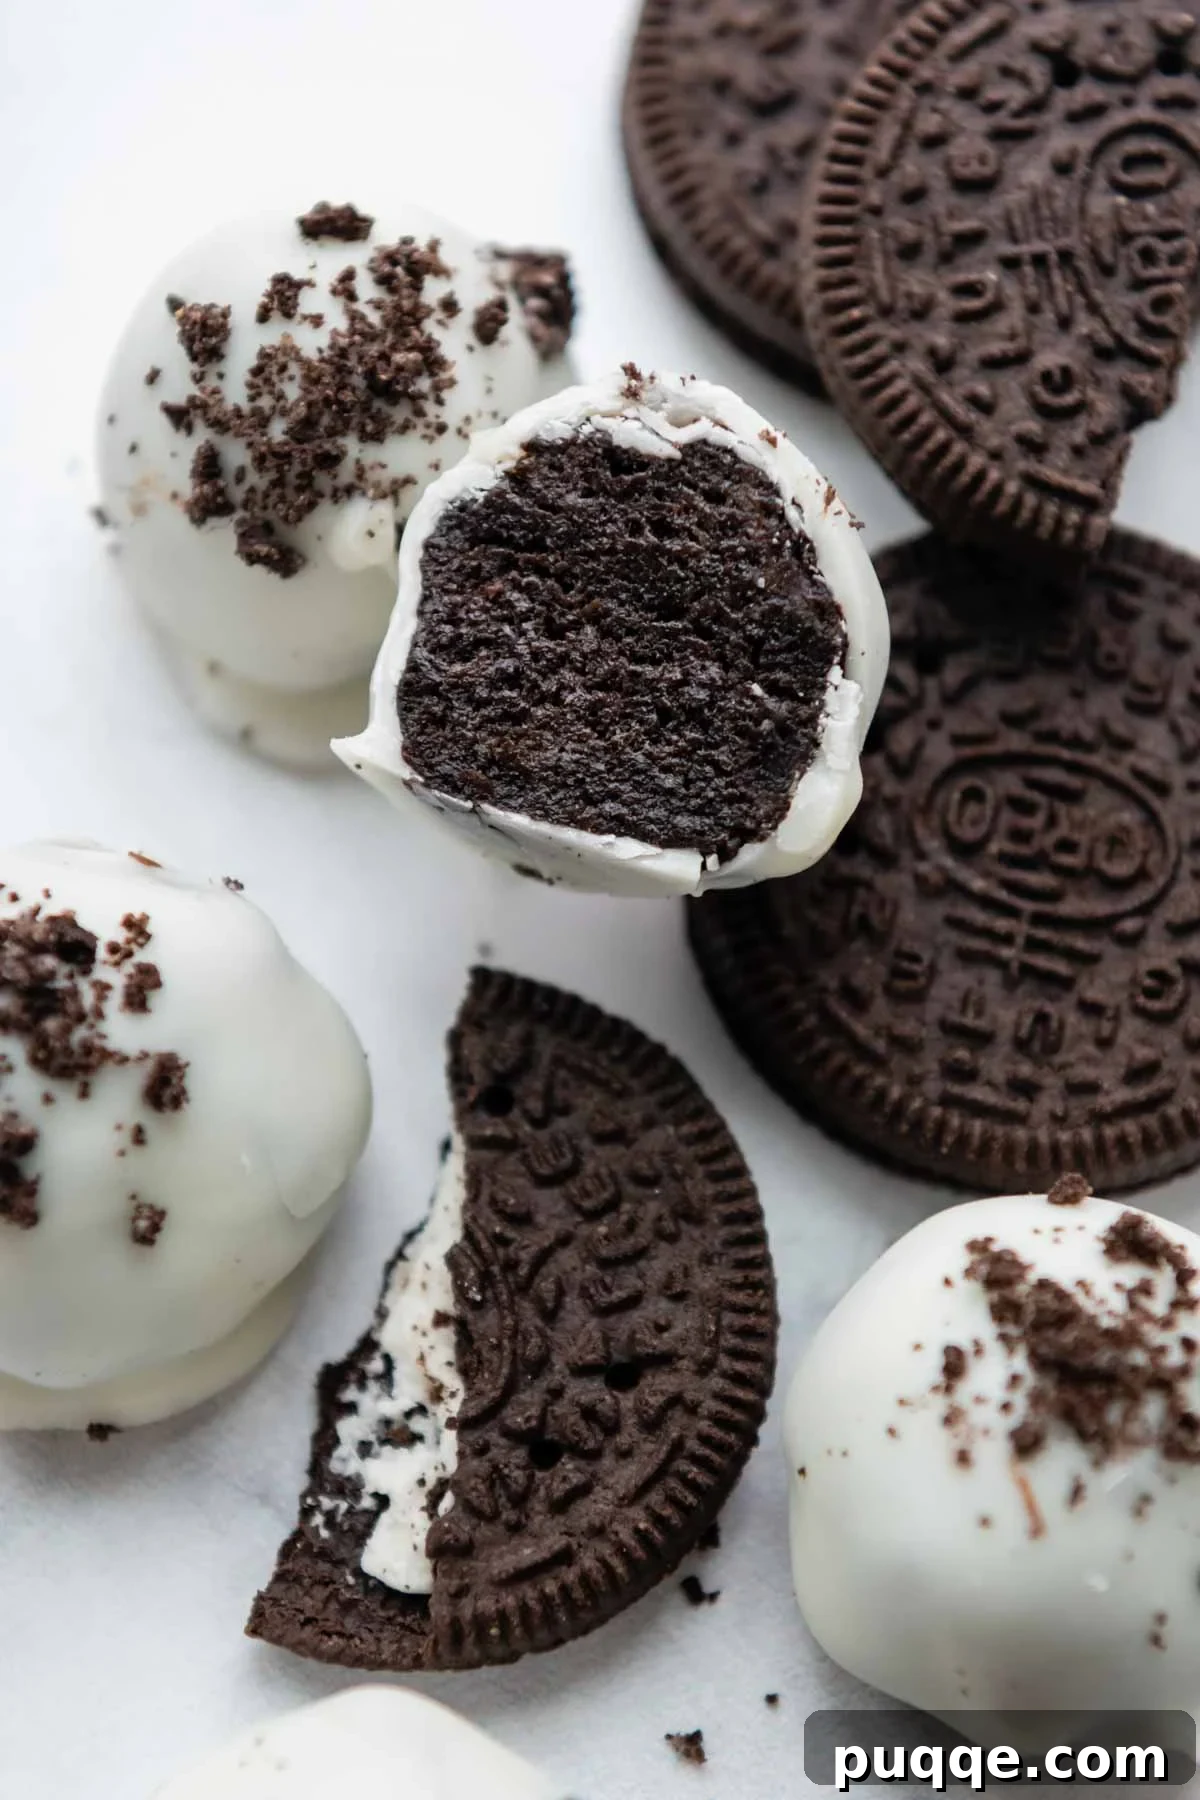
Easy, No-Fail Gluten-Free Oreo Truffles: Your New Favorite Dessert
The culinary world, especially for those with dietary restrictions, rejoiced when Nabisco introduced their line of gluten-free Oreos. This game-changer meant sweet lovers could once again savor the iconic chocolate sandwich cookie without compromise. Beyond enjoying them straight from the package, we’ve been busy in the kitchen, crafting the most scrumptious gluten-free Oreo recipes. From a dreamy gluten-free cookies and cream ice cream cake to a rich and creamy homemade gluten-free Oreo cheesecake, these cookies have proven their versatility. But perhaps the easiest and most universally adored creation? These incredible gluten-free Oreo balls!
These no-bake gluten-free Oreo truffles are the epitome of convenience and indulgence. They are an absolute lifesaver for last-minute parties, a charming addition to holiday dessert spreads, or a thoughtful homemade food gift. Much like our wildly popular gluten-free millionaire shortbread bars, the chocolate coating can be effortlessly customized. Opt for classic milk chocolate, rich dark chocolate, or sweet white chocolate, then adorn them to suit any season or celebration. We’re here to share all our secrets for making, dipping, and decorating these delightful gluten-free treats with impressive flair. Get ready to elevate your dessert game!
Why You’ll Adore This Gluten-Free Oreo Ball Recipe
There are countless reasons why these gluten-free Oreo truffles will quickly become a staple in your recipe repertoire. They truly represent the best of homemade desserts with minimal effort:
- Effortlessly Simple: With just three core ingredients, this recipe is perfect for beginner bakers or anyone short on time.
- No-Bake Bliss: Forget turning on the oven! These truffles come together with chilling, making them ideal for warm weather or busy holidays.
- Kid-Friendly Fun: The process of crushing cookies and rolling balls is a fantastic activity for little helpers, making memories as you bake.
- Customizable Creativity: From various chocolate coatings to an endless array of sprinkles and toppings, you can personalize these truffles for any theme or taste preference.
- Make-Ahead Marvel: They store beautifully in the refrigerator and freezer, allowing you to prepare them well in advance, reducing stress for events.
- Naturally Gluten-Free: Using gluten-free Oreos ensures everyone can enjoy these decadent treats without concern.
- Party Perfect: Their bite-sized nature and festive appearance make them ideal for potlucks, gatherings, and special occasions.
These delicious gluten-free Oreo balls are not just a dessert; they’re an experience of simple joy and sweet satisfaction.
Ingredient Essentials for Your GF Oreo Truffles
It’s hard to believe such a decadent, no-bake dessert can be made with only three ingredients! The beauty of this recipe lies in its simplicity and the readily available nature of its components. Thanks to the widespread availability of gluten-free Oreos, stocking up is a breeze at almost any major grocery store.
- Gluten-Free Oreos: You’ll need one standard package (typically 13.29 ounces) of gluten-free Oreos for the base of your truffles. It’s crucial to select the *regular* variety, not “double stuffed,” as the extra cream can alter the dough’s consistency. If you plan to use crushed Oreos as a decorative sprinkle on top, be sure to grab an extra few cookies or even a second package.
- Cream Cheese: For the smoothest blend and richest flavor, always opt for full-fat cream cheese. Its texture incorporates beautifully with the crushed cookies, resulting in a perfectly creamy truffle center. Light or reduced-fat cream cheese can be watery and may not achieve the desired consistency. For those seeking vegan or dairy-free Oreo truffles (good news, most Oreo cookies are already vegan-friendly!), use a high-quality dairy-free cream cheese alternative, such as Kite Hill or Miyoko’s Kitchen brand. Ensure it’s softened to room temperature for optimal mixing.
- Chocolate: Melting wafers (sometimes called candy melts) are highly recommended for dipping. They are formulated to melt smoothly and maintain a fluid consistency, making the dipping process significantly easier and less messy, without the need for additional oil. However, you can absolutely use white, milk, or dark chocolate chips. If using chocolate chips, you’ll need to add about ½ to 1 teaspoon of a neutral oil (like vegetable oil or coconut oil) per 16 ounces of chocolate to achieve a smooth, dippable consistency. For a dairy-free recipe using chocolate chips, opt for brands like Enjoy Life baking chips and incorporate ½ to 1 teaspoon of coconut oil during melting.
Finding Gluten-Free Oreos: Nabisco’s gluten-free Oreos are widely available and typically found in the cookie aisle alongside their conventional counterparts. Major retailers like Walmart, Meijer, and Target are reliable sources. Beyond Nabisco, several other brands produce excellent gluten-free chocolate sandwich cookies, including Glutino, Kinnikinnick, Goodie Girl, and Trader Joe’s GF Joe Joe’s. Feel free to experiment with these alternatives if you have a favorite!
Let’s Craft These Delectable Truffles Together!
(The detailed step-by-step photos and refined instructions are outlined below. For the complete recipe, including precise ingredient amounts and nutritional information, please scroll down to the recipe card at the bottom of the page.)
Step 1: Crush Your Gluten-Free Oreos – Two Simple Methods!
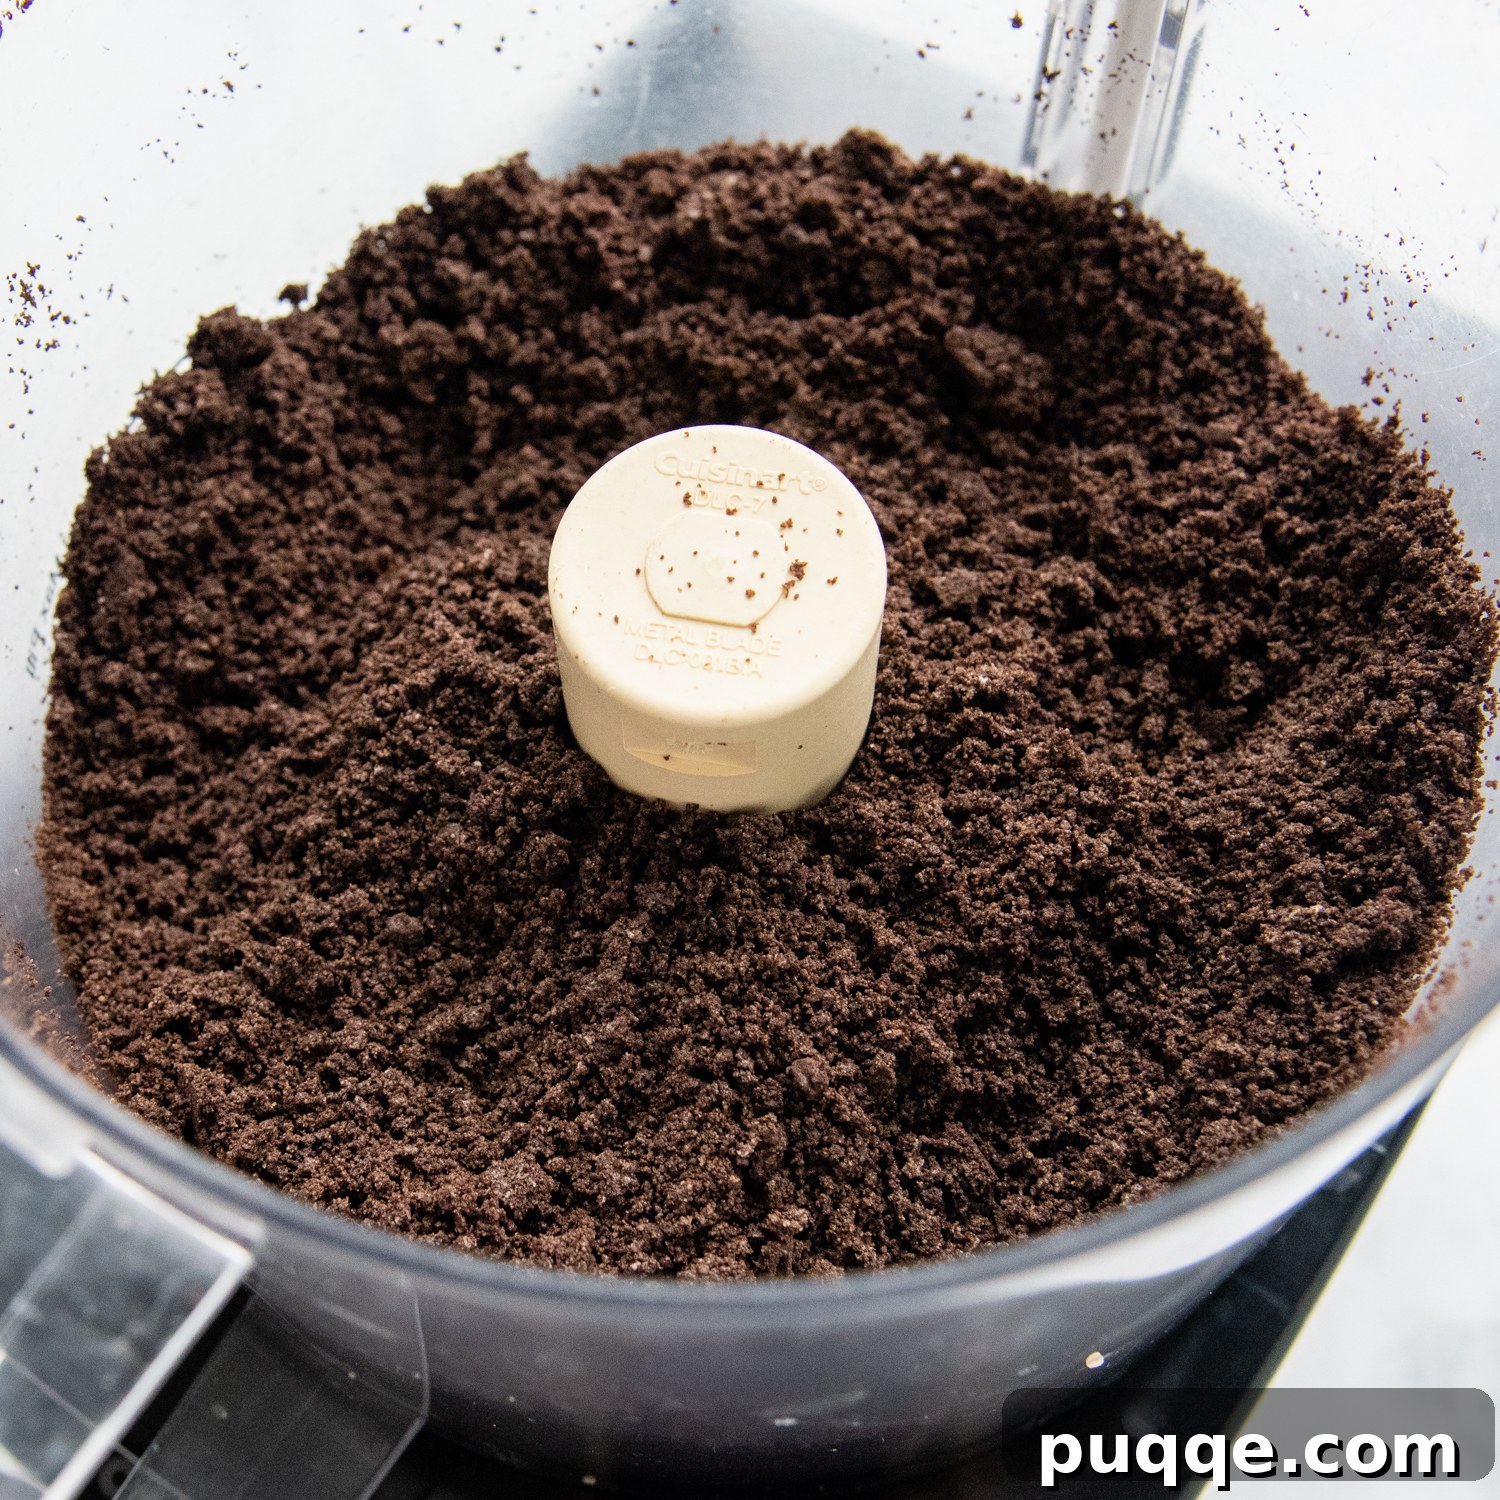
The quickest and most efficient way to turn your gluten-free Oreos into fine crumbs is by using a food processor. Simply place the cookies into the processor and pulse for about 30 seconds, or until they resemble fine, uniform crumbs. If you don’t have a food processor, don’t worry! You can achieve the same result by placing the cookies in a sturdy Ziploc bag, sealing it tightly, and crushing them with a rolling pin. Continue crushing until the crumbs are very fine – this is a fantastic task for kids who love to help in the kitchen!
Once your cookies are finely crushed, add the softened cream cheese to the food processor with the crumbs and pulse until the mixture is thoroughly combined and forms a thick, uniform dough. If you’re preparing by hand, transfer the cookie crumbs to a large mixing bowl and stir in the softened cream cheese until well incorporated, using a spoon or your hands to achieve a cohesive dough.
Step 2: Roll Out Your Oreo Balls and Chill
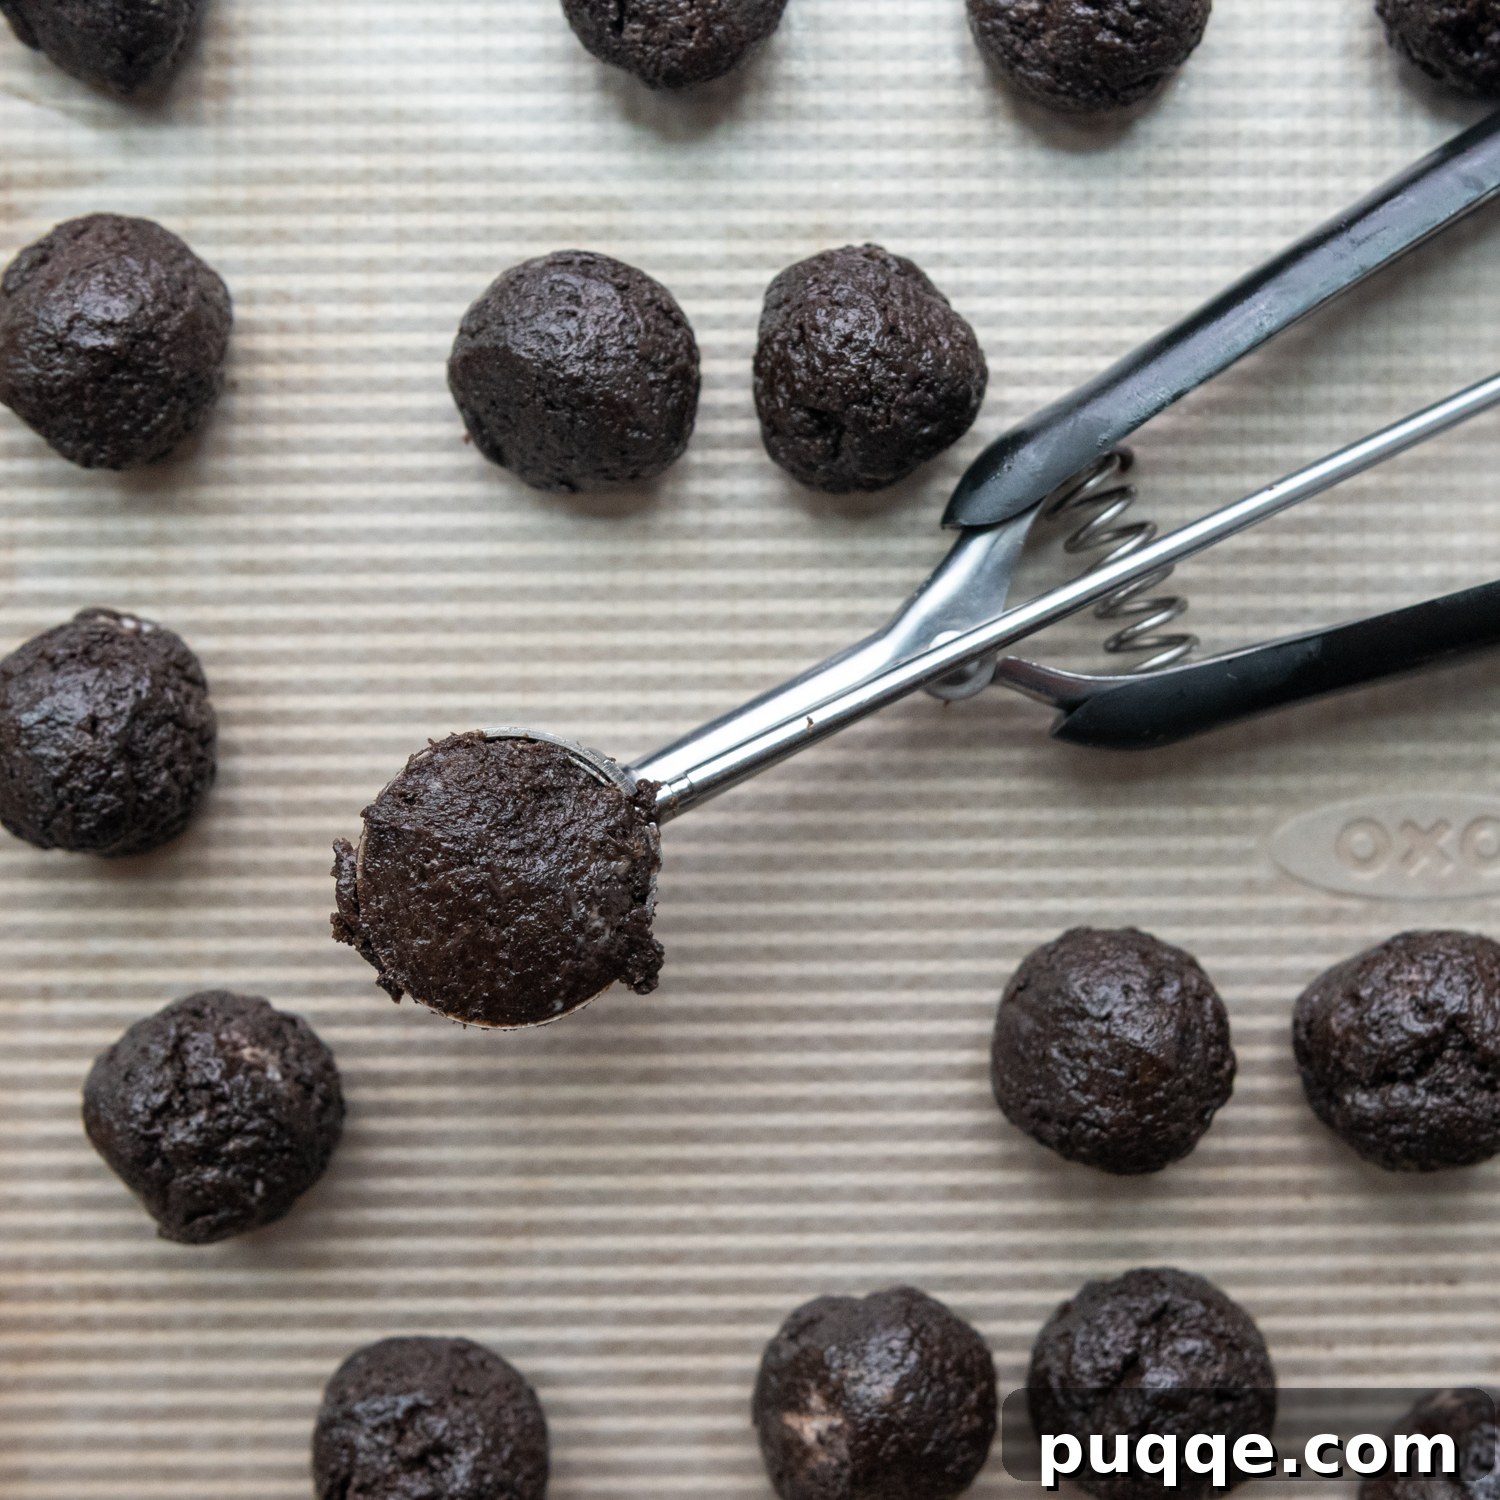
For uniform and professional-looking gluten-free Oreo balls, we recommend using a small cookie scoop (approximately 1 tablespoon in size) to portion out the mixture. Scoop the dough onto a baking sheet lined with wax paper or parchment paper. First, portion out all of the mixture, creating small mounds. Then, go back and gently roll each mound between your palms to form smooth, round balls. This method ensures consistent size and shape for all your truffles. Once all balls are rolled, transfer the baking sheet to the freezer for a quick 15-minute chill. This step is crucial as it helps the balls firm up, making them much easier to dip in chocolate without falling apart.
Step 3: Dive Into Dipping and Decorating!
Preparation is key for a seamless dipping process! Before you even think about melting the chocolate, gather all your decorating supplies: sprinkles (or extra cookie crumbs), a small fork (or a dipping tool), a spoon, and a toothpick. The chilled Oreo balls will cause the chocolate to harden quickly, so you’ll need to be ready to add your decorative touches immediately.
Melt your chosen chocolate in a microwave-safe bowl. Heat on high power for about 60 seconds, stirring every 20 seconds until smooth and fully melted. If the chocolate seems a little too thick for smooth dipping, add a small dash (½-1 teaspoon) of neutral oil (like vegetable or coconut oil) and stir until it reaches a more fluid consistency.
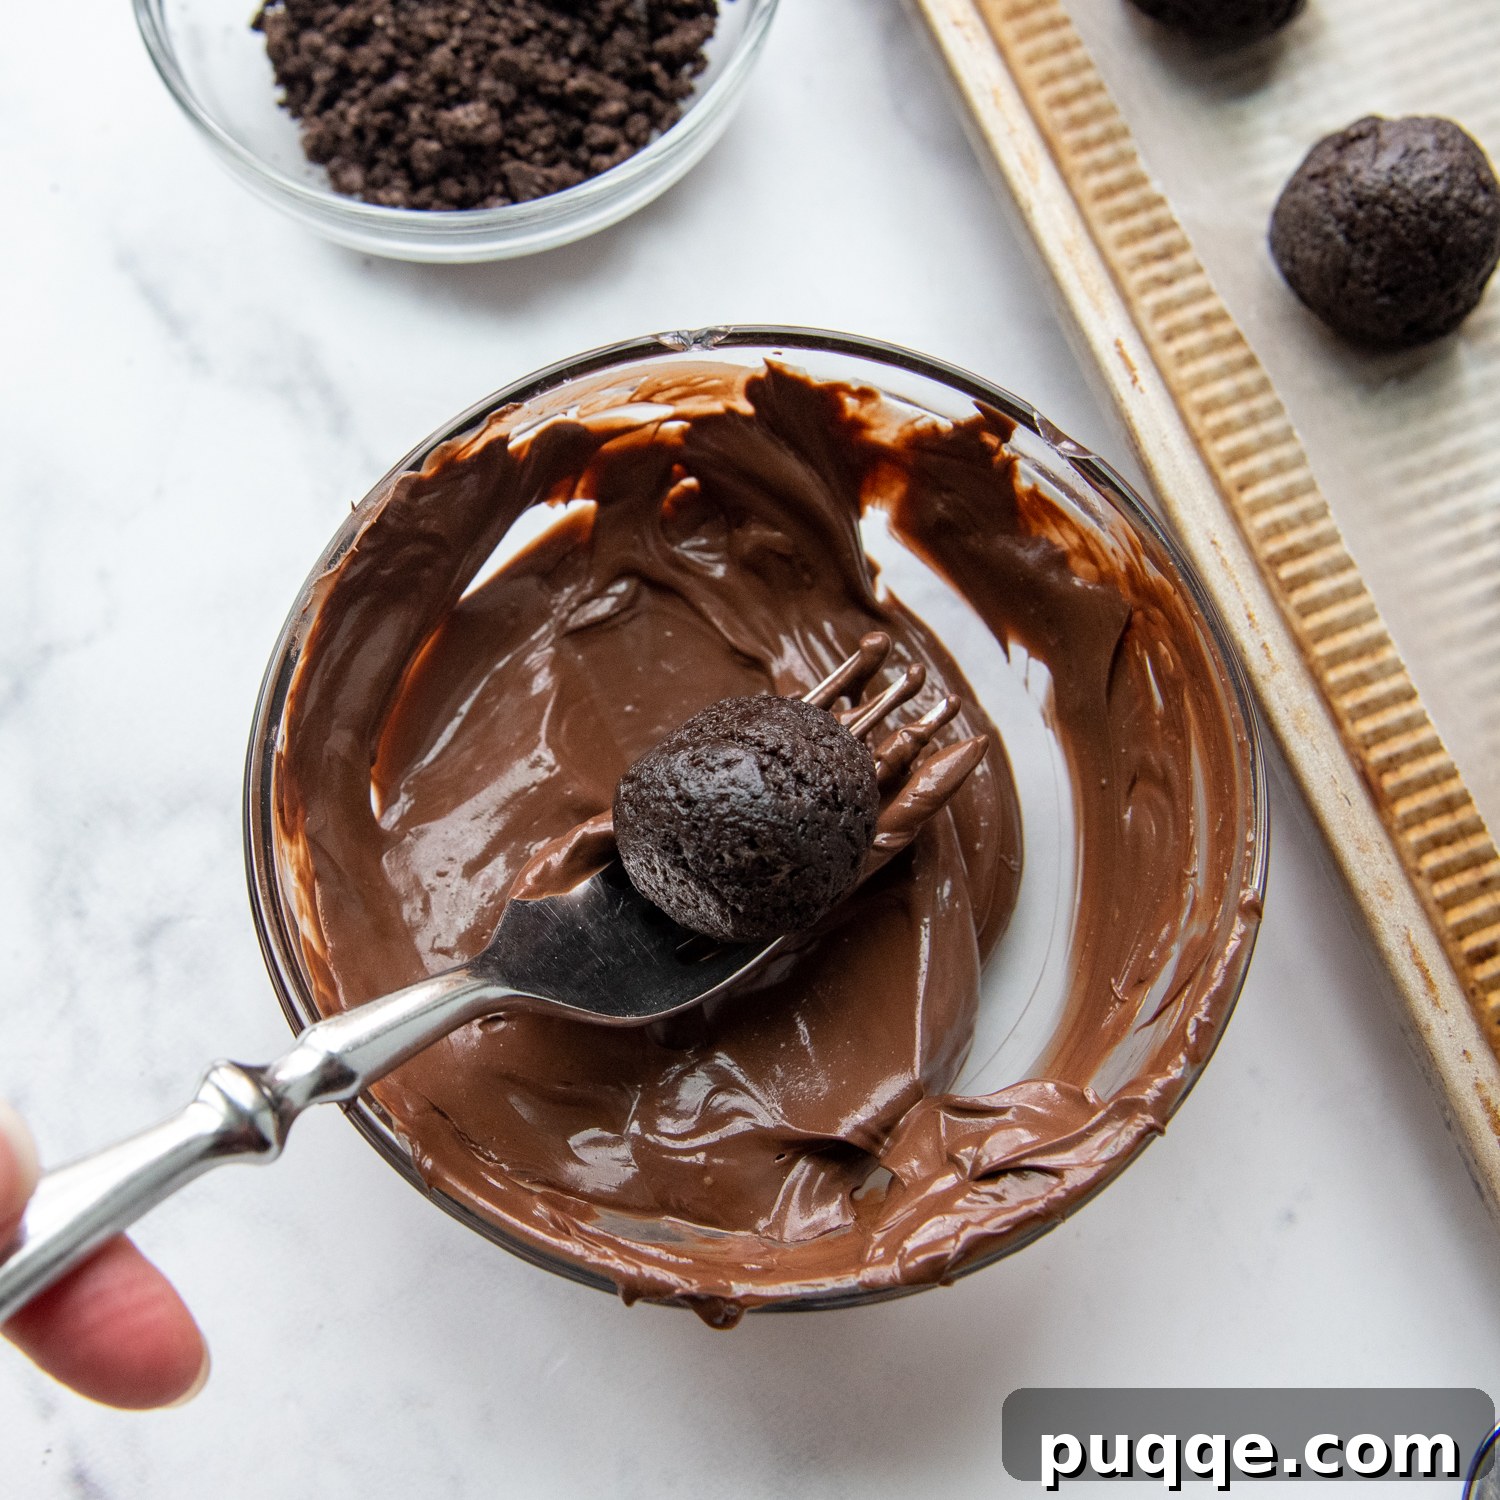
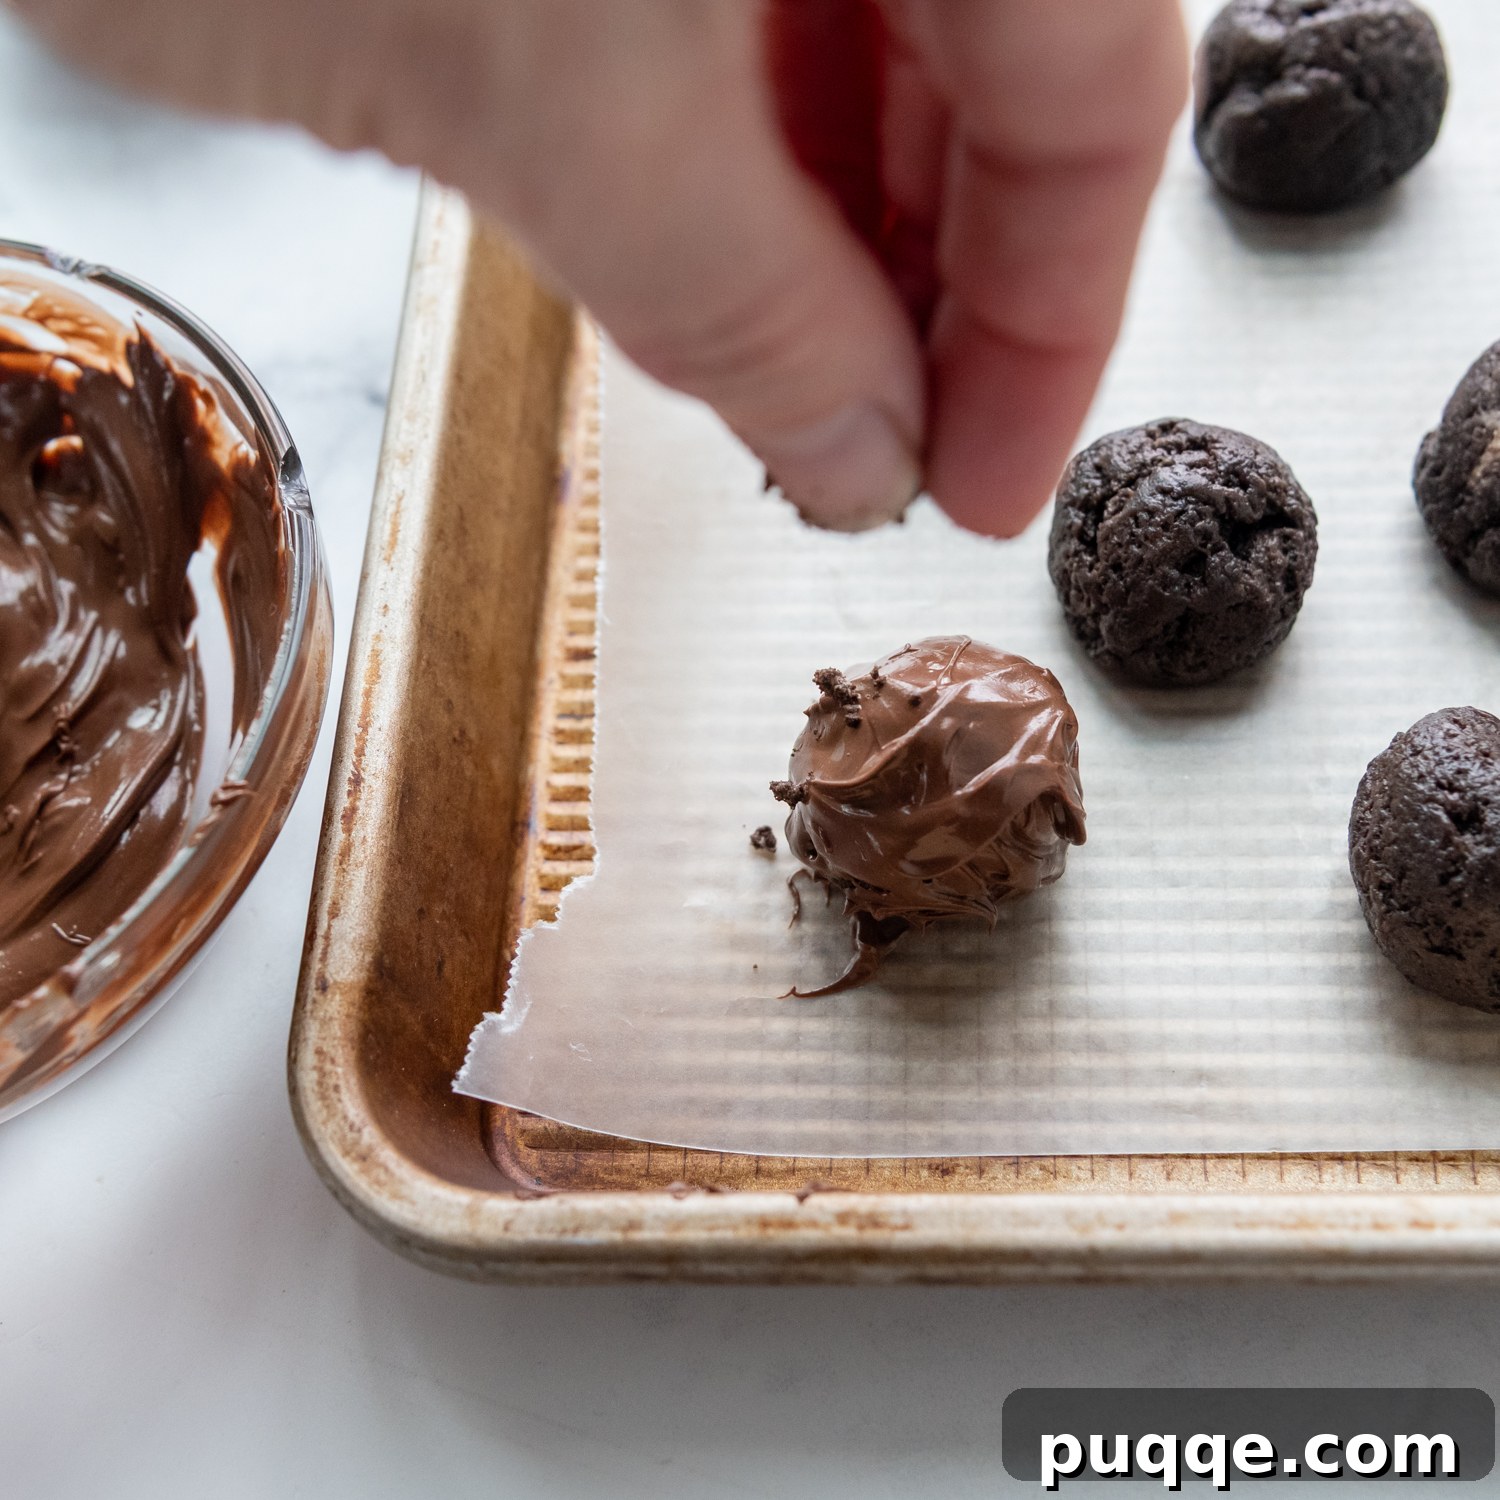
To dip, place an Oreo truffle on the tines of your fork. Carefully lower it into the melted chocolate, using a spoon to fully cover the top and sides. Gently tap the fork against the rim of the bowl to allow any excess chocolate to drip off. This helps create a smooth, even coating. Carefully transfer the dipped truffle back to your lined baking sheet, using a toothpick to gently nudge it off the fork. Now, here’s the crucial part: immediately add your sprinkles or crushed cookie crumbs before moving on to the next truffle, as the chocolate will set very quickly!
Pro Tips for Perfect Gluten-Free Oreo Truffles Every Time
While this recipe is incredibly straightforward, a few expert tips can elevate your gluten-free Oreo balls from great to absolutely exceptional.
Achieving the Ideal Truffle Consistency
- Softened Cream Cheese is Key: Ensure your cream cheese is truly at room temperature. This makes it much easier to blend smoothly with the cookie crumbs, preventing lumps and ensuring a uniform, pliable dough.
- Don’t Overmix: Once the cream cheese and crumbs are just combined and form a cohesive dough, stop mixing. Overmixing can make the dough too soft or oily.
- Chill Thoroughly: The 15-minute freeze time is non-negotiable. Cold truffle balls hold their shape better and allow the chocolate to set more quickly and smoothly, minimizing mess.
Mastering the Chocolate Dip
- Use Melting Wafers for Ease: As mentioned, candy melts are designed for dipping and offer the smoothest, most reliable coating without extra fuss.
- Thin with Oil (If Needed): If using chocolate chips, a small amount of neutral oil (like coconut or vegetable) is essential to thin the chocolate for a liquid, dippable consistency. Add it gradually, a quarter teaspoon at a time, until you reach the desired flow.
- Work Quickly: Have all your decorations and tools ready before you start dipping. The cold truffles will make the chocolate set fast, so move efficiently from dipping to decorating.
- Re-warm Chocolate: If your chocolate thickens too much during the dipping process, reheat it in the microwave for short 10-15 second bursts, stirring well after each interval, until it’s fluid again.
- Avoid Water: Even a tiny drop of water can cause melted chocolate to seize and become grainy. Ensure all your bowls and utensils are completely dry.
Creative Decorating Ideas Beyond Sprinkles
While sprinkles are classic, here are some other fun ways to decorate your gluten-free Oreo truffles:
- Crushed Nuts: Finely chop pecans, walnuts, or almonds for a crunchy texture and nutty flavor.
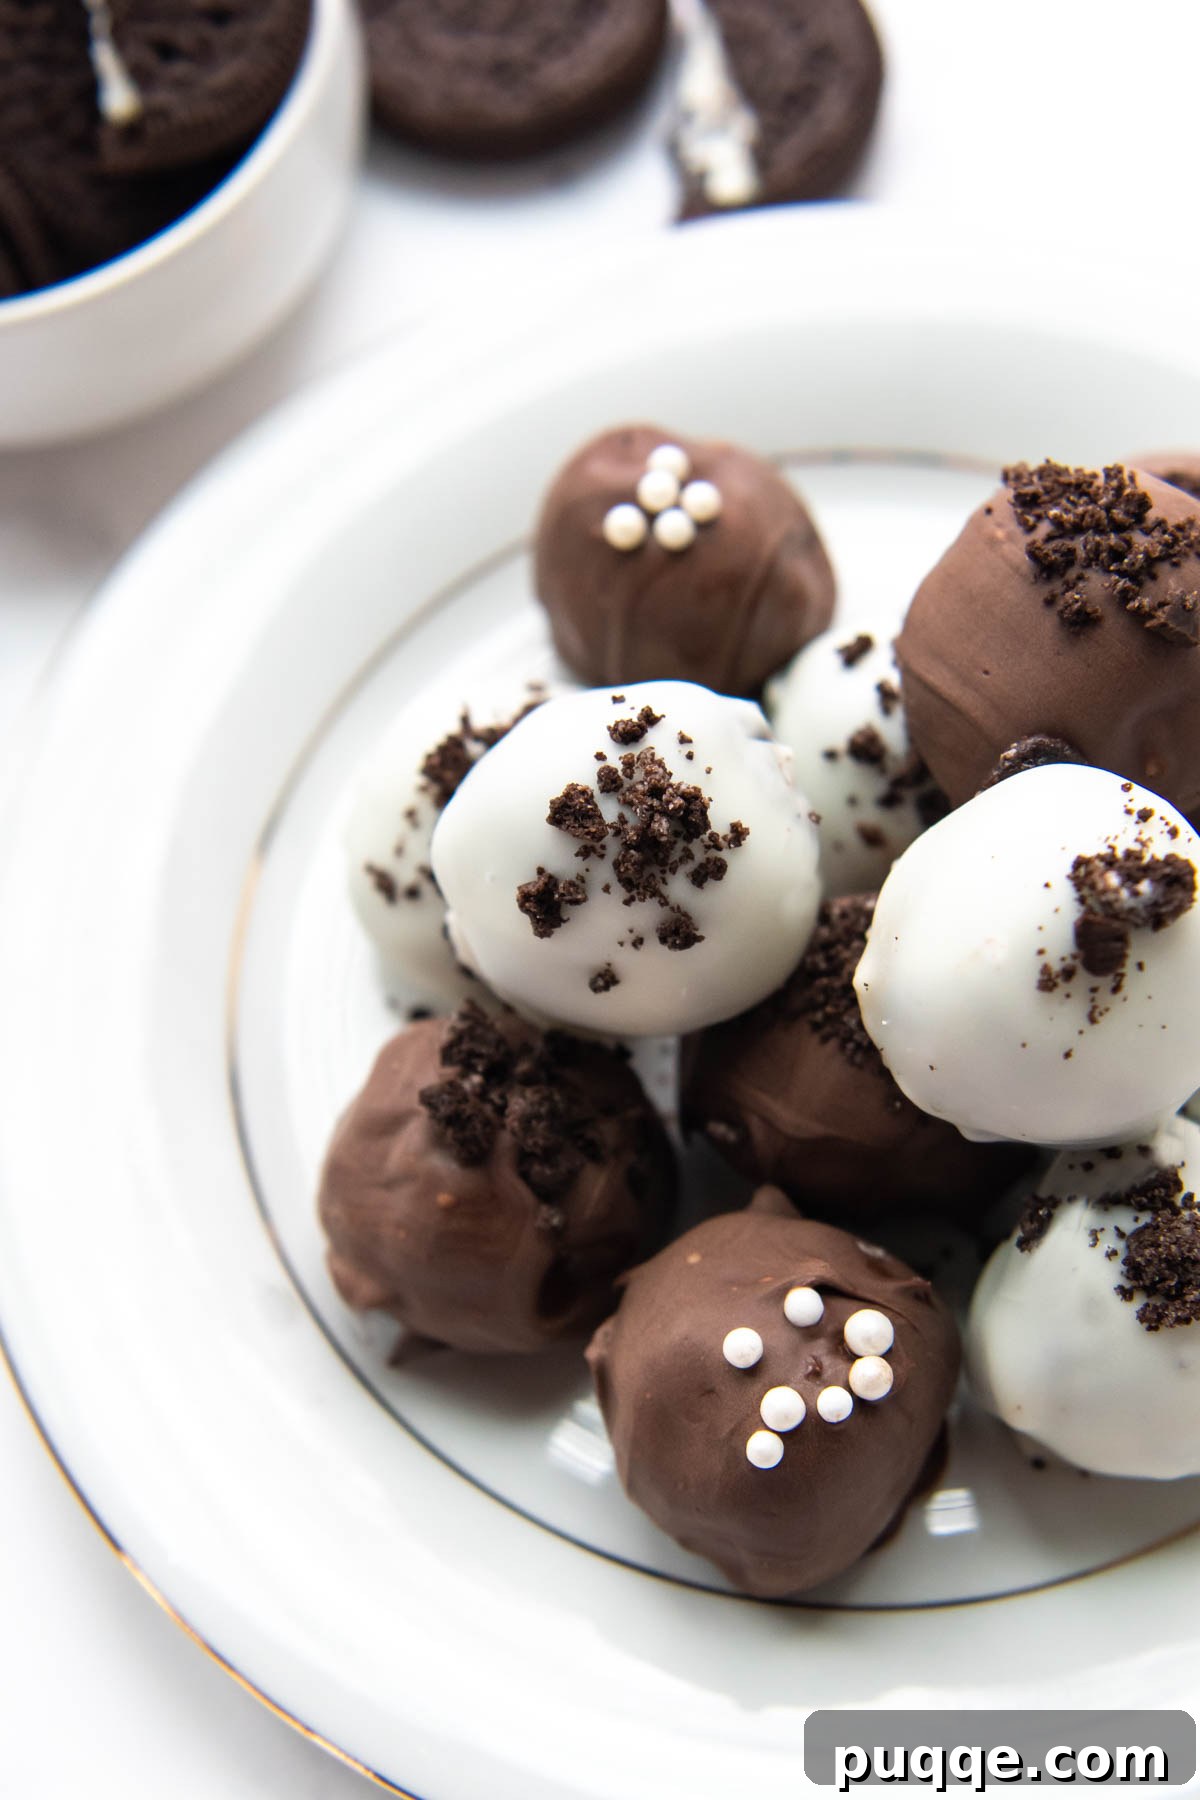
- Drizzled Chocolate: After the main coating has set, melt a contrasting chocolate (e.g., white chocolate on dark truffles) and drizzle it artfully using a spoon or a piping bag with a fine tip.
- Edible Glitter or Dust: For an elegant touch, dust your finished truffles with edible glitter or pearl dust.
- Cookie Crumb Dusting: Reserve some of the original crushed Oreos to sprinkle on top for a cohesive look.
- Mini Chocolate Chips: Press mini chocolate chips onto the wet chocolate coating for extra chocolatey goodness.
- Zest: Finely grated orange or lemon zest can add a bright, fresh flavor and visual appeal.
- Crushed Candy: For holidays, consider crushed peppermints or other seasonal candies.
Optimal Storage for Freshness: How to Keep Your Truffles Delicious
Once your gluten-free Oreo truffles are dipped and decorated, allow them to sit at room temperature for a short period until the chocolate coating is completely firm and set. This typically takes about 30-60 minutes, depending on the ambient temperature. Once solid, transfer them to an airtight container. Refrigeration is essential for maintaining their freshness and preventing the cream cheese from spoiling. When stored properly in the refrigerator, these truffles remain wonderfully delicious for up to two weeks, making them an absolutely perfect make-ahead dessert for any event or craving.
To prevent them from sticking together or becoming misshapen when stacking, place sheets of wax paper or parchment paper between layers of truffles in your container. For longer-term storage, these truffles freeze exceptionally well. You can freeze them for up to two months, allowing you to pull out just what you need whenever a sweet craving strikes, ensuring you have a delightful treat on hand all season long.
Freezing Tips for Best Results:
- Individual Freezing: For best results, freeze the dipped and set truffles in a single layer on a baking sheet for an hour or two until fully solid. Then, transfer them to an airtight freezer-safe container or a gallon-sized freezer bag, separating layers with wax paper.
- Chocolate Type Matters: While all truffles freeze well, white chocolate tends to freeze slightly better than milk or dark chocolate. Darker chocolates sometimes run the risk of “blooming” in the freezer, which manifests as little white spots on the surface. This is a harmless cosmetic change due to fat crystallization, but it’s worth noting if presentation is paramount.
- Thawing: When ready to enjoy, simply remove the desired number of truffles from the freezer and let them thaw in the refrigerator for a few hours, or at room temperature for about 30 minutes, before serving.
Delicious Flavor Variations to Try
While the classic gluten-free Oreo truffle is a masterpiece on its own, its simple base makes it incredibly versatile for flavor experimentation. Here are a couple of ideas to spark your creativity:
Christmas Edition – Peppermint Oreo Balls
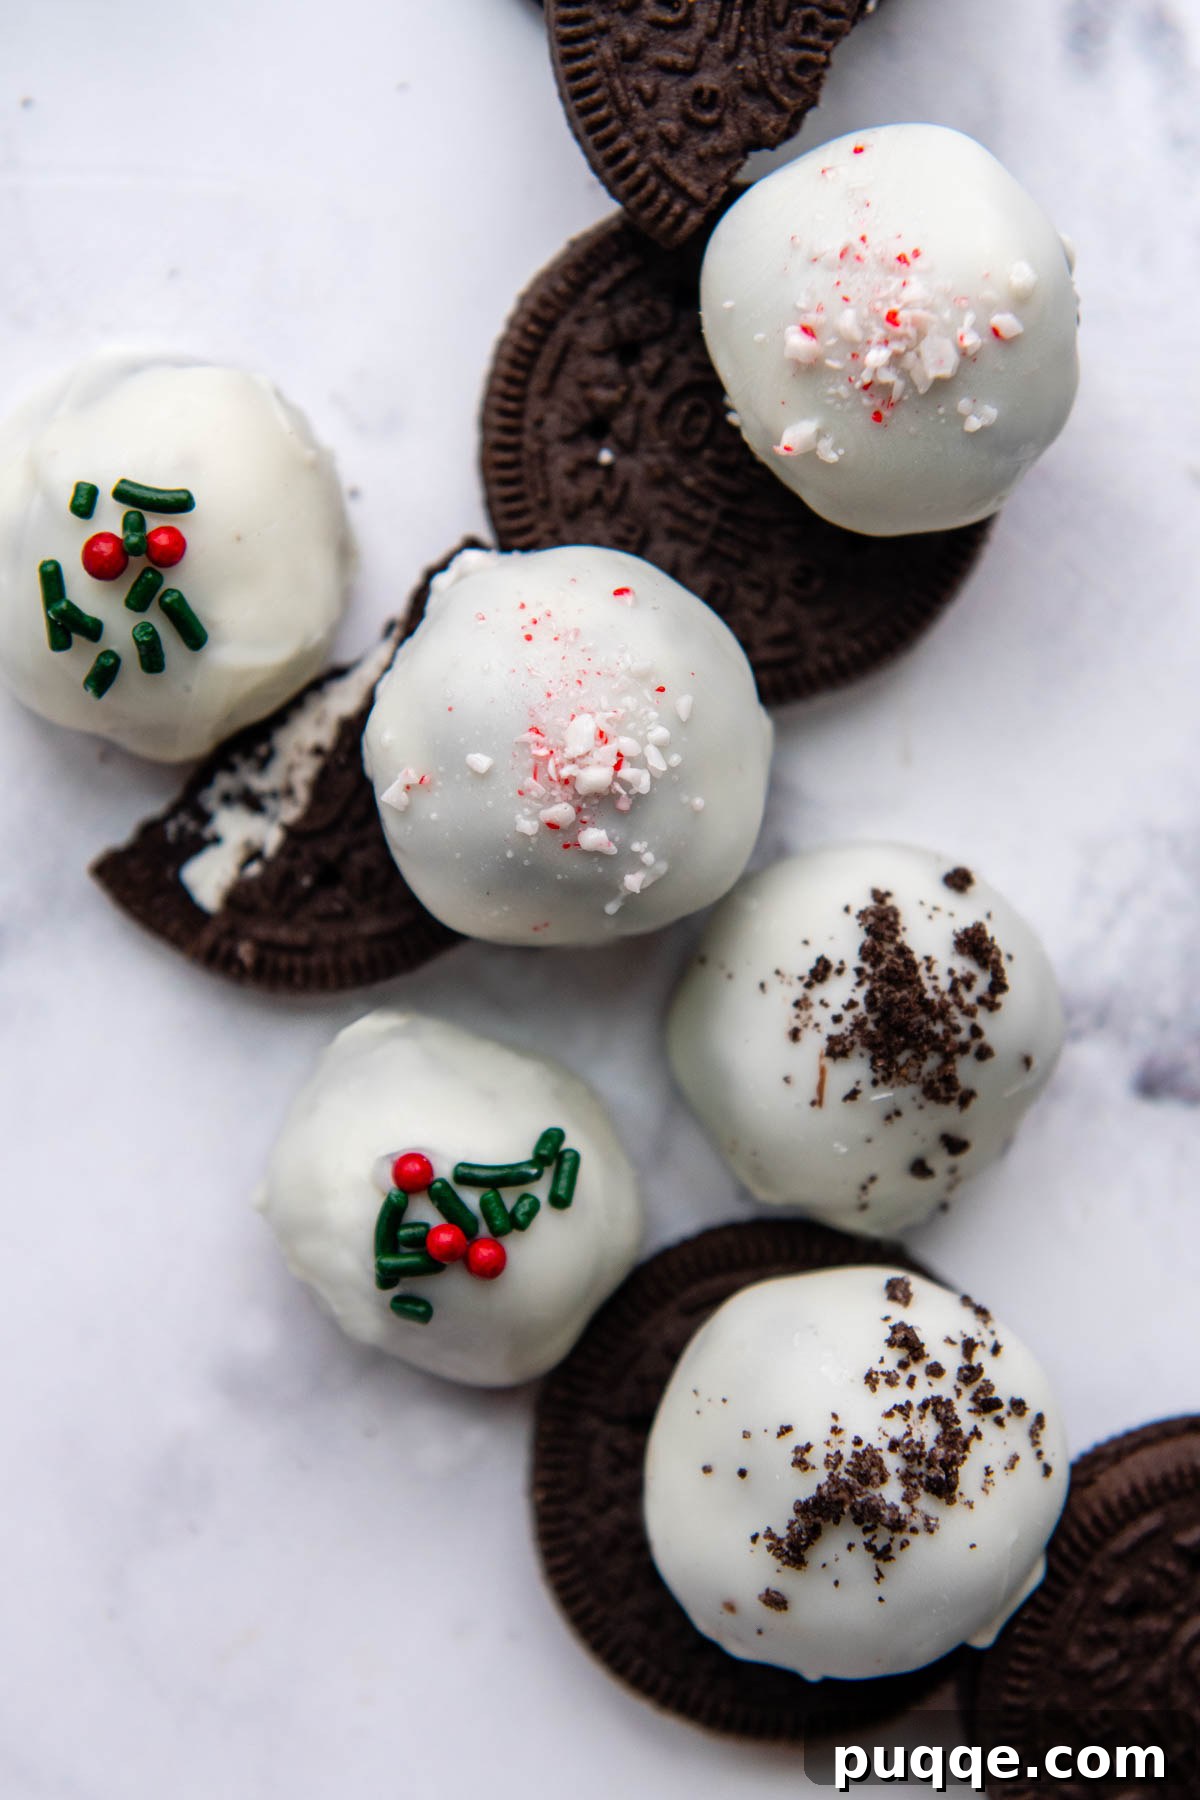
Transform your gluten-free Oreo truffles into a festive holiday delight by adding a hint of peppermint. When mixing the cream cheese into the crushed Oreos, incorporate 1 ½ teaspoons of pure peppermint extract. You can also divide the dough mixture and use half the amount of extract if you prefer a more subtle peppermint note or want to create two different flavors. After dipping these minty delights in melted chocolate or white chocolate, immediately sprinkle them with crushed candy canes for a beautiful, festive, and utterly delicious gluten-free Christmas treat! These pair wonderfully with ultra creamy gluten-free fudge and a batch of this homemade peanut brittle recipe, allowing you to create an impressive and varied holiday dessert spread without ever having to turn on your oven!
Other Exciting Flavor Combinations:
- Peanut Butter Bliss: Add ¼ cup of creamy peanut butter along with the cream cheese for a rich peanut butter-Oreo flavor.
- Coffee Kick: Mix in 1-2 teaspoons of instant espresso powder (dissolved in a tiny bit of hot water) with the cream cheese for a mocha-inspired truffle.
- Orange Zest Zing: The bright flavor of orange pairs surprisingly well with chocolate. Add 1-2 teaspoons of finely grated orange zest to the truffle mixture.
- Salted Caramel Swirl: After dipping, drizzle with a homemade or store-bought salted caramel sauce before the chocolate fully sets.
Don’t Forget to Pin This Recipe for Later!
Let’s connect and be friends on Pinterest! We’re always sharing fantastic gluten-free recipes and inspiring dessert ideas!
Made this recipe? We’d love to hear about your experience! Leave a star rating and comment below the recipe card. Your feedback helps other home cooks discover and enjoy these recipes, and we genuinely appreciate hearing from our community! -Melissa

Easy Gluten-Free Oreo Balls (3 Ingredients)

Melissa Erdelac
39
30 mins
30 mins
Pin
Rate
Ingredients
- 1 package gluten-free Oreos (13.29 ounce), NOT “double stuffed”
- 8 ounce cream cheese, full fat
- 16 ounce chocolate or vanilla candy melts, see recipe notes for chocolate chips
- optional sprinkles and or additional cookie crumbs, for decorating
Equipment
-
Food Processor
-
Small Cookie Scoop
-
Baking Sheets
Instructions
-
Place the Oreos into a food processor and blend for 30 seconds, or until fine crumbs. If you don’t have a food processor, place the cookies in a ziplock bag and crush with a rolling pin until very fine.(Uses: 1 package gluten-free Oreos)
-
Add the softened cream cheese to the crumbs and pulse about 30 times. By hand, transfer the cookie crumbs to a large bowl and stir in cream cheese until well combined.(Uses: 8 ounce cream cheese)
-
For easy portioning, use a small cookie scoop (about 1 tablespoon) to scoop out the mixture onto wax paper or a parchment paper-lined baking sheet. First divide up all the cookie balls, then go back and roll into smooth balls. Transfer baking sheet to the freezer for 15 minutes.
-
Before melting the chocolate, get the sprinkles (or additional cookie crumbs), fork, spoon and toothpick ready because the chocolate will harden quickly. Melt the chocolate in a microwave-safe bowl (using separate bowls for white and dark chocolate). Cook on high power for about 60 seconds, stirring every 20 seconds. Once it is almost melted fully, stir until smooth.(Uses: 16 ounce chocolate or vanilla candy melts)
-
Place the cookie ball on the fork and lower into the chocolate. Use the spoon to cover the top and sides with chocolate. Tap the fork gently on the bowl rim to let excess chocolate run off. Transfer back to cookie sheet and nudge the ball off the fork with the toothpick. Immediately add sprinkles because the chocolate hardens quickly.
-
Repeat until all the balls have been dipped. If chocolate starts to thicken, you may have to rewarm for 10-15 seconds. Let the dipped balls sit at room temperature until solid. Transfer to an airtight storage container and refrigerate up to 2 weeks.
Notes
Substituting Chocolate Chips
To substitute chocolate chips, you will need about 2 cups. Add 1/2-1 tsp vegetable or coconut oil to the chips before melting. If the chocolate is too thick for spooning over, add a touch more oil and stir to combine.
Freezing Tips
Once the chocolate is fully set, they may also be frozen for up to 2 months. Store in an airtight container or transfer in a single layer to gallon ziplock freezer bags.
White chocolate freezes better than milk or dark chocolate, which runs the risk of “blooming” in the freezer. This is when little white spots appear.
Carbohydrates: 11g,
Protein: 8g,
Fat: 5g,
Saturated Fat: 3g,
Polyunsaturated Fat: 0.2g,
Monounsaturated Fat: 1g,
Cholesterol: 6mg,
Sodium: 328mg,
Potassium: 163mg,
Fiber: 1g,
Sugar: 9g,
Vitamin A: 25IU,
Calcium: 166mg,
Iron: 0.4mg