
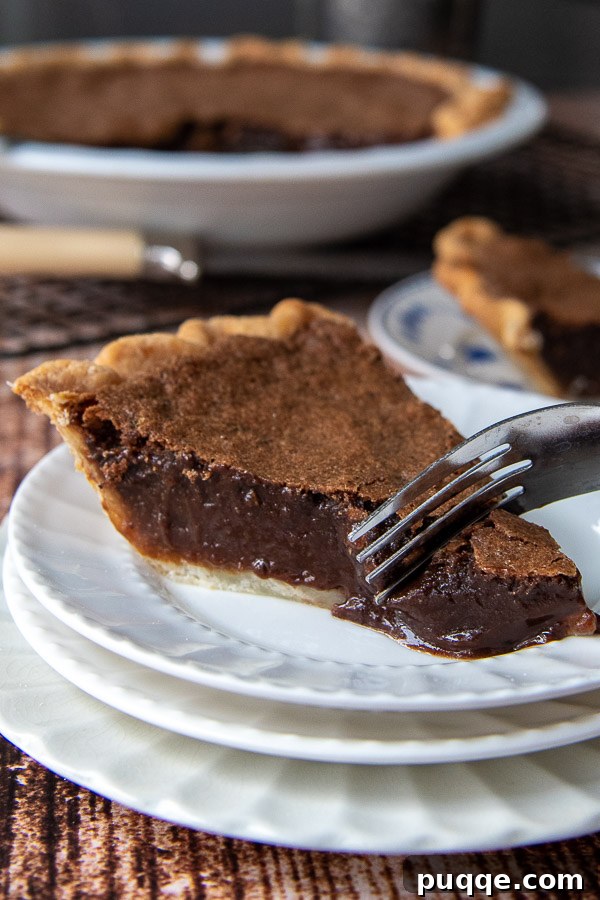
Step into a world of rich, decadent flavor with this classic old-fashioned chocolate chess pie. This isn’t just any pie; it’s a timeless Southern dessert, meticulously crafted with an easy, step-by-step recipe that guarantees a perfect result every single time. Imagine a deeply fudgy, intensely chocolatey custard, so smooth it melts in your mouth, enveloped within a golden, flaky, buttery crust. What makes this chocolate lover’s dream so consistently perfect? The secret lies in a harmonious blend of evaporated milk, which boasts a lower water content for an incredibly dense filling, and just a touch of cornmeal and flour, working together to achieve that signature set without being overly firm. This pie isn’t merely a dessert; it’s a piece of culinary heritage, a sweet indulgence that evokes warmth, comfort, and cherished memories. Prepare to experience a Southern classic you’ll never forget, a true testament to simple ingredients transformed into extraordinary delight.
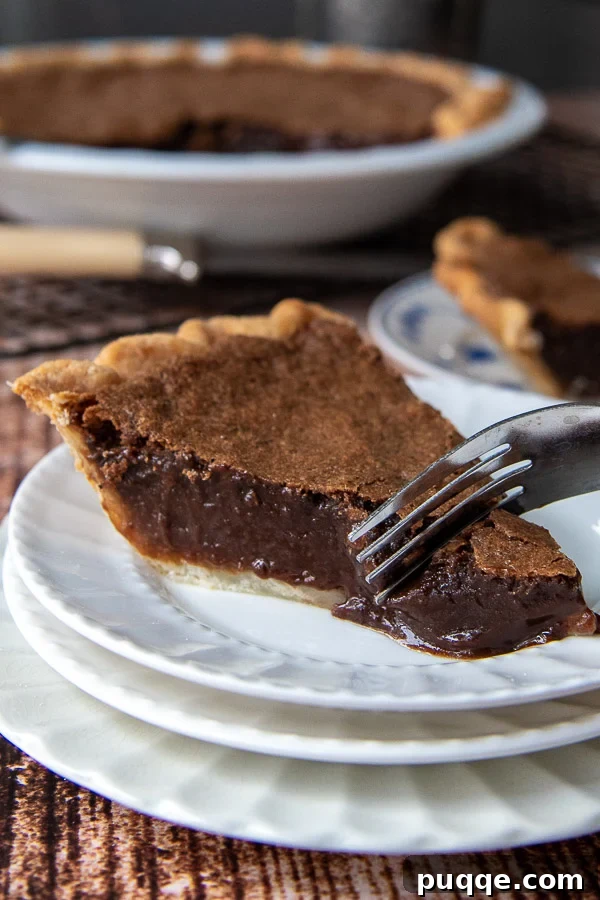
Unveiling the Best Old-Fashioned Chocolate Chess Pie: A Southern Legacy
For many, dessert isn’t merely the final course; it’s the highlight of any meal, especially during gatherings and holidays. In our family, and countless others across the South, dessert comes in one glorious flavor: chocolate. Any sweet treat that doesn’t meet this fundamental criterion often finds itself relegated to a secondary role. So, it comes as no surprise that the traditional chess pie, a beloved Southern staple, reaches its pinnacle in a profoundly rich and fudgy chocolate iteration. This isn’t just a chocolate pie; it’s the Best Old-Fashioned Chocolate Chess Pie, a true Southern classic that honors its roots while delivering an unparalleled chocolate experience.
As the air turns crisp and the holiday baking season, particularly Thanksgiving, draws near, I wanted to share a recipe that truly shines—an effortlessly delicious take on the iconic chocolate chess pie. This recipe consistently delivers an ultra-fudgy, intensely creamy texture that is guaranteed to delight even the most discerning chocolate enthusiasts. Its deep, comforting flavors also make it a magnificent complementary dessert, offering a delightful contrast to lighter, equally classic treats like a Hoosier Sugar Cream Pie, creating a perfect yin-yang on any dessert table.
At its heart, a chess pie is a charmingly old-fashioned Southern custard pie, traditionally crafted from a modest collection of pantry staples: butter, eggs, sugar, and milk. These humble ingredients, when combined with care, yield a surprisingly rich and satisfying dessert. What sets chess pies apart is their characteristic filling, which contains very little or no flour, relying instead on a small amount of cornmeal for a unique texture and structure. However, in my quest to create a truly foolproof and consistently perfect homemade chocolate chess pie, I’ve added a slight touch of all-purpose flour. This addition acts as a gentle insurance policy, ensuring a perfectly set, yet still incredibly tender, custard every single time, banishing any fears of a runny filling.
Traditionally, many chess pie recipes call for melted butter in the filling. While this approach works, our version opts for softened butter, and there’s a good reason for this subtle but significant change. Chess pie fillings, being primarily composed of eggs, sugar, and milk, inherently lack ingredients that readily absorb liquid fats. When melted butter is used, it can sometimes separate from the other ingredients, leading to a less stable and less homogenous filling. By incorporating softened butter, we introduce a crucial element that helps to build structure within the custard. The softened butter creamed with the sugar and other dry ingredients creates a more cohesive emulsion, blending far more homogeneously throughout the filling. This results in a smoother, more stable custard that sets beautifully and consistently. To achieve this ideal blend, a handheld mixer is your best friend, ensuring the butter is thoroughly incorporated and the filling is silky smooth before it ever hits the crust.
One of the many virtues of this Chocolate Chess Pie recipe is its make-ahead potential, making it an absolute lifesaver for busy holiday meals or special occasions. You can effortlessly bake this pie 1-2 days in advance, allowing it to cool completely before deciding on its storage. For a classic, slightly softer custard, simply leave it at room temperature. If you prefer a firmer, almost brownie-like consistency, particularly enjoyable when serving with ice cream, refrigerate the pie after it has cooled. Either way, its flavor only deepens, making it a stress-free addition to your festive spread.
Much like another cherished Southern classic, the Silky Smooth Sweet Potato Pie, this chocolate chess pie is delightful served simply on its own, allowing its rich, deep chocolate flavor to take center stage. However, for those who love to elevate their desserts, consider a generous dollop of freshly whipped cream, a scoop of vanilla bean ice cream, or a scattering of fresh raspberries or strawberries. The tartness of the berries provides a wonderful counterpoint to the pie’s sweetness, creating a balanced and unforgettable experience.
I have made this recipe several times, and it never disappoints. My entire family adores it! We particularly love serving it with a scoop of creamy coffee ice cream, a cloud of homemade whipped cream, and a decadent drizzle of chocolate syrup. It’s truly a delicious masterpiece!
—Lydia
Decoding the Ingredients for a Perfect Fudgy Chocolate Chess Pie
The beauty of this Fudgy Chocolate Chess Pie lies not only in its sensational flavor but also in its remarkable simplicity. The ingredients are straightforward, common kitchen staples, making this recipe accessible to bakers of all skill levels. The process itself is wonderfully undemanding: simply mix all the components in one bowl, pour into your prepared pie shell, and bake. It genuinely is that easy to create something so profoundly delicious! Let’s delve into the role of each key ingredient:
- Cocoa Powder: This is where the magic of chocolate truly comes alive. While regular unsweetened baking cocoa powder can certainly be used, I highly recommend opting for Dutch-processed cocoa powder. Dutch processing neutralizes the acidity in cocoa, resulting in a darker color and a smoother, more mellow, and intensely chocolatey flavor that truly sings in this pie. It provides that deep, rich chocolate foundation we’re aiming for.
- All-Purpose Flour: As mentioned, only a modest tablespoon of flour is included in this recipe. Its primary role is to provide a slight, yet crucial, thickening agent, acting as a structural assist to the custard. This small addition helps ensure the pie sets beautifully without becoming dense or cake-like. For those following a gluten-free diet, a good quality all-purpose gluten-free flour blend can be seamlessly substituted to create a delicious gluten-free chocolate chess pie filling.
- Cornmeal: A traditional component of authentic Southern chess pies, cornmeal serves a dual purpose here. Firstly, it contributes to the thickening of the custard, providing a subtle body. Secondly, and perhaps more distinctly, it imparts a delightful, slightly coarse texture to the very top layer of the creamy custard, creating a delicate, almost crackly crust that is wonderfully appealing both visually and texturally.
- Evaporated Milk: This ingredient is a cornerstone of our recipe’s success. Canned evaporated milk is milk that has been heated to remove approximately 60% of its water content, resulting in a more concentrated, richer, and slightly thicker product. Its lower water content means less liquid needs to evaporate during baking, contributing to a faster, more reliable set for the custard and a denser, fudgier consistency. While buttermilk or whole milk can be used in alternative chess pie recipes, evaporated milk is key here for achieving that signature fudgy texture and reducing overall baking time for a perfect set. If you’re specifically seeking a recipe *without* evaporated milk, understand that the texture and baking time will vary.
- Unsalted Butter (Softened): We specifically call for softened, unsalted butter. Softened butter creamed with the sugar and other ingredients emulsifies much better than melted butter, creating a stable foundation for the custard. This ensures a uniform texture throughout the pie and prevents any separation of fat.
- Large Eggs (Room Temperature): Eggs are critical for the custard’s structure and richness. Using room temperature eggs helps them incorporate more smoothly and evenly into the batter, leading to a perfectly consistent filling.
- Granulated Sugar & Salt: These are the fundamental flavor enhancers. Sugar provides sweetness and contributes to the fudgy texture, while salt balances the sweetness and brings out the depth of the chocolate flavor.
- Vanilla Extract: A touch of pure vanilla extract elevates the overall flavor profile, adding warmth and complexity that complements the rich chocolate beautifully.
Crafting Your Masterpiece: A Step-by-Step Guide
(Below, you’ll find detailed step-by-step photos and modified instructions to guide you through the process. For precise ingredient quantities and a printable version, please scroll down to the full recipe card at the bottom of the page.)
Step 1: Prepare and Blind-Bake the Crust for Perfection
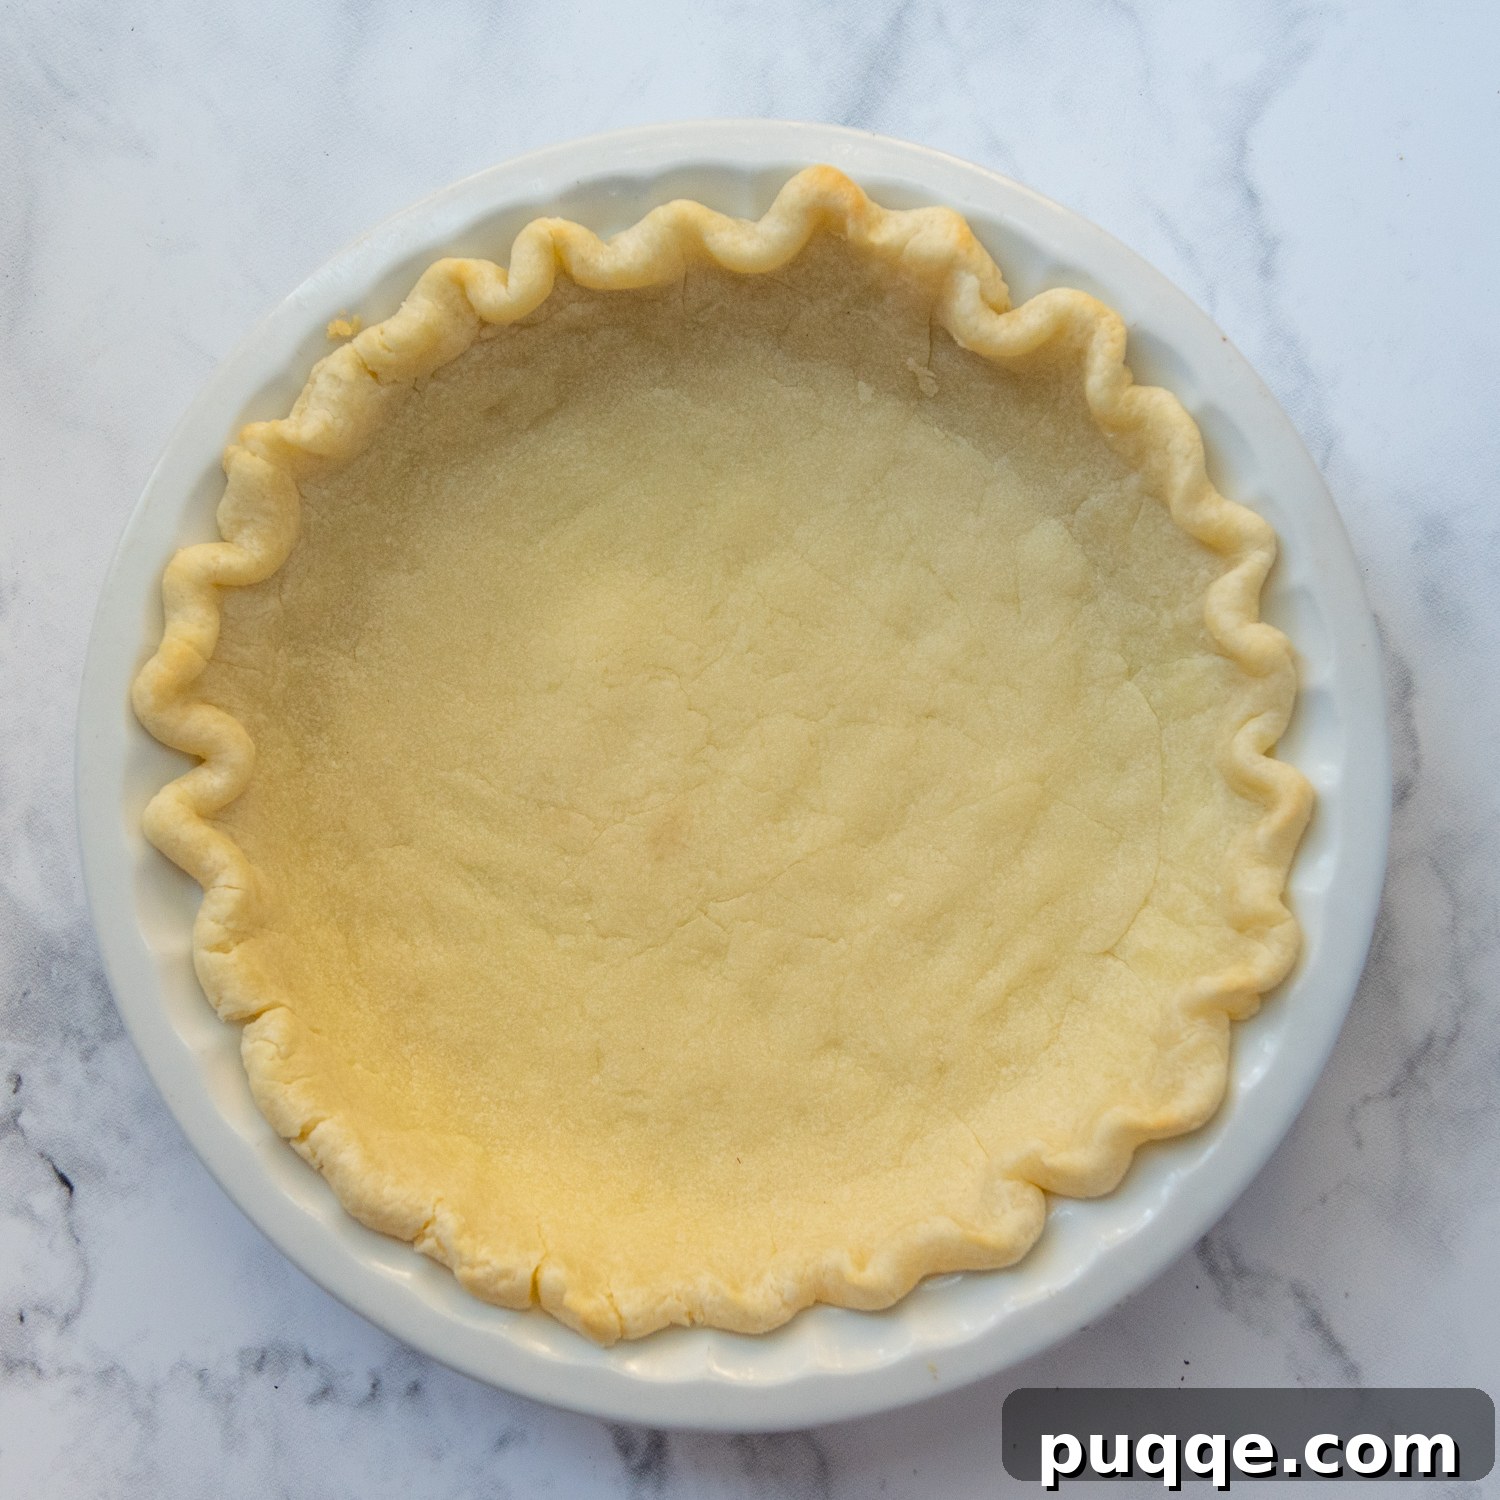
Begin by preheating your oven to a robust 425°F (220°C) and adjusting your oven rack to the lowest position. This initial high heat is crucial for setting the crust. Carefully roll out your chosen pie crust dough—whether it’s homemade, a high-quality store-bought refrigerated crust, or a frozen option—and gently fit it into a 9-inch pie plate. Once in place, the crust needs a brief chill in the refrigerator for about 15 minutes. This chilling period is vital as it helps the butter in the crust firm up, preventing shrinkage during baking and maintaining its flaky texture.
Since this rich chocolate pie will eventually bake at a lower oven temperature to ensure a perfectly set custard without cracking, the crust needs a head start. This is achieved through blind baking, a technique where the pie crust is partially baked without its filling. Blind baking is your secret weapon against a soggy bottom crust, ensuring that the base of your pie emerges from the oven crisp, golden, and fully baked at precisely the same moment your decadent chocolate filling reaches its ideal, fudgy set. To blind bake, line the chilled crust with parchment paper or aluminum foil, then fill it with pie weights or dried beans. Bake for 5 minutes at 425°F, then reduce the temperature to 325°F (160°C) and bake for another 4 minutes. Carefully remove the weights and liner, then bake for a final 3-4 minutes to dry out the bottom. Remove from the oven and let it cool slightly while you prepare the filling.
Step 2: Effortlessly Whisk Together the Fudgy Chocolate Chess Filling
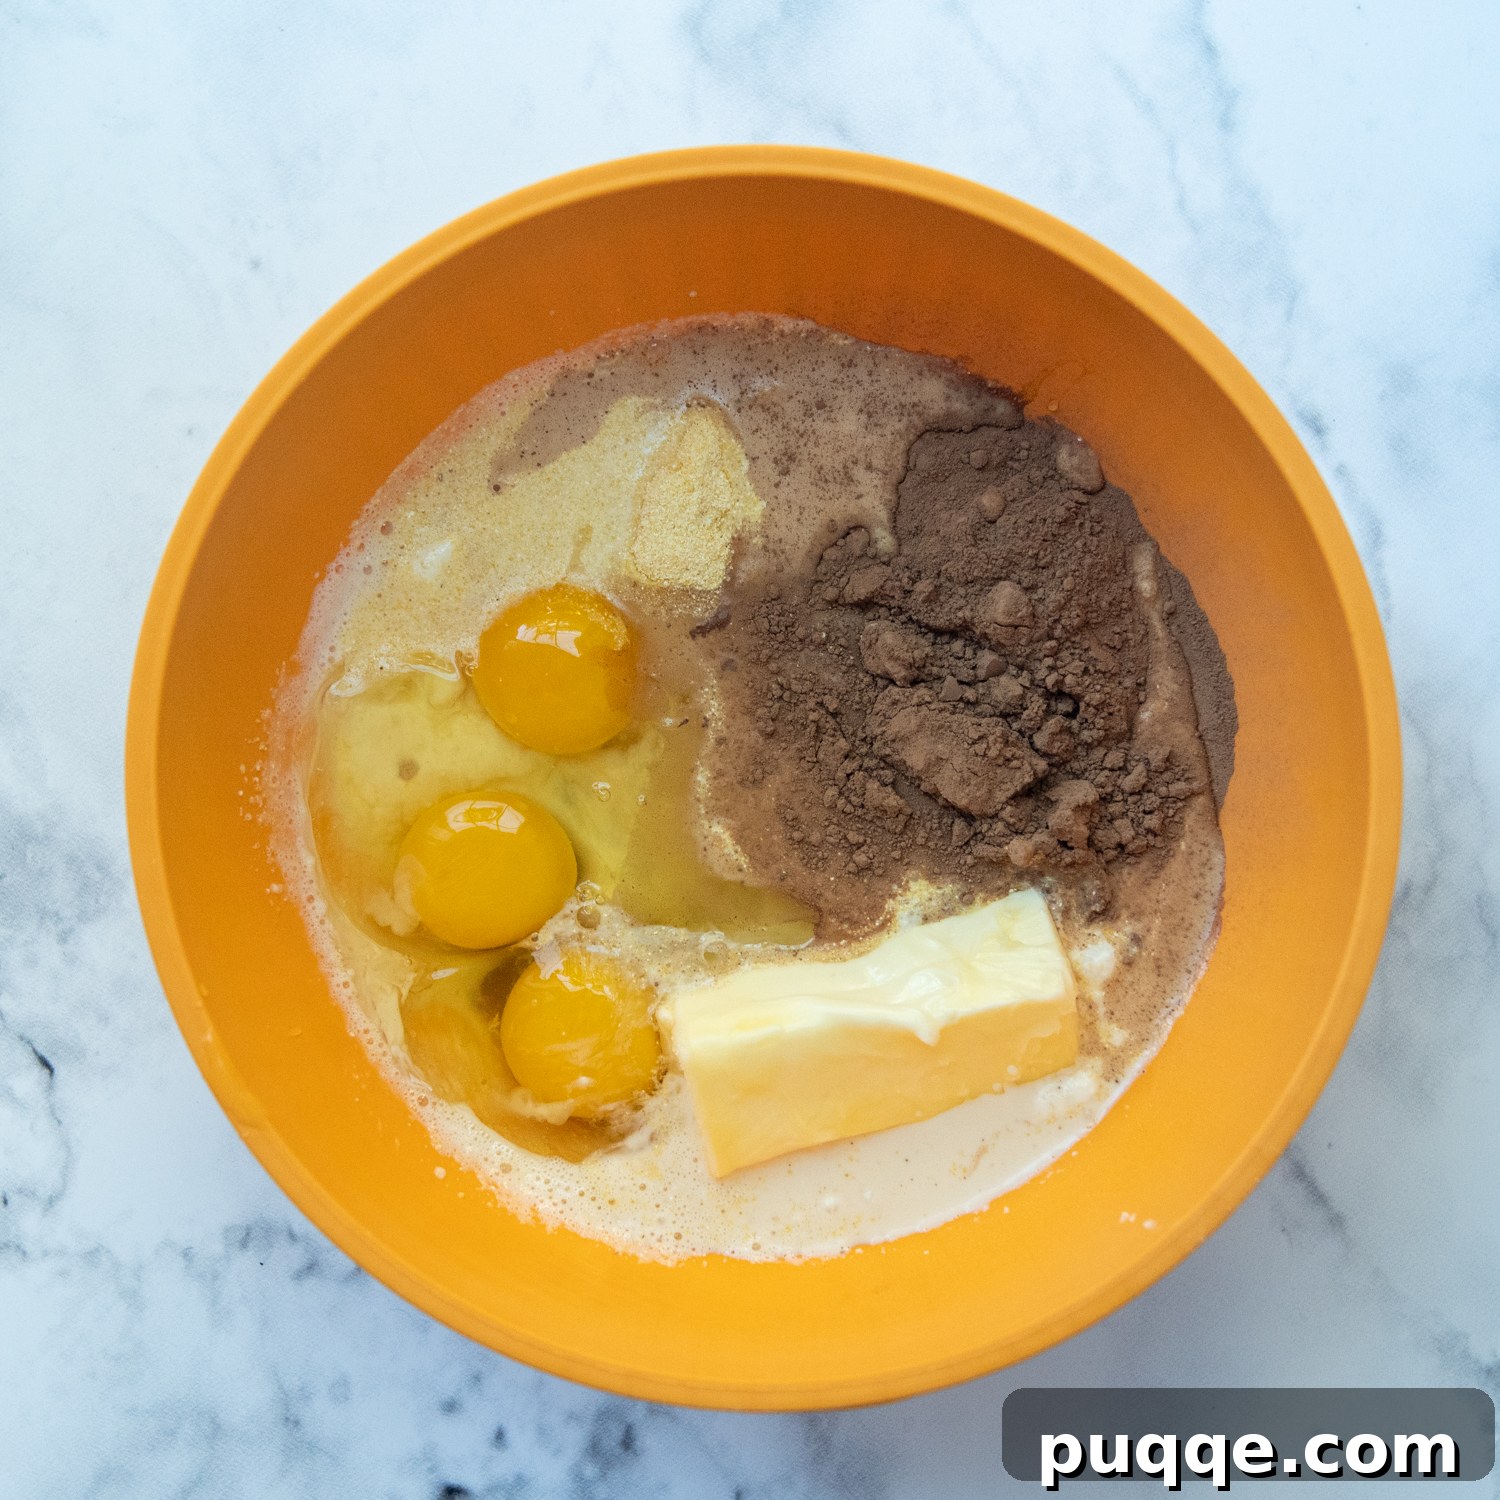
This step for creating the delectable chocolate chess filling truly lives up to its “easy peasy” reputation. In a generously sized mixing bowl, combine the dry ingredients: granulated sugar, rich cocoa powder, cornmeal, a hint of all-purpose flour, and a pinch of salt. Whisk these together thoroughly to ensure they are well combined and free of lumps. Next, introduce the softened butter, the three large, room-temperature eggs, the concentrated evaporated milk, and the aromatic vanilla extract. Now, with a handheld mixer, beat all these ingredients until they are completely smooth and homogeneously combined. The mixture should be velvety and uniform, with no streaks of unmixed ingredients. This simple yet crucial blending ensures the fudgy texture and consistent flavor throughout your finished pie. It’s truly that straightforward to create such a luxurious filling!
Step 3: Pour, Bake, and Cool to Perfection
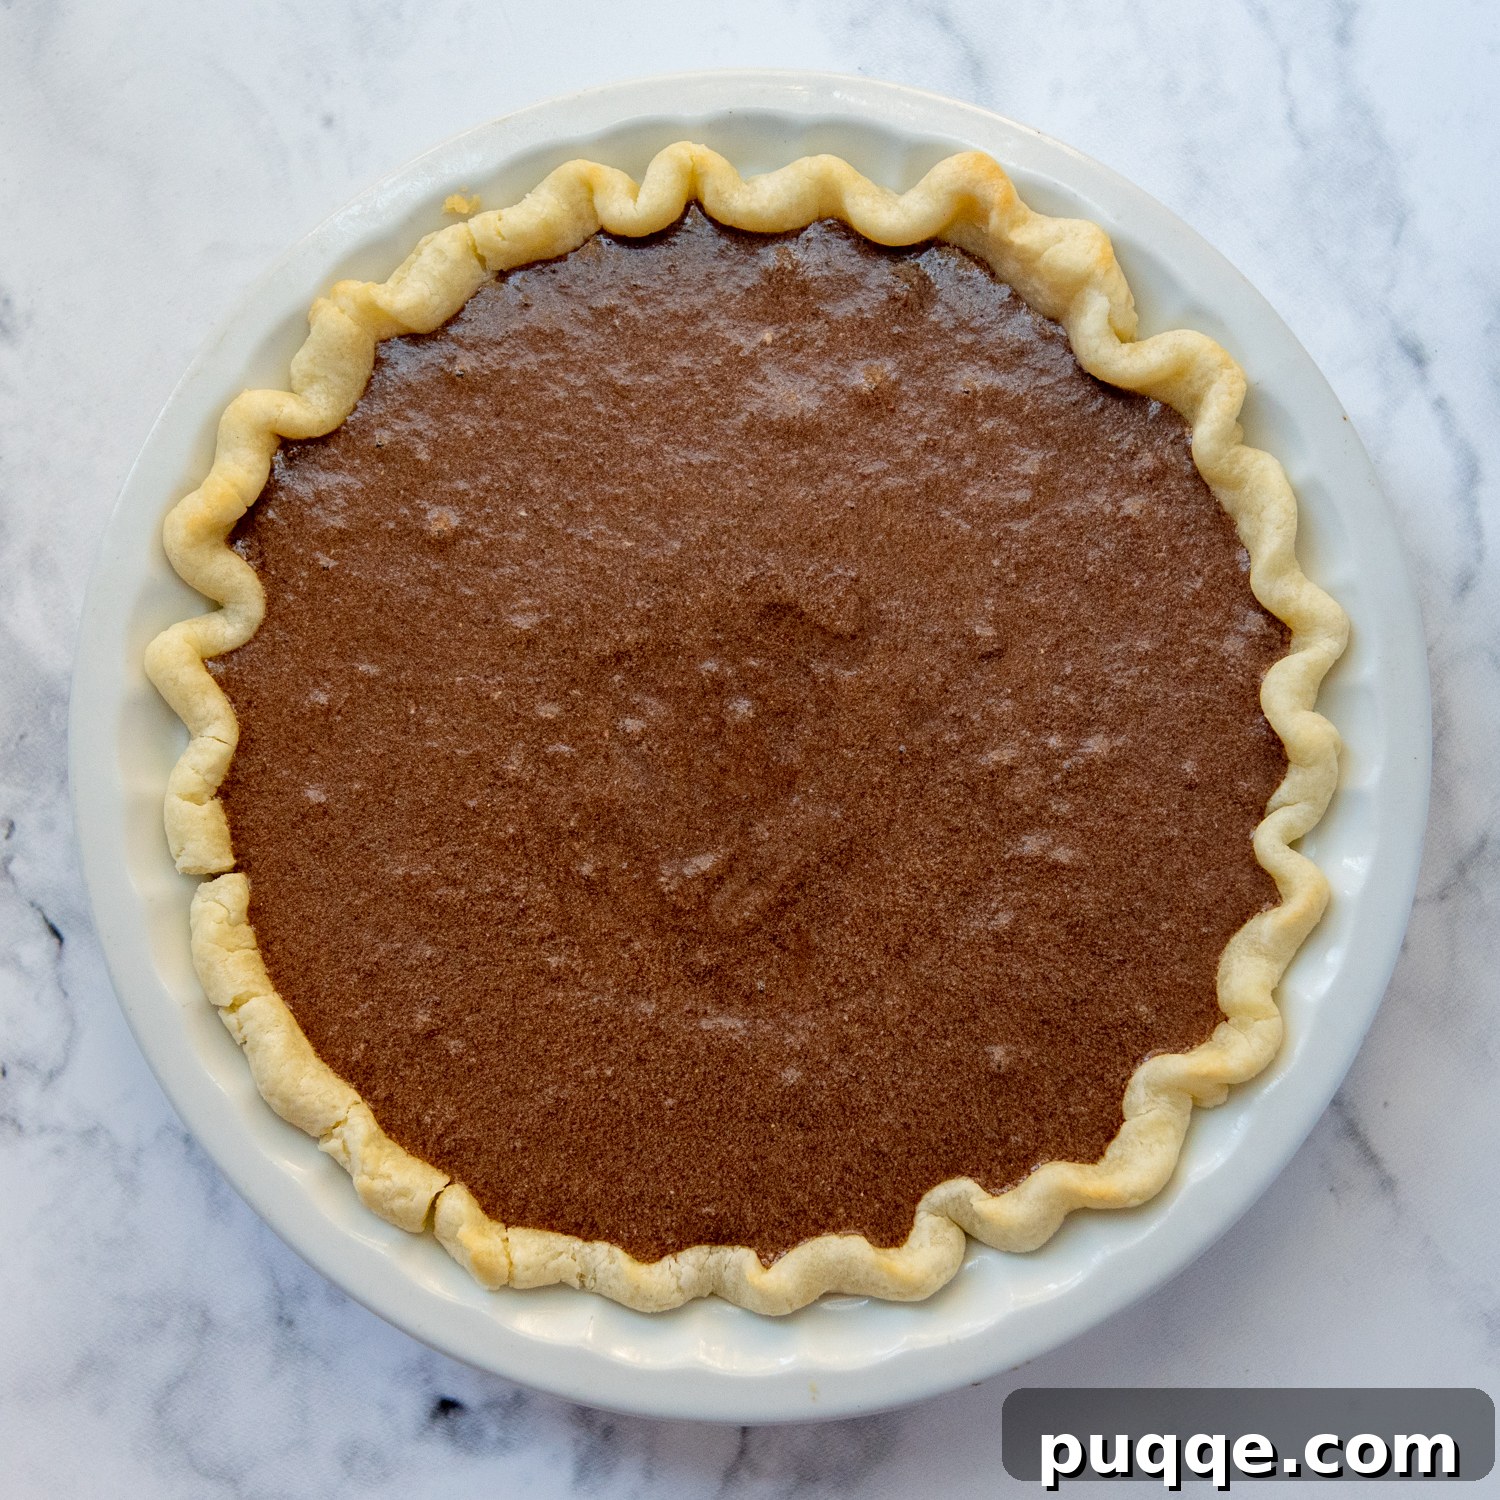
Once your filling is perfectly blended, carefully pour it into the partially baked, cooled pie crust. Return the pie to the oven, placing it on the lowest rack, and bake at 325°F (160°C) for approximately 55-60 minutes. During this crucial baking phase, I highly recommend employing a pie shield around the outer edges of your crust. This simple yet effective gadget will prevent the beautiful crust from becoming overly browned or even burnt, ensuring an even bake. The pie is perfectly done when the top layer appears firm and delightfully crackly, much like the alluring crust of a freshly baked brownie. Beneath this tempting surface, the center of the pie should exhibit only a slight, gentle jiggle when the pie plate is carefully moved—it should never appear liquidy or sloshy. For ultimate assurance, you can insert a toothpick into the center; it should come out with moist, fudgy crumbs, not wet liquid. An ideal internal temperature for the filling, checked with an instant-read thermometer in the center, is 200°F (93°C).
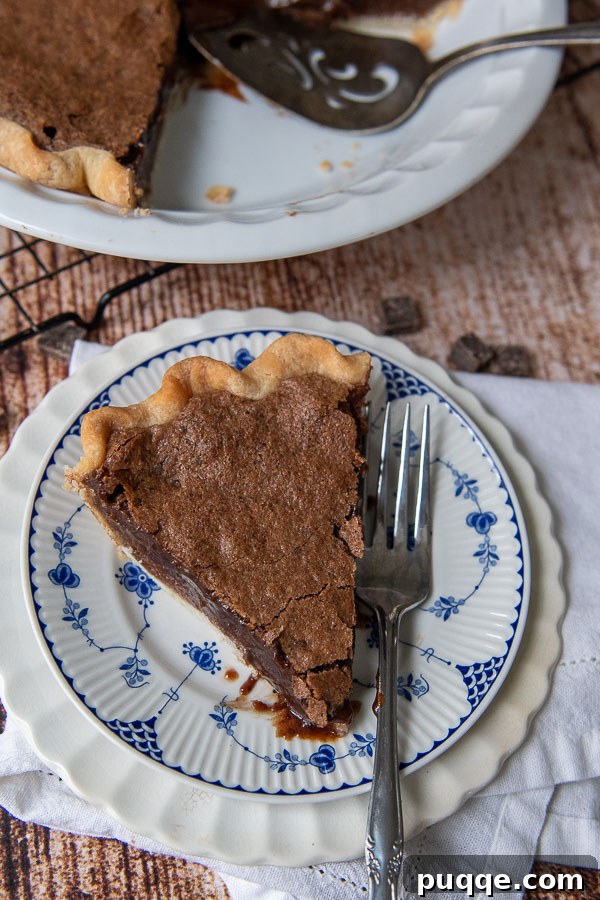
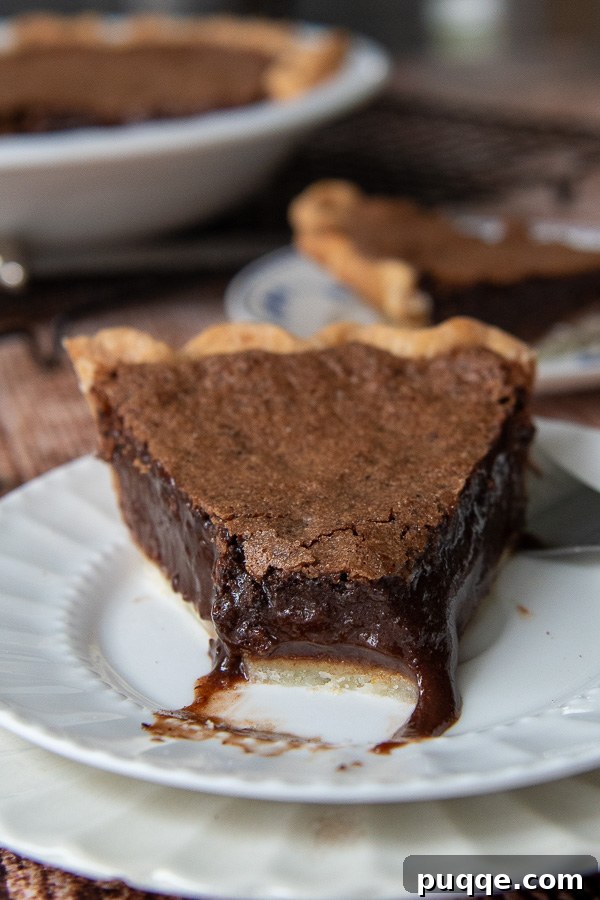
Once baked, resist the urge to slice immediately! Transfer the pie to a wire rack and allow it to cool completely for at least 2 hours. This extended cooling period is absolutely essential for the custard to fully set and firm up, ensuring clean, elegant slices. If you are concerned about slicing neat portions, or prefer a firmer texture, you can allow the pie to cool completely at room temperature, then refrigerate it for 1-2 hours before serving. This will yield a slice closer to a rich, dense chocolate fudge. Serve this magnificent pie at room temperature for the classic, creamy experience, or chilled for a delightful, firmer variation.
Perfecting Your Crust: Options and Expert Tips for Your Chocolate Chess Pie
The crust is the unsung hero of any pie, and for this Old-Fashioned Chocolate Chess Pie, a perfect crust is essential. You have several excellent options, ensuring delicious results whether you’re a seasoned baker or prefer a simpler approach. You can choose to make your pie with a homemade, from-scratch pastry dough, opt for the convenience of a good quality store-bought refrigerated crust, or utilize a reliable frozen pie shell. For those seeking a gluten-free option without compromising on flavor or texture, I wholeheartedly recommend using my tried-and-true homemade gluten-free pastry dough, which creates a wonderfully flaky foundation.
There’s a long-standing debate among pie bakers regarding whether to pour the filling into an unbaked pie shell or to pre-bake the crust. While some recipes instruct pouring the filling directly into an unbaked crust, typically setting the oven to 350ºF (175°C) and baking for a shorter duration (around 45 minutes), I’ve found that this method can sometimes lead to a less-than-crisp bottom crust or a custard that is either undercooked in the center or overcooked and cracked on top. My preferred approach, and the one utilized in this recipe, involves baking the pie at a slightly lower temperature for an extended period. This slower, gentler bake is key to preventing the delicate custard filling from curdling or developing unsightly cracks, ensuring a smooth, uniform set.
However, the downside of a longer, lower-temperature bake is that it can potentially prevent the bottom crust from achieving that desirable golden crispness. This is precisely why I extensively tested and refined this recipe to incorporate a crucial pre-baking (or blind baking) step for the crust before the filling is added. This simple technique gives the bottom crust a vital head start, allowing it to firm up and become beautifully golden and crisp, guaranteeing a delightful texture contrast with the fudgy filling, without any risk of a soggy bottom. It’s a small extra step that makes a monumental difference in the final quality of your pie.
With the extended baking time required for the custard to set perfectly, it’s highly recommended to protect the delicate outer edges of your pie crust from becoming overly browned, or even burnt. While aluminum foil can be carefully crimped around the edges, one of my favorite and most affordable kitchen gadgets, this handy-dandy pie shield, offers a far more convenient and effective solution. Simply plop it onto your pie once the edges begin to color, and it will perfectly protect them for the remainder of the baking time, saving you the hassle and potential mess of wrestling with foil. It’s a small investment that pays off in perfectly baked crusts every time.
Bookmark This Irresistible Chocolate Chess Pie Recipe!
Let’s connect on Pinterest! I’m always sharing incredible recipes and culinary inspiration!
Did you bake this delightful recipe? I absolutely love hearing from you and seeing your creations! Please take a moment to leave a star rating and a comment below the recipe card. Your valuable feedback not only helps others in our community discover fantastic recipes but also provides me with wonderful insights. You can always expect a reply from me! -Melissa

Vintage Fudgy Chocolate Chess Pie
 Melissa Erdelac
Pin Recipe
Rate This Recipe
Remove Ads
Ingredients
- 1 pie crust, homemade, store-bought, or a gluten-free crust
- 1 ¼ cups granulated sugar
- 5 tablespoons unsweetened cocoa powder
- 2 tablespoons cornmeal
- 1 tablespoon all-purpose flour or gluten-free all-purpose flour
- ¼ teaspoon salt
- ⅓ cup unsalted butter, softened
- 3 large eggs, room temperature
- 5 ounce can evaporated milk
- 1 teaspoon vanilla extract
Equipment
-
9-inch pie plate
-
Pie Weights
-
Pie Shield
Instructions
-
Preheat oven to 425°F (220°C) and adjust oven rack to lowest position. Roll out your pie crust and carefully fit it into a 9-inch pie plate. Refrigerate the crust for 15 minutes to chill.1 pie crust
-
To blind bake, line the bottom of the chilled crust with aluminum foil or parchment paper. Fill the lined crust with pie weights or dried beans. Bake on the bottom rack for 5 minutes. Reduce the oven temperature to 325°F (160°C) and continue baking for 4 minutes longer. Carefully remove the liner and weights, then bake for an additional 3-4 minutes to ensure the bottom crust is dry and lightly golden. Remove the crust from the oven and set it aside to cool while you prepare the filling.
-
In a large mixing bowl, whisk together the granulated sugar, unsweetened cocoa powder, cornmeal, all-purpose flour (or gluten-free all-purpose flour), and salt until well combined and lump-free.1 ¼ cups granulated sugar, 5 tablespoons unsweetened cocoa powder, 2 tablespoons cornmeal, 1 tablespoon all-purpose flour or gluten-free all-purpose flour, ¼ teaspoon salt
-
To the bowl containing the dry ingredients, add the softened unsalted butter, large room-temperature eggs, evaporated milk, and vanilla extract. Use a mixer (handheld or stand mixer) to beat the mixture until it is completely smooth and all ingredients are thoroughly combined and emulsified. Scrape down the sides of the bowl as needed to ensure no dry spots remain.⅓ cup unsalted butter, 3 large eggs, 5 ounce can evaporated milk, 1 teaspoon vanilla extract
-
Carefully pour the prepared chocolate filling into the partially-baked and cooled pie crust. Bake the pie at 325°F (160°C) on the lowest rack for 55-60 minutes. As the pie bakes, I highly recommend using a pie shield to protect the outer edges of the crust, preventing them from becoming overly browned. The pie is done when the top layer appears firm and slightly crackly, reminiscent of a brownie crust. The center of the pie should still have a slight, gentle jiggle, but it should not be liquidy or sloshy. To confirm doneness, insert a toothpick into the center; it should come out with moist, fudgy crumbs, not wet batter. For precision, the internal temperature of the filling in the center of the pie should register 200°F (93°C) on an instant-read thermometer.
-
Once baked, remove the pie from the oven and place it on a wire rack to cool completely for a minimum of 2 hours. This crucial cooling time allows the custard to fully set, ensuring clean and beautiful slices. If you prefer a firmer pie or are concerned about very neat slicing, let it cool completely at room temperature, then refrigerate it for 1-2 hours before serving. Serve at room temperature for a softer, creamier texture, or chilled for a denser, fudgier consistency.
Notes
Storing and Freezing
This classic chess pie does not strictly require refrigeration. You can confidently store it at room temperature, loosely covered, for up to 3 days. For those who prefer a chilled custard pie with a slightly firmer, more dense consistency, simply refrigerate the pie after it has cooled completely to room temperature. This will give it a texture akin to a rich, chilled brownie.
For longer storage, this pie freezes beautifully after baking. To freeze, allow the pie to cool completely, then wrap it tightly in several layers of plastic wrap, followed by a layer of aluminum foil. It can be stored in the freezer for up to 2-3 months. When ready to enjoy, thaw the pie overnight in the refrigerator. To revitalize the crust and prevent a soggy bottom after thawing, you can re-bake the thawed pie at 375ºF (190°C) on the bottom rack for 15-20 minutes. Remember to use a pie shield or aluminum foil to protect the exposed crust from becoming overly brown during this reheating process, ensuring your pie is as delicious as the day it was baked.