
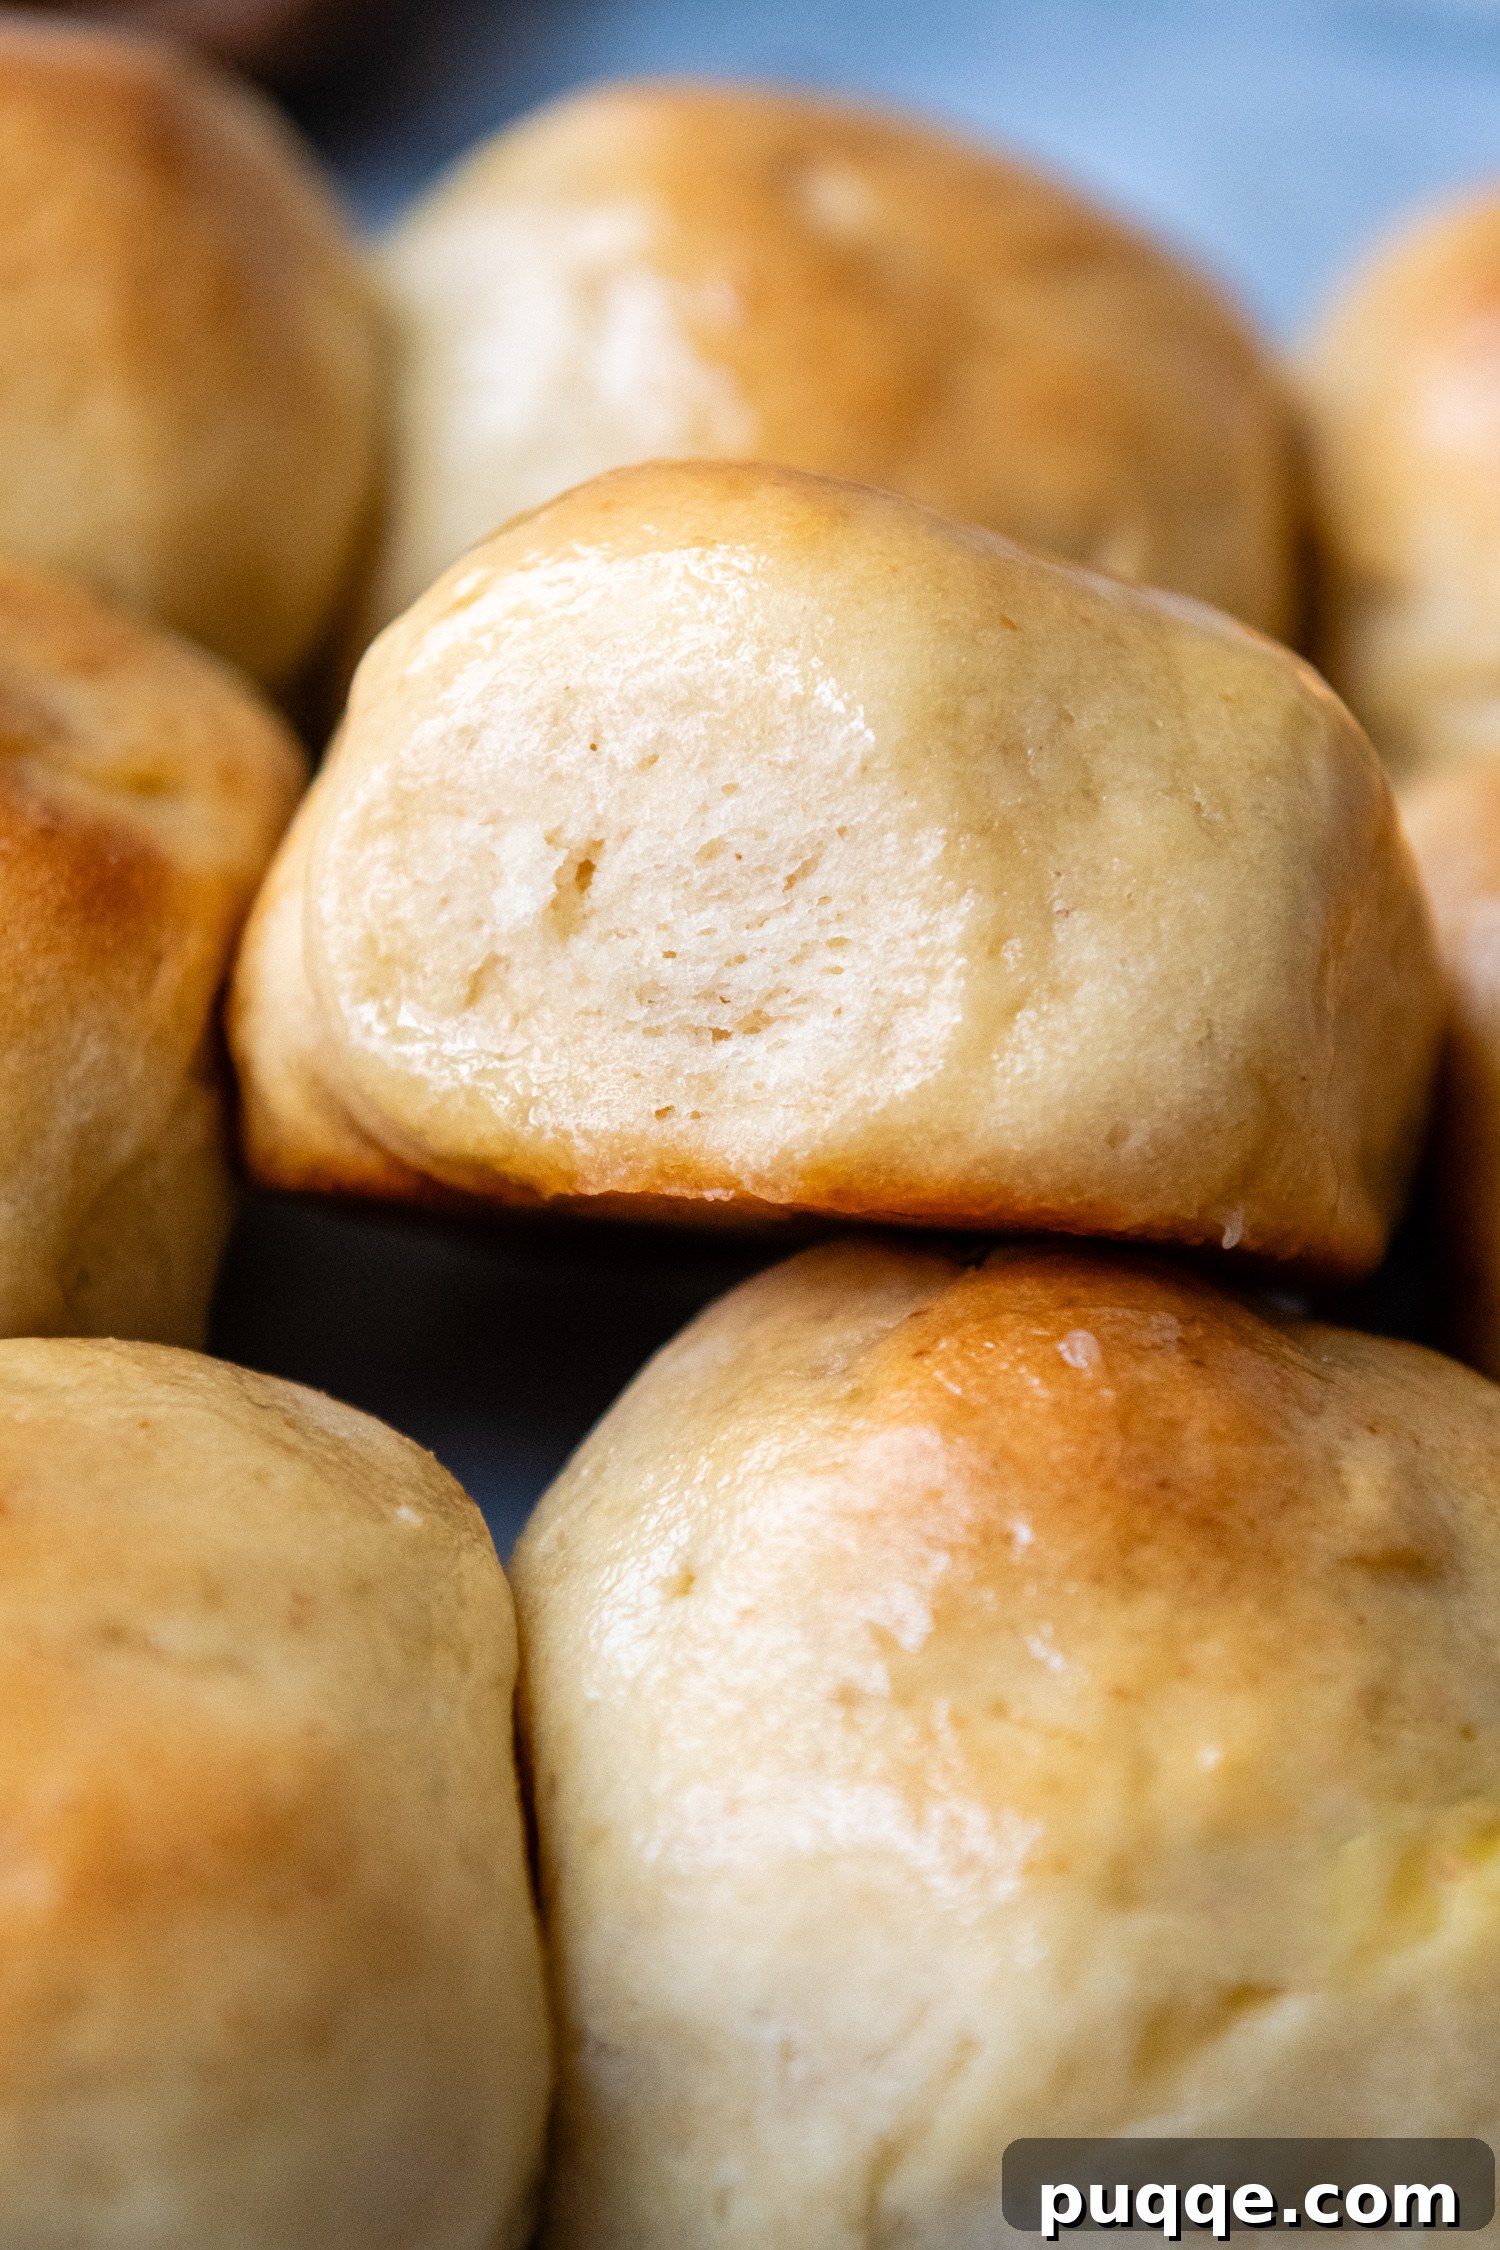
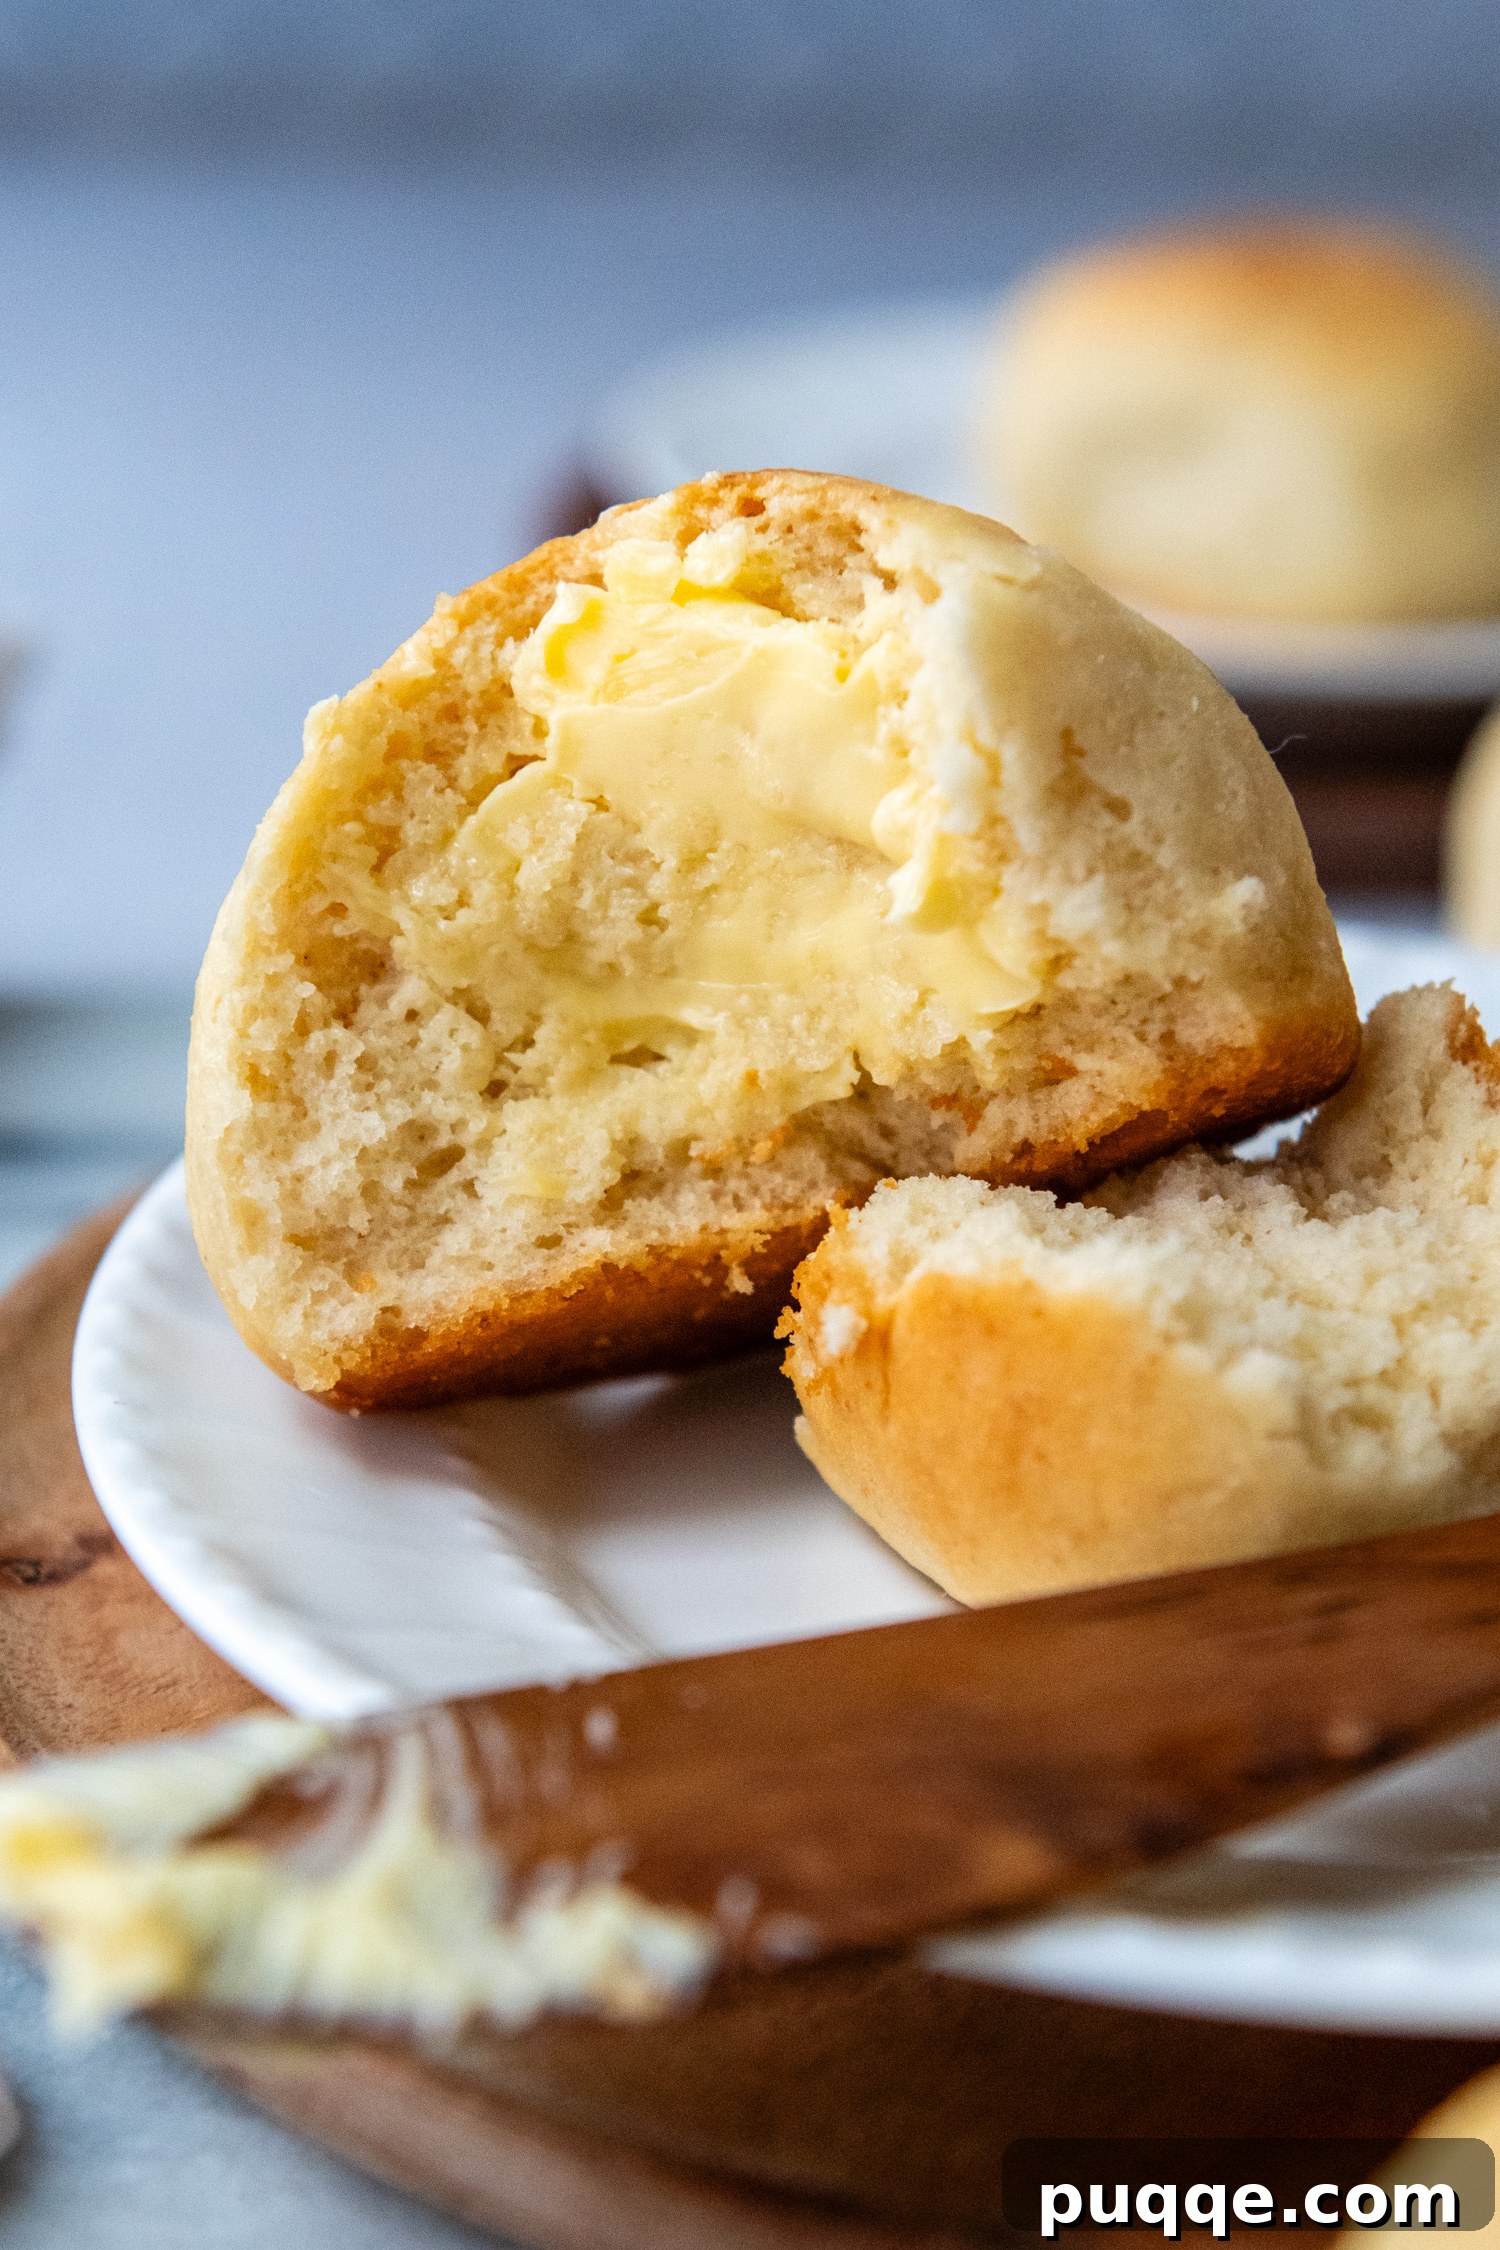
Are you yearning for the light, fluffy, and subtly sweet taste of Hawaiian slider buns but need a gluten-free option? Your search ends here! This incredibly easy recipe for homemade gluten-free Hawaiian rolls delivers that unforgettable flavor and an irresistibly soft texture, just like the King’s Hawaiian originals you remember. Even if you’re new to the world of gluten-free baking, you’ll find this recipe straightforward and rewarding. These sweet yeast buns are as simple as mixing your ingredients, shaping the dough, and baking, with just one short rise required. I’m excited to guide you through each step, ensuring perfect results every time!
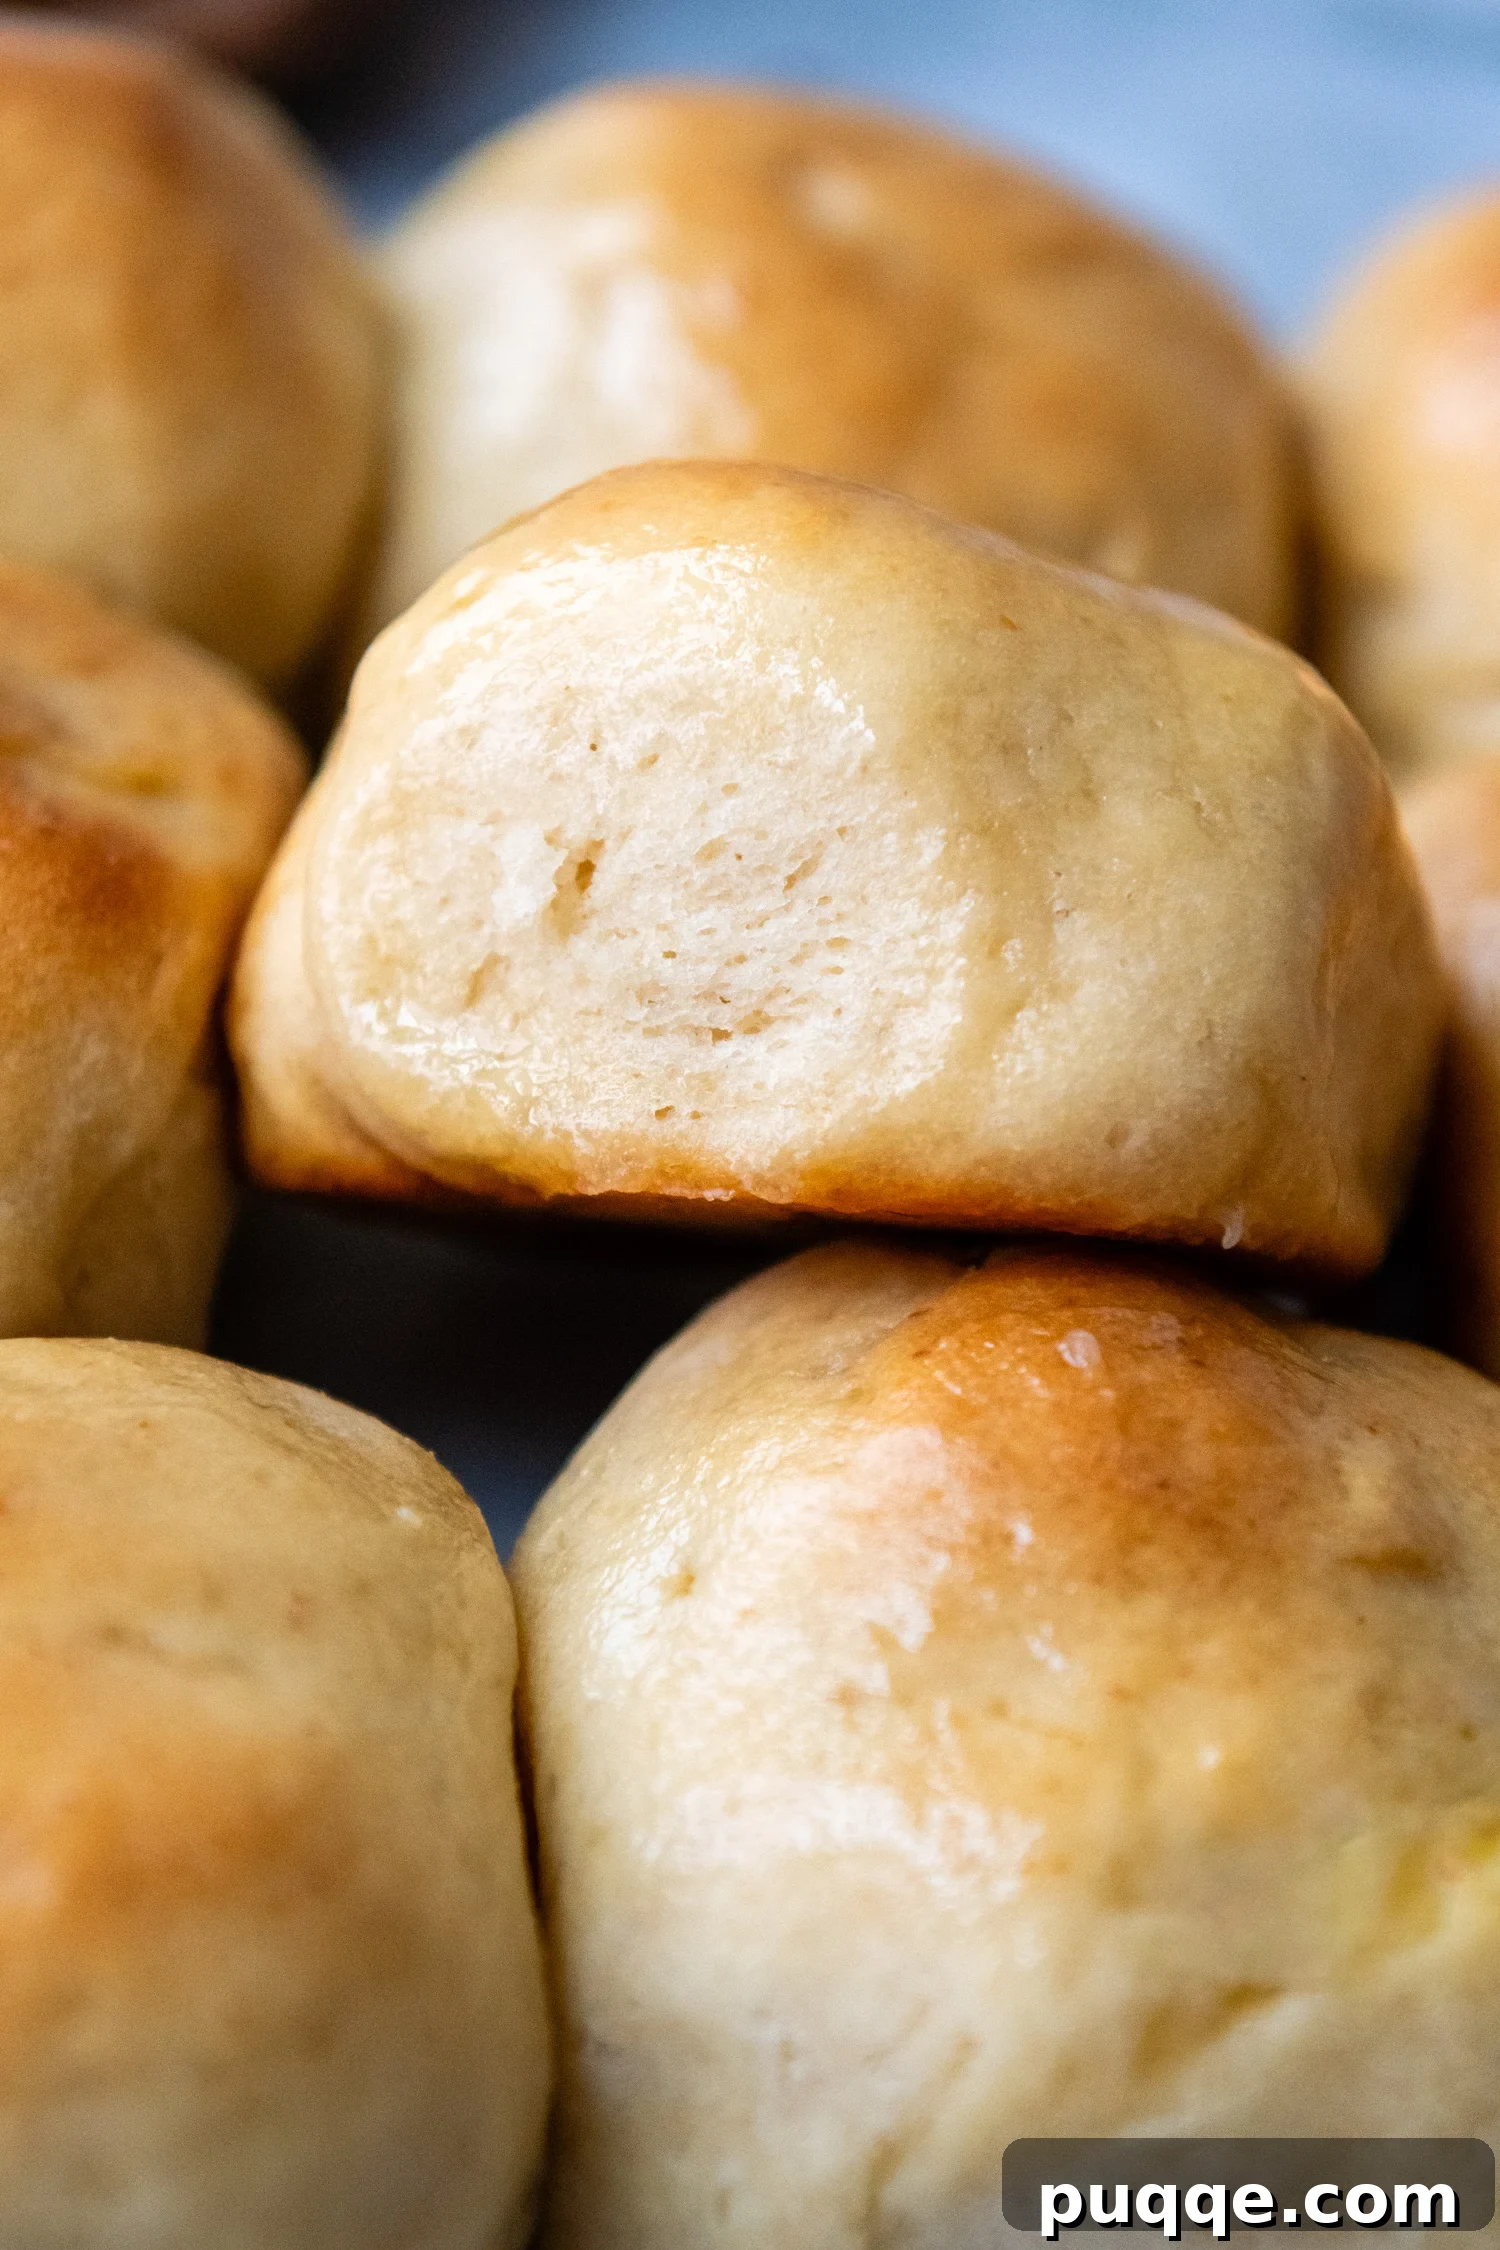
The Quest for Perfectly Soft & Sweet Gluten-Free Hawaiian Rolls
There’s a unique satisfaction in bringing a cherished classic back into your life, especially when dietary needs have kept it at bay. Whether you’ve missed these fluffy, sweet rolls as the foundation for your favorite sliders, a delightful accompaniment to festive holiday dinners, or simply as mini buns for deli meats, the time has come to enjoy them once more. This copycat gluten-free Hawaiian rolls recipe aims to replicate that iconic taste and texture, allowing everyone to indulge without compromise.
The journey to create these homemade yeast rolls with their signature light, airy crumb and subtle sweetness began by adapting one of the most beloved recipes from my extensive gluten-free bread collection. Achieving a crumb that is both airy and tender, reminiscent of decadent Cinnabon-style gluten-free cinnamon rolls, is an art. It requires striking a delicate balance between wet and dry ingredients, all while ensuring the dough remains pliable enough for shaping. Many gluten-free slider bun recipes fall into a common trap: adding excessive flour to make the dough easier to handle. While this shortcut might seem convenient, it invariably leads to a dry, crumbly, and utterly disappointing texture after baking.
My approach, however, prioritizes the final texture. I prefer to work with a softer, looser sweet roll dough, using lightly greased hands for shaping. This method might require a touch more patience, but the payoff is immense: a beautifully tender crumb that faithfully captures the distinctive texture of authentic Hawaiian bread. The careful selection and balance of ingredients, highlighted below, are key to enhancing the dough’s elasticity, maintaining its moistness, and achieving that irresistible hint of sweetness.
Unlocking the Secret: Key Ingredients for Gluten-Free Perfection
Success in gluten-free baking often hinges on understanding the unique properties of your ingredients. For these Hawaiian rolls, each component plays a vital role in achieving that perfect, squishy-soft texture.
- Recommended Gluten-Free Flour Blend: This is arguably the most critical element. For unparalleled taste and texture, I enthusiastically recommend Cup4Cup gluten-free flour. Its specific blend, particularly the inclusion of cornstarch, contributes significantly to the desired airiness and lightness of the rolls. Using a different blend may alter the results, so sticking with Cup4Cup for your first attempt is highly advised.
- Potato Starch (not flour): A staple in my gluten-free bread recipes that require shaping, such as my acclaimed GF burger buns. Rather than simply adding more gluten-free flour, which can lead to a dense product, potato starch offers a softer, more tender structure. It helps create a dough that holds its shape while remaining wonderfully soft post-baking.
- Psyllium Husk Powder: This incredible ingredient is a game-changer in gluten-free baking. It acts as a natural binder, mimicking the elasticity of gluten, which is essential for creating pull-apart rolls. Beyond its structural benefits, psyllium husk powder is crucial for moisture retention, preventing the rolls from becoming crumbly and ensuring a delightful, moist interior. I specifically recommend the linked brand because of its light color, which prevents any undesirable purple hue in your baked goods. For those curious, you can learn more about what psyllium husk is and its benefits in gluten-free baking.
- Milk Powder: A relatively recent but essential addition to my yeast bread recipes. Since a popular GF flour blend adjusted its formula, I’ve found that substituting a small amount of the gluten-free flour with gluten-free milk powder helps to restore and enhance moisture, leading to an even softer crumb. Powdered buttermilk is also an excellent alternative if you have it on hand, offering a slight tang that complements the sweetness.
- Sweetener Blend (Brown and Granulated Sugars): For that perfect Hawaiian sweetness and a balanced texture, I use a combination of light brown sugar and granulated sugar. Relying solely on brown sugar can sometimes make the rolls a bit too heavy, while granulated sugar alone might lack the depth of flavor. This blend provides just the right amount of sweetness, tenderness, and a beautiful golden-brown crust.
Your Step-by-Step Journey to Homemade Gluten-Free Hawaiian Rolls
Creating these delightful rolls is an enjoyable process, and I’ve broken it down into simple, manageable steps. (While the overview below provides helpful photos and modified instructions, please refer to the complete recipe card at the bottom of this article for precise ingredient measurements and comprehensive details.)
1. Simple Dump and Mix Dough
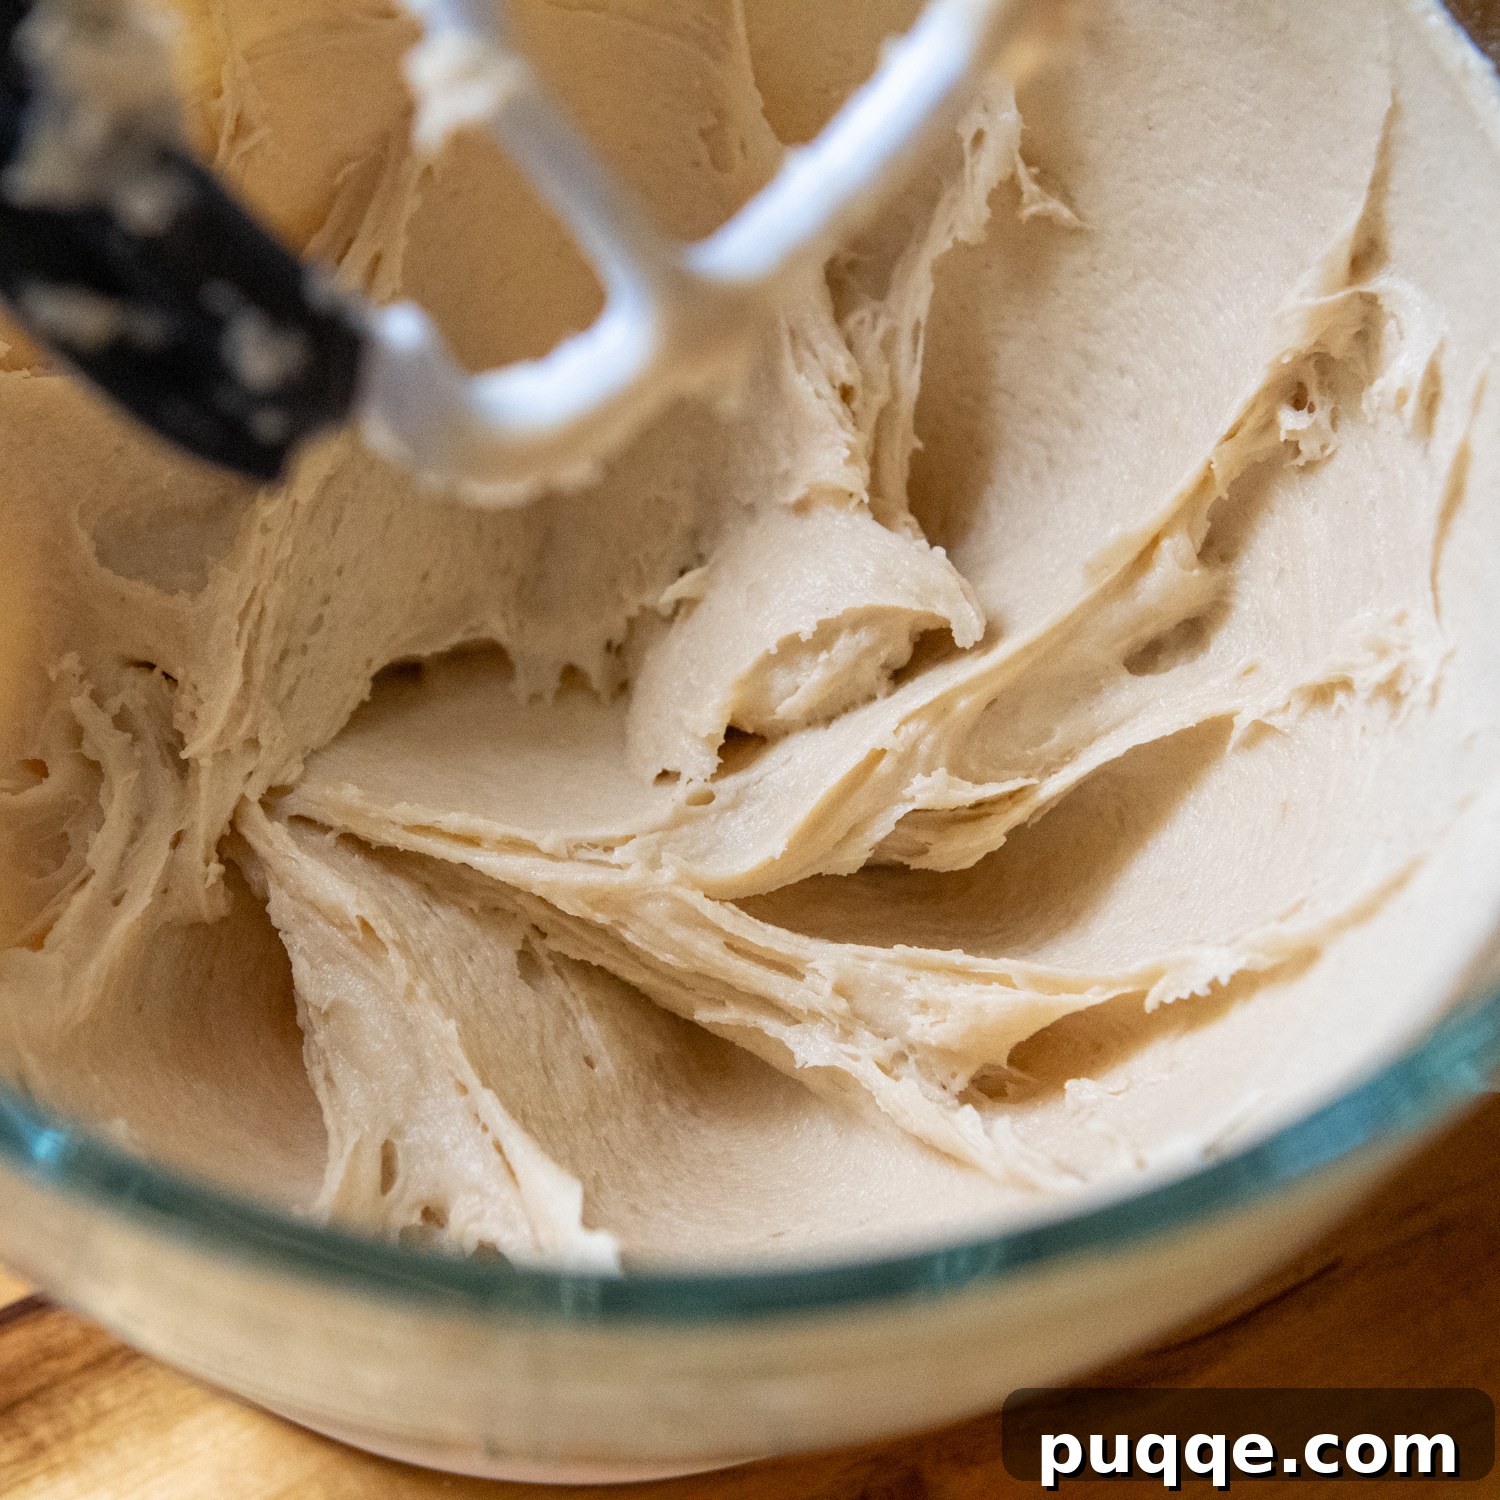
Begin by combining all the dry ingredients – your chosen gluten-free flour blend, potato starch, both sugars, psyllium husk powder, milk powder, instant rapid rise yeast, baking powder, and salt – in the large bowl of your stand mixer. A paddle attachment works best here. Once whisked together, add the warm milk, room temperature egg, and slightly cooled melted butter. Mix on low speed until everything is well combined and a dough starts to form. Then, increase the speed to medium-low and beat for a full 5 minutes. You’re looking for a dough that is stiff enough to hold together but still noticeably sticky. If it feels too stiff or struggles to move around the mixer, add a tiny splash of additional warmed milk to achieve the right consistency.
2. Effortless Shaping Method
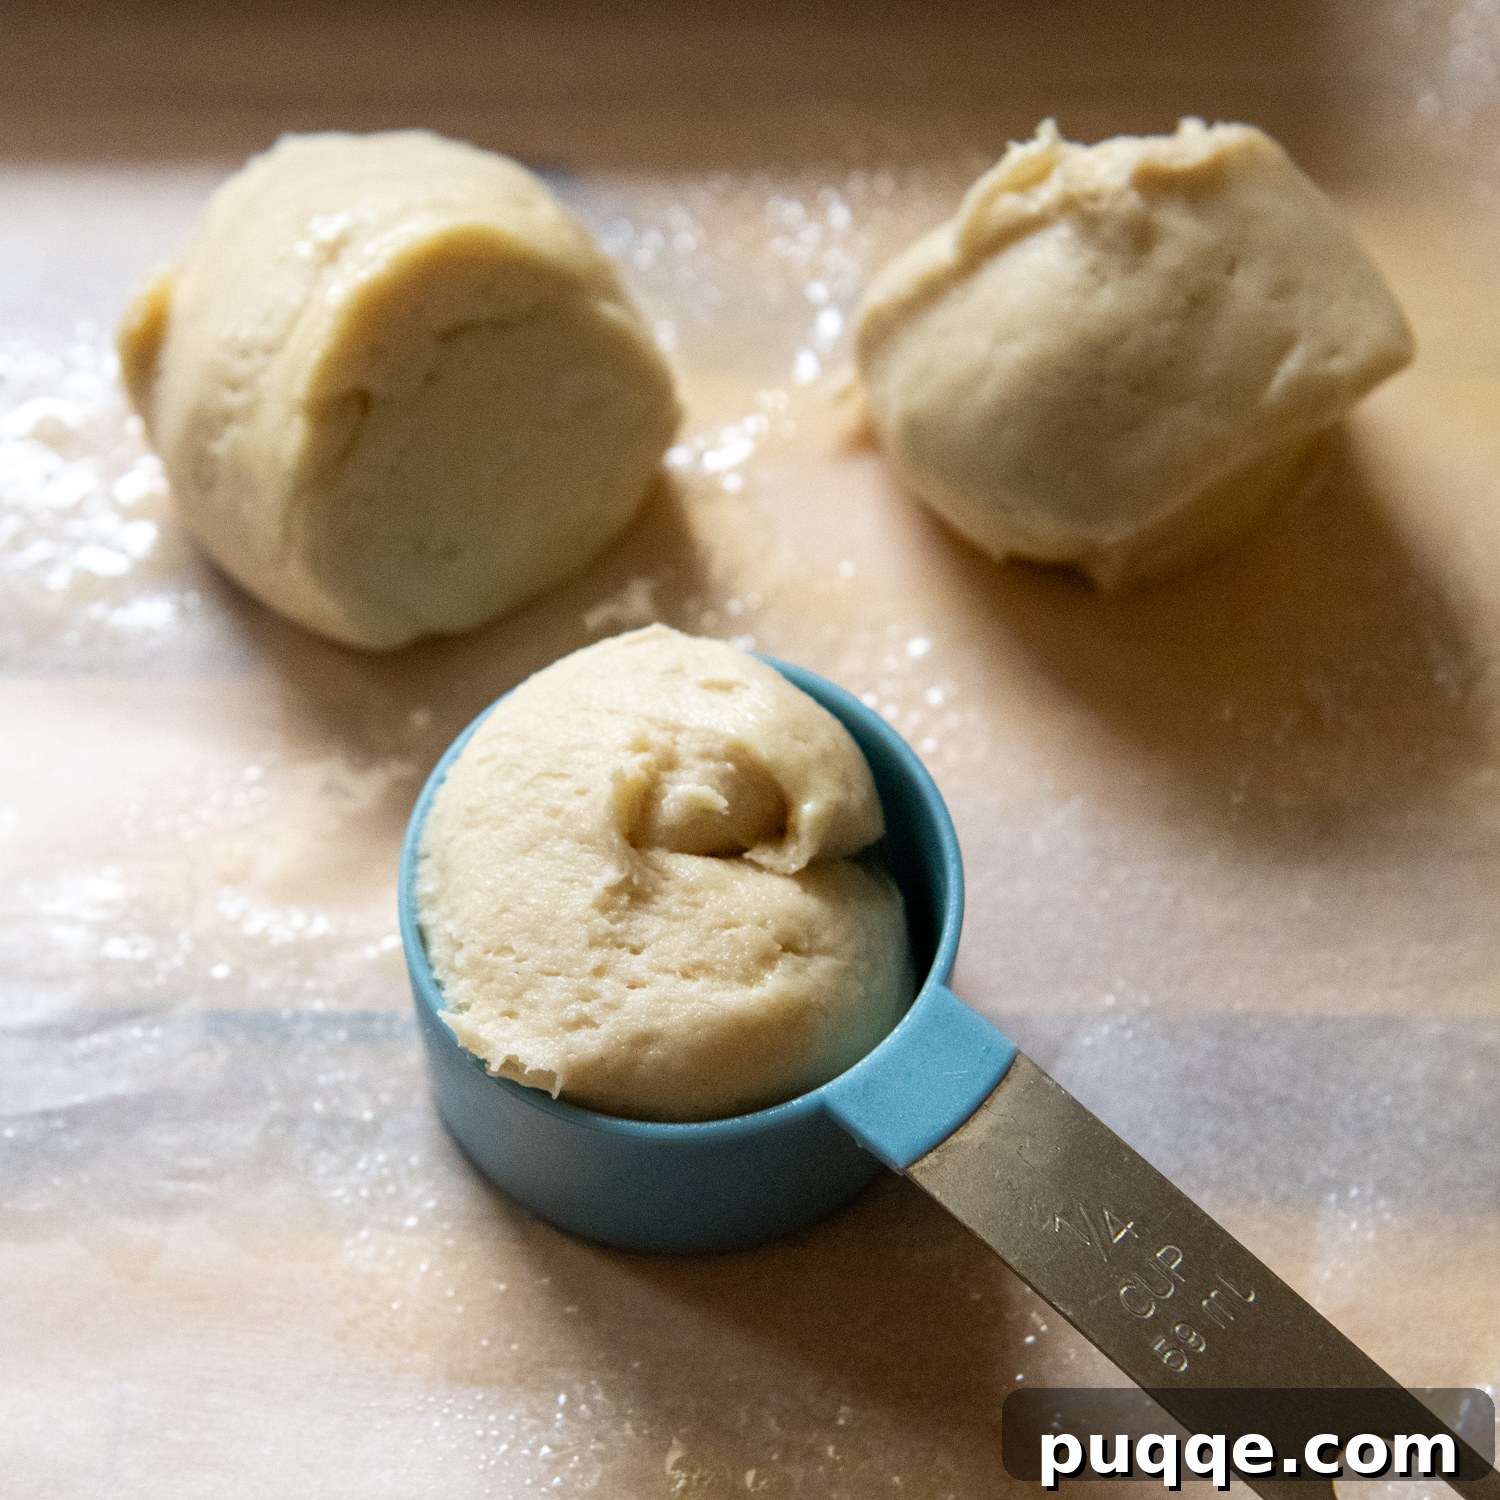
Prepare your work surface by laying down a piece of parchment paper and greasing it generously with nonstick cooking spray. Also, liberally grease a ¼ measuring cup and your hands. This lubrication is key to handling the slightly sticky dough with ease. Scoop out a portion of dough that’s just a little less than ¼ cup – this will yield approximately a 2-ounce dough ball, perfect for slider-sized rolls. I find it most efficient to divide all the dough first, placing the portions on the greased parchment paper before moving on to rolling.
3. Roll and Rise for Fluffy Perfection
Once your dough is divided, gently roll each portion into a smooth, spherical ball. Be sure to pinch together any seams or cracks at the bottom to ensure a uniform rise and beautiful appearance. Arrange these dough balls neatly in a greased 8×8-inch baking pan. I prefer using a metal pan over glass for yeast breads, as metal conducts heat more efficiently, often resulting in a quicker and more even rise during the initial baking phase. Cover the pan loosely with plastic wrap and let the rolls rise for approximately 30-40 minutes in a warm place. The exact time may vary depending on the ambient temperature of your kitchen. During this rising period, preheat your oven to 350℉ (175℃).
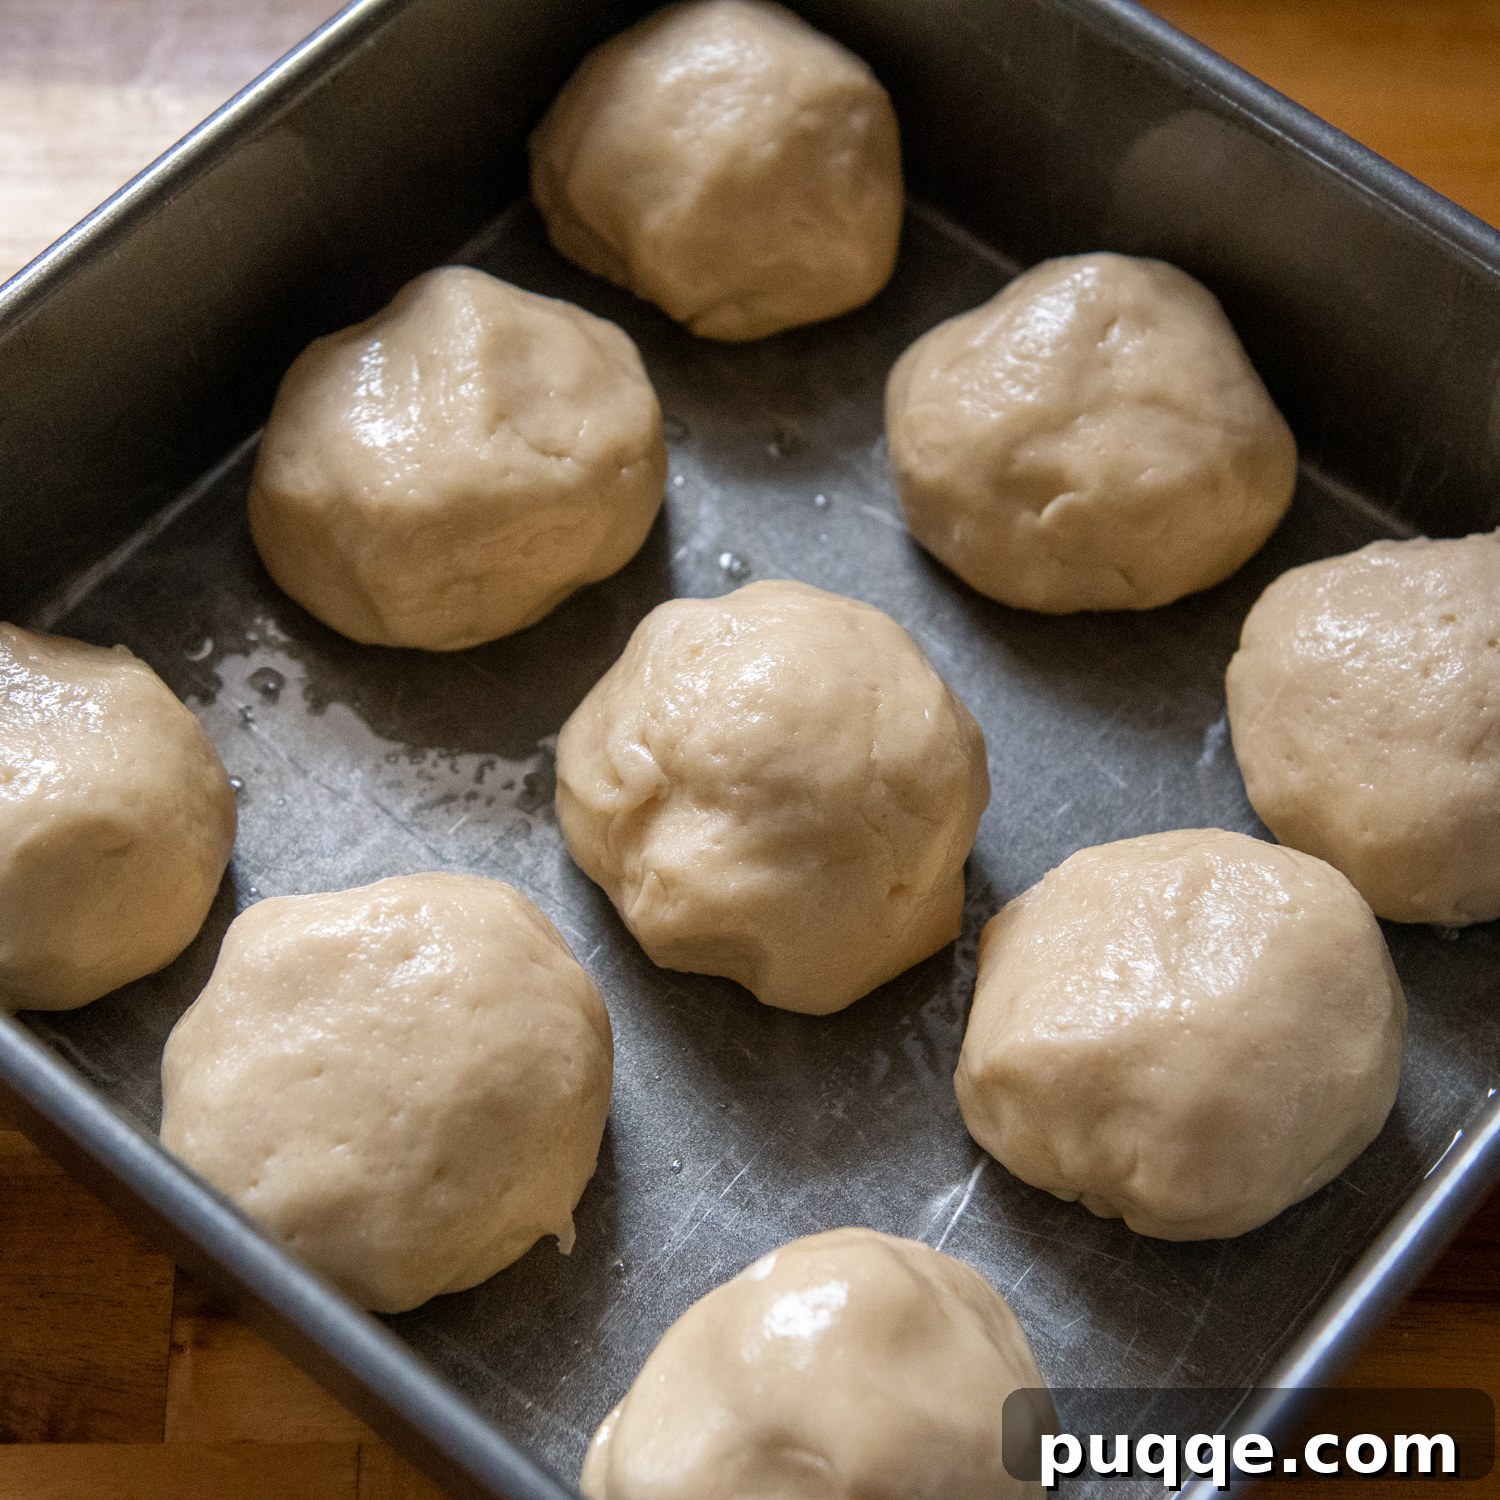
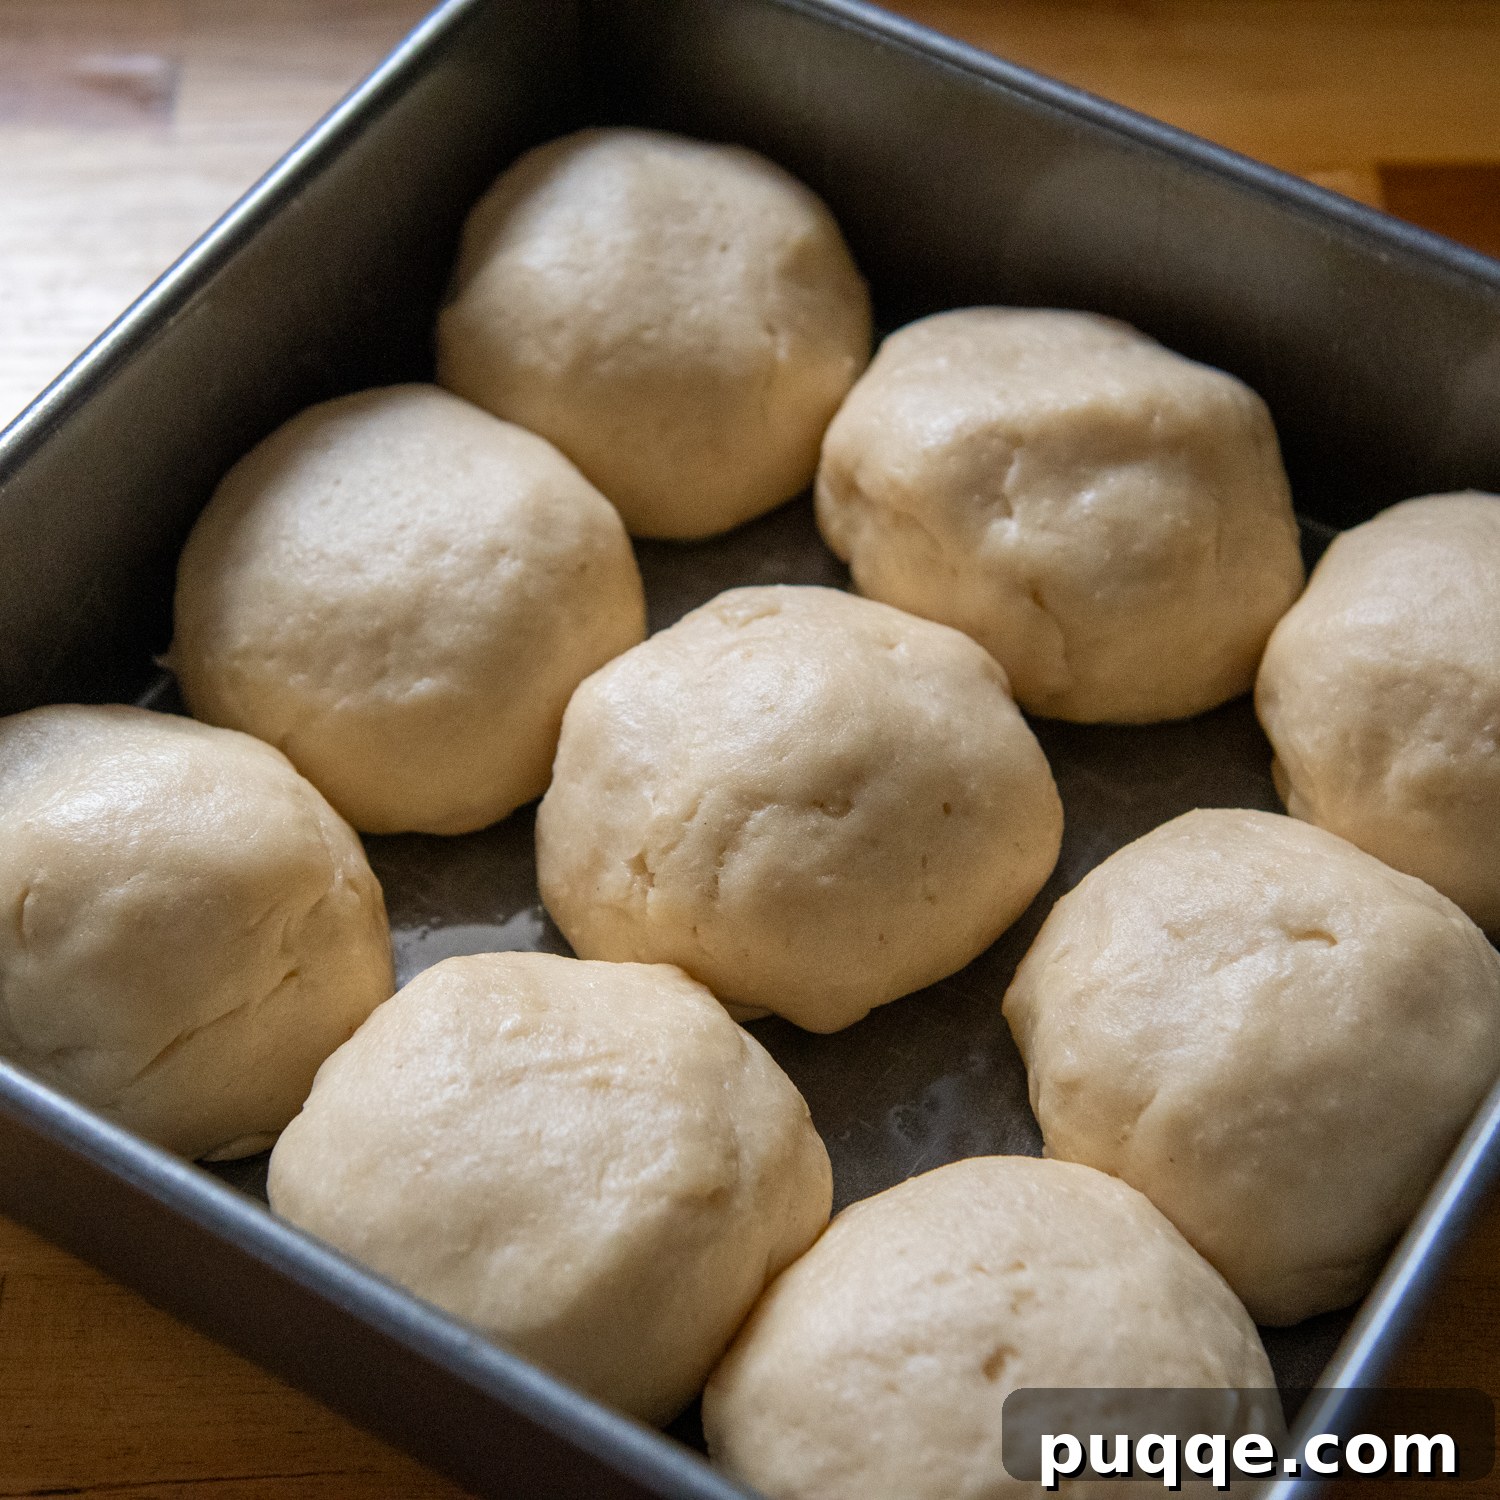
4. Brush, Bake, and Serve Warm
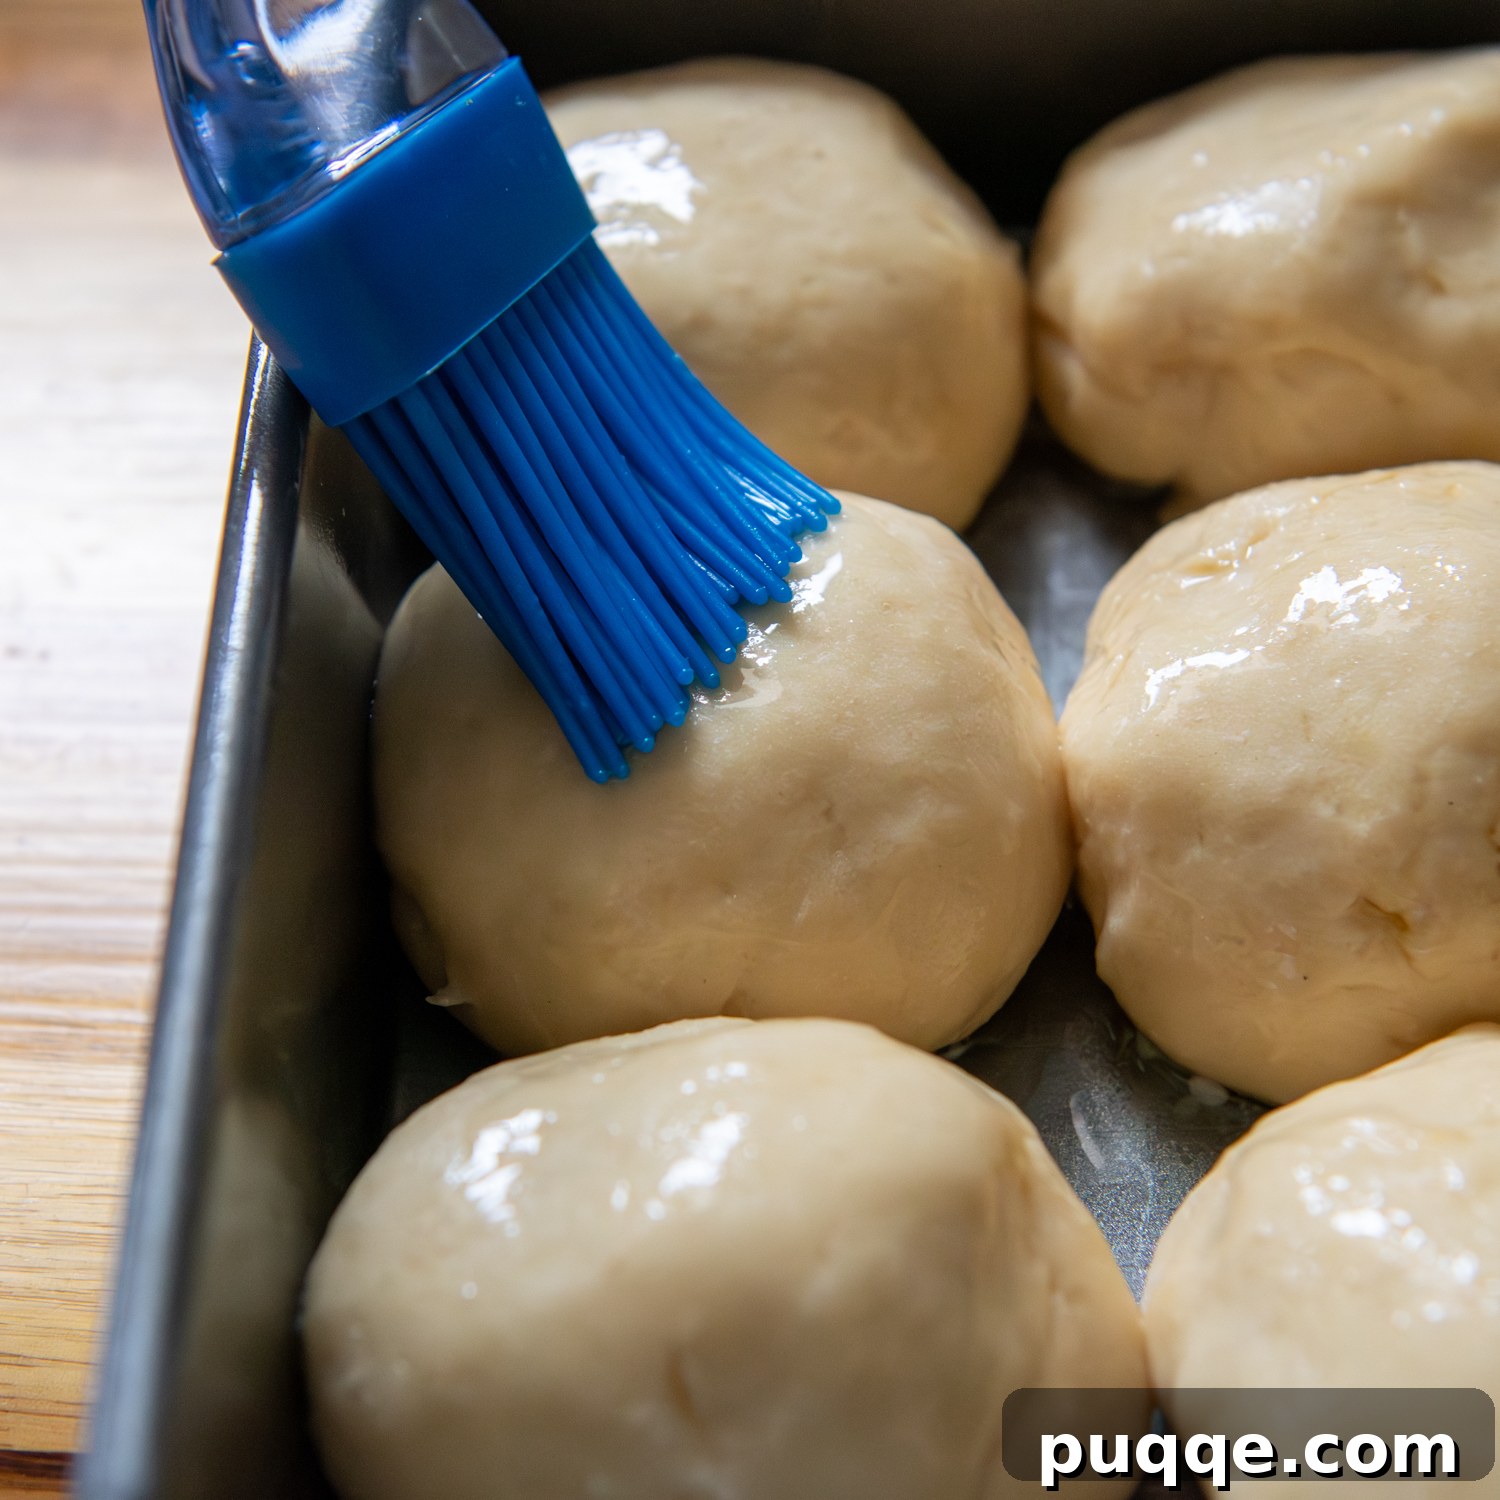
Before baking, melt about 1 ½ tablespoons of additional butter. Carefully remove the plastic wrap from your risen rolls and gently brush the tops with this melted butter. Reserve any leftover melted butter for a final touch after baking. Place the pan in your preheated 350℉ (175℃) oven and bake for 20-25 minutes. The rolls are done when their tops are beautifully golden brown. For absolute certainty, I highly recommend using an instant-read thermometer to check the internal temperature. It should register between 195-200ºF (90-93°C). This ensures they are perfectly baked through and helps prevent them from deflating as they cool. Immediately after removing them from the oven, brush the rolls again with the reserved melted butter for an extra sheen and rich flavor. Serve them warm and enjoy the soft, sweet goodness!
Making These Gluten-Free Hawaiian Rolls Ahead of Time & Storage Tips
A common question I receive about gluten-free yeast rolls revolves around making them in advance – either freezing the dough before baking or letting them rise overnight in the refrigerator. While I’ve experimented with these methods, and they technically work, I consistently find that baking them fresh yields the absolute best results in terms of flavor and texture. The unique properties of gluten-free dough often make overnight rises or pre-baked freezing a less ideal option for that ultimate soft, fresh-baked experience.
However, if your schedule demands a make-ahead option, there’s a fantastic workaround that ensures delightful results. Simply bake the rolls completely according to the recipe, then allow them to cool entirely on a wire rack. Once cooled, you have a couple of options: you can either wrap the entire batch tightly or pull them apart and wrap individual rolls before freezing. When you’re ready to enjoy them, simply thaw the rolls at room temperature. For optimal warmth and softness, place them in a 300℉ (150℃) oven for 5-7 minutes, covering the pan loosely with foil to prevent drying. Alternatively, a quick reheat in the microwave will also soften them nicely.
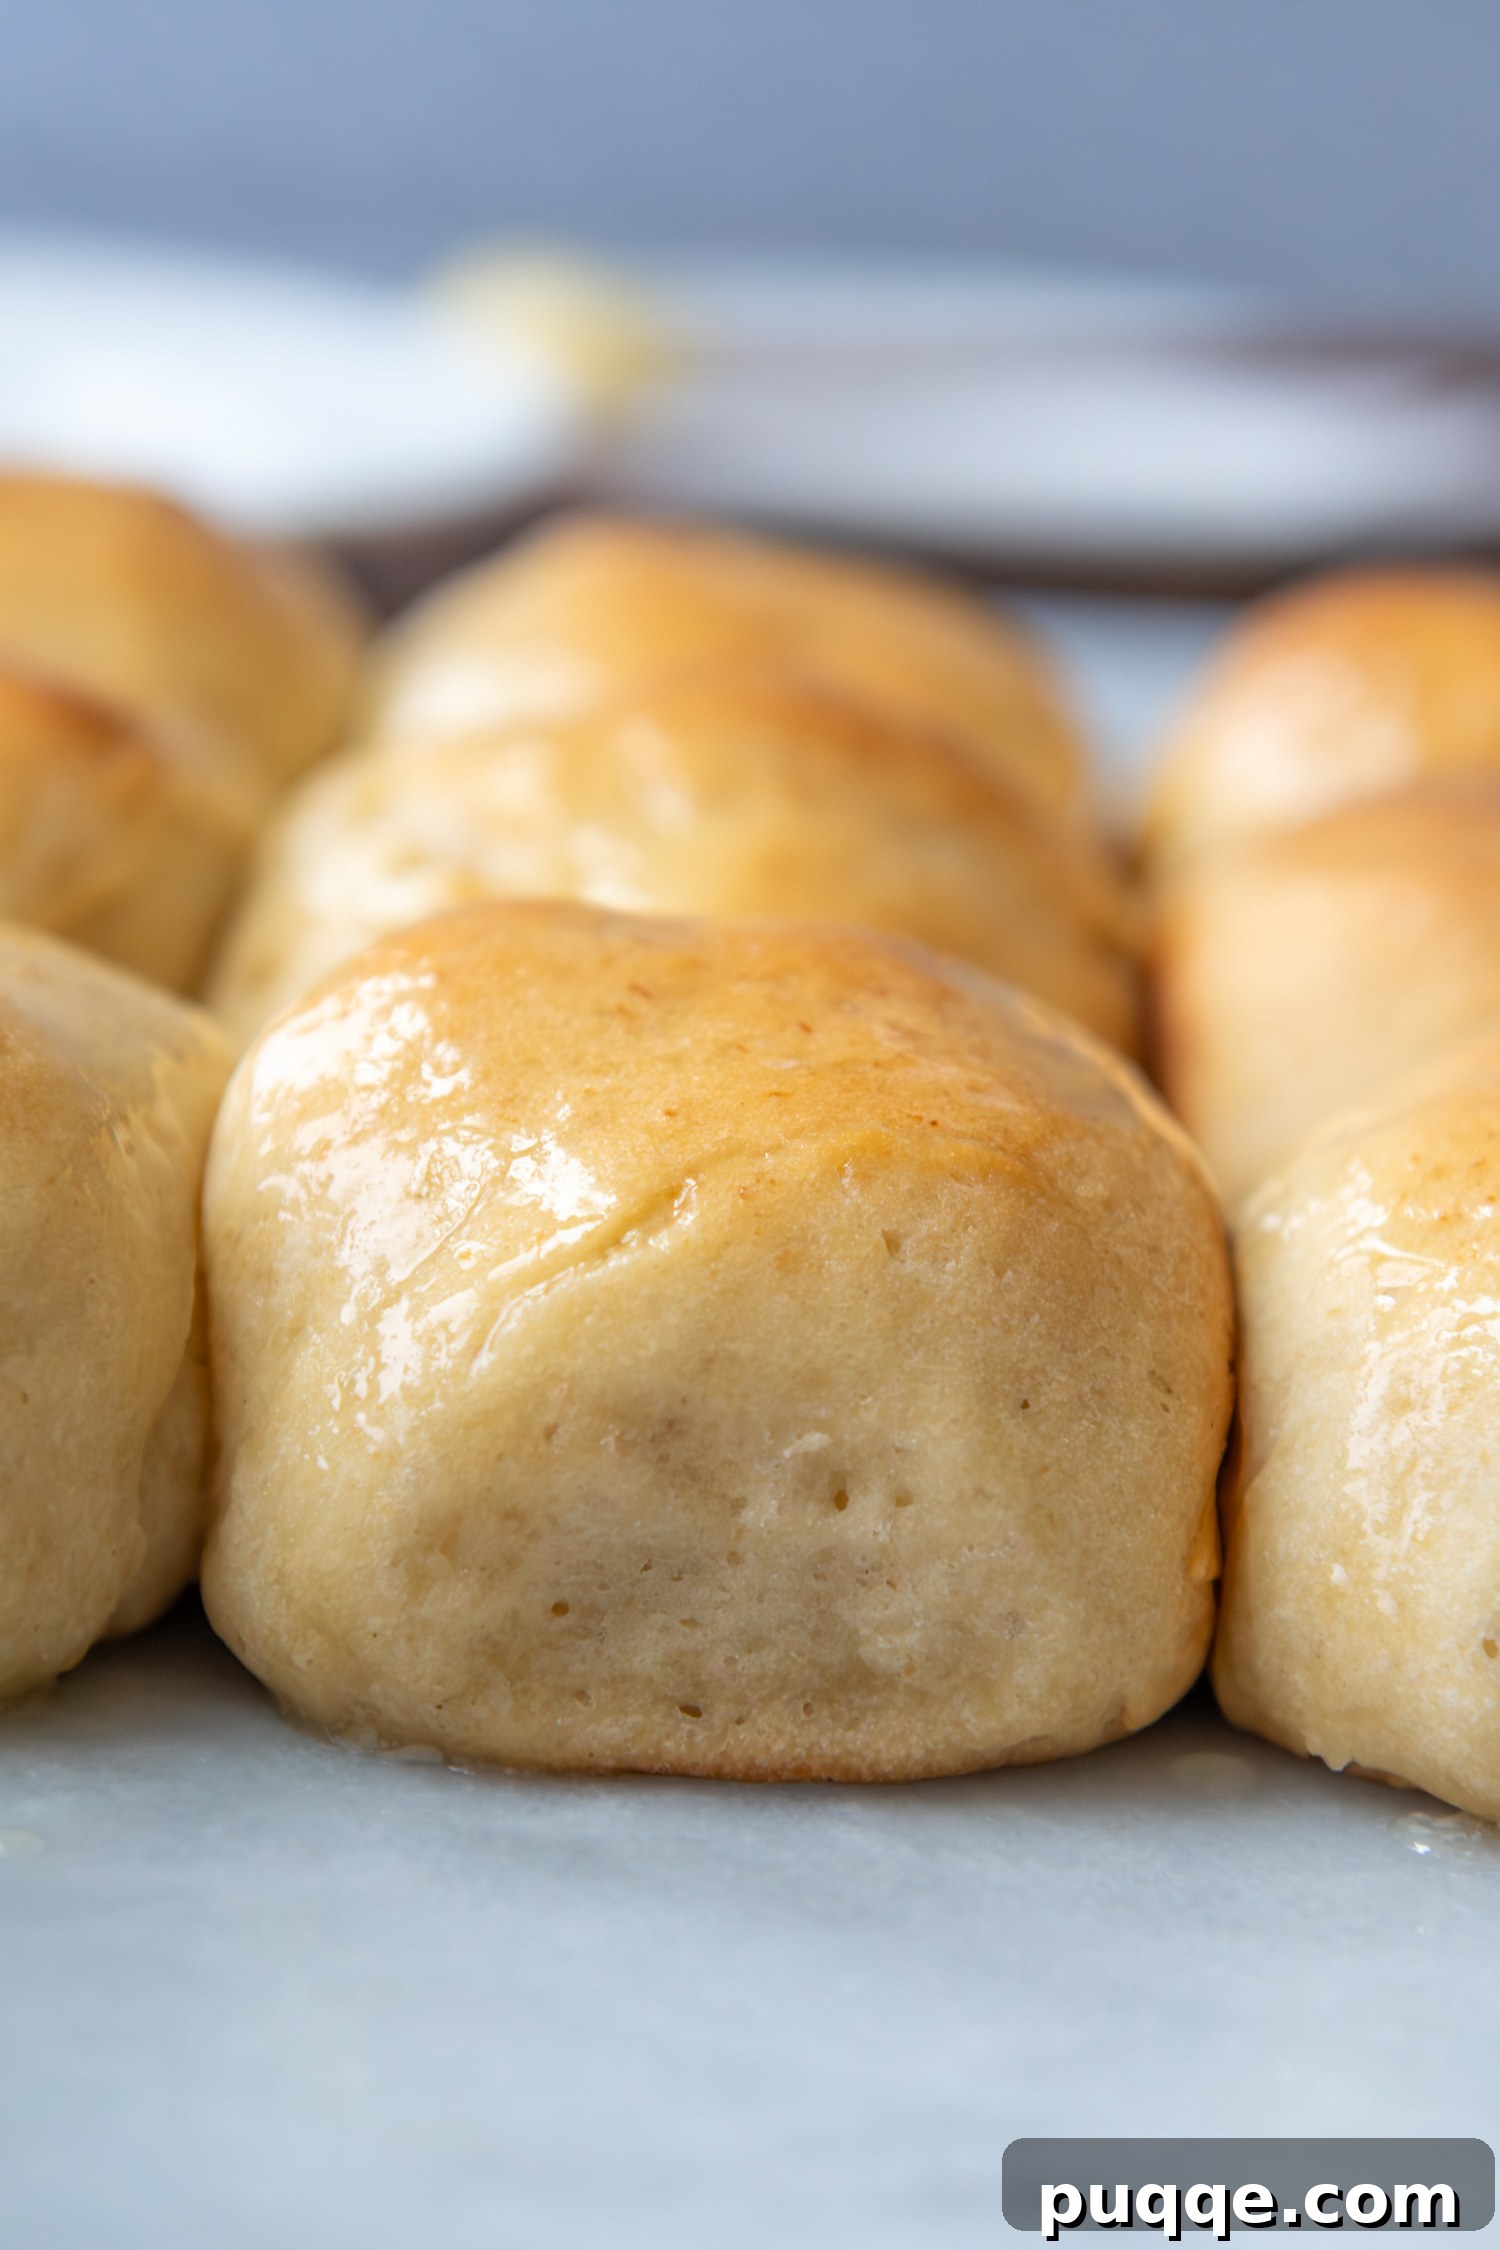
It’s important to remember that gluten-free breads tend to lose moisture more quickly than their gluten-containing counterparts. To preserve their incredible softness and freshness, I highly recommend freezing any leftover rolls if you don’t plan to eat them within a day or two of baking. After you pull them from the freezer and they’ve thawed, a slight warming (even just a few seconds in the microwave) will re-soften the crumb beautifully. They will taste just as amazing and tender as they did on the day you baked them!
Don’t Forget to Pin This Recipe!
Let’s connect on Pinterest! I’m always sharing delicious, family-friendly recipes!
Did you try this recipe? I’d love to hear from you! Leave a star rating and comment below the recipe card. Your feedback helps others discover and enjoy these recipes, and I personally read and appreciate every comment. You’ll always hear back from me! -Melissa
Squishy Soft Gluten-Free Hawaiian Rolls (1 Hour)

Melissa Erdelac
9
rolls
10 minutes
20 minutes
1 hour
Pin
Ingredients
-
1 ½
cups
(214 g) gluten free all purpose flour,
Cup4Cup gluten free flour highly recommended -
¼
cup
(43 g) potato starch -
2
tablespoons