

Unlocking Gluten-Free Baking Success: Expert Tips for Flawless Results
Are you tired of gluten-free baking turning into a frustrating cycle of dense, crumbly, or gummy disappointments? For over 15 years, I’ve delved deep into the science and art of crafting delicious gluten-free recipes, discovering simple yet transformative techniques to help you achieve baked goods that rival their gluten-containing counterparts. Imagine soft, fluffy breads, perfectly chewy cookies, moist cakes, and tender muffins – all without gluten! This comprehensive guide will share my top five super simple tips, along with insights into choosing the best gluten-free flours and troubleshooting common mishaps, so you can bake with confidence and joy.
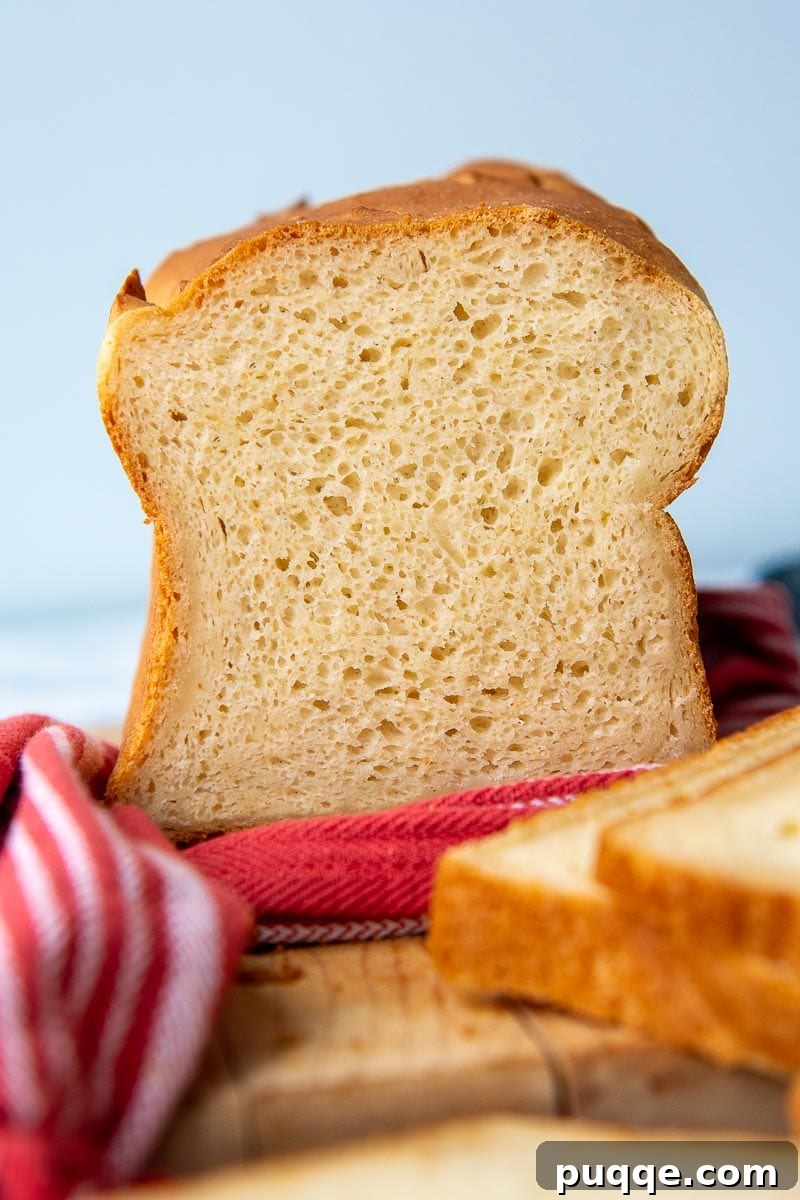
The Fundamental Challenge of Gluten-Free Baking: Why It’s Different
Whether you’re new to the gluten-free lifestyle due to celiac disease or a gluten sensitivity, or you’ve been navigating it for years, there’s always more to learn about mastering gluten-free baking. My journey spans decades, leading to a published gluten-free cookbook and hundreds of meticulously developed recipes. It’s a continuous learning process, even for seasoned bakers!
The rise in popularity and availability of gluten-free flour blends has undoubtedly been a blessing. However, this “magical” ingredient often leads to significant baking disasters. The biggest misconception in gluten-free baking is the belief that a simple 1:1 swap of gluten-free flour for wheat flour will solve all problems. If you’ve been on this journey, you’re likely nodding in agreement right now, perhaps even whispering, “Amen!”
Traditional baking relies heavily on gluten, a protein network that develops when wheat flour is mixed with water. This network provides elasticity, structure, and chewiness, allowing doughs to trap gases and rise beautifully. Gluten-free flour blends, by definition, lack this crucial protein. They are typically composed of various naturally gluten-free starches (like rice, tapioca, and potato) combined with binders such as xanthan gum to try and mimic gluten’s properties. While these binders *should* impart elasticity and structure, they don’t behave identically to gluten.
This brings us to the most common mistake made by gluten-free bakers: assuming a gluten-free flour blend alone will deliver perfect results. While these blends are a fantastic starting point and certainly get you *most* of the way there, achieving truly stellar gluten-free baked goods – the kind that are soft, squishy, and don’t crumble, or a flaky, tender gluten-free pie crust, or pillowy, fluffy gluten-free rolls – requires a few extra, yet incredibly simple, tricks. These aren’t fussy or complicated; they’re the secrets to transforming subpar stand-ins into tear-of-joy-inducing masterpieces.
Below, I’ll reveal my easy secrets for gluten-free baking success. These techniques will help you achieve soft and fluffy gluten-free breads, easy gluten-free desserts without gumminess, tender and chewy cookies, and everything in between. These tips are straightforward enough for novice bakers yet consistently yield fail-proof and delicious results.
Go-To Gluten-Free Baking Tips for Consistent Success
The path to successful gluten-free baking involves a few simple tricks that often run counter-intuitive to traditional baking wisdom. This is precisely where many mishaps occur. By following the straightforward tips below, you can effectively avoid common issues like dense, gummy textures, grittiness, or problems with rise and structural integrity.
While these tips are powerful, remember that every recipe is unique. However, they serve as an excellent general guide to help you become more attuned to the nuances of gluten-free ingredients and what contributes to a truly successful recipe. I find them particularly invaluable when attempting to convert a traditional, gluten-containing recipe into a gluten-free version.
1. Don’t Fear the Mixer: Over-Mix Gluten-Free Batters
This tip directly contradicts one of the golden rules of traditional baking, where over-mixing typically leads to dense, rubbery baked goods. In the world of gluten-free baking, however, the opposite is often true, especially for cakes, muffins, and breads.
Since gluten-free flours lack the natural protein network of gluten, they require more mechanical action to develop structure and fully hydrate. Mixing batters longer helps to thoroughly aerate the starch fibers and activate the binding agents (like xanthan gum) present in most gluten-free flour blends. This extended mixing time works to create a more cohesive structure, distributing the binders evenly and allowing starches to absorb moisture more effectively. The result? A better rise, a lighter, more open crumb, and improved structure, often leading to beautifully domed tops on your cakes and muffins. Liquids don’t emulsify into dry gluten-free ingredients as easily as with wheat flour, which is why under-mixed batters can become gummy. An extra long stir acts as good insurance to combat this common issue, ensuring a smooth, well-integrated batter.
2. Embrace Patience: Let the Batter Rest
Gluten-free flours, due to their distinct starch composition, do not absorb liquids or fats as readily or quickly as traditional wheat flour. This slower absorption rate can lead to a gritty texture and an underdeveloped flavor if the batter is baked immediately. Allowing the batter to rest for a period is a crucial step that transforms the final product.
During the resting period, the starches in the gluten-free flour have ample time to fully hydrate and soften. This not only significantly helps to offset any gritty texture but also allows flavors to meld and develop more deeply. For best results, cover the bowl with plastic wrap and let the batter sit for 15 to 30 minutes before baking. For doughs that require shaping, such as gluten-free cookies, biscuits, or scones, I often pop the bowl into the fridge during this rest time. Chilling makes the dough firmer and much easier to handle, preventing stickiness and maintaining shape. For items like muffins, simply distribute the batter into the muffin tins and let them rest while your oven preheats; the warmth will kickstart the hydration process.
3. Bake Longer: Extend Gluten-Free Baking Time
Standard cues for doneness in traditional baking – such as inserting a toothpick until it comes out clean or checking for spring-back when touched – are notoriously unreliable with gluten-free recipes. The unique properties of gluten-free starches mean they retain moisture differently and don’t absorb liquids as efficiently as wheat flour.
Consequently, many gluten-free baked goods can appear done on the outside, looking beautifully golden and feeling firm, but are actually undercooked and gooey in the middle. To prevent this common issue and avoid a gummy interior, I always err on the side of slightly over-baking to ensure all excess moisture has properly evaporated. It’s better to bake a few minutes too long than to end up with an undercooked center.
For a more accurate assessment, especially with denser items like breads and cakes, use a long cake tester, pushing it deeper into the center than you would a standard toothpick. The most reliable method, however, is to use an instant-read thermometer. Insert it into the deepest part of the baked good; it should consistently read around 200ºF (93ºC) for most quick breads and cakes to be considered fully cooked. As long as your baked goods aren’t burning, extending the baking time slightly will not harm them; in fact, it actively helps prevent grittiness or gumminess. A gentle technique for this is to turn off the oven at the end of the specified baking time and let the item sit inside for an additional 5-10 minutes, allowing residual heat to complete the cooking process.
4. Optimize Texture: Mix in Other Starches
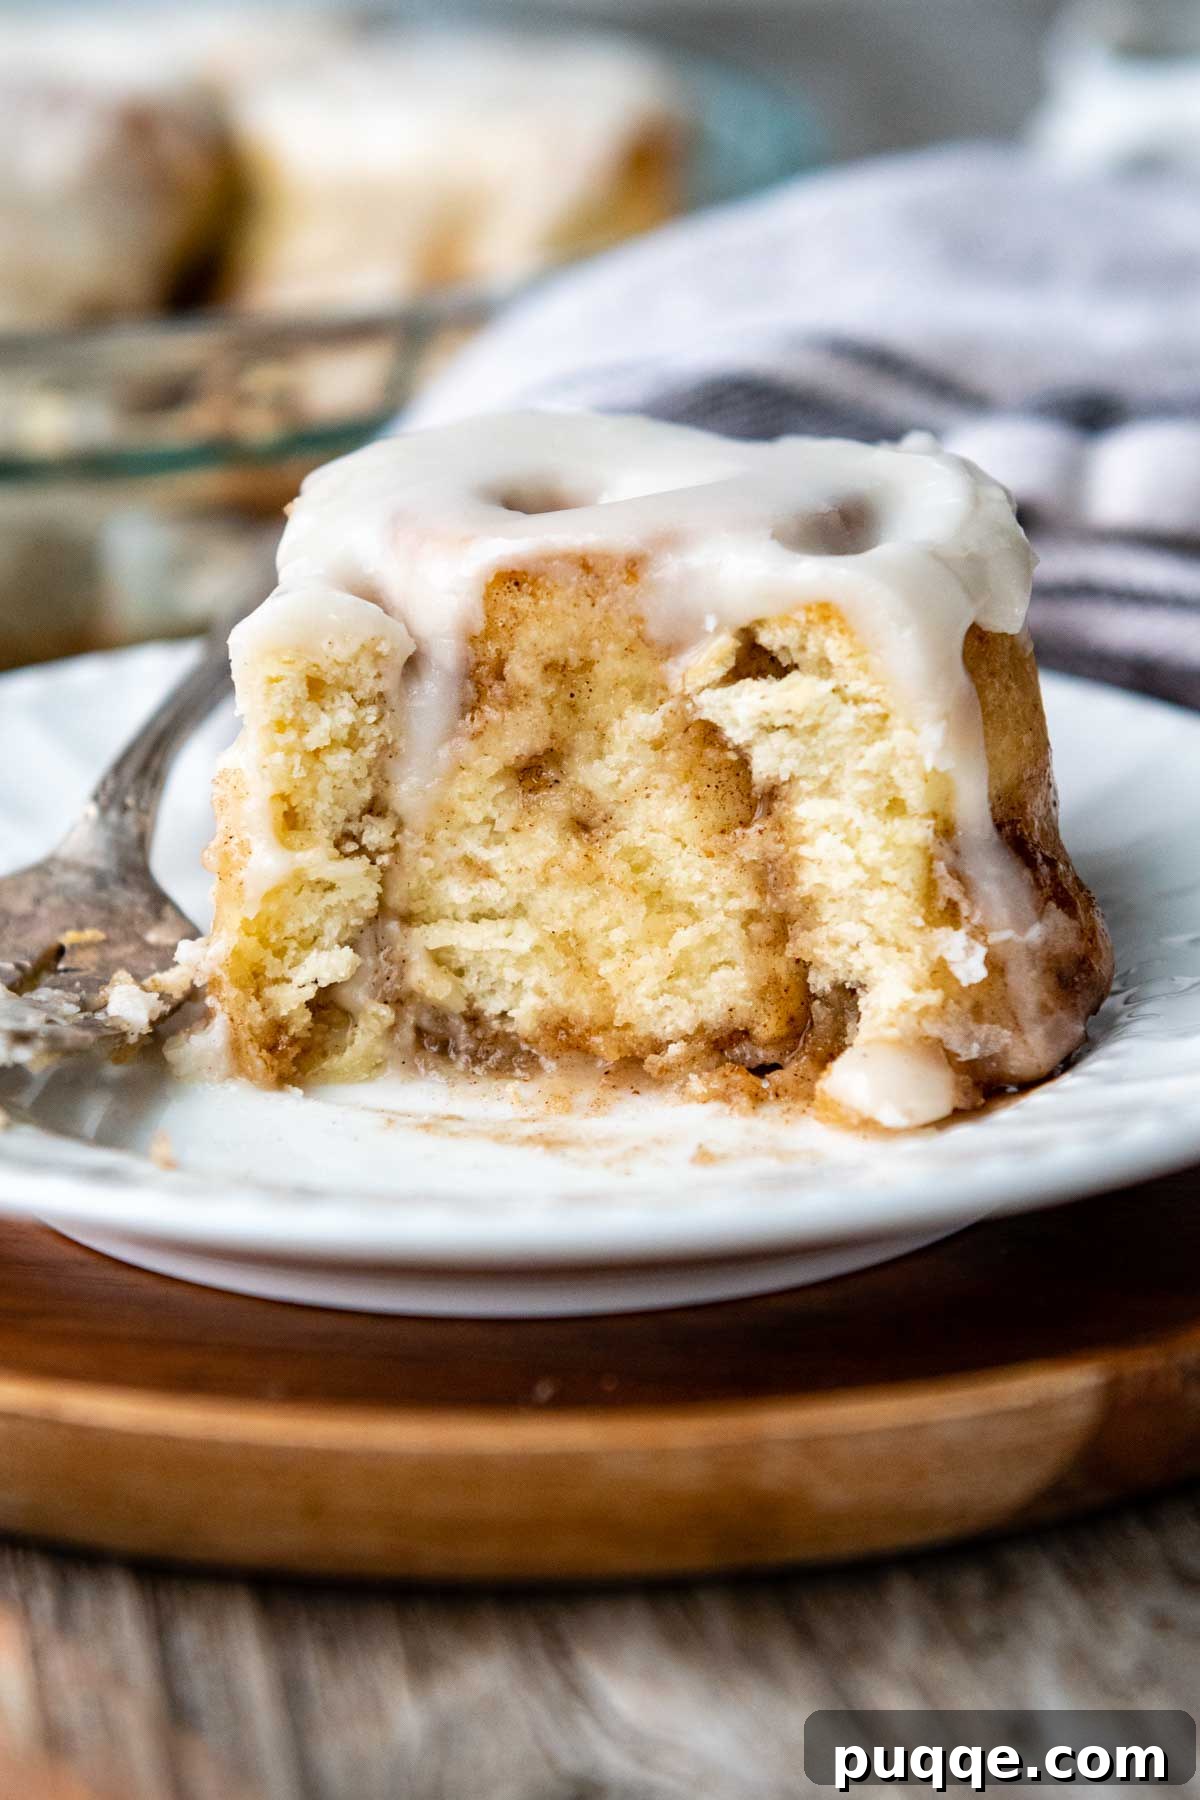
As I mentioned earlier, gluten-free baking is a perpetual science experiment. There are times when I’ve exhausted all my usual tricks, and yet, I’m *still* not achieving the desired texture. A perfect example of this challenge arose when I was developing my recipe for copycat Cinnabon gluten-free cinnamon rolls. I faced a significant roadblock: the dough was dry and crumbly, making it difficult to shape without falling apart.
I needed a dough that was firm enough to handle and roll, but simply adding more gluten-free flour would only exacerbate the dryness after baking. The breakthrough came when I realized the power of strategic starch substitution. I replaced a portion of the main gluten-free flour blend with potato starch. This substitution proved incredibly effective: the potato starch helped absorb moisture more efficiently, kept the dough supple and pliable for shaping, and also contributed a wonderful fluffy texture to the final baked rolls. This hack has since become one of my absolute favorites, particularly for doughs that require shaping, such as rolls, biscuits, or even certain cookies. Different starches offer unique properties: tapioca starch can add chewiness and a slightly crisp crust, while cornstarch contributes to a tender crumb. Experimenting with these additions allows you to fine-tune the texture of your gluten-free creations, making them truly stand out.
5. Boost Elasticity: Add Psyllium Husk Powder for Structure
Full disclosure: I have a strong aversion to overcomplicating things. If a recipe involves too many extra steps, obscure ingredients, or fussy prep, I’m usually out. However, once I fully grasped the remarkable benefits of psyllium husk in gluten-free baking, I was completely sold – it’s a game-changer that is absolutely worth the minimal extra effort.
Essentially, psyllium husk acts as a pseudo-gluten, mimicking many of the structural properties that gluten provides. It significantly aids in moisture absorption, improving the elasticity of gluten-free doughs and batters. This leads to a noticeably softer, more pliable dough that is easier to work with, and ultimately, a more airy and appealing crumb in the finished product. I prefer using powdered psyllium husk because it can be seamlessly added with the dry ingredients, requiring no extra steps or special preparation. It disperses evenly and quickly, integrating into the batter without clumping.
However, a crucial point of caution: don’t just grab any psyllium husk you find at a health food store or online. The color of psyllium husk can vary greatly. While a darker variety won’t typically affect the taste or texture, it can impart a rather unsettling purplish hue to your baked goods. This discoloration, while harmless, can make your otherwise delicious creations look unappetizing. Therefore, it’s essential to seek out specific brands known for their light-colored, finely ground psyllium husk powder to ensure your baked goods maintain their appealing, normal appearance. My personal favorite organic psyllium husk powder is highly effective, though it can sometimes be out of stock. Recently, I discovered another brand of psyllium that appears to be just as light and performs equally well, providing that much-needed elasticity and perfect crumb every time!
Selecting the Best Gluten-Free Flour Blends
Fortunately, the days of hunting for specialty gluten-free ingredients are largely behind us. It’s now easy to find all-purpose gluten-free flour blends in most local grocery stores. However, a critical point to understand is that not all these blends are created equal. The quality, taste, and performance can vary significantly from one brand to another.
Poor quality gluten-free flours can leave a gritty taste and often result in baked goods that are flat, dense, or have an unpleasant texture. This inconsistency stems from the fact that different brands formulate their blends with varying ratios of starches and flours, such as brown rice flour, white rice flour, tapioca starch, potato starch, sorghum flour, and millet flour, among others. Because there’s no industry-wide standard, you can’t expect the same taste, texture, or quality across all products, which can make choosing the right blend feel like a daunting task.
To help navigate this, I’ve compiled a more elaborate guide on the best gluten-free flour blends. This guide details my own baking experiments and features insights from blind taste-testers who judged various blends based on taste, texture, and appearance in different recipes. In those tests, Cup4Cup gluten-free flour emerged as the clear winner for its superior performance in a wide range of baked goods, including breads, cookies, cakes, and biscuits, consistently yielding results closest to traditional baking.
However, it’s important to note that Cup4Cup blend does contain milk powder. If you’re following both a dairy-free and gluten-free diet, I highly recommend using King Arthur Measure-for-Measure gluten-free flour. It’s another excellent, reliable option that delivers fantastic results without dairy. Regardless of the flour blend you choose, always make sure to read the ingredient label carefully and double-check for any potential allergens to ensure it meets all your dietary needs.
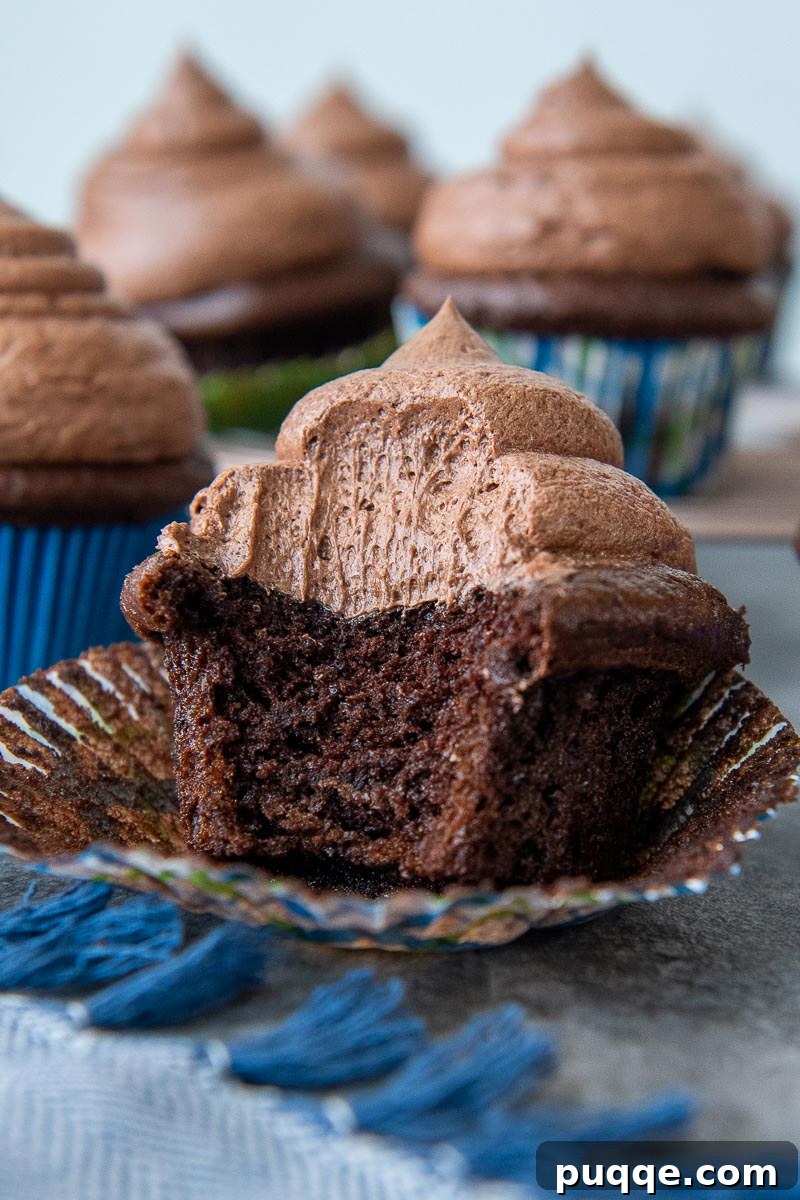
Troubleshooting Common Gluten-Free Baking Mishaps
We’ve all been there – that sinking feeling when a highly anticipated recipe, after all your time and expense, results in a baking disaster. It’s incredibly frustrating, and often leads to disappointment. But don’t give up! Below are the most common gluten-free baking mishaps and practical, expert advice on how to fix them and prevent them from happening again.
Gluten-Free Breads or Cakes Sinking in the Middle
A sinking center in gluten-free breads or cakes is a common issue, most often indicative of an underbaked middle, usually linked to leavening, timing, or temperature problems. Because gluten-free starches don’t release moisture as quickly as wheat flour, these baked goods require a longer baking time to ensure the interior is fully cooked and set. If you’re ever questioning whether an item is truly done, rather than immediately pulling it from the oven, turn the oven off and let the baked good sit inside with the door closed for an additional 5-10 minutes. This allows the residual heat to finish cooking the center gently without over-browning the exterior.
Another cause can be too much leavening agent (baking powder or soda) or an oven temperature that is too high. This combination can cause the batter to rise too rapidly and dramatically, leading to a weak internal structure that eventually collapses or sinks as it cools. Furthermore, frequent disruptions in oven temperature, such as repeatedly opening and closing the oven door, can also cause delicate batters to fall. To mitigate this, consider reducing the oven temperature slightly and extending the baking time. This promotes a slower, more gentle rise and allows ample time for moisture to evaporate, ensuring a stable structure.
Dense or Gummy Crumb in Gluten-Free Baked Goods
A dense or gummy texture is almost always a sign of either excessive moisture in the batter or insufficient baking time for that moisture to properly evaporate. Given that liquids aren’t absorbed as readily by gluten-free starches, recipes with a high liquid content are particularly prone to gumminess.
One effective solution is to strategically swap some of the liquids in your recipe for ingredients like yogurt, sour cream, or even mashed banana. These ingredients contribute moisture while also adding structure and helping to create a fluffier texture without making the final product watery. You can also experiment with slightly reducing the total amount of liquid while keeping the quantity of dry ingredients consistent. Another crucial step is to follow our tip to extend the baking time. Reducing the oven temperature slightly and baking for longer will help moisture evaporate more effectively. Once the initial baking time is complete, turn off the oven and let the item sit inside for a few extra minutes. Finally, always use a long cake tester or an instant-read thermometer to confirm that the center is thoroughly cooked through.
Dry and Crumbly Gluten-Free Texture
Achieving a cohesive, non-crumbly texture is one of the biggest challenges in gluten-free baking, primarily because gluten-free doughs inherently lack the natural elasticity and binding properties of gluten. When a gluten-free dough feels too soft or sticky, the common instinct for many bakers is to simply add more flour until it achieves a consistency similar to traditional wheat dough. While this might make the dough more manageable for shaping, the baked result will almost certainly be excessively dry and crumbly, making it unappetizing.
So, what’s the effective fix? Instead of continually increasing the amount of flour, which exacerbates dryness, implement two of the crucial tips we discussed earlier. Firstly, consider replacing a portion of the main gluten-free flour blend with a more forgiving and hydrating starch, such as potato starch or tapioca starch. These starches help absorb moisture without drying out the final product, contributing to a softer crumb. Secondly, incorporate an additional binding agent, like psyllium husk powder. As explained, psyllium husk significantly improves elasticity and helps to bind moisture within the dough, creating a more cohesive structure without the need for excess flour. Additionally, ensure your recipes have adequate fat (butter, oil, or even full-fat dairy substitutes) and egg content, as these also contribute significantly to moisture and structure, preventing a dry and brittle outcome.
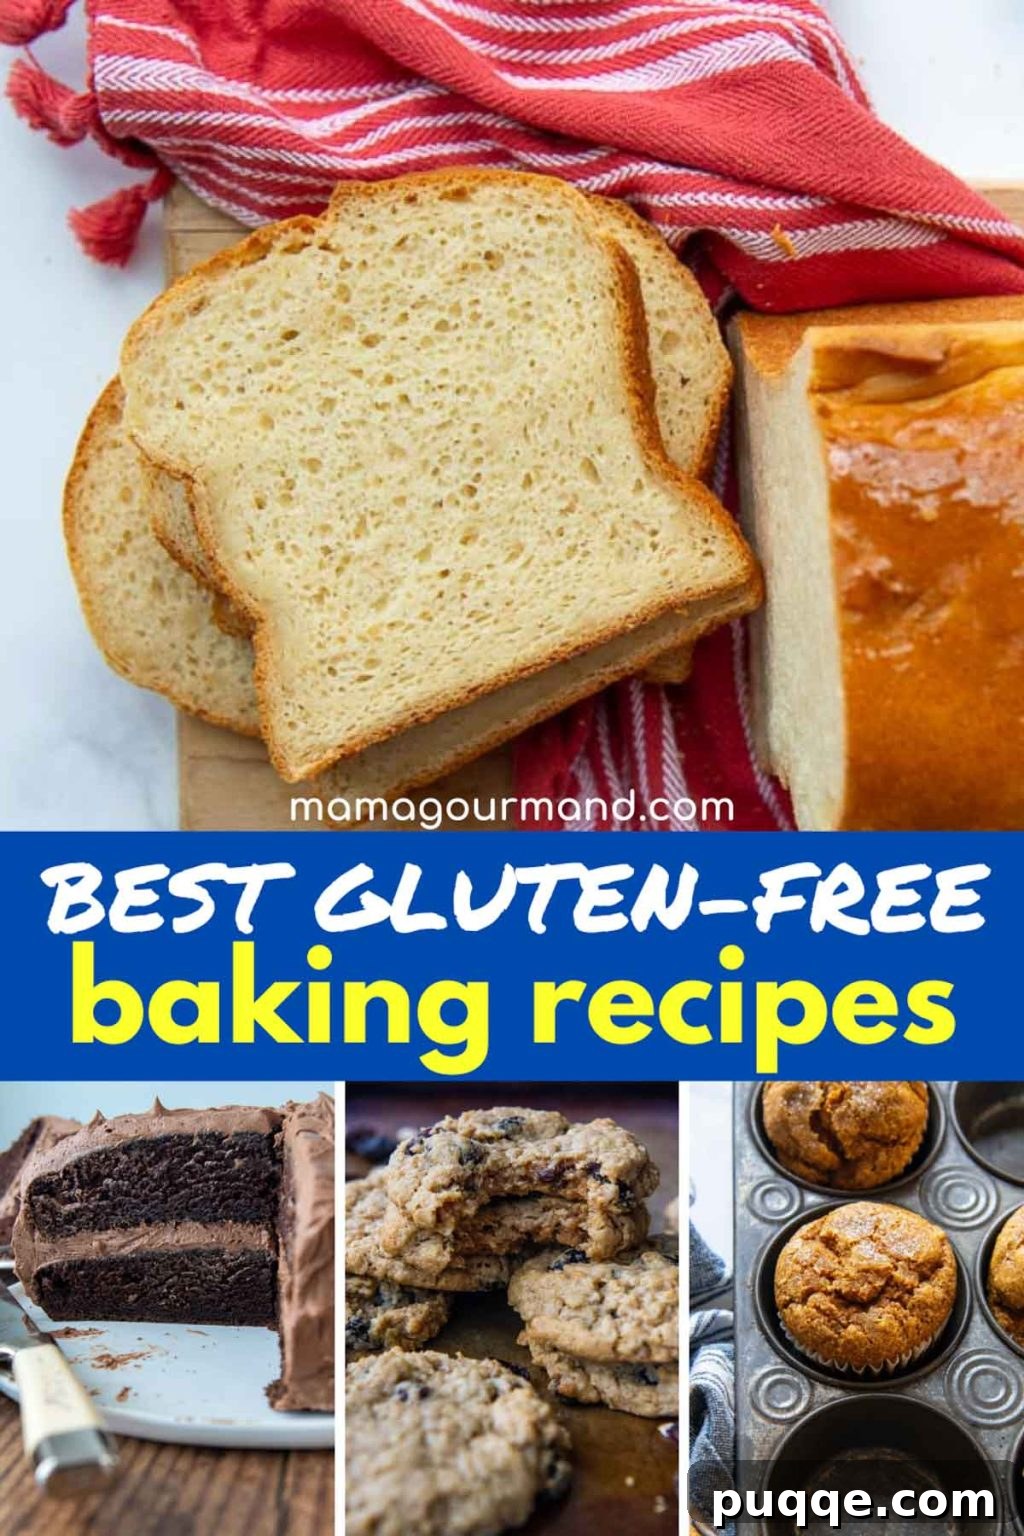
Love these ideas? SAVE THESE GLUTEN-FREE BAKING TIPS TO YOUR PINTEREST BOARD!
Let’s be friends on Pinterest! I’m always sharing great recipes!
This post contains affiliate links. My opinions are always my own. If you purchase a product through an affiliate link, I make a small commission – at no cost to you. Read full disclosure policy here.