
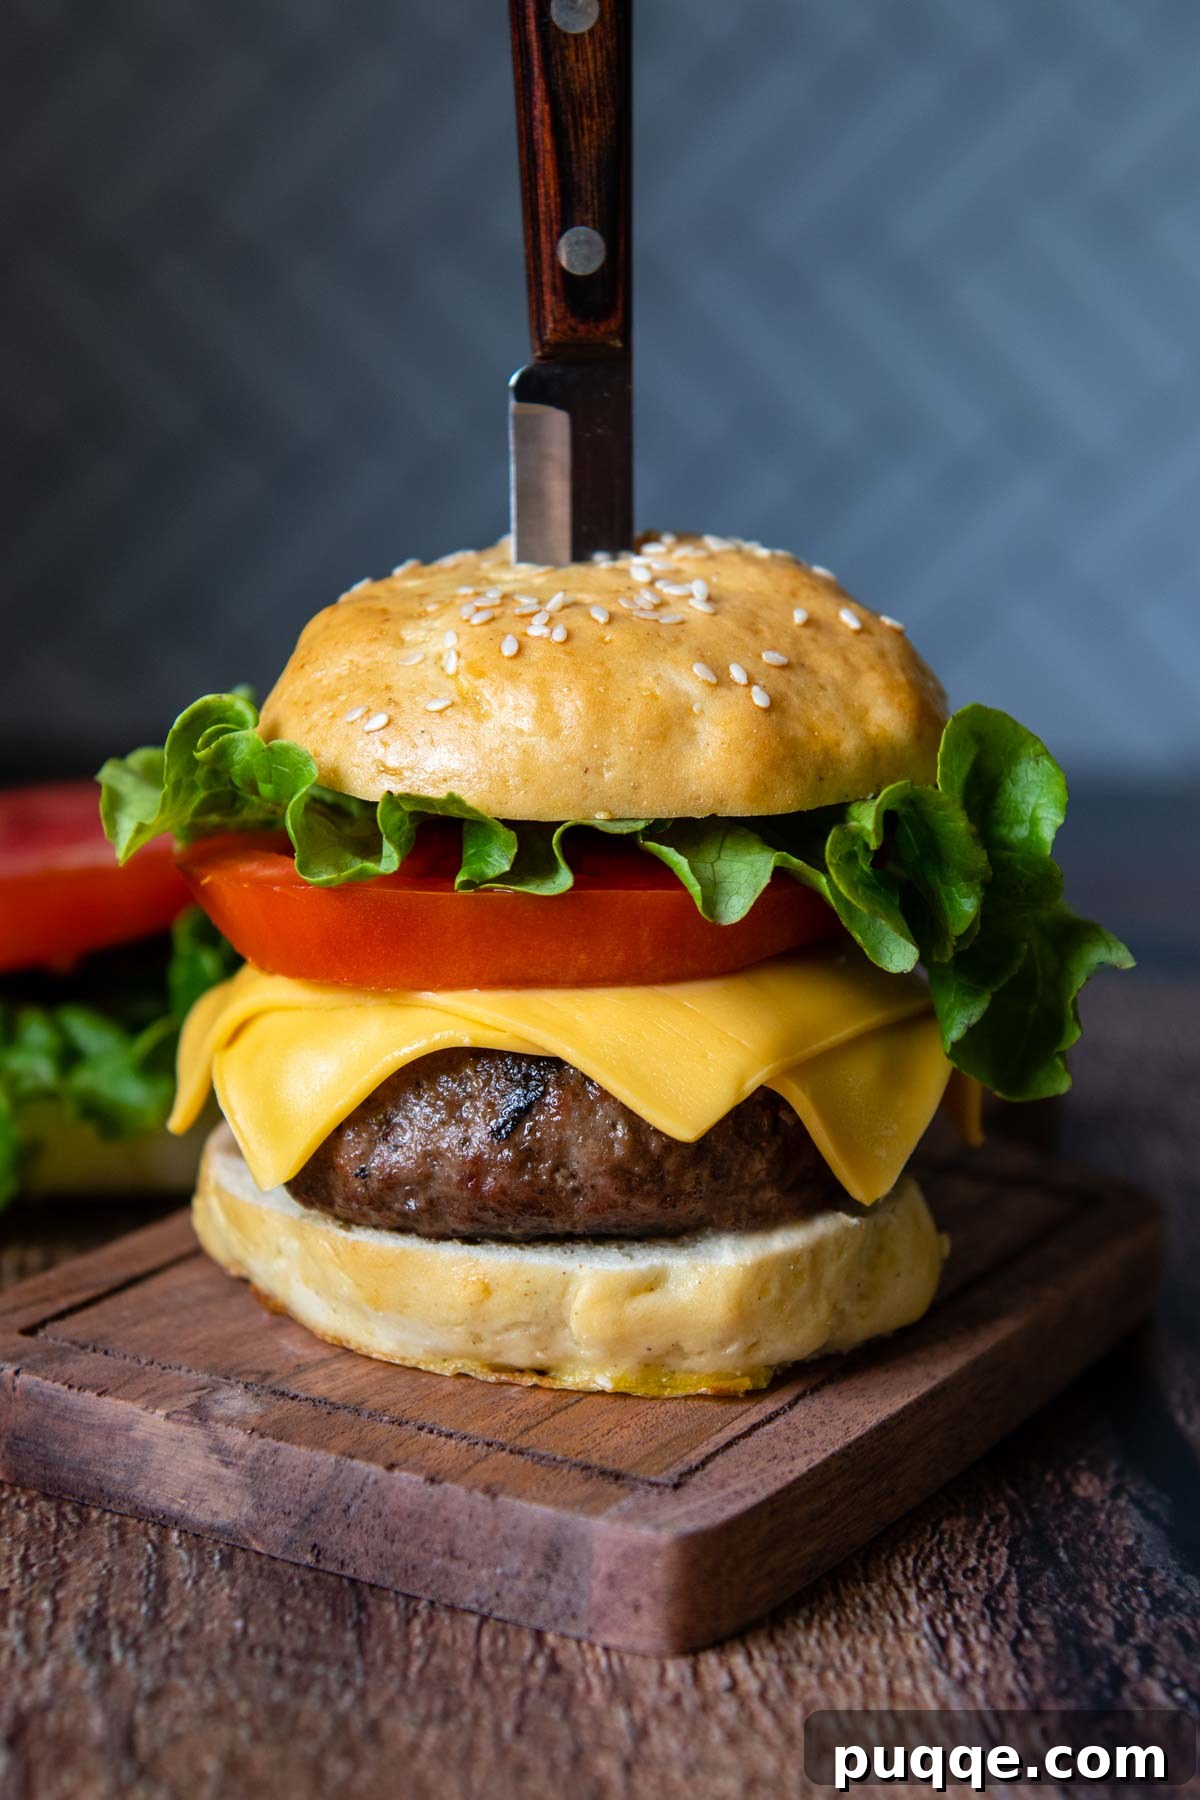
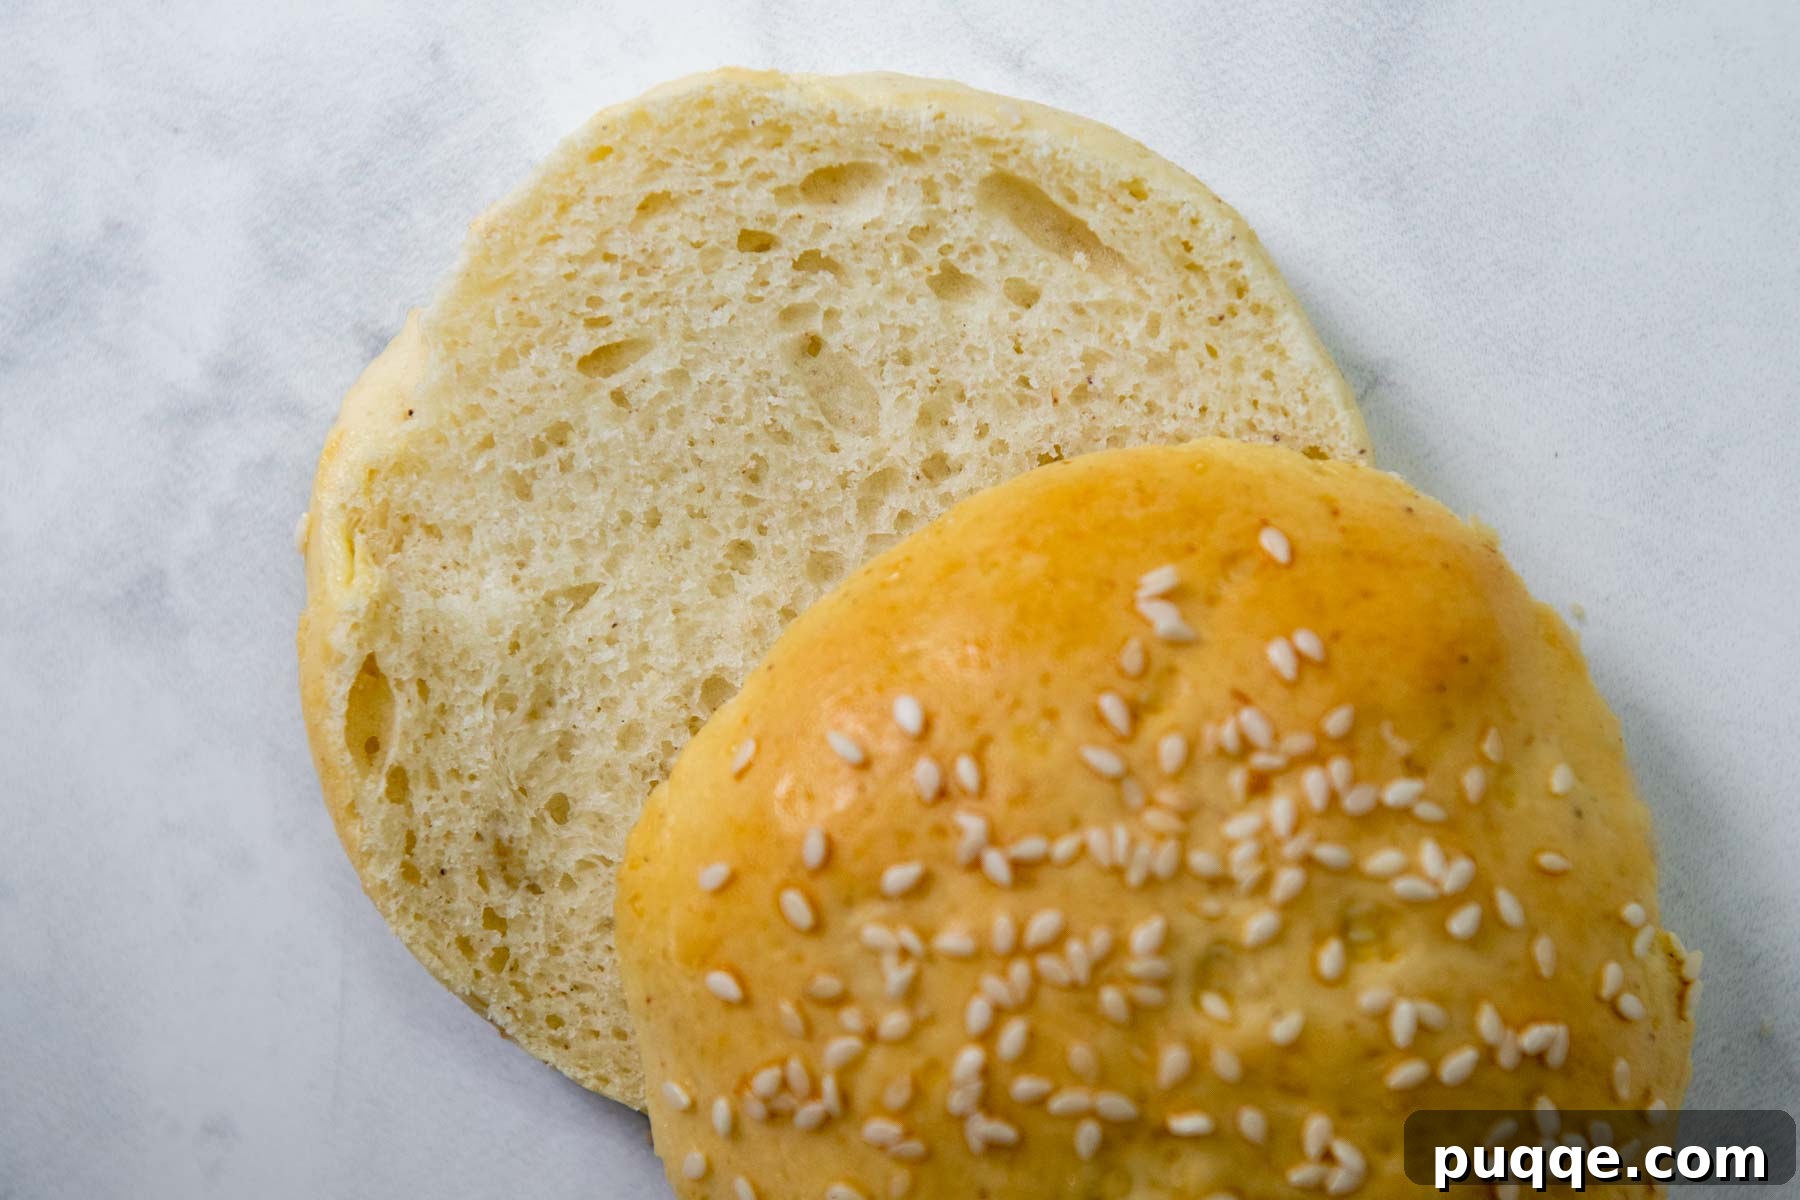
Are you tired of bland, dry, and crumbly gluten-free hamburger buns that fall apart the moment you bite into your burger? Imagine sinking your teeth into a juicy burger, perfectly nestled between two incredibly soft, squishy, and flavorful buns – buns that taste even better than you remember from your gluten-filled days. This isn’t a dream! We’re thrilled to share the ultimate recipe for the best gluten-free hamburger buns that will revolutionize your burger nights. Prepare to be amazed by their fluffy, pillowy texture and a delightful hint of sweet, buttery flavor. With our easy-to-follow, step-by-step guide, you’ll be baking these masterpieces in no time, and we’ve even included a dairy-free option so everyone can enjoy!
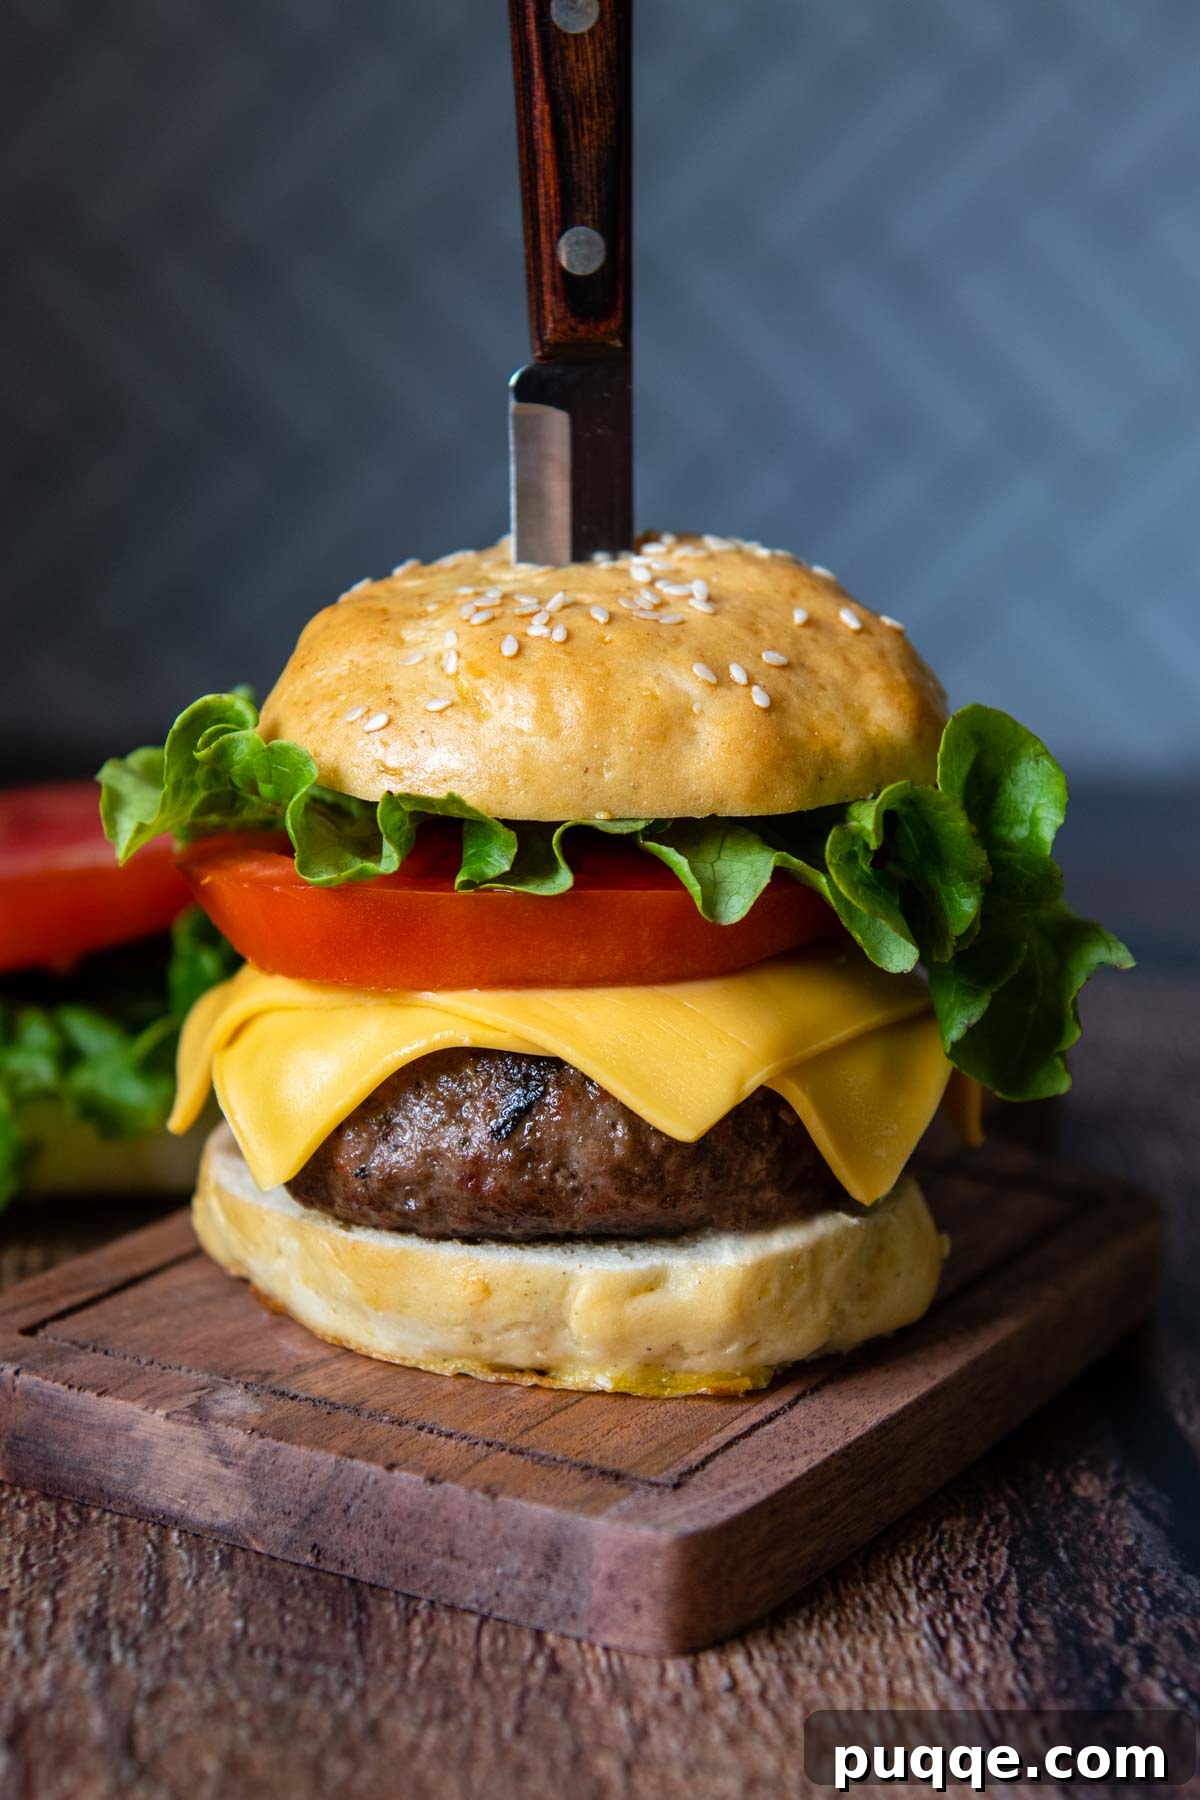
Finally! The BEST Soft & Squishy Gluten-Free Burger Buns
For too long, embracing a gluten-free diet meant sacrificing the simple pleasure of a truly great burger bun. You’ve likely encountered those disappointing stand-ins – dense, crumbly, or flavorless imposters that barely hold your burger together. But those days are officially over! This recipe isn’t just “good for gluten-free”; it delivers a soft, pillowy texture and rich flavor that rivals, if not surpasses, traditional wheat-based buns. We promise, once you try these homemade gluten-free burger buns, you’ll understand why our readers can’t stop raving about them.
Crafting exceptional gluten-free bread requires a deep understanding of ingredients and techniques to mimic the elasticity and structure of gluten. Through years of dedicated recipe testing and countless experiments, we’ve unlocked the secrets to creating superior gluten-free dough that is both easy to handle and yields outstanding results. Our collection of homemade gluten-free breads is a testament to this journey, consistently delivering soft, pliable textures that defy common gluten-free expectations.
Many gluten-free bun recipes miss the mark by simply adding more gluten-free flour to make the dough easier to shape. While this might achieve initial shapability, it inevitably leads to a dry, heavy, and unappetizing bun. We’ve all endured enough of those culinary disappointments! Our philosophy takes a different approach, inspired by the success of our viral homemade gluten-free bread recipe: less is indeed more.
The secret lies in a carefully balanced combination of ingredients and a specific method that prioritizes moisture and structure without excess flour. By using less gluten-free flour than typical recipes, we avoid dryness. We then introduce psyllium husk, a game-changer for gluten-free baking, which effectively absorbs moisture and provides essential binding and elasticity, beautifully mimicking gluten. The choice of flour blend is also critical; our absolute favorite is Cup4Cup GF flour blend, renowned for its superior texture. Additionally, a touch of potato starch is incorporated to further enhance softness and help the buns maintain their perfect shape during baking.
You’ll be delighted by how straightforward these buns are to make. There’s no complex kneading involved, just one simple rise, and a quick 15-minute bake in the oven. Even shaping the buns is a breeze – we’ll show you a clever trick using a measuring cup for perfectly portioned dough balls! Say goodbye to bunless burgers or disappointing alternatives forever. It’s time to elevate your burger experience with these truly exceptional gluten-free hamburger buns.
Yum!!! Made these with Cup4cup flour mix. Oh my!! They are like a CLOUD, especially fresh out of the oven with butter!! I’m not normally gluten free and I loved them just as much as my gluten free daughter did. Thank you for sharing this recipe!
—BJ
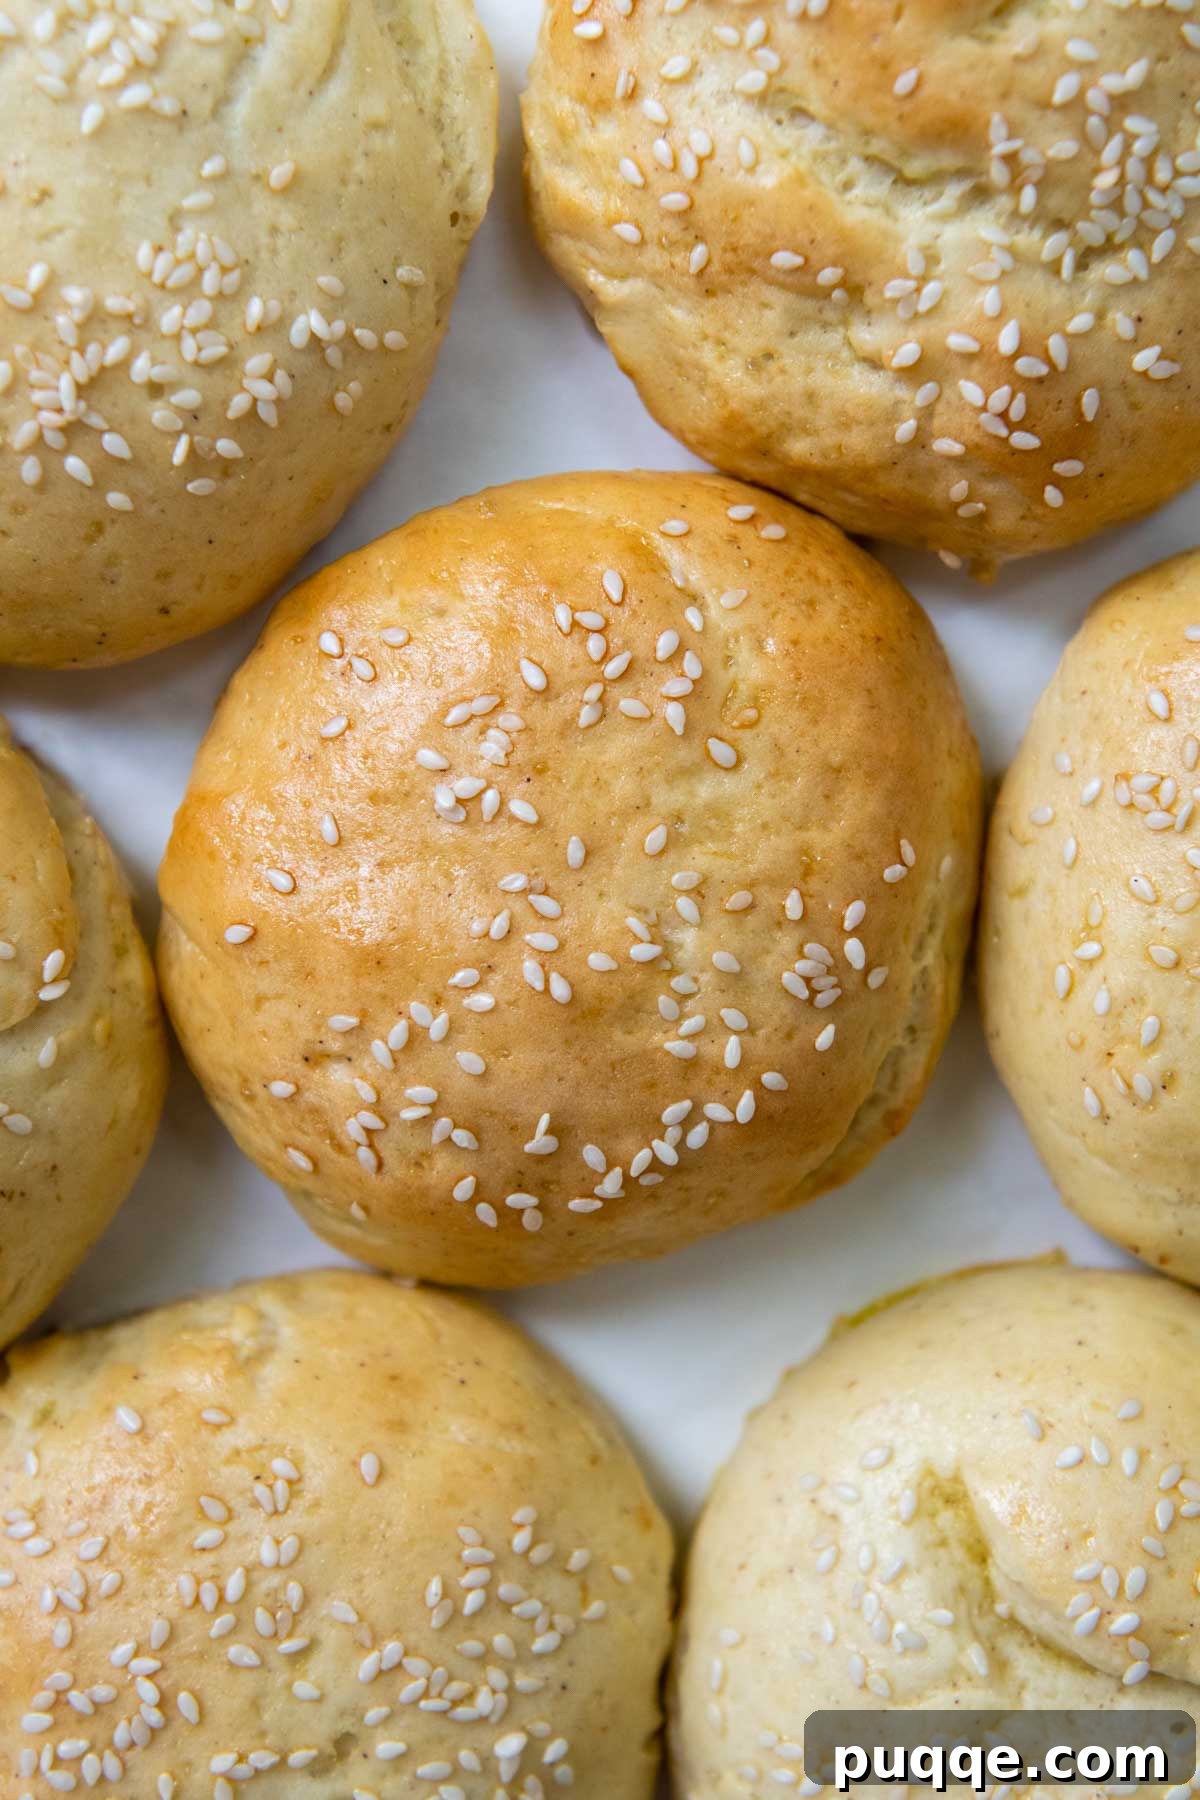
Essential Ingredient Tips and Substitutions for Perfect Gluten-Free Buns
Success in gluten-free baking often comes down to understanding the role of each ingredient. Here’s a closer look at the key components that make these hamburger buns so extraordinary:
- Gluten-Free Flour Blend: We highly recommend Cup4Cup for this recipe. Its unique blend, particularly the added cornstarch, contributes significantly to the characteristic pillowy-soft texture we aim for. While Cup4Cup consistently yields the best results, many of our community members have successfully adapted the recipe using other quality gluten-free flour blends. Feel free to explore the comments section below to see what other blends have worked for fellow bakers!
- Potato Starch (not potato flour): This is truly our secret ingredient for achieving that incredible softness, reminiscent of traditional potato buns. Instead of relying on additional gluten-free flour, which can lead to dryness, we leverage potato starch as an extra GF starch to provide structure and a delicate, tender crumb. For optimal results, stick with potato starch. However, if absolutely necessary, tapioca starch or a small amount of additional gluten-free flour can be substituted, though the texture may vary slightly.
- Psyllium Husk Powder: An indispensable binding agent in gluten-free dough, psyllium husk powder is crucial for mimicking the elasticity, chewiness, and crumb structure typically provided by gluten in wheat baked goods. It helps the dough hold together, making it easier to shape and preventing a crumbly final product. For the best appearance, opt for a lighter-colored psyllium husk. This psyllium is our favorite because it avoids the common issue of turning baked goods a strange dark or even purple hue.
- Baking Powder and Yeast: Our two-fold leavening method is the secret to a phenomenal rise in these gluten-free buns. The active dry yeast gets things started, providing initial lift and flavor during the brief rest period after mixing. Then, the baking powder kicks in during the baking process, giving the buns that final boost and airy texture in the oven. This combination ensures a consistently lofty and tender bun.
Let’s Make These Incredibly Soft Buns Together!
(Below you’ll find step-by-step photos and detailed instructions. For the complete recipe, including precise ingredient amounts and nutritional information, please scroll down to the recipe card.)
Crafting the Easy-Peasy Dough
Begin by activating your yeast. In a small bowl, combine warm water (around 110°F is ideal) with a teaspoon of sugar and sprinkle in the active dry yeast. Let this mixture sit for about 5 minutes until it becomes beautifully frothy, indicating the yeast is active and ready to work its magic. Meanwhile, in the bowl of your stand mixer fitted with a paddle attachment, whisk together all the dry ingredients: the gluten-free flour blend, remaining granulated sugar, potato starch, psyllium husk powder, baking powder, and salt. Once the yeast mixture is frothy, slowly add it to the dry ingredients, along with your room-temperature eggs and slightly cooled melted butter.
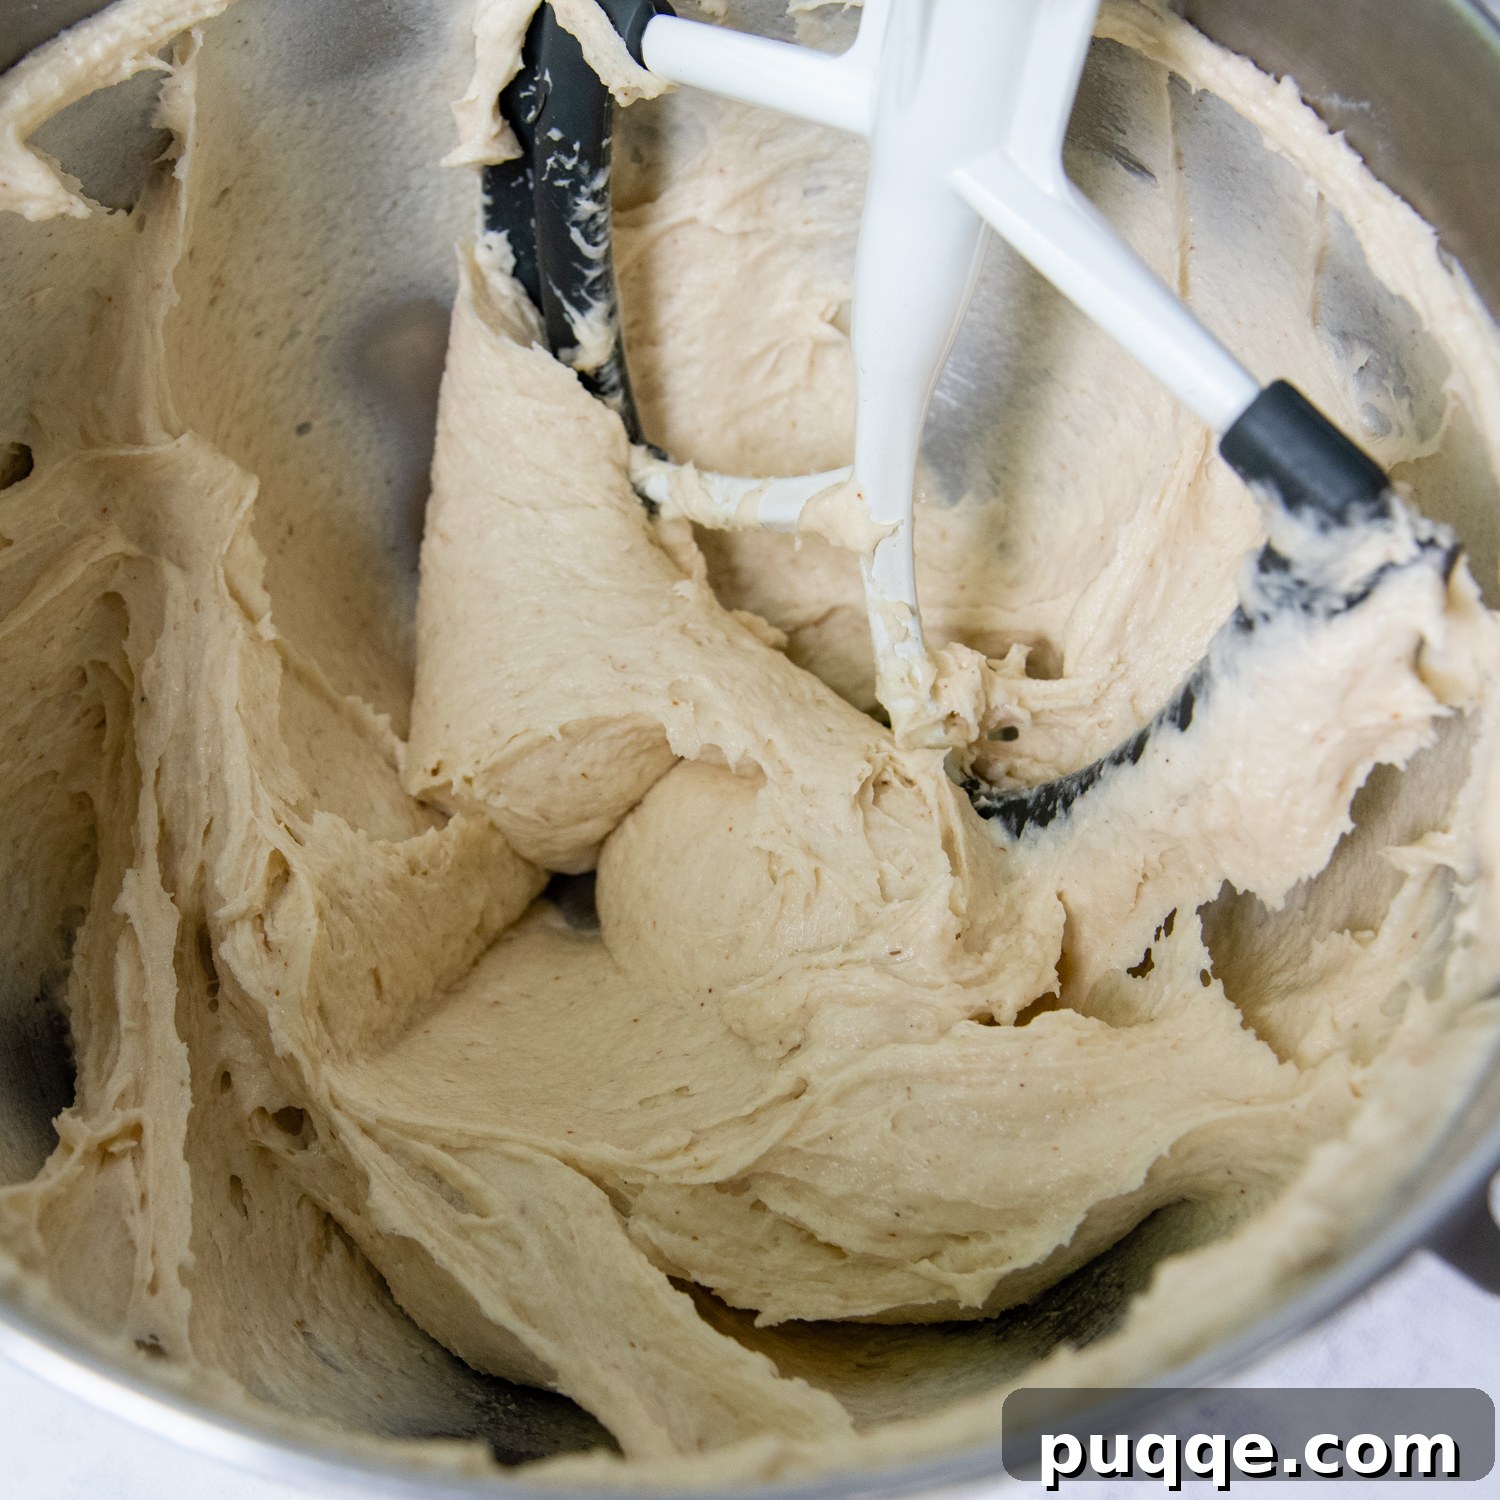
Mix on low speed initially to bring all the ingredients together, then increase the speed to medium and beat for a full 6 minutes. This crucial mixing time develops the dough’s structure and ensures even distribution of ingredients. Don’t be alarmed if the dough appears quite stiff but still slightly sticky – this is the perfect consistency for our gluten-free buns. Remember to occasionally stop the mixer and scrape down the sides of the bowl to ensure everything is thoroughly incorporated.
Effortless Scooping and Rolling
Now for the fun part: shaping your buns! We have a precise method, but also a wonderfully easy option (guess which one we often choose!). For standard-sized hamburger buns, aim for approximately 3 ½ ounce portions of dough. If you’re making delightful slider buns, reduce the portion to about 2 ½ ounces. For ultimate precision, a food scale is your best friend. Simply place a piece of greased plastic wrap on the scale, add your dough, and measure accurately. For an even quicker and easier approach, spray a ⅓ measuring cup with cooking spray and scoop out the dough evenly to the top. This method provides consistent sizing without the need for a scale.
Once portioned, transfer the dough balls to two baking sheets that have been lined with greased parchment paper. To achieve beautifully smooth buns without cracks during baking, lightly spray your hands with cooking spray and gently roll each portion into a tight, smooth ball. The smoother the surface, the more aesthetically pleasing your final buns will be. Space them about 2-3 inches apart on the baking sheets to allow for proper rising.
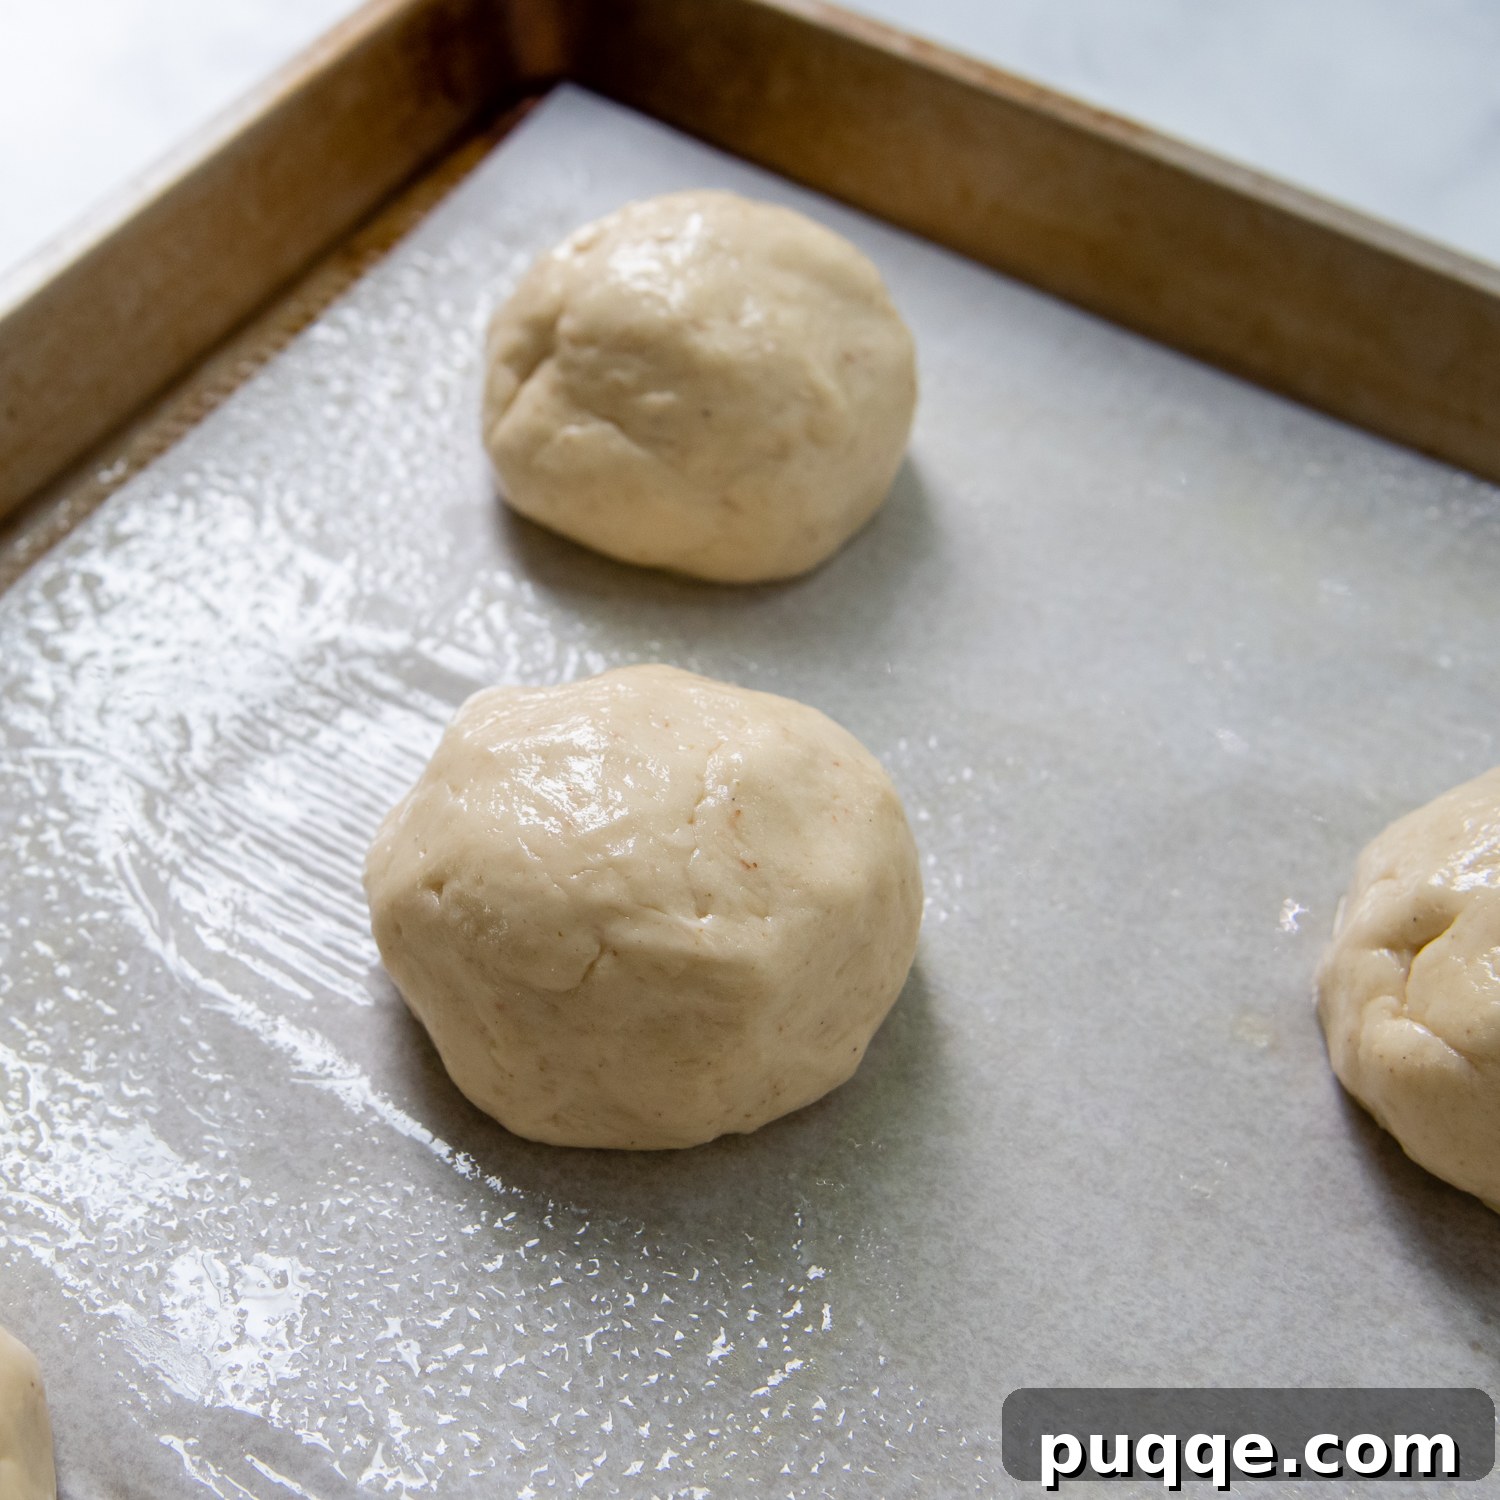
The Press and Rise for Perfection
Next, it’s time to gently flatten each dough ball into a thick disc, aiming for about ¾-inch in height. This step ensures a nice, even bun shape. Once flattened, loosely cover each baking tray with a large piece of greased plastic wrap. This prevents the dough from drying out while it rises. Set the trays aside to rise in a warm, draft-free place for approximately 20-30 minutes. In the meantime, preheat your oven to 375°F (190°C) – this preheating is key to getting a good oven spring for your buns.
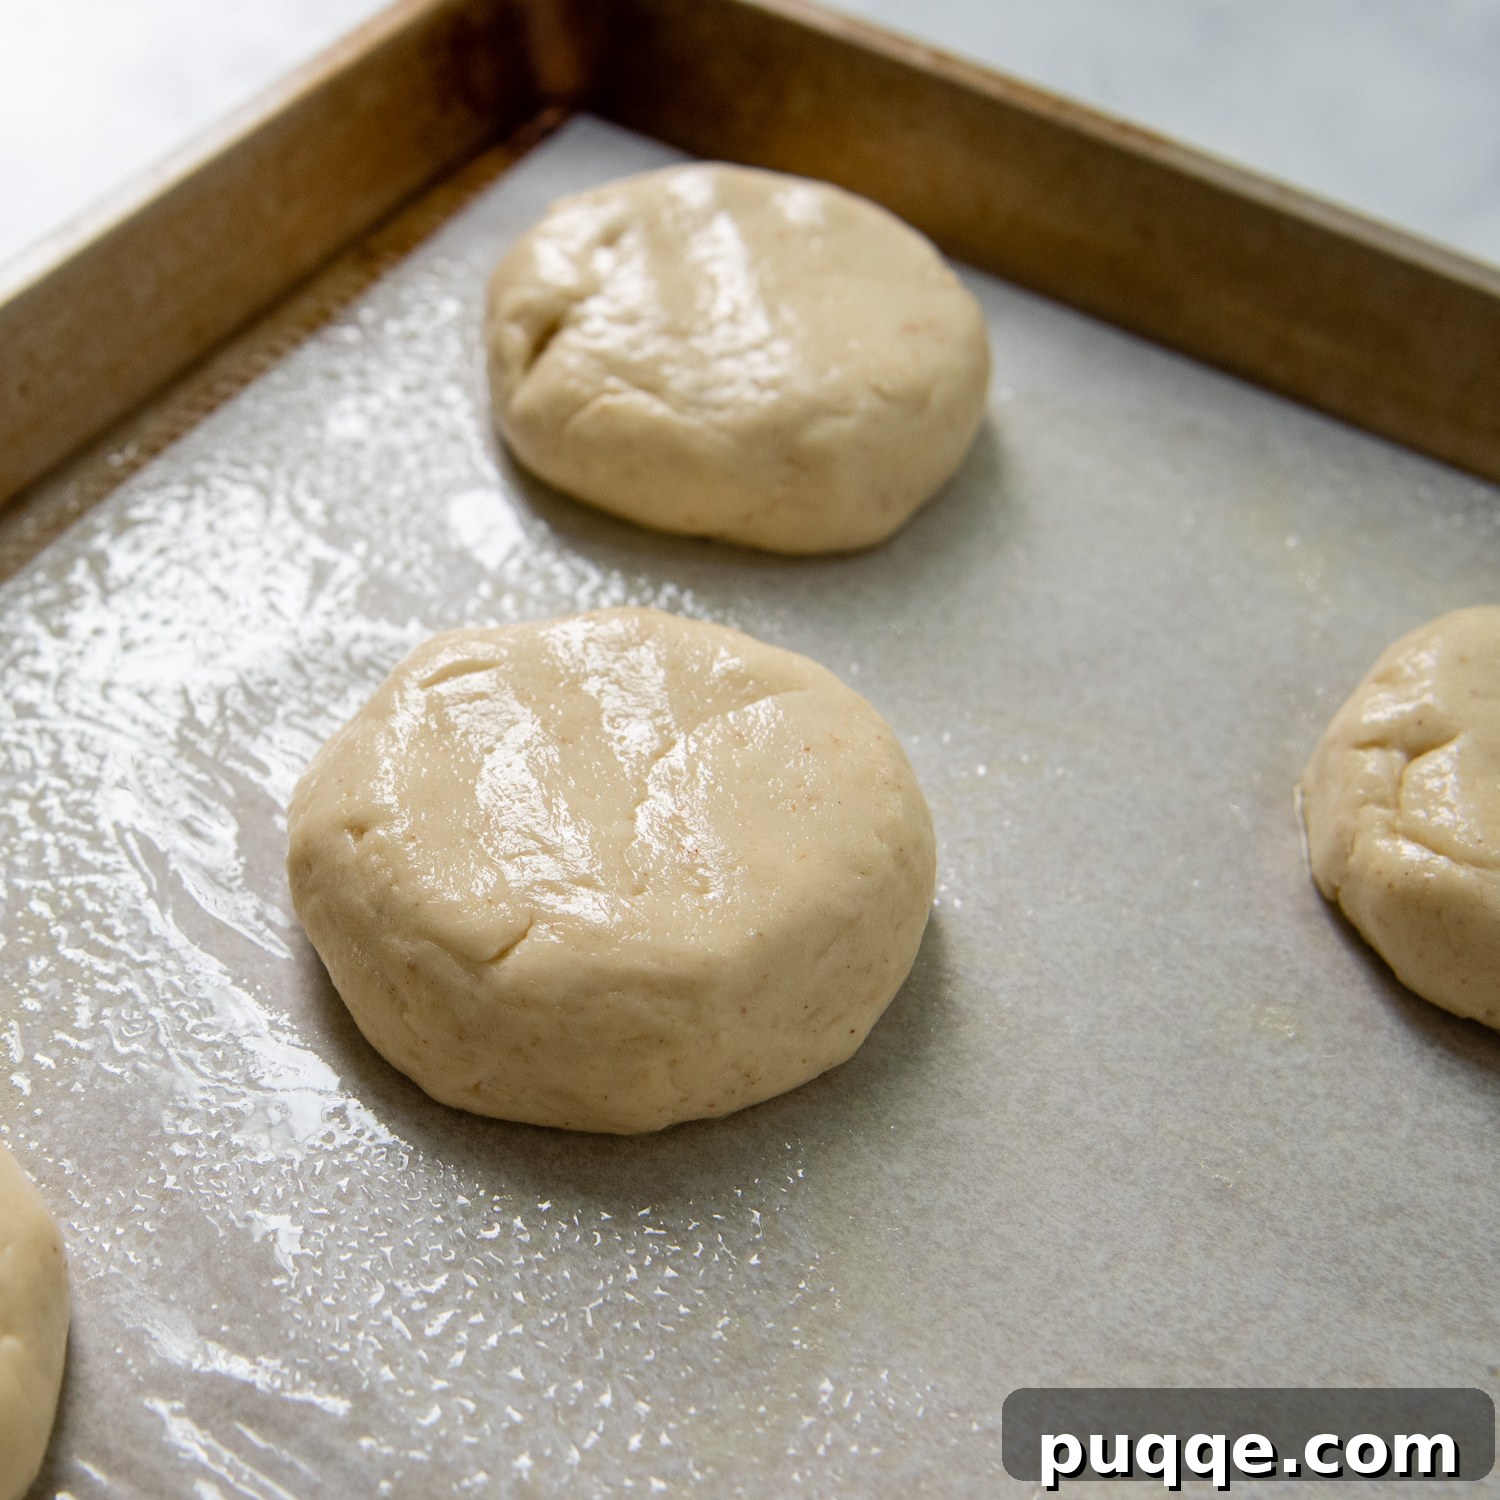
Achieving that Irresistible Golden Sheen
Once your buns have risen beautifully, it’s time for the final touch before baking: the egg wash. Prepare this by beating one large egg with 1 tablespoon of water until well combined and slightly frothy. Generously brush this egg wash over the top and sides of each risen bun. This step is essential for achieving that gorgeous, golden-brown crust and a subtle shine. Now is also the perfect moment to sprinkle your desired toppings – classic sesame seeds, delicate poppy seeds, or even a sprinkle of flaky sea salt for an extra touch of flavor and texture.
Carefully transfer the baking sheets to your preheated oven. Bake for 15-17 minutes, or until the tops are a beautiful golden brown and the bottoms are also nicely browned. For even baking, remember to rotate the pans halfway through the baking time. While it’ll be tempting to devour them immediately, try to save these for your juicy hamburgers! However, we won’t judge if you sneak one warm, fresh out of the oven – they truly are amazing on their own.
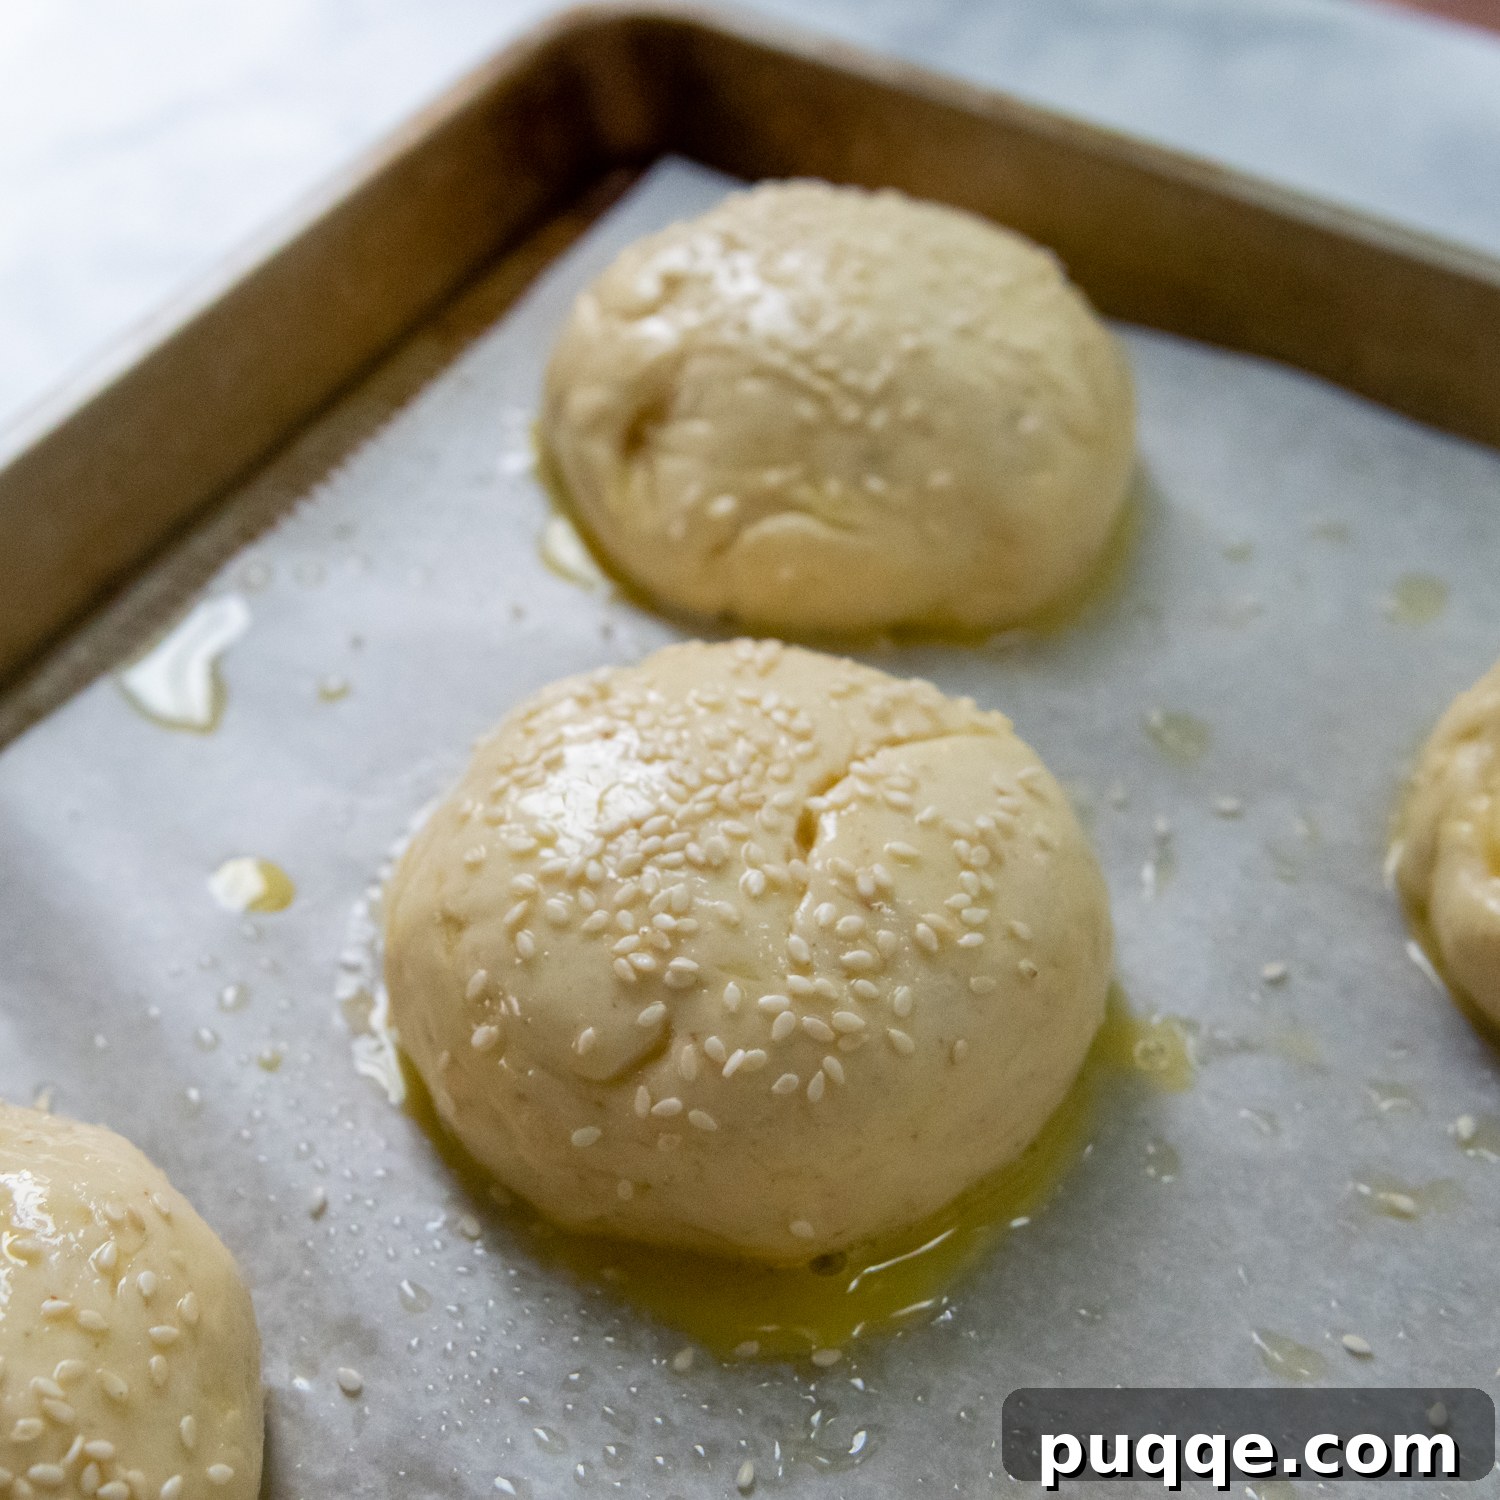
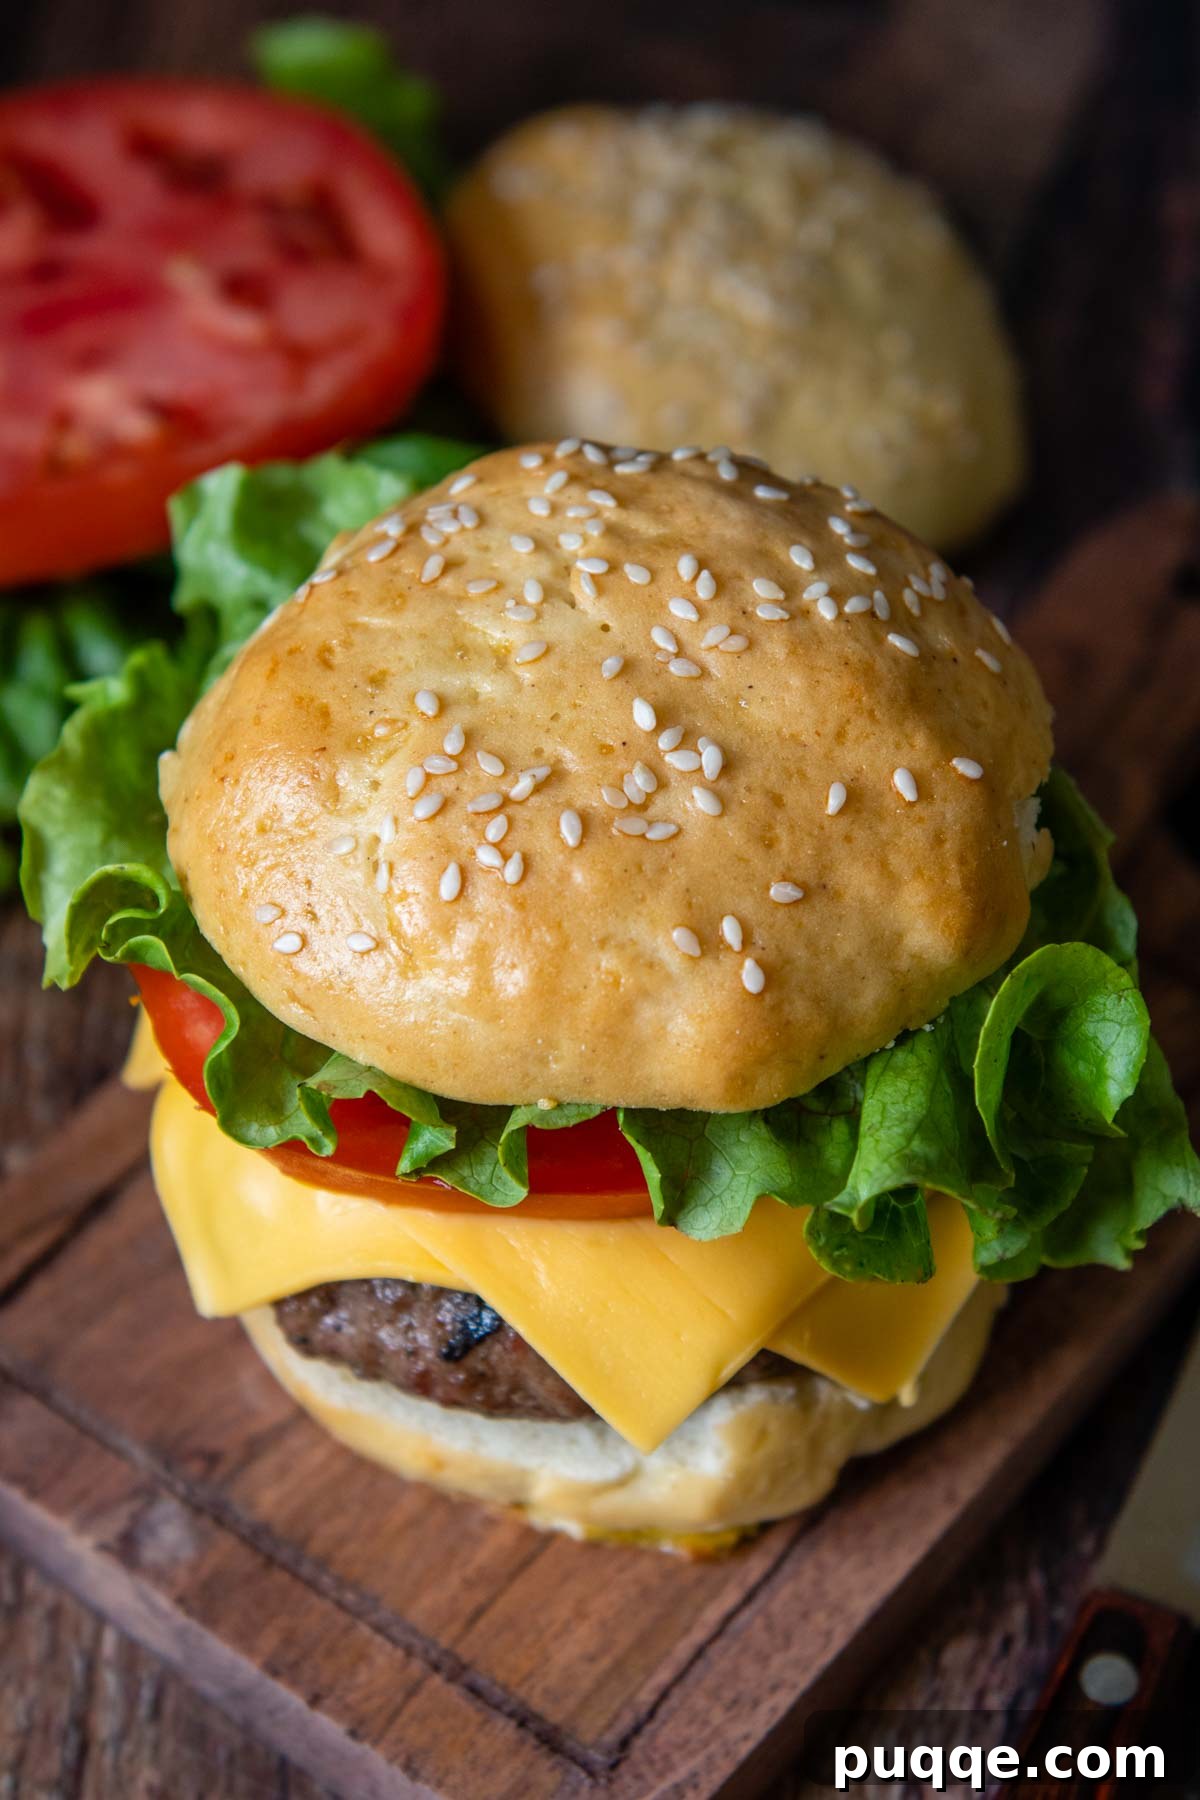
Pro Tip: Achieving a Quick & Lofty Rise for Gluten-Free Dough
One of the biggest challenges with gluten-free bread is getting a good rise. Here’s an ingenious trick to help your dough rise higher and faster. Before you even start mixing your ingredients, preheat your oven to a low 200°F (95°C). As soon as it reaches this temperature, turn the oven off. This creates a perfectly warm, draft-free environment ideal for yeast activation without being too hot. Once your shaped buns are ready for their rise, place the baking sheets into this gently warmed, turned-off oven for about 10-15 minutes. This initial warmth gives the yeast a fantastic head start. Then, remove the pans from the oven and let them finish rising at room temperature for another 20-30 minutes while your oven preheats to the baking temperature. This two-stage rise ensures maximum volume and a truly airy texture.
You might be wondering if a stand mixer is absolutely essential for this recipe. While the dough is relatively stiff, it’s also sticky enough that a hand mixer simply won’t be powerful enough to handle it effectively. If you don’t own a stand mixer, you can achieve similar results using a bread machine on its dough mixing cycle. However, if you plan to make a variety of homemade gluten-free bread recipes regularly, we highly recommend investing in a good quality stand mixer – it will make your baking journey significantly easier and more enjoyable!
Beyond Burgers: Versatile Uses for This Gluten-Free Dough
The beauty of this dough isn’t limited to just hamburger buns! Its soft, pliable nature makes it incredibly versatile for other gluten-free bread creations:
Hot Dog Buns: While the dough is the same, shaping and baking hot dog buns requires a slightly different approach to achieve that perfect elongated form. For a dedicated, step-by-step tutorial on making easy gluten-free hot dog buns, check out our specialized recipe.
Slider Buns: To create adorable slider buns, simply make smaller portioned dough balls (around 2 ½ ounces each) following the same process. Alternatively, if you’re craving a slightly sweet taste with that same soft, squishy texture, our recipe for gluten-free Hawaiian buns is a must-try!
Many of our readers fall so deeply in love with this base recipe that they get creative and adapt it for countless other gluten-free bread ideas. We encourage you to do the same! Take a look at the comments below for inspiration from our community, and don’t forget to share your own delightful creations.
Save This Recipe to Your Pinterest Board!
Let’s be friends on Pinterest! I’m always sharing great recipes!
Did you make this incredible recipe? I absolutely love hearing from you and seeing your delicious creations! Please leave a star rating and comment below the recipe card. Your feedback helps others in our community discover fantastic recipes, and I truly appreciate hearing about your experience. You will always hear back from me! -Melissa

4.80 stars (77 ratings)
Softest Gluten-Free Hamburger Buns (Not Crumbly)
 Melissa Erdelac
Enjoy the best, juicy burgers again with this easy gluten-free hamburger buns recipe! Soft, squishy burger buns taste even better than you remember with a hint of sweet, buttery flavor. Dairy-free option included.
Pin
Rate
Remove Ads
Ingredients
- 1 ½ cup (360 g) warm water (110°F)
- 1 packet (2 ¼ tsp, 9 g) active dry yeast
- 2 large eggs, room temperature
- ¼ cup (57 g) melted butter, cooled slightly (see recipe notes for dairy-free option)
- 3 ¼ cup (473 g) gluten-free all-purpose flour, I recommend Cup4Cup brand
- ⅓ cup + 1 tsp (80 g) granulated sugar, divided
- ½ cup (80 g) potato starch
- 2 tablespoons (22 g) psyllium husk powder (what is psyllium husk?)
- 2 teaspoons baking powder
- 1 teaspoon salt
- Egg wash: 1 egg mixed with 1 tbsp water
- (Optional) sesame seeds, poppy seeds, or flaky sea salt, for topping
Equipment
- Stand Mixer
- Cup4Cup Gluten-Free Flour
- Food Scale
Instructions
- Before you begin mixing the dough, turn your oven to 200ºF (95°C). Once it reaches this temperature, turn it off. This creates a perfect warm environment for rising. Line two baking sheets with greased parchment paper.
- In a small bowl, stir the active dry yeast and 1 teaspoon of sugar into the warm water. Let it sit for 5 minutes until it becomes frothy. Add the room temperature eggs and slightly cooled melted butter to the yeast mixture.
- While the yeast sits, use a stand mixer with a paddle attachment to combine the dry ingredients: gluten-free flour, remaining granulated sugar, potato starch, psyllium husk powder, baking powder, and salt. Slowly add the wet yeast mixture to the dry ingredients and mix on low speed until just combined.
- Once the dough starts to come together, increase the mixer speed to medium and beat for 6 minutes. The dough will be quite stiff but still sticky. Stop the mixer once or twice to scrape down the sides and bottom of the bowl to ensure everything is thoroughly mixed.
- For average-sized burger buns, portion the dough into approximately 3 ½ ounce (99g) portions. For precision, use a food scale with greased plastic wrap. Alternatively, for an easier method, spray a ⅓ measuring cup with cooking spray and scoop out the dough evenly to the top.
- Spray your hands with additional cooking spray and roll each dough portion into a tight, smooth ball. The smoother the ball, the less likely the buns are to crack during baking (this affects appearance, not taste). Place the shaped balls on the prepared baking sheets, ensuring they are about 2-3 inches apart. Repeat with the remaining dough.
- Gently flatten the dough balls to about ¾-inch high discs. Loosely cover each tray with a piece of greased plastic wrap and place them in the warmed, turned-off oven for 10 minutes. After 10 minutes, remove the pans from the oven and let them finish rising at room temperature for another 20-30 minutes while your oven preheats to 375°F (190°C).
- Prepare the egg wash by whisking 1 egg with 1 tablespoon of water until frothy. Brush the top and sides of the risen buns generously with the egg wash and sprinkle with your chosen toppings (sesame seeds, poppy seeds, or flaky sea salt). Bake for 15-17 minutes, or until the tops are golden brown and the bottoms are firm and lightly browned. Cool completely on a wire rack before storing or serving.
Notes
Dairy-Free Modifications
To make these delicious buns dairy-free, simply replace the melted butter with an equal amount of vegan, plant-based butter sticks. When making this substitution, also reduce the salt in the recipe to ¾ teaspoon.
Storing and Freezing
Gluten-free baked goods tend to lose moisture more quickly than their wheat-based counterparts. For the freshest and softest texture, we highly recommend serving these buns on the same day they are baked. If you wish to prepare them ahead of time, allow the buns to cool completely after baking. Once cool, wrap each bun tightly in plastic wrap, then transfer them to a freezer-safe ziplock bag. They can be frozen for up to 2 months.
When you’re ready to enjoy your frozen buns, ensure they reach room temperature before serving. Buns that are cold or even slightly chilled will have a firmer, more crumbly texture. For a quick refresh and to restore their soft, squishy quality, you can warm them in the microwave for a few seconds (about 10-15 seconds per bun) to remove any “chill.”
Calories: 205kcal,
Carbohydrates: 37g,
Protein: 5g,
Fat: 6g,
Saturated Fat: 3g,
Polyunsaturated Fat: 1g,
Monounsaturated Fat: 1g,
Trans Fat: 1g,
Cholesterol: 37mg,
Sodium: 241mg,
Potassium: 151mg,
Fiber: 5g,
Sugar: 7g,
Vitamin A: 158IU,
Vitamin C: 1mg,
Calcium: 61mg,
Iron: 1mg