
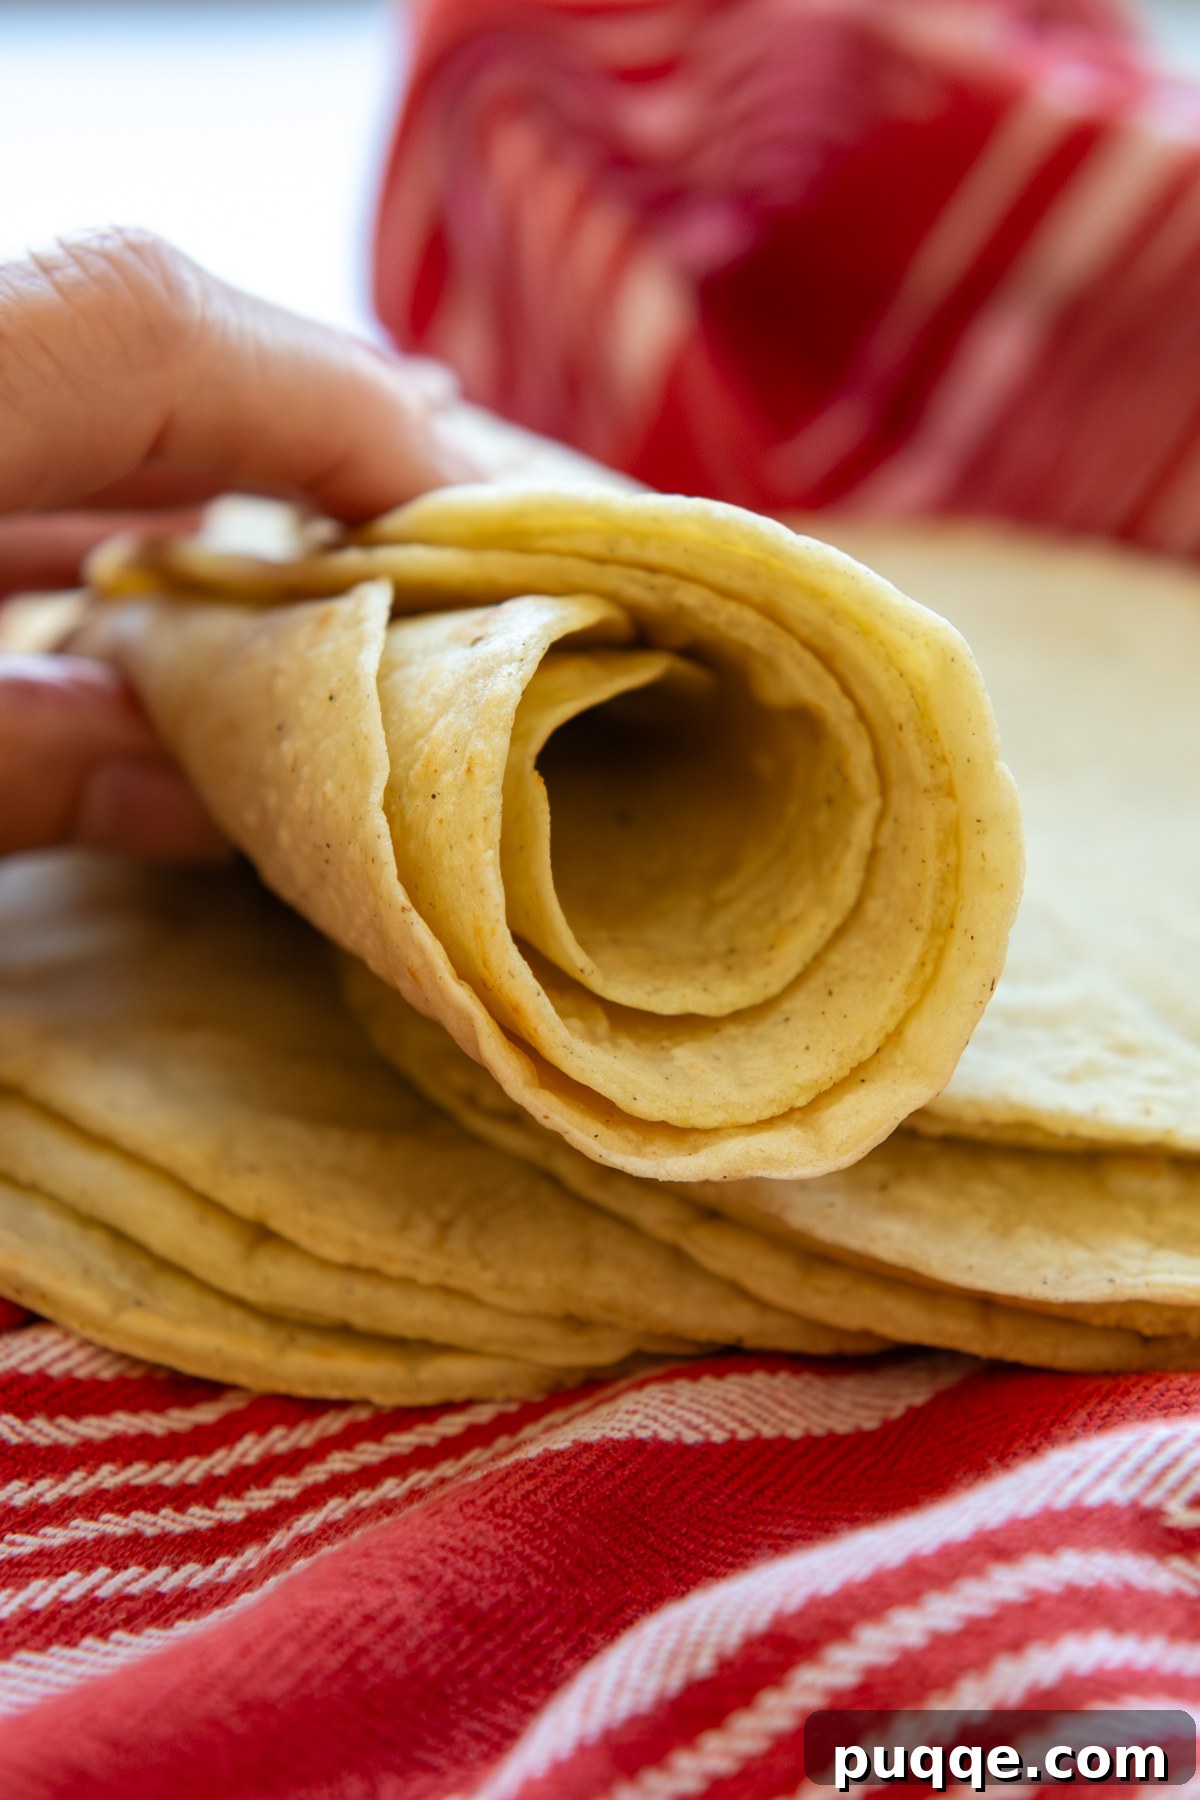
Are you tired of dry, crumbly, and disappointing gluten-free corn tortillas? This is the ultimate guide to making your own soft, flexible, and wonderfully puffy homemade tortillas that will transform your favorite Mexican and Tex-Mex dishes. Crafted with authentic masa harina and featuring easy-to-follow steps, this recipe guarantees perfect results every single time, making those subpar store-bought options a thing of the past.
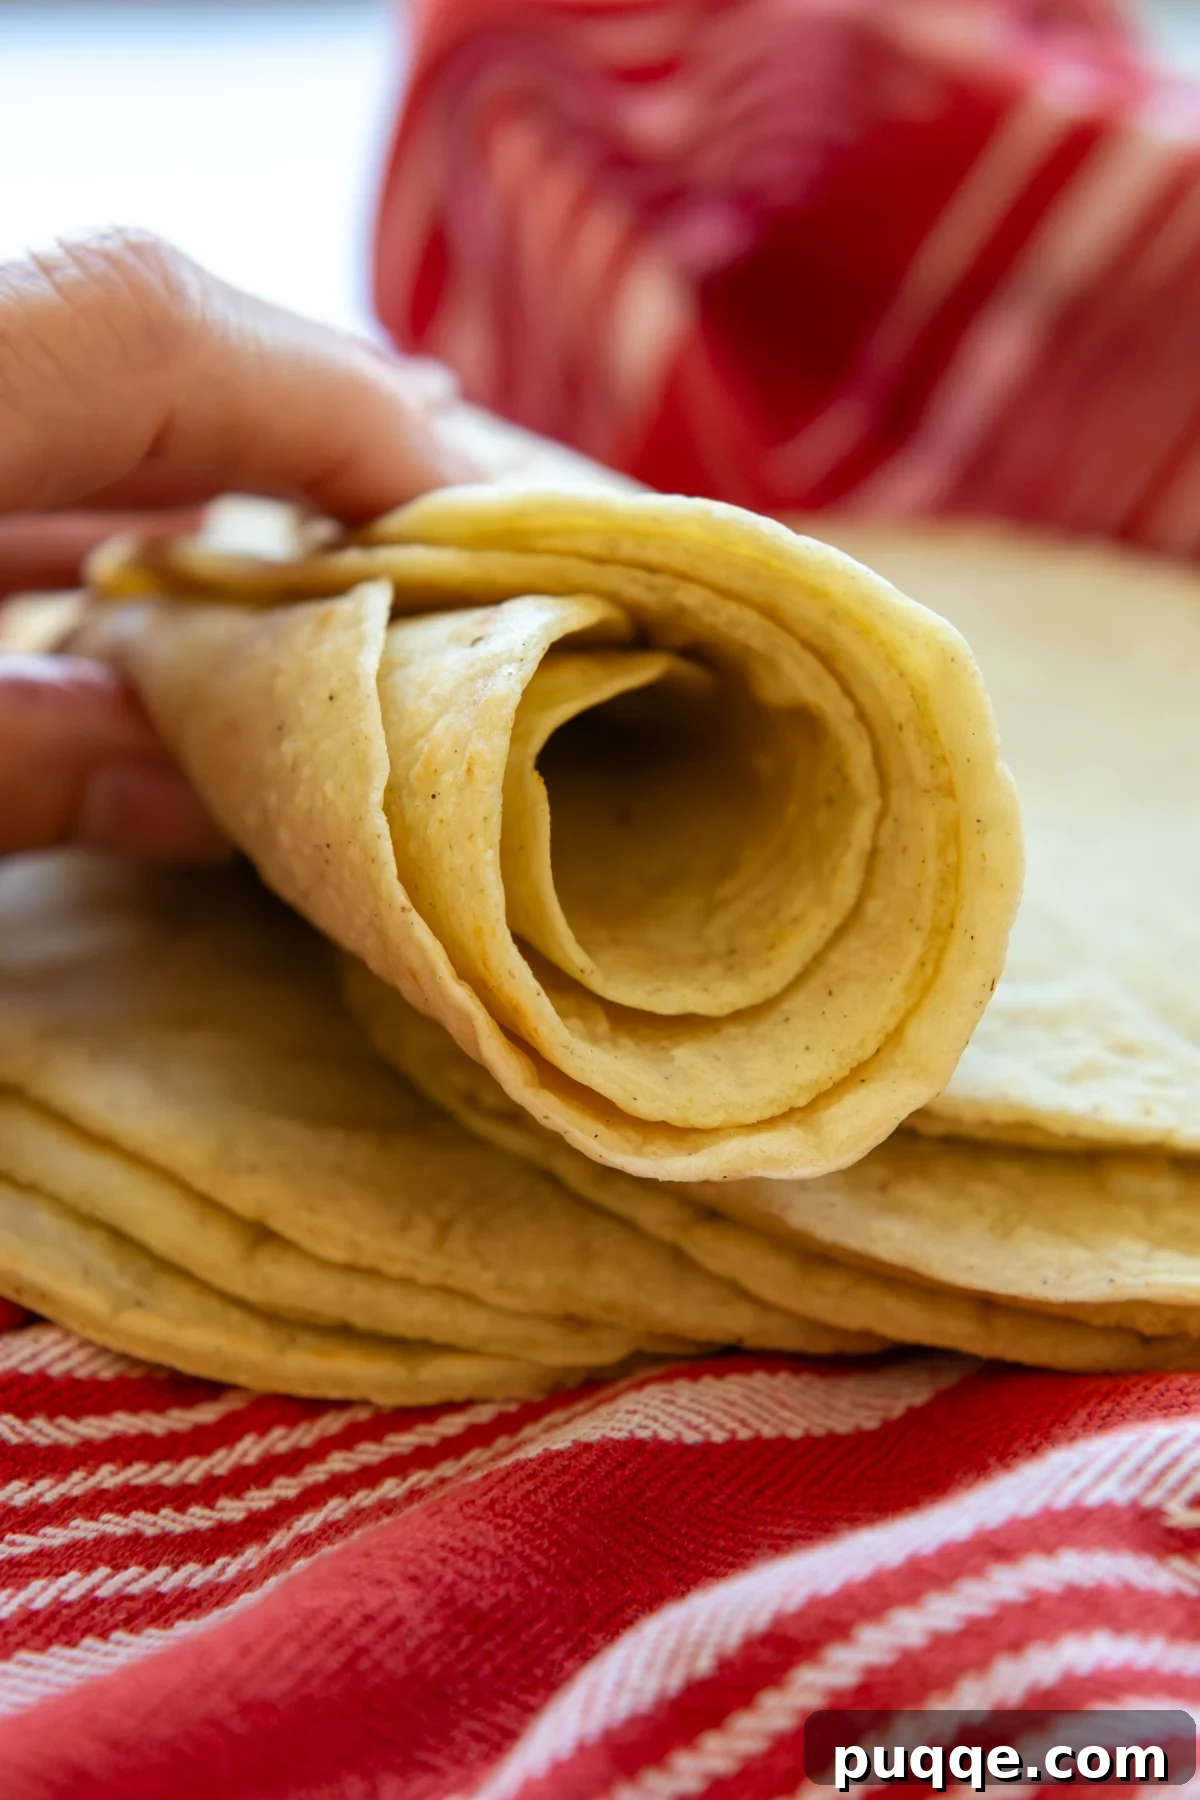
Mastering Soft, Pliable Gluten-Free Corn Tortillas
The quest for truly great gluten-free corn tortillas often ends in frustration. Many store-bought varieties are prone to cracking, lack pliability, and simply don’t deliver that satisfying experience you crave when indulging in dishes like tender crockpot carne asada or simple weeknight ground beef tacos. But what if you could have it all – a homemade tortilla that’s not just “good for gluten-free” but genuinely outstanding?
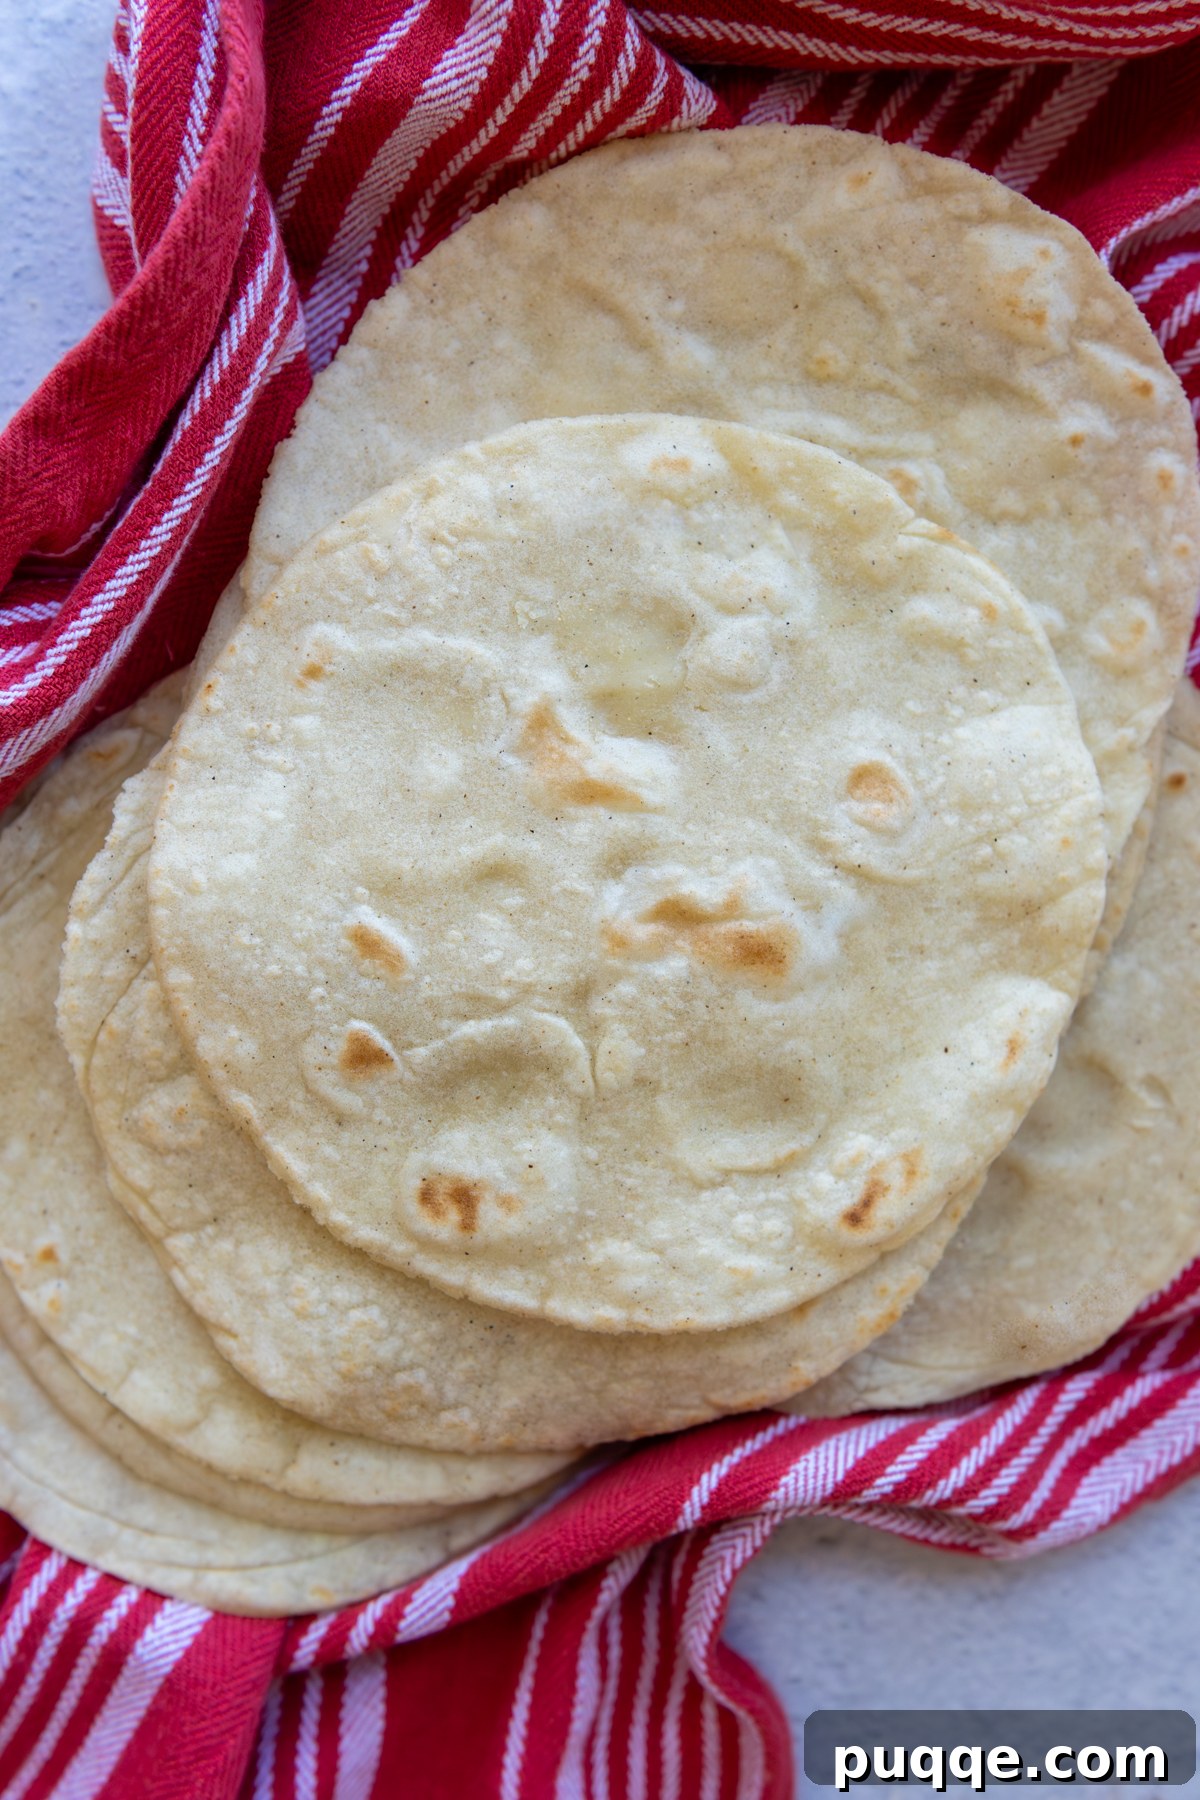
This recipe provides the secret to achieving that coveted soft, pliable, and even puffy texture, making it my absolute preferred method for any Mexican or Tex-Mex feast. These sturdy homemade gluten-free corn tortillas are robust enough to handle overstuffed tacos, form the perfect base for crispy tostadas, and even endure the rolling and shaping required for cheesy beef enchilada casserole without tearing or falling apart. Forget the compromises; embrace the delicious possibilities of freshly made tortillas.
The magic behind these superior tortillas boils down to a few critical, yet simple, adjustments. Firstly, incorporating a touch of oil into the dough is crucial. This addition significantly enhances the dough’s flexibility, preventing those common cracks that plague many gluten-free recipes. Secondly, and perhaps most importantly, mastering the “right” amount of water is key. Too little, and your tortillas will be dry and brittle; too much, and they’ll be difficult to handle. I’ll guide you with clear explanations and visual cues below to ensure your dough achieves the perfect consistency, guaranteeing soft, billowy results every time.
The Inspiration: Authentic Belizean Tortillas
My inspiration for perfecting this recipe struck after a memorable family trip to Belize. Witnessing a live cooking demonstration of authentic, puffy corn tortillas ignited a passion to recreate that experience at home. The ease and deliciousness were captivating! Upon returning, I invested in a highly-rated, affordable tortilla press, similar to the ones used in the demonstration. This single tool proved to be an absolute game-changer, simplifying the pressing process significantly and making homemade tortillas “easy peasy.”
While the Belizean tortillas were cooked on a massive traditional comal, I found my trusty cast iron skillet worked wonderfully. The key is to use a heavy-bottomed pan that retains and distributes heat evenly. This prevents hot spots that can scorch parts of your tortilla while leaving others undercooked, ensuring a consistent, beautifully cooked surface across the entire tortilla.
Understanding Masa Harina: The Heart of Your Tortillas
Before diving into the steps, let’s talk about the star ingredient: masa harina. This isn’t just any corn flour; masa harina is a special type of corn flour made from corn that has undergone a process called nixtamalization. This ancient Mesoamerican technique involves soaking and cooking corn in an alkaline solution (typically limewater), then grinding it. Nixtamalization not only makes the corn more nutritious by increasing its calcium content and making niacin more bioavailable, but it also fundamentally changes the corn’s structure. It creates a dough that is unique in its ability to be both cohesive and pliable, essential for forming authentic corn tortillas that won’t crack. When purchasing, always look for “certified gluten-free” masa harina to ensure there is no cross-contamination, a critical step for anyone with gluten sensitivities.
Let’s Craft These Soft Tortillas Together!
(The following sections provide detailed step-by-step photos and expanded instructions. For precise ingredient measurements and a concise recipe format, please scroll down to the complete recipe card.)
Creating Your Super Simple Tortilla Dough
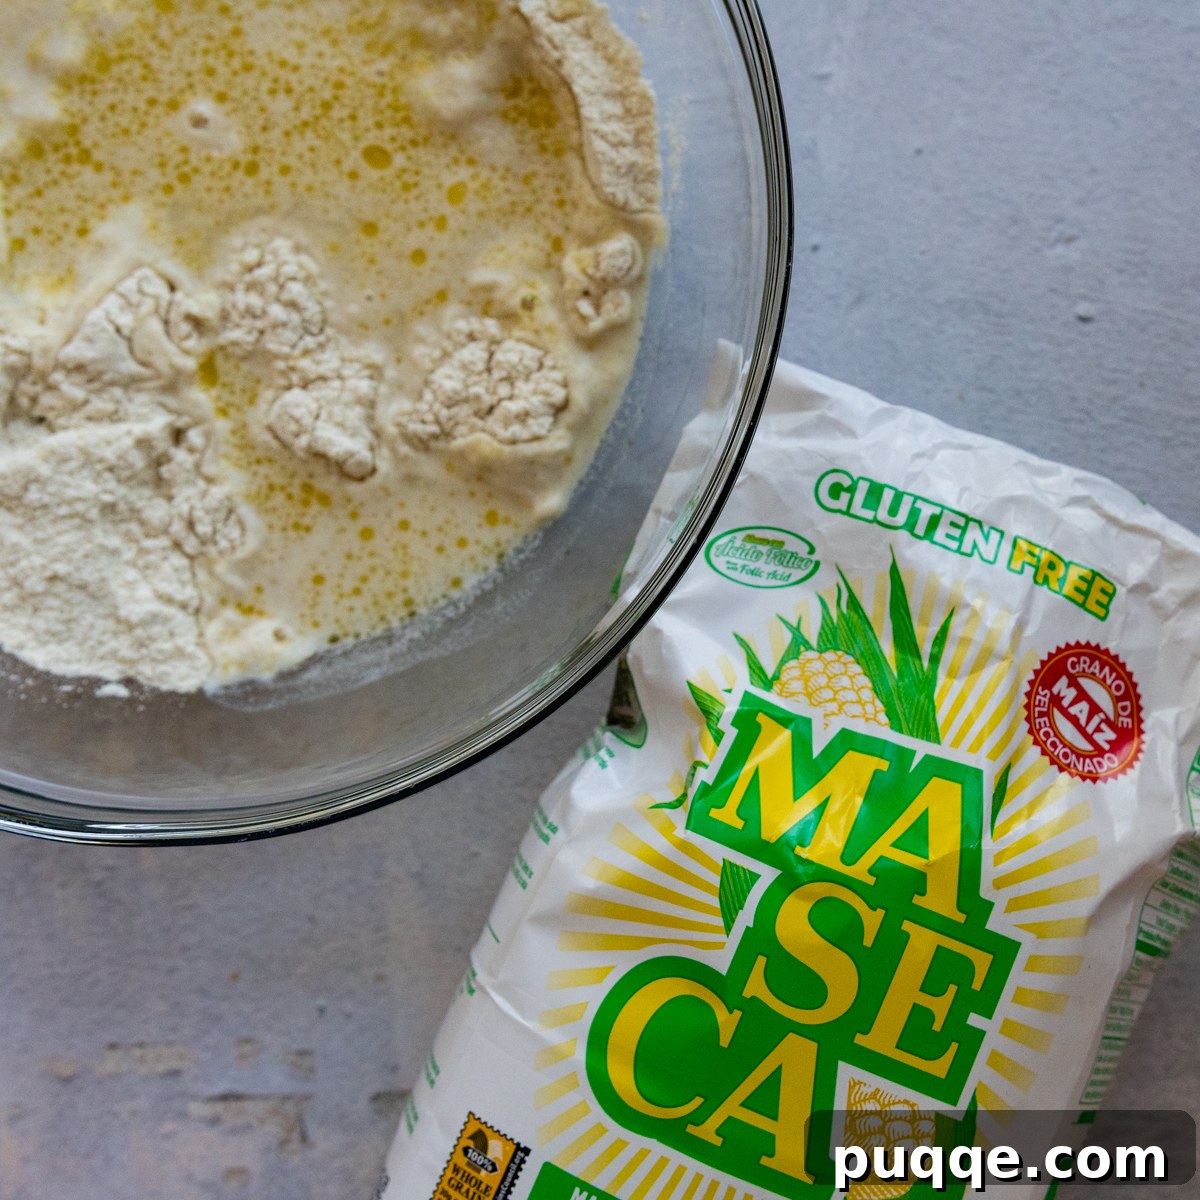
Your journey to amazing homemade gluten-free corn tortillas begins with a quality masa harina. You can easily find certified gluten-free masa harina, which is essentially specially processed corn flour, in the international aisle of most local grocery stores. Look for packaging similar to the image below. This ingredient is fundamental for achieving the authentic flavor and texture of traditional corn tortillas.
To start, combine the masa harina and salt in a large mixing bowl. Once thoroughly mixed, pour in the water along with the oil. Don’t be afraid to get your hands dirty here; ditch the spoon and use your fingers to mix everything together. Knead the mixture until it transforms into a cohesive, soft, and pliable ball. The goal is a dough that feels smooth and soft to the touch, without any stickiness. The oil plays a crucial role in preventing the dough from drying out and cracking during both preparation and cooking, contributing significantly to the final soft texture of your tortillas.
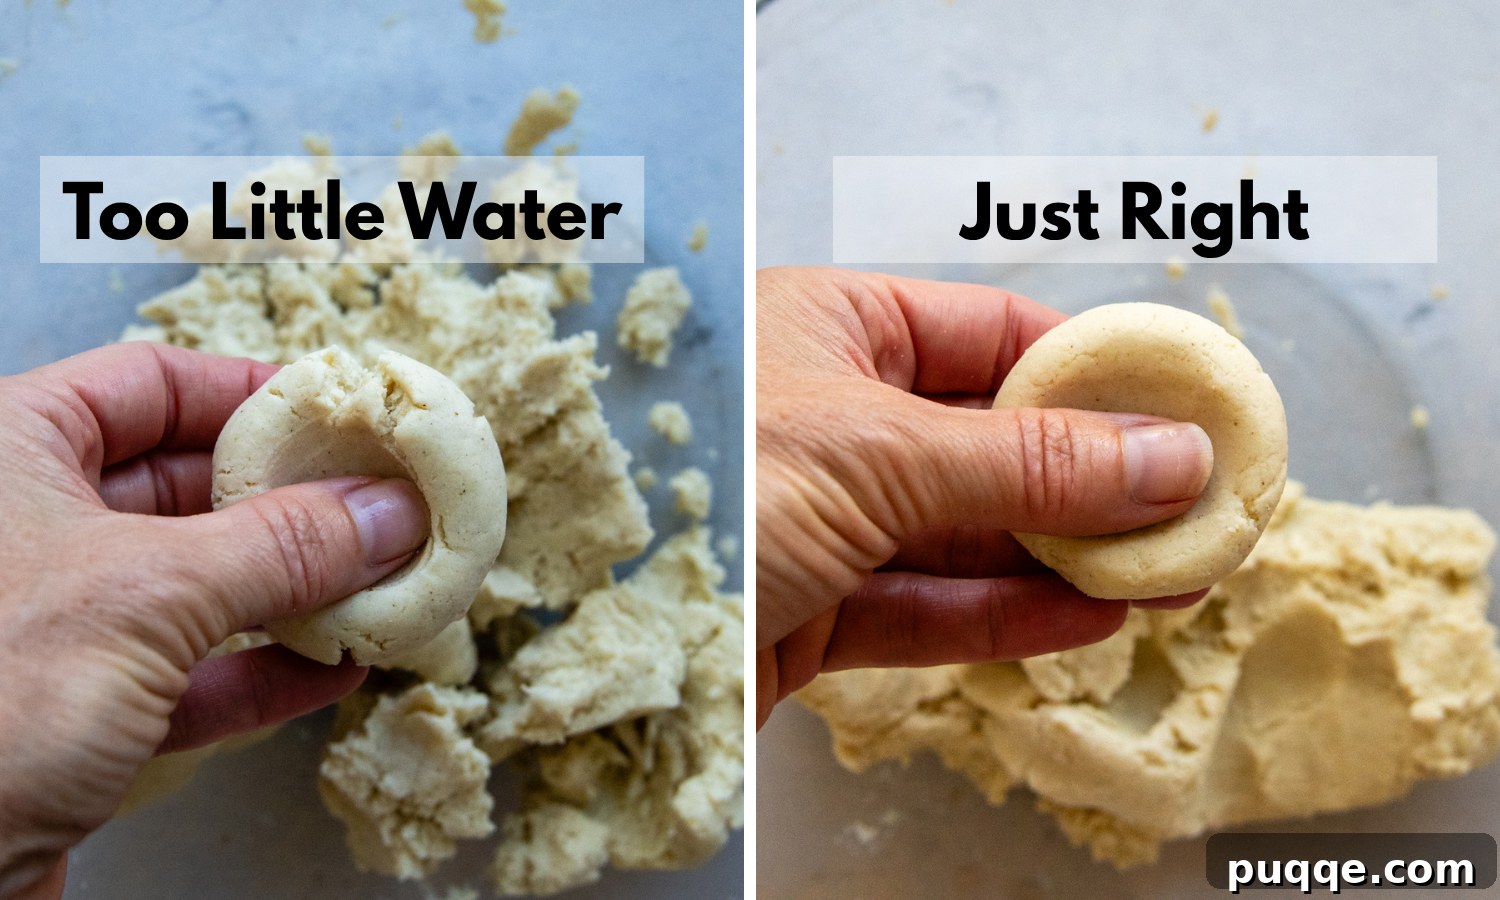
The Thumb Test: Your Dough’s Hydration Secret – Don’t Skip This!
Okay, this step is absolutely critical for truly soft and flexible gluten-free corn tortillas. After initially mixing your ingredients, the dough might *seem* perfect, but you won’t know for sure until you perform this simple test. Pinch off a small piece of dough and roll it into a smooth, marble-sized ball. Then, gently press your thumb into the center of the ball. Observe the edges:
- If the edges crack and crumble, as shown in the picture on the left, your dough is too dry. Add a tiny amount more water – just a small dash or a teaspoon at a time – mix it in thoroughly, and repeat the thumb test.
- You are looking for edges that remain smooth and intact when pressed. This indicates a perfectly hydrated dough, which is the cornerstone for achieving those wonderful soft, pliable, and puffy corn tortillas. Once the edges are smooth, you’ve nailed the ideal hydration level! 👊 If by chance you add too much water, simply incorporate a tiny bit more masa harina to correct the consistency.
Effortless Dough Dividing for Uniform Tortillas
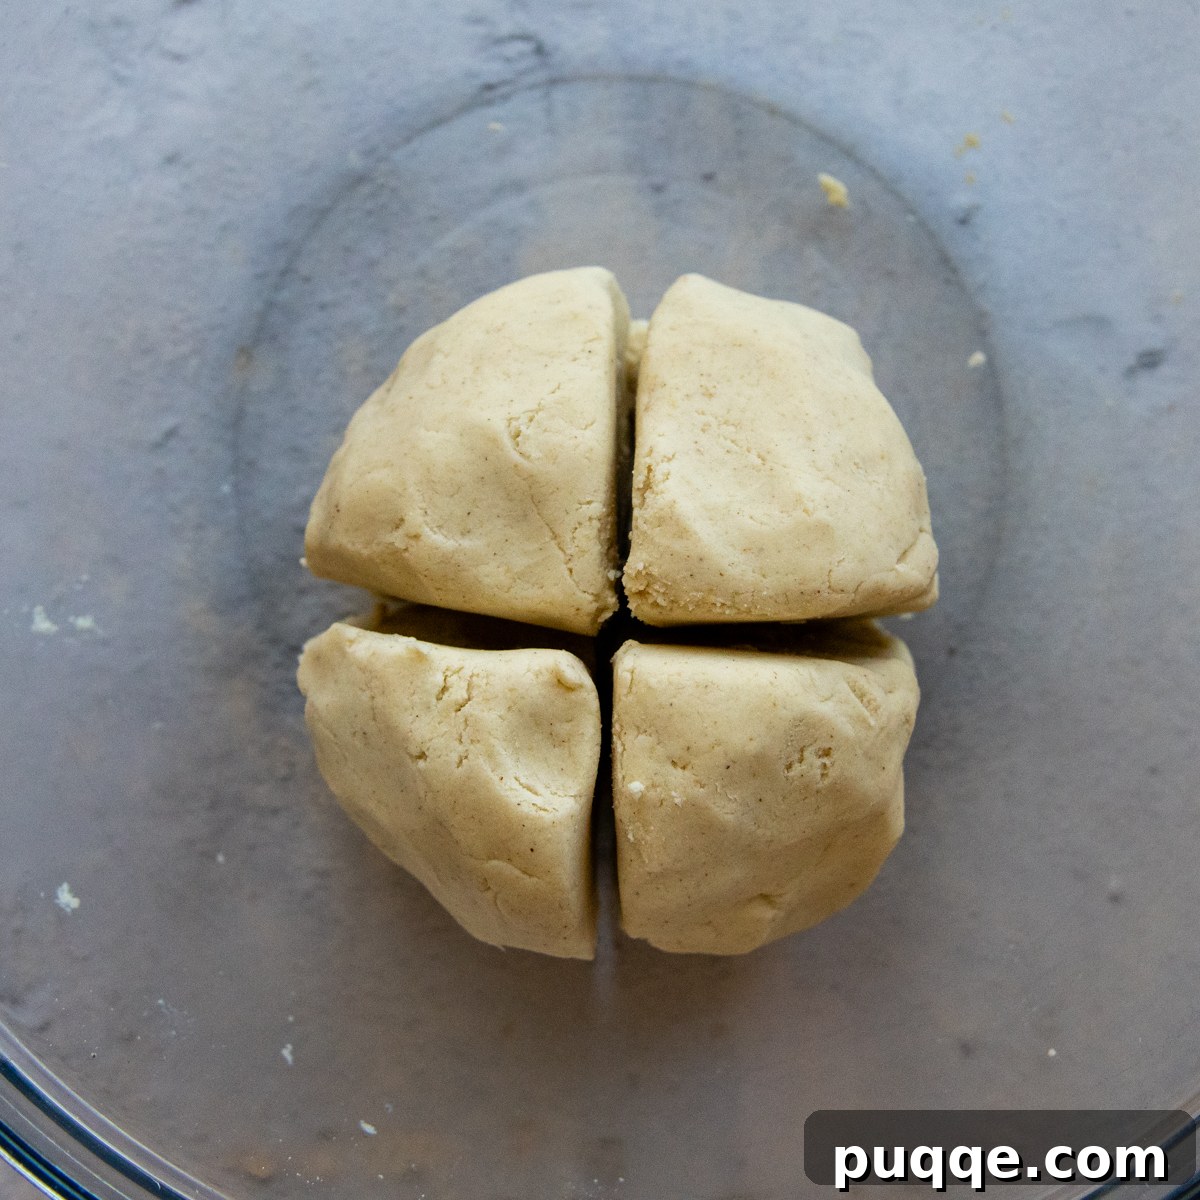
While precision is great, you don’t need a food scale for perfectly sized tortillas. Let’s opt for a quicker, equally effective method! While your cooking pan is preheating (which we’ll cover next), take your prepared dough and roll it into one large, even ball. Then, using a knife or dough cutter, cut a cross section through the ball to create four roughly equal sections.
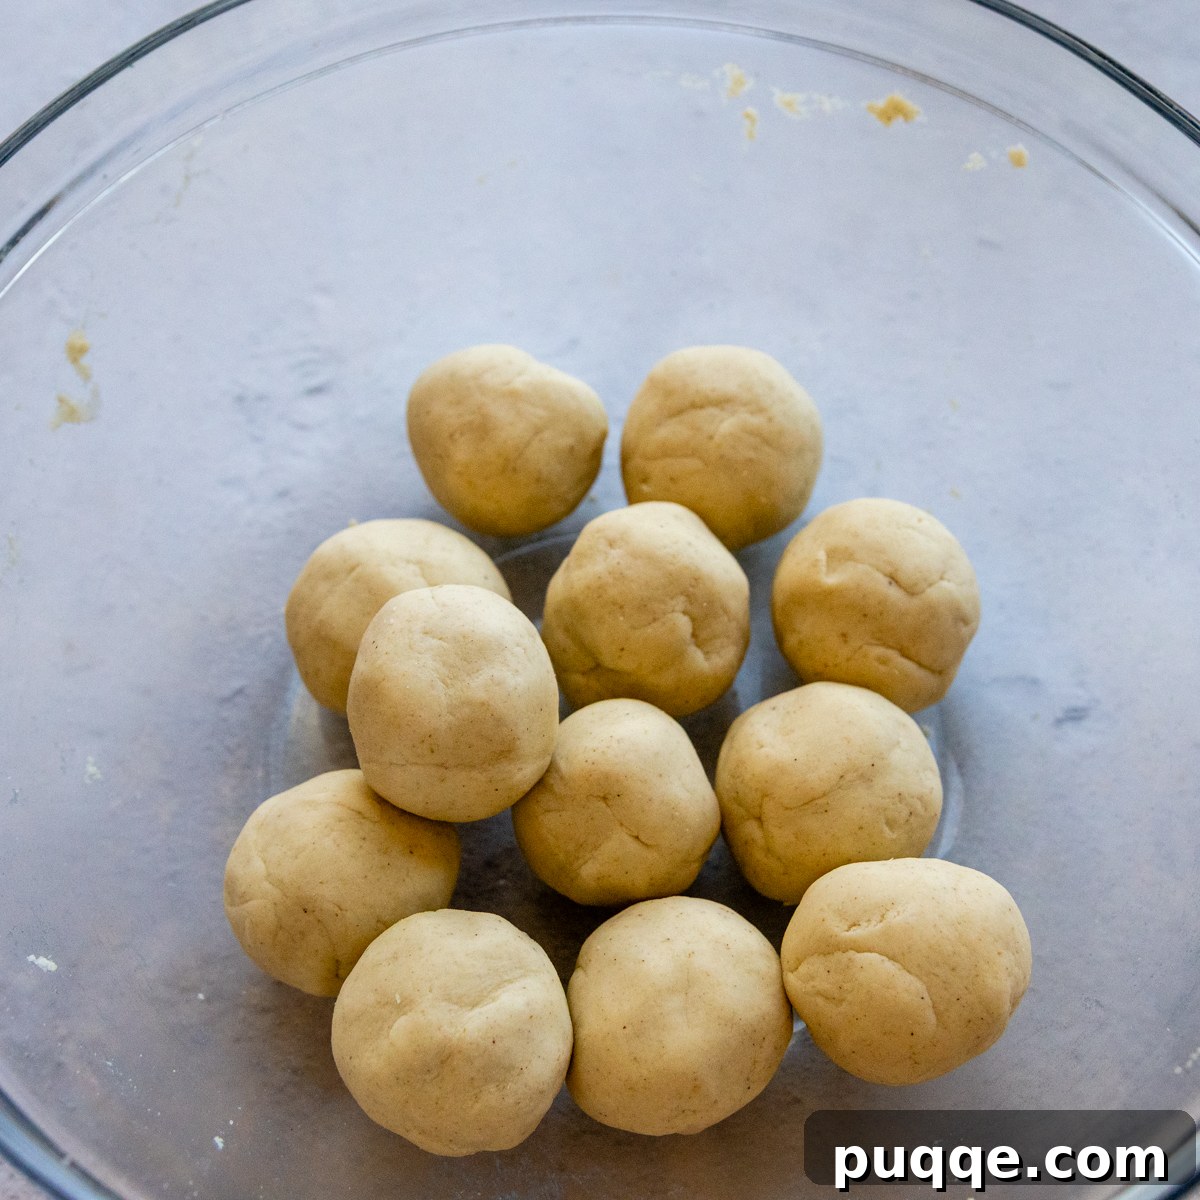
Now, take each of those four sections and divide them into three smaller, equal pieces. Eyeball it – don’t stress about absolute perfection. Once you’re reasonably confident in their size, roll each of these twelve pieces into a smooth, compact ball. This method ensures a consistent size for your tortillas, which helps them cook evenly. Immediately place these dough balls back into your mixing bowl and cover them securely with plastic wrap. It’s vital to keep the dough nice and moist while you prepare for cooking, preventing any drying out that could lead to cracking.
Pressing Tortillas Like a Pro with Ease
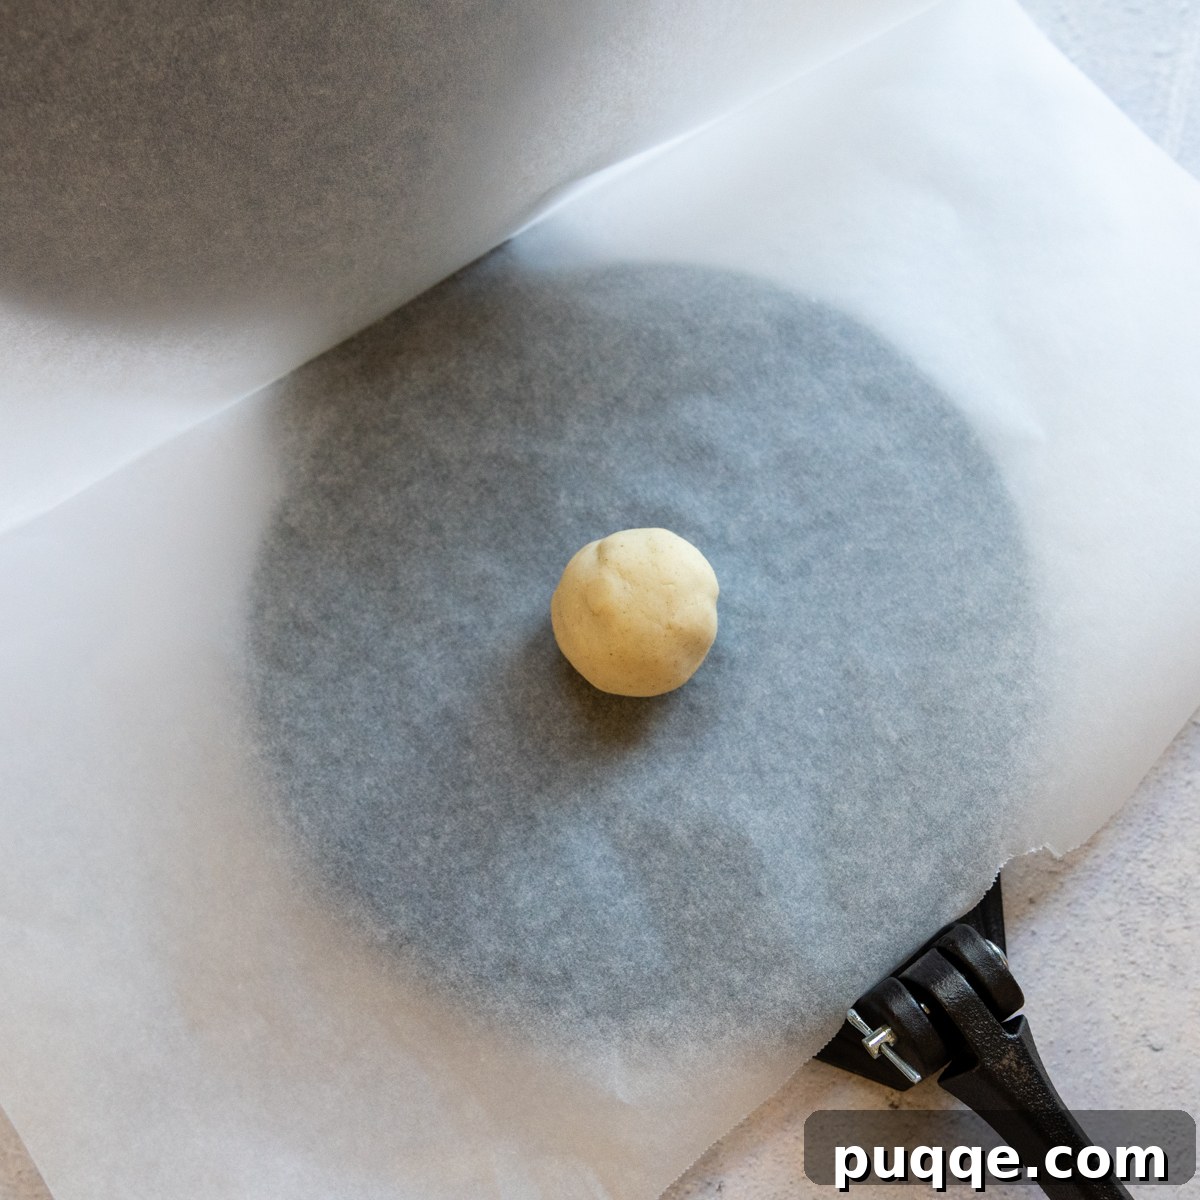
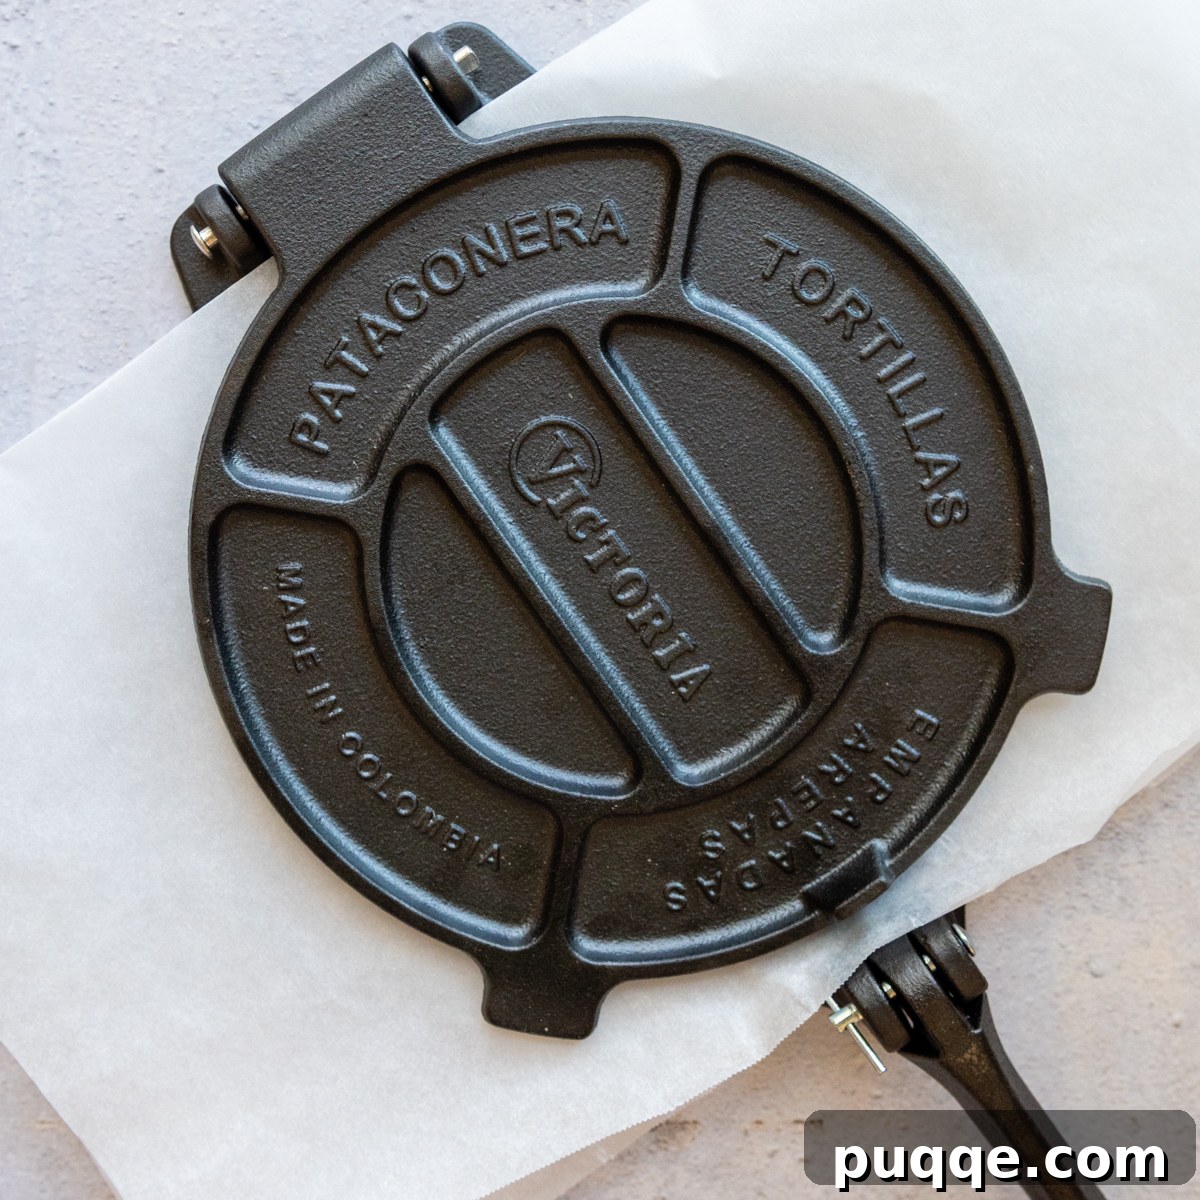
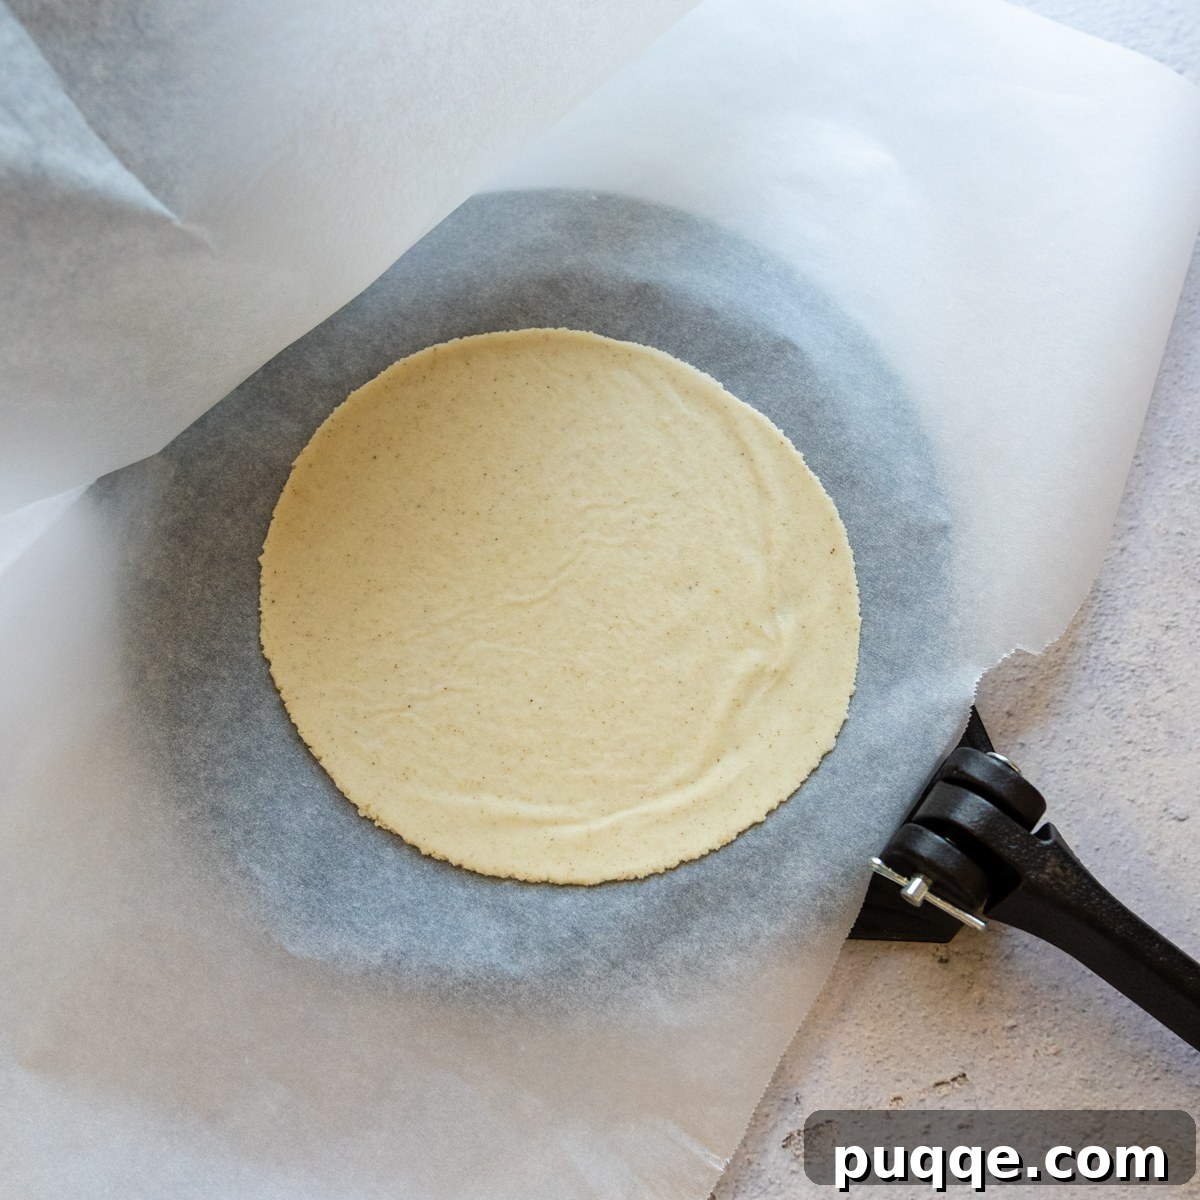
Many recipes suggest cutting a gallon-sized Ziploc freezer bag along the sides to create a non-stick pocket for the tortilla press. While this method works, I’ve found that a large piece of parchment paper is equally effective and often easier to manage. Simply fold a sheet of parchment paper in half, ensuring it covers both the top and bottom plates of your tortilla press. This creates a perfect non-stick barrier, allowing the delicate dough to release effortlessly after pressing.
Place one of your dough balls directly in the middle of the folded parchment paper on the bottom plate of the press. Close the press and apply firm, even pressure. That’s it! I recommend pressing one tortilla at a time as you cook. This strategy prevents the pressed tortillas from sitting out and potentially drying, which can make them less pliable and impact their ability to puff up later. The pressing process is incredibly quick, so it won’t slow down your cooking rhythm.
The Secret to Puffy Corn Tortillas 🤫
After my Belizean adventure, I became slightly obsessed with replicating those light, beautifully puffed-out corn tortillas. This led me down a fascinating culinary rabbit hole, including extensive research on TikTok and other resources. The outcome? A simple, effective technique that reliably produces that satisfying puff!
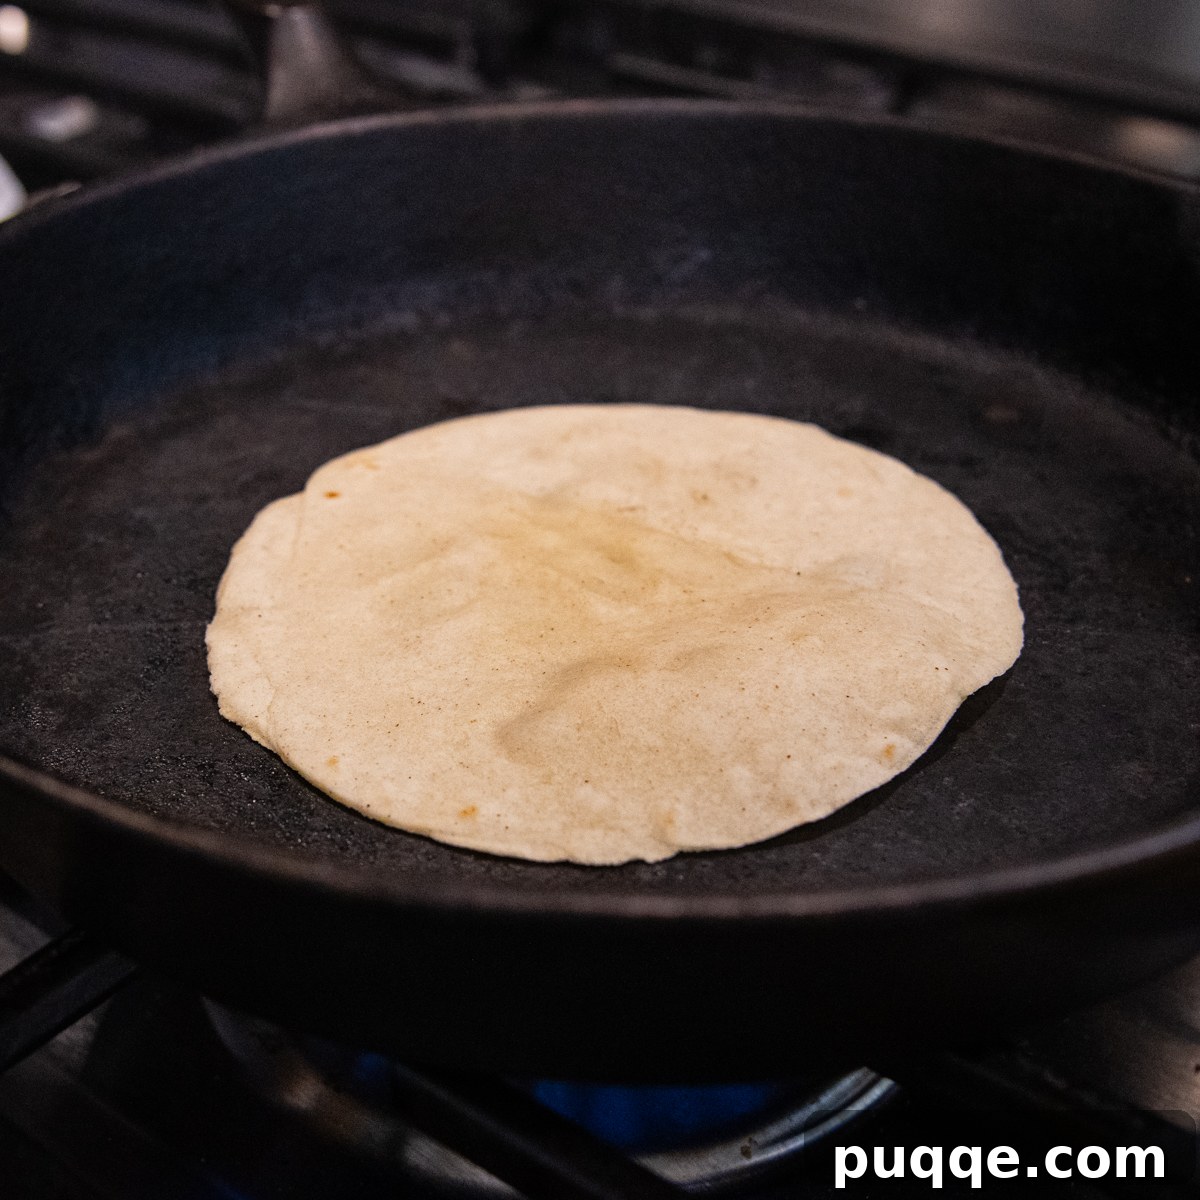
Here’s the distilled method: Place your freshly pressed tortilla onto a hot, ungreased skillet (like your cast iron pan). Allow it to cook for approximately 20-30 seconds – yes, I literally timed it for precision! Then, using a spatula, flip the tortilla and cook the second side for another 20-30 seconds. Finally, flip it one last time. During this final 20-second cooking interval, gently use your fingers to press down lightly on the center of the tortilla, and then a couple of times near the edges. This gentle pressure, combined with the heat and the well-hydrated dough, helps trap steam inside, causing the tortilla to inflate beautifully. It’s incredibly satisfying to watch them puff up! This “puffed” texture is a hallmark of truly authentic and well-made corn tortillas, making them incredibly tender and perfect for holding fillings.
No Tortilla Press? No Problem! While a tortilla press makes the process incredibly efficient, you can absolutely still make delicious hand-rolled tortillas. They’ll require a bit more effort and time, but the results are just as flavorful. To do this, simply place a divided dough ball between two pieces of parchment paper. Use a rolling pin to carefully roll the dough out into a thin circle, aiming for approximately a 6-inch diameter. Don’t worry if it’s not a perfect circle; the taste and texture will still be equally delightful, and with practice, your circles will become more uniform. The key is to achieve a consistent thickness for even cooking.
Expert Tips for Your Best Gluten-Free Tortillas! (Pretty Please Read!)
While the thumb test and the cooking technique are crucial, a few more insights will ensure you achieve the absolute best gluten-free corn tortillas possible. Let’s cover all the bases to guarantee your success:
- Maintaining Dough Moisture: As you cook through your batch, you might notice the dough balls that are waiting to be pressed becoming slightly drier, or your tortillas might stop puffing as readily. If this happens, don’t despair! Very lightly wet your hand with a few drops of water and gently work a bit more moisture into the dough ball before pressing it. This will rehydrate it and revive its pliability.
- Puff or No Puff? Your Choice: If you’re not particularly concerned about achieving the puffy texture – perhaps you prefer a denser tortilla for certain dishes – you can simply skip the final pressing with your fingers during the last cooking stage. Your tortillas will still be wonderfully soft and pliable due to the proper dough hydration and oil content.
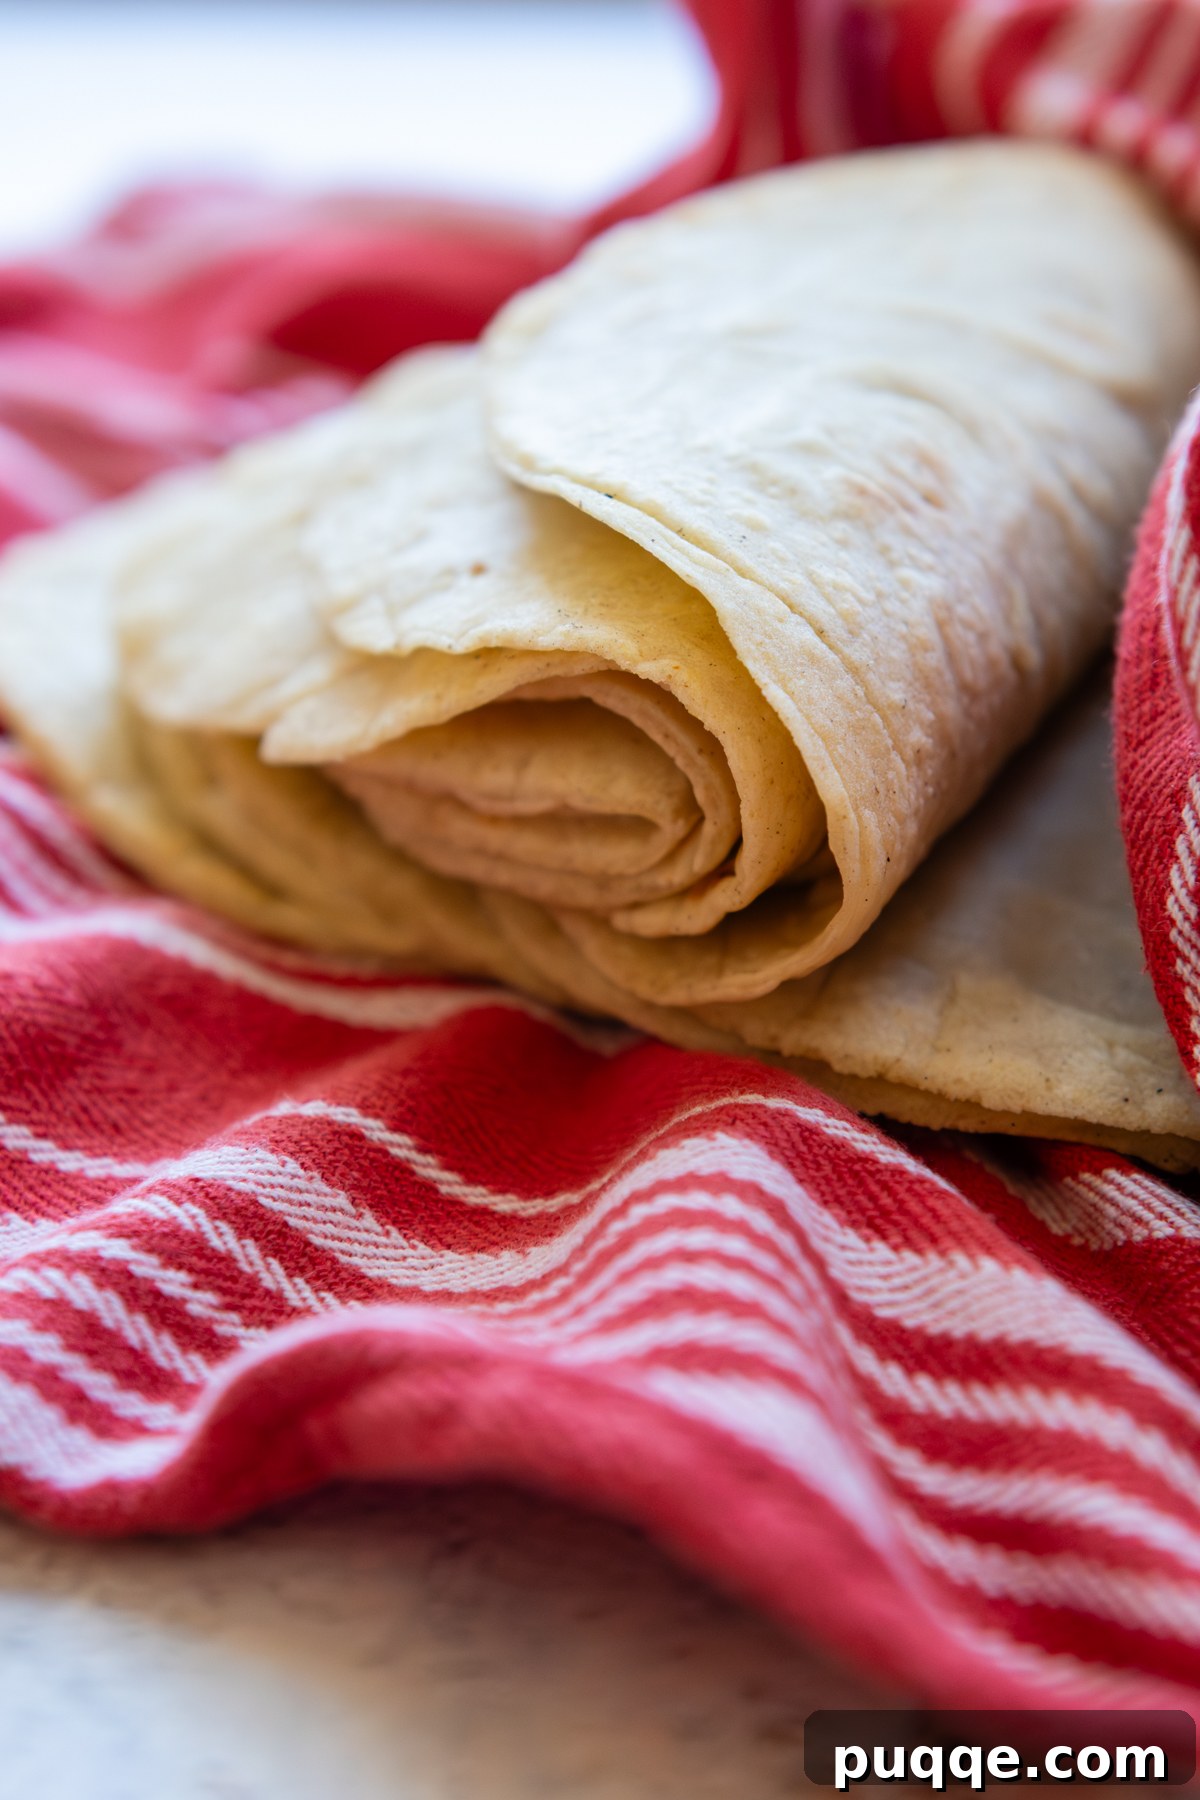
- Keeping Warm & Storing: Once cooked, tortillas tend to cool quickly. To keep them warm and soft before serving, immediately stack them in a clean, lint-free dish towel, a specialized tortilla warmer, or a tortilla pouch. If you’re not enjoying them right away, let them cool completely by laying them in a single layer on a wire cooling rack. Once completely cool, they can be stacked and stored as detailed in the recipe notes below. This cooling step prevents condensation and sogginess if storing for later use.
- High-Quality Masa Harina: The quality of your masa harina can make a significant difference. Different brands may have slightly varying hydration needs, so be prepared to make minor adjustments to water quantity based on your specific brand.
- Don’t Overcrowd the Pan: Cook tortillas one or two at a time, depending on the size of your skillet. Overcrowding can lower the pan’s temperature and steam the tortillas instead of browning them, inhibiting the puffing process.
Save This Recipe to Your Pinterest Board!
Let’s be friends on Pinterest! I’m always sharing fantastic recipes you won’t want to miss!
Did you make this recipe? I love hearing from you! Leave a star rating and comment below the recipe card. Your feedback helps other home cooks find and enjoy delicious recipes, and I truly appreciate it. You will always hear back from me! -Melissa
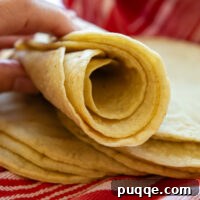
Actually Great Gluten-Free Corn Tortillas (Soft!)

Melissa Erdelac
12
tortillas
10 minutes
10 minutes
20 minutes
Pin
Rate
Remove Ads
Ingredients
-
1 ½ cups masa harina, certified gluten free -
½ teaspoon salt -
2 tablespoons vegetable oil or olive oil -
1 cup hot water , more as needed
Equipment
-
Tortilla Press -
Cast Iron Skillet -
Tortilla Pouch
Instructions
-
In a large mixing bowl, thoroughly combine the masa harina and salt. Add the oil and hot water, then mix everything together with your hand until the dough forms a soft, pliable ball that is no longer sticky to the touch. This hands-on approach ensures an even consistency.1 ½ cups masa harina,
½ teaspoon salt,
2 tablespoons vegetable oil or olive oil,
1 cup hot water -
To test the dough’s hydration, pinch off a small piece and roll it into a smooth ball. Press down firmly on the center with your thumb. If the edges of the dough crack, it indicates the dough is too dry. Add just a tiny dash of water (¼ to ½ teaspoon) and mix again, then retest. The goal is for the edges to remain smooth when pressed, which means your dough is perfectly hydrated. Refer to the images within the post for visual guidance. If you accidentally add too much water, simply mix in a small amount of additional masa harina to achieve the correct consistency.
-
Place a heavy cast iron skillet or comal over medium-high heat and allow it to preheat thoroughly. While the pan is heating, begin dividing your tortilla dough into even portions.
-
For even division, shape the entire dough into one large round ball. Use a knife to cut it into a cross section, yielding four roughly equal sections. Next, divide each of these four sections into three equal-sized pieces. Roll each of these twelve pieces into smooth, compact balls. Immediately return them to the bowl and cover securely with plastic wrap. It is crucial to keep the dough balls soft and moist to prevent them from drying out before pressing and cooking.
-
Fold a sheet of parchment paper in half so that it comfortably covers both the top and bottom plates of your tortilla press. Place a single dough ball in the center of the folded parchment and press down firmly to flatten it into a tortilla. Carefully peel the freshly pressed tortilla off the parchment paper. You can reuse the same piece of parchment for all your tortillas, though you might need to swap it out halfway through if it becomes too wrinkled or damp.
-
Cook the tortillas, one or two at a time depending on your skillet’s size. Place a tortilla onto the hot, ungreased skillet and let it cook for 20-30 seconds. Flip it over and cook the second side for another 20-30 seconds. For the final step, flip the tortilla one last time and cook for 20 seconds. If you desire puffy tortillas, gently press down on the center of the tortilla and a couple of spots around the edges with your fingertips during this final cooking period. This encourages steam to build and create that characteristic puff.
-
As each tortilla finishes cooking, stack it in a clean, lint-free dish towel to keep them warm and soft while you cook the remaining dough. Serve immediately for the best flavor and texture. For detailed instructions on storing, freezing, and reheating your homemade tortillas, please refer to the recipe notes below.
Notes
Storing, Freezing, and Reheating
To store, lay the tortillas in a single layer on a wire rack to cool completely. Once cooled, stack them neatly in a ziplock bag or airtight container and refrigerate for up to 7 days.
To freeze, I highly recommend placing a small square of parchment or wax paper between each tortilla before stacking them. This simple trick allows you to easily pull off individual tortillas or small portions as needed. Wrap the entire stack tightly in plastic wrap, then transfer it to a heavy-duty ziplock freezer bag. Frozen tortillas can maintain their quality for up to 2-3 months.
To reheat either refrigerated or frozen tortillas, a dedicated tortilla pouch works wonders – simply place them inside and microwave or steam to warm through and keep them pliable. Alternatively, wrapping them in a slightly damp paper towel and microwaving also works effectively. They don’t require much time; typically, 15-30 seconds is sufficient, depending on the quantity you’re reheating. For a crispy edge, you can also quickly warm them in a dry skillet over medium heat for about 15-20 seconds per side.
Calories:
73
kcal
,
Carbohydrates:
11
g
,
Protein:
1
g
,
Fat:
3
g
,
Saturated Fat:
0.4
g
,
Polyunsaturated Fat:
0.5
g
,
Monounsaturated Fat:
2
g
,
Sodium:
99
mg
,
Potassium:
38
mg
,
Fiber:
1
g
,
Vitamin A:
30
IU
,
Calcium:
20
mg
,
Iron:
1
mg
Did you make this recipe?
Please leave a star rating and review below. It helps others when searching for recipes and I LOVE feedback!