
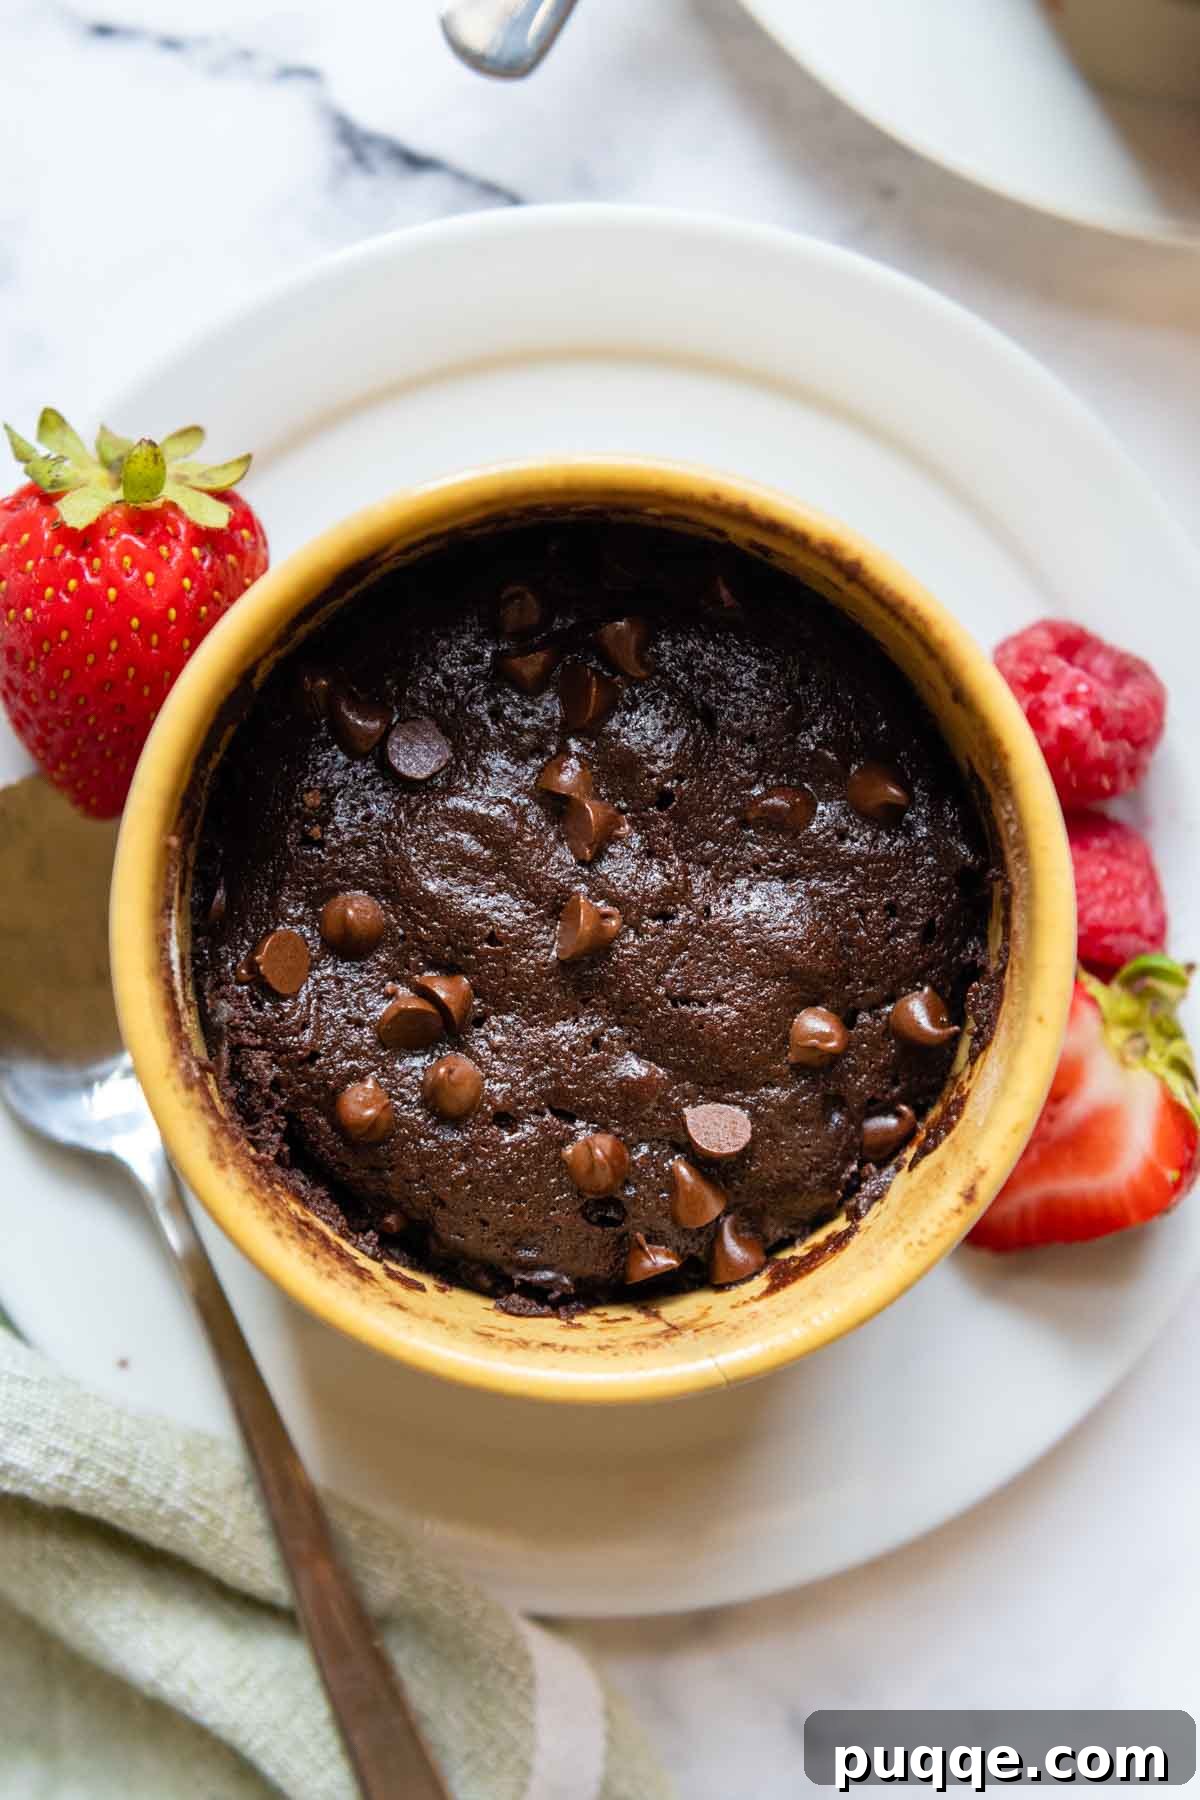
Indulge in a 1-Minute Wonder: The Ultimate Gluten-Free Mug Brownie
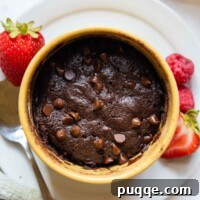
Craving a rich, fudgy chocolate dessert but short on time? Look no further! This incredible gluten-free mug brownie recipe delivers pure decadence in about a minute, offering the perfect balance of gooey, fudgy texture without any undercooked batter. Forget elaborate baking projects; this single-serving treat is your go-to for instant chocolate gratification. Discover simple tricks, clever ingredient swaps, and versatile options to create an egg-free, vegan, dairy-free, or even cakey version tailored to your desires. Get ready for your new favorite quick dessert!
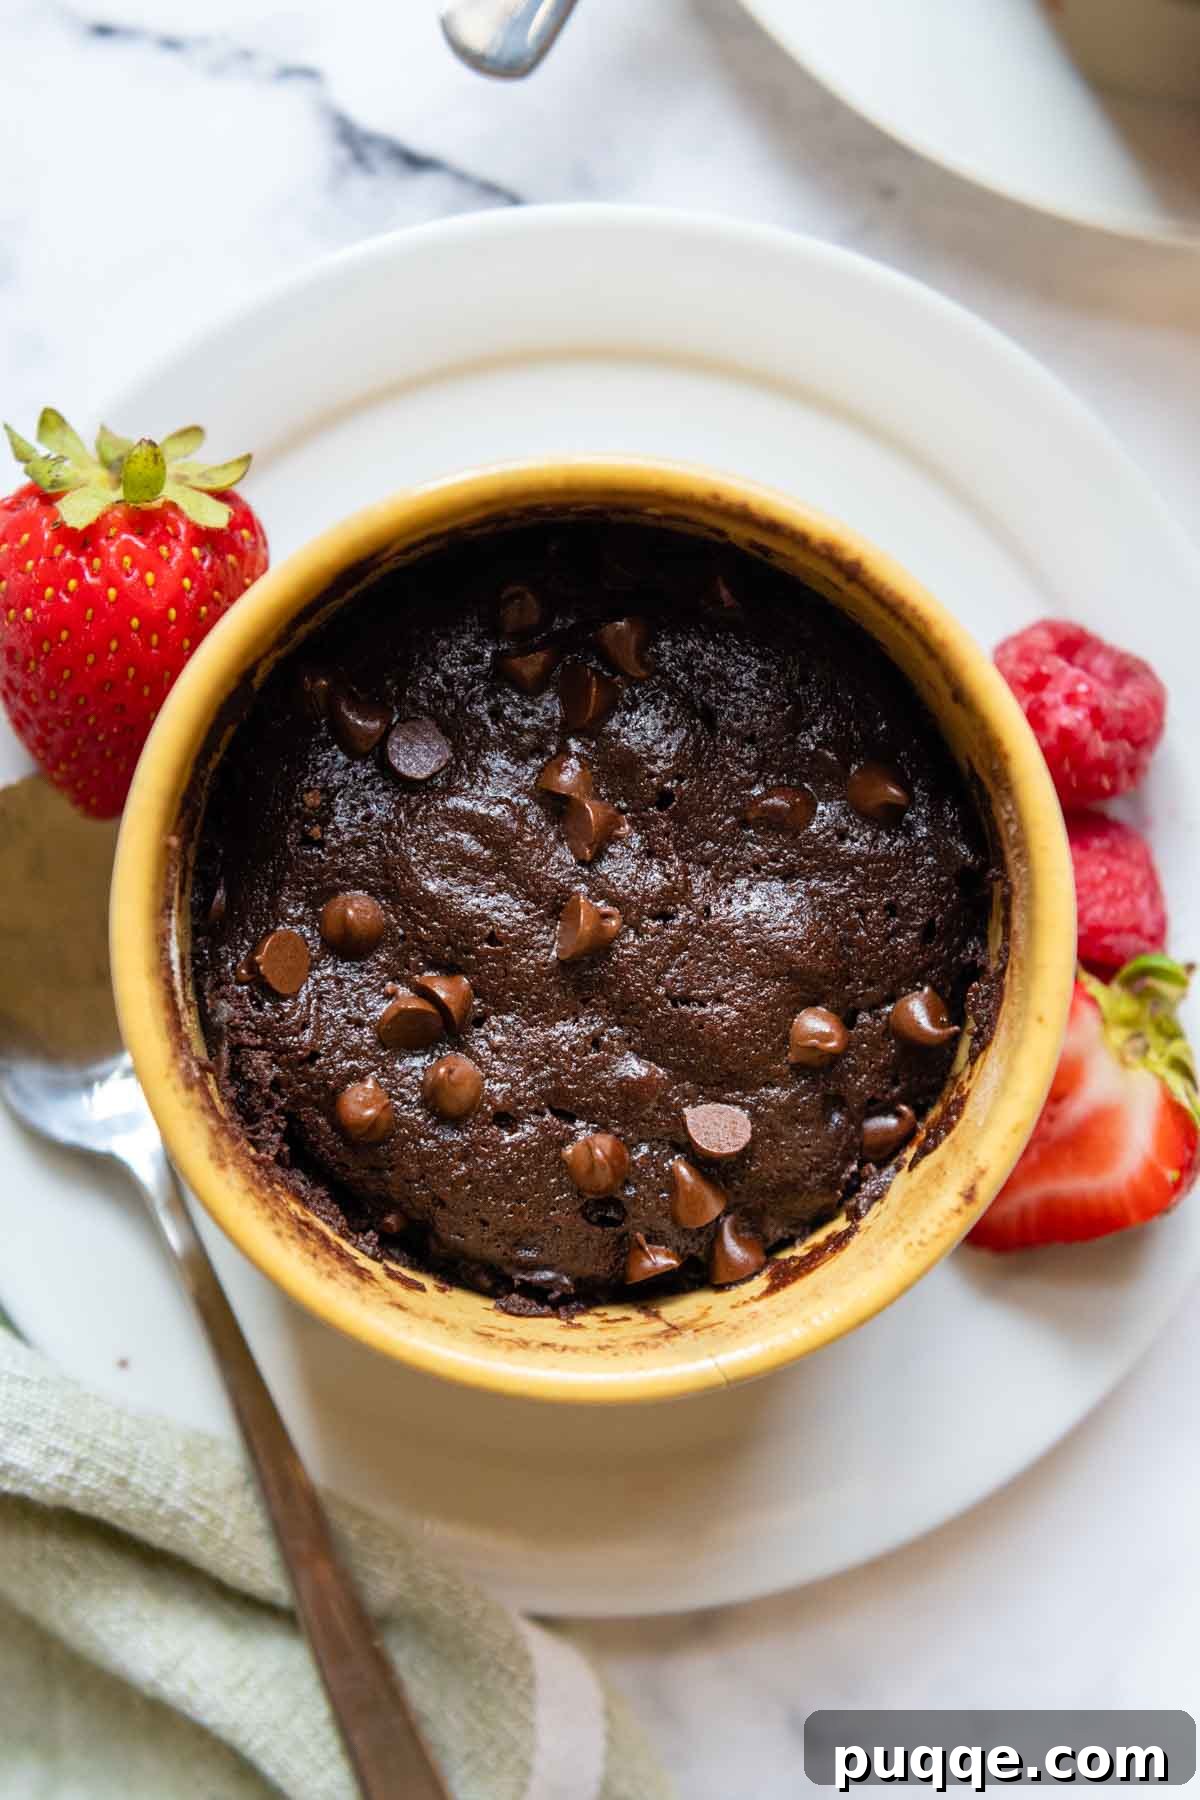
Your Go-To Single-Serving Gluten-Free Brownie in a Mug
Picture this: a sudden craving for something sweet, a busy schedule, or perhaps a moment of solitude calling for a personal indulgence. That’s precisely when this fudgy gluten-free microwave brownie steps in as your culinary superhero. Forget the hassle of baking a whole batch of brownies when all you need is a satisfying single portion. This recipe is designed for those moments, requiring minimal effort and ingredients you likely already have on hand.
From start to finish, you can whip up this delightful dessert in just a few minutes, making it an ideal choice for a last-minute treat or a spontaneous indulgence. We’ve taken the beloved flavor profile of our highly-reviewed homemade gluten-free brownies and perfected it into a convenient single-serving format. The goal was to create a microwave brownie that truly rivals its oven-baked counterparts in taste and texture, eliminating the common pitfalls of dry, rubbery, or overly gooey mug desserts.
Through extensive recipe testing, we’ve fine-tuned every detail to ensure consistent, delicious results. Many mug brownie recipes tend to omit an egg, which often leads to a texture that’s too wet and resembles uncooked batter – a common complaint for microwave desserts. Our solution? Incorporating just the egg yolk. This critical ingredient provides essential binding and structure, lending a slight lift to the crumb and preventing it from becoming excessively moist or gummy. It’s the secret to achieving that coveted fudgy, yet firm, texture that defines a perfect brownie.
Beyond the egg yolk, we discovered that boosting the amount of unsweetened cocoa powder serves a dual purpose. Firstly, it intensifies the rich, deep chocolate flavor, elevating the overall taste profile. Secondly, the extra cocoa helps absorb excess moisture, further contributing to the ideal fudgy texture. This careful balance of ingredients ensures your gluten-free mug brownie is deeply flavorful and perfectly cooked every time.
But the innovations didn’t stop there. Our testing unveiled a variety of adaptable tricks for different preferences. Do you prefer a lighter, more cake-like brownie? We have an easy modification for that! Are you following an egg-free or dairy-free diet? Not a problem! We’ve meticulously developed variations to accommodate various dietary needs without compromising on flavor or texture. This comprehensive guide provides everything you need to know, from ingredient substitutions to serving suggestions and mix-in ideas. Prepare to make this microwave mug brownie on repeat – it’s truly that good!
Essential Ingredients and Smart Substitutions
Crafting the perfect gluten-free mug brownie starts with understanding the role of each ingredient. During our recipe development, we explored various adaptations to make this single-serving treat suitable for dairy-free or vegan diets. Below, you’ll find a detailed breakdown of the ingredients and their recommended substitutes. For those seeking a grain-free, lower-carb option, consider trying our fluffy almond flour mug cake.
Gluten-Free All-Purpose Flour Blend
Since this recipe uses a relatively small amount of flour, many gluten-free all-purpose flour blends will yield good results. However, for the absolute best taste and texture that closely mimics traditional brownies, we highly recommend Cup4Cup. This particular blend is known for its ability to create tender, moist baked goods, which is ideal for achieving a rich brownie consistency. If using another brand, ensure it’s a cup-for-cup or 1:1 blend, and note that results may vary slightly depending on the specific starch and gum content of your chosen flour.
Brown Sugar
We prefer light brown sugar in this recipe because its moist granules contribute significantly to the brownie’s fudgy crumb and deep flavor. If you’re looking to reduce calories, you can decrease the amount to two tablespoons without drastically altering the outcome. For alternative sweeteners, coconut sugar or granulated sugar can be used, though they might slightly change the moisture level and overall texture. For a sugar-free option, ensure your chosen sweetener is suitable for baking and adjust the quantity according to its sweetness equivalent.
Unsweetened Cocoa Powder
Achieving the perfect chocolate balance is crucial for any chocolate dessert. In this mug brownie, a slightly boosted amount of unsweetened cocoa powder does more than just amplify the rich chocolate flavor, akin to our popular gluten-free chocolate cake recipe. It also plays a vital role in absorbing moisture, which is key to preventing a gummy texture and ensuring a perfectly fudgy consistency. You can use natural unsweetened cocoa powder for a classic brownie flavor or Dutch-processed cocoa for a darker color and milder taste.
Oil
Any neutral-flavored oil you prefer will work well here. Good options include canola oil, vegetable oil, or melted coconut oil. The oil adds essential moisture and richness, contributing to the brownie’s tenderness. If using coconut oil, ensure it’s melted but not hot, especially when mixing with other ingredients.
Milk
A touch of milk adds necessary moisture to the brownie batter, contributing to its smooth consistency. For a dairy-free alternative, readily swap in almond milk, soy milk, oat milk, or any other preferred non-dairy milk. The small quantity used means this substitution typically won’t significantly alter the final texture.
Egg Yolk
This is one of the recipe’s key secrets! When experimenting with whole eggs, we found the mug brownie wasn’t quite as fudgy as desired. Isolating just the egg yolk proved to be the perfect solution. The yolk provides richness, binding power, and contributes to a denser, fudgier texture without making the brownie overly wet. For those who prefer a cakey texture, simply replace the egg yolk with an egg white and increase the microwave cooking time by approximately 20 seconds.
Chocolate Chips
Chocolate chips are optional but highly recommended for an extra gooey texture and bursts of molten chocolate. We prefer miniature baking chips as they disperse more evenly throughout the small serving, ensuring chocolate in every bite. Regular-sized semi-sweet chocolate chips can also be used. If you decide to omit them, the brownie will still be delicious but slightly less gooey. For a dairy-free mug brownie, be sure to use non-dairy chocolate chips, such as those from the Enjoy Life brand.
How to Make Your Delicious Gluten-Free Mug Brownie
Creating this single-serving gluten-free mug brownie is incredibly simple. Follow these straightforward steps to achieve a perfectly fudgy and flavorful dessert every time. (Detailed ingredient amounts can be found in the recipe section below).
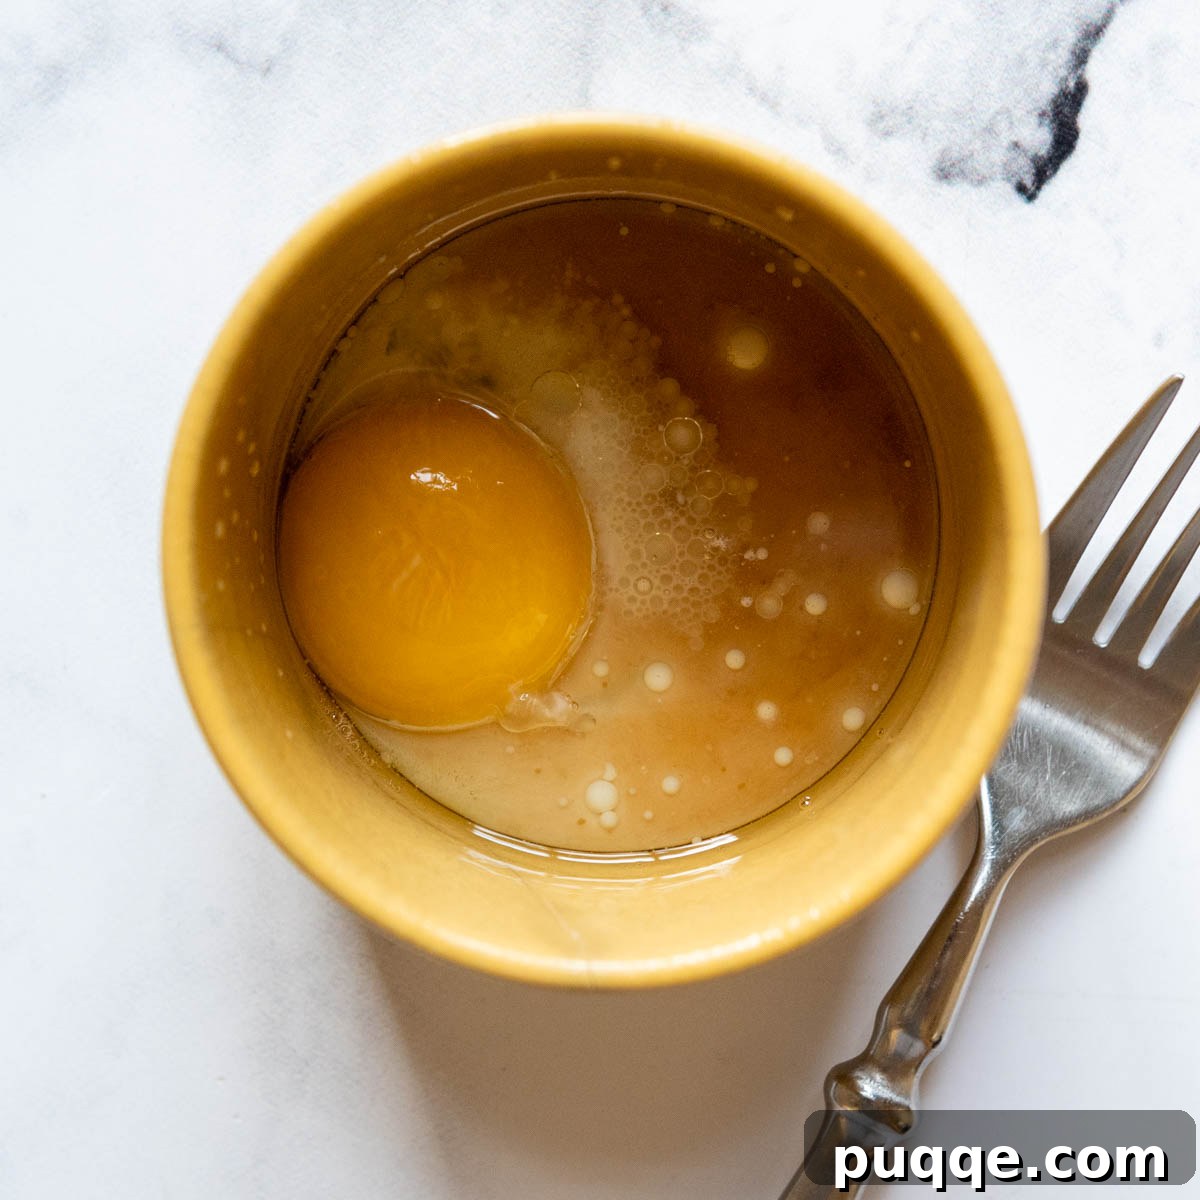
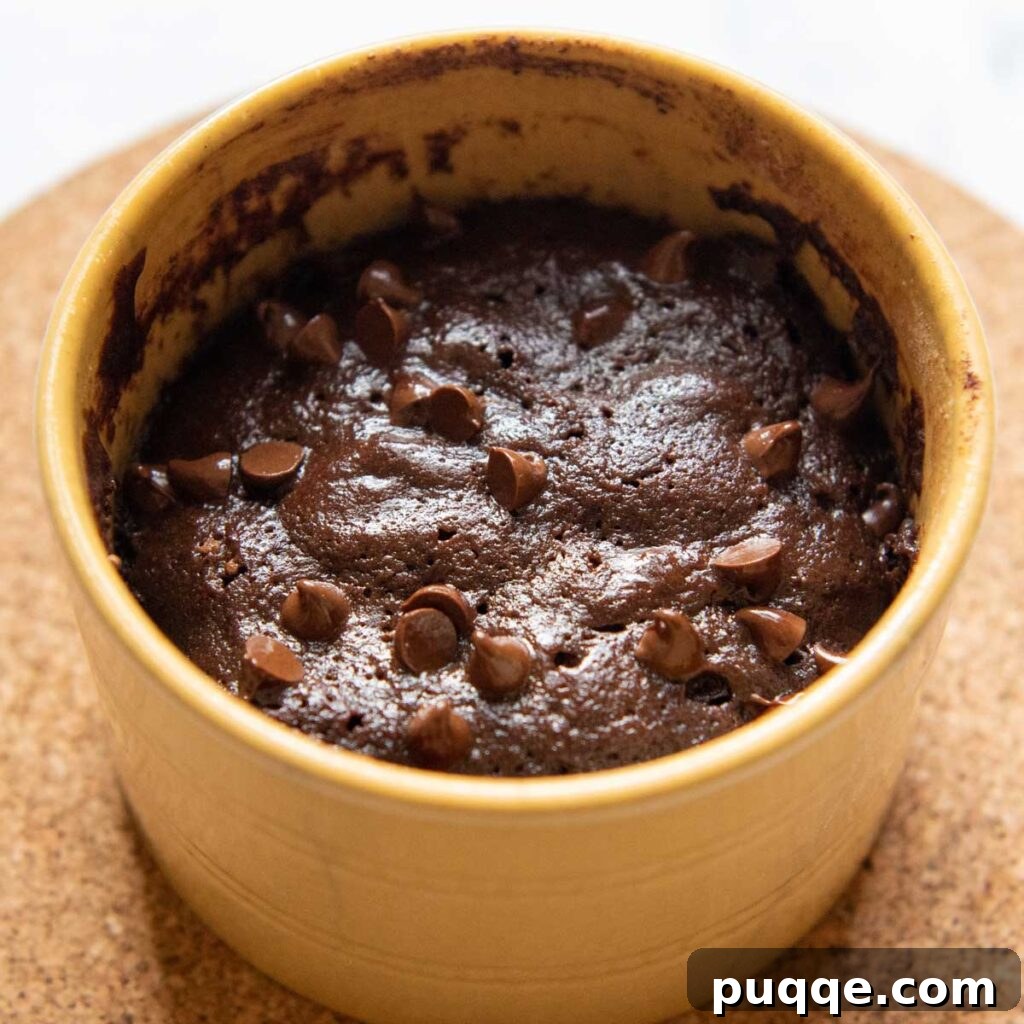
- Prepare Your Mug: Lightly grease a microwave-safe 10-ounce mug or ramekin with nonstick cooking spray. This prevents sticking and makes for easy cleanup.
- Combine Wet Ingredients: In the prepared mug, add the egg yolk, brown sugar, oil, milk, and vanilla extract. Using a fork, whisk these ingredients together vigorously until the mixture is smooth and the sugar is well dissolved.
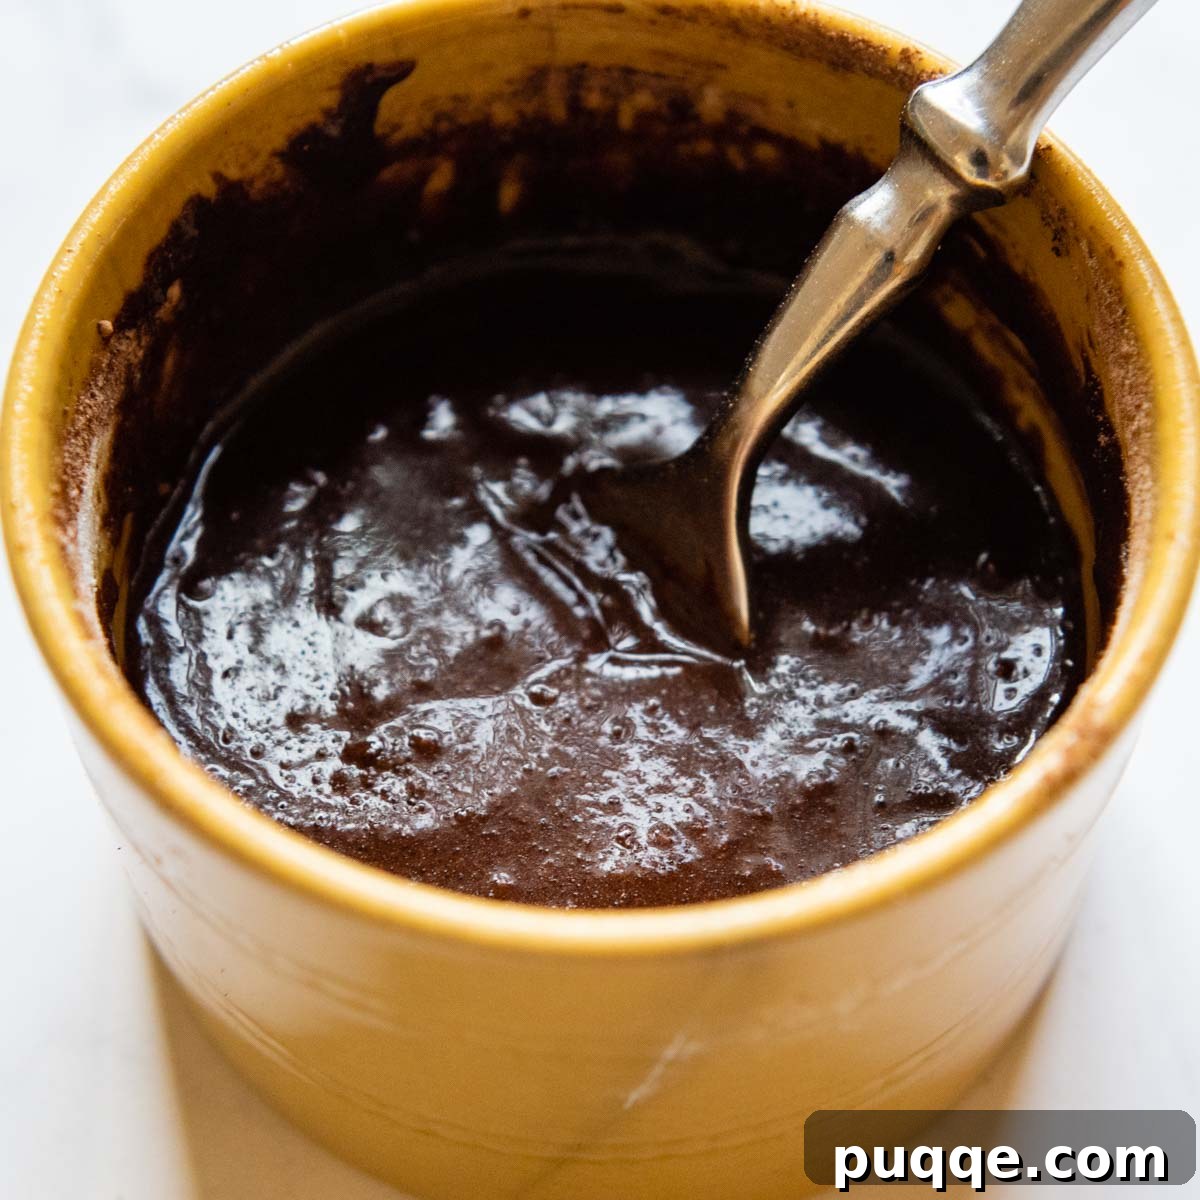
- Add Dry Ingredients: Next, add the gluten-free flour blend, unsweetened cocoa powder, a pinch of salt, and a pinch of baking powder to the mug. Stir thoroughly with your fork, making sure to scrape the bottom and sides of the mug to fully incorporate all the dry ingredients into a uniform batter.
- Fold in Chocolate Chips & Microwave: Stir in 1 tablespoon of chocolate chips into the batter. Sprinkle the remaining ½ tablespoon of chocolate chips on top for an extra melted chocolate layer. Place the mug in a 1000-watt microwave and cook for approximately 1 minute. The brownie is done when the top just becomes firm and shiny. It’s crucial not to overcook it, as this can lead to a dry texture. If your microwave has a lower wattage, you may need an additional 15-30 seconds of cooking time.
- Rest and Enjoy: Once cooked, carefully remove the mug from the microwave. Let the brownie rest for 1 minute before digging in. This resting period allows it to set slightly and become even more fudgy.
Fudgy or Cakey? Customize Your Mug Brownie Texture!
One of the best features of this recipe is its adaptability to your preferred brownie texture. Whether you’re a devoted fan of intensely fudgy brownies or you lean towards a lighter, more cake-like dessert, we have an easy fix for you. This means you can even transform this recipe into a single-serving gluten-free chocolate mug cake!
During our extensive testing, we explored various approaches to achieve different textures. A significant discovery involved the choice between using an egg yolk versus an egg white in the brownie batter. The standard recipe, calling for an egg yolk, consistently delivered that rich, dense, and ultra-fudgy texture that many brownie connoisseurs adore. The yolk’s fat content and emulsifying properties contribute to its characteristic gooeyness.
However, when we replaced the egg yolk with an egg white, the results were dramatically different and equally delightful. The egg white, primarily composed of protein and water, provides more lift and aeration to the batter. This yielded a taller, lighter, and fluffier texture, remarkably similar to a tender chocolate cake. If a light and airy gluten-free chocolate mug cake is what you’re after, simply make this substitution.
Since an egg white contains more liquid than an egg yolk, you will need to adjust the cooking time slightly. When using an egg white for a cakey texture, microwave the brownie for approximately 20 seconds longer than the fudgy version. Additionally, ensure you use a mug or ramekin with ample capacity, at least 10 ounces, to accommodate the increased rise.
Experimenting with these options allows you to truly personalize your dessert experience. There’s a perfect gluten-free chocolate treat waiting for you, whether you prefer it molten and dense or light and airy!
Egg-Free Adaptation for Dietary Needs
Understanding the diverse dietary requirements of our community, we made it a priority to develop adaptations for this mug brownie, including a delicious egg-free and vegan option. This ensures that everyone can enjoy a quick, satisfying chocolate treat.
The simplest way to make this recipe egg-free is to substitute the egg yolk with 2 additional tablespoons of dairy-free milk. When making this modification, it’s also crucial to use dairy-free chocolate chips to ensure the entire recipe is suitable for vegan diets. While this substitution makes the recipe accessible, it’s important to note that it will subtly alter the texture of the brownie.
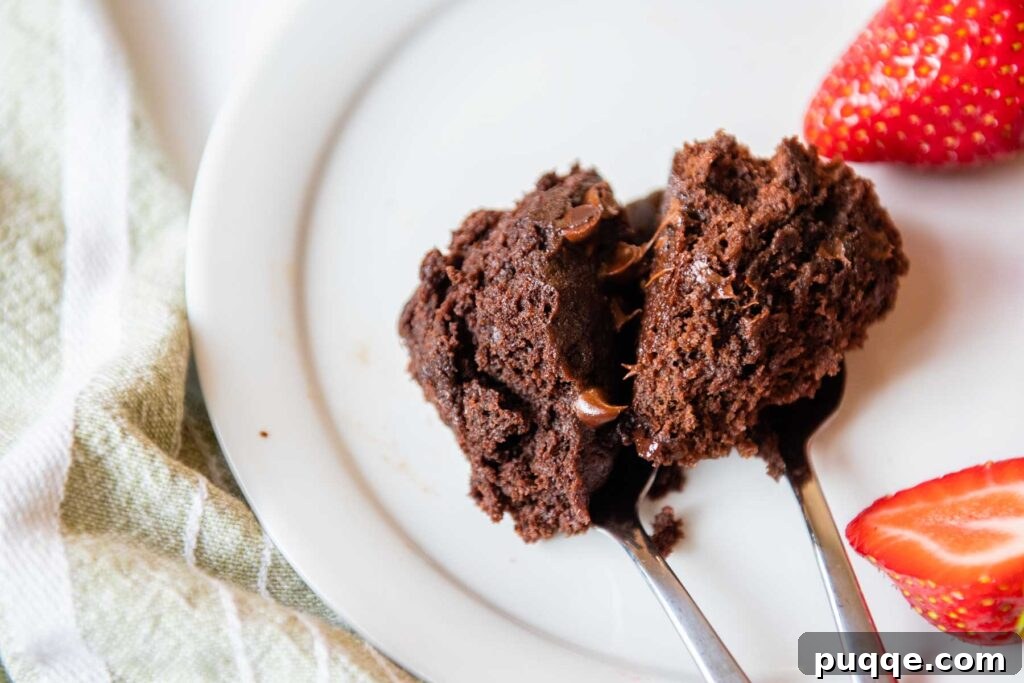
Without the binding and enriching properties of the egg yolk, the egg-free version tends to be a little more condensed and doesn’t rise quite as much. It also becomes significantly more gooey, which many find to be a delightful characteristic rather than a drawback! If you love an extra-gooey, intensely moist brownie, this egg-free modification might become your preferred version. Because of the increased liquid content, you will need to microwave the egg-free brownie for approximately 30 seconds longer than the standard recipe to ensure it’s properly set.
This egg-free adaptation opens up the joy of a warm, chocolatey mug brownie to even more dessert lovers, proving that dietary restrictions don’t have to mean sacrificing flavor or convenience.
Dairy-Free Modification: Simple Swaps for a Delicious Treat
Creating a dairy-free gluten-free brownie in a mug is incredibly straightforward, as the base recipe does not call for butter. This makes adapting it for dairy-free diets quite simple.
To make your mug brownie dairy-free, you will only need to make two easy substitutions:
- Milk: Swap out regular dairy milk for your favorite dairy-free alternative. Almond milk, soy milk, oat milk, or cashew milk all work wonderfully and integrate seamlessly into the batter without altering the taste significantly.
- Chocolate Chips: Ensure you use non-dairy chocolate chips. Many brands now offer excellent dairy-free options, such as Enjoy Life brand, which are widely available.
A crucial point for those with strict dairy-free requirements: when selecting your gluten-free all-purpose flour blend, always read the ingredient label carefully. Some gluten-free blends, like our preferred brand Cup4Cup, contain milk powder. While Cup4Cup is an excellent option for gluten-free baking, it would not be suitable for individuals following a gluten-free *and* dairy-free diet. Look for flour blends explicitly labeled “dairy-free” or check the ingredient list to confirm. With these simple adjustments, you can enjoy a rich, decadent dairy-free mug brownie that’s just as satisfying as the original.
Serving Suggestions and Delicious Mix-ins
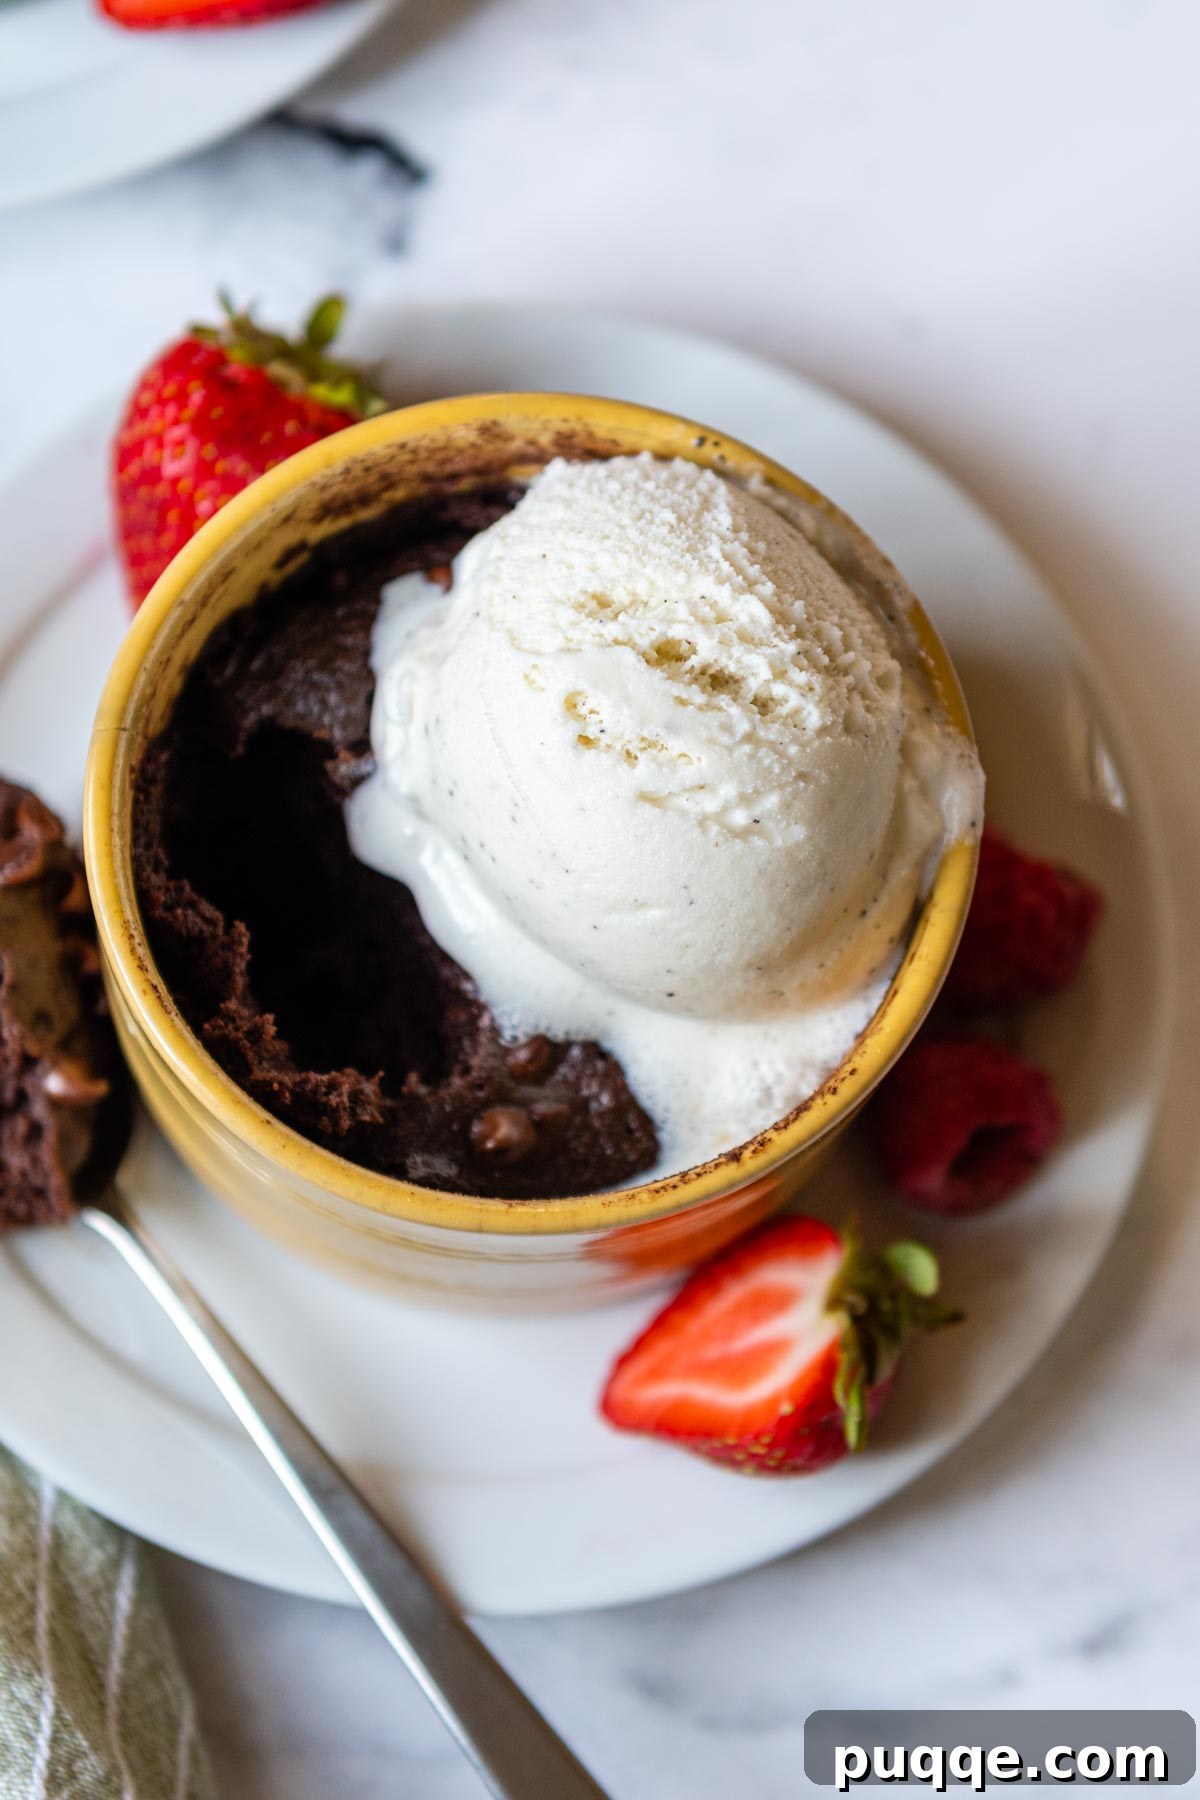
While this gluten-free mug brownie is fantastic on its own, especially enjoyed warm straight from the microwave, it truly becomes an unforgettable dessert with a few creative toppings or mix-ins. Though it’s designed as a single-serving treat, adding extra flourishes can easily transform it into a generous portion to share with a friend, or simply extend your own indulgent experience.
Here are some decadent and delightful ideas to elevate your mug brownie:
- Vanilla Ice Cream: A scoop of cold, creamy vanilla ice cream melting over the warm brownie is a classic pairing that’s hard to beat.
- Fresh Berries: Brighten the richness of the chocolate with a handful of fresh raspberries, strawberries, or blueberries. They add a lovely tart contrast and a pop of color.
- Orange Zest: For a sophisticated flavor combination, grate a tiny bit of fresh orange zest over the top. Chocolate and orange are a match made in heaven!
- Nuts: Add a delightful crunch with chopped nuts like almonds, walnuts, or even homemade candied pecans. Stir them into the batter before microwaving or sprinkle on top after.
- Whipped Cream: A generous dollop of whipped cream (dairy or non-dairy) provides a light, airy contrast to the dense brownie.
- Nut Butters: Swirl in a spoonful of peanut butter, almond butter, or Nutella into the batter before cooking, or simply dollop on top for a creamy, nutty addition.
- Fruit Jams: For a fruity twist, swirl a teaspoon of your favorite fruit jam, such as raspberry or cherry, into the batter just before microwaving.
- Chocolate Sauce or Hot Fudge: Drizzle with extra chocolate sauce or a luxurious homemade hot fudge for an ultimate chocolate explosion.
- Caramel Sauce: A sweet and salty caramel drizzle can take your brownie to the next level.
- Coconut Flakes: Toasted coconut flakes add tropical flavor and texture, especially good if you used coconut oil in the batter.
Don’t be afraid to experiment with your favorite flavors and textures. Whether you keep it simple or go all out, this gluten-free mug brownie is a canvas for your dessert dreams!
Troubleshooting Common Mug Brownie Issues
While this recipe has been thoroughly tested for consistent results, here are a few common issues you might encounter and how to fix them:
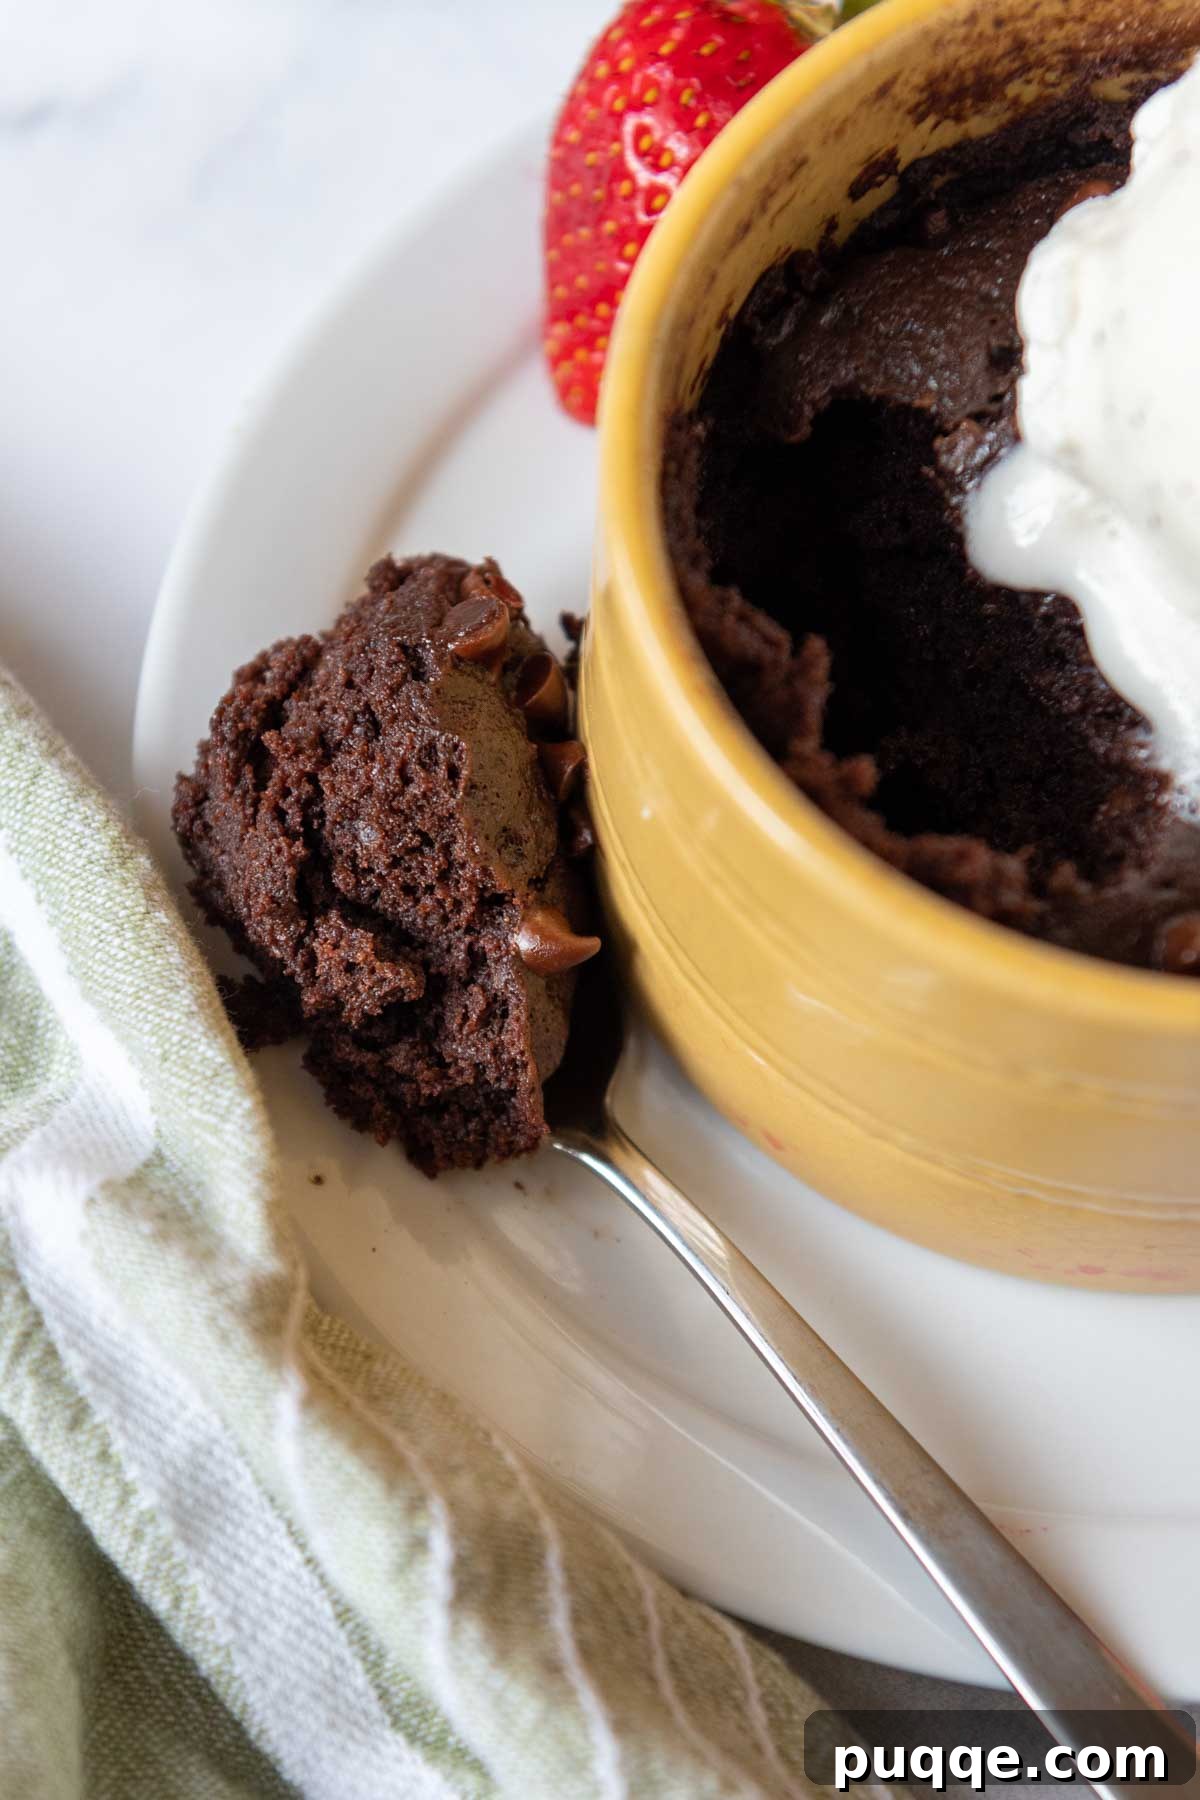
- My brownie is dry/rubbery: This is almost always a sign of overcooking. Microwaves vary significantly in power. Start with the shortest cooking time recommended (1 minute for a 1000-watt microwave) and check for doneness. The brownie should look just set on top with a slightly firm, shiny surface. It’s better to undercook slightly for a fudgier result than to overcook.
- My brownie is too gooey/wet: If the brownie seems too wet, resembling raw batter, it needs a bit more time. Return it to the microwave for 10-15 second increments until it reaches the desired doneness. Ensure your ingredients are measured precisely, as too much liquid can also contribute to a wet texture.
- My brownie didn’t rise: If using the egg yolk version, the rise will be minimal as it’s designed to be dense and fudgy. If you’re aiming for a cakey texture (using an egg white) and it didn’t rise, double-check that you added the pinch of baking powder, which is crucial for leavening. Also, ensure your baking powder is fresh.
- My mug brownie overflows: This can happen if your mug is too small or if you’re using the egg white variation which yields a taller brownie. Always use at least a 10-ounce microwave-safe mug or ramekin to prevent overflow.
Frequently Asked Questions (FAQs)
Can I prepare the batter ahead of time?
While technically possible, it’s not recommended. The leavening agents (baking powder) activate upon mixing with wet ingredients, and sitting for too long can reduce their effectiveness. For the best texture and rise, mix the batter just before microwaving.
Can I make this in an oven?
This recipe is specifically formulated for microwave cooking, which creates steam and cooks quickly, contributing to the fudgy texture. Baking it in a conventional oven would require different temperatures and cooking times and might result in a different texture. For an oven-baked single-serving brownie, you might need a different recipe.
What if I don’t have a 1000-watt microwave?
Microwave wattages vary. If your microwave has a lower wattage (e.g., 700-800 watts), your brownie will likely require more cooking time. Start with the recommended 1 minute, then add 15-30 second increments until the top is set and shiny. For higher wattage microwaves, you might even need slightly less time.
Can I freeze this mug brownie?
While you technically could, single-serving mug brownies are best enjoyed fresh and warm. They tend to dry out or change texture upon freezing and reheating. The beauty of this recipe is its speed, so there’s usually no need to make it ahead for freezing.
Is this recipe truly only 1 minute of cook time?
Yes, for a 1000-watt microwave, the cook time is typically 1 minute. However, prep time involves mixing the ingredients, bringing the total time from start to delicious finish to about 2-3 minutes. This makes it incredibly fast!
Save this recipe to your Pinterest board!
Don’t let this amazing, quick, and easy gluten-free dessert slip away! Pin this Gluten-Free Mug Brownie recipe to your favorite dessert board so you can find it whenever a chocolate craving strikes. And while you’re there, be sure to follow us on Pinterest for more delicious gluten-free recipes and quick meal ideas!
5 stars (9 ratings)
Gooey, Fudgy Gluten-Free Mug Brownie (Easy Tips)
 Melissa Erdelac
Yield: 1 serving
Prep Time: 1 min
Cook Time: 1 min
Total Time: 2 mins
Enjoy an amazing GF chocolate dessert in only one minute! This gluten-free mug brownie recipe has the perfect balance of texture – rich and fudgy without being undercooked and goopy. Discover many easy tricks right here, along with versatile options for egg-free, vegan, dairy-free, or cakey single-serving dessert!
Pin Recipe
Rate This Recipe
Ingredients
- 1 egg yolk (see notes for vegan option)
- 3 tablespoons light brown sugar
- 1 ½ tablespoons oil (any preferred, such as canola, vegetable, or melted coconut oil)
- 1 tablespoon milk or non-dairy milk
- ¼ teaspoon vanilla extract
- 2 ½ tablespoons gluten-free all-purpose flour blend (recommended: Cup4Cup)
- 2 tablespoons unsweetened cocoa powder
- Pinch salt
- Pinch baking powder
- 1 ½ tablespoons miniature semi-sweet chocolate chips, divided
Instructions
- Grease a microwave-safe 10-ounce mug or ramekin with nonstick cooking spray. In the mug, whisk together the egg yolk, brown sugar, oil, milk, and vanilla extract until smooth.
- Add the gluten-free flour, cocoa powder, salt, and baking powder. Stir well with a fork, making sure to scrape the bottom of the mug to fully incorporate all dry ingredients.
- Stir in 1 tablespoon of chocolate chips. Sprinkle the remaining ½ tablespoon on top. In a 1000-watt microwave, cook for 1 minute, or until the top is just firm and shiny. Be careful not to overcook. If you have a lower wattage oven, it will need up to 30 seconds longer. Let rest for 1 minute before enjoying.
- Did you make this recipe? We’d love your feedback! Don’t forget to leave a star rating and review below!
Notes
Vegan Modifications
For a vegan brownie, replace the egg yolk with 2 additional tablespoons of dairy-free milk and ensure you use dairy-free chocolate chips. Note that this will result in a slightly more condensed and gooier texture, and you may need to microwave for about 30 seconds longer due to the increased liquid. Also, remember to choose a gluten-free flour blend that is also dairy-free (Cup4Cup contains milk powder).
Nutrition Information
Calories: 602 kcal, Carbohydrates: 67g, Protein: 9g, Fat: 37g, Saturated Fat: 9g, Polyunsaturated Fat: 7g, Monounsaturated Fat: 19g, Trans Fat: 0.1g, Cholesterol: 198mg, Sodium: 29mg, Potassium: 369mg, Fiber: 7g, Sugar: 45g, Vitamin A: 295IU, Calcium: 110mg, Iron: 4mg
Did you make this recipe? Please leave a star rating and review below. It helps others when searching for recipes and we LOVE feedback!