
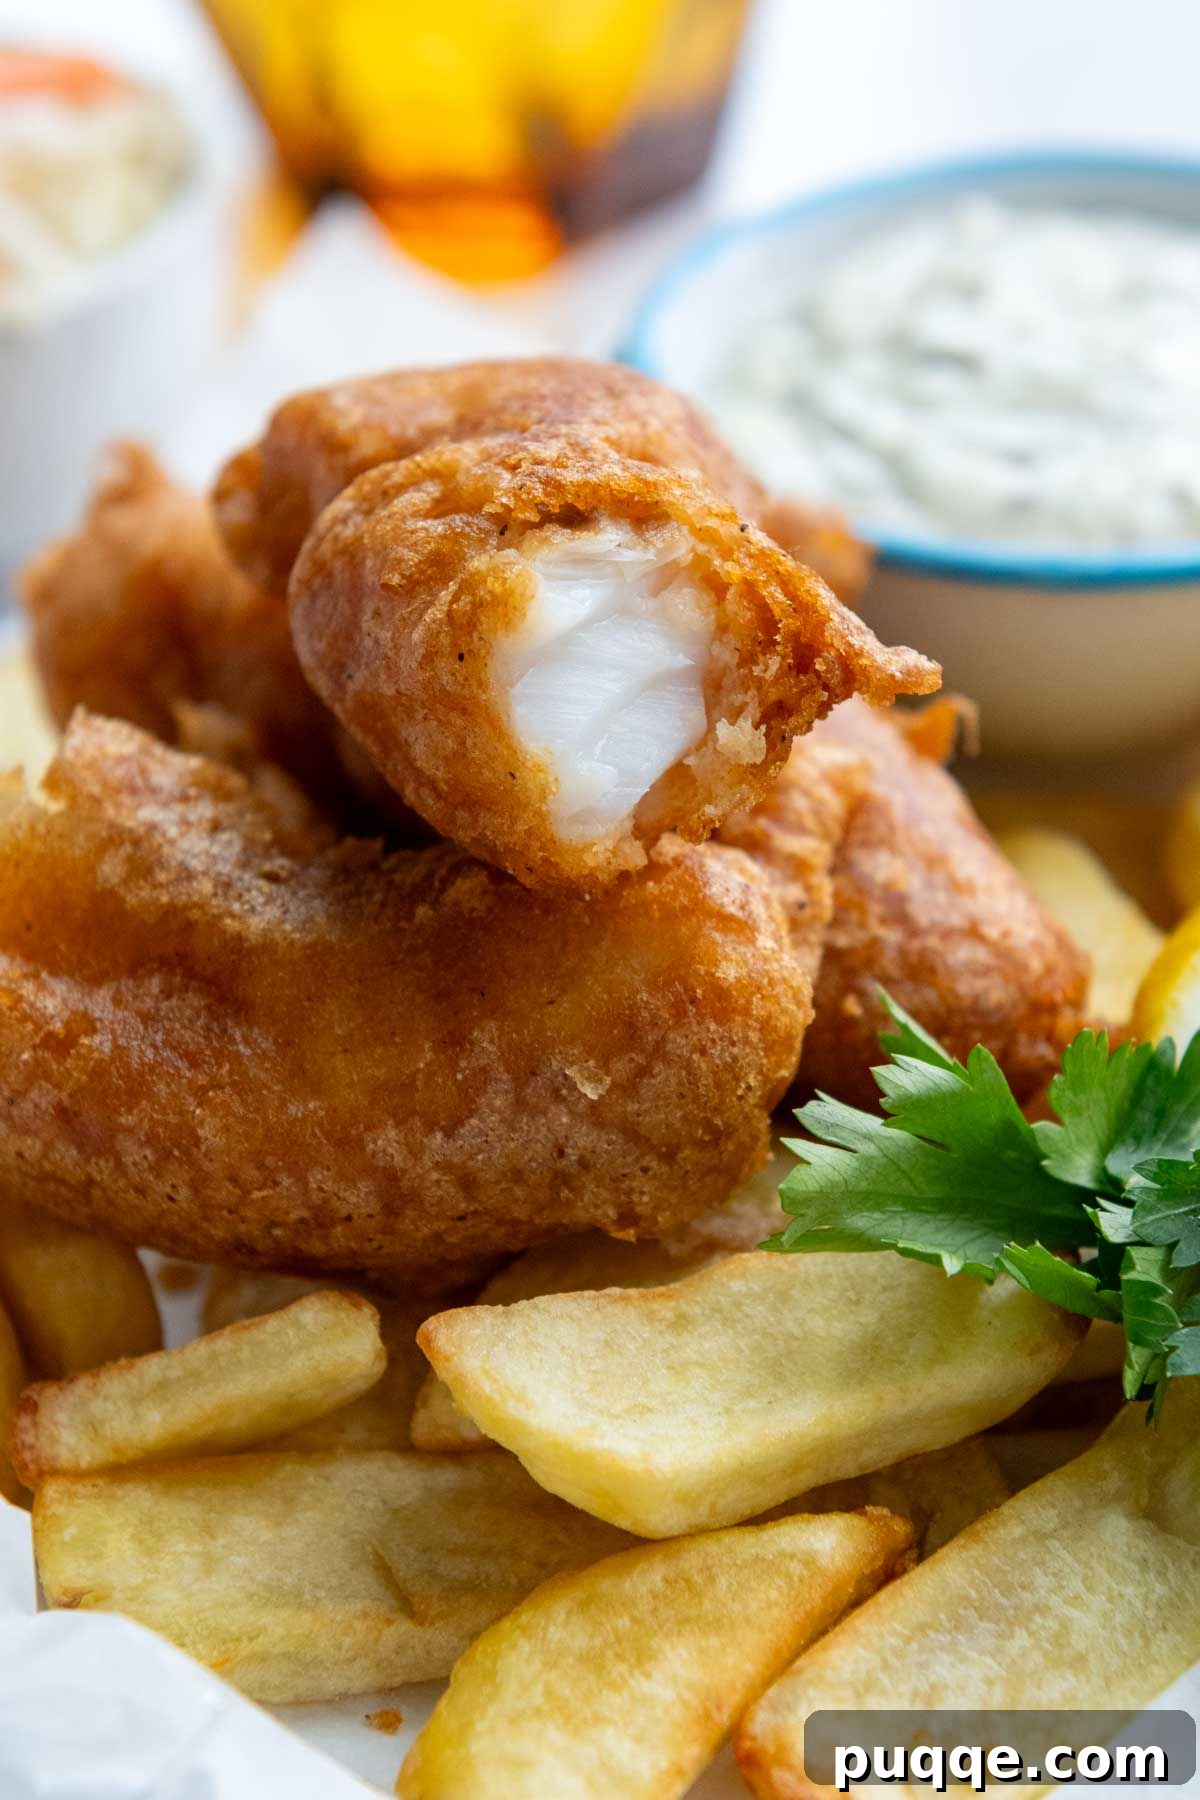
If you’ve been longing for the unmistakable crunch of perfectly beer-battered fish and chips but find yourself limited by a gluten-free diet, prepare for a culinary revelation! This easy-to-follow recipe is engineered to be a true game-changer, bringing that classic pub fare experience right into your home. Our innovative gluten-free fish batter leverages the power of fizzy soda water or your favorite gluten-free beer to create an incredibly light, airy, and spectacularly crispy coating. Each piece of delicate white fish is first gently dredged in a masterful blend of gluten-free all-purpose flour and rice flour, then expertly fried until it achieves a glorious golden-brown crispness. The result? A phenomenal gluten-free fried fish that is every bit as delicious and satisfying as its traditional counterpart, proving that you don’t have to compromise on taste or texture when going gluten-free.
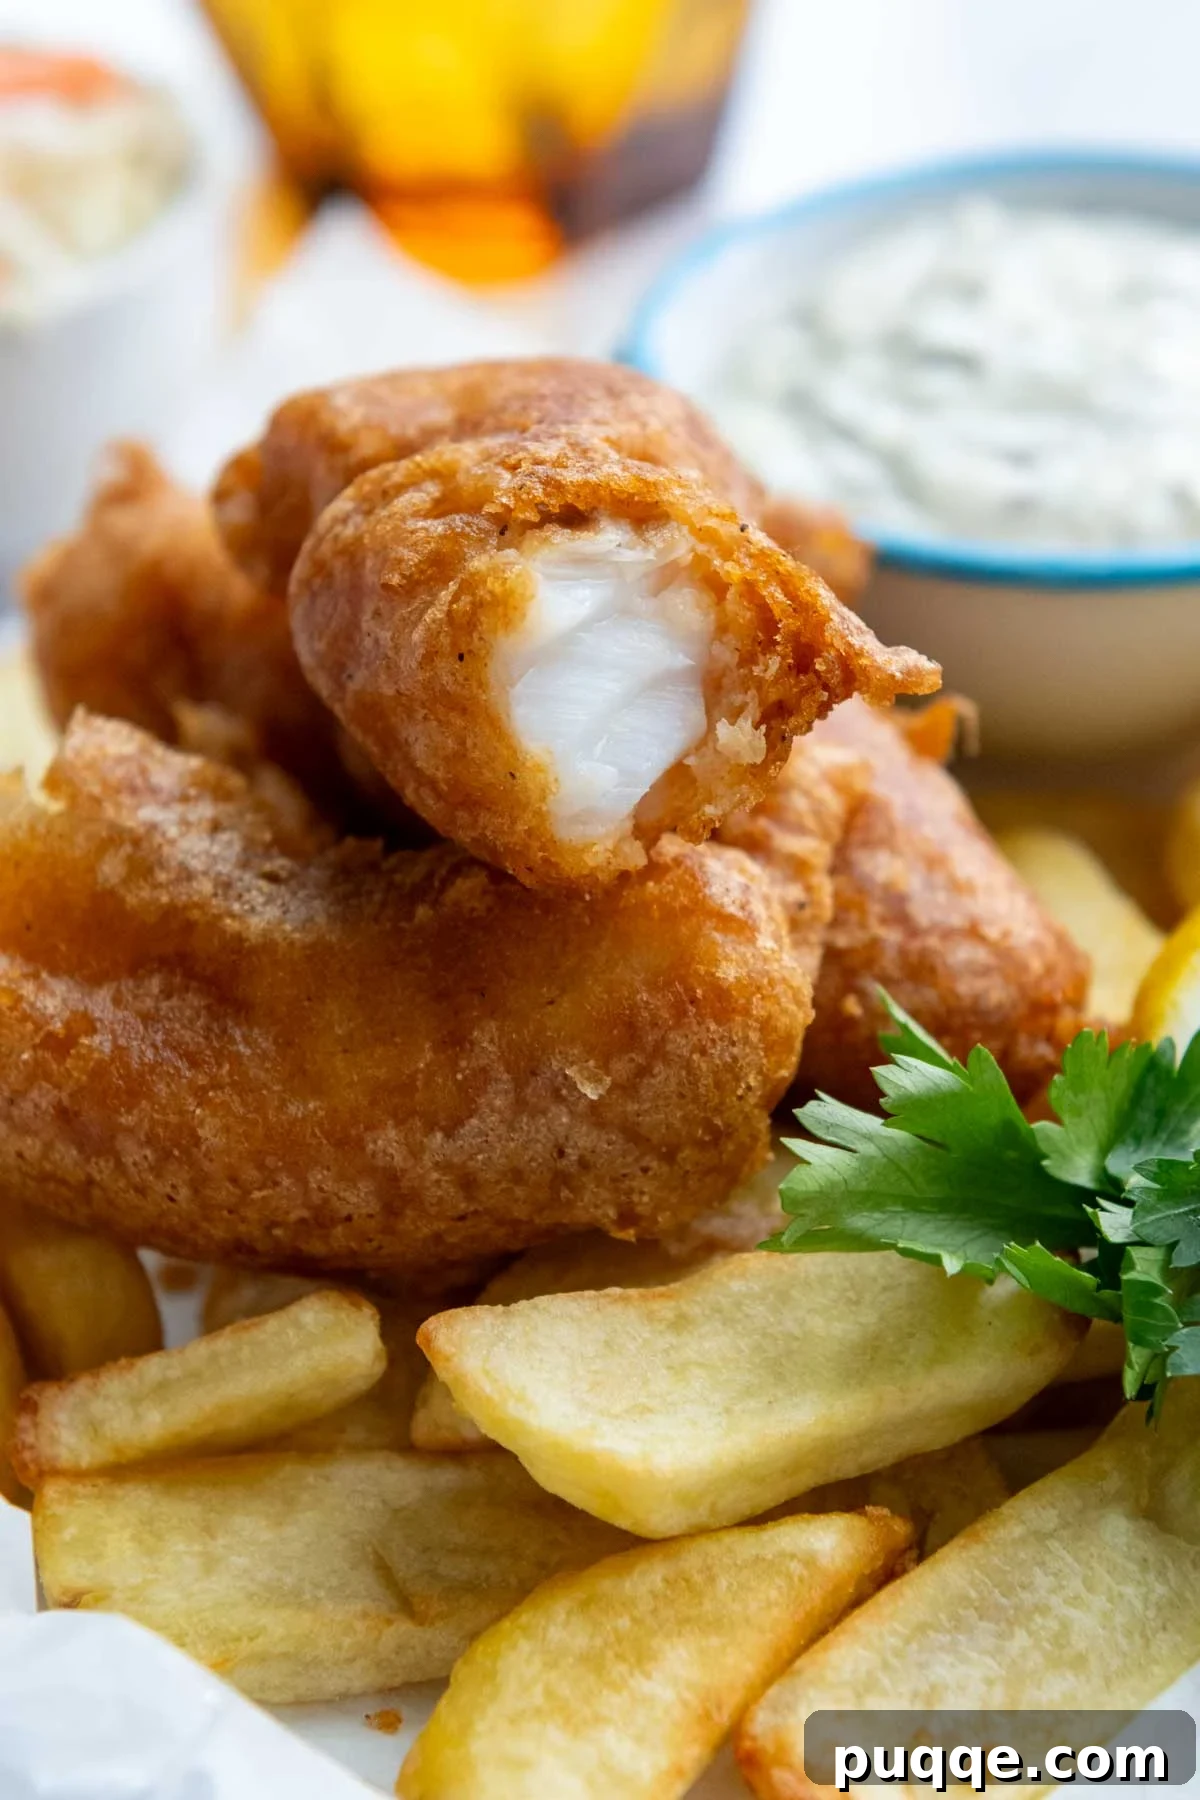
Mastering the Art of Gluten-Free Fish Batter
For those adhering to a gluten-free lifestyle, finding truly authentic and delectable fish and chips on a restaurant menu can often feel like a quest for a mythical creature. But the good news is, you absolutely don’t have to miss out on tender, flaky fish encased in a perfectly light and crispy coating. With this recipe, you can take matters into your own hands and create an experience that rivals any traditional chippy.
In fact, during extensive testing, we discovered just how surprisingly simple it is to prepare this delicious dish, making it an excellent choice for a weeknight gluten-free dinner. Pair it with a delightful accompaniment like our creamy gluten-free slaw for a complete and satisfying meal. What’s even better? Our family members who don’t follow a gluten-free diet savored every bite, completely unaware they were indulging in fish coated with a specially crafted gluten-free batter! This speaks volumes about the recipe’s ability to deliver on taste and texture without compromise.
While the process of crafting magnificent gluten-free fried fish is quite straightforward, we’ve outlined crucial steps and foundational rules to ensure consistent, no-fail results every single time – even if you’re a novice at making battered fish. Our dedication went into identifying the most impactful homemade fish batter techniques, so you can confidently achieve that coveted crispy, golden-brown exterior and succulent interior.
The secret to exceptional fried fish lies significantly in the batter itself. Traditional beer-battered fish is renowned for a reason: the beer not only imparts a subtle depth of flavor but, more importantly, dramatically improves the texture of the coating. The carbonation acts as a natural leavening agent, aerating the batter as it fries. This process releases carbon dioxide, creating countless tiny bubbles that expand and crisp up, resulting in that wonderfully light and airy breading we all crave.
To perfectly replicate this effect in a gluten-free version, you have two excellent options. Firstly, you can select a high-quality gluten-free beer from a trusted gluten-free beer list. Using GF beer provides the essential carbonation for a bubbly batter, plus the alcohol content. Alcohol evaporates much faster than water, which means the fish requires less frying time, significantly reducing the chances of a heavy, greasy coating. The quicker cook time contributes directly to a lighter, more delicate crust.
If gluten-free beer isn’t readily available, or you’re seeking a more budget-friendly alternative, plain carbonated club soda water works exceptionally well. We rigorously tested this recipe using both gluten-free beer and club soda, and the differences in the final fish batter were negligible. Both options deliver that vital carbonation needed for a truly crispy texture.
Another pivotal element in achieving the best gluten-free fried fish is the strategic inclusion of rice flour. Unlike wheat flour, rice flour absorbs less fat and moisture during the frying process. This characteristic is key to producing a coating that is remarkably lighter and less dense than traditional batters. In this recipe, we utilize a precise combination of white rice flour with a high-quality gluten-free all-purpose flour blend. This specific blend ensures that the batter adheres perfectly to the fish throughout frying, preventing it from sliding off and guaranteeing an evenly coated, consistently crispy result.
Continue reading for even more expert insights and invaluable tips designed to elevate your gluten-free battered fish to perfection. We’ll delve into the ideal oil temperature for optimal frying, smart techniques for keeping your fish warm in batches, and the best methods for reheating any glorious leftovers to revive their original crispness.
Absolutely phenomenal! Best GF fish batter EVER. I’m from England so I know 😊👍
Used GF beer but only because some was on hand. Gonna use club soda next time. Turned out light and crunchy without being even slightly heavy. NO leftovers to worry about 😉
This is now my ‘go-to’ recipe for fish.—Clareity
Essential Ingredients for Perfect Gluten-Free Fried Fish
Crafting homemade fried fish offers some flexibility with ingredients, but certain choices can significantly impact the final outcome. Below, we’ll explore key ingredients, potential variations, and how substitutions might affect your fish fry experience.
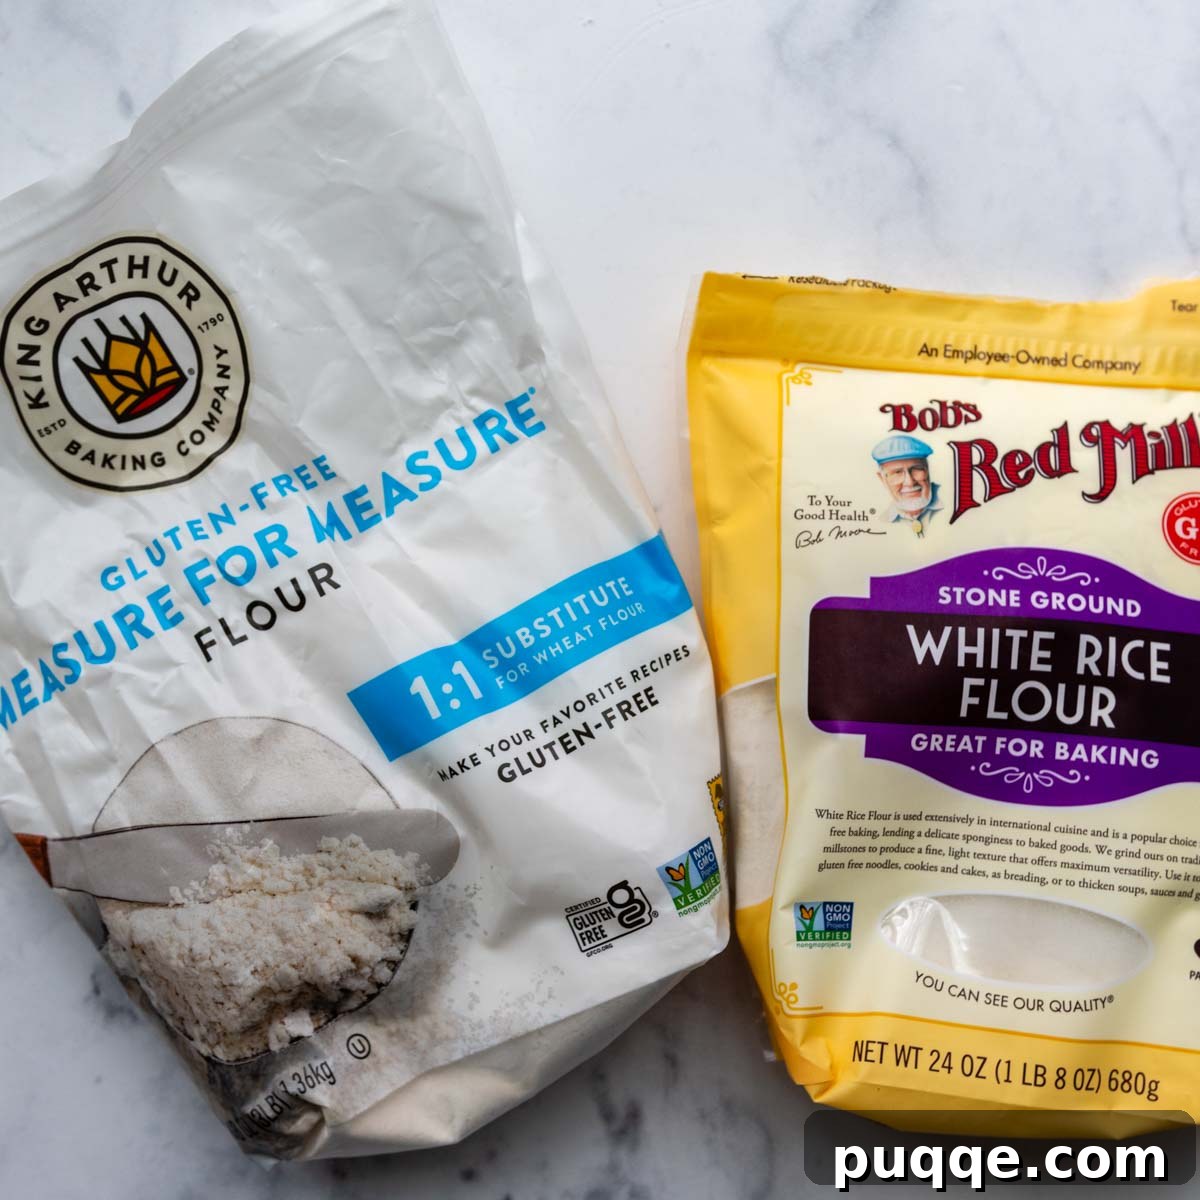
- Gluten-Free All-Purpose Flour Blend: This is the foundation of your batter, and choosing the right blend is paramount. We tested this recipe with several popular brands, and found that King Arthur Measure-for-Measure consistently yielded superior results. Blends like Cup4Cup, which contain a high amount of cornstarch as a primary ingredient, tended to thicken the batter excessively, making it more challenging to achieve an even coat and resulting in a denser fried texture. Therefore, we highly recommend King Arthur Measure-for-Measure or any similar gluten-free all-purpose flour blend where cornstarch is not listed among the top three ingredients. The goal is a batter that is thin enough to coat the fish delicately, yet robust enough to create a crispy shell.
- White Rice Flour: This ingredient plays a dual, critical role in our recipe. Firstly, it’s used as a preliminary dredge for the fish before it enters the wet batter. This initial coating helps create a dry surface that allows the subsequent batter to adhere firmly, preventing it from slipping off during frying. Secondly, a portion of rice flour is incorporated directly into the wet batter itself, working in conjunction with the GF all-purpose flour to produce that signature light and crispy texture. Its low moisture absorption properties are key here. While a cornstarch-free GF blend might offer some substitution, white rice flour is truly superior for achieving the desired lightness and crispness.
- Gluten-Free Beer or Club Soda: As discussed, the carbonation in these liquids is essential. It provides the necessary aeration that expands the batter during frying, leading to a wonderfully light and crisp finish. If you opt for gluten-free beer, the alcohol content offers an added advantage by evaporating quicker than water, which can subtly reduce the overall cooking time and minimize oil absorption. However, rest assured that carbonated club soda delivers equally fantastic results in terms of texture and crispness, making it a reliable and often more accessible alternative. The key is to ensure it is very cold when added to the batter.
- Fish: For that quintessential fried fish experience, we strongly recommend using flaky white fish fillets. Excellent choices include cod, haddock, pollock, flounder, halibut, or tilapia. The thickness of your chosen fish fillets will directly influence the required frying time. To ensure your fish is perfectly cooked through without being overdone, we highly recommend using an internal thermometer to verify it reaches an internal temperature of 140ºF (60ºC). There are additional important considerations when selecting your fish, which we delve into further in the dedicated Best Types of Fish to Use section below.
- Oil: For deep frying, select an oil with a high smoke point, such as canola oil, peanut oil, or vegetable oil. It’s crucial to use a deep, large skillet and fill it with enough oil to cover the fish pieces by approximately 2 inches. If the oil level is too shallow, the fish may stick to the bottom of the pan, leading to uneven cooking and potential tearing of the batter. Adequate oil depth ensures the fish floats and cooks evenly for that perfect golden crisp.
Best Types of Fish To Use for Gluten-Free Frying
The quality and type of fish you choose can significantly impact the success and enjoyment of your gluten-free fried fish. Living in the Midwest, access to premium fresh fish can sometimes be limited or come at a steep price. This led us to test our GF fried fish recipe using both fresh and frozen-then-thawed cod.
Unfortunately, the results with frozen and thawed fish were not as favorable as with fresh fish. The primary reason for this disparity lies in moisture content. When fish is thawed, it releases a considerable amount of moisture. While blotting helps, it proved virtually impossible to remove enough excess liquid from thawed fish. This retained moisture negatively affected the texture, often leading to a mushier interior after cooking, which detracts from the desired flaky consistency.
Fresh white fish, on the other hand, naturally contains less excess moisture, requiring minimal blotting before dredging. This contributes to a superior meaty, flaky texture that holds up beautifully after frying. Therefore, whenever possible, opting for fresh fish will undoubtedly yield the best possible results for this recipe.
Regarding specific fish types, any firm, flaky white fish will work well. However, for an authentic and satisfying gluten-free fish and chips experience, a thicker fillet is highly recommended. Thicker cuts, such as cod, haddock, pollock, or halibut, provide a better fish-to-batter ratio, ensuring a substantial, succulent interior contrasted with the crispy exterior. Thinner fillets, like tilapia or swai, can still be fried, but the batter-to-fish ratio might be slightly off for those seeking a classic pub-style experience. These thinner fish varieties, however, are absolutely fantastic for gluten-free oven-fried fish, offering a different but equally delicious preparation method.
Step-by-Step Guide to Crispy Gluten-Free Fried Fish
(The following provides detailed step-by-step photos and expanded instructions. For the precise ingredient amounts and a concise recipe card, please scroll down.)
Prep the fish for optimal crispiness
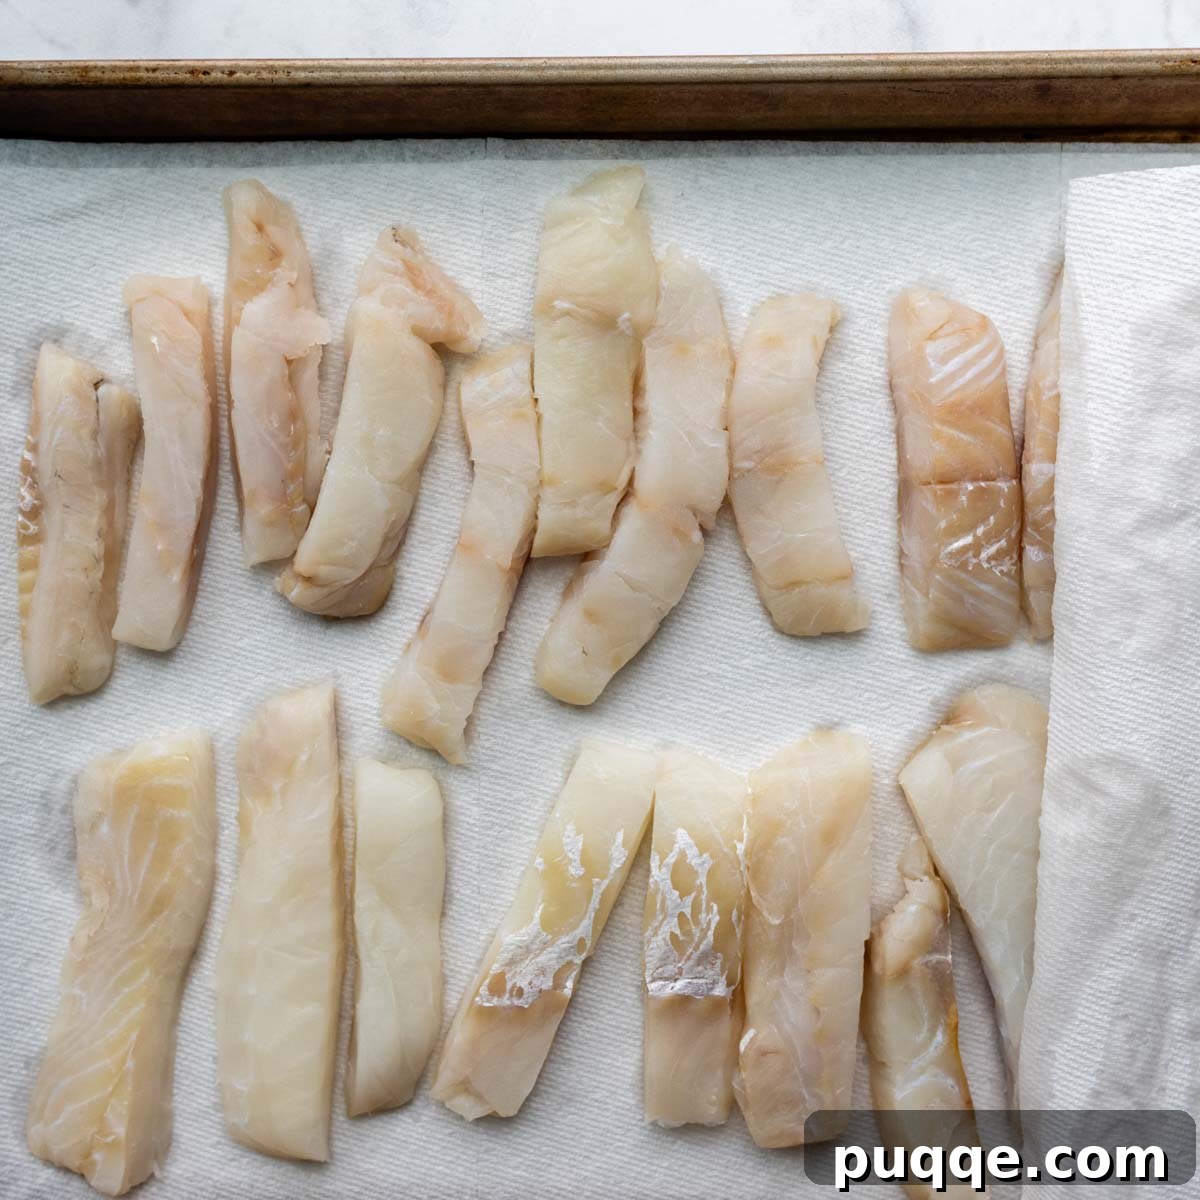
Begin by laying your cut fish fillets on a baking sheet generously lined with several layers of paper towels. Place an additional layer of paper towels over the fish and gently but firmly press down to blot up as much excess moisture as possible. This step is crucial for ensuring the batter adheres properly and fries up extra crispy, preventing a soggy coating. Remember, fresh fish typically requires less blotting than thawed frozen fish, as it naturally contains less liquid.
Efficient dredging method
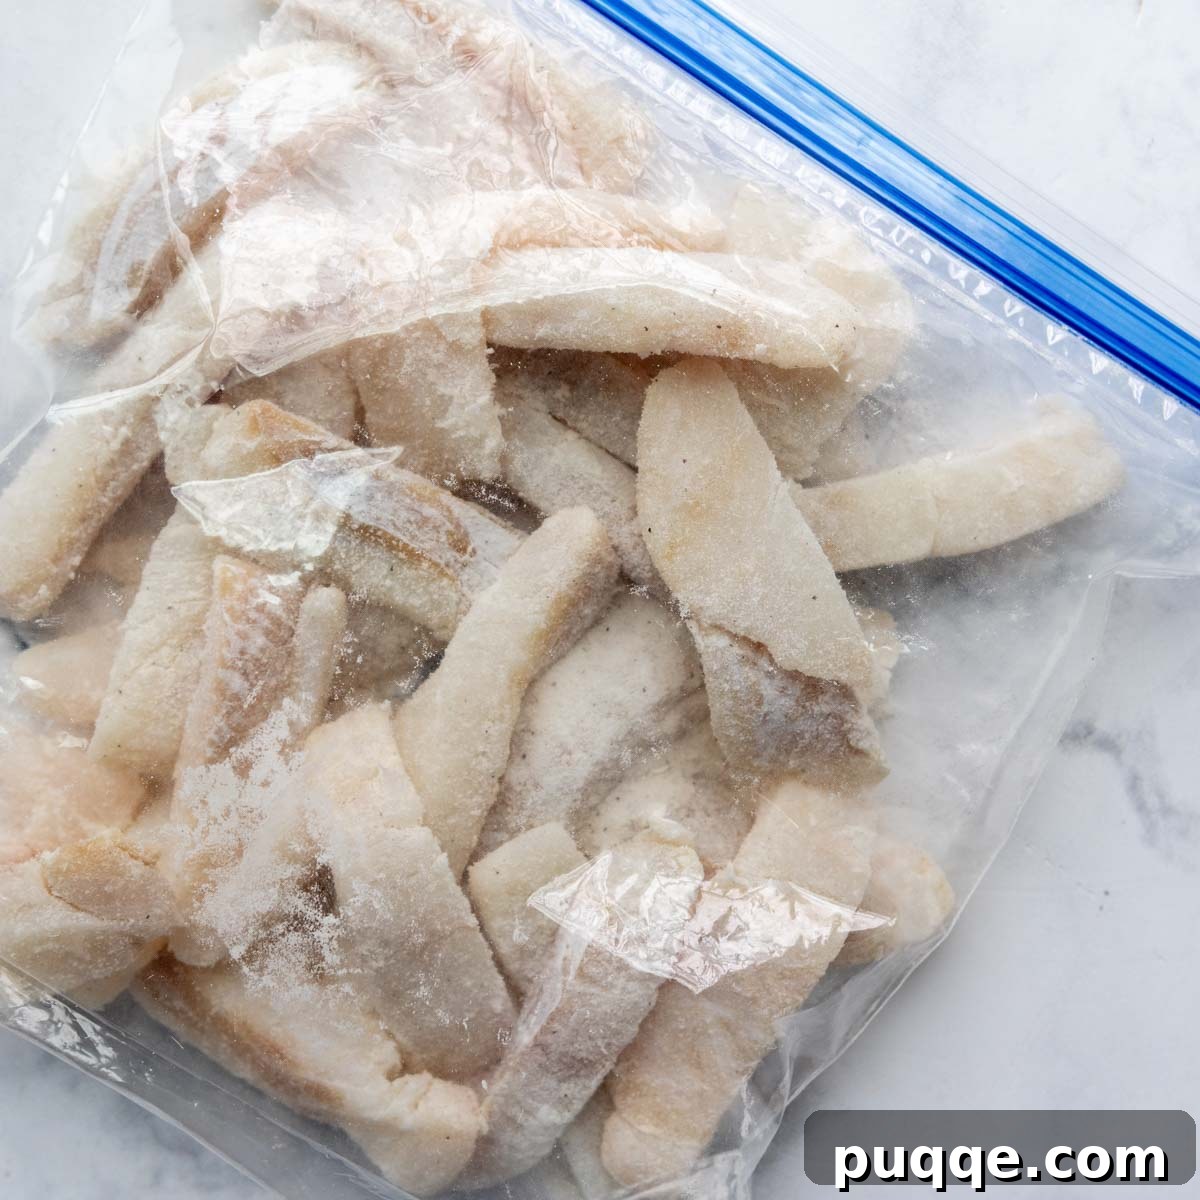
For a quick and mess-free way to “dredge” your fish, simply place the blotted fish pieces into a large ziplock bag. Add the white rice flour, salt, and pepper to the bag. Seal the bag securely, ensuring some air remains inside, and then gently shake to coat the fish evenly on all sides. This shortcut streamlines the process, making it as fast and easy as possible – always our goal for homemade meals!
Preparing the perfect batter
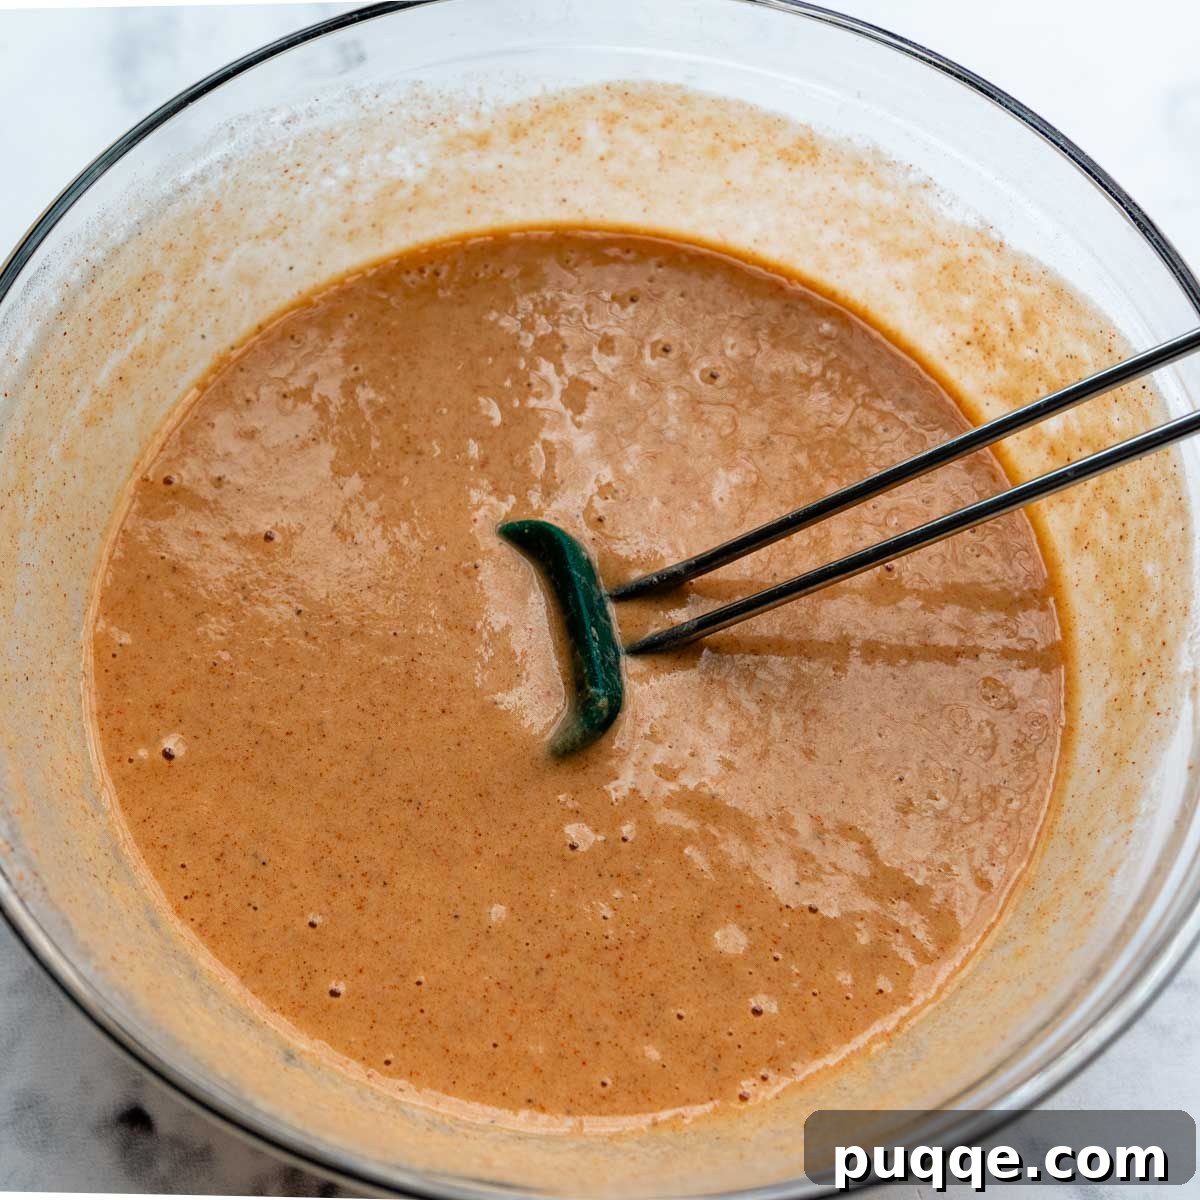
In a large mixing bowl, combine all the dry ingredients for your gluten-free fish batter. Whisk them thoroughly to ensure an even distribution of spices and leavening agents. It’s crucial to prepare the wet ingredients (cold gluten-free beer or club soda, and the egg) separately and only incorporate them into the dry mixture immediately before you begin frying. Keeping the liquid ingredients very cold until the last moment helps maintain the batter’s optimal temperature, which is key for a light, crispy coating. Utilizing a gluten-free flour blend without a high cornstarch content will result in a beautifully thin batter, ideal for dipping and achieving that delicate crispness.
Time to fry for golden perfection!
Carefully pour your chosen cooking oil into a large, heavy-bottomed deep skillet. Ensure there’s enough oil to cover the fish pieces by approximately 2 inches. Heat the oil over medium to medium-high heat until it reaches a precise temperature of 375ºF (190ºC). Maintaining this specific oil temperature is absolutely critical: if it’s too low, the fish will absorb too much oil and become greasy; if it’s too hot, the batter will brown too quickly before the fish cooks through. (This precise temperature control is also a key factor when making airy gluten-free apple fritters!) Once the oil is at temperature, whisk the cold liquid ingredients into your prepared dry batter mix.
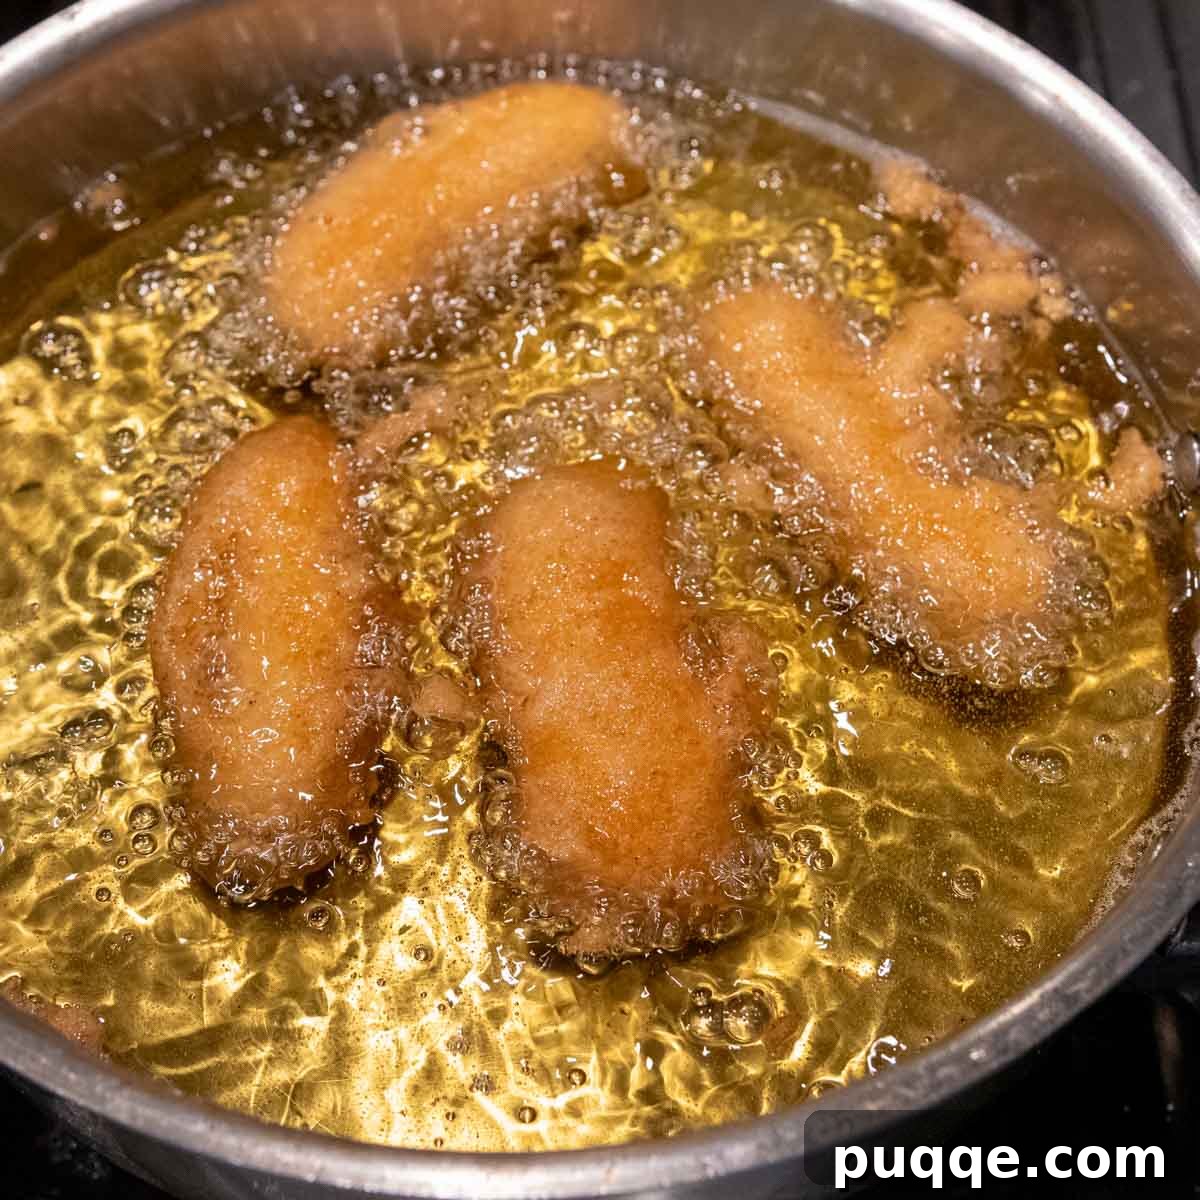
Take one piece of dredged fish from the ziplock bag and fully immerse it in the batter bowl, ensuring it’s completely coated on all sides. Lift the fish out with a fork, allowing any excess batter to drip off momentarily, then carefully transfer it into the hot oil. Repeat this process, adding 3-4 pieces of fish to the oil. It’s crucial not to overcrowd the skillet, as this will significantly drop the oil temperature and lead to greasy results. Cook each batch for about 3-5 minutes, depending on the thickness of the fish, using tongs to flip them occasionally to ensure even browning. The fish is done when it’s golden brown and reaches an internal temperature of 140ºF (60ºC).
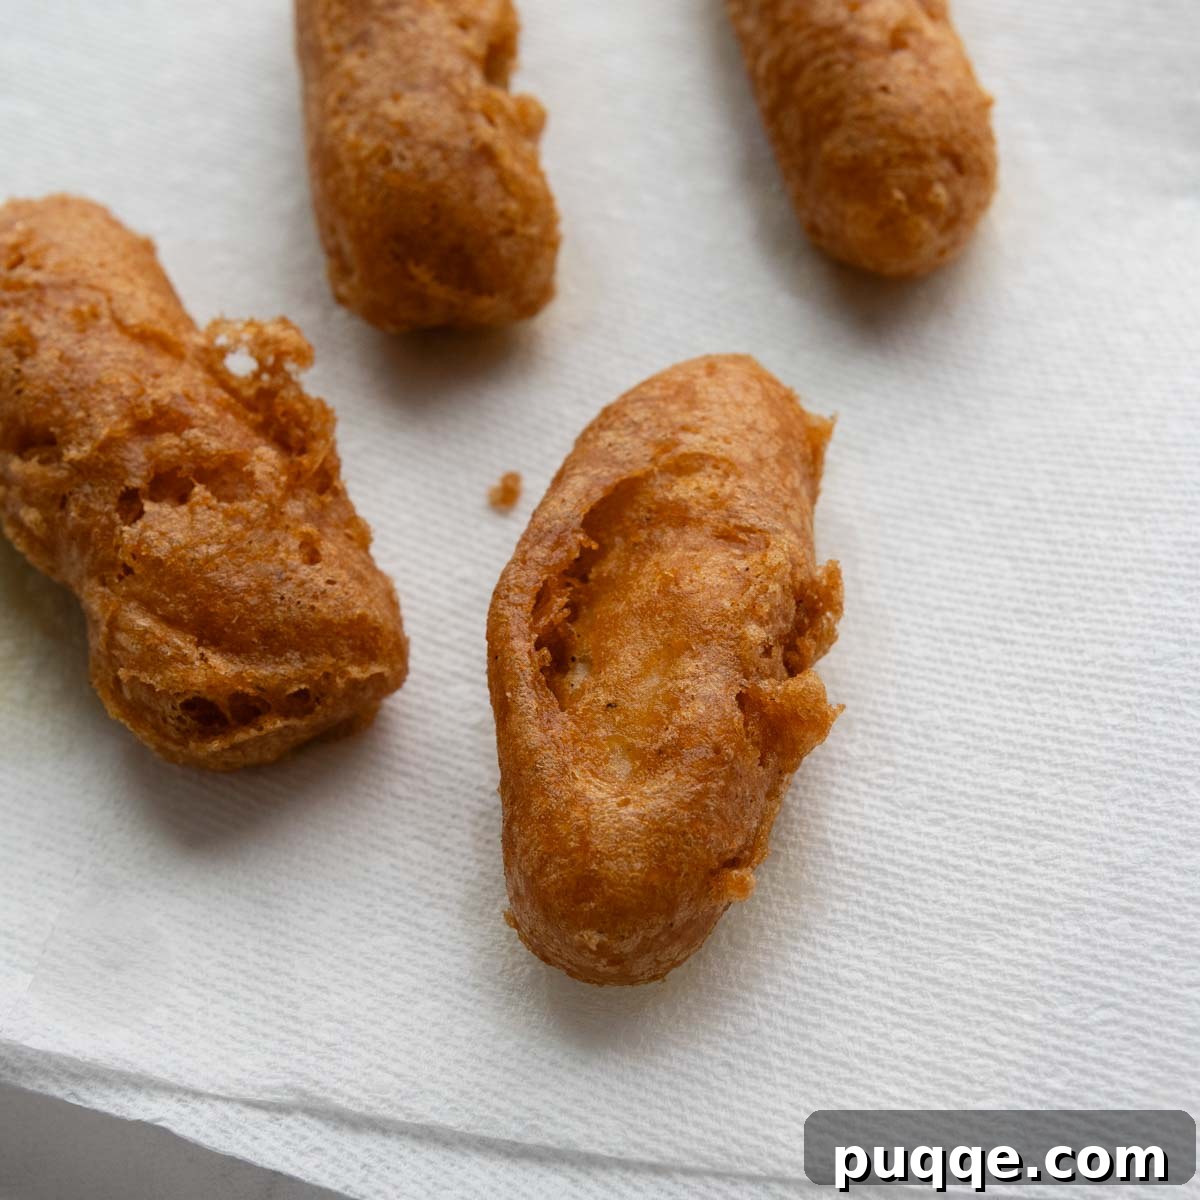
Once cooked, transfer the fried fish to a plate lined with paper towels to briefly absorb any excess grease. For maximum enjoyment, refer to our tips below on how to keep subsequent batches of fish warm while you continue frying. This ensures every piece is served hot and crispy!
Completing Your Gluten-Free Fish and Chips Experience
Creating a full homemade gluten-free fish and chips meal offers several delicious options for preparing the “chips” or fries, depending on your available time and desired effort.
- Deep-Fried Homemade Fries: For the ultimate authentic experience, you can fry your own potato chips in the same oil as the fish. First, slice your potatoes into your desired fry shape. Soak them in cold water for at least 30 minutes (or up to a few hours) to remove excess starch, then dry them thoroughly on a lint-free towel. Heat your oil to a lower temperature initially, around 330ºF (165ºC), and blanch the potatoes in batches until softened but not browned. Remove them, drain, and keep warm in a 200ºF (95ºC) oven while you prepare and fry the fish. Once the fish is done, increase the oil temperature to 375ºF (190ºC) and fry the blanched potatoes a second time until they are golden brown and perfectly crispy.
- Crispy Oven-Baked Homemade Fries: If you prefer to avoid a second round of deep frying, baking your fries is an excellent alternative. While the fried fish is being prepared and cooked, you can bake these wonderfully crispy homemade oven fries. Like the deep-fried version, these also benefit from an initial cold water soak to achieve maximum crispness. Be sure to read through the specific directions for oven fries before you begin, as proper preparation is key.
- Convenient Store-Bought French Fries: The simplest and quickest option for your chips is to prepare store-bought french fries. You can either bake them in the oven or use an air fryer while you focus on frying the fish. It is absolutely crucial to read the ingredient labels carefully to ensure they are certified gluten-free. Reputable brands like Ore-Ida, Alexia Foods, and Grown in Idaho often offer safe options. Pay particular attention if frozen fries have any seasoning on them, as seasonings can sometimes contain hidden gluten ingredients. Always double-check!
Serving Suggestions for Your Gluten-Free Fried Fish
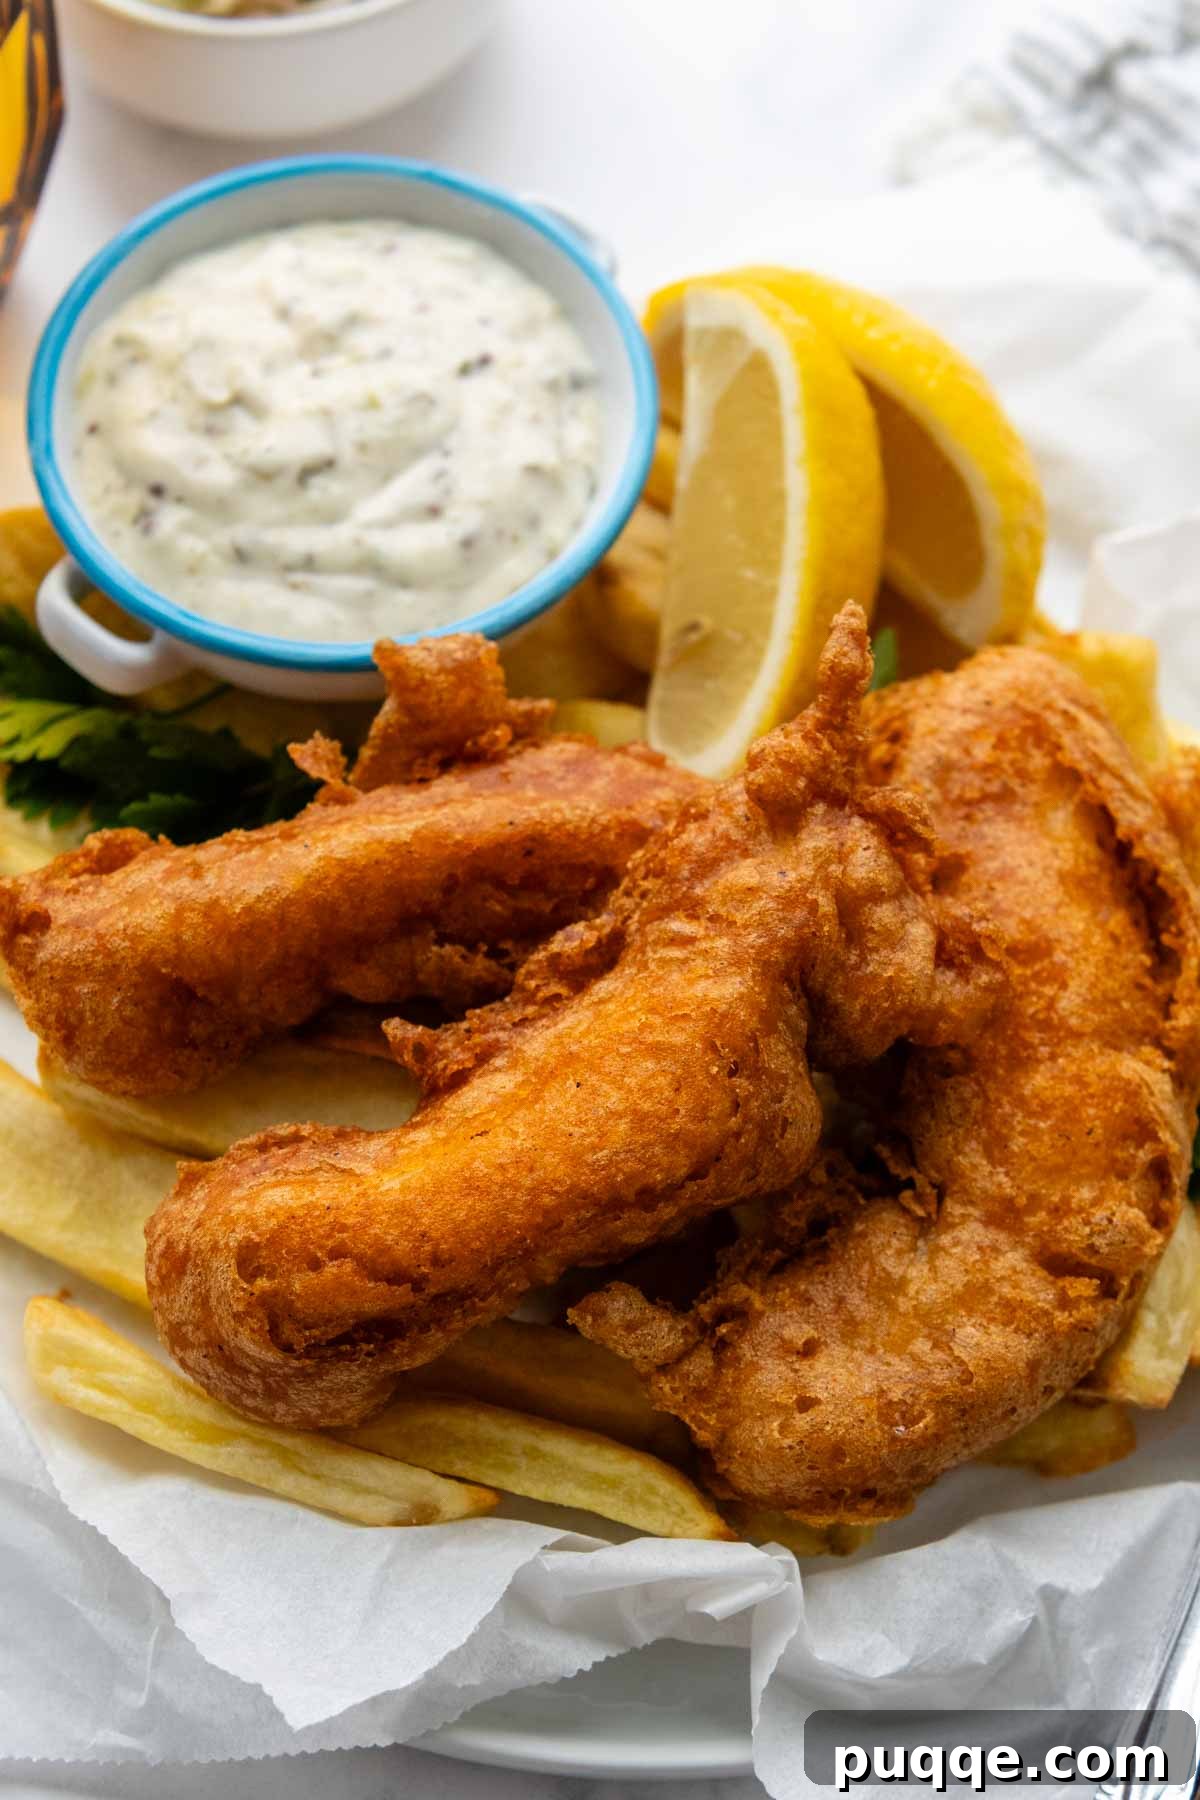
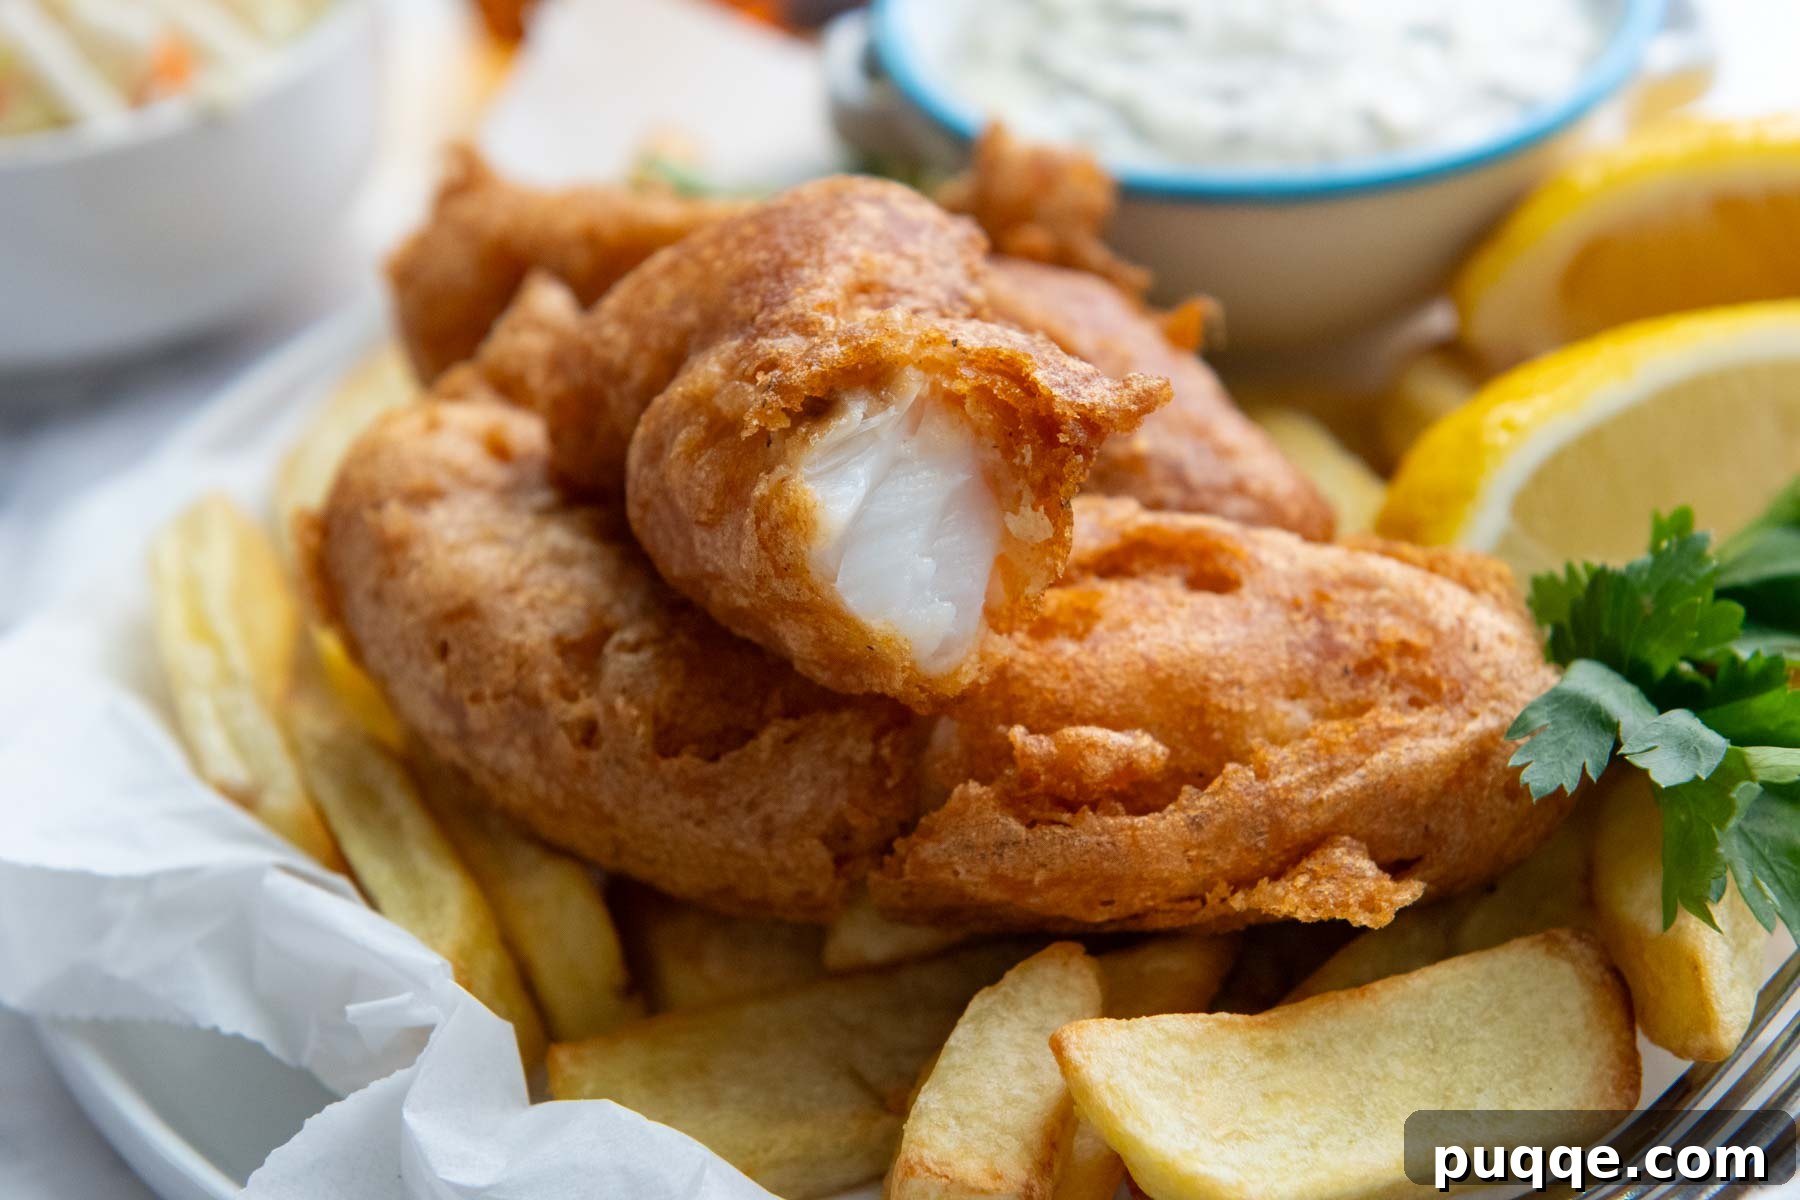
Once your irresistible gluten-free fried fish is golden and crispy, it’s time to complete the meal with perfect accompaniments. Traditionally, fried fish is best served with fresh lemon slices and a generous dollop of creamy tartar sauce. The bright acidity of lemon cuts through the richness of the fried fish, while tartar sauce adds a tangy, savory counterpoint that is simply essential for the classic experience. Of course, a hearty serving of french fries (or “chips”) is the undisputed partner for battered fish, creating the iconic duo.
However, don’t feel limited to tradition! There are many other delightful side dishes that pair beautifully with this recipe. Consider serving it alongside from-scratch gluten-free fried onions for an extra layer of savory crunch, or opt for easy-to-prepare gluten-free tater tots. For a lighter touch, a simple side of steamed green beans or asparagus provides a fresh contrast to the richness of the fried fish. Beyond a plate, this versatile fish recipe is also a fantastic foundation for creating gourmet gluten-free fried fish tacos, complete with crisp slaw and zesty crema, or a mouthwatering fried fish sandwich. For the sandwich option, remember to prepare a batch of these extra soft gluten-free buns ahead of time for the ultimate bite!
Key Tips for Flawless Gluten-Free Fried Fish!
We want you to achieve success and truly enjoy this recipe from your very first attempt! Here are the essential highlights and critical steps to remember for making perfect, crispy gluten-free fried fish:
- Prioritize Fresh Fish: For the absolute best results, always use fresh fish over frozen and thawed varieties. Fresh fish contains significantly less moisture, which is crucial for achieving a truly crispy batter. Before dredging, meticulously blot the fish dry with paper towels. This vital step helps the batter adhere firmly to the fish, preventing it from sliding off during frying and ensuring an even, crunchy coating.
- Maintain Optimal Oil Temperature: This is arguably the most critical factor for fish that is light, crispy, and free from excessive oiliness. The ideal frying temperature is 375ºF (190ºC). If the oil temperature is too low, the fish will take too long to cook, absorbing excess oil and becoming greasy – a mistake we learned from experience! Conversely, if the oil is too hot, the batter will brown rapidly, potentially burning before the fish inside is thoroughly cooked. The temperature will naturally drop as cold fish is introduced into the oil, so continuously monitor it with an instant-read thermometer and adjust your burner heat accordingly to keep it consistently around 375ºF.
- Avoid Overcrowding the Pan: To effectively maintain that crucial oil temperature, it’s equally important not to overcrowd your frying pan. Introducing too many cold pieces of fish and cold batter at once will drastically lower the oil’s temperature, leading to undercooked, greasy fish. Therefore, fry in small batches, typically 3-4 pieces at a time. This allows sufficient space for the hot oil to circulate evenly around each piece, promoting consistent cooking and maximum crispness.
- Choose the Right GF Flour Blend: The type of gluten-free flour blend makes a significant difference. We highly recommend using King Arthur Measure-for-Measure gluten-free flour, or any similar blend that does not list cornstarch as a primary ingredient (i.e., among the top three). Blends with excessive cornstarch tend to create a thicker, denser batter that can become heavy when fried, detracting from the desired lightness.
- Keep Liquids Cold: For a supremely light and airy fried texture, it is essential to keep your liquid batter ingredients, specifically the egg and the gluten-free beer or club soda, very cold until the very last moment. Only whisk these cold liquids into your dry batter mixture just before you are ready to begin dipping the fish and frying. This temperature contrast helps create a crispier exterior.
- Keep Cooked Fish Warm in Batches: While frying in batches is necessary, you’ll want to keep the cooked fish warm and crispy until everything is ready to serve. To do this, preheat your oven to 200ºF (95ºC). Place a wire rack inside a baking sheet. After removing a batch of fried fish from the oil, briefly blot any excess oil on a paper towel-lined plate, then transfer the fish to the wire rack in the preheated oven. The rack allows air to circulate, preventing the bottom from becoming soggy, and the low oven temperature keeps the fish warm without continuing to cook it.
Save this recipe to your Pinterest board!
Let’s be friends on Pinterest! I’m always sharing great recipes!
Did you make this recipe? I love hearing from you! Leave a star rating and comment below the recipe card. It helps others when searching for recipes and I appreciate feedback from our community. You will always hear back from me! -Melissa

No-Fail, Crispy Battered Gluten-Free Fried Fish
 Melissa Erdelac
Pin
Rate
Remove Ads
Ingredients
For Dredging
- ¼ cup white rice flour
- ½ teaspoon salt
- ⅛ teaspoon pepper
Gluten-Free Fish Batter
- 2 pounds white fish, cut into 2-inch strips, see recipe notes
- 1 cup gluten-free all purpose flour blend, King Arthur Measure-for-Measure recommended
- ¼ cup white rice flour
- 1 tablespoon paprika
- 1 teaspoon salt
- 1 ½ teaspoon baking powder
- 1 teaspoon seasoned salt
- ½ teaspoon onion powder
- ¼ teaspoon baking soda
- ¼ teaspoon pepper
- 12 ounces gluten-free beer or club soda, very cold
- 1 large egg
- cooking oil (canola, vegetable, or peanut), for frying
- tartar sauce and lemon, for serving
Equipment
-
Deep Skillet
-
Instant Read Thermometer
-
Wire rack
Instructions
-
In a large ziplock bag, combine the dredging mixture: white rice flour, salt, and pepper. Seal the bag and shake well to thoroughly combine these ingredients.¼ cup white rice flour, ½ teaspoon salt, ⅛ teaspoon pepper
-
Preheat your oven to 200℉ (95ºC). Place a wire rack inside a baking sheet and set this assembly in the preheated oven. This setup will be used to keep your cooked fish warm and crispy in between batches. Line a separate plate with paper towels; this will be used for a brief initial drain of excess oil after frying.
-
Lay the cut fish fillets on another baking sheet lined with several layers of paper towels. Place a top layer of paper towels over the fish and press firmly to blot up as much excess moisture as possible. If using frozen and thawed fish, you may need to change out the paper towels multiple times to remove maximum moisture. Set the fish aside while you prepare the batter and preheat the oil.2 pounds white fish, cut into 2-inch strips
-
For the fish batter, combine all the dry ingredients (gluten-free flour, white rice flour, paprika, salt, baking powder, seasoned salt, onion powder, baking soda, and pepper) in a large bowl. Whisk them together thoroughly until well combined. Do not add the cold, liquid ingredients yet; they will be added just before frying to ensure the batter remains optimally cold for the crispiest results.1 cup gluten-free all purpose flour blend, ¼ cup white rice flour, 1 tablespoon paprika, 1 teaspoon salt, 1 ½ teaspoon baking powder, 1 teaspoon seasoned salt, ½ teaspoon onion powder, ¼ teaspoon baking soda, ¼ teaspoon pepper
-
Pour cooking oil into a large, heavy-bottomed deep skillet, ensuring it covers about 2 inches deep. Heat the oil over medium to medium-high heat until it reaches a precise temperature of 375ºF (190ºC). This typically takes 10-15 minutes. Use an instant-read thermometer to continuously monitor and adjust the oil temperature. As you add cold fish, the oil temperature will naturally drop, leading to longer cook times and potentially greasy fish. Adjust the heat as needed throughout the frying process to maintain the optimal temperature.12 ounces gluten-free beer or club soda, 1 large egg
-
While the oil is heating, add the blotted fish pieces to the ziplock bag containing the dredging mixture and shake to coat evenly. Once the oil has reached the proper cooking temperature (375ºF), add the very cold gluten-free beer or club soda and the egg to your dry batter mixture. Whisk vigorously until just combined. The batter should be slightly lumpy; avoid overmixing.
-
Take a piece of dredged fish from the ziplock bag and fully immerse it into the freshly prepared batter, ensuring it is coated on all sides. Use a fork to gently lift the fish out of the batter, allowing any excess to drip off briefly, then carefully transfer it into the hot oil. Repeat this process, adding 3-4 pieces of fish to the oil, being careful not to overcrowd the pan. Overcrowding will reduce the oil temperature too much, leading to greasy fish. Fry each batch for 3-5 minutes, depending on the thickness of your fish, using tongs to flip them occasionally to achieve even golden-brown crispness. The fish is cooked through when it reaches an internal temperature of 140℉ (60ºC).
-
Once a batch of fish is cooked, transfer it from the oil to the paper towel-lined plate for a brief moment to absorb any excess grease. Immediately transfer the fish to the wire rack on the baking sheet in your warm oven to keep it crispy while you continue frying the remaining batches. Serve all the fish immediately once everything is cooked, accompanied by tartar sauce and fresh lemon wedges.
Notes
Recommended Fish
Through testing, it was found that fresh fish consistently yielded better results than frozen and thawed cod for this recipe.
Frozen fish, once thawed, releases a significant amount of moisture, making it challenging to blot out enough excess liquid. This often results in a mushier texture inside the fish after cooking.
Fresh white fish, however, requires less pre-blotting and retains a firm, flaky texture after frying. Therefore, using fresh fish is highly recommended for optimal results.
For the best “fish and chips” experience, opt for thicker white fish fillets such as cod, haddock, pollock, flounder, or halibut. These provide an excellent balance of flaky fish to crispy batter.
Storing and Reheating
Store any leftover fried fish in an airtight container in the refrigerator for up to two days. Be aware that the crispy coating will soften during storage. However, there are effective ways to reheat fried fish to restore its delicious crisp outer layer.
The quickest and most efficient method for reheating is using an air fryer. Lightly spray the air fryer basket with cooking spray and preheat it to 400ºF (200ºC). Arrange the fish in a single layer in the basket and air fry for approximately 4 minutes, flipping halfway through to ensure even crisping.
If you do not have an air fryer, reheating in a conventional oven is another excellent option. Place a wire rack inside a baking sheet. Spray the wire rack with cooking spray and lay the fish fillets on top in a single layer. Bake in a preheated 375ºF (190ºC) oven for about 10 minutes, flipping the fish halfway through the baking time. This method helps to revive the crispness without making the fish dry.