
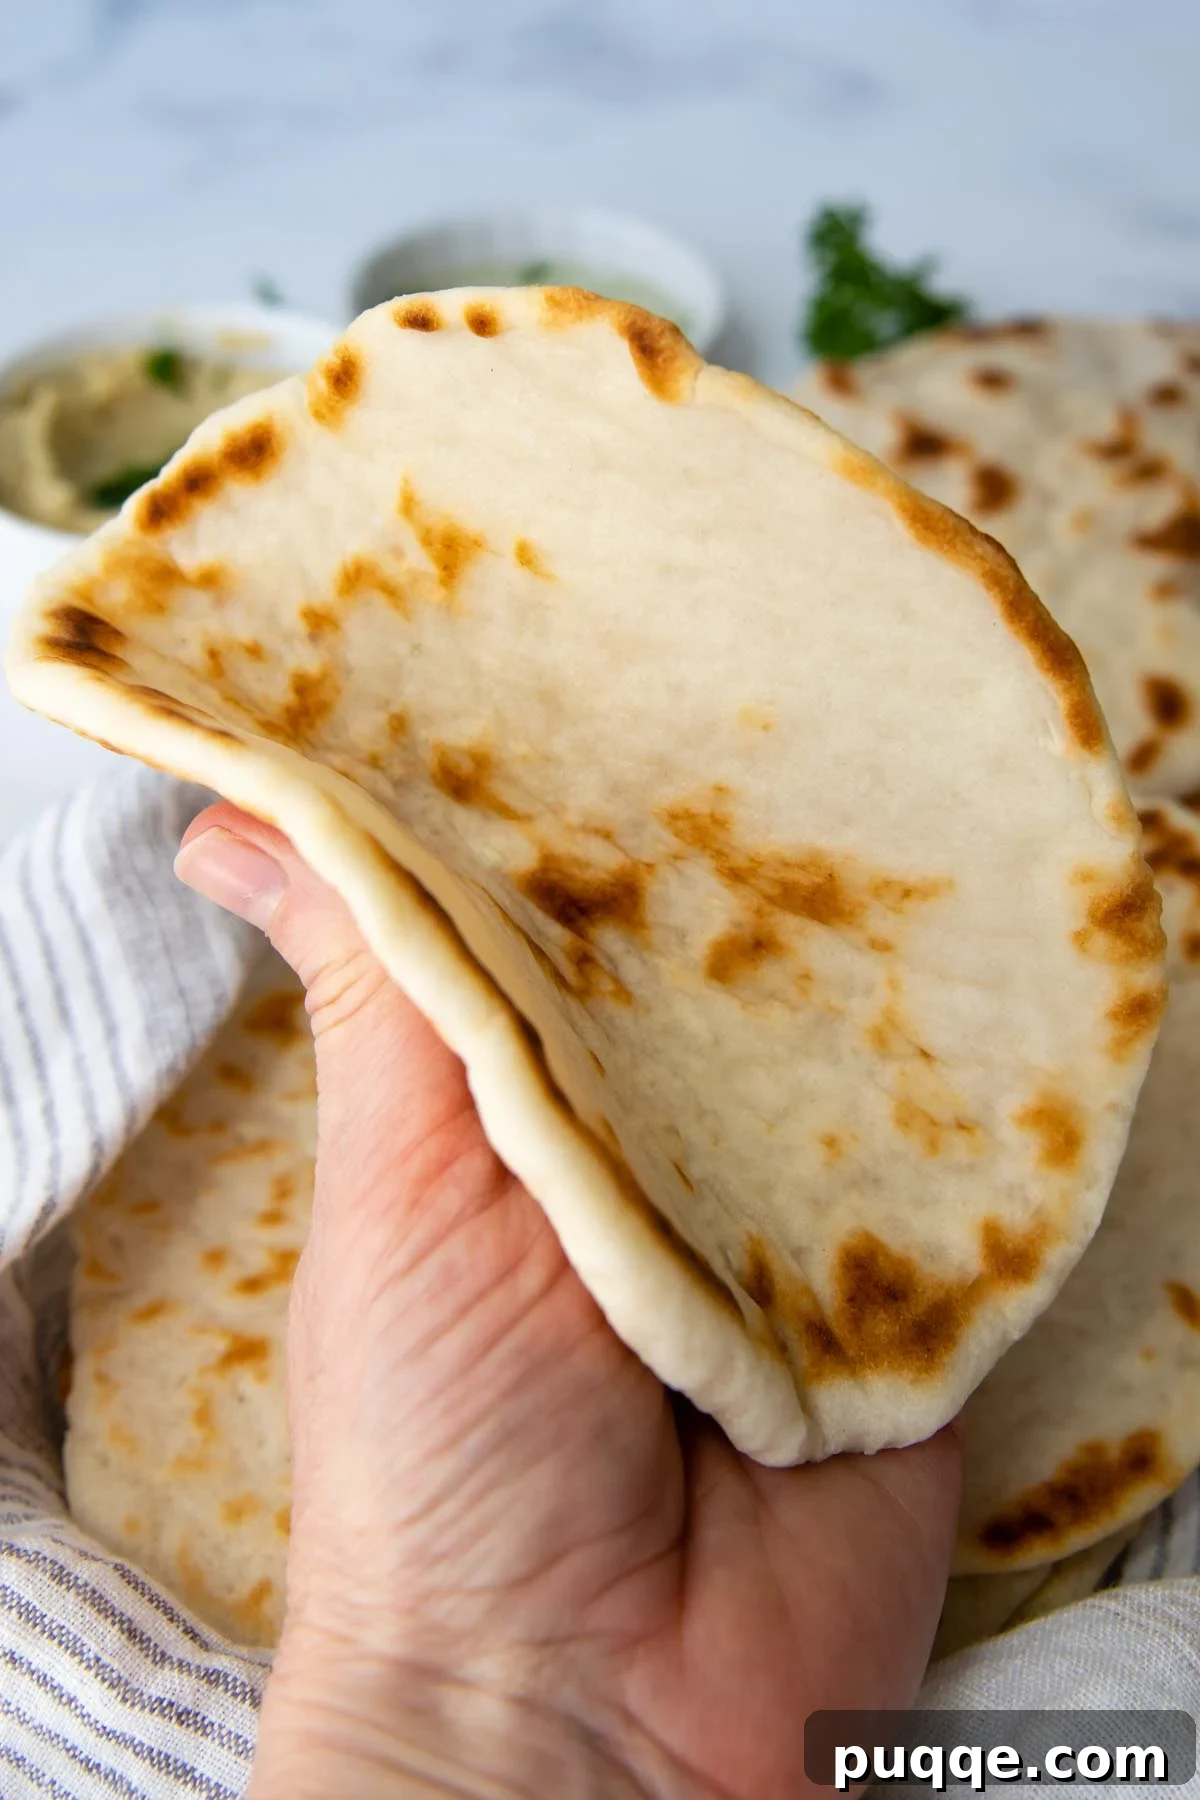
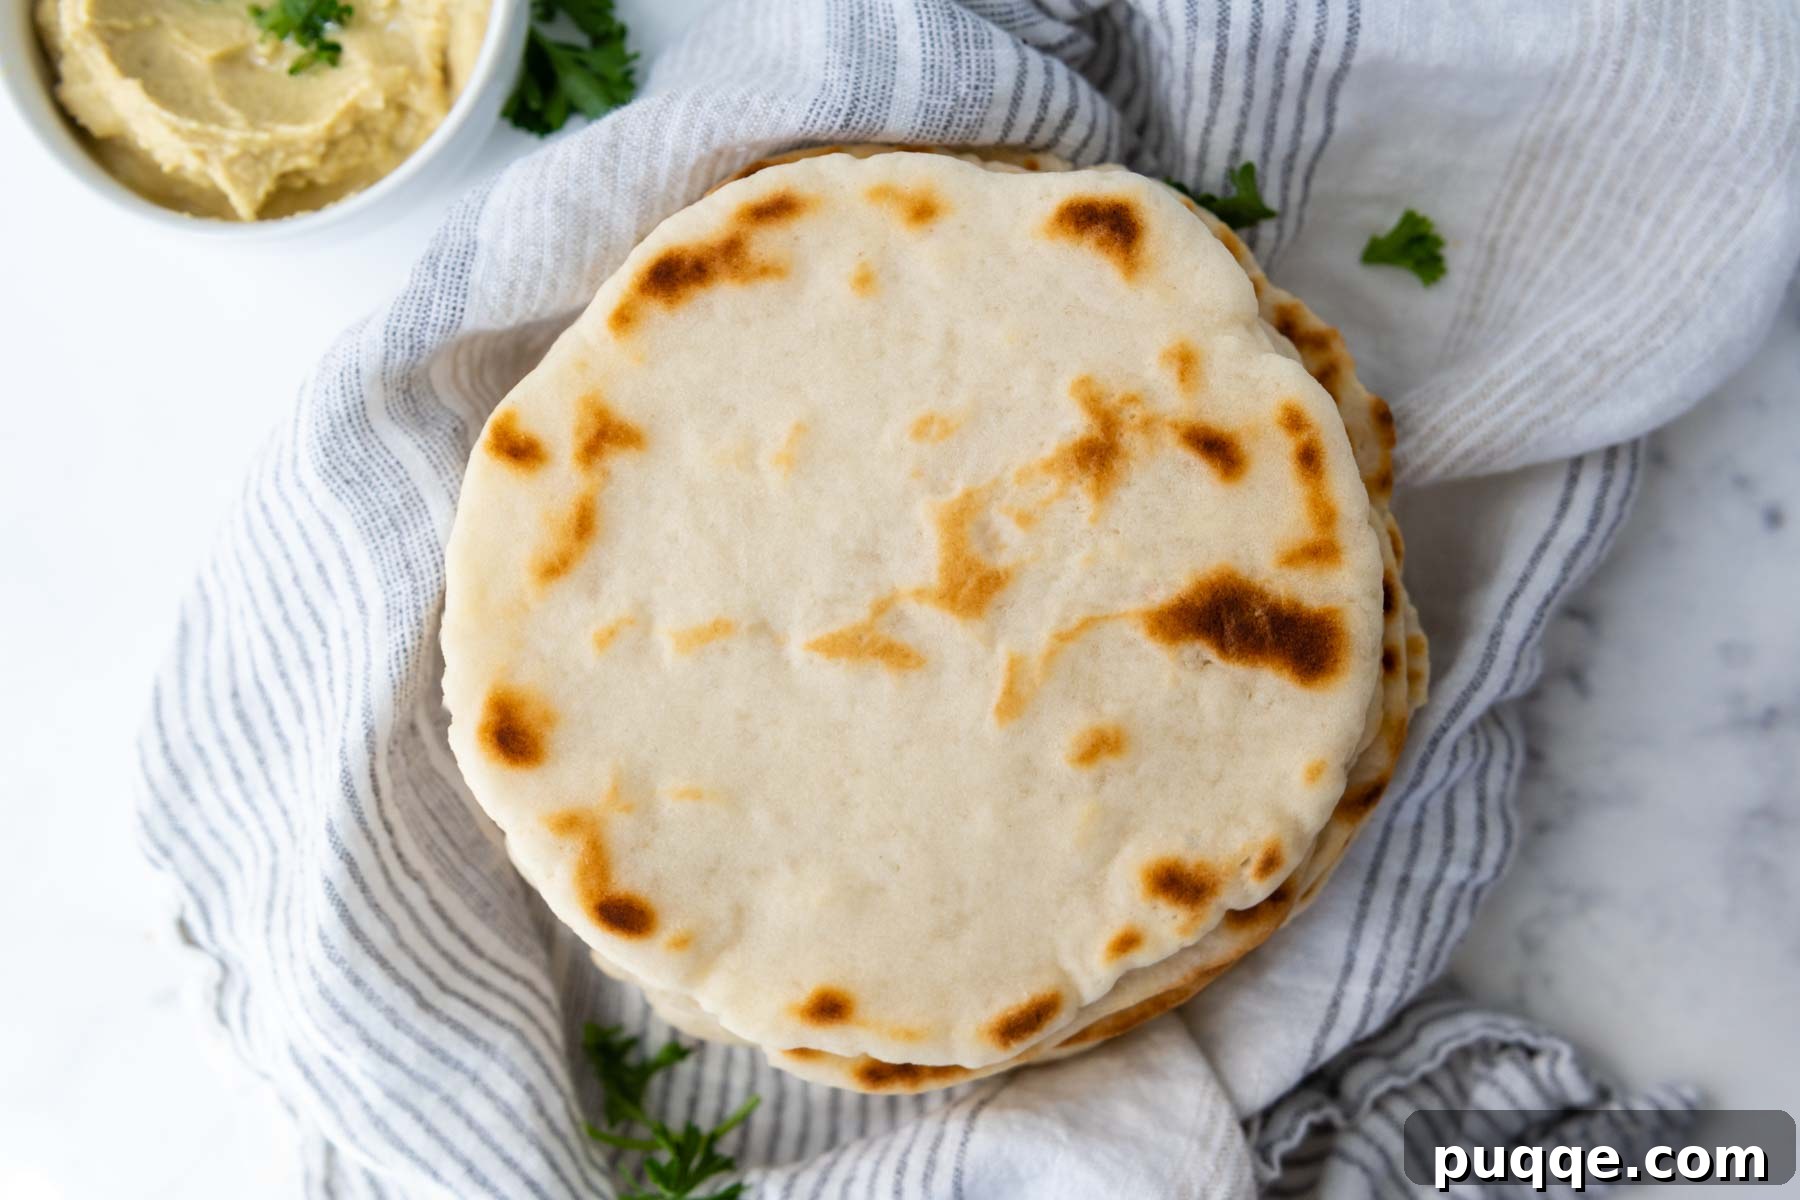
Unlock the secret to creating incredibly soft and pliable gluten-free flatbreads at home. This revolutionary recipe uses two key ingredients to dramatically enhance dough elasticity, making it effortlessly easy to shape, roll, and achieve a perfectly doughy, fluffy texture. In just minutes, you can whip up a batch on your stove top that’s so delicious, no one will guess it’s both gluten-free and vegan! Get ready for endless culinary adventures: from homemade pita and naan to versatile wraps, satisfying sandwiches, and even delectable flatbread pizzas, this recipe is your new kitchen staple.
Your New Favorite Gluten-Free Flatbread Recipe
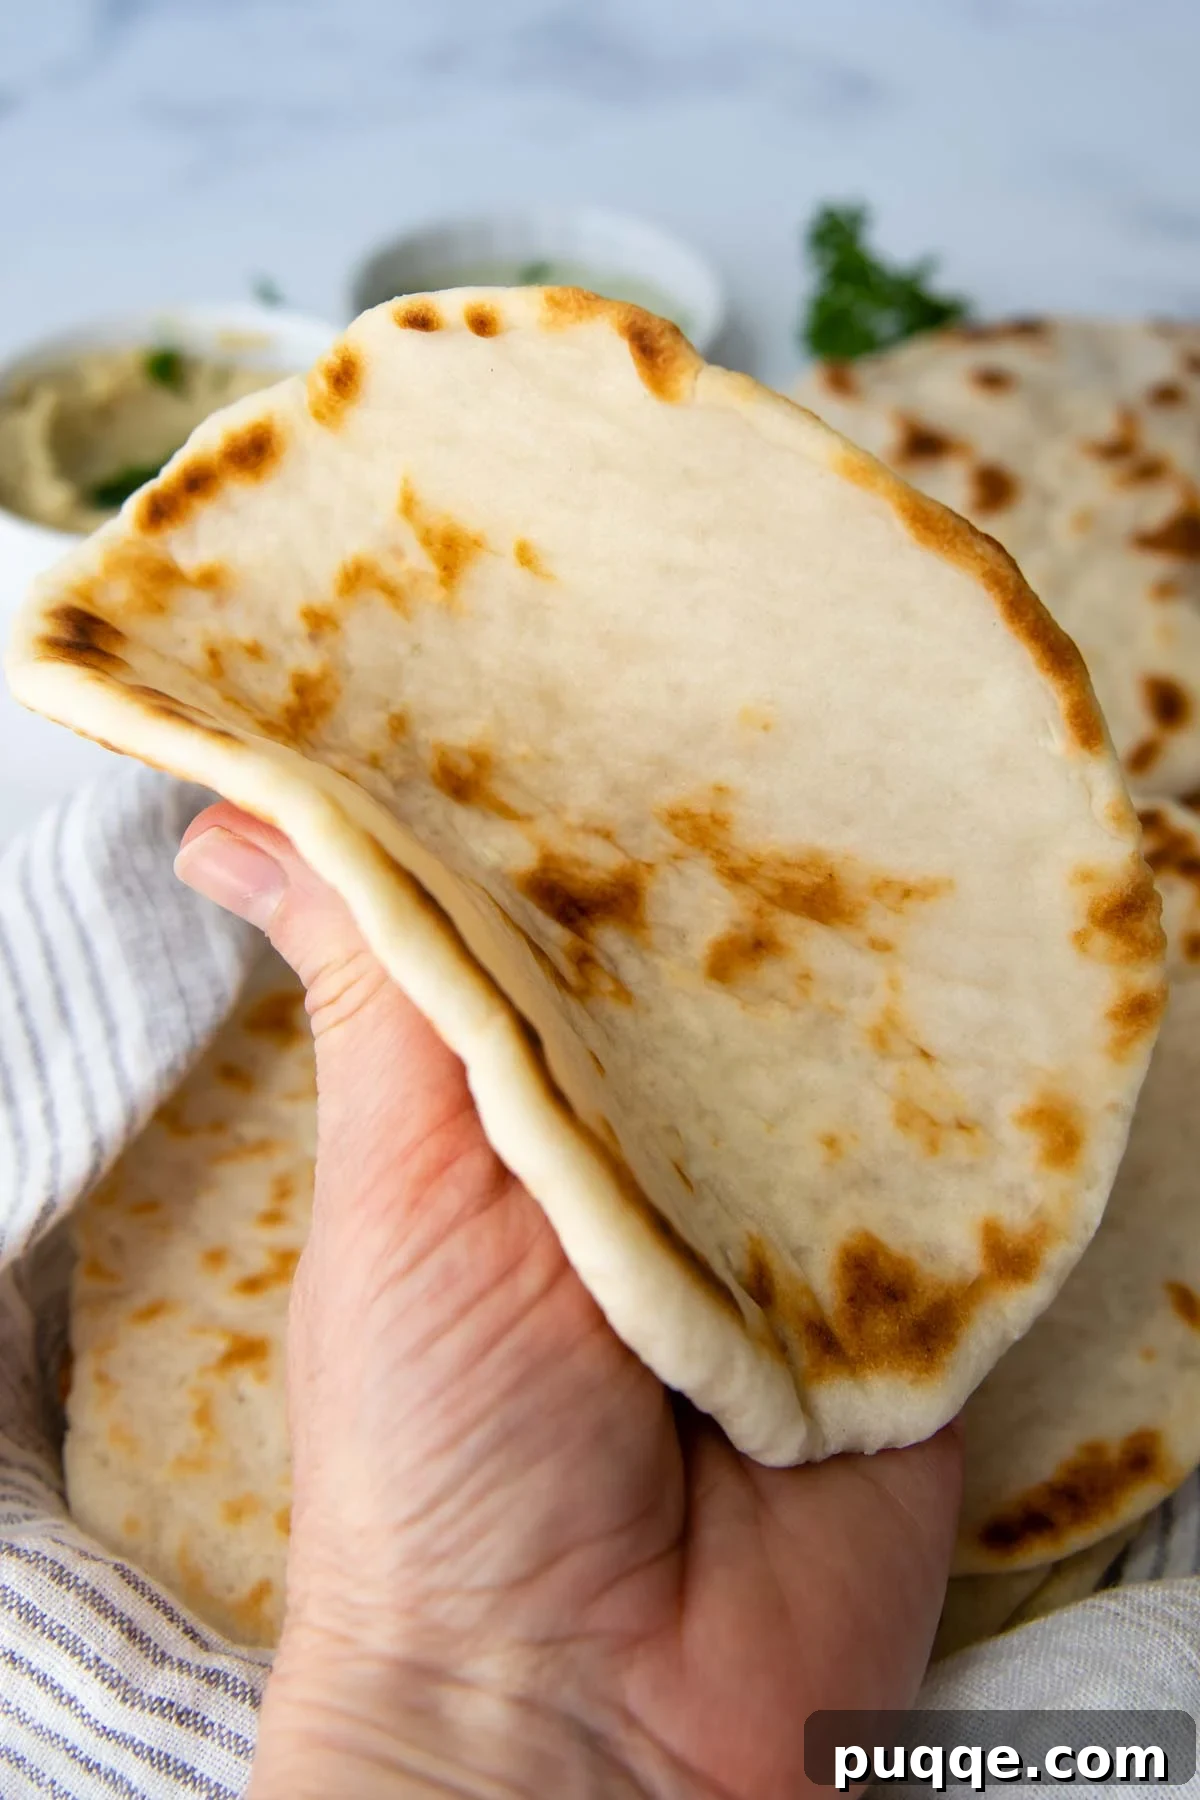
Say goodbye to dry, crumbly gluten-free breads and hello to a soft, pliable texture that truly rivals its traditional counterparts. This gluten-free flatbread recipe is not just good; it’s a game-changer. It’s designed to be incredibly easy to prepare, requiring minimal fuss and just a handful of straightforward ingredients you can find at most grocery stores. Whether you’re making pita for a Mediterranean feast, naan to accompany your favorite curry, or simply a versatile base for wraps, this recipe delivers consistent, delicious results.
What makes this particular gluten-free flatbread recipe truly exceptional and stand out from the rest? The answer lies in two clever ingredient substitutions that address the common challenges of gluten-free baking: elasticity and moisture retention. Without gluten, doughs can be notoriously difficult to work with, lacking the stretch and chewiness that make conventional breads so appealing. Our solution tackles these issues head-on, ensuring a delightful baking experience and an even more delightful eating experience.
Firstly, we incorporate psyllium husk powder, one of my absolute favorite “secret weapon” ingredients for gluten-free baking. This affordable and readily available fiber acts as a miraculous binding agent, effectively mimicking the elasticity and structure that gluten provides. By absorbing excess moisture, psyllium husk also helps keep the crumb wonderfully airy and prevents the flatbread from becoming dense or gummy, a common pitfall in gluten-free recipes. It’s the key to achieving that desirable chew and stretch, allowing the dough to be easily shaped and rolled without tearing.
Secondly, a small but significant tweak involves replacing a portion of the gluten-free flour with potato starch. This isn’t just any substitution; it’s a strategic move I’ve perfected in other gluten-free baking endeavors, like my from-scratch gluten-free rolls. Potato starch helps to build structure in the dough without adding additional gluten-free flour, which can often lead to a dry, brittle texture. Instead, it contributes to a softer, more tender flatbread that remains moist and flexible, even after cooling.
The result is a wonderfully soft, remarkably pliable flatbread that’s surprisingly simple for even the most novice cook or baker to master. This easy, one-bowl recipe comes together in minutes, requires just one fuss-free rise, and produces a dough that’s incredibly easy to handle and roll out. You’ll be amazed at how effortlessly you can transform simple ingredients into a versatile bread that’s perfect as gluten-free naan, pita, or a base for countless other dishes.
Now, you can confidently enjoy flatbread pizza again, or use these versatile breads to serve alongside hearty soups, dip into a flavorful quick coconut chicken curry, complement vibrant salads, scoop up your favorite dips, or create delicious sandwich wraps. The possibilities are truly boundless once you have this fantastic recipe in your repertoire!
Absolutely delicious and easy to make! We don’t eat Gyros without them now. Even my non-GF fam loves them!
—Anonymous
Key Ingredients for Perfectly Soft Gluten-Free Flatbread
This gluten-free flatbread recipe is designed to be inclusive, using no dairy or yogurt, making it perfectly suitable for those following a vegan or dairy-free diet. Understanding the role of each ingredient is crucial for achieving the best results. Below, we delve into the recommended ingredients, explaining their function and suggesting any workable substitutions.
For those looking to elevate the flavor profile, consider stirring in a teaspoon of garlic powder or dried oregano directly into the dough mixture for a savory infusion. Alternatively, after cooking, brush the warm flatbreads with a good quality olive oil, then sprinkle with a pinch of sea salt, freshly chopped parsley, or even some grated dairy-free parmesan cheese for an extra layer of deliciousness.
- Gluten-Free All-Purpose Flour: The foundation of our flatbread. I highly recommend using Cup4Cup gluten-free flour blend for achieving the absolute softest texture. Its specific blend of rice flour, cornstarch, tapioca flour, and milk powder (which is very low in lactose and generally well-tolerated, or you can opt for their dairy-free version if needed) creates an ideal consistency. Different gluten-free blends can yield varying results due to their differing compositions of flours and starches. For best results, stick to Cup4Cup or a high-quality, reliable cup-for-cup blend.
- Potato Starch (Not Potato Flour): This is a critical component for texture. Potato starch, a pure starch, adds a delicate softness and tenderness to the flatbread, helping to prevent a dense or gummy crumb. It contributes to the dough’s structure without the drying effect that additional gluten-free flour might have. While potato starch offers the best outcome, tapioca starch (also known as tapioca flour) can be used as a substitute. Some readers have also reported success with cornstarch, though results may vary slightly.
- Psyllium Husk Powder: An indispensable ingredient for gluten-free doughs that require shaping, such as naan or squishy gluten-free burger buns. Psyllium husk powder is a fantastic natural fiber that, when mixed with liquid, forms a gel-like substance. This gel is instrumental in mimicking the elasticity and binding properties of gluten, making the dough pliable, easy to roll, and giving the final product that desirable chew and structure. Ensure you use finely ground psyllium husk powder for the smoothest results.
- Active Dry Yeast: This is our primary leavening agent, responsible for the wonderful rise and airy texture of the flatbread. To activate active dry yeast, it’s combined with warm water and a touch of sugar, which provides food for the yeast. This mixture is then set aside until frothy, indicating the yeast is alive and ready to work its magic. If you’re using instant yeast, you can typically omit this activation step and add it directly to the dry ingredients, as it’s designed to be faster-acting.
- Baking Powder: While yeast provides a slow, steady rise, baking powder offers an additional lift, particularly when the flatbread cooks on the stove top. This combination of both yeast and baking powder creates a synergistic effect, ensuring a light, lofty, and fluffy texture in our gluten-free breads. It’s an excellent insurance policy for maximum fluffiness.
- Granulated Sugar: A small amount of sugar serves two important purposes. Firstly, it feeds the yeast, helping to activate it and encourage vigorous proofing. Secondly, it contributes to the browning of the flatbread during cooking, giving it a beautiful golden hue and adding a subtle hint of sweetness that balances the savory flavors.
- Salt: Essential for enhancing the overall flavor of the flatbread. Salt also plays a role in regulating yeast activity, preventing it from fermenting too quickly, and contributing to the dough’s structure.
- Olive Oil: Adds richness, moisture, and tenderness to the dough. It also helps with the pliability and prevents the flatbread from drying out. A little extra olive oil is also used during the shaping and rolling process to prevent sticking and ensure a smooth working surface.
Let’s Bake This Together!
(Below you’ll find detailed step-by-step instructions and photos. For the complete recipe, including precise ingredient amounts, please scroll down to the full recipe card.)
Preparation and Mixing the Dough
Before you begin mixing, preheat your oven to 150°F (65°C). Once it reaches this low temperature, turn the oven off. This creates an ideal warm, draft-free environment for your dough to rise, which is crucial for gluten-free baking.
In a small bowl, combine the warm water (ensure it’s around 110°F/43°C to properly activate the yeast without killing it), active dry yeast, and granulated sugar. Give it a gentle whisk and let it sit for 5 minutes. You’ll know it’s ready when the mixture becomes frothy and bubbly on top, indicating the yeast is active.
While the yeast activates, gather your dry ingredients. In a large mixing bowl (preferably of a stand mixer fitted with a paddle attachment), combine the gluten-free all-purpose flour, potato starch, psyllium husk powder, salt, and baking powder. Mix these on low speed for about 30 seconds to ensure they are well combined.
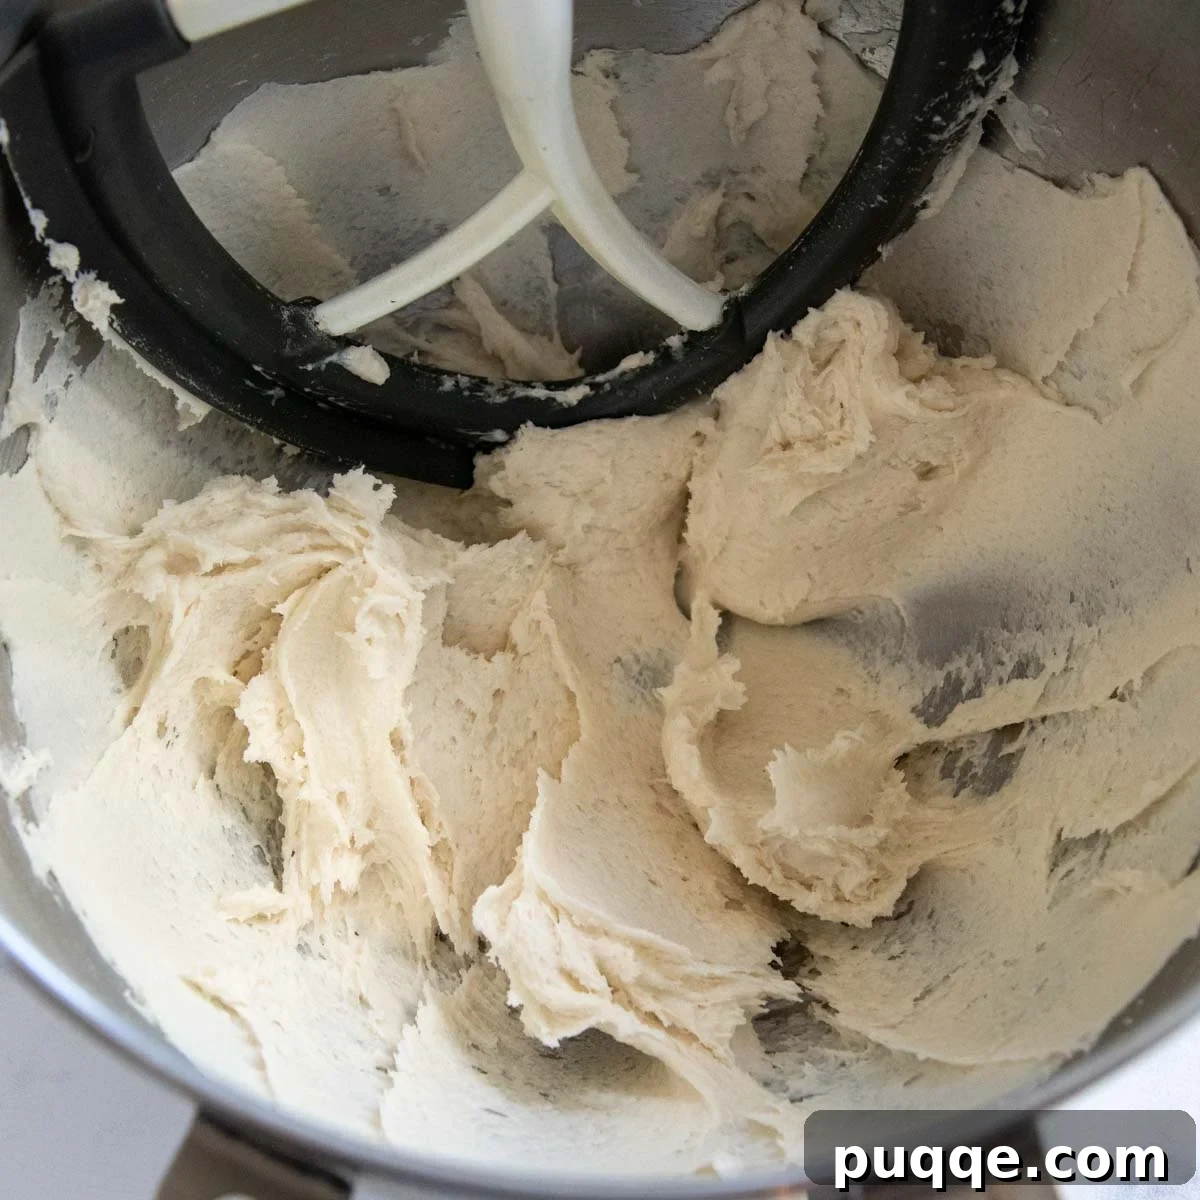
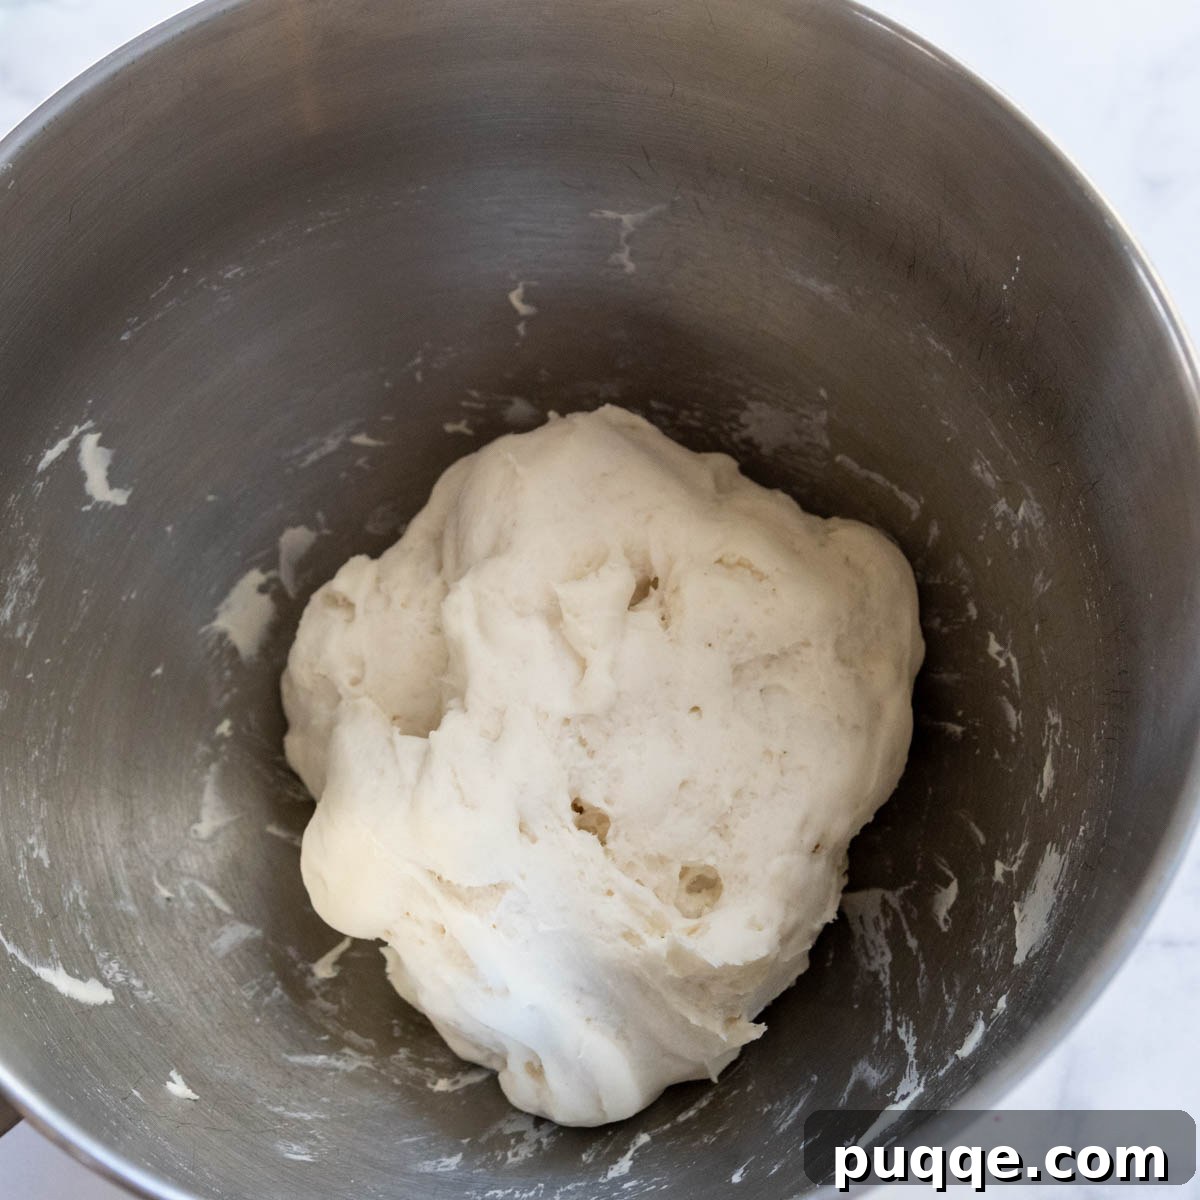
Once your dry ingredients are mixed and your yeast mixture is frothy, add the activated yeast/water mixture and the olive oil to the dry ingredients. Mix on medium speed for a full 3 minutes. The dough will transform into a stiff, slightly sticky consistency. If you don’t have a stand mixer, you can achieve this by mixing vigorously with a sturdy wooden spoon or spatula until everything is thoroughly combined and the dough comes together.
The Essential Rising Time
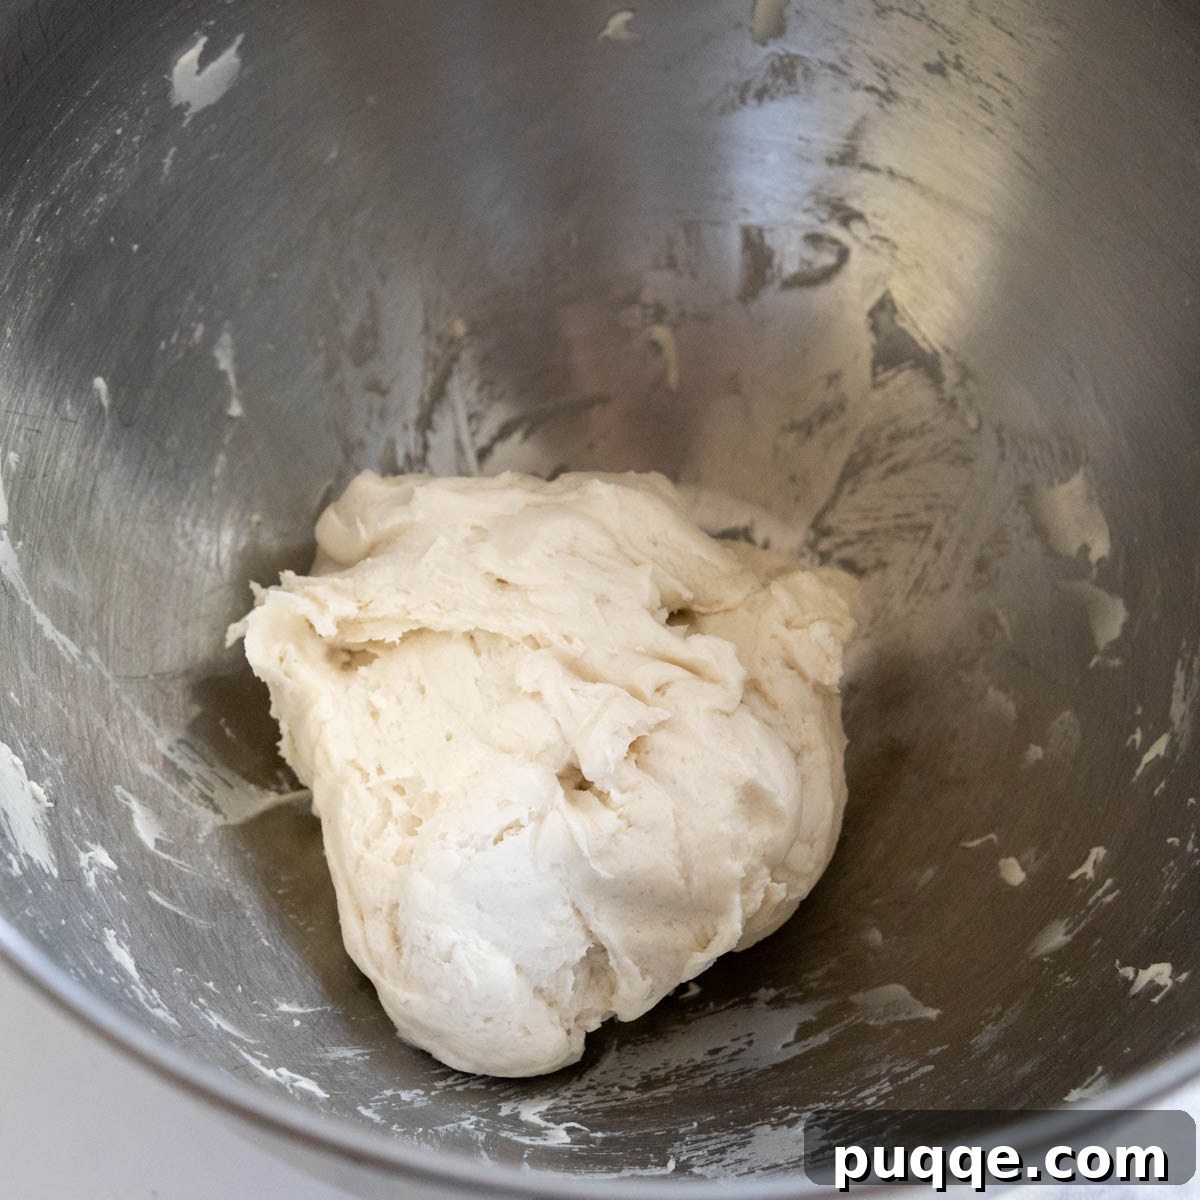
After mixing, scrape the dough into the center of the same bowl – no need to create extra dishes! Cover the bowl tightly with plastic wrap. Now, place the covered bowl into your pre-warmed (and now turned off) oven. Leave the oven door slightly ajar for the first 5-10 minutes to allow any residual heat to dissipate slightly, then close the door. Let the dough rise undisturbed for 45 minutes. This warm, protected environment is crucial for gluten-free dough to achieve its optimal rise. You’ll notice the dough becoming noticeably puffier and lighter.
Shaping, Rolling, and Cooking for Perfection
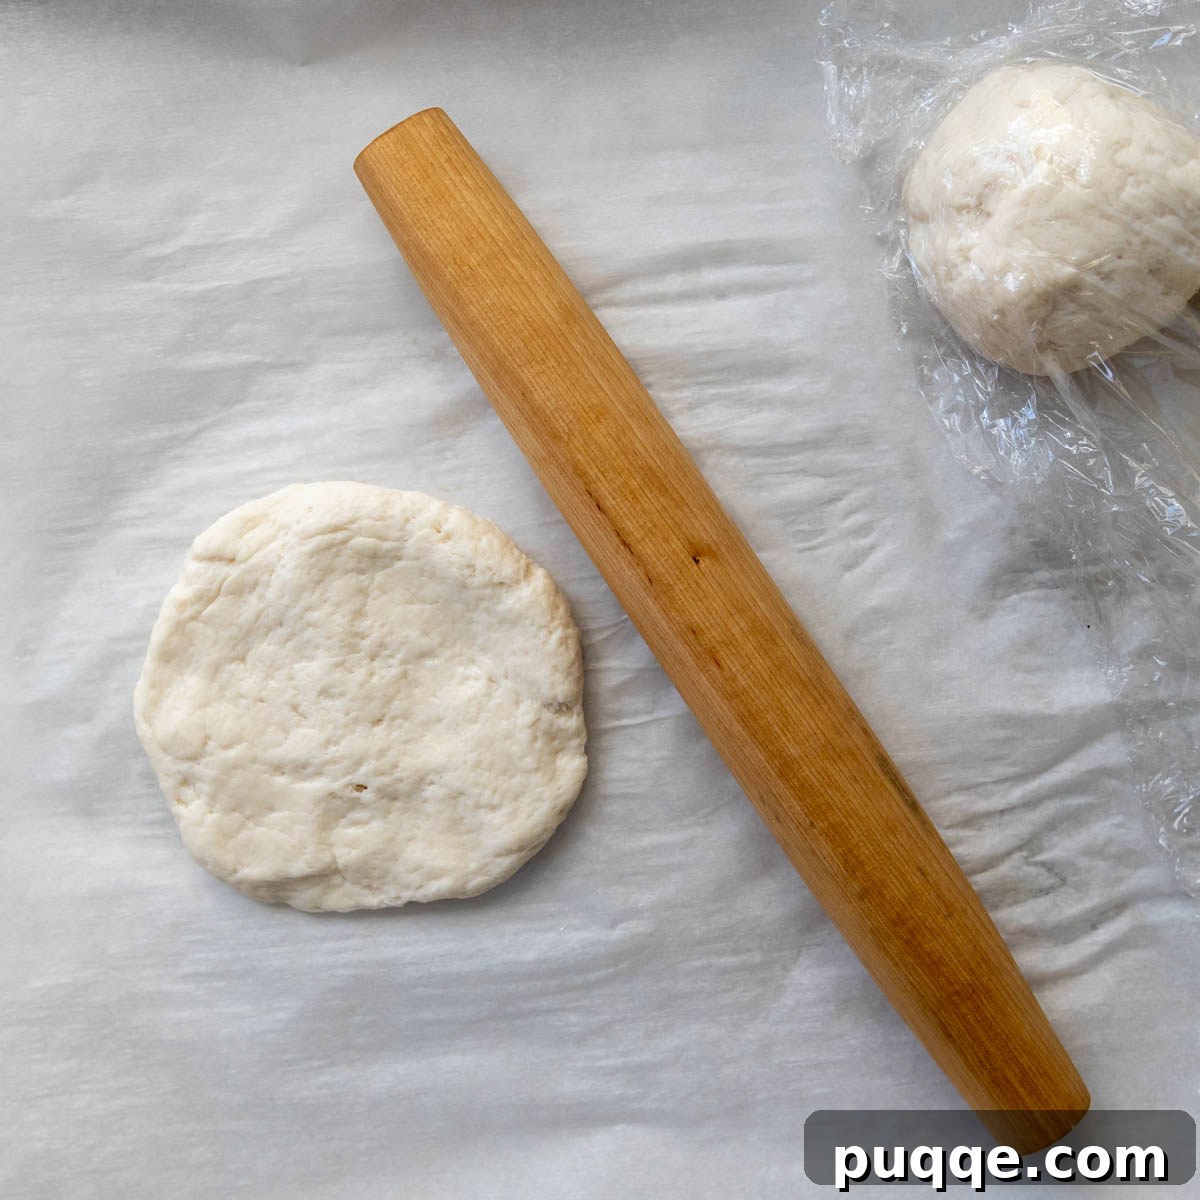
When your dough has finished rising, it’s time to shape your flatbreads. Lightly grease your fingertips with a little extra olive oil if the dough feels too sticky to handle. Lay a large sheet of parchment paper on your clean workspace. Carefully transfer the dough to the parchment paper and divide it into 5 equal-sized balls. Cover these dough balls loosely with plastic wrap to prevent them from drying out, and let them rest for another 10 minutes. This resting period allows the gluten-free dough to relax, making it much easier to roll.
While the dough balls rest, place a dry nonstick skillet over medium heat. Allow it to preheat thoroughly. A well-heated skillet is key to achieving those beautiful brown spots and ensuring even cooking.
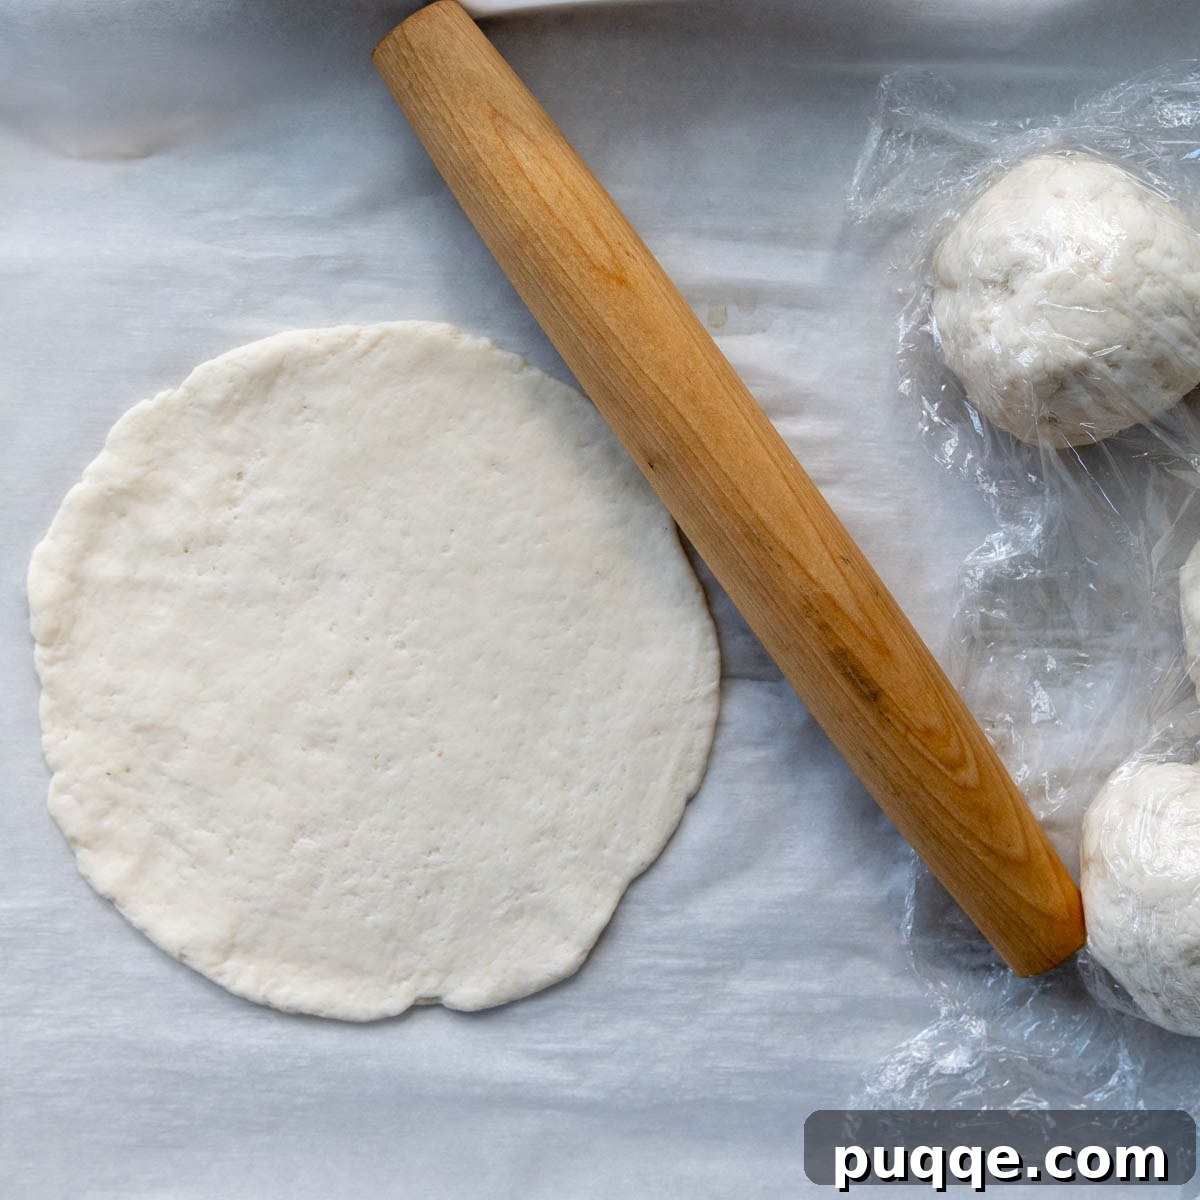
Move four of the dough balls to one side of your parchment paper, keeping them covered. On the other side of the parchment, spread a very, very light sheen of olive oil – just enough to prevent sticking. Take one dough ball, place it in the middle of the oiled parchment, and gently flatten it into a thick disc with your greased fingers. Using a rolling pin, carefully roll the disc into a 6½-inch circle. To maintain a round shape, rotate the dough a quarter turn after each roll.
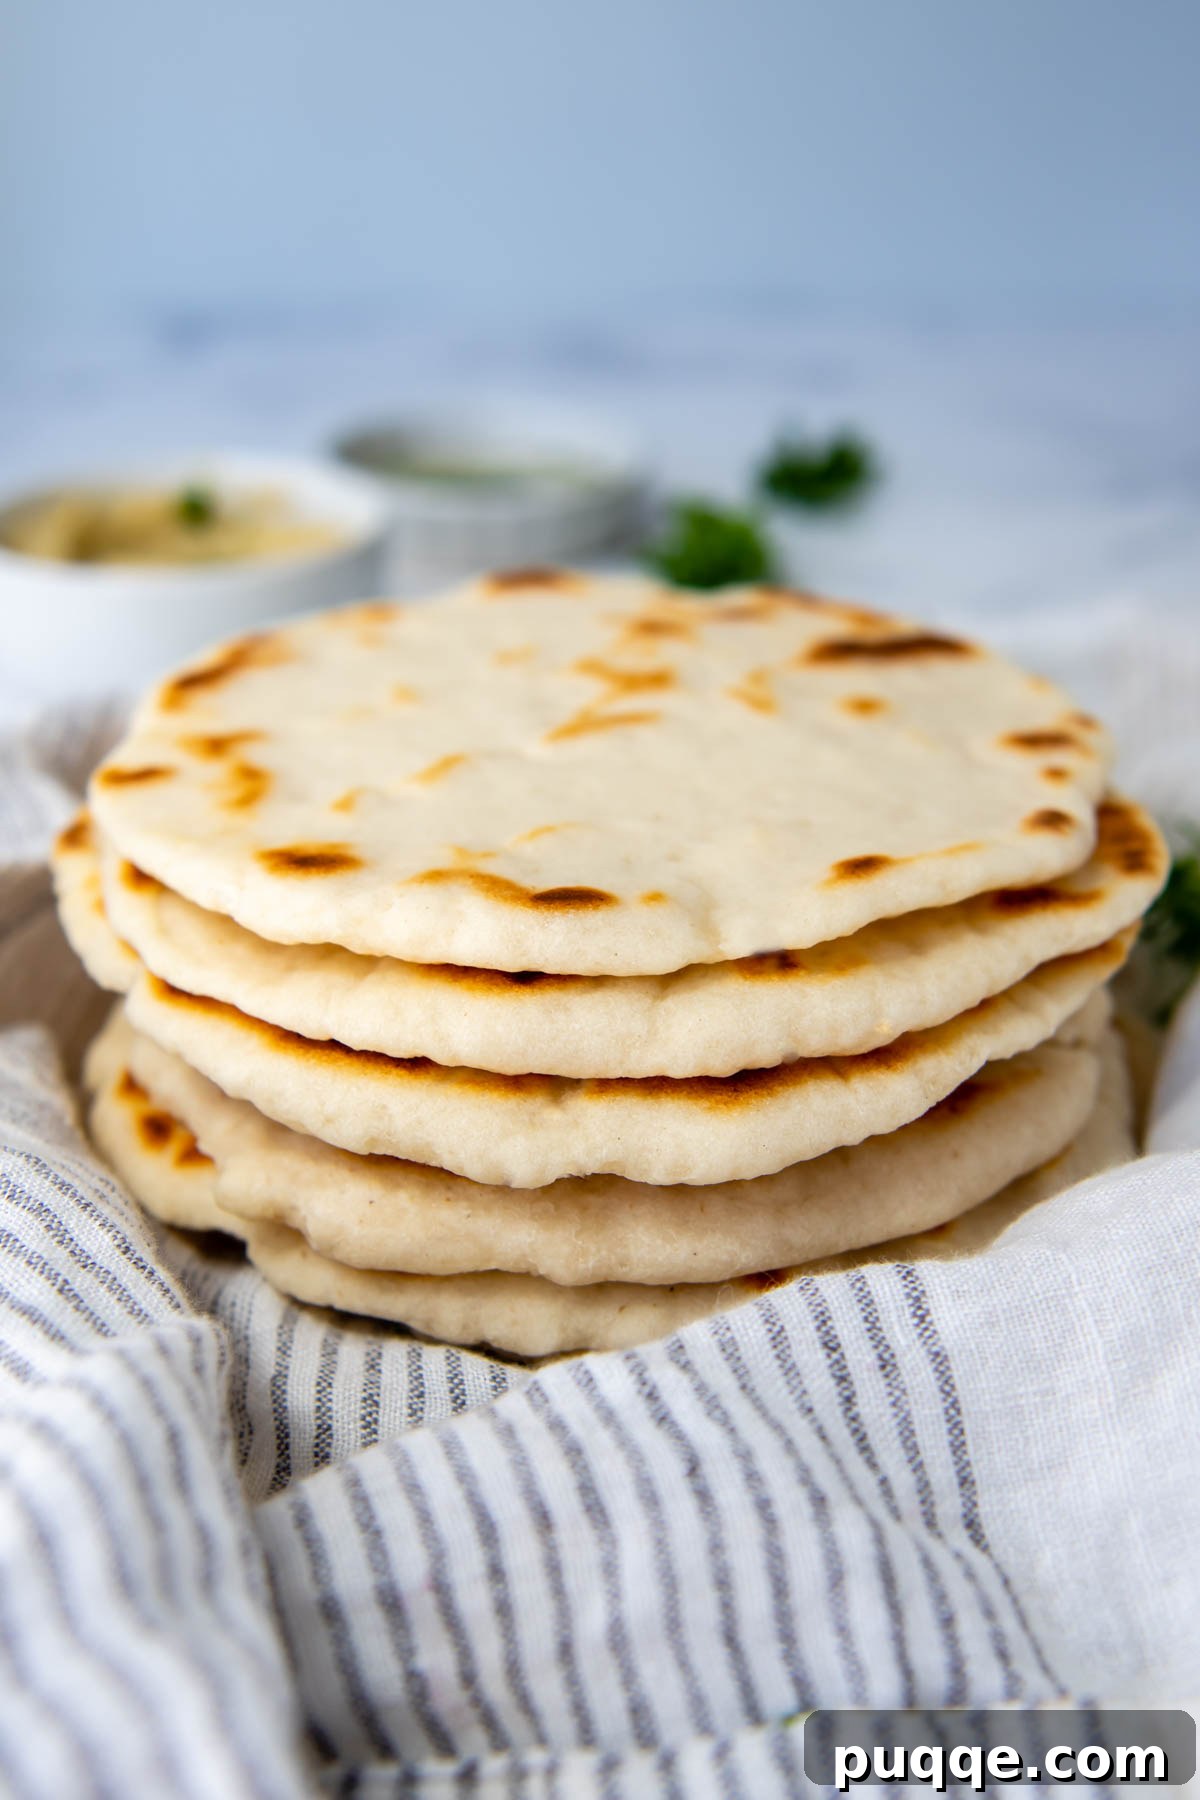
Once shaped, carefully transfer the flatbread from the parchment paper to the hot skillet. Cook for 1½ – 2 minutes without disturbing it. Look for bubbles forming on the surface and golden-brown spots on the underside. Flip the flatbread and cook for an additional 1½ – 2 minutes on the second side. It’s crucial to cook both sides for roughly the same duration; undercooking the second side can result in a denser, less fluffy flatbread, even if it appears “done.” As one flatbread cooks, you can begin rolling out the next one to maintain efficiency.
Once cooked, transfer the warm flatbreads to a clean, lint-free kitchen towel and cover them to keep them warm and soft while you finish cooking the remaining dough. Serve immediately and enjoy your homemade, perfectly fluffy gluten-free flatbreads!
Flatbread Pizza, Delicious Wraps, and Other Yummy Uses
Now that you have mastered this solid and incredibly easy gluten-free flatbread recipe, the culinary possibilities are truly limitless! These versatile flatbreads can be enjoyed in countless ways, seamlessly replacing traditional pita bread or naan in many dishes.
Serving Suggestions:
- Pita & Naan Replacement: Use them exactly as you would for traditional pita or naan bread. They are perfect for dipping into creamy hummus, tzatziki, baba ghanoush, or any of your favorite spreads. Serve them alongside rich curries, stews, or grilled meats for a truly authentic and satisfying meal. Their soft texture makes them ideal for scooping up every last bit of delicious sauce.
- Versatile Wraps: These flatbreads make excellent gluten-free wraps for a quick and healthy lunch or dinner. Fill them with flavorful chicken salad, creamy tuna salad, thinly sliced lunchmeat, or a vibrant medley of fresh veggies and your favorite dressing for a portable and delicious meal.
- Sandwiches: Forget traditional sliced bread! These flatbreads offer a unique and tender base for hot or cold sandwiches. Pile on your favorite fillings, fold, and enjoy a wonderfully soft and satisfying sandwich experience.
- Dips & Spreads: Cut them into wedges and toast lightly for crunchy dippers with spinach artichoke dip, guacamole, or a simple olive tapenade.
- Breakfast Creations: Lightly toast, spread with cream cheese and smoked salmon, or enjoy with scrambled eggs and avocado for a delightful breakfast or brunch.
Flatbread Pizza Perfection:
One of the most popular and delicious uses for these flatbreads is as a gluten-free pizza crust! To make a fantastic GF flatbread pizza, simply prepare and cook the flatbreads as directed in the recipe below. Once cooked, spread a layer of your favorite tomato sauce, sprinkle generously with cheese (dairy or dairy-free), and add your desired toppings – think pepperoni, mushrooms, bell peppers, olives, or fresh basil. Place the topped flatbread on a baking sheet or pizza stone and bake in a preheated 425ºF (220ºC) oven for 5-8 minutes, or until the cheese is bubbly and melted and the crust is slightly crispy. These personal-sized pizzas are perfect for a quick weeknight dinner or a fun family meal.
Alternatively, for an exciting twist, you may also use this recipe to make incredible gluten-free grilled pizzas! Refer to the linked post for comprehensive step-by-step directions on how to achieve that smoky, charred flavor on the grill.
Save This Delicious Recipe to Your Pinterest Board!
Let’s be friends on Pinterest! I’m always sharing great recipes and culinary inspiration!
Did you try this recipe? I’d absolutely love to hear from you! Leave a star rating and comment below the recipe card. Your feedback helps other home cooks discover and enjoy these recipes, and I truly value every comment from our community. You’ll always hear back from me! -Melissa
5 stars (20 ratings)
Simple, Fluffy Gluten-Free Flatbread (Extra Easy)
Author: Melissa Erdelac
Yield: 5 servings
|
Prep Time: 10 mins
|
Total Time: 55 mins
Learn how to make a soft gluten-free flatbread recipe using two simple ingredients to boost the dough’s elasticity, making it easy to shape and roll. Just dump, mix, rise, and cook in minutes on the stove top for a doughy, fluffy texture, fooling anyone it’s both gluten-free and vegan! The possibilities are endless – pita, side for curry, wraps, naan, sandwiches, flatbread pizza, and more!
Ingredients
- ¾ cup warm water, heated to 110℉
- 1 teaspoon active dry yeast
- 1 teaspoon granulated sugar
- 1⅓ cup gluten free all purpose flour, (I recommend Cup4Cup GF flour, see recipe notes alternative)
- 3 tablespoons potato starch
- 2 teaspoons psyllium husk powder
- ¾ teaspoon baking powder
- ½ teaspoon salt
- 1 tablespoon olive oil, and more for shaping and rolling
Instructions
- Begin by heating your oven to 150ºF (65°C). Once it reaches temperature, turn it off. This will serve as an ideal warm, draft-free place for the dough to rise.
- In a small bowl, combine the warm water, yeast, and sugar. Whisk gently and set aside for 5 minutes to activate. The mixture should become frothy on top, indicating the yeast is active.
- In a large bowl of a stand mixer fitted with a paddle attachment, combine the gluten-free flour, potato starch, psyllium husk, salt, and baking powder. Mix on low speed until just combined.
- Add in the activated yeast/water mixture and the 1 tablespoon of olive oil. Mix on medium speed for 3 minutes until a stiff, slightly sticky dough forms. If you do not have a stand mixer, mix thoroughly with a sturdy wooden spoon to combine well.
- Scrape the dough into the middle of the bowl. Cover the bowl tightly with plastic wrap and place it in the warm oven. Leave the oven door slightly ajar for 5-10 minutes, then close it. Let the dough rise for 45 minutes.
- When ready to shape, pour a little additional olive oil into a small dish to lightly grease your fingers if the dough sticks. Place a large sheet of parchment paper on your workspace. Use your slightly greased fingers to divide the risen dough into 5 equal-sized balls. Cover these balls loosely with plastic wrap and let them rest for 10 minutes. Meanwhile, heat a dry nonstick skillet over medium heat.
- Move four of the dough balls to the side, keeping them covered. On the parchment paper, spread a very light sheen of olive oil. Place one dough ball in the middle and flatten it into a thick disc. Use a rolling pin to shape it into a 6½-inch circle, rotating it a quarter turn after each roll to maintain a round shape.
- Use a spatula to carefully lift the shaped flatbread onto the hot skillet. Cook, undisturbed, for 1½ – 2 minutes, until bubbles form and the underside is golden-brown. Flip the flatbread and cook for an additional 1½ – 2 minutes on the second side. Ensure both sides cook for similar durations; undercooking the second side can lead to a dense rather than fluffy texture. As one flatbread cooks, immediately begin rolling out the next one.
- Transfer the cooked flatbreads to a clean, lint-free kitchen towel and cover them to keep warm and soft while you continue to roll and cook the remaining flatbreads. Serve immediately for the best experience.
Notes
Gluten-Free Flatbread Pizza
To make a delicious gluten-free flatbread pizza, prepare and cook the flatbread as directed. Once cooked, spread with your favorite tomato sauce, sprinkle with cheese, and add desired toppings. Place on a baking sheet or pizza stone and bake in a preheated 425ºF (220ºC) oven for 5-8 minutes, or until the cheese is bubbly and golden.
For an exciting alternative, see how to make gluten-free pizza on the grill.
Gluten-Free Flour
I consistently use and recommend Cup4Cup gluten-free flour blend for achieving the absolute softest and most pliable texture in this recipe. However, if you opt to use King Arthur Measure-for-Measure gluten-free flour, please make the following adjustments for optimal results:
- Measure 1⅓ cup of King Arthur flour, then remove 2 tablespoons. Replace these 2 tablespoons with 2 tablespoons of cornstarch.
- When rolling out the dough, use a little more olive oil on your fingertips and parchment paper to add a touch more fat and moisture, as King Arthur flour can sometimes be less forgiving with moisture.
- Adjust cooking time. I found the best results with King Arthur flour when cooking for about 1 minute per side, versus the 1½-2 minutes recommended for Cup4Cup. Watch for golden spots and puffiness.
Storing, Freezing, and Reheating
If you’re not enjoying all the flatbreads at once, allow them to cool completely on a wire rack to prevent condensation. Transfer them to an airtight container and store at room temperature for up to 24 hours. For optimal freshness, I recommend consuming them within a day, or otherwise freezing them for longer storage.
To freeze, stack individual flatbreads with pieces of parchment paper, paper towels, or wax paper in between to prevent sticking. Wrap the stack securely with plastic wrap, then place it into a ziplock freezer bag. Freeze for up to 2 months.
When you’re ready to serve frozen flatbreads, defrost them at room temperature first. For the best soft and warm texture, wrap a defrosted flatbread in a paper towel and microwave for about 15 seconds, or until slightly rewarmed and pliable. You can also quickly warm them in a dry skillet over medium heat for 30-60 seconds per side.
Nutrition Information
Calories: 158 kcal,
Carbohydrates: 30g,
Protein: 4g,
Fat: 4g,
Saturated Fat: 0.4g,
Polyunsaturated Fat: 0.5g,
Monounsaturated Fat: 2g,
Sodium: 238mg,
Potassium: 115mg,
Fiber: 5g,
Sugar: 2g,
Vitamin C: 0.2mg,
Calcium: 52mg,
Iron: 1mg
Did you make this recipe?
Please leave a star rating and review below. It helps others when searching for recipes, and I LOVE your feedback!