
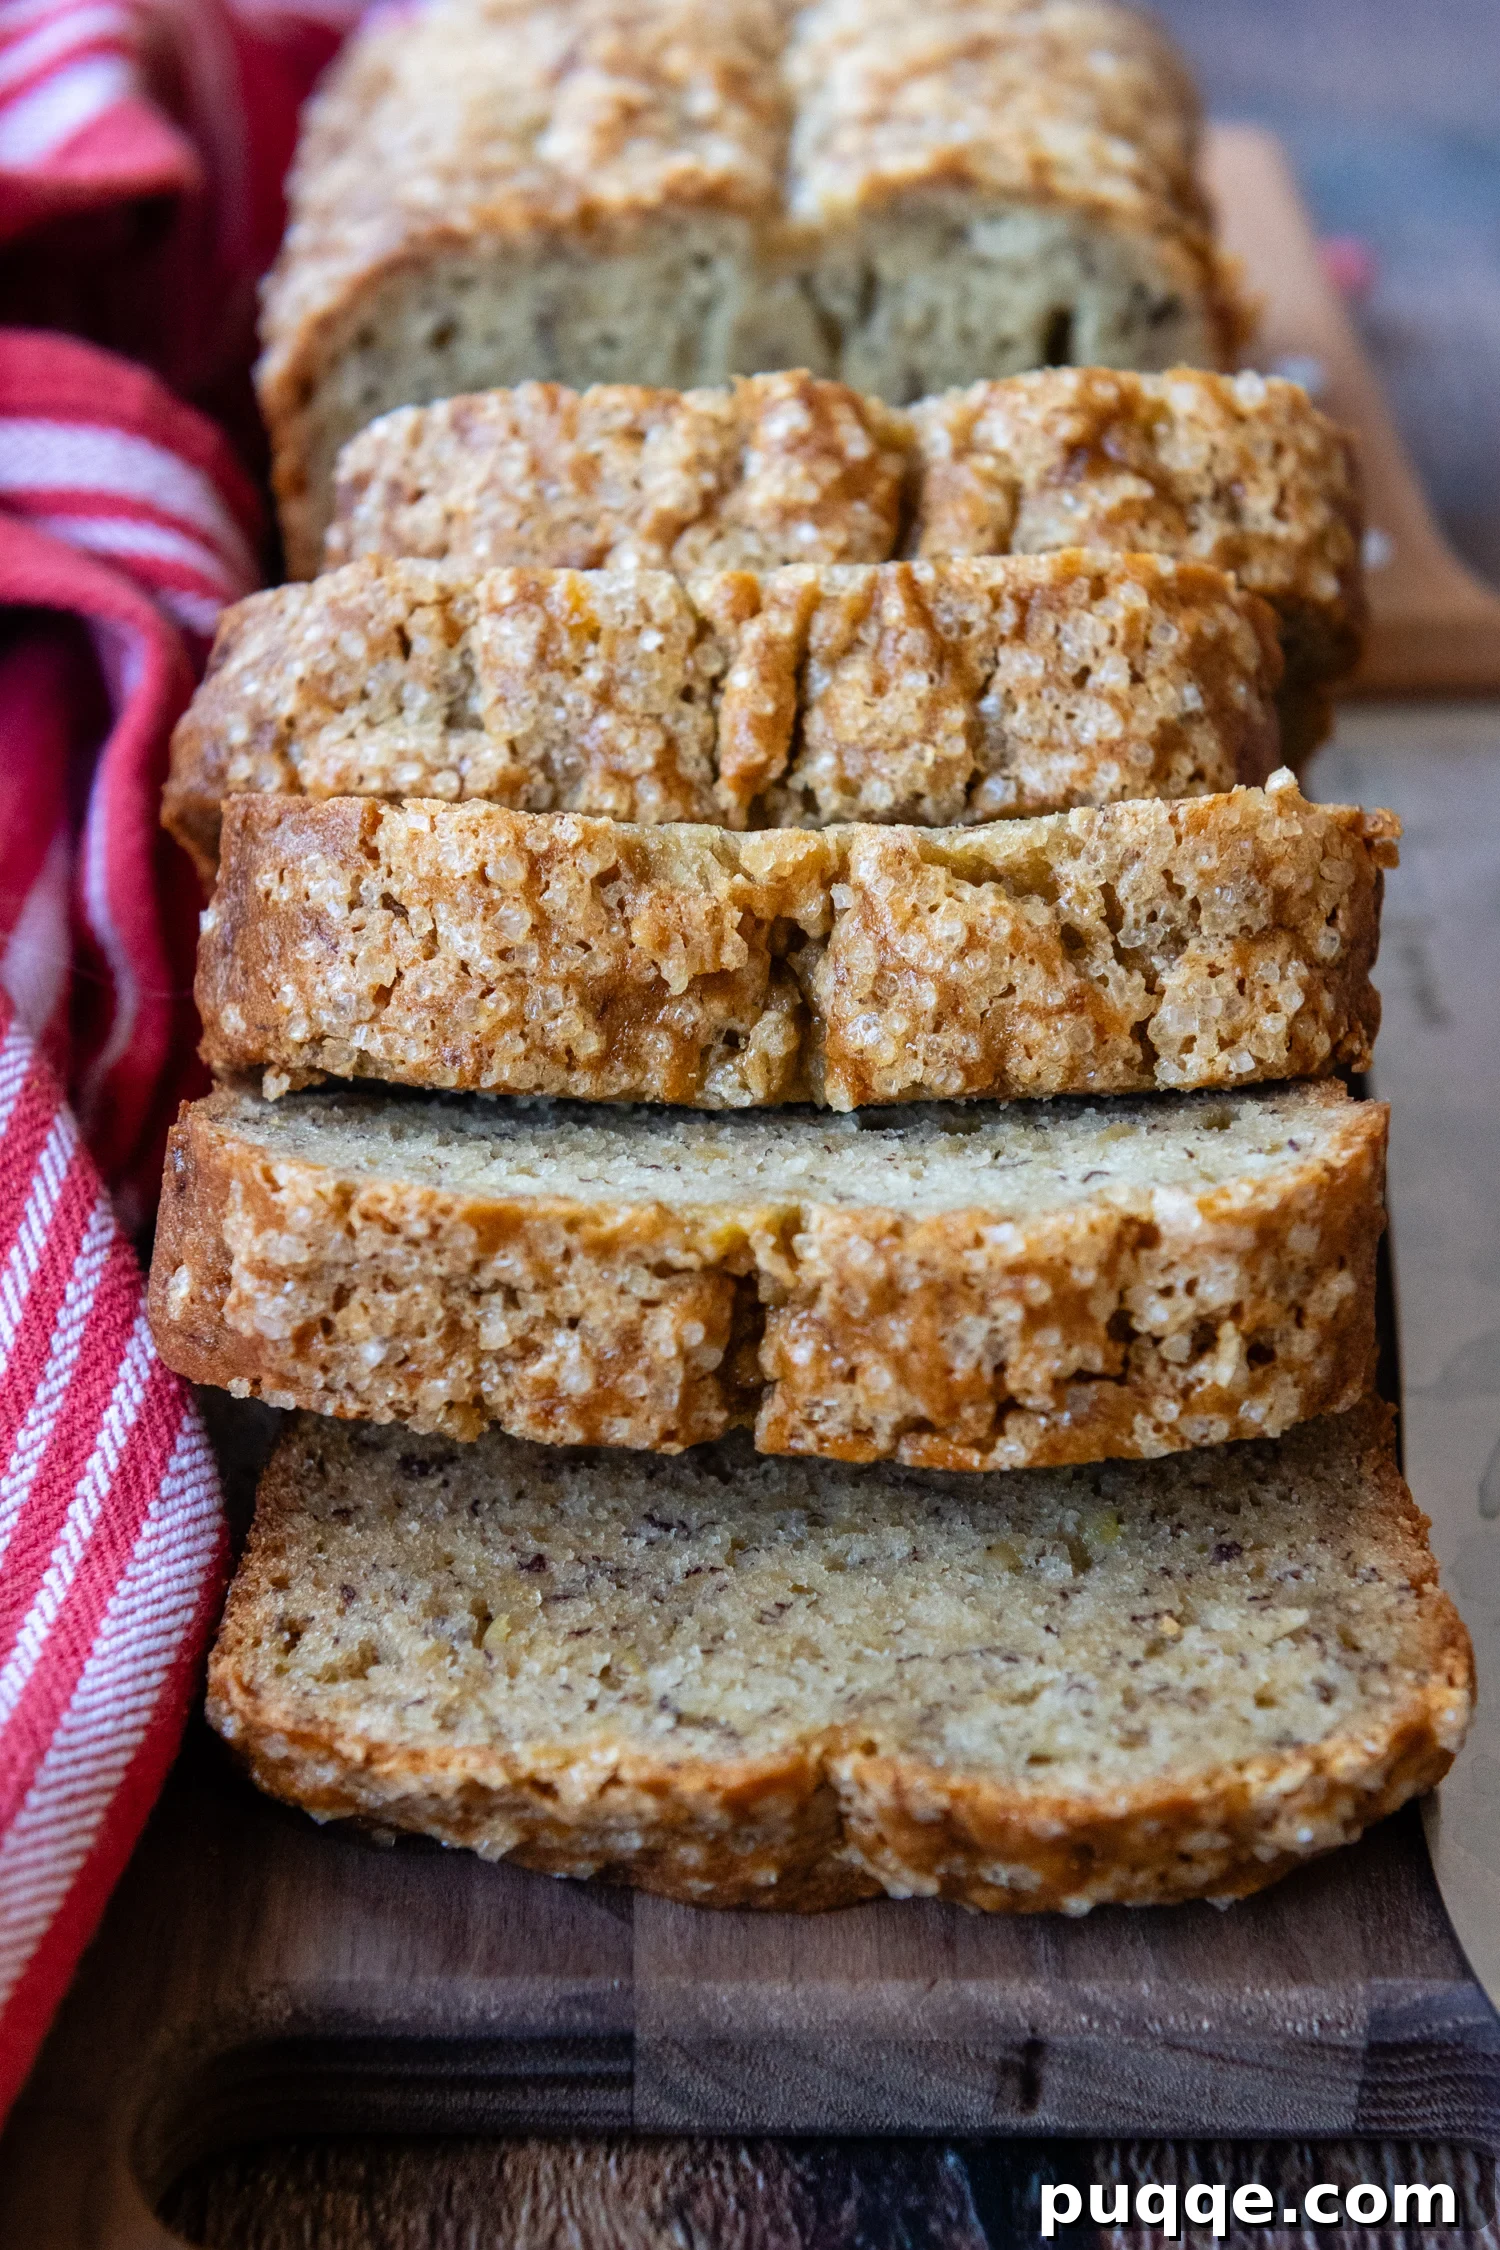
Are you tired of searching endlessly for a gluten-free banana bread recipe that doesn’t disappoint? Many gluten-free versions fall flat, resulting in a dense, gummy texture, a frustratingly sunken middle, or a flavor that just doesn’t hit the mark. The quest for that perfect slice—moist, fluffy, and bursting with rich banana flavor—can feel like an impossible task. But what if we told you the search ends here?
This meticulously crafted, one-bowl recipe is designed to deliver the absolute best gluten-free banana bread you’ve ever tasted. We’ve incorporated clever gluten-free baking secrets that are simple enough for even a beginner to master, ensuring a consistently moist, tender crumb without any gumminess or sinking. Made with oil for superior moisture, this recipe is also naturally dairy-free and incredibly versatile. Whether you prefer a classic loaf, or one loaded with crunchy nuts, decadent chocolate chips, or chewy dried fruits, this quick bread recipe will become your new go-to favorite. Get ready to bake a loaf that redefines your expectations of gluten-free baking!
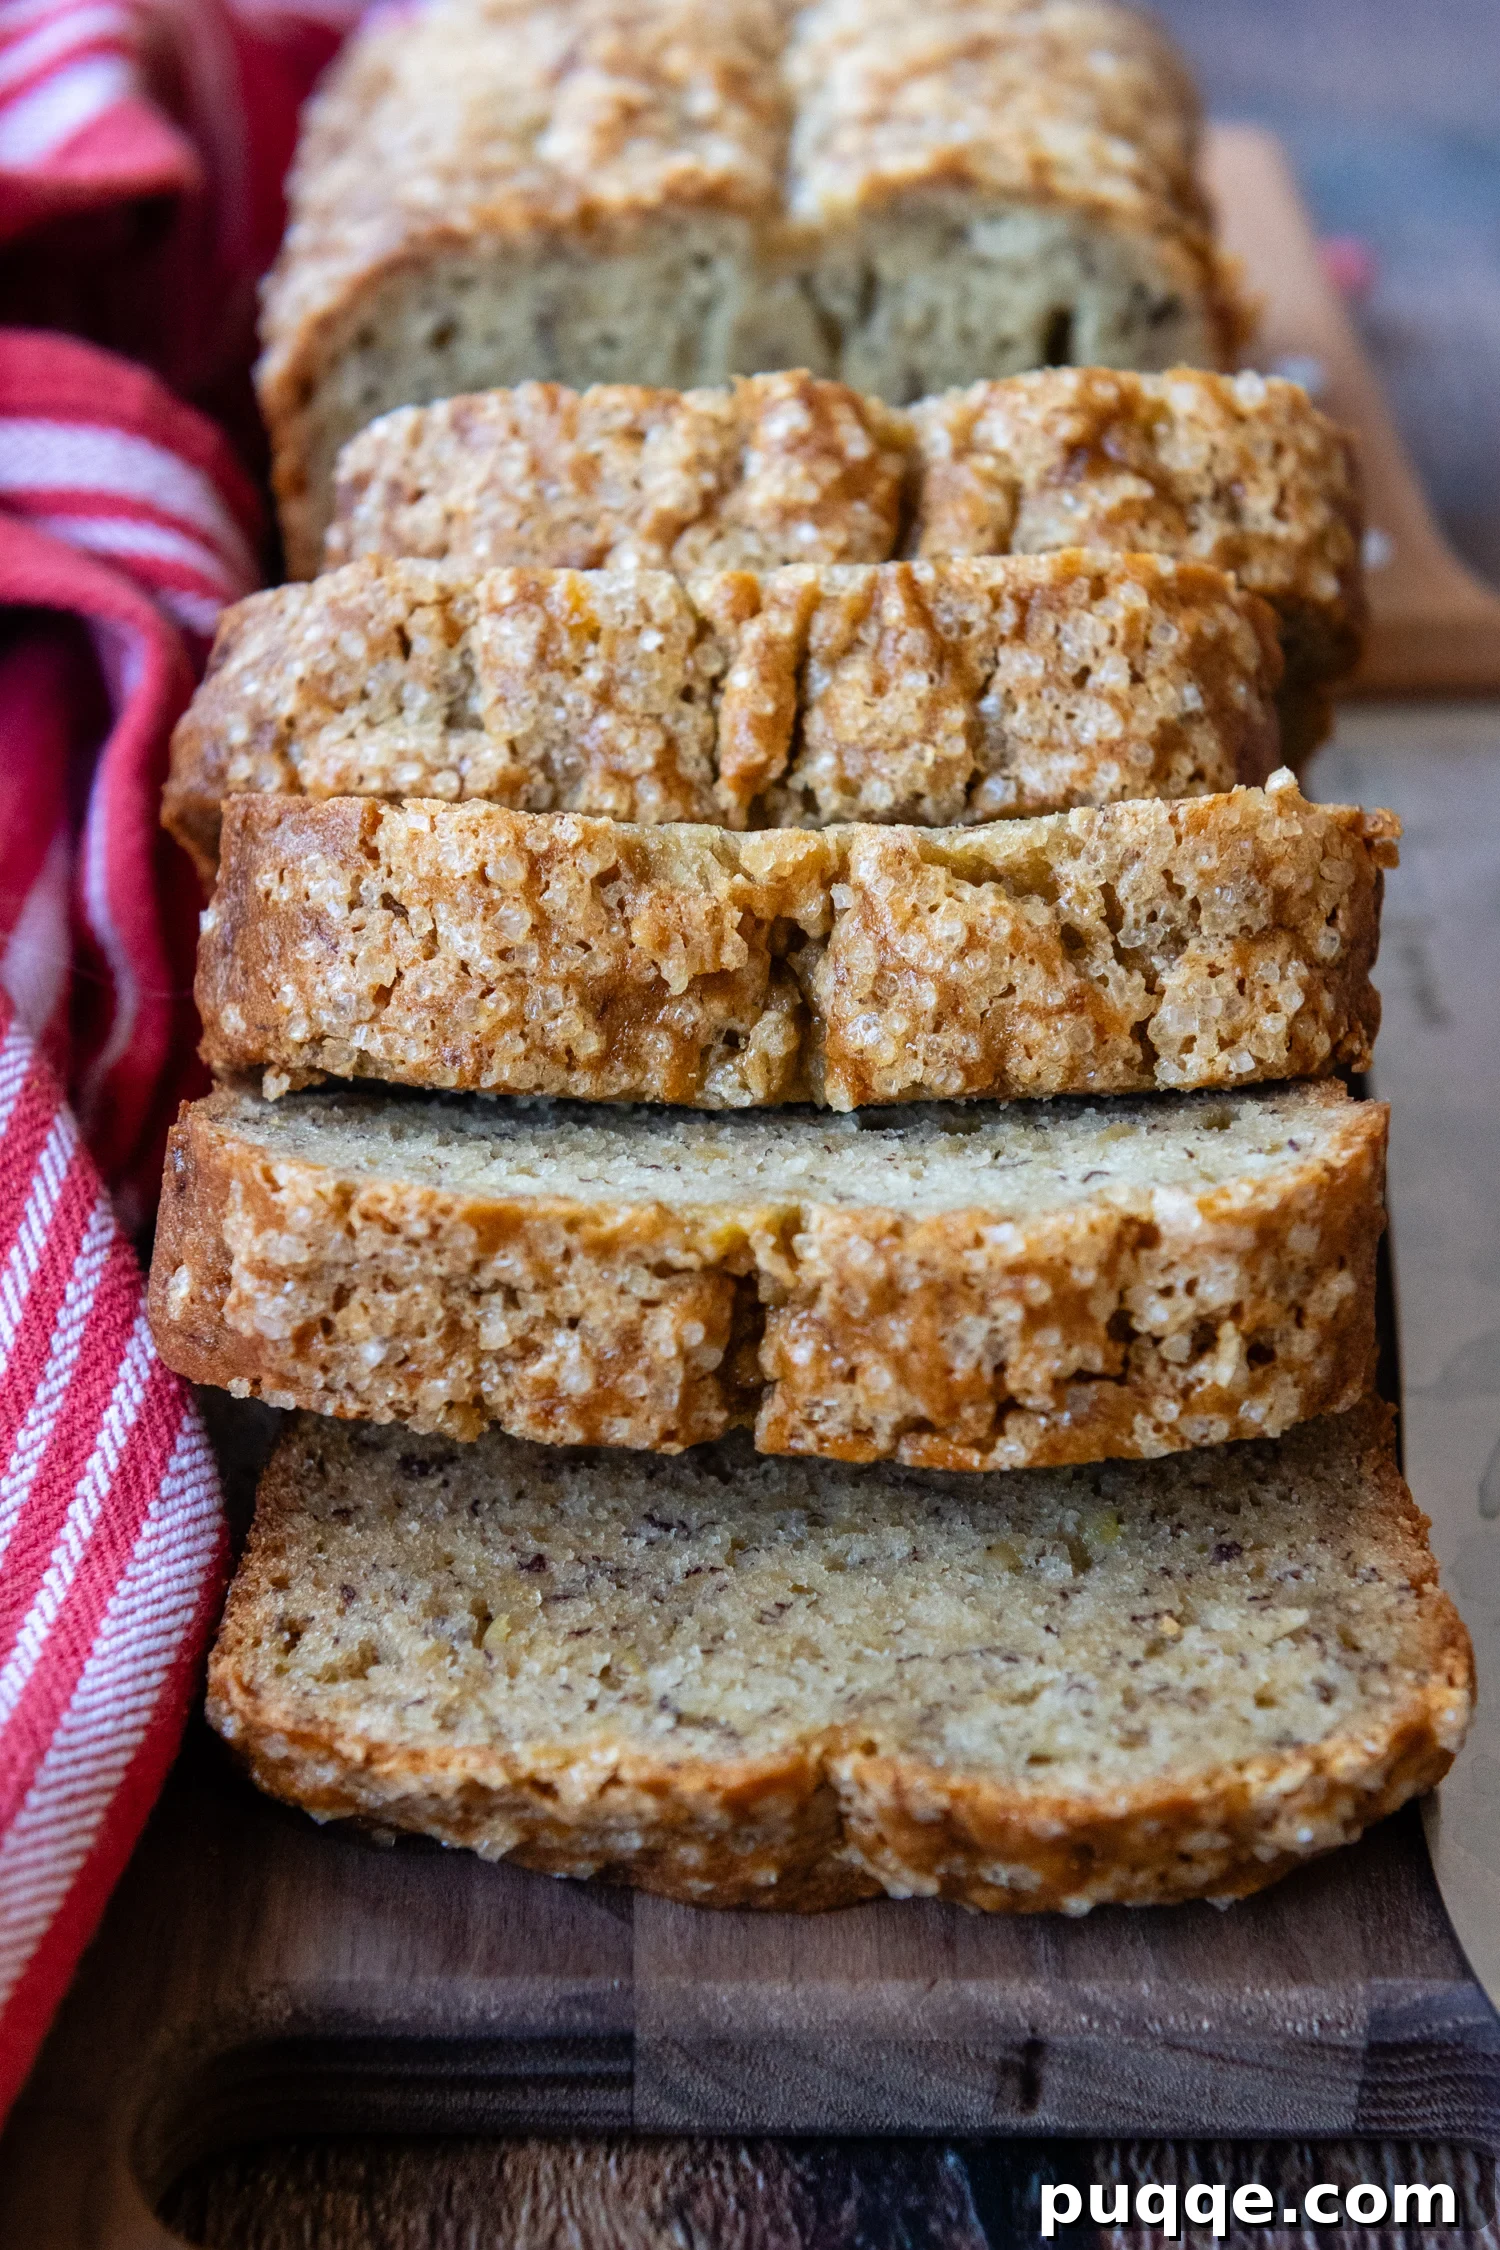
Discover the Secret to the Best Gluten-Free Banana Bread: Perfectly Moist, Never Gummy, No Sunken Middle!
For too long, gluten-free banana bread recipes have been missing key elements, leading to disappointing results. Many bakers mistakenly believe they can simply swap out an all-purpose gluten-free flour blend for wheat flour in a traditional recipe and achieve the same fantastic outcome. While this approach might yield an “edible” loaf, it rarely produces the truly exceptional texture and rise that traditional banana bread offers. Gluten-free flours behave fundamentally differently from wheat flour, lacking the elastic protein network (gluten) that provides structure and chewiness.
The good news? We can achieve a truly spectacular gluten-free banana bread that rivals—and often surpasses—its traditional counterparts. And it’s not nearly as complicated as you might think. After perfecting a wonderfully moist and fluffy gluten-free zucchini bread with a few simple tricks, it became clear these same techniques could work wonders for a from-scratch banana bread. The key is understanding and addressing the unique challenges of gluten-free baking.
When it comes to banana bread, moisture is typically not the primary problem. Overripe bananas, combined with the right amount of oil, naturally provide abundant moisture. However, the real challenge in perfecting gluten-free bread recipes lies in achieving the correct balance of dry to wet ingredients. Too much liquid, and your loaf will likely turn out dense, gummy, and heavy. Conversely, an excess of flour will result in a dry, crumbly, and unappetizing texture. This delicate balance is crucial for a beautifully structured crumb.
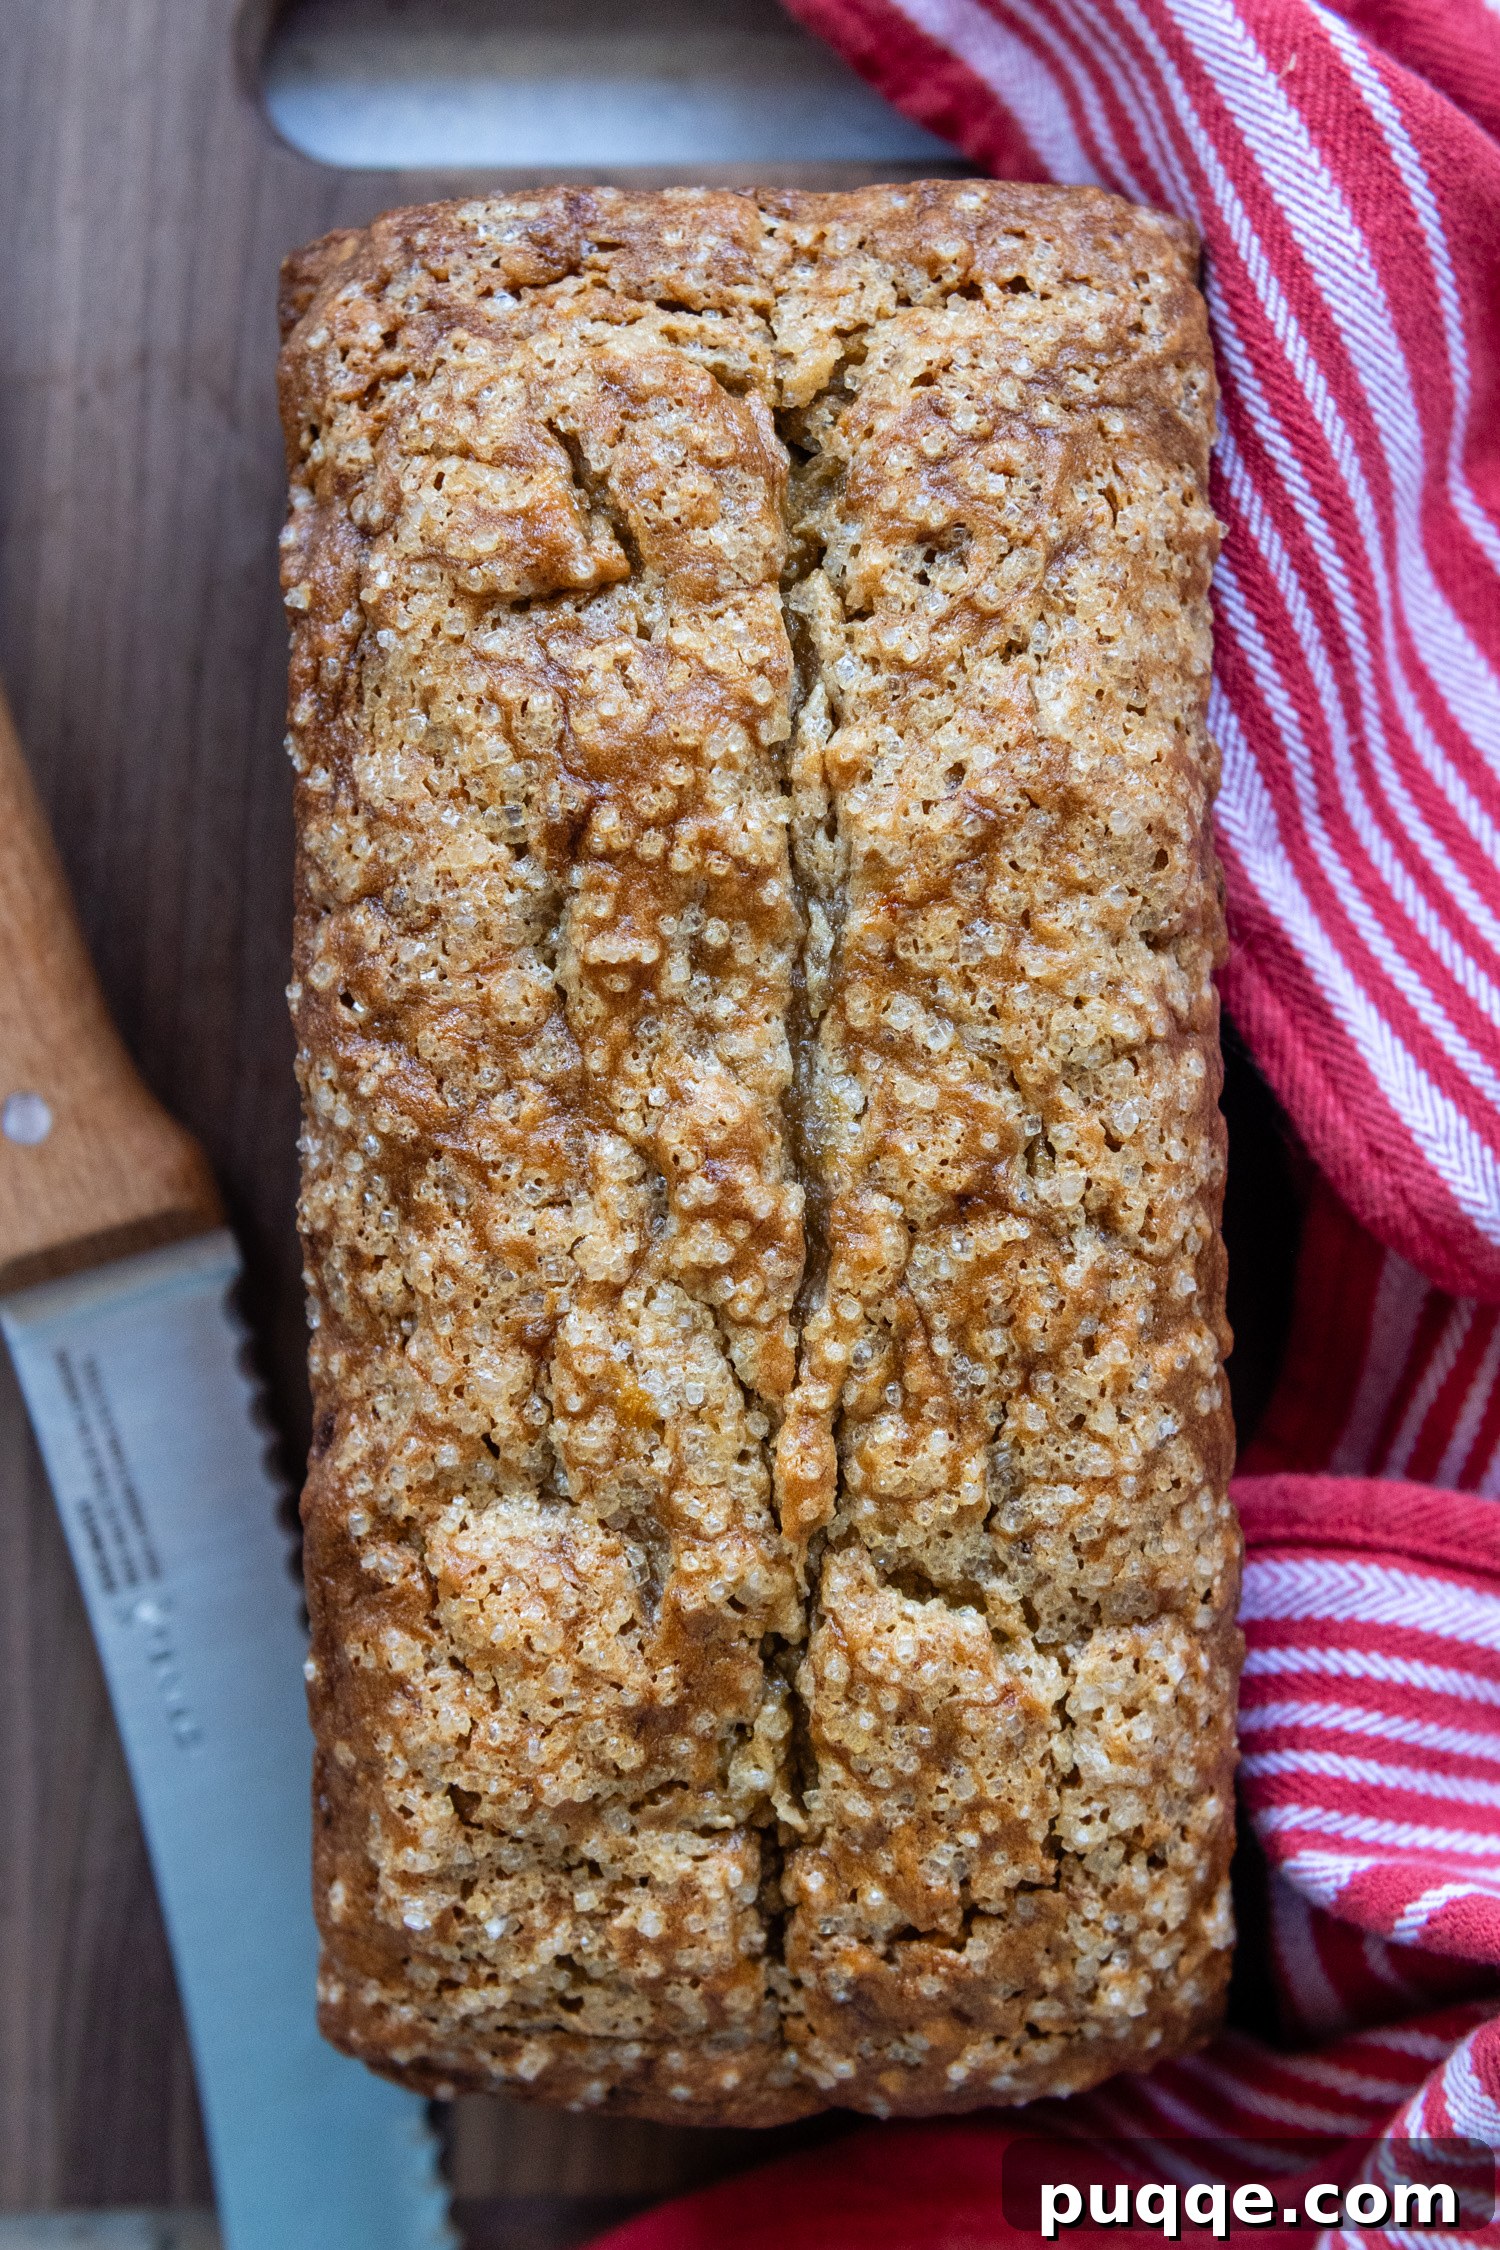
But beyond the ideal moisture level, the most frustrating obstacle for many gluten-free bakers is achieving that desirable domed top—a loaf that rises beautifully and doesn’t collapse or sink in the middle after being pulled from the oven. We’ve cracked this code by borrowing a genius trick from our popular moist and yummy gluten-free apple bread: simply let the batter rest for 15 minutes before placing it into a slightly lower 325℉ oven. This seemingly small step makes a monumental difference.
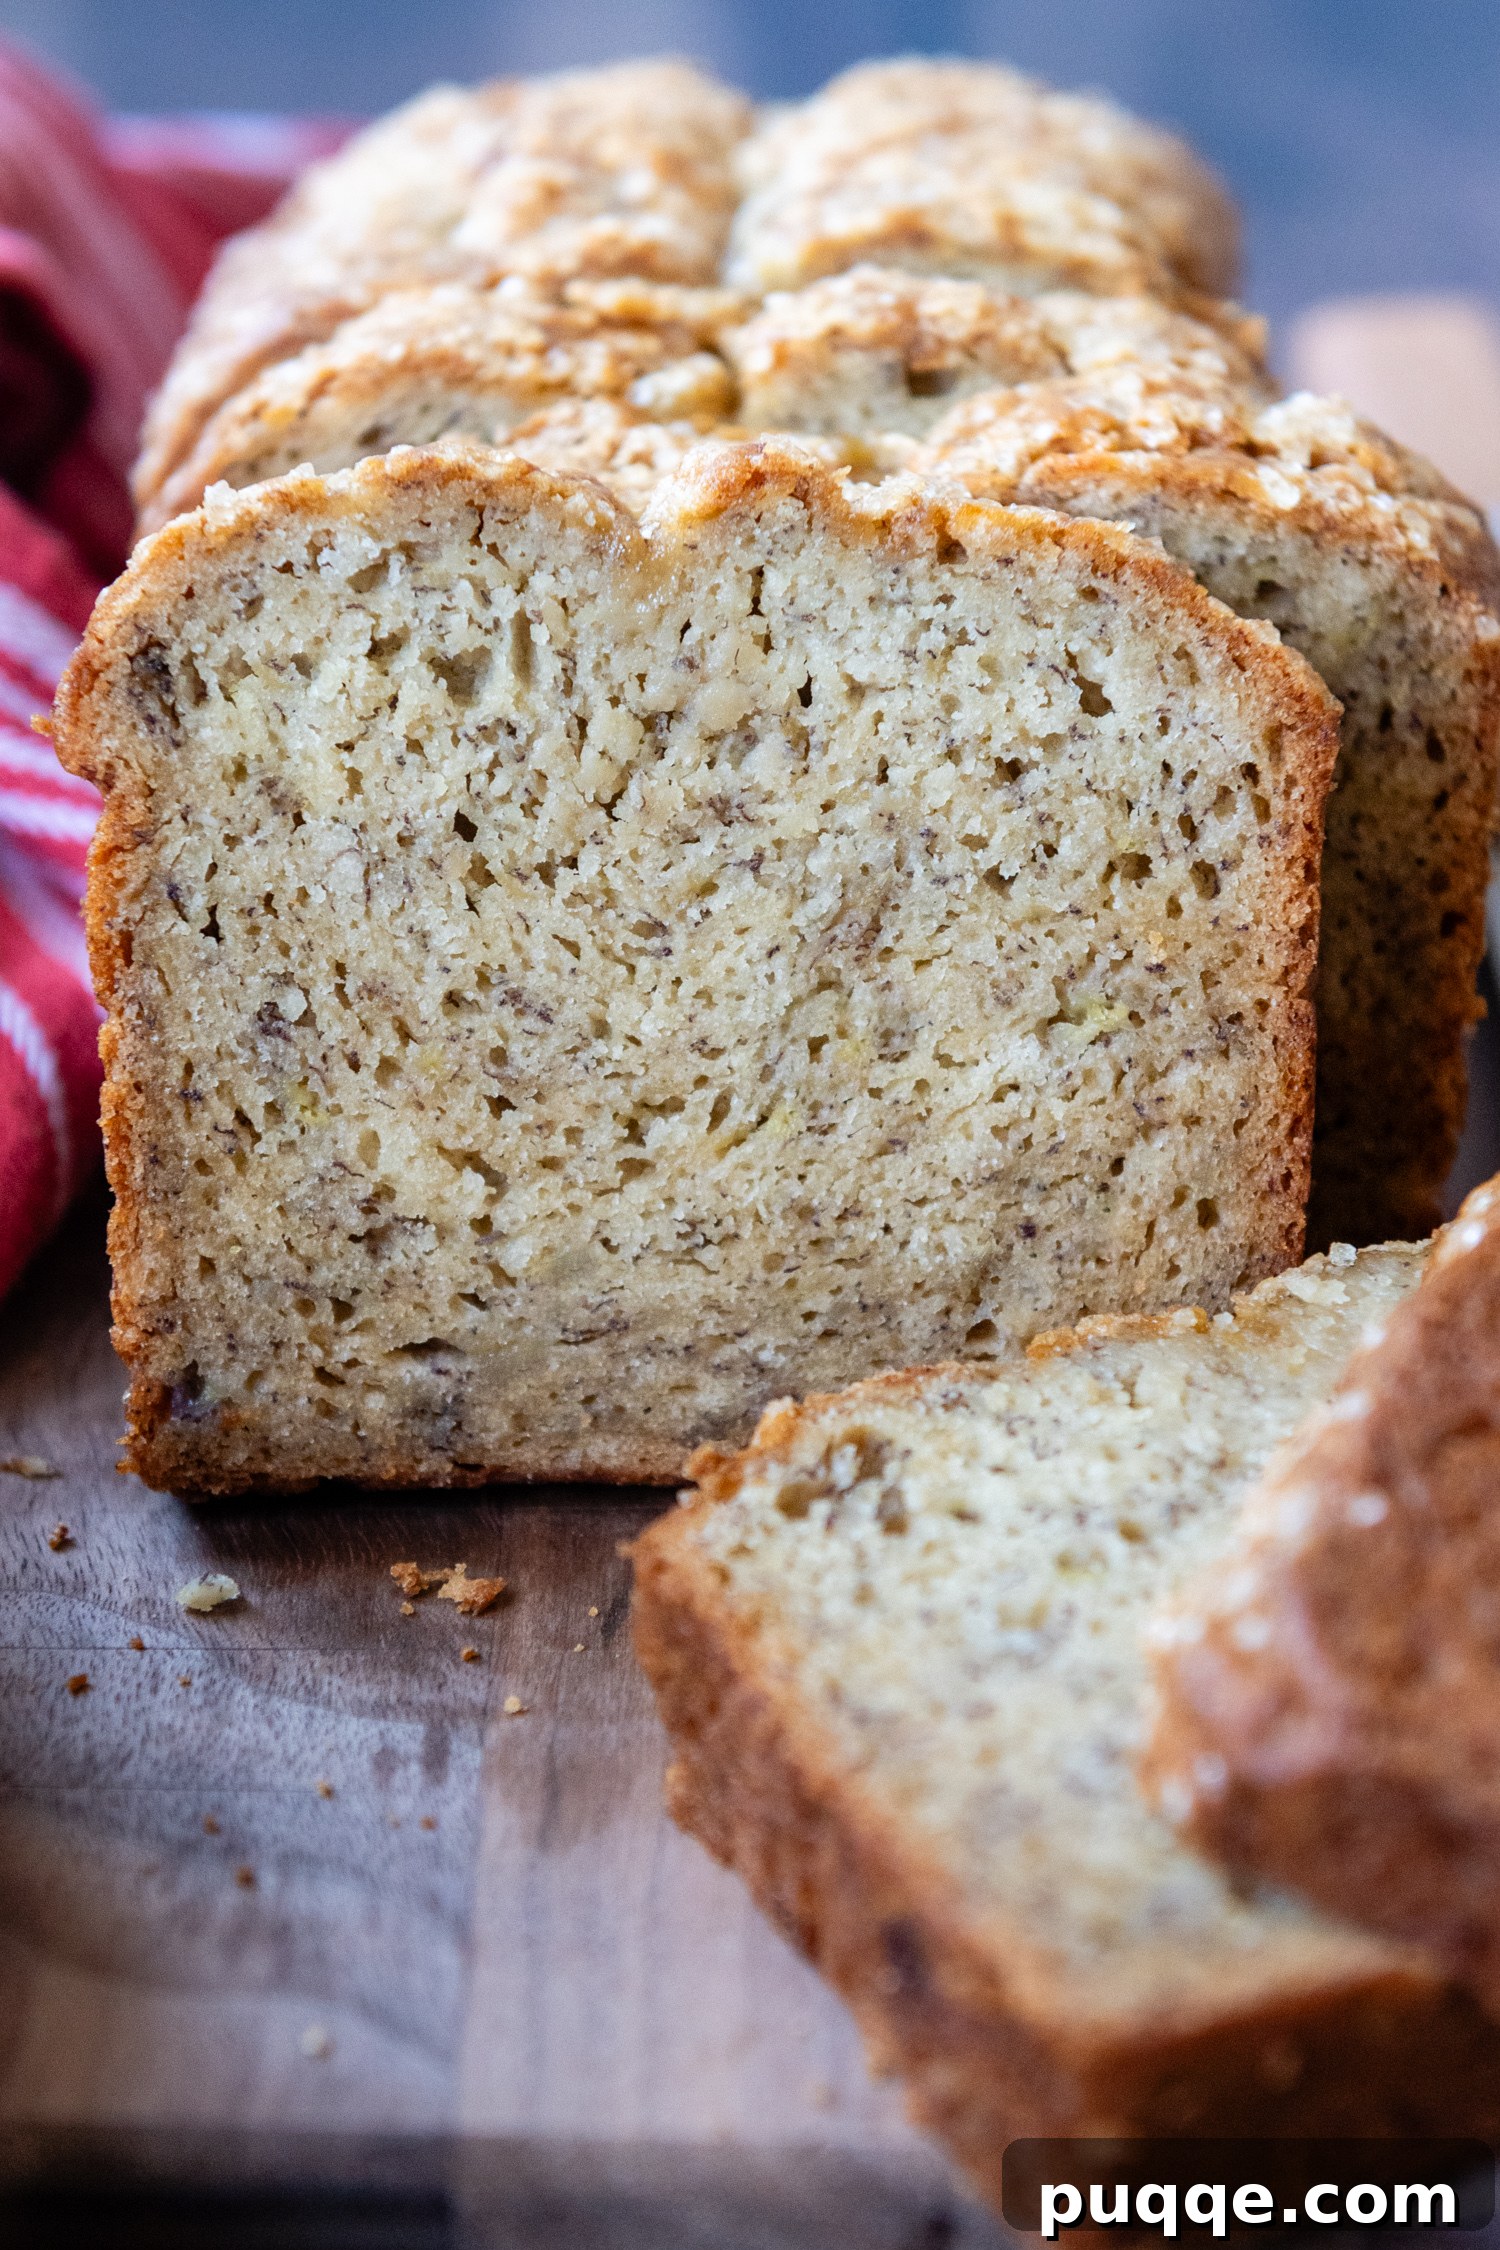
This intentional resting period allows the gluten-free flours and starches ample time to fully absorb the liquid ingredients. As the starches hydrate and plump up, they become better equipped to create a strong, stable structure during baking. The slightly lower oven temperature, in turn, extends the baking time, promoting a slower, more gentle rise. This extended bake also provides extra time for excess liquids to evaporate, preventing a dense interior. The result is a truly remarkable loaf with a gorgeous domed top, a light and fluffy crumb, and absolutely no sunken middle. And the best part? None of these critical steps are difficult or require special skills!
Bake Along With Me: Mastering This Easy Gluten-Free Banana Bread Recipe!
One of the many beauties of this quick bread recipe is its simplicity. You can whip it up in a single bowl with minimal fuss and no special equipment required. Don’t have a potato masher for your bananas? A good old-fashioned fork will work perfectly to achieve that ideal mashed consistency. Below, you’ll find detailed explanations and step-by-step photos to guide you through the process, ensuring your gluten-free banana bread turns out perfectly every time. For precise ingredient amounts and the complete, printable recipe, simply scroll down to the dedicated recipe card.
Getting Your Banana Bread Ingredients Right: Precision is Key
A common pitfall in many banana bread recipes, especially for gluten-free versions, is simply stating “3 large bananas.” The size difference between a large and a small banana can be significant, potentially varying by as much as 50 grams or more. Relying solely on a count can lead to over or under-measuring your mashed banana by almost a full cup! This variation can throw off the delicate balance of dry to wet ingredients, leading to undesirable textures.
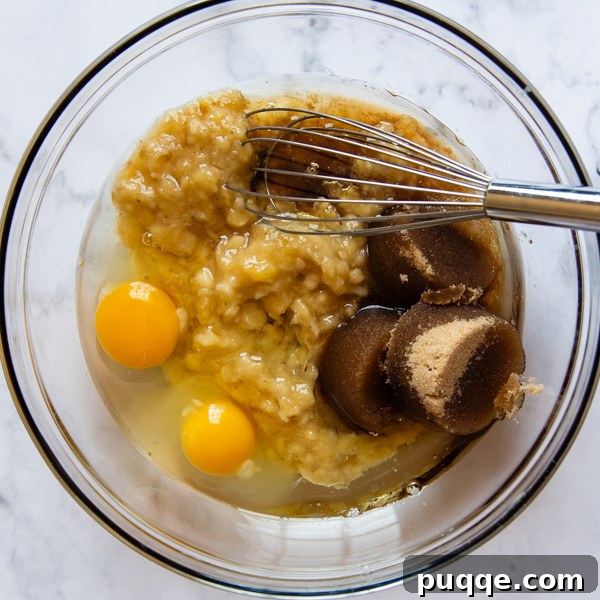
That’s why precision is paramount. It’s always best to measure your mashed bananas by volume (cups) or, even better, by weight (grams) for the most consistent results. By starting with the exact amount specified, you ensure the ideal ratio for our dry ingredients. Begin by mashing your ripe bananas thoroughly, then measure or weigh them carefully. Transfer the mashed bananas into a large mixing bowl, along with the eggs, oil, and brown sugar. Whisk these wet ingredients together really well until they are thoroughly combined and smooth. This foundational step sets the stage for a perfectly moist and flavorful loaf.
Bringing it All Together: Dry Ingredients, Mix-ins, and the Golden Baking Trick
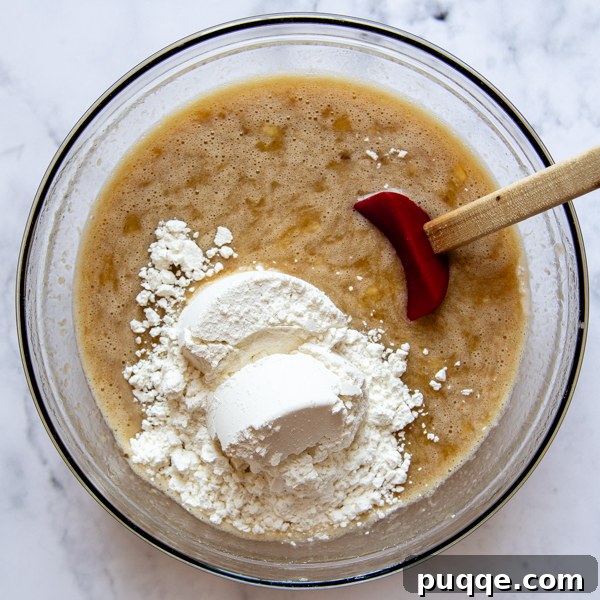
Now comes the simple part: gently stir in your dry ingredients. Add the gluten-free flour blend, baking powder, baking soda, and salt to the wet mixture. Mix thoroughly until the flour is completely incorporated and no dry pockets remain. Unlike traditional baking, you don’t have to worry about over-mixing here, as there’s no gluten to develop and toughen up the bread. This makes gluten-free baking wonderfully forgiving in this regard!
This is also the perfect moment to personalize your banana bread with delicious mix-ins. The recipe card provides specific ideas and recommended amounts, but feel free to let your creativity shine! Classic chocolate chips are always a fantastic choice, adding pockets of melty sweetness. Other delightful options include chopped walnuts, pecans, or almonds for a satisfying crunch; dried cranberries or raisins for a chewy burst of fruit; or even shredded coconut for a tropical twist. If you’re using butterscotch chips, just ensure they are labeled gluten-free. The possibilities are truly endless!
Once your batter is perfectly mixed and any desired additions are folded in, pour it into an 8×4-inch loaf pan. This size is ideal for the batter quantity, ensuring you achieve that beautiful, characteristic domed top. A larger pan might result in a flatter loaf. After pouring, spread the batter evenly. Now for the crucial, yet incredibly easy, step: let the batter rest in the pan for 15 minutes. This seemingly simple pause is a game-changer for homemade gluten-free banana bread. It allows the starches in the flour to fully absorb the liquid, softening and hydrating them. This process is essential for building a robust bread structure that won’t sink in the oven, leading to a perfectly fluffy and tender crumb.
Finally, it’s time to bake! Place your rested loaf into a preheated 325℉ oven for a slightly longer bake, typically 55 to 65 minutes. This low and gentle bake is key to preserving all that wonderful moisture and ensuring the loaf cooks evenly all the way through. It prevents the outside from browning too quickly while the inside remains underbaked. To confirm doneness, gently touch the center—it should feel firm. For absolute certainty, insert a long skewer or knife into the middle; it should come out clean. An internal temperature of about 190°F (88°C) is also a reliable indicator. Once baked to perfection, let it cool in the pan for 10 minutes before transferring to a wire rack to cool completely. This cooling process is vital for the bread to set properly and prevent any collapse.
Frequently Asked Questions About This Gluten-Free Banana Bread
I love connecting with fellow bakers and answering all your questions! If you don’t find the answer you’re looking for here, please don’t hesitate to jump into the comments section below. I’m always happy to help and share my nerdy baking insights! 🤓
Can I double this gluten-free banana bread recipe? Yes, absolutely! This recipe scales beautifully. If you’re baking by grams, remember that while the recipe slider might not automatically double weights, a simple calculator will do the trick. Just ensure you divide the doubled batter evenly between two standard loaf pans for optimal baking and rise.
What’s the best way to store or freeze my gluten-free banana bread? For ultimate freshness, freezing is indeed the best way to preserve your delicious loaf! If you don’t plan on devouring the entire bread on the day it’s baked, I highly recommend allowing it to cool completely, then wrapping it tightly in plastic wrap and aluminum foil before freezing. When stored unsliced, a completely cooled loaf can be loosely covered with foil at room temperature and will remain wonderfully moist and delicious for the next day. For longer storage, freezing is your best friend.
I don’t have an 8×4-inch loaf pan. Can I use a different size? While an 8×4-inch loaf pan is recommended for achieving the perfect domed shape and full loaf, you can use a 9×5-inch pan. However, be aware that a larger pan will result in a slightly flatter top and the bread may cook a bit faster, so start checking for doneness about 10 minutes earlier than the suggested baking time.
But why did my gluten-free banana bread sink in the middle? The most common reason for a sunken middle in gluten-free baking is often related to the specific gluten-free flour blend used. While you can certainly use a different blend than the recommended one, it’s crucial to understand that not all GF blends are created equal. They don’t have a universal combination of starches, meaning each blend absorbs moisture differently. This variation in absorption can significantly impact the structure and rise of your bread, sometimes leading to a collapse in the center. Always try to stick to the recommended blend for the best results, or be prepared to make slight adjustments if using an alternative.
Can I make this recipe completely dairy-free? Yes, this recipe is naturally dairy-free thanks to the use of oil instead of butter. Just be mindful of any mix-ins you choose, such as chocolate chips, to ensure they are also dairy-free to maintain the integrity of the recipe.
What kind of oil is best for this recipe? You can use any preferred neutral-flavored oil, such as vegetable oil, canola oil, or even a light olive oil. The goal is to add moisture without overpowering the delicious banana flavor. Coconut oil can also be used, but note it might impart a slight coconut flavor and solidify at cooler temperatures, which could affect batter consistency if not kept warm.
How Do I Really Know When My Gluten-Free Banana Bread Is Done?
Knowing when your gluten-free quick bread is perfectly baked through can be one of the trickiest parts of the process. Unlike traditional baking, it’s always better to err on the side of slightly overbaking than underbaking. An underbaked gluten-free loaf will almost certainly fall in the middle, leaving you with a dense, gummy, or deflated result.
Quick breads, in general, can be deceptive. They often look beautifully golden and set on top, giving the impression that they are fully cooked. However, the interior can still be significantly underbaked, especially with gluten-free flours that require extra time for proper starch gelatinization and liquid evaporation. If there isn’t enough time for these liquids to fully evaporate, you’ll end up with that undesirable dense and gummy texture.
To ensure your loaf is thoroughly cooked, resist the urge to pull it out too early. Instead of a small toothpick, which often doesn’t reach deep enough into the center, insert a long skewer or a thin knife directly into the middle of the bread. It should come out clean, with no wet batter clinging to it. The center of the loaf should also feel firm and slightly springy to the touch. Another reliable method is to use an instant-read thermometer; the internal temperature should register around 190°F (88°C) for a perfectly baked loaf. Trust these indicators, and you’ll achieve a beautifully cooked, moist, and fluffy gluten-free banana bread every time!
Save This Incredible Gluten-Free Banana Bread Recipe to Your Pinterest Board!
Let’s be friends on Pinterest! I’m always sharing great recipes!
Did you make this recipe? I love hearing from you! Leave a star rating and comment below the recipe card. It helps others when searching for recipes and I appreciate feedback from our community. You will always hear back from me! -Melissa
Moist Gluten-Free Banana Bread (Never Gummy, Sunken!)
 Melissa Erdelac
Struggling to find the best gluten-free banana bread without a dense, gummy crumb, sunken middle, or lackluster flavor put me on fruitless search. This easy, one bowl recipe uses the best GF baking tricks, but simple enough for even a newbie to pull off, into a tried and true homemade quick bread, made with oil for bonus moist crumb, is dairy-free, and can be loaded with nuts, chocolate chips, or dried fruits.
Pin Recipe
Rate This Recipe
Remove Ads
Ingredients
- 1 ½ cups (363 g) mashed ripe bananas
- 2 large eggs
- ¾ cup (167 g) packed brown sugar
- ½ cup (102 g) oil, any preferred
- 2 teaspoons vanilla extract
- 1 ¾ cup (256 g) gluten-free all-purpose flour, Cup4Cup gluten-free flour recommended, see recipe notes for dairy-free
- 1 ½ teaspoon baking powder
- ½ teaspoon baking soda
- ¼ teaspoon salt
- 1 tablespoon (optional) turbinado sugar, for sprinkling on top
Equipment
- 8X4 Loaf Pan
- Mixing Bowl
- Cup4Cup Gluten Free Flour
Instructions
- Preheat the oven to 325ºF. Grease an 8×4 inch loaf pan. Line the bottom with a piece of cut-to-size wax paper or parchment paper. Spray paper and set aside.
- In a large bowl whisk together mashed bananas, eggs, brown sugar, oil, and vanilla. (1 ½ cups (363 g) mashed ripe bananas, 2 large eggs, ¾ cup (167 g) packed brown sugar, ½ cup (102 g) oil, 2 teaspoons vanilla extract)
- Add flour, baking powder, baking soda, and salt. Stir until well combined, and no flour pockets remain. Pour into the prepared loaf pan and spread evenly. Sprinkle on optional turbinado sugar on top, if using. (1 ¾ cup (256 g) gluten-free all-purpose flour, 1 ½ teaspoon baking powder, ½ teaspoon baking soda, ¼ teaspoon salt, 1 tablespoon (optional) turbinado sugar)
- Let it rest for 15 minutes for the liquids to fully absorb so you have a nice fluffy crumb without a sunken middle. Bake for 55 minutes to 1 hour 5 minutes, or until a long skewer or knife inserted in the middle comes out clean, the middle is set, or internal temperature measures about 190°F (88°C).
- Cool in pan for 10 minutes. Run a knife around the edges and turn onto a wire rack to cool completely before slicing and serving.
Notes
Optional Mix-Ins
- Chocolate chips – 1 cup
- Chopped walnuts, almonds, or pecans – 1/2 cup
- Dried cranberries or raisins – 1 cup
- Shredded coconut – 1/2 cup
- Butterscotch chips – 1 cup (read label to make sure they are gluten-free)
- Creamy peanut butter (swirled in) – 1/2 cup
- Cinnamon – 1 teaspoon
- Nutmeg – 1/2 teaspoon
Did you make this recipe?
Please leave a star rating and review below. It helps others when searching for recipes and I LOVE feedback!