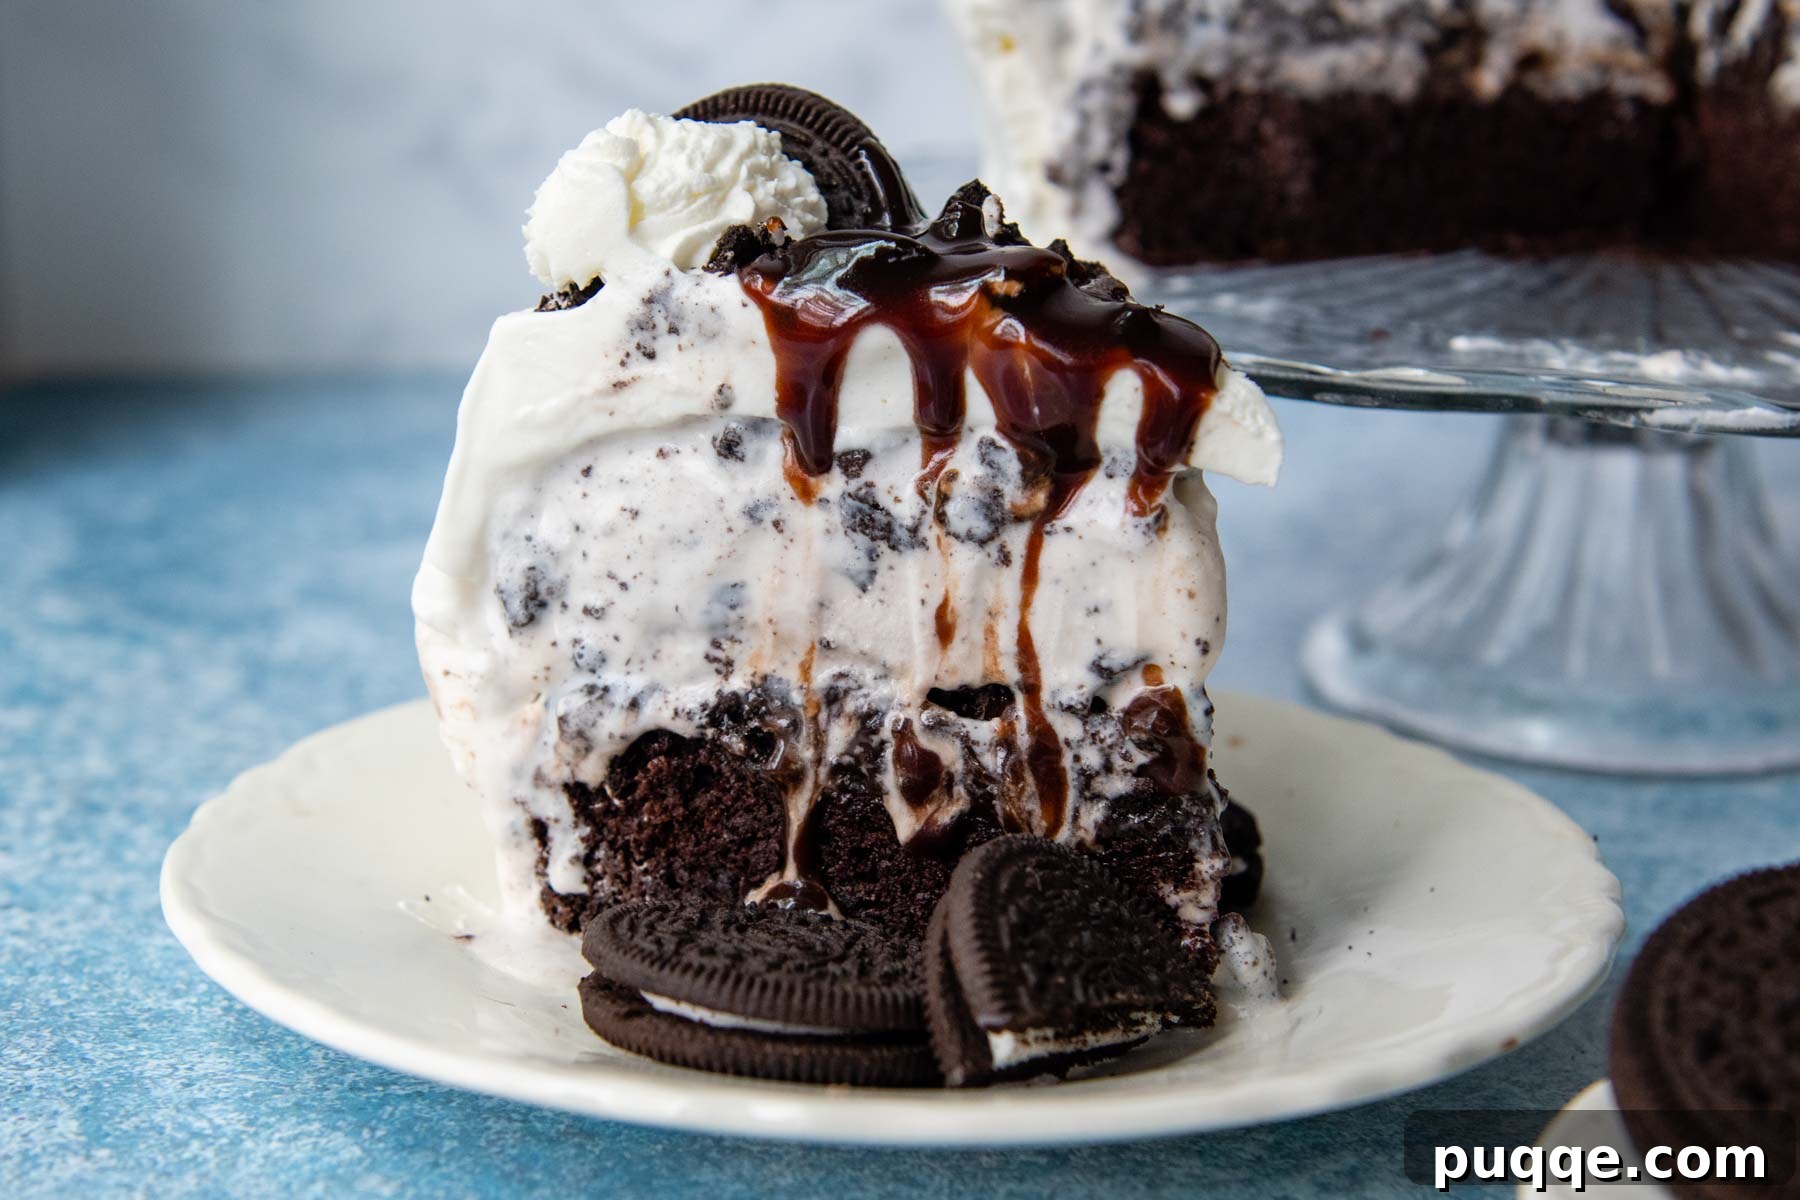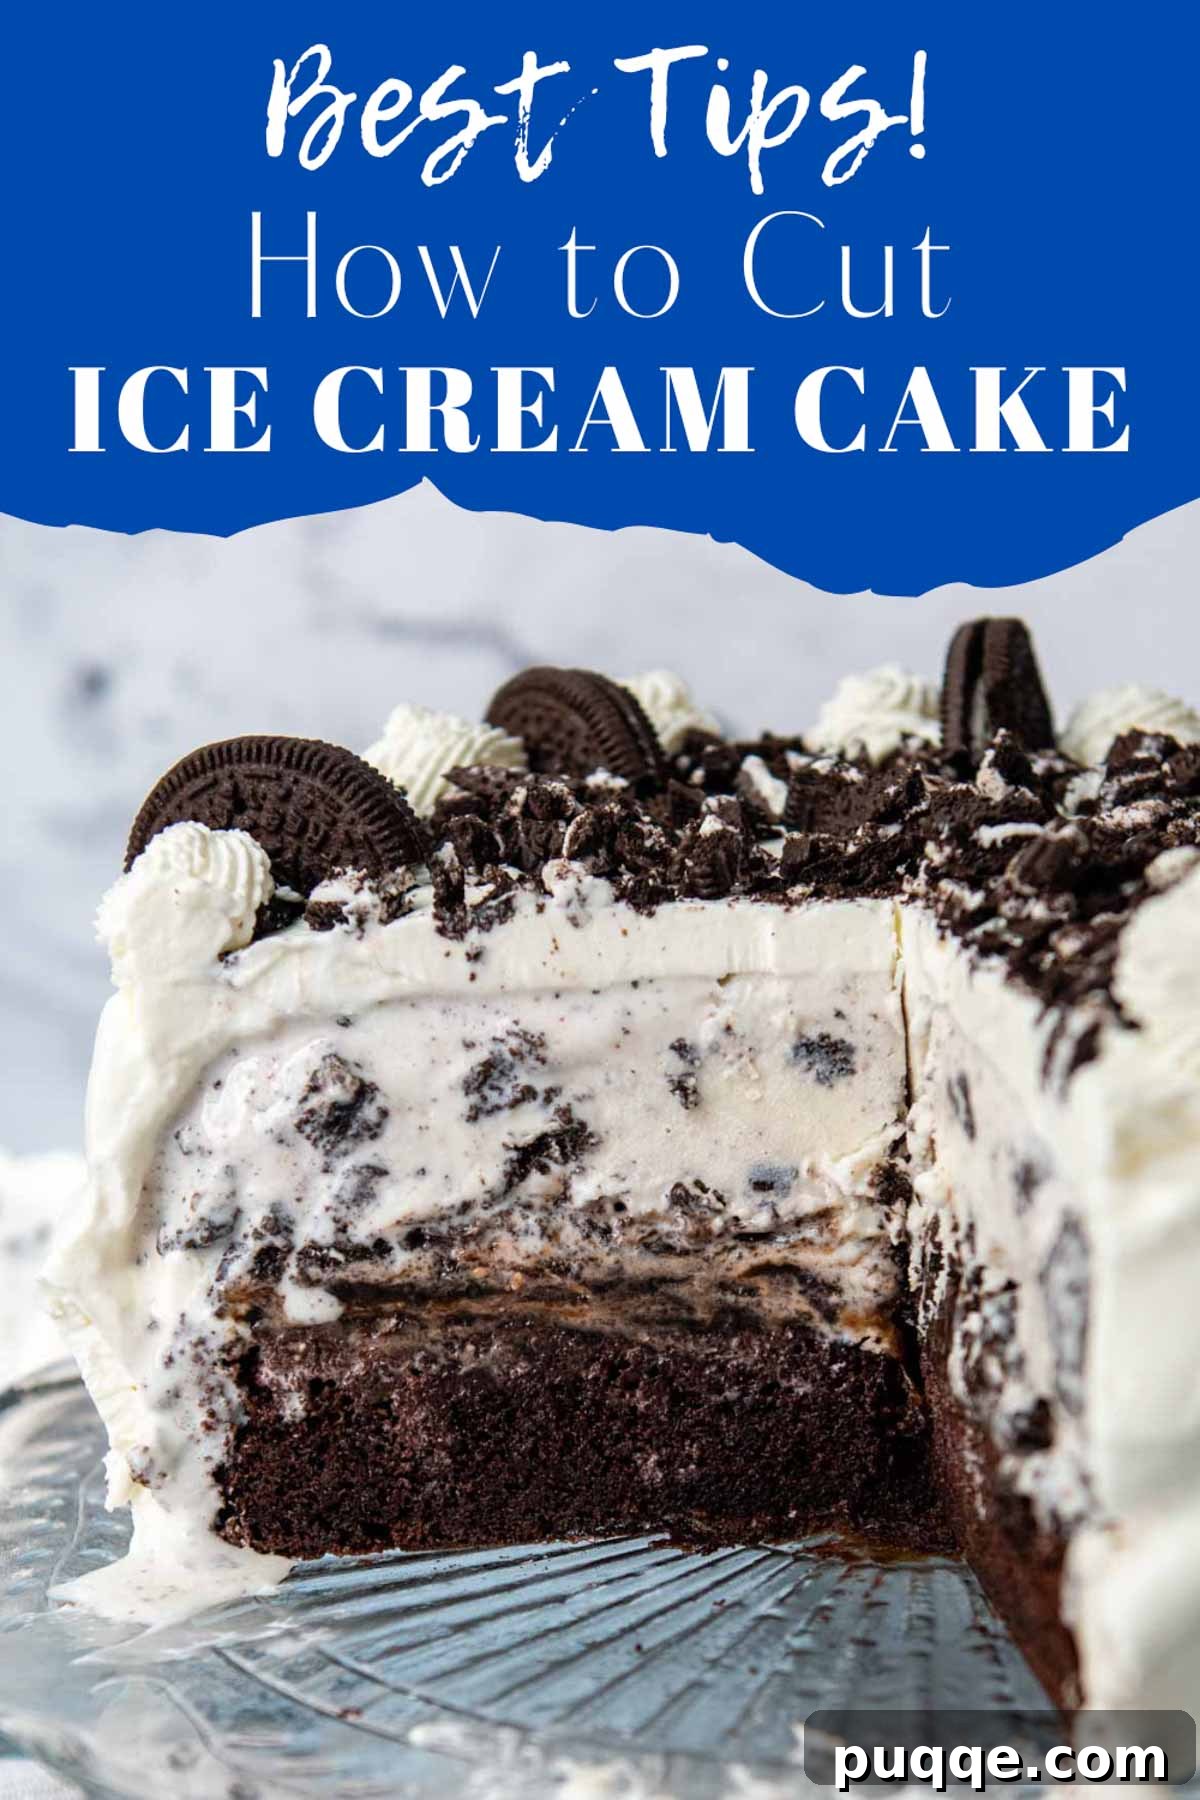
There’s nothing quite like the irresistible allure of an ice cream cake – a delightful blend of fluffy cake, creamy ice cream, and often, indulgent toppings like hot fudge and whipped cream. Perfect for birthdays, celebrations, or simply a sweet treat, ice cream cakes bring joy to any gathering. However, the excitement can quickly turn into frustration when you attempt to slice into a rock-solid frozen dessert, resulting in messy, uneven portions or even a bent knife. But fear not! This comprehensive guide is dedicated to equipping you with the ultimate hacks and expert tips on how to cut ice cream cake with ease, ensuring every slice is as perfect as the occasion itself. From proper thawing techniques to choosing the right tools and mastering the slicing motion, we’ll demystify the process and answer all your burning questions about serving frozen desserts flawlessly.
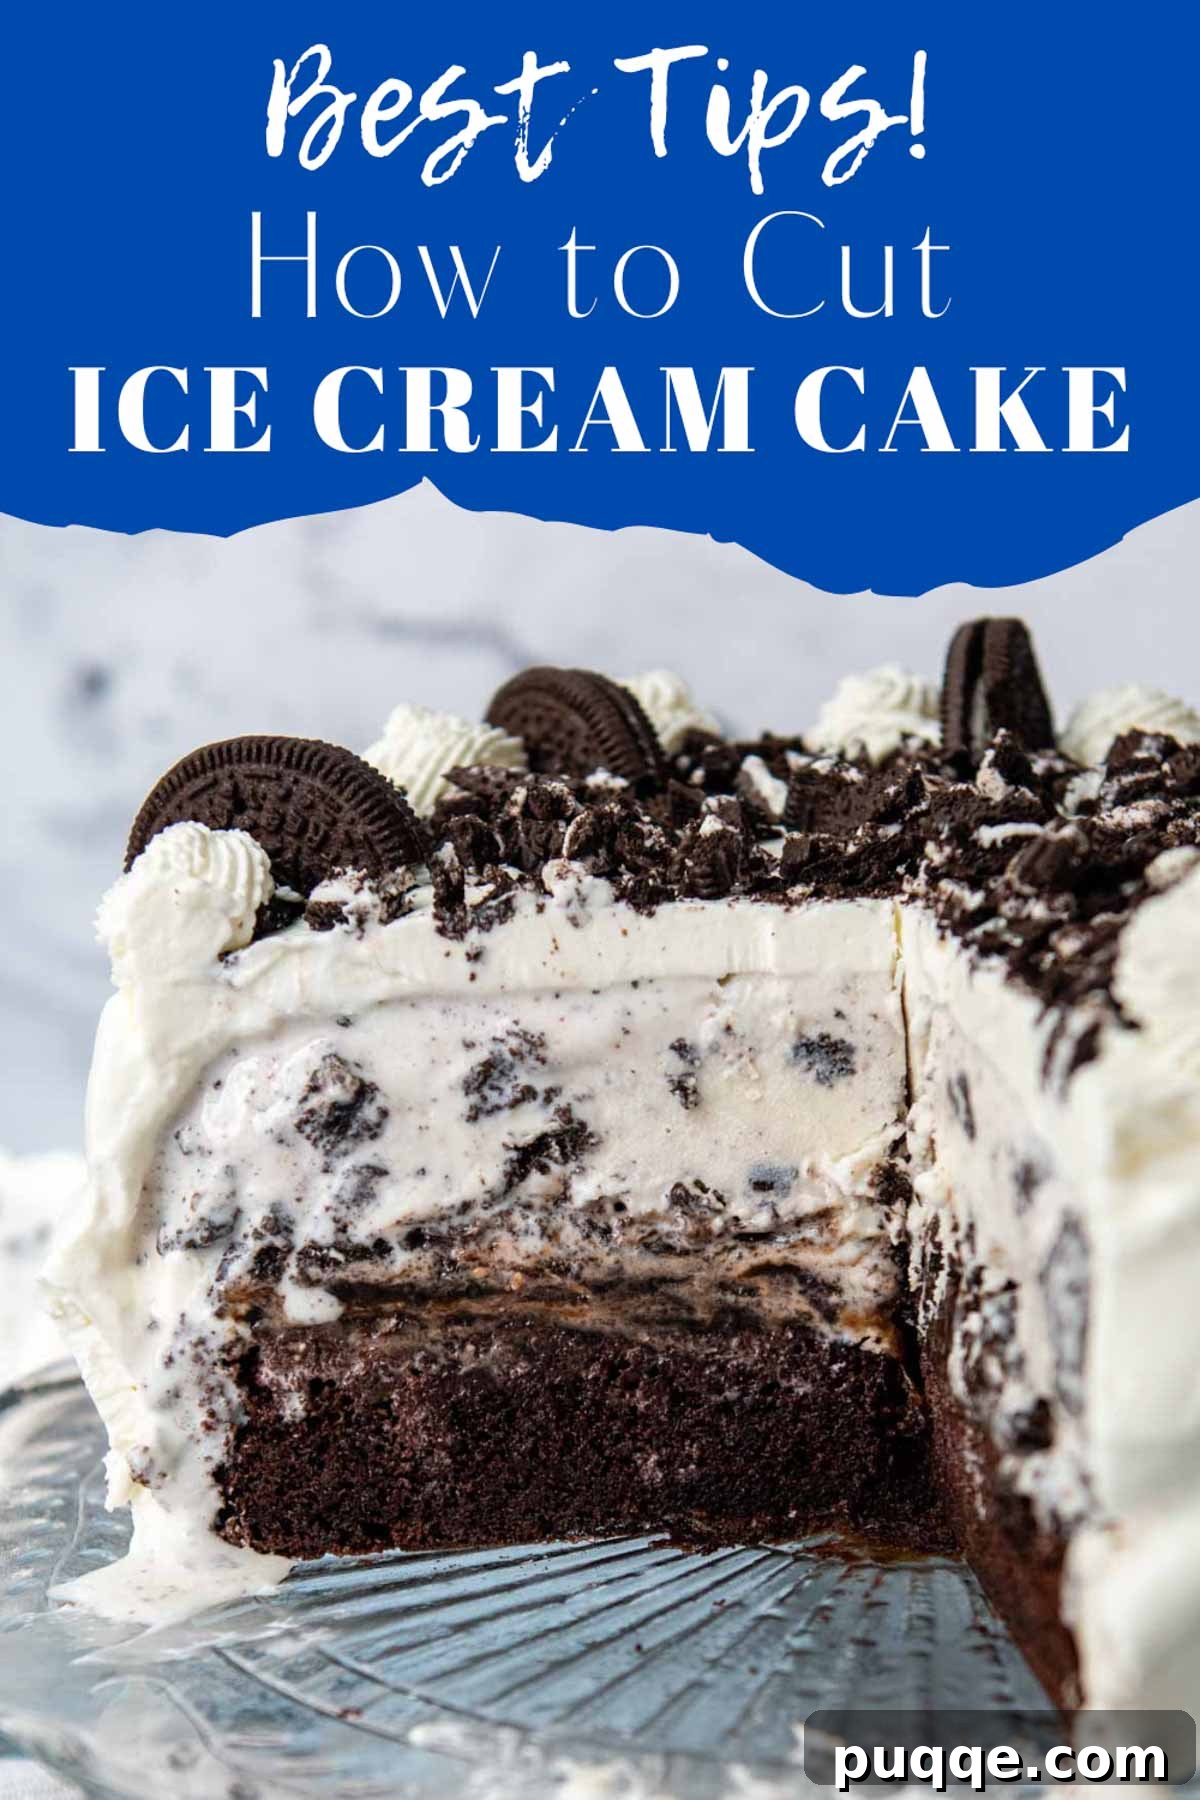
Mastering the Art of Slicing Ice Cream Cake
Whether it’s a classic from Dairy Queen, a custom creation from Cold Stone, or a labor of love homemade in your kitchen, an ice cream cake is a fantastic centerpiece for any event. Its multi-layered goodness – often featuring soft cake, luscious ice cream, and various mix-ins or sauces – is a crowd-pleaser. The key to truly enjoying it lies in serving it gracefully, which starts with the perfect cut. These expert techniques aren’t just for traditional ice cream cakes; they’re universally applicable to a wide array of frozen delights. Imagine flawlessly serving a frozen lemon pie, a sophisticated semifreddo, a dramatic baked Alaska, a creamy frozen cheesecake, or even a refreshing frozen fruit salad. You can also apply these tips to your personal favorites like an Oreo gluten-free ice cream cake or delightful homemade ice cream sandwiches. With our guide, every frozen treat will be sliced and served with professional precision.
Step One: Optimal Thawing for Perfect Slices
The most common pitfall when cutting an ice cream cake is trying to slice it directly from the deep freeze. This often leads to a mangled mess, bent utensils, and a lot of frustration. The secret to effortless slicing begins with proper thawing. Think of it as preparing your canvas before painting a masterpiece; the right consistency makes all the difference.
Why Thawing is Crucial
When an ice cream cake is too hard, the ice cream layer is like concrete, making it impossible to get a clean cut through all the layers. Thawing allows the ice cream to soften slightly, bringing it to a more pliable state that yields easily to a knife while still maintaining its frozen integrity. This prevents the cake from crumbling and the ice cream from tearing, ensuring each slice holds its shape beautifully.
Recommended Thawing Methods
- Room Temperature Thaw: For quick results, allow your ice cream cake to sit at room temperature for approximately 15-20 minutes. The exact time will depend on the ambient temperature of your room and the size of your cake. A warmer room or a smaller cake will require less time. Keep an eye on it to prevent over-softening.
- Refrigerator Thaw: This is often the preferred method for a more even thaw. Transfer the cake from the freezer to the refrigerator for about 30-40 minutes before you plan to slice it.
EXPERT TIP: Many find that thawing the ice cream cake in the refrigerator yields superior results compared to letting it sit at room temperature. The cooler, more controlled environment of the fridge allows the cake to thaw more evenly throughout. This avoids the common issue of having a noticeably softer, melting exterior while the core of the cake remains stubbornly frozen solid. An even thaw means consistent texture from edge to center, leading to cleaner, more uniform slices.
Signs of a Perfectly Thawed Cake
How do you know when your cake is ready? Gently press your finger (or the side of your knife) into the ice cream layer. It should yield slightly but still feel firm and very cold. If it’s too soft, it might melt too quickly when served. If it’s still rock hard, give it a few more minutes. Finding that sweet spot where it’s firm enough to hold its structure but soft enough to cut is key.
Step Two: Selecting the Optimal Slicing Tool
Just as a carpenter needs the right saw, an ice cream cake connoisseur needs the right knife. The choice of knife plays a significant role in how easily and cleanly you can cut through the dense, frozen layers. Forget your flimsy butter knives or small paring knives – this job calls for something more substantial.
The Chef’s Knife: A Powerhouse Performer
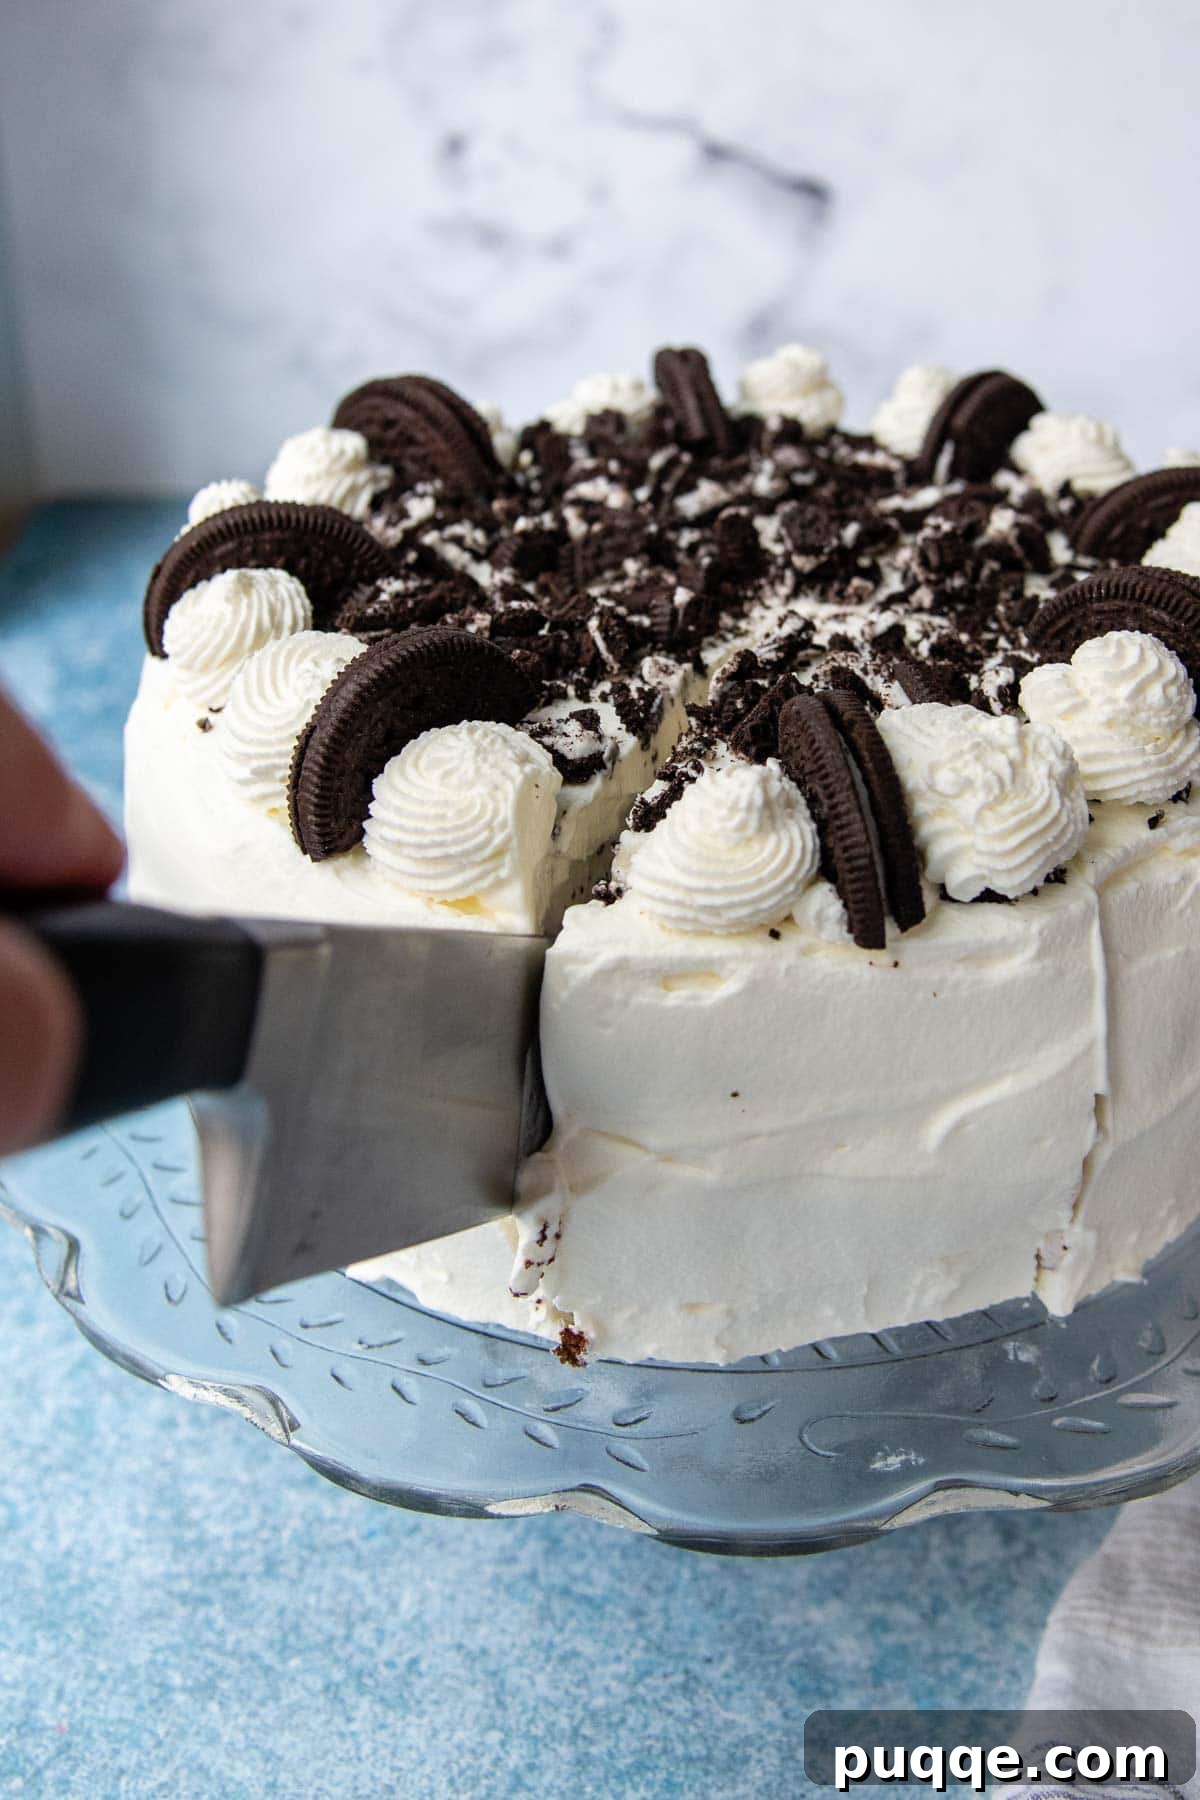
My personal go-to is my heaviest and largest chef’s knife. The weight and broad blade of a chef’s knife provide leverage and stability, allowing you to apply direct, steady pressure. With a chef’s knife, the technique is to press straight down through the cake with a firm, decisive motion. Avoid a sawing motion, as this can tear the layers. The goal is a single, clean plunge.
The Serrated Knife: Sawing Through Layers
A large, sharp serrated knife is another excellent option, especially if your cake has layers with nuts, candy pieces, or harder crusts. The serrations act like tiny saws, gently tearing through the frozen components without crushing them. If using a serrated knife, employ a gentle back-and-forth sawing motion, letting the teeth do the work. Don’t force it; smooth, even strokes are key to a clean slice.
Key Knife Characteristics
- Length: Opt for a knife long enough to span the width of your cake. This ensures a single, continuous cut rather than multiple, overlapping cuts that can create jagged edges.
- Sharpness: Regardless of type, a sharp knife is crucial. A dull knife will only push and tear the cake, making a clean cut impossible.
- Weight: Heavier knives can provide natural momentum and leverage, reducing the amount of manual force you need to exert.
Step Three: The Warm Knife Technique for Pristine Slices
Even with the perfect knife and optimal thawing, a cold blade can stick and drag, ruining your effort. The secret weapon for truly perfect, clean slices is a warm knife. This simple technique momentarily melts the ice cream on contact, creating a smooth path for the blade and preventing it from sticking. It’s like magic, ensuring each slice glides off effortlessly.
Option 1: The Hot Water Glass Method
This method is excellent for convenience, especially if your cake is being served away from the kitchen sink. You will need:
- A tall glass filled with hot (preferably boiling) water.
- A clean, dry towel or paper towels.
Process:
- Dip the entire blade of your chosen knife into the hot water, holding it there for 15-30 seconds to allow it to thoroughly heat up.
- Carefully remove the knife and immediately wipe it completely dry with the towel. This is crucial to prevent water from freezing onto your cake or making it soggy.
- Make your slice with a single, smooth motion.
- Between each slice, repeat the process: dip, wipe, and slice. The warmth of the blade dissipates quickly, so re-warming is essential for every cut.
Option 2: The Running Hot Water Method (Highly Recommended)
This is my preferred and most recommended method for its efficiency and consistent heat. It’s ideal when you can easily access a kitchen sink near your serving area.
Process:
- Turn on your kitchen faucet and let the hot water run until it’s as hot as it can get.
- Hold the blade of your knife under the stream of hot water, allowing it to warm up thoroughly for about 15-30 seconds.
- Carefully remove the knife and wipe it completely dry with a clean towel.
- Immediately proceed to slice your cake with confidence.
- As with the glass method, repeat the warming and wiping process between each slice. This ensures that every piece is cut with a warm, clean blade, resulting in picture-perfect portions.
Safety Note: Always handle a warm knife with care. The blade itself will be hot, so avoid touching it directly. Ensure the knife is completely dry before cutting to prevent any water from getting onto the cake, which can lead to ice crystals or a messy appearance.

Frequently Asked Questions About Ice Cream Cake
Even with the best tips, you might have specific questions about ice cream cakes. Here are some of the most common inquiries, answered to help you become an ultimate ice cream cake master.
Will an ice cream cake melt if left in the fridge?
Yes, an ice cream cake will eventually melt in the refrigerator if left for an extended period. The refrigerator’s temperature is typically above the freezing point of ice cream, causing it to soften and eventually turn into a liquid state. Therefore, ice cream cakes should never be stored in the refrigerator for long-term preservation. They absolutely need to be stored in the freezer to maintain their frozen consistency and structural integrity.
However, the refrigerator serves a specific and beneficial purpose as a pre-cutting softening chamber. As discussed in Step One, moving a frozen cake to the fridge for 30-40 minutes before slicing is a highly recommended method. This allows the cake to thaw evenly, preventing the outer layers from melting excessively while the center remains rock-solid. This controlled softening ensures a perfect consistency for clean cuts without causing significant melting.
How long should I thaw an ice cream cake before serving?
The ideal thawing time for an ice cream cake depends on the method chosen and environmental factors. For a quick thaw, let it sit at room temperature for 15-20 minutes. If your room is particularly warm, you might need less time to prevent it from becoming too soft. For a more gradual and even thaw, transfer the cake from the freezer to the refrigerator for 30-40 minutes. Always check the cake’s consistency by gently pressing on the ice cream layer; it should be firm but yield slightly to pressure.
What is the best way to store leftover ice cream cake?
Proper storage is essential to keep your ice cream cake fresh and prevent freezer burn, which can degrade its texture and flavor. To store leftovers, first ensure the cake is completely cooled (if it has softened during serving). Then, wrap the remaining cake securely in at least two layers of plastic wrap, making sure to cover all exposed surfaces tightly. Follow this with a layer of aluminum foil for added protection. This double-layer wrapping creates a barrier against air and moisture, the main culprits of freezer burn. If wrapped properly, ice cream cake can stay delicious in the freezer for up to two weeks.
Can I refreeze an ice cream cake that has completely melted?
While technically possible, refreezing a completely melted ice cream cake is generally not recommended. The texture of the ice cream will likely become grainy and icy due to the formation of large ice crystals. The cake layers might also become soggy, and any whipped cream or toppings could separate. For the best quality and enjoyment, it’s best to consume the cake once thawed or refreeze it only if it has softened slightly but not fully melted.
What if my ice cream cake has hard toppings like nuts or candy?
Cakes with hard toppings can be trickier, but the same principles apply. Ensure adequate thawing time and definitely use the warm knife technique. A serrated knife might be particularly effective here, as its teeth can saw through harder elements more easily than a straight-edged chef’s knife. Take extra care and use gentle pressure to avoid scattering the toppings or damaging the cake layers.
How do I decorate an ice cream cake for easier cutting and serving?
When decorating, consider designs that don’t create barriers to cutting. Avoid very thick, hard shell toppings that crack unevenly. If using edible decorations, place them strategically so they don’t interfere with your intended slice lines. For instance, if you plan to cut into 12 slices, don’t place a large, solid decoration exactly where a cut would be. Simple swirls of whipped cream or drizzled sauces are often the most practical and elegant choices for ice cream cakes.
EXPERT TIP: To make future serving even easier and maximize the life of your leftovers, consider pre-cutting the now perfectly softened cake into individual slices before freezing them again. This ingenious trick means you won’t have to go through the thawing and re-cutting process each time a craving strikes. Simply wrap each individual slice tightly in plastic wrap, then place them all into a freezer-safe bag or airtight container. This way, you can pull out a single serving whenever you desire a quick dessert fix, perfectly portioned and ready to enjoy after a short thaw!
SAVE THESE TIPS FOR CUTTING ICE CREAM CAKE TO YOUR PINTEREST BOARD!
Let’s be friends on Pinterest! I’m always sharing great recipes and kitchen hacks!