
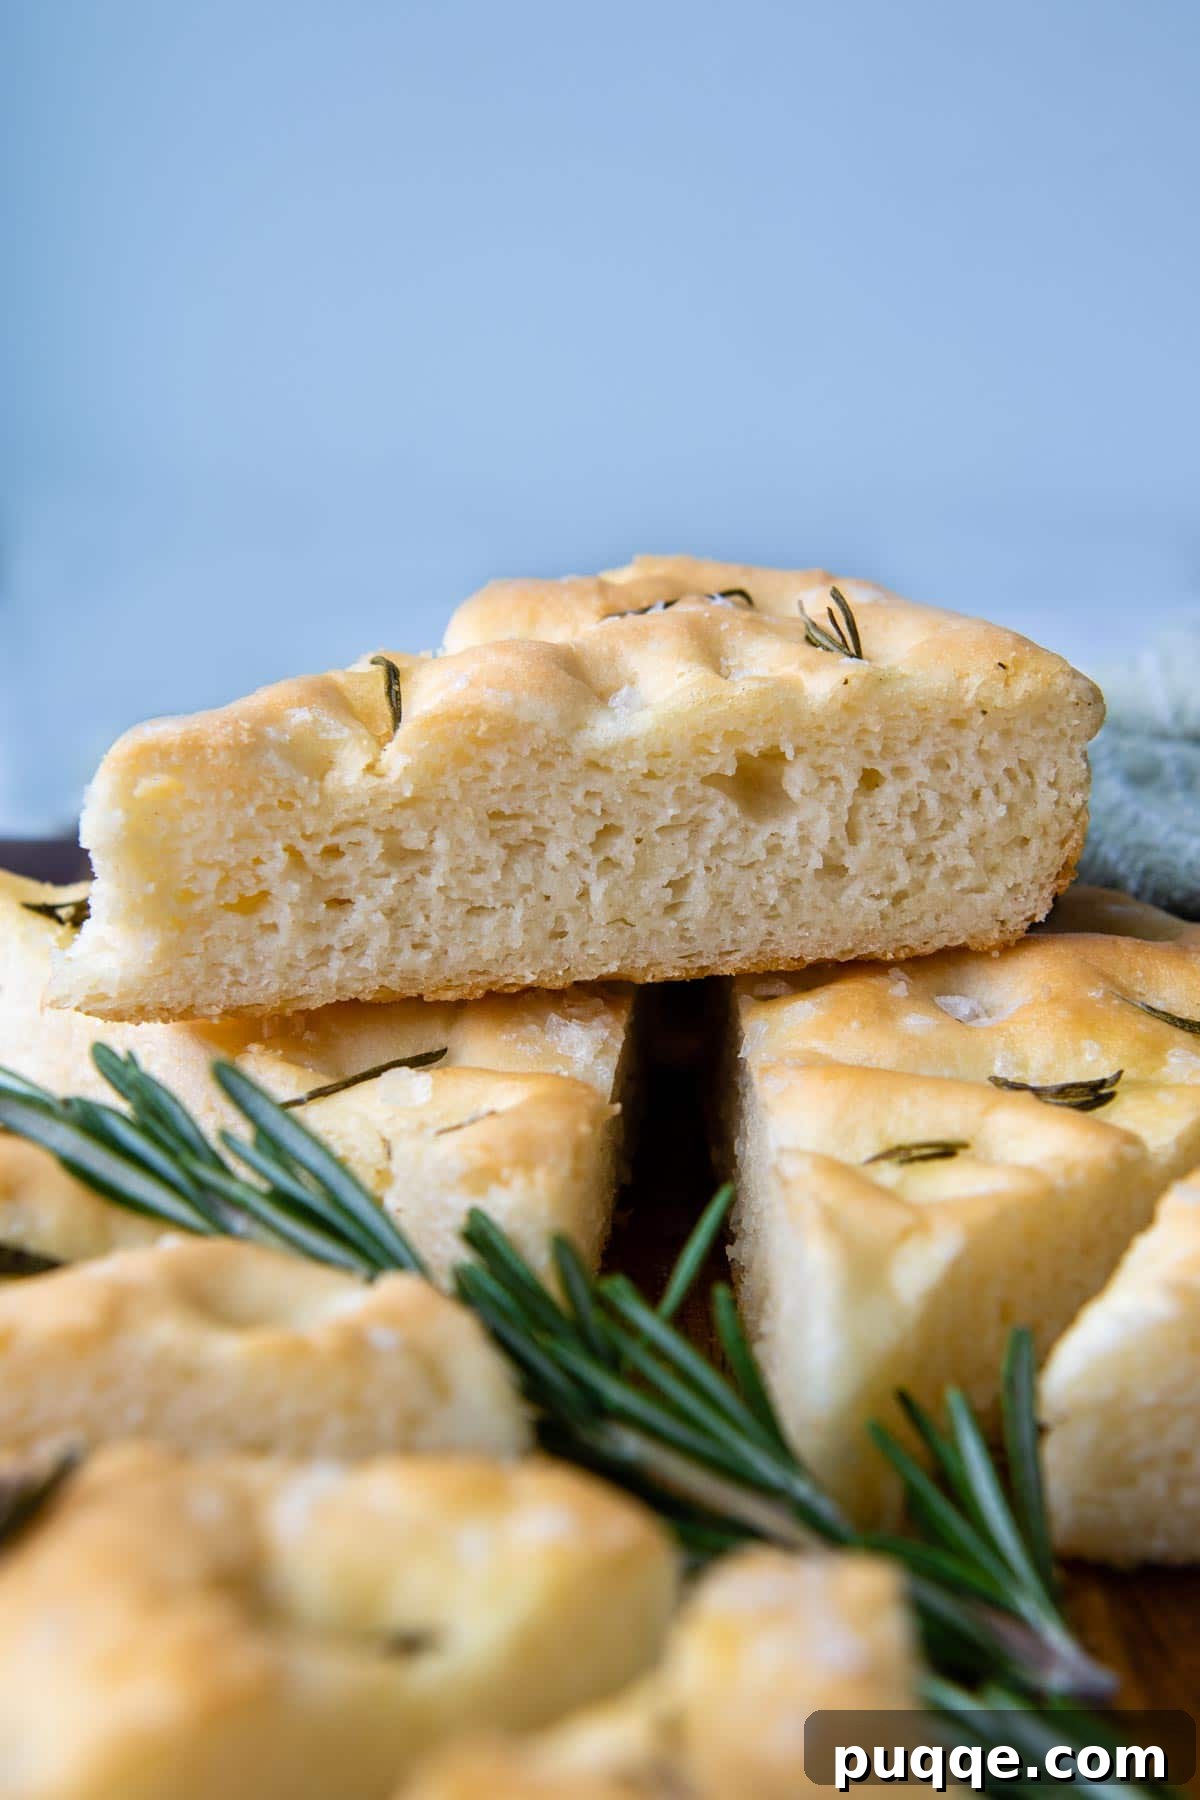
Unlock the secret to baking the most exceptional gluten-free focaccia bread you’ve ever tasted. This isn’t just another recipe; it’s a culinary revelation designed to bring the authentic flavors and irresistible texture of traditional Italian focaccia to your gluten-free kitchen. Prepare to be amazed by how effortlessly this deeply satisfying bread comes together, delivering a perfect balance of crispy exterior and unbelievably soft, airy interior. Even those without dietary restrictions will fall in love with its incredible salty rosemary essence and delightful chewiness. Forget dense, crumbly gluten-free bread – this recipe has converted countless skeptics, earning rave reviews for its unparalleled flavor and user-friendly process. Get ready to experience true Italian comfort, crafted for everyone to enjoy.
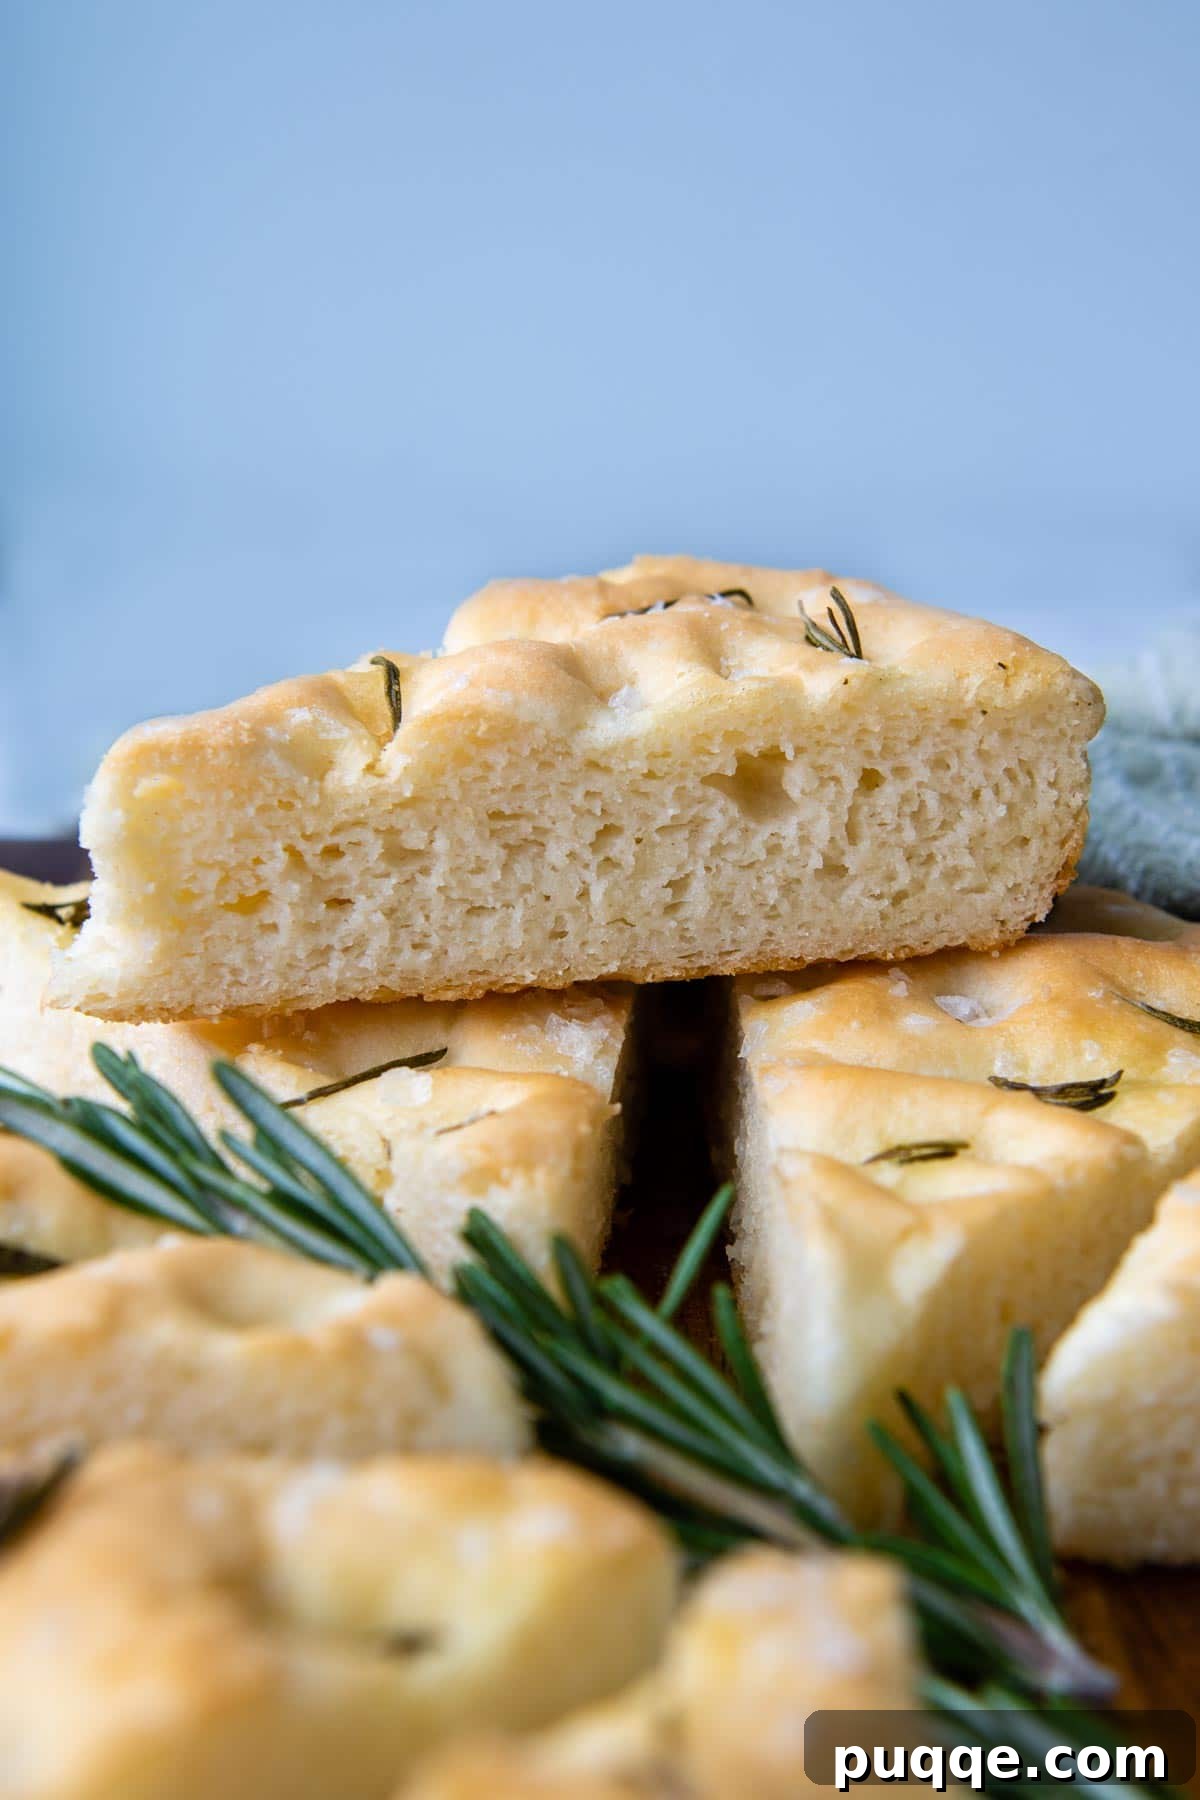
Crafting the Perfect Gluten-Free Focaccia: Your New Go-To Recipe
If you’ve been on a quest for not just a good, but truly the best gluten-free focaccia bread, one that promises ease without compromising on authentic Italian flavor, then your search ends here. This recipe is destined to become a staple in your kitchen, so go ahead and bookmark, share, and print it because it’s that remarkable.
Previously, this highly sought-after recipe was an exclusive gem found only within my gluten-free cookbook, “Frugal Gluten-Free Cooking.” It holds a special place as a signature dish because it embodies everything I believe in: effortless preparation, budget-friendly ingredients, and an uncanny ability to perfectly replicate a beloved classic. It’s a testament to the fact that gluten-free baking can be both simple and spectacularly delicious.
The beauty of this focaccia lies in its straightforward “dump and mix” approach. You simply combine the ingredients, spread the dough into a prepared pan, and let it undergo a single, quick rise while your oven preheats. In less than an hour, you can indulge in hot, pillowy-soft gluten-free focaccia that rivals the best traditional versions. Imagine sinking your teeth into a warm slice, its airy texture giving way to a burst of salty rosemary goodness! For a complete Italian feast, consider pairing this incredible bread with other family favorites like the ultimate GF lasagna recipe or Gramma’s legendary tender, no-breadcrumb meatballs. This focaccia isn’t just a side dish; it’s a centerpiece of comfort and flavor.
This was one of the easiest and tastiest GF breads I have made yet! I used to love focaccia bread before I learned that I had celiac. My family misses their gluten bread but I am happy to say they scarfed this entire loaf down in one sitting, talking about how delicious it was! This bread will be a repeat for me! The texture, density, and moisture levels were all perfect. I did not alter one thing in this recipe and it was perfect as is!
—Christie
Essential Ingredients for Gluten-Free Focaccia Success
When developing recipes for my gluten-free bread collection, my philosophy is always to keep ingredients approachable, simple, and affordable. This means relying on standard kitchen staples that you likely already have on hand, or can easily find. If by some miracle you have any leftovers of this homemade GF focaccia, it can be toasted into delicious cubes and added to an Italian panzanella salad for a delightful twist!
- Gluten-Free Flour Blend: This is the foundation of your focaccia. During extensive testing, I experimented with numerous popular gluten-free all-purpose flour blends that already contain xanthan gum. While many options exist, and some might be more readily available or slightly cheaper, Cup4Cup gluten-free flour consistently proved to be superior. Its blend delivers the closest replication of traditional focaccia’s taste and, crucially, its characteristic soft and chewy texture. Using a high-quality blend is key to avoiding dense or gummy results.
- Milk: The milk contributes to the richness and tenderness of the dough. For those with dairy sensitivities or following a vegan diet, this recipe is incredibly adaptable. Simply substitute an equal amount of your preferred non-dairy milk alternative, such as almond milk, soy milk, or oat milk. Ensure it’s unsweetened for best results, maintaining the savory profile of the bread.
- Extra Virgin Olive Oil: This is an indispensable ingredient for authentic Italian focaccia. Olive oil plays a dual role: it’s incorporated into the bread dough, providing essential moisture and contributing to its tender crumb, and it generously coats both the top and bottom crusts, ensuring that signature crispy golden-brown bottom and imparting a deeply aromatic, traditional Italian flavor. Don’t skimp on the olive oil – it truly makes a difference!
- Fresh Rosemary: A classic and beloved topping for focaccia, rosemary adds an earthy, fragrant note that elevates the bread. While dried rosemary works in a pinch, fresh rosemary offers a more vibrant and potent flavor, making it the preferred choice for an exceptional focaccia. For an intensified rosemary flavor throughout the bread, you can add about ½ teaspoon of dried rosemary directly into the dough mixture, then sprinkle additional fresh or dried rosemary on top before baking.
- Yeast & Baking Powder: This recipe utilizes a combination of active dry yeast and baking powder. The yeast provides the traditional fermentation that gives bread its characteristic texture and flavor, while the baking powder acts as an additional leavening agent, particularly beneficial in gluten-free baking to ensure a light and airy crumb, especially with its relatively short rise time. If you opt for instant yeast, you can simply add it directly to the dry ingredients, skipping the initial activation step.
- Kosher Salt: A critical seasoning that enhances all the flavors in the focaccia. Using kosher salt provides a clean, briny taste without being overly sharp. It’s used both in the dough and sprinkled generously on top.
- Optional Toppings: The beauty of focaccia lies in its versatility with toppings. Beyond rosemary, consider adding freshly grated Parmesan cheese (sprinkled immediately after baking for optimal melting), flaky sea salt for a delightful textural crunch, or freshly ground black pepper for a subtle spice. Many other creative topping ideas are explored further below!
Let’s Bake This Extraordinary Focaccia Together!
(The following sections provide detailed step-by-step photos and expanded instructions to guide you. For precise ingredient measurements and the complete, printable recipe card, please scroll down to the bottom of the page.)
Step 1: Activate the Yeast
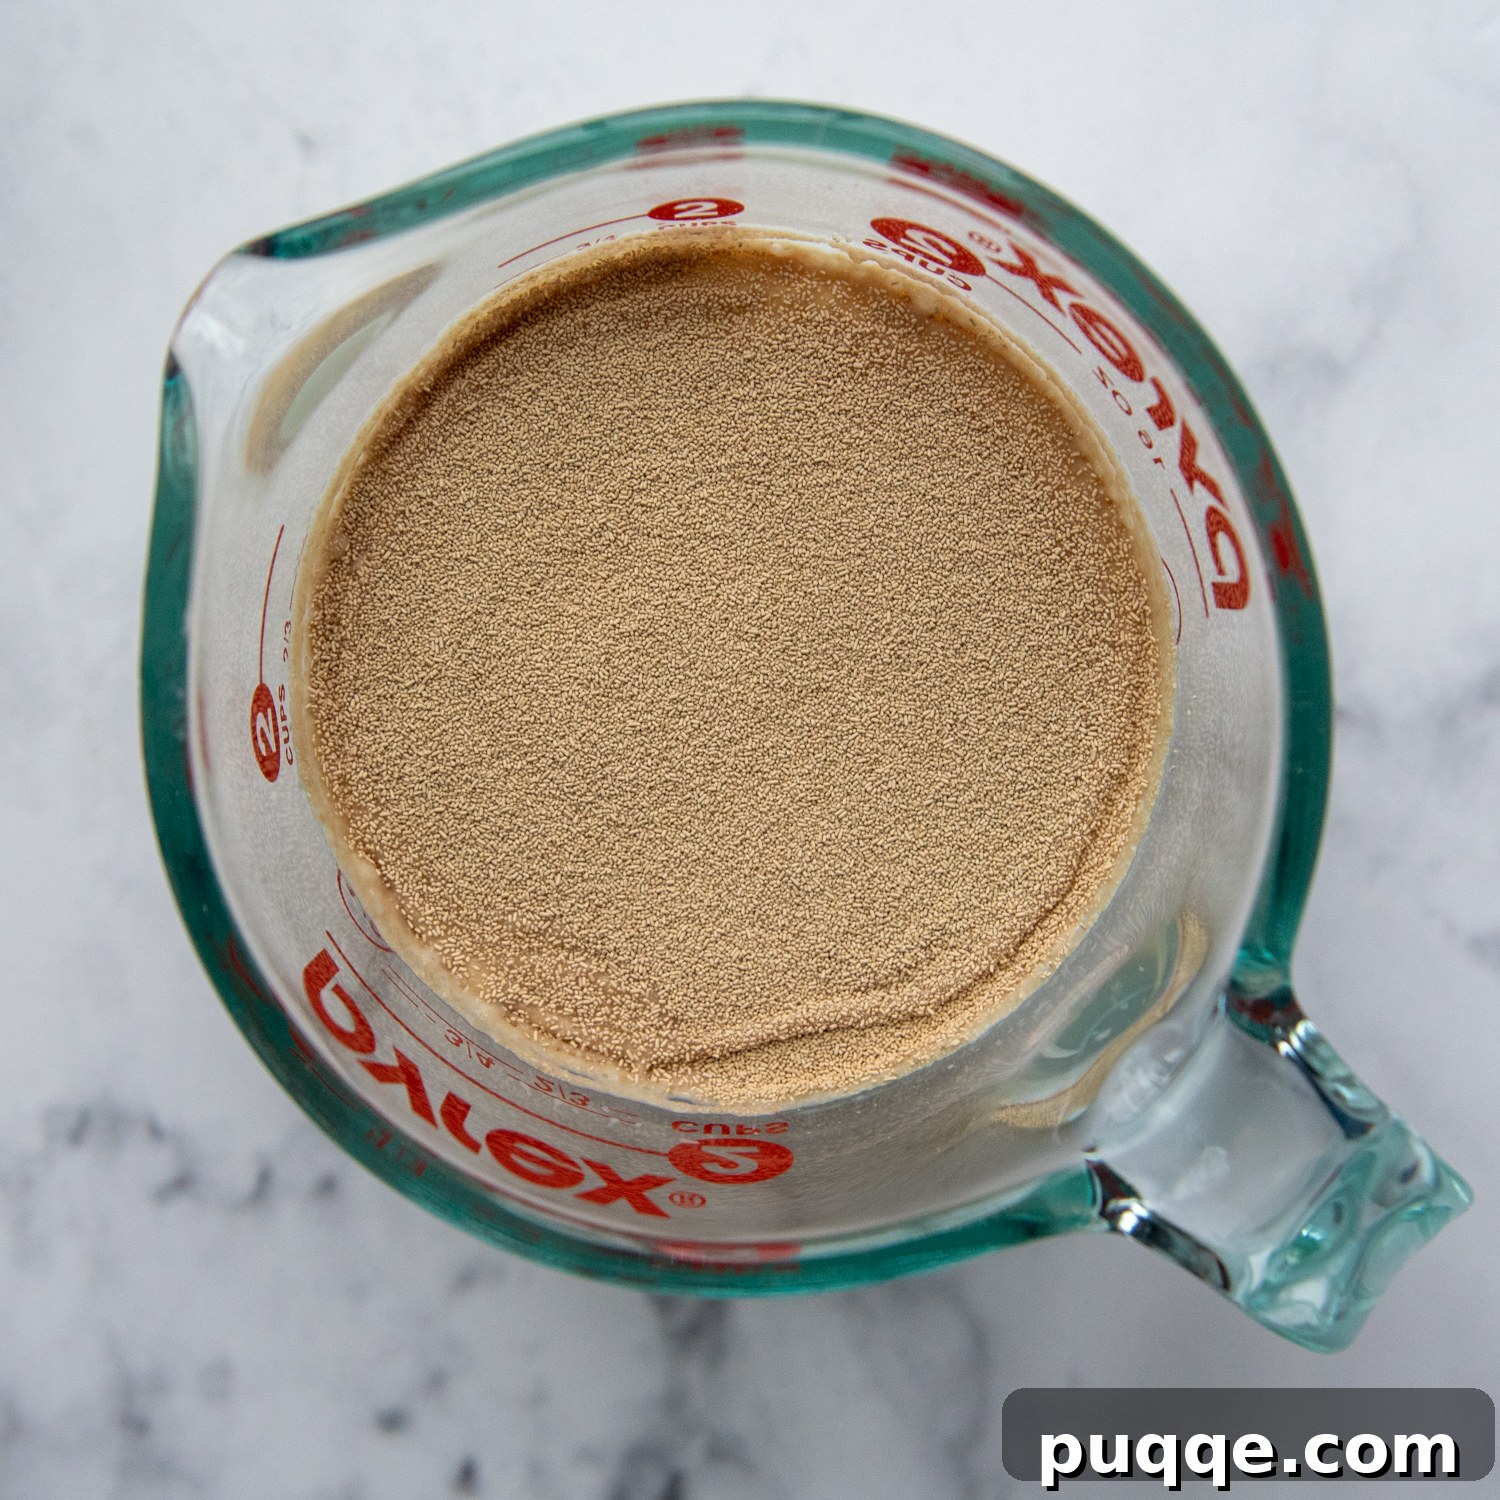
Begin by combining the specified amounts of water and milk in a microwave-safe measuring cup. Gently heat this mixture for approximately 1 minute, or until it reaches a lukewarm temperature of about 110ºF (43ºC). This temperature is crucial for activating the yeast without killing it. For accuracy, an instant-read thermometer is highly recommended. Once the correct temperature is achieved, sprinkle the active dry yeast over the liquid and stir gently with a fork. Allow this mixture to sit undisturbed for 5 minutes; during this time, the yeast will activate and become foamy, indicating it’s ready to work its magic. Use this interval to prepare your dry ingredients.
Step 2: Quick Mix & Develop the Dough
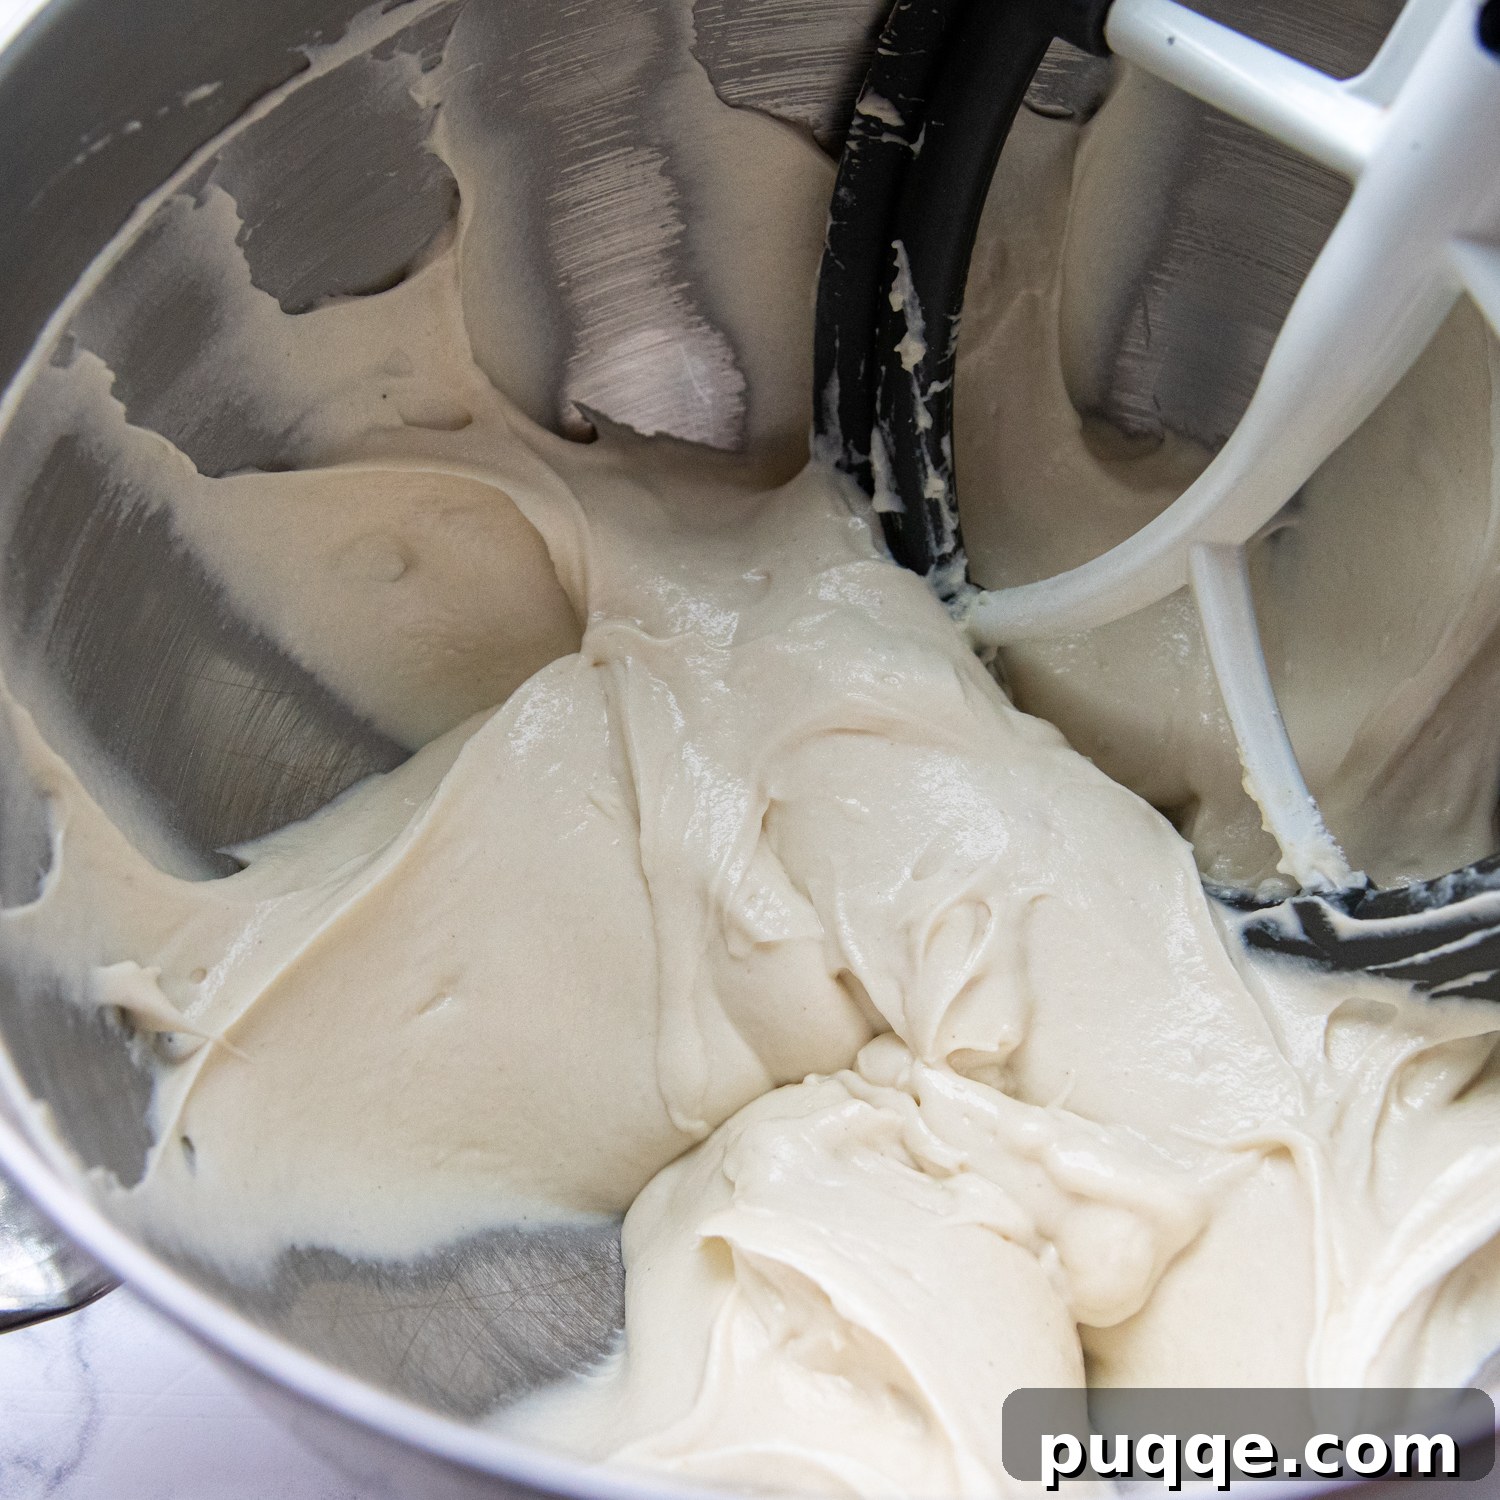
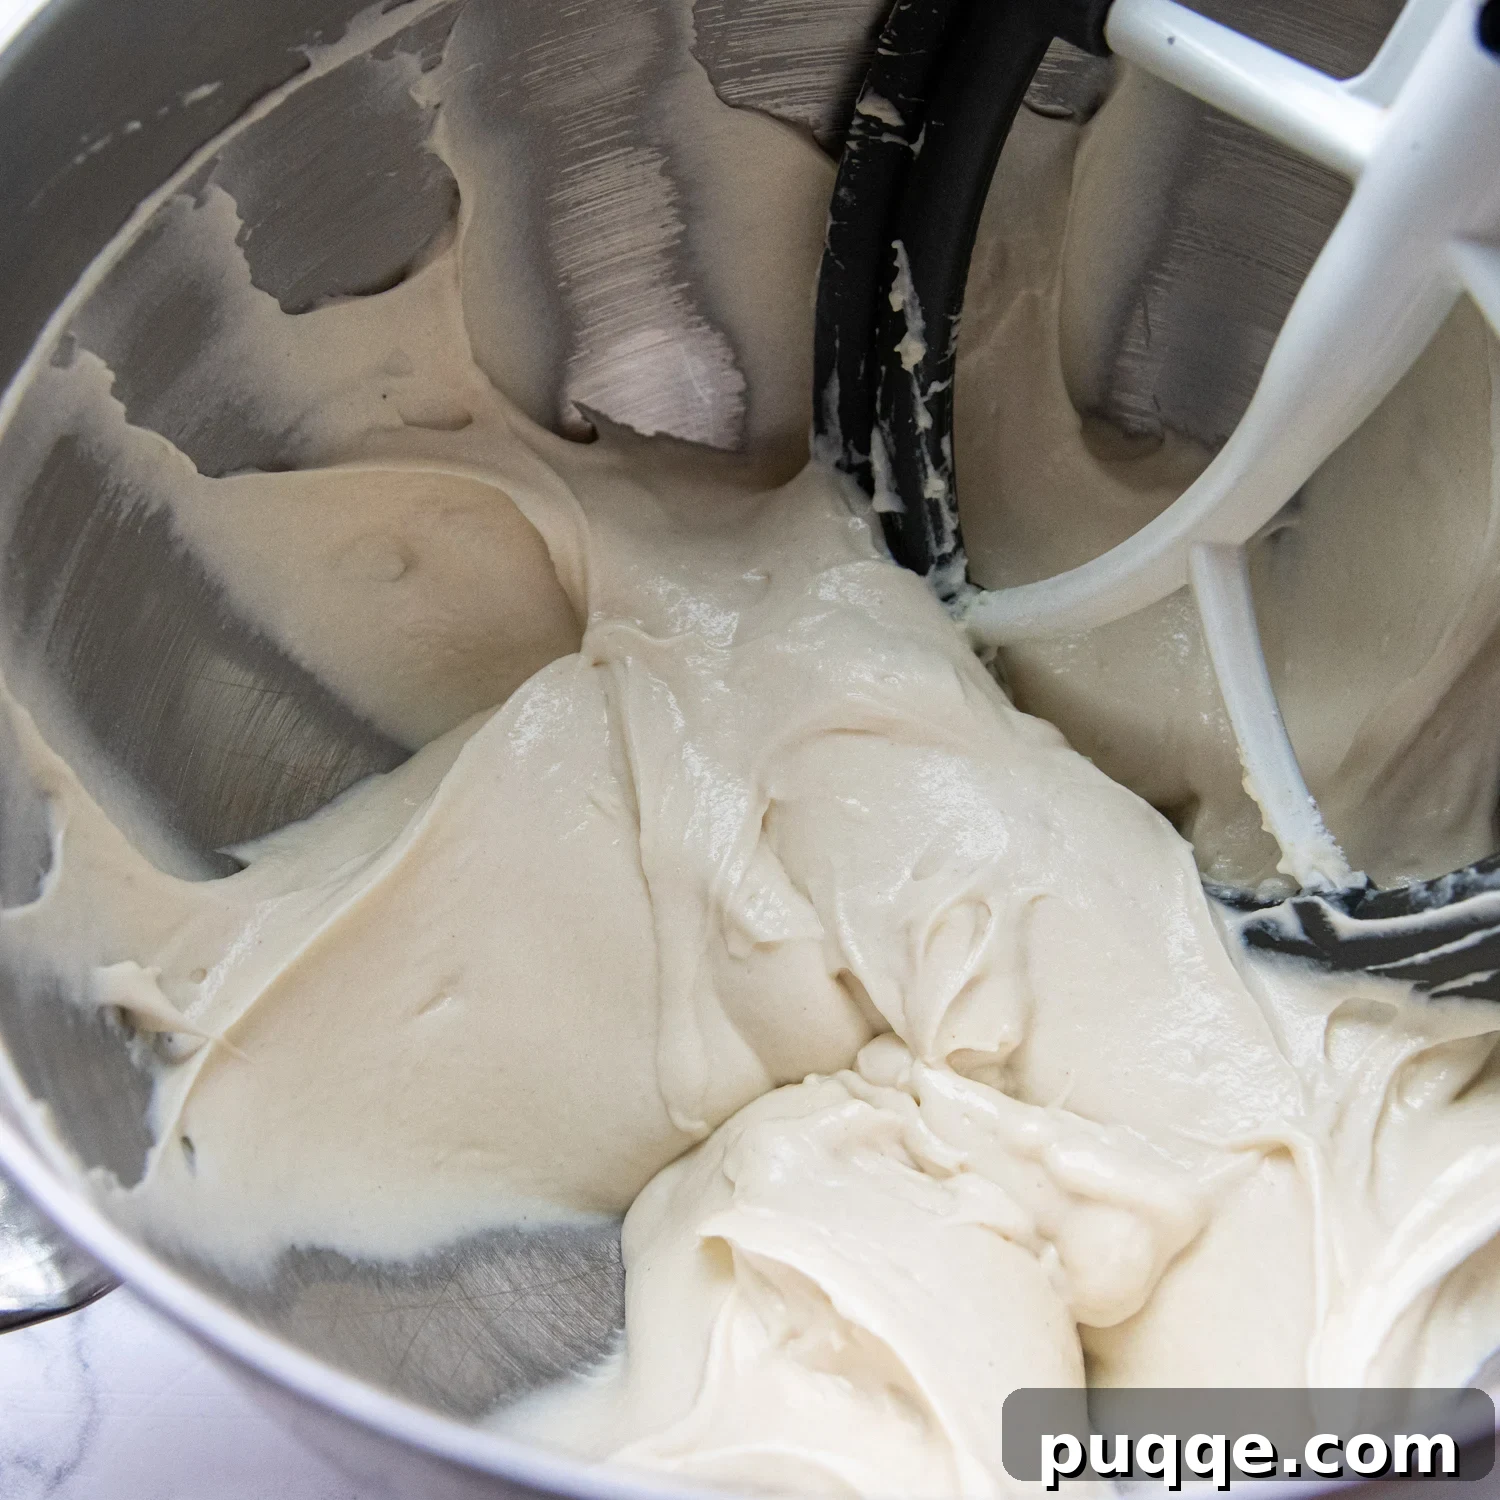
While your yeast is activating, combine the gluten-free flour, granulated sugar, baking powder, and a portion of the kosher salt in the large bowl of a stand mixer fitted with the paddle attachment. Mix these dry ingredients on low speed until they are just combined. Now, pour in your activated yeast-milk mixture and the olive oil. Mix on low speed for 1 minute, ensuring all ingredients are thoroughly incorporated. Increase the speed to medium-high and continue to beat the mixture for a full 6 minutes. This extended mixing time is vital for gluten-free doughs, as it helps to fully hydrate and saturate the starches in the flour blend, resulting in a significantly better crumb structure and preventing a gummy texture. After mixing, your batter will be noticeably thick, yet still pourable, with a smooth consistency.
Step 3: Spread, Dimple & Rise
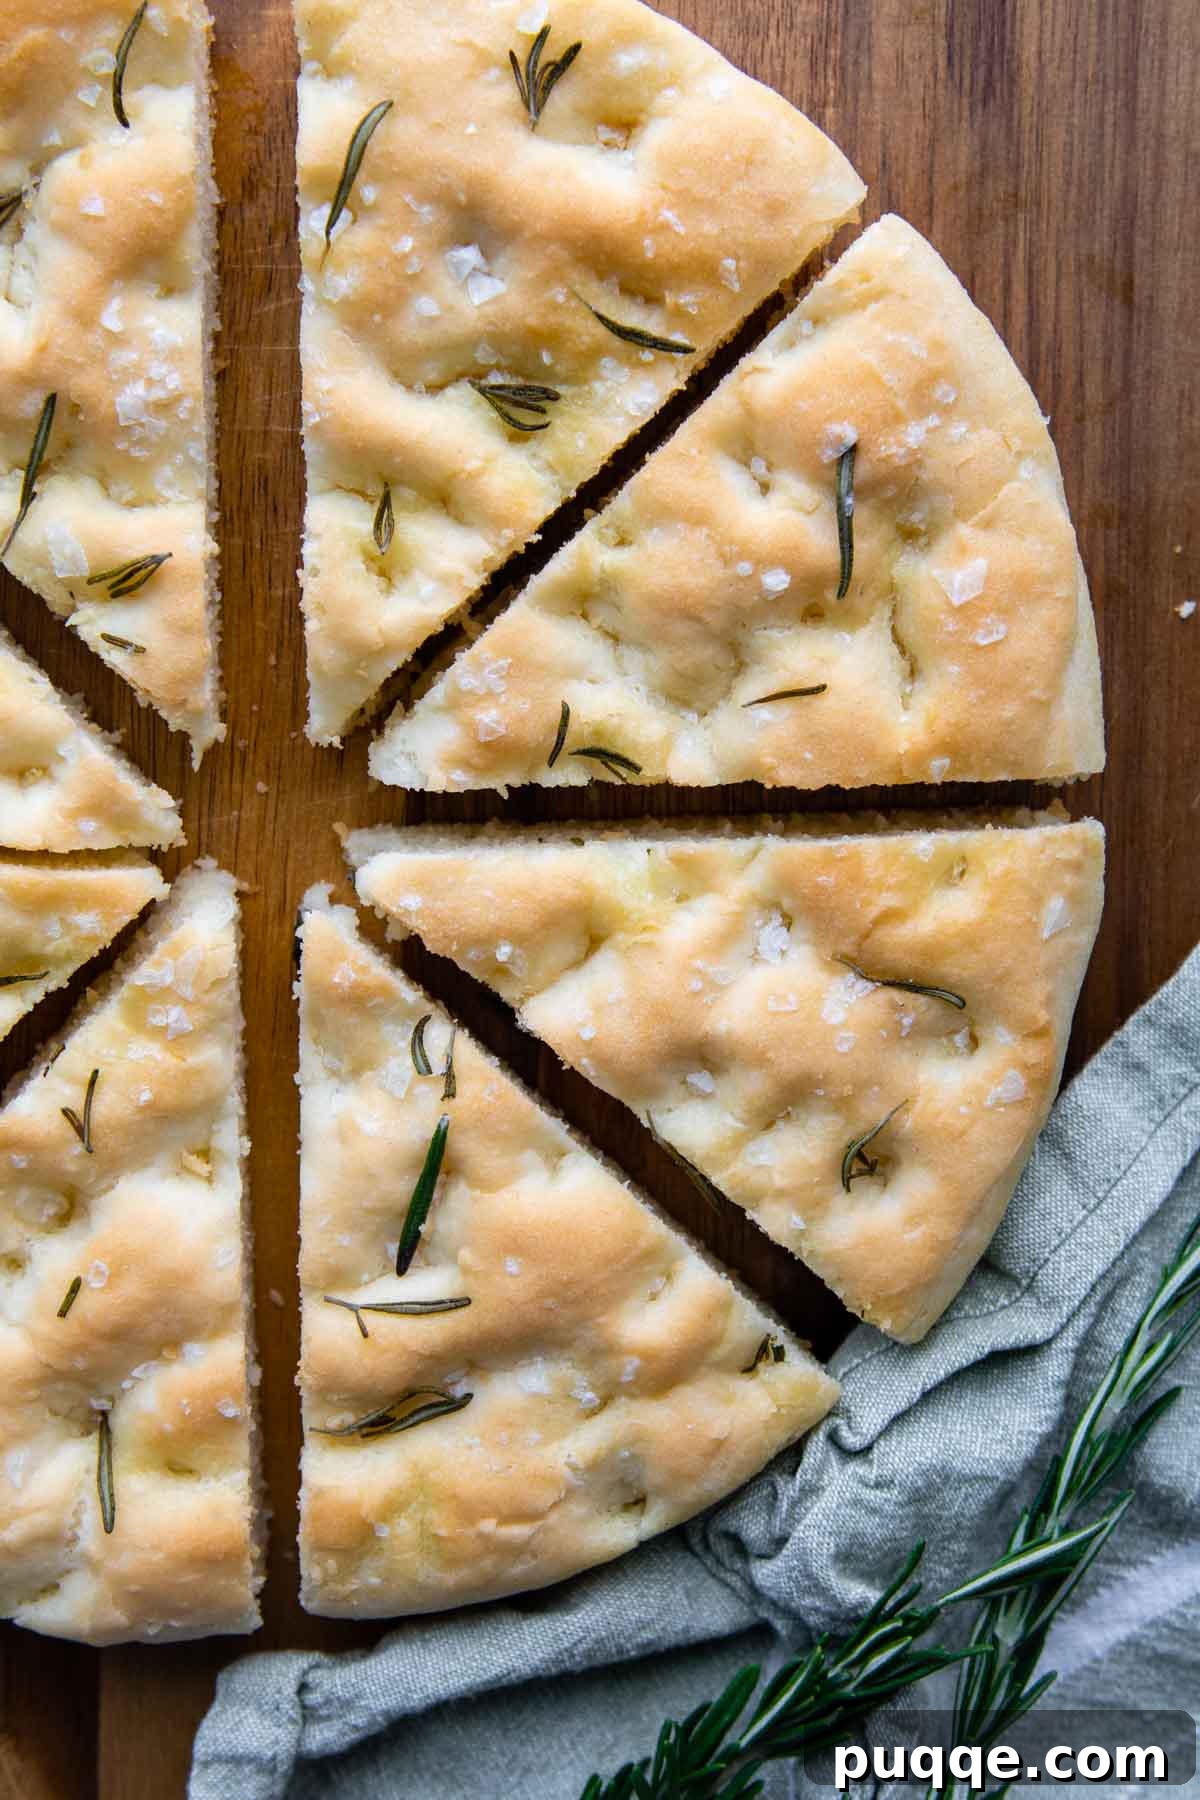
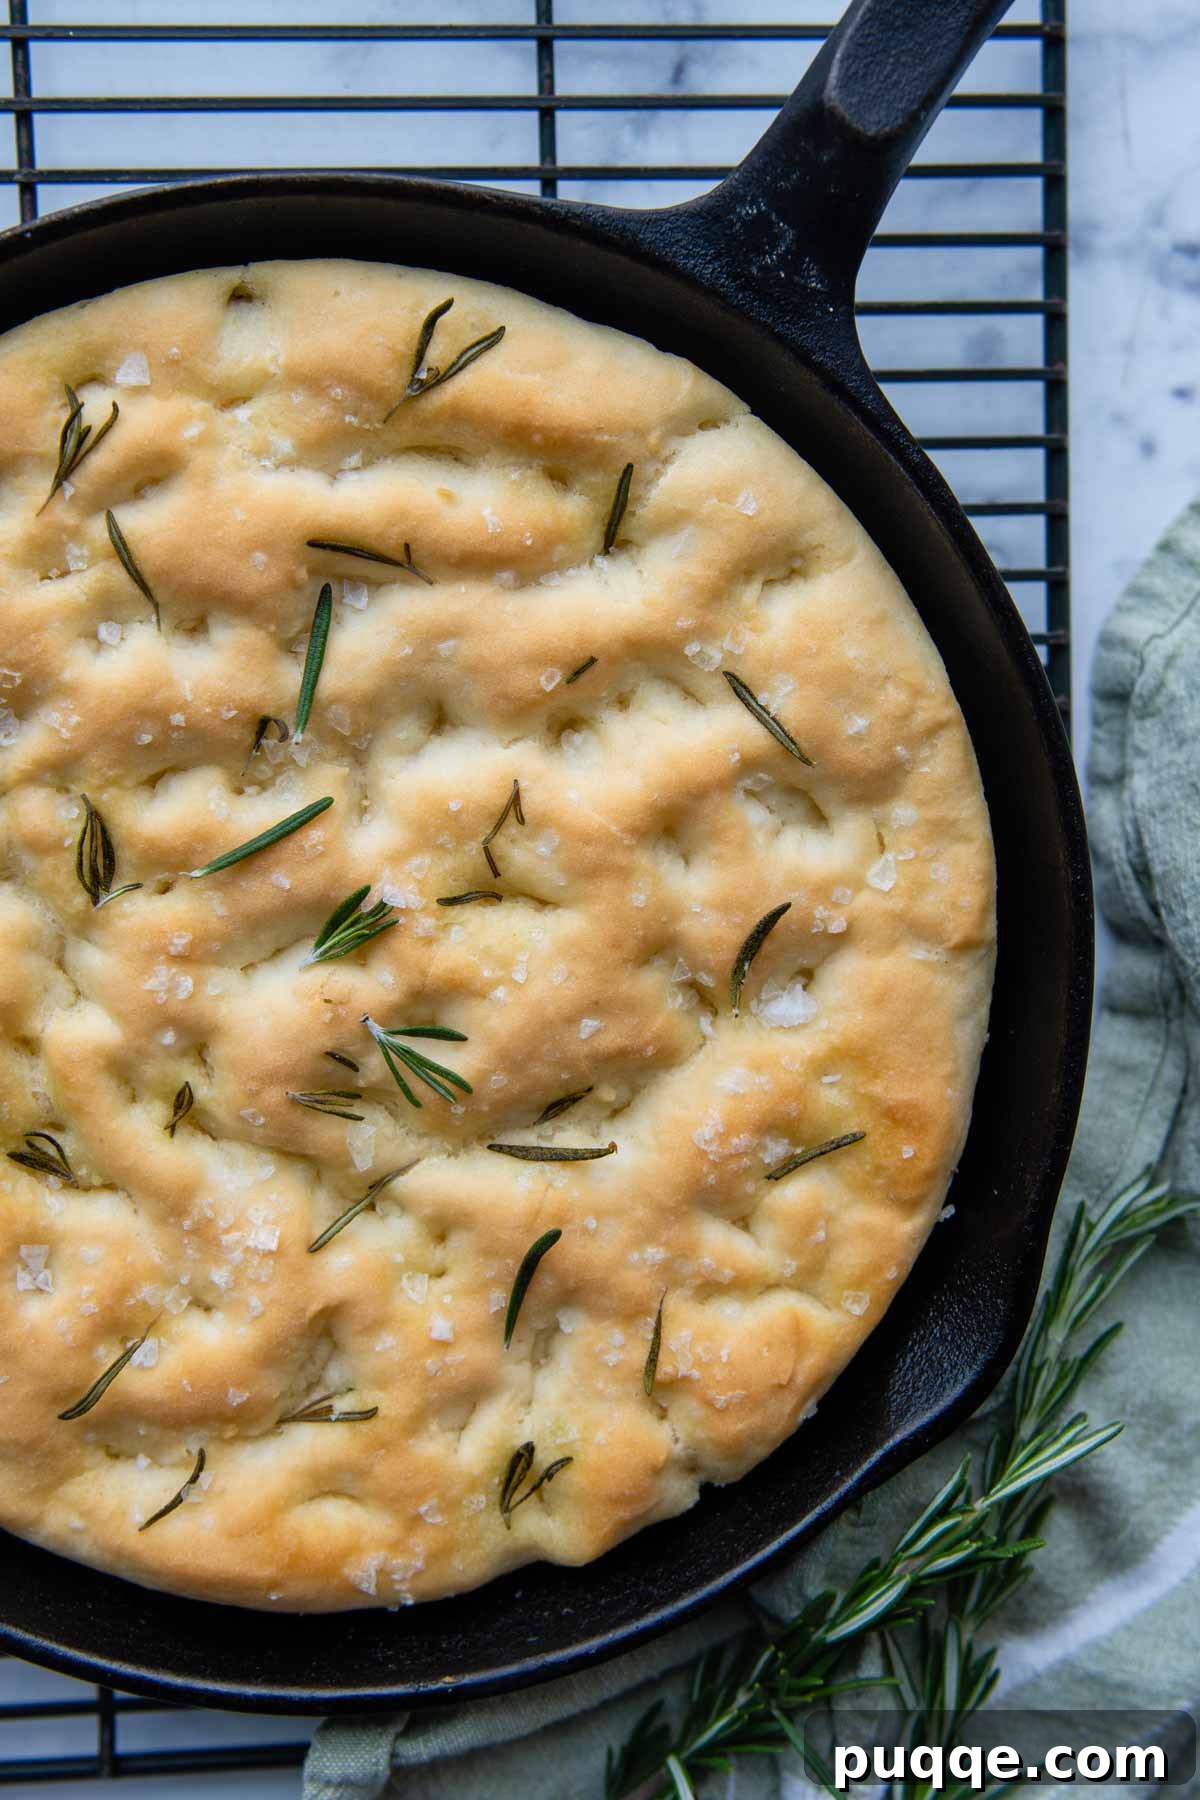
Generously coat the bottom of a 10-inch cast iron skillet or a 9-inch cake pan with 1-2 tablespoons of extra virgin olive oil. Swirl the oil around to ensure the bottom and sides are evenly greased – this creates the signature crispy crust. Carefully spread the thick focaccia batter into the prepared pan, using a greased silicone spatula or your fingers to smooth it evenly across the surface. Drizzle a little more olive oil over the top of the dough, gently spreading it with your fingers. Now for the fun part: press your fingers down firmly all over the dough to create those iconic indentations. These dimples are not just for aesthetics; they capture the olive oil and toppings, creating pockets of flavor. Sprinkle the top with the remaining kosher salt (or flaky sea salt, as beautifully pictured) and fresh rosemary. Set the pan aside, uncovered, for a quick 30-minute rise while your oven preheats to 350ºF (175ºC). Bake for approximately 30-35 minutes, or until the top is a beautiful golden brown and the internal temperature reaches 210ºF (99ºC). Remove from the oven and, if desired, immediately sprinkle with optional Parmesan cheese and freshly ground pepper so the cheese melts beautifully. You won’t believe the incredible aroma and texture of this freshly baked bread!
What’s the Best Type of Pan to Use for Focaccia?
Choosing the right pan is more important than you might think for achieving the perfect focaccia. Ideally, I recommend using a 10-inch cast iron skillet. The robust material and deep sides of a cast iron pan are excellent for heat retention and distribution, which is key to developing that desirable, crispy, golden-brown bottom crust that is a hallmark of authentic focaccia.
If a cast iron skillet isn’t available, a 9-inch cake pan makes an excellent alternative. The round shape of both these pans is particularly well-suited for this gluten-free dough. Unlike traditional focaccia dough, which has more elasticity, gluten-free dough is not sturdy enough to be kneaded and shaped extensively. A round pan naturally contains the dough, preventing it from overspreading and ensuring a nicely structured loaf with a good height and texture.
Delicious & Creative Focaccia Topping Ideas
While the classic salty rosemary focaccia is undeniably divine, don’t be afraid to let your culinary imagination soar with creative toppings! Focaccia is a blank canvas for flavor, allowing you to infuse those authentic Italian bread vibes with a personal touch. You can chop and sprinkle these toppings onto the dough before baking, or even arrange different colors and varieties to create stunning focaccia bread art – a delightful trend that’s both beautiful and delicious!
I’ve personally experimented with a wide array of toppings that always yield fantastic results. Some of my favorites include:
- Sun-dried tomatoes: Their concentrated, sweet-tart flavor adds a wonderful Mediterranean essence.
- Olives: Kalamata or green olives, sliced or whole, provide a briny, savory punch.
- Roasted garlic: Sweet, mellow roasted garlic cloves pressed into the dough create bursts of aromatic flavor.
- Asparagus spears: Lightly blanched asparagus adds a fresh, slightly crisp texture and vibrant green color.
- Caramelized onions: Sweet and savory, caramelized onions offer a depth of flavor that complements the rich olive oil.
- Fresh herbs: Beyond rosemary, consider thyme, oregano, or a mix of Italian herbs for different aromatic profiles.
- Cured meats: Thinly sliced salami or prosciutto can be artfully arranged on top for a savory, salty kick.
- Roasted red peppers: Their smoky sweetness pairs wonderfully with the bread’s texture.
Remember to check the comments below, as many readers have generously shared their own ingenious topping combinations and flavor takes, offering even more inspiration for your next focaccia creation!
Expert Tips for Gluten-Free Focaccia Perfection
- Embrace Olive Oil Generously: Olive oil is truly your best friend when making authentic Italian focaccia. Don’t be shy! Generously grease the bottom of your skillet with it, and drizzle a substantial amount over the top of the dough before dimpling and baking. This abundance of olive oil is essential for achieving that characteristic crispy bottom crust and imparting a rich, aromatic flavor throughout the bread.
- The Magic of a Cast Iron Skillet: As mentioned earlier, using a cast-iron skillet isn’t just a suggestion, it’s a game-changer. Its superior heat retention and even distribution are unparalleled for creating that perfectly crisp and golden-brown bottom crust that truly elevates your focaccia.
- Timing is Key for Cheese Toppings: If you plan to add Parmesan cheese to the top, have it freshly grated and ready to go. As soon as you pull the piping hot focaccia out of the oven, immediately sprinkle the cheese over the surface. The residual heat will melt the Parmesan, allowing it to adhere beautifully and create a savory, slightly crispy layer.
- Experiment with Flavor Variations: This versatile dough is an excellent base for a myriad of flavors. Refer to the suggested topping ideas above for inspiration. You can mix finely chopped ingredients directly into the dough (like herbs or minced garlic) or sprinkle them on top before the final rise and baking. Get creative and find your favorite combination!
- Perfect for Sandwiches: If your goal is to create gluten-free focaccia sandwiches, consider baking the dough in an 11 x 7-inch rectangular pan instead of a round one. Once baked and cooled, you can easily slice the focaccia into large, uniform squares, perfect for building delicious, hearty sandwiches.
- Proper Yeast Activation: Ensure your water and milk mixture is truly lukewarm (around 105-115°F or 40-46°C). If it’s too cold, the yeast won’t activate; if it’s too hot, it will kill the yeast, resulting in a dense, unrisen bread. A food thermometer is highly recommended for accuracy.
- Don’t Overwork the Dough: While the recipe calls for 6 minutes of beating on medium-high speed, avoid over-mixing beyond that. Gluten-free flours behave differently than wheat flours, and overworking can sometimes lead to a tougher texture. Stick to the recommended timing.
- Embrace the Short Rise: This recipe is designed for a relatively short rise, thanks to the combination of yeast and baking powder. Don’t be tempted to let it rise for hours like traditional bread. The 30-minute rise while the oven preheats is perfectly sufficient for achieving a beautiful, airy crumb.
Save This Incredible Recipe to Your Pinterest Board!
Let’s be friends on Pinterest! I’m always sharing great recipes!
Did you make this recipe? I love hearing from you! Leave a star rating and comment below the recipe card. Your feedback helps others discover and enjoy this recipe, and I always appreciate hearing from our community. You will always hear back from me! -Melissa
Easy Italian Gluten-Free Focaccia (Extra Soft)

Melissa Erdelac
8 servings
10 mins
30 mins
1 hr 10 mins
Enjoy the best gluten-free focaccia with a recipe so good, you won’t believe how quick and easy this authentic Italian bread is to make. It has converted many tasters who don’t even have to eat GF. Read the rave reviews below and discover how people can’t get over the doughy softness, incredible salty rosemary taste, and ease!
Pin Recipe
Rate This Recipe
Remove Ads
Ingredients
- ¾ cup (180 g) water
- ¾ cup (184 g) milk or dairy-free milk
- 1 package (2¼ tsp, 9 g) active dry yeast
- 2 ½ cups (320 g) gluten-free all-purpose flour, (Cup4Cup brand recommended for best results)
- 1 tablespoon (13 g) granulated sugar
- 1 teaspoon baking powder
- 1 ¼ teaspoon kosher salt, divided
- 5-6 tablespoons (69-83 g) olive oil, divided
- 2 sprigs fresh rosemary, (or ½ tsp dried rosemary)
- Optional toppings: flaky sea salt, freshly grated parmesan, fresh ground pepper
Equipment
-
Stand Mixer
-
Cup4Cup Gluten Free Flour
-
Cast Iron Skillet
Instructions
-
Combine the water and milk in a microwave-safe measuring cup. Heat for 1 minute, or until lukewarm and reaches the temperature of 110ºF (43ºC). Sprinkle with yeast and stir with a fork. Let sit for 5 minutes until foamy.¾ cup (180 g) water, ¾ cup (184 g) milk or dairy-free milk, 1 package (2¼ tsp, 9 g) active dry yeast
-
Meanwhile, in a large bowl of a stand mixer with paddle attachment, combine the flour, sugar, baking powder, and 1 teaspoon kosher salt on low speed until combined. Add the milk/yeast mixture and 3 tablespoons of olive oil.2 ½ cups (320 g) gluten-free all-purpose flour, 1 tablespoon (13 g) granulated sugar, 1 teaspoon baking powder, 1 ¼ teaspoon kosher salt (divided), 5-6 tablespoons (69-83 g) olive oil (divided)
-
Mix on low speed for 1 minute to combine. Increase speed to medium-high and beat for 6 minutes. The batter will be thick, yet pourable.
-
Generously coat the bottom of a 10” cast iron skillet, or 9” cake pan, with 1-2 tablespoons olive oil. Swirl the oil around the bottom and sides evenly. Spread the focaccia batter into the prepared pan and smooth evenly with a greased silicone spatula or fingers.
-
Drizzle more olive oil on the top and smooth with fingers. Press a finger down firmly all over to make indentations. Sprinkle the top with remaining kosher salt (or flaky sea salt, as pictured) and rosemary. Set aside, uncovered, for 30 minutes, and preheat the oven to 350ºF (175ºC).2 sprigs fresh rosemary
-
Bake for 30-35 minutes or until the top is golden brown. The internal temperature should read 210ºF (99ºC). Remove from the oven and immediately sprinkle with optional parmesan cheese and freshly ground pepper. Cool in the pan for 10 minutes, then use a spatula to gently lift out of the pan to slice and serve, or cool completely on a wire rack.Optional toppings: flaky sea salt, freshly grated parmesan, fresh ground pepper
Notes
Dairy-Free / Vegan Adaptation
Since this recipe contains no eggs or butter, it’s incredibly simple to make it entirely vegan! Just replace the dairy milk with your preferred dairy-free milk alternative (such as almond, soy, or oat milk). All other ingredients are typically safe for a dairy-free or vegan diet, but always double-check the ingredient labels on your gluten-free flour blend and any other packaged items to ensure they meet your dietary needs.
Storing and Freezing Gluten-Free Focaccia
For the absolute best taste and texture, focaccia is best enjoyed on the day it’s baked. Thankfully, with its quick preparation time, you can easily whip up a fresh loaf in about an hour!
If you wish to prepare the focaccia in advance, it freezes exceptionally well. Ensure the bread has cooled completely to room temperature (this might take several hours) before wrapping it for freezing. For optimal results, I recommend freezing the entire loaf before slicing. However, you can also wrap individual slices separately to easily pull out and reheat as needed.
Focaccia can be frozen for up to three months. To do so, wrap the loaf tightly in plastic wrap, then cover it again with aluminum foil. For individual slices, wrap each slice in plastic wrap and then place them all in a freezer-safe zip-top bag.
To reheat defrosted slices, wrap them in a paper towel and microwave for 15-20 seconds until warm and soft. To rewarm an entire thawed loaf, place it on a baking sheet, cover it loosely with foil, and heat in a 350ºF (175ºC) oven for about 10 minutes, or until it’s crispy and thoroughly heated through.
Nutrition Information
Carbohydrates: 30g,
Protein: 5g,
Fat: 11g,
Saturated Fat: 2g,
Polyunsaturated Fat: 1g,
Monounsaturated Fat: 7g,
Cholesterol: 3mg,
Sodium: 374mg,
Potassium: 94mg,
Fiber: 4g,
Sugar: 4g,
Vitamin A: 38IU,
Vitamin C: 1mg,
Calcium: 76mg,
Iron: 1mg
Did you make this recipe?
Please leave a star rating and review below. It helps others when searching for recipes and I LOVE feedback!