
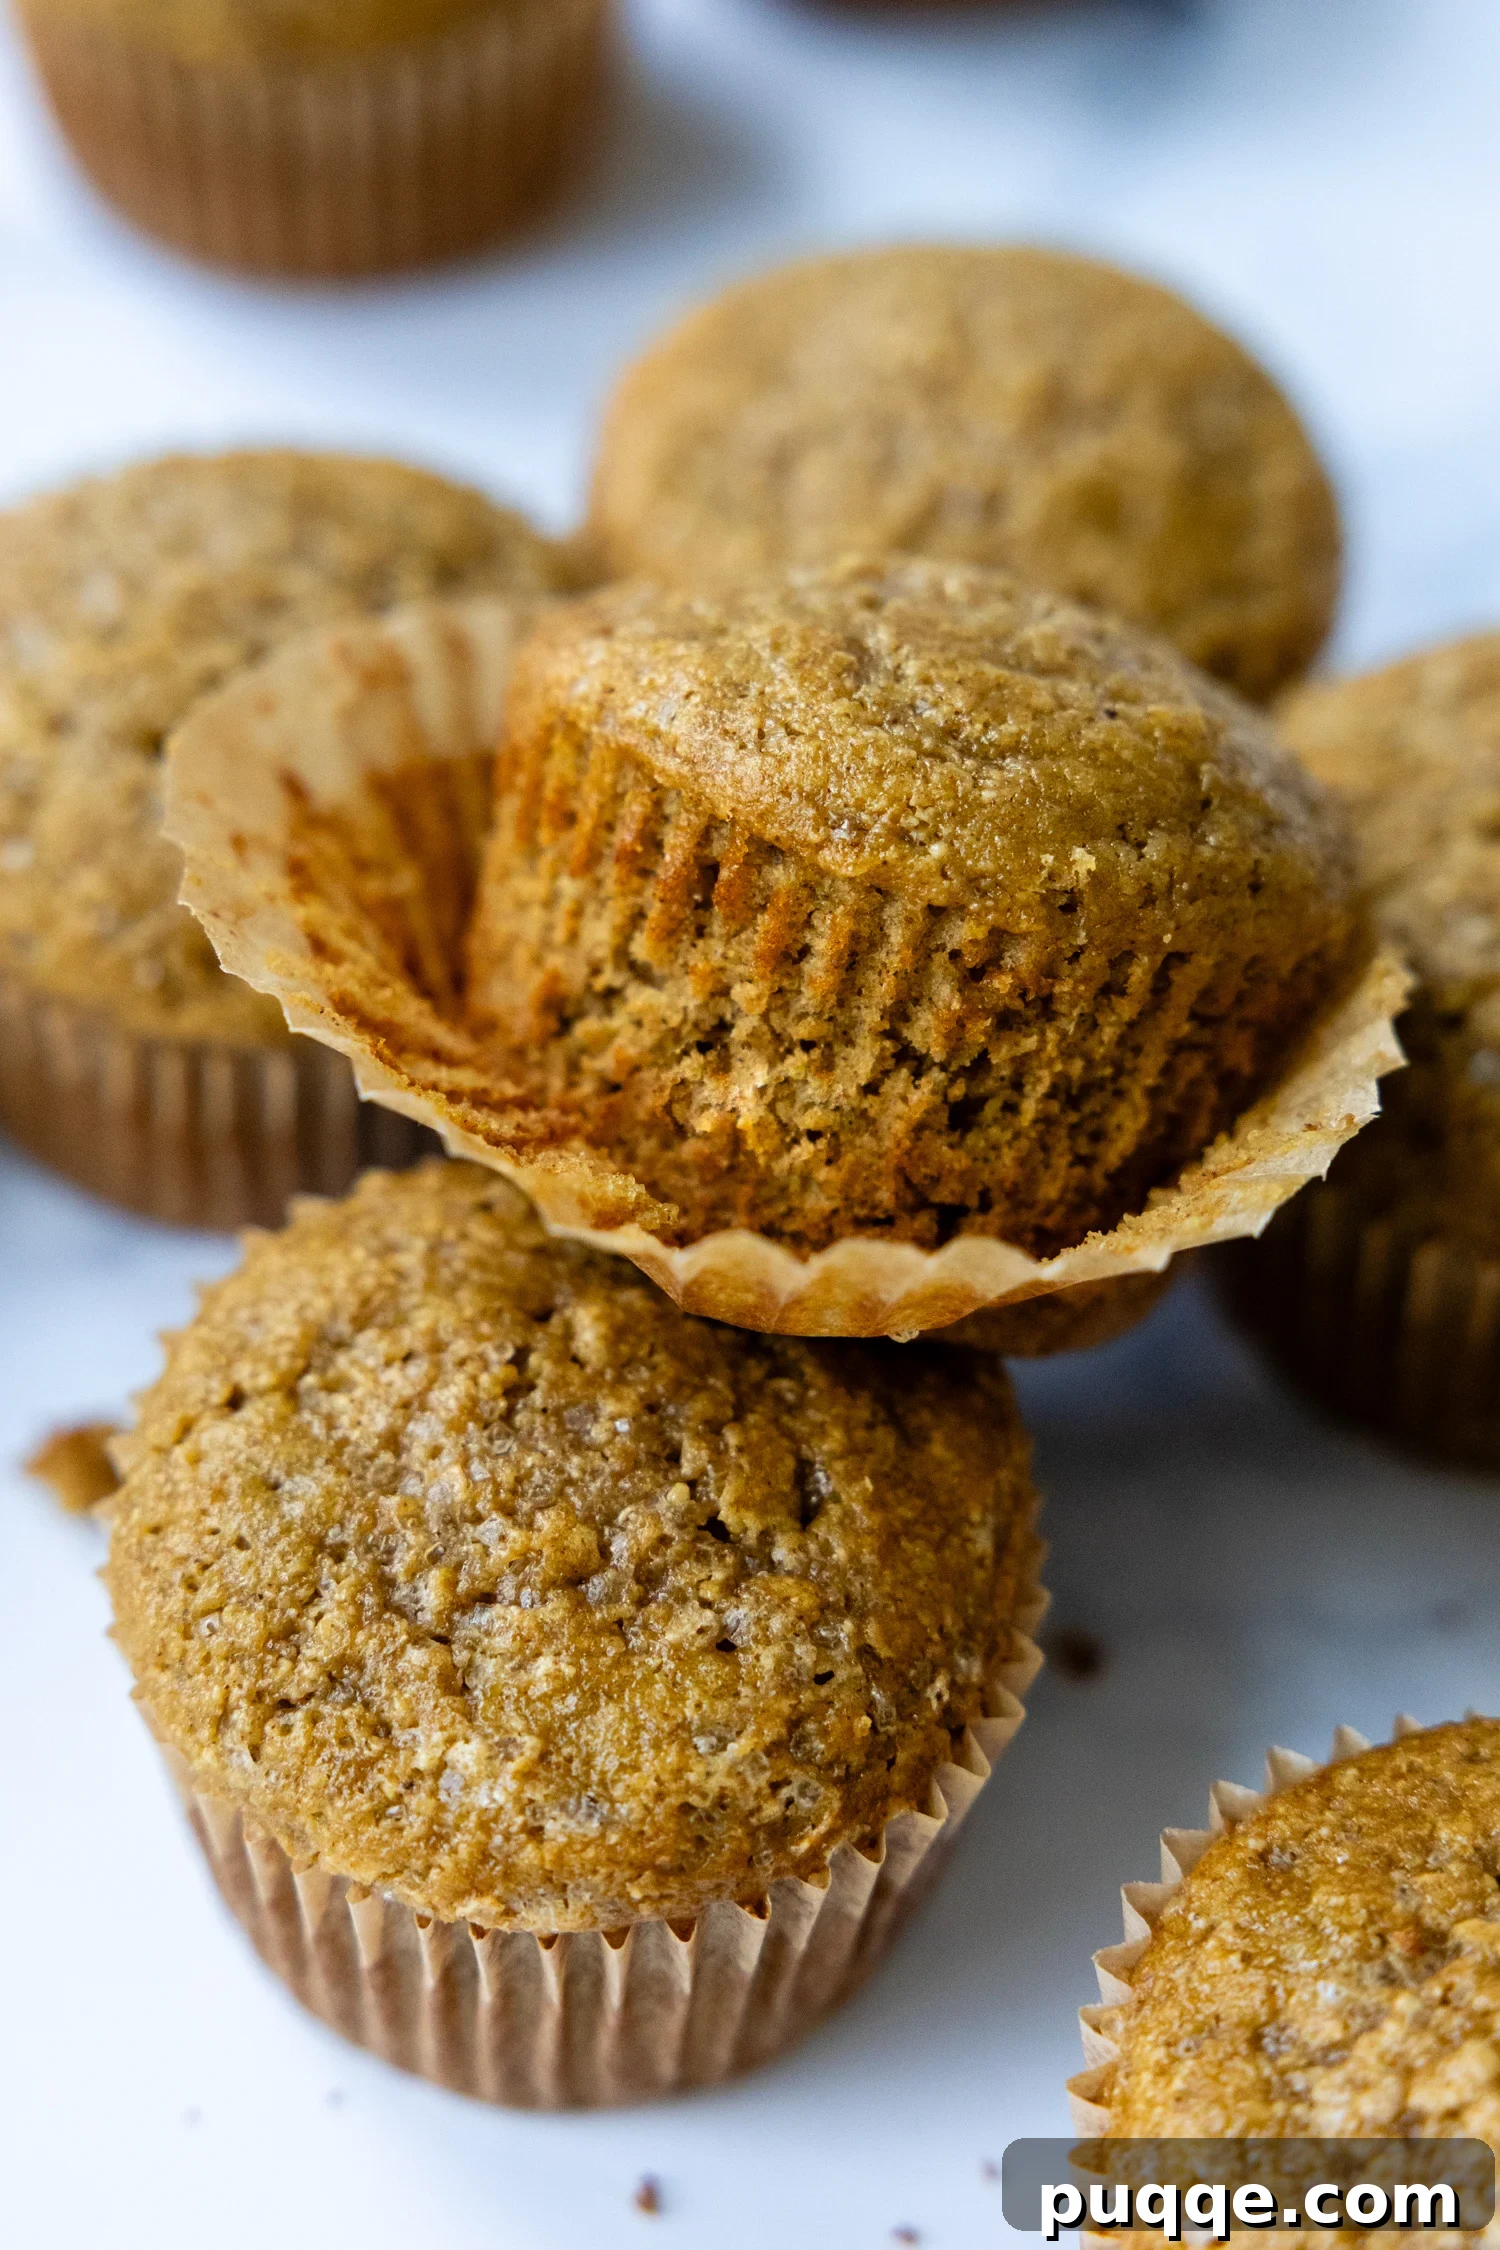
Are you searching for an incredibly easy, delightfully moist, and completely gluten-free muffin recipe? Imagine whipping up a batch of homemade banana oat muffins using just simple rolled oats instead of traditional flour. With a few perfectly ripe bananas, essential pantry staples, and the magic of a blender, you can craft these 10-minute flourless banana oat muffins that taste like they came straight from a gourmet bakery. Prepare to amaze your taste buds and impress your friends with a wholesome treat that’s unbelievably light, tender, and bursting with natural flavor.
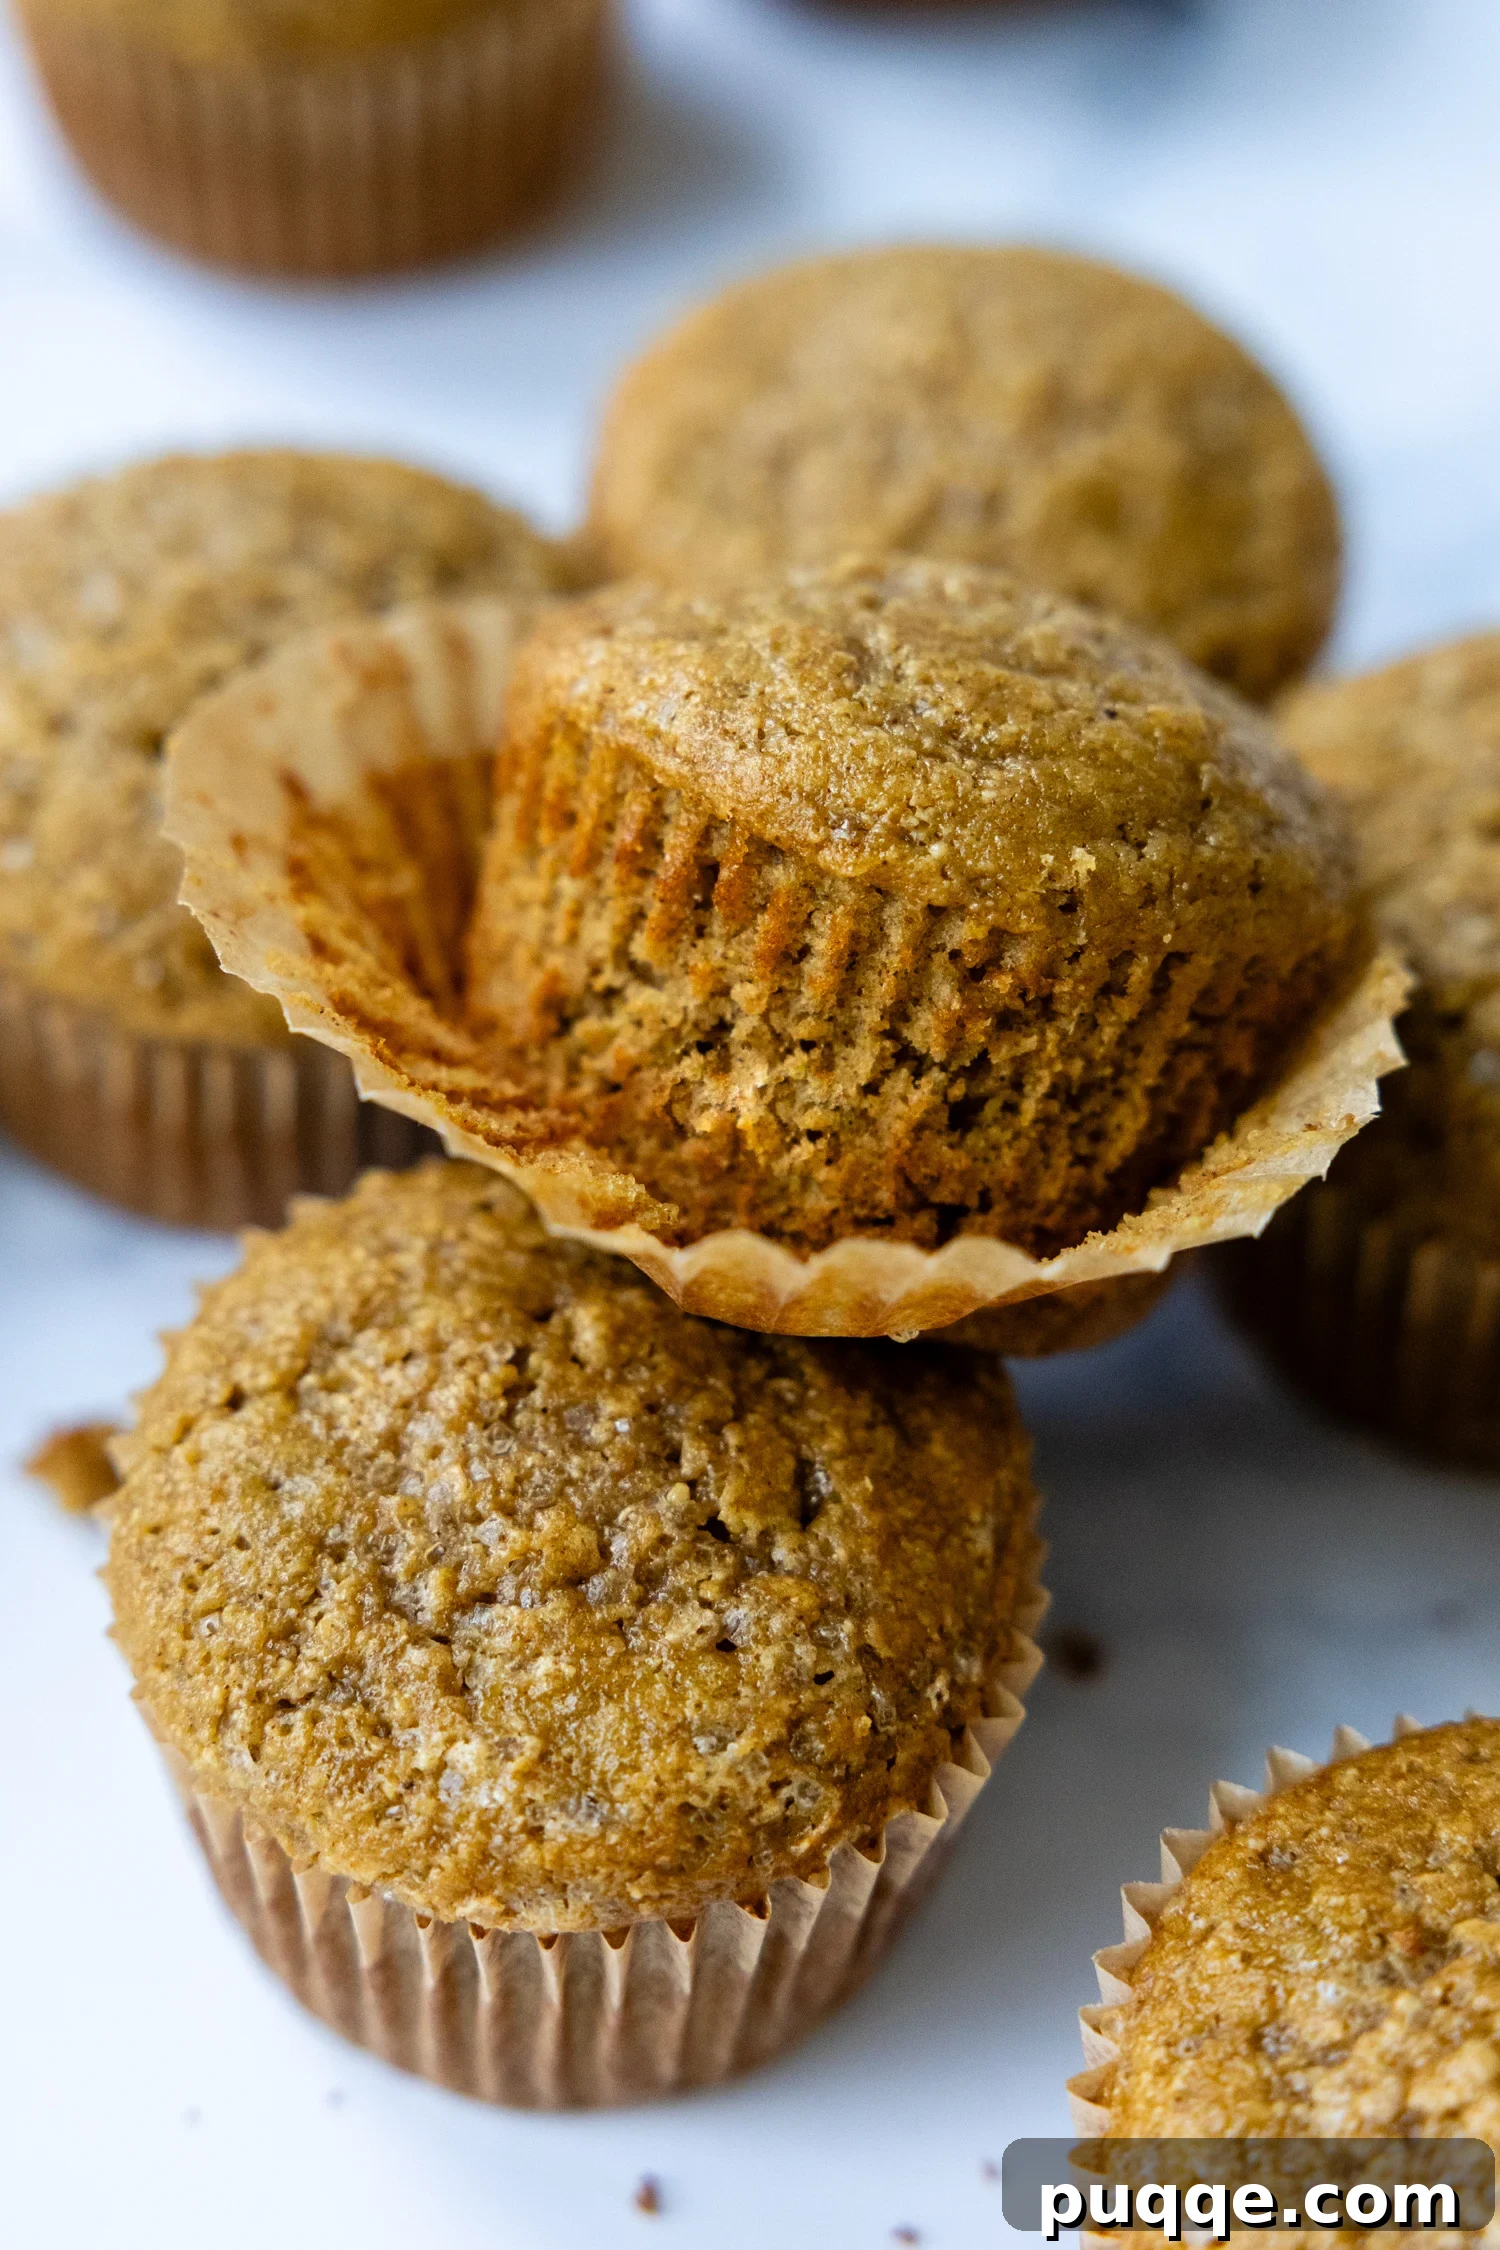
The Magic of Oat Flour: Fluffy Banana Muffins Without a Trace of Wheat!
If you’ve been exploring the world of gluten-free baking, you might already know the incredible versatility and benefits of using oat flour. For those new to the concept, prepare to be converted! After just one bite of these homemade oat flour banana muffins, you’ll understand why it’s a game-changer. It seems almost impossible to achieve such a light, airy, and fluffy banana muffin without traditional wheat flour, but with oats, it’s not only possible, it’s surprisingly simple.
One of the best things about baking with oats is that gluten-free rolled oats are a pantry staple for many. This means you don’t need to hunt for specialized flours. If you own a blender or a food processor, you can easily transform regular rolled oats into fresh oat flour in minutes. This leads to the other fantastic advantage: the process couldn’t be simpler or quicker. Much like my miraculously fluffy oat flour bread, this muffin recipe comes together almost entirely in your blender. Just mix, pour, and bake – it’s that effortless!
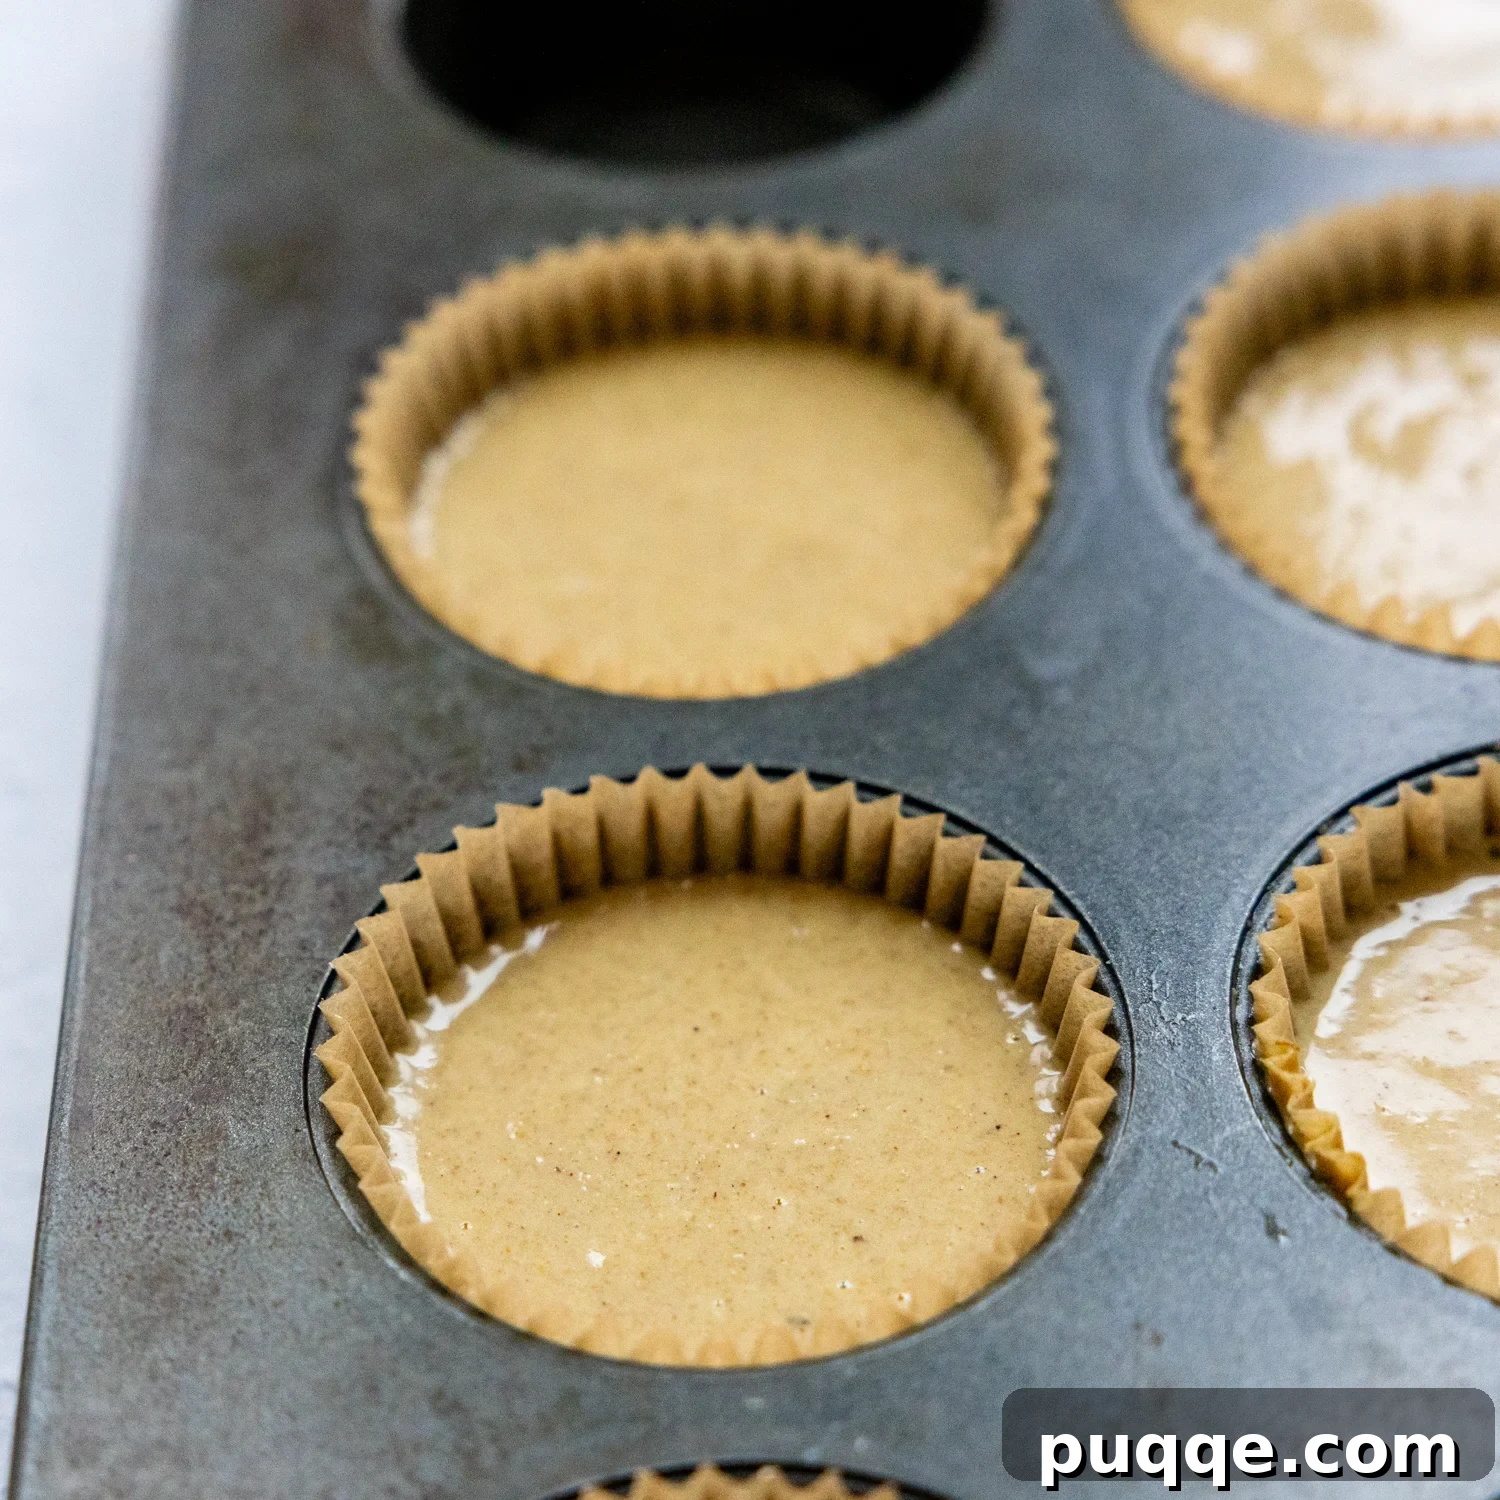
However, to ensure these gluten-free banana oat muffins truly mimic the delightful texture of their traditional counterparts, I have a simple, yet crucial, trick for you. Once you’ve poured the batter into your muffin tins, let it rest for about 10 minutes before sliding them into the oven. This brief resting period allows the oat flour ample time to fully absorb the moisture from the wet ingredients, creating a more cohesive, tender, and well-structured crumb. It’s a small step that makes a significant difference in achieving that bakery-quality lightness.
While this resting technique is particularly beneficial for recipes with shorter bake times, like these muffins, it’s generally less critical for flourless oat recipes that bake longer, such as a spiced carrot oatmeal cake. For quick-baking items, giving the oat flour time to hydrate is key to preventing a crumbly texture and promoting a beautifully soft, springy interior.
Crafting Your Perfect Batch: A Step-by-Step Guide
Let’s walk through the process together to ensure your flourless banana oat muffins turn out perfectly every time. These step-by-step photos and detailed instructions will guide you. For precise ingredient amounts and the full recipe, please refer to the recipe card below.
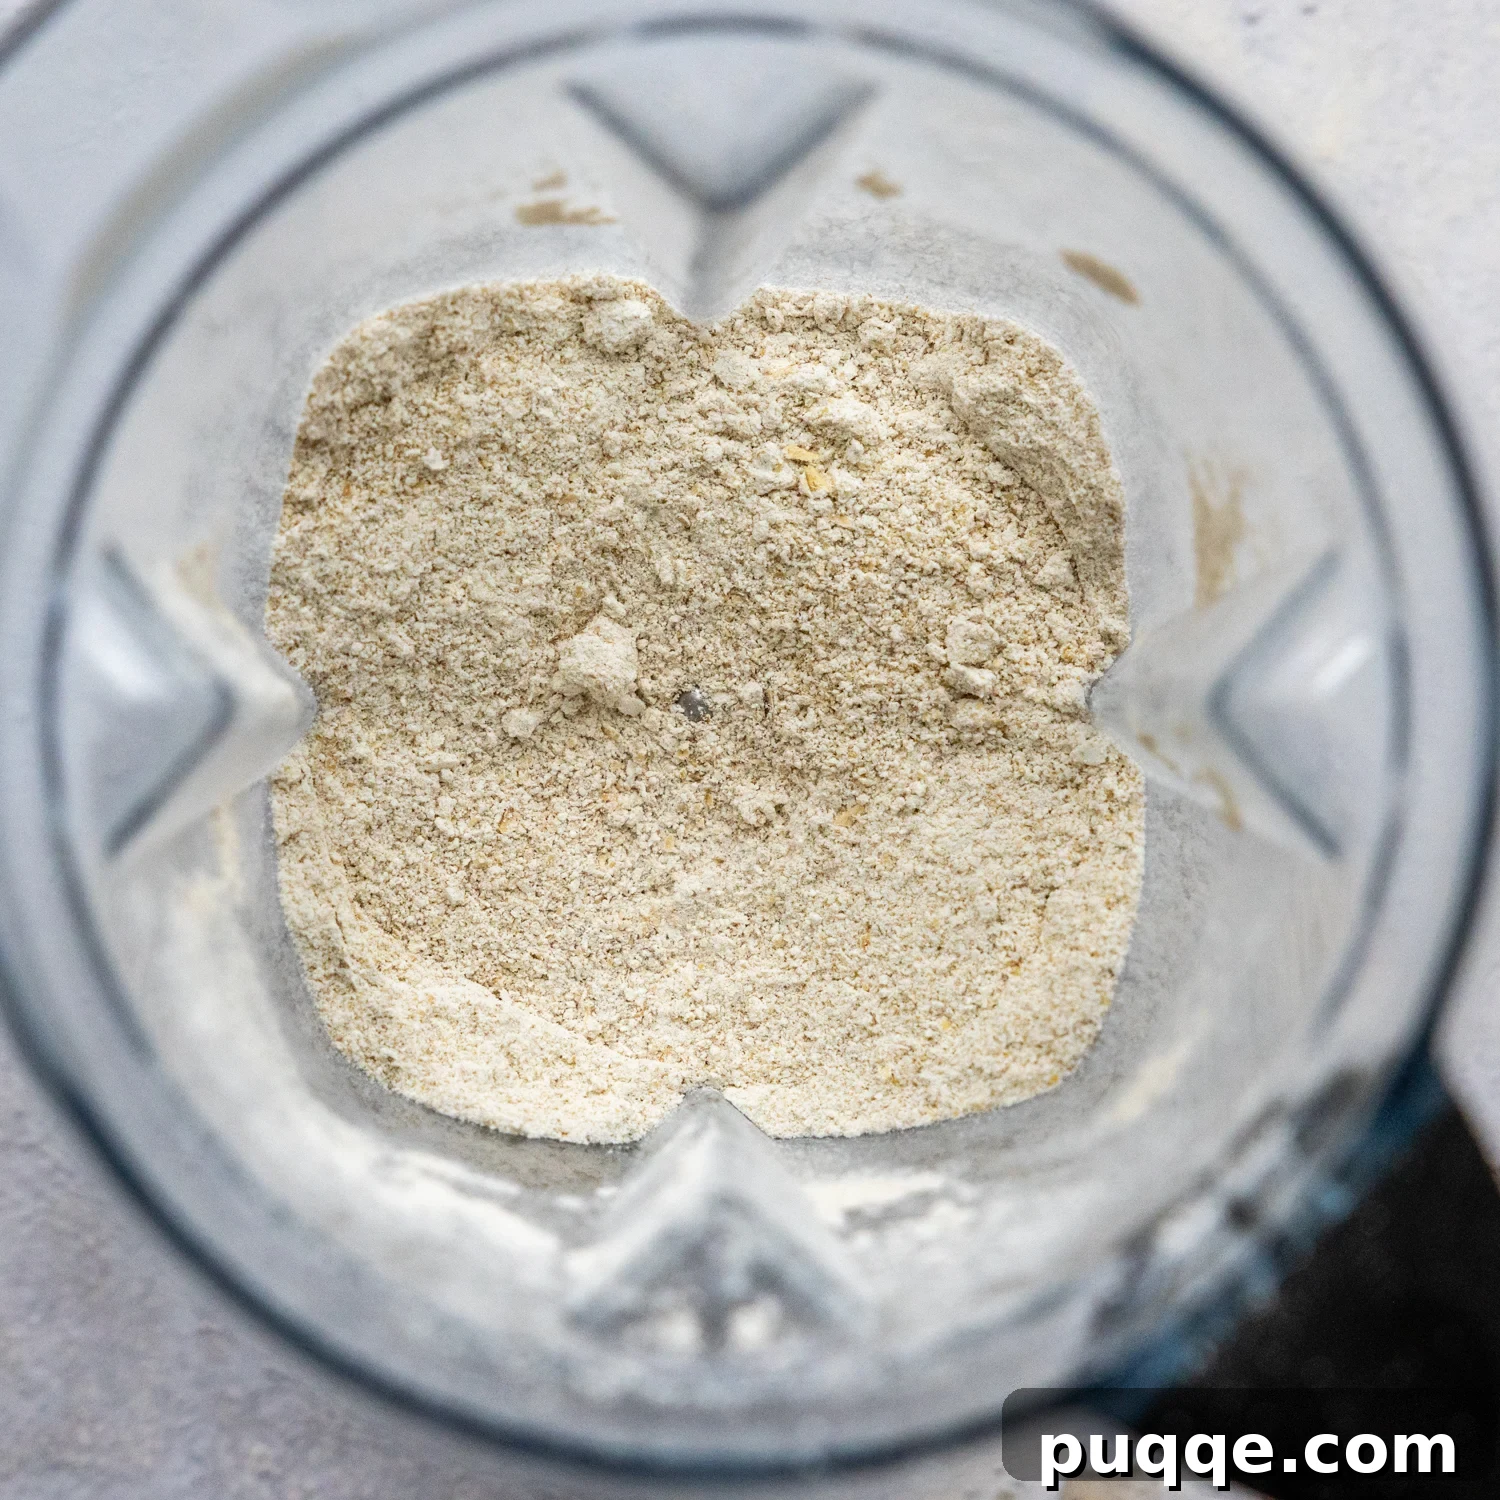
Step 1: Create Fresh, 1-Minute Oat Flour
If you own a high-speed blender, such as a Vitamix, begin by adding your gluten-free rolled oats into the blender. Process them until they transform into a fine, powdery flour. This typically takes just 30 seconds to a minute. If you prefer, or if you don’t have a high-speed blender, you can also use ready-made oat flour and mix the batter by hand. Instructions for the hand-mixing method are provided in the full recipe card.
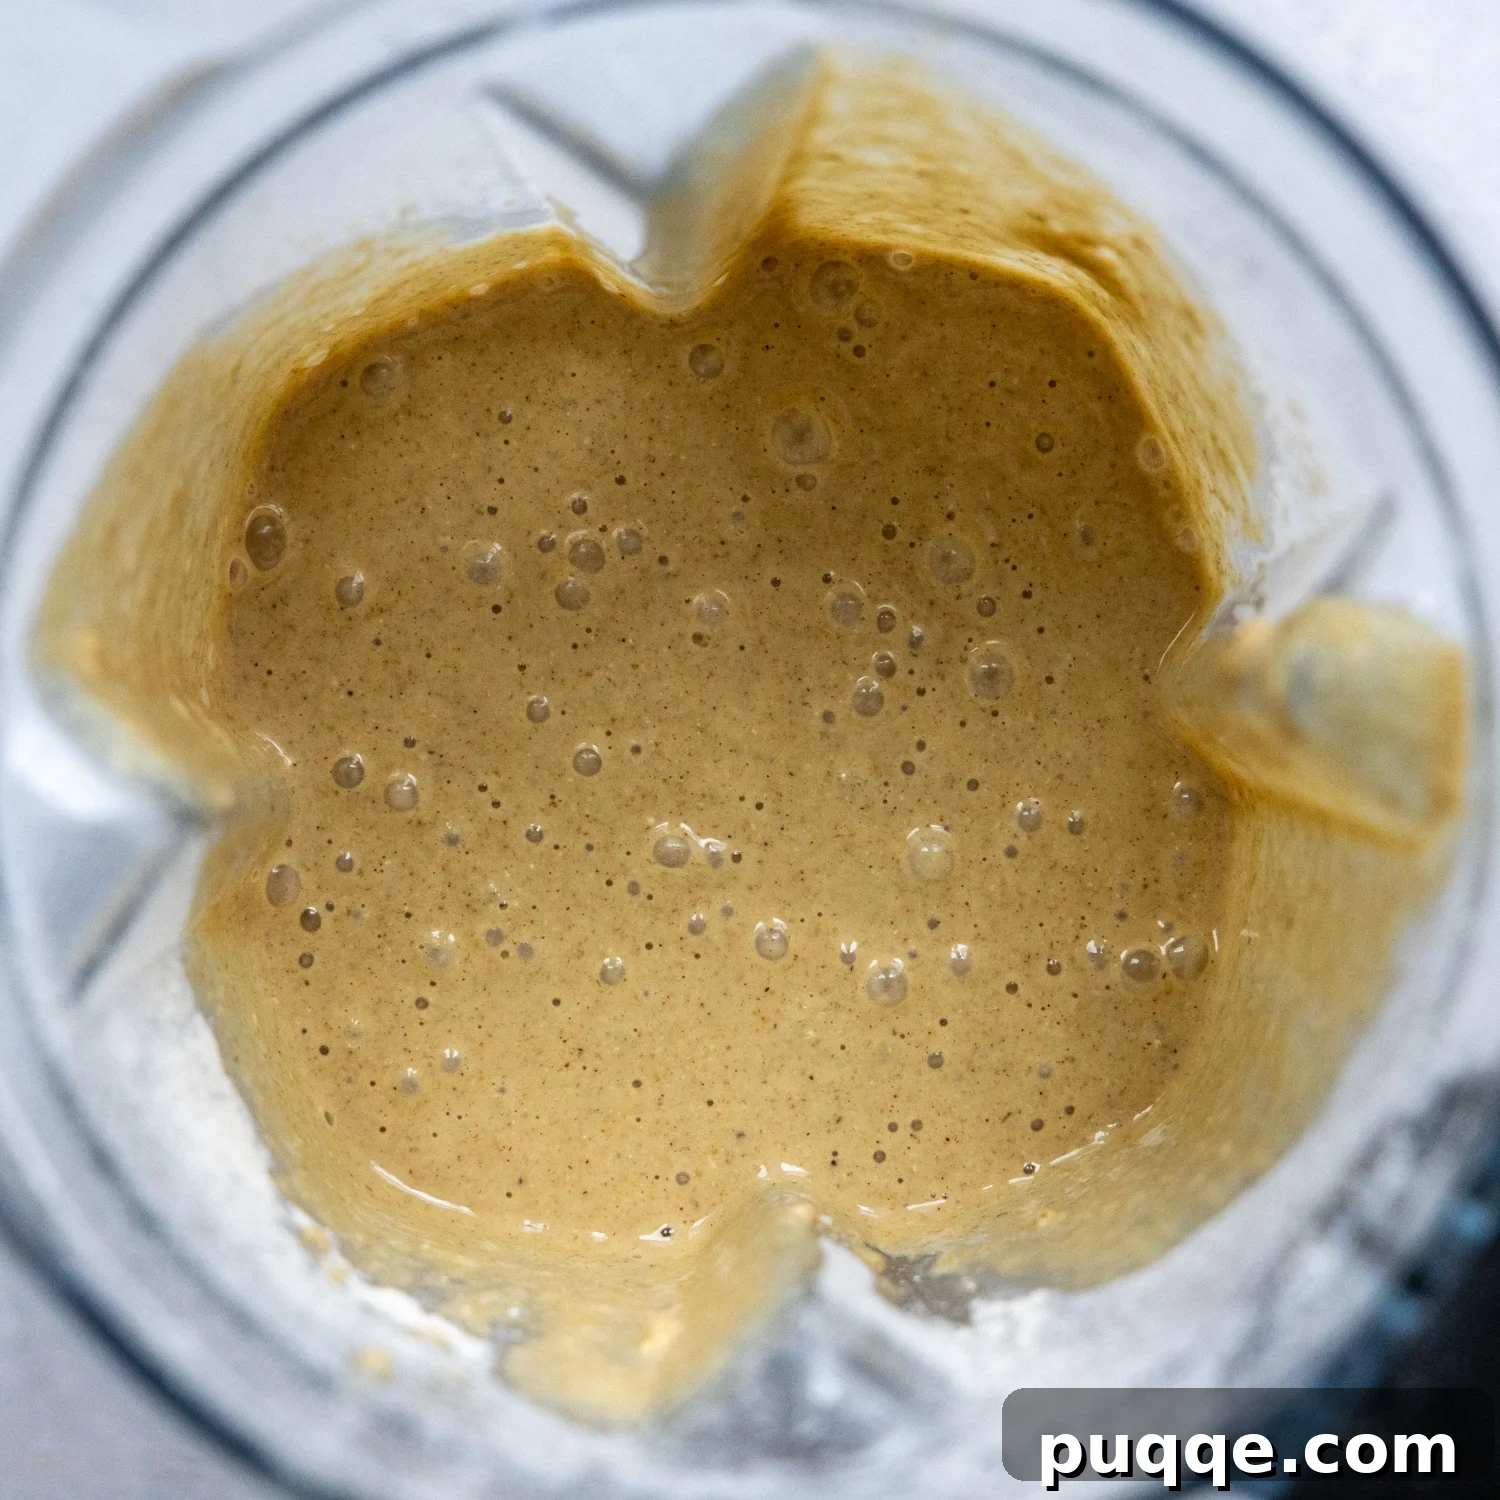
Step 2: Effortless Blending – Dump and Go!
Here’s where the true magic of these oat flour muffins shines – no need to mash bananas separately! First, add the remaining dry ingredients – brown sugar, baking powder, baking soda, ground cinnamon, and a pinch of salt – to the freshly made oat flour in your blender. Pulse a few times to ensure they are well combined. Then, incorporate the wet ingredients: ripe bananas (no mashing required!), eggs, milk, oil, and vanilla extract. This one-bowl (or one-blender) approach minimizes cleanup and maximizes convenience.
At this stage, don’t be alarmed if the batter appears thinner than what you’d expect from traditional flour-based muffins. This consistency is perfectly normal for oat-based batters. Oats are incredibly absorbent, and I promise you that this seemingly thin mixture will bake up into airy, dreamy, and perfectly moist muffins!
Step 3: Pour, Rest, and Bake to Perfection
Divide the batter evenly among 11 prepared muffin cups, filling each about three-quarters of the way full to achieve tall, beautifully domed tops. For the absolute best texture, allow the filled muffin tins to rest for 10 minutes before baking. I’ve rigorously tested baking them immediately versus resting, and the rested batter consistently yields a lighter, more tender crumb with a better structure. While you can bake them immediately if time is of the essence, the short rest is highly recommended for optimal results.
Bake your muffins in a preheated 350°F (175°C) oven for 18-20 minutes. You’ll know they are done when their tops are golden and set, spring back gently when lightly pressed, and a toothpick inserted into the center comes out clean. Avoid overbaking, as this can lead to dry muffins.
Can I Make These Muffins Without a Blender? Absolutely!
Yes, you certainly can! While the blender method offers unparalleled convenience, you don’t need one to enjoy these delicious flourless banana oat muffins. If you’re opting for the non-blender approach, you’ll simply need to purchase pre-ground oat flour instead of making it from rolled oats. The full recipe card below provides detailed instructions for this method, which is just as straightforward as the blender version, only it involves a bowl and a whisk for combining your ingredients.
For consistent results every time, especially with gluten-free baking where ingredient ratios are crucial, I also recommend using a kitchen scale. The recipe card includes metric ingredient weights, which is particularly helpful for oat flour and bananas. Bananas can vary significantly in size and moisture content, so weighing them (around 140g each with peel on) ensures that your batter has the perfect consistency, guaranteeing the same light and fluffy muffins with every batch.
Customizing Your Muffins: Flavorful Additions and Swaps
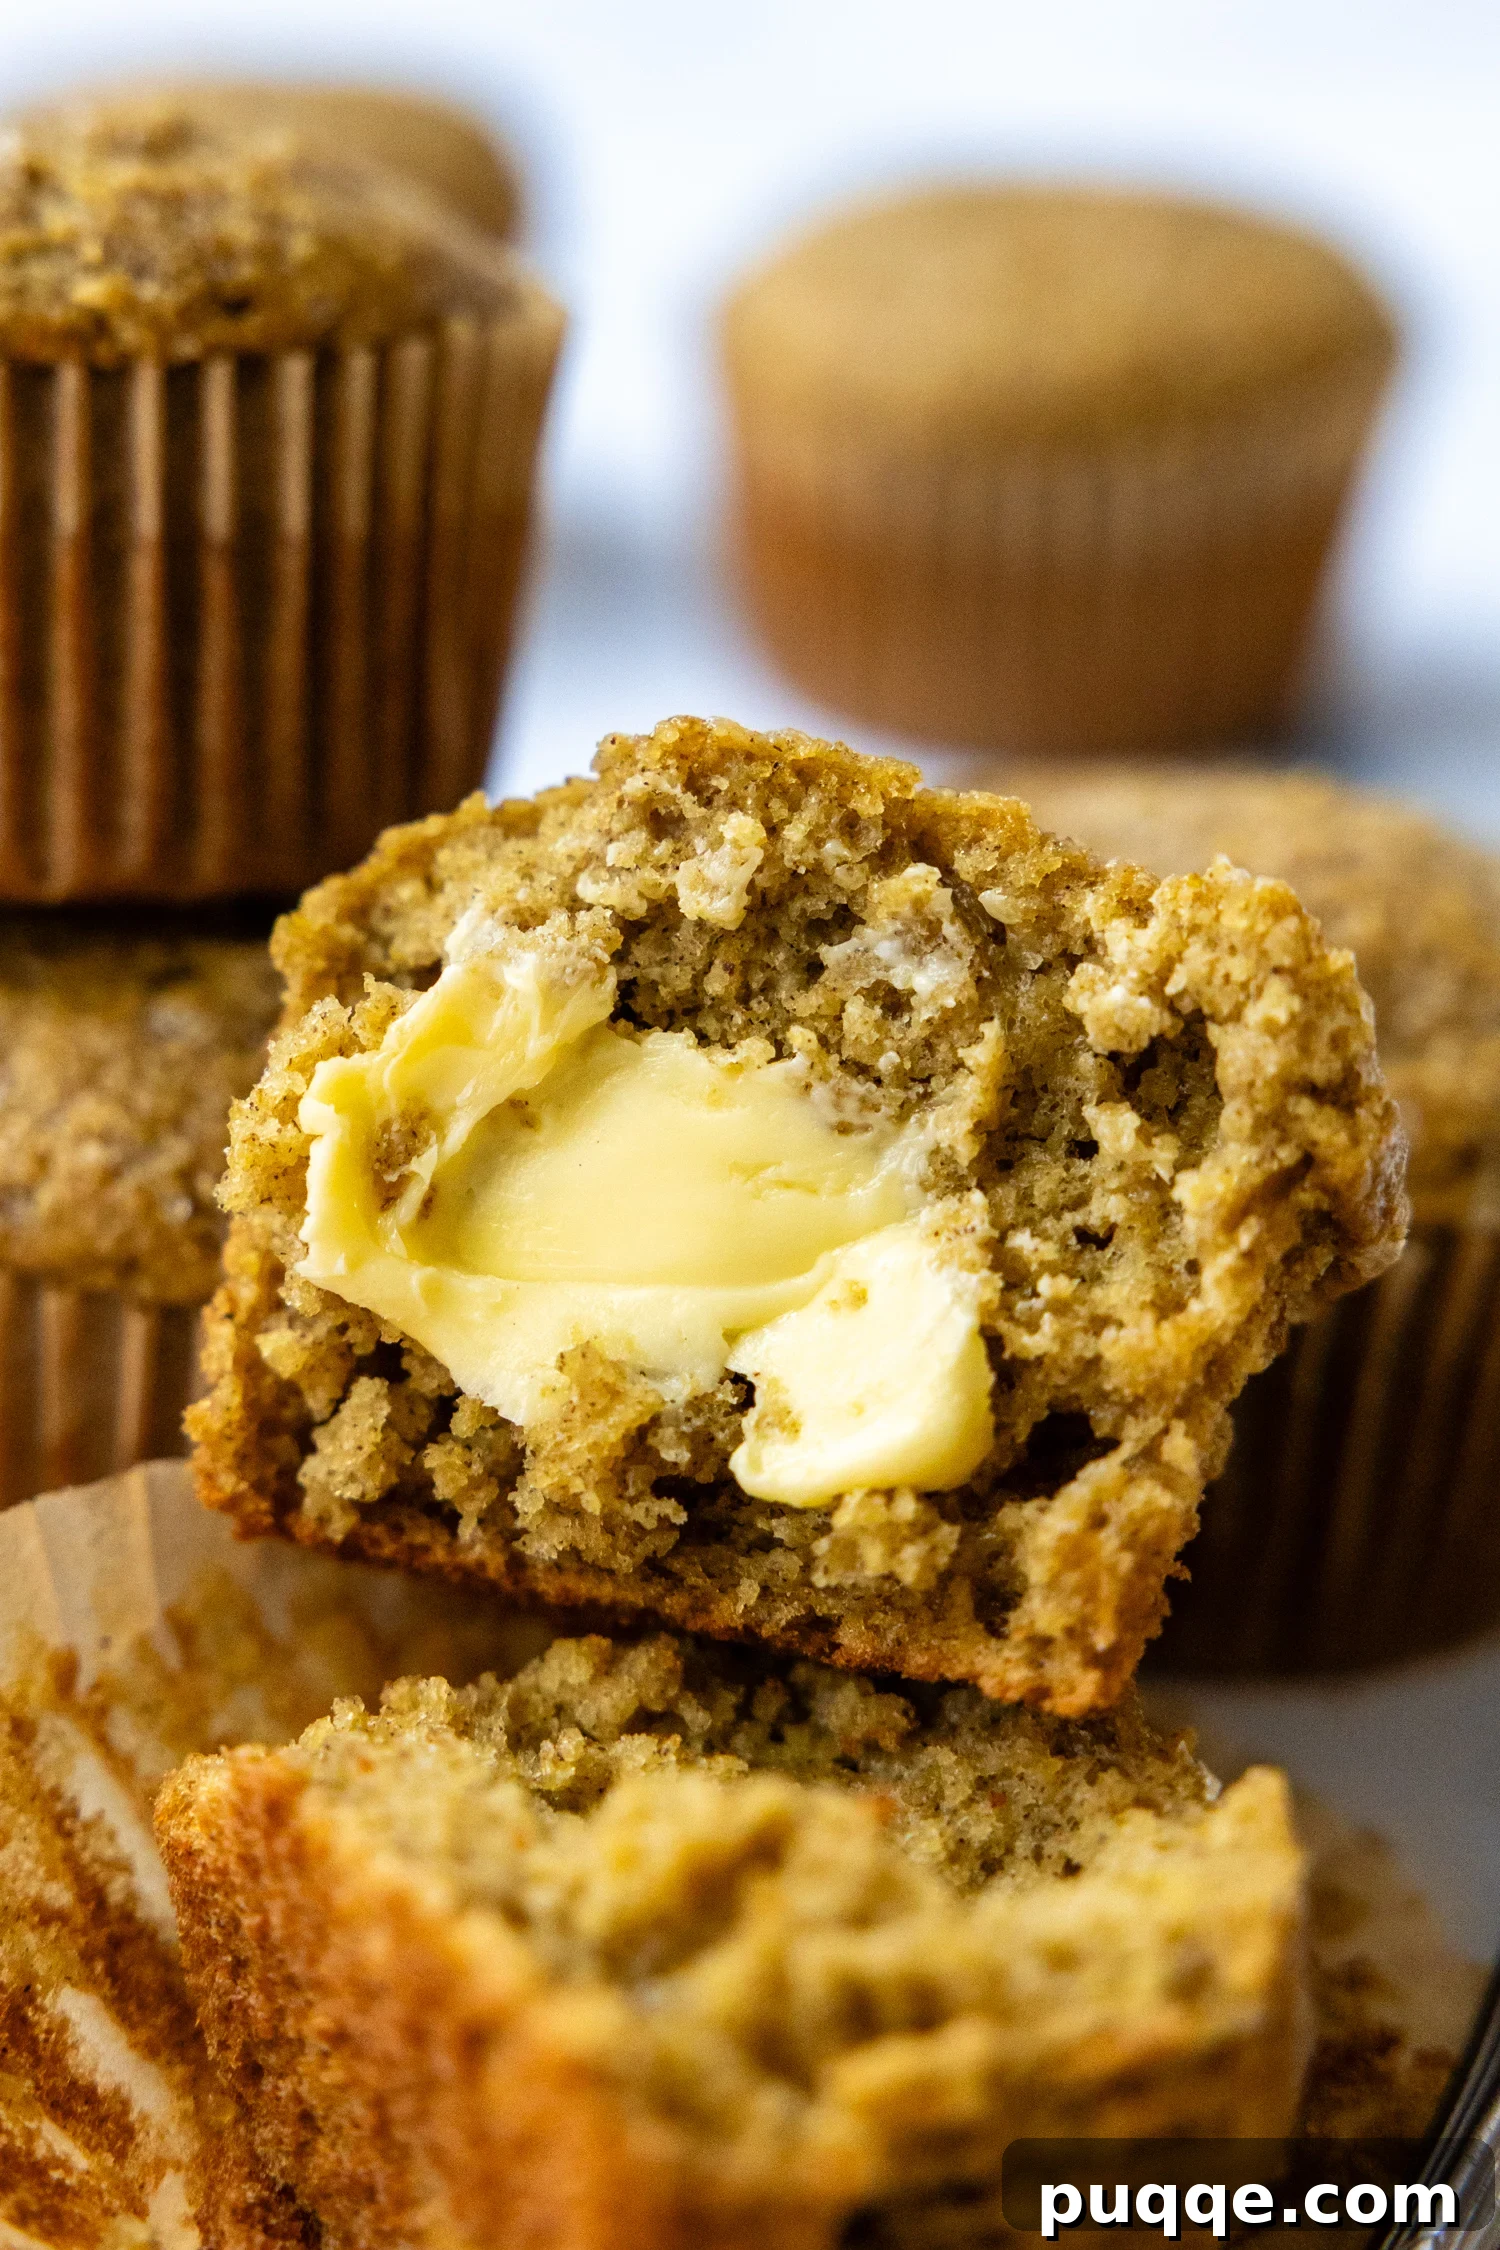
These flourless banana oat muffins are wonderfully adaptable, allowing you to tailor them to your taste preferences or dietary needs. The recipe naturally uses less oil because the mashed bananas contribute significant moisture and richness. Feel free to use any preferred liquid oil you have on hand – whether it’s melted coconut oil, heart-healthy avocado oil, a mild olive oil, or conventional canola oil.
The sugar content can also be adjusted. If you prefer a less sweet muffin, you can reduce the amount of brown sugar, though this might slightly impact the moisture level. For alternative sweeteners, consider swapping brown sugar for granulated date sugar or coconut sugar, which will offer a similar texture. If you opt for liquid sweeteners like pure maple syrup or honey, be aware that these can make the muffin crumb a little denser, so adjust accordingly.
There are countless delicious twists you can add to these gluten-free banana oatmeal muffins. For a comforting spiced version, incorporate a pinch of nutmeg, ground ginger, or cloves into the dry ingredients. Enhance the texture and flavor with mix-ins like crunchy chopped walnuts or pecans, plump raisins, finely grated carrots for added moisture and nutrients, or a handful of mini chocolate chips – a perennial family favorite!
Don’t be afraid to experiment! These muffins provide a fantastic base for all your creative baking ideas, from a touch of citrus zest to a swirl of peanut butter. Just remember not to overload the batter with too many additions, as this can affect the muffins’ ability to rise and maintain their light texture.
Why Ripe Bananas are Essential
The success of these banana oat muffins, like many banana bread recipes, hinges on using very ripe bananas. What makes them so crucial? As bananas ripen, their starches convert into sugars, intensifying their natural sweetness. This means you need less added sugar, making the muffins a healthier choice. More importantly, ripe bananas become incredibly soft and moist, acting as a natural binder and contributing essential moisture to the batter. This helps achieve that tender crumb without relying on additional fats or excessive liquids. Look for bananas with plenty of brown spots on their peels – the browner, the better!
Choosing the Right Oats for Oat Flour
When making your own oat flour, it’s best to use gluten-free rolled oats (also known as old-fashioned oats). Quick oats can be used in a pinch, but rolled oats typically yield a finer, more consistent flour texture when blended, which translates to a better muffin consistency. Ensure your oats are certified gluten-free if you are strictly avoiding gluten due to celiac disease or sensitivity, as oats can sometimes be cross-contaminated during processing.
Don’t Forget to Pin This Recipe!
Let’s connect on Pinterest! I’m always sharing delicious and easy recipes!
Did you make this recipe? I’d love to hear from you! Your feedback helps others discover and enjoy these recipes. Please leave a star rating and comment below the recipe card. I always make sure to respond! -Melissa
Fluffiest Oat Flour Banana Muffins (Gluten-Free)

Melissa Erdelac
11 muffins
5 mins
18 mins
33 mins
Are you ready for a magically easy and gluten-free muffin recipe? Whip a batch of homemade banana oat muffins using only oatmeal and no flour. Grab a couple ripe bananas, some simple pantry ingredients and a blender to make 10-minute oatmeal flour banana muffins that taste like bakery-level success.
Pin
Rate This Recipe
Ingredients
- 1 ¾ cups (180 g) gluten-free rolled oats, for oat flour (yields approx. 1 ½ cup + 3 tbsp flour)
- ½ cup (117 g) packed brown sugar
- 1 teaspoon baking powder
- ½ teaspoon baking soda
- ½ teaspoon cinnamon
- ¼ teaspoon salt
- 2 large eggs
- 2 medium ripe bananas, about 140 g each with peel on
- ¼ cup (55 g) oil, any preferred (e.g., canola, avocado, melted coconut)
- ¼ cup (61 g) milk or non-dairy milk
- 1 teaspoon vanilla extract
- (optional) turbinado sugar, for sprinkling
Equipment
-
High-speed blender (e.g., Vitamix) or food processor
-
Muffin Tin
-
Gluten Free Rolled Oats (if making oat flour)
-
Paper cupcake liners or cooking spray
Instructions
-
Preheat your oven to 350°F (175°C). Line a muffin pan with 11 paper cupcake liners or lightly grease each cup with cooking spray. Set aside.
-
To prepare the oat flour, place the gluten-free rolled oats in a high-powered blender or a food processor. Blend until the oats are transformed into a fine, powdery flour. This usually takes between 30 seconds to 1 minute. Note: You can continue mixing the batter in the blender, or for easier portioning later, transfer the oat flour to a large bowl.1 ¾ cups (180 g) gluten-free rolled oats
-
If using the blender method, add the brown sugar, baking powder, baking soda, cinnamon, and salt directly into the blender with the oat flour. If using a bowl, whisk these dry ingredients together thoroughly.½ cup (117 g) packed brown sugar, 1 teaspoon baking powder, ½ teaspoon baking soda, ½ teaspoon cinnamon, ¼ teaspoon salt
-
Next, add the remaining wet ingredients – eggs, ripe bananas, oil, milk, and vanilla extract – to the blender. If you’re using a bowl, mash the bananas in a separate small bowl first, then whisk them together with the other wet ingredients.2 large eggs, 2 medium ripe bananas, ¼ cup (55 g) oil, ¼ cup (61 g) milk or non-dairy milk, 1 teaspoon vanilla extract
-
Combine all ingredients: If using the blender, blend everything until just combined, scraping down the sides as needed. If using bowls, pour the wet mixture into the dry ingredients and stir gently until just incorporated. Be careful not to overmix.
-
Divide the batter evenly among the 11 prepared muffin cups, filling each approximately ¾ full. If desired, sprinkle the tops with turbinado sugar for a lovely crunchy finish. For optimal results, allow the muffin batter to rest in the tins for 10 minutes before baking; this step yields a significantly lighter and more tender crumb, though they can be baked immediately if necessary. Bake for 18-20 minutes, rotating the pan halfway through for even baking. The muffins are ready when their tops are set, spring back lightly when touched, and a toothpick inserted into the center comes out clean.(optional) turbinado sugar, for sprinkling
Nutrition Information (per muffin, approximate):
Calories: 168kcal, Carbohydrates: 24g, Protein: 3g, Fat: 7g, Saturated Fat: 1g, Polyunsaturated Fat: 2g, Monounsaturated Fat: 4g, Trans Fat: 0.02g, Cholesterol: 30mg, Sodium: 120mg, Potassium: 194mg, Fiber: 2g, Sugar: 13g, Vitamin A: 66IU, Vitamin C: 2mg, Calcium: 44mg, Iron: 1mg
Did you make this recipe? Please leave a star rating and review below. Your feedback is invaluable and helps other home bakers!