
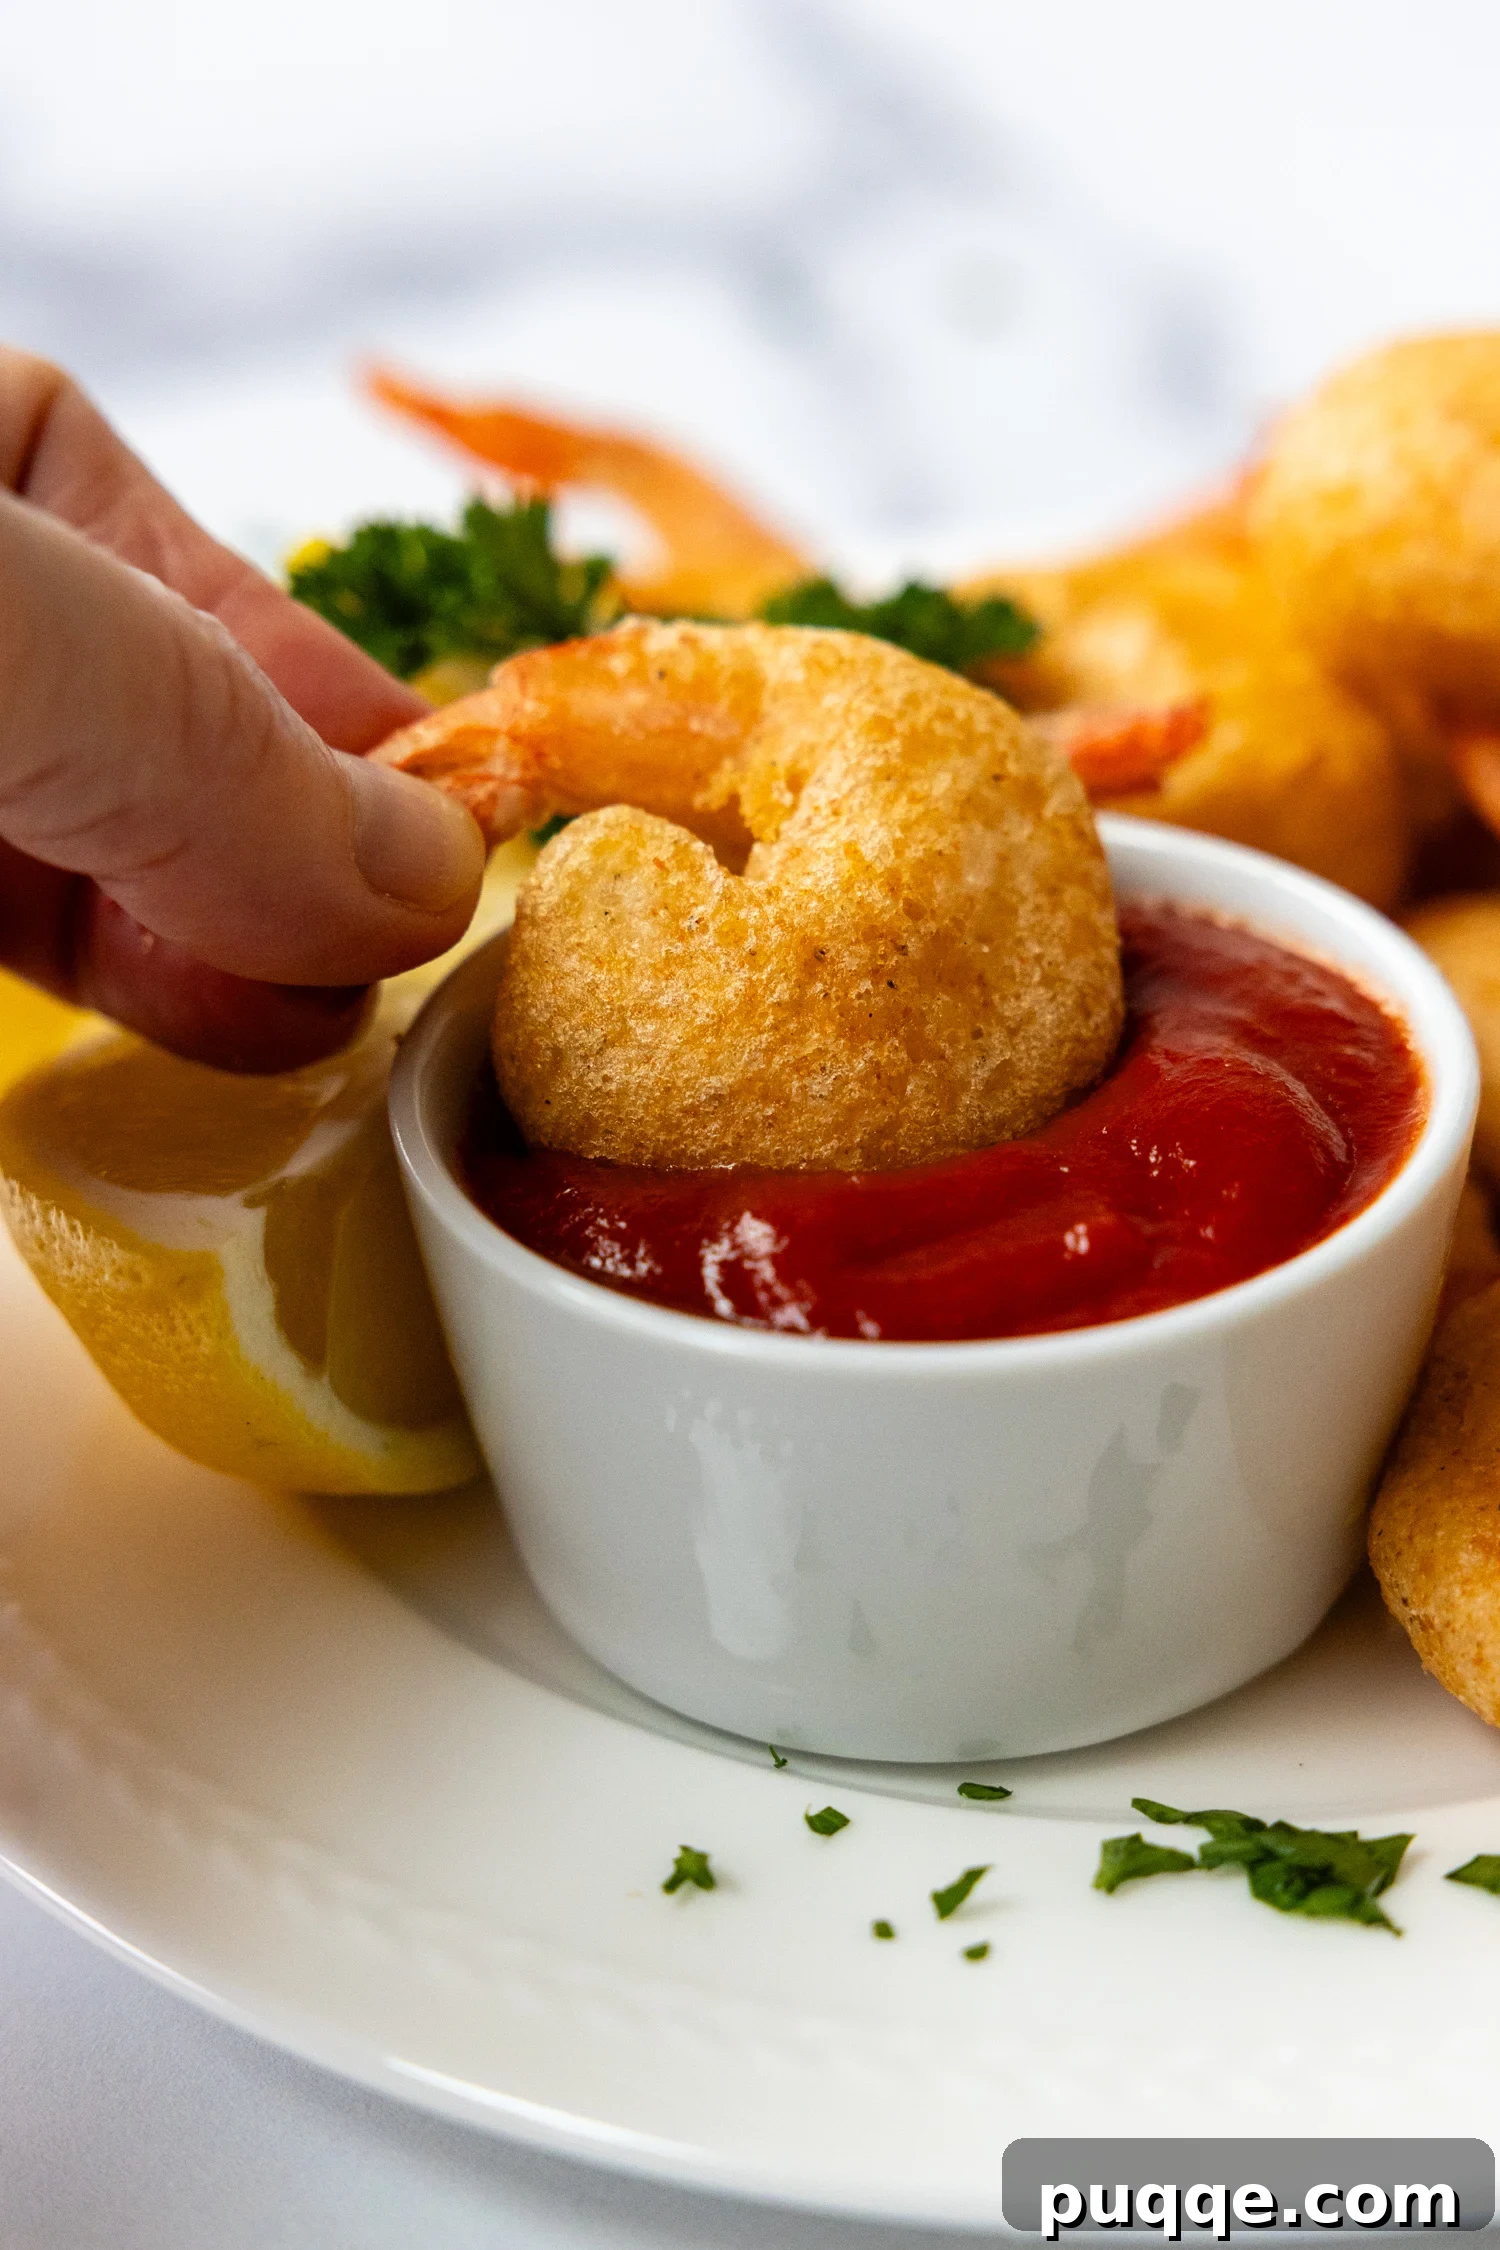
Craving that classic, perfectly crispy fried shrimp experience but navigating a gluten-free lifestyle? You’re in luck! This recipe for light, airy, and undeniably crispy gluten-free fried shrimp will transport you straight back to your favorite pub-style meal. We’re talking about shrimp encased in an ultra-delicate, tempura-like batter that stays on, even through the sizzle of deep frying. The secret? A special gluten-free flour blend combined with the magical effervescence of soda water. Get ready to rediscover the joy of truly delicious fried shrimp – I’ll show you exactly how to achieve it!
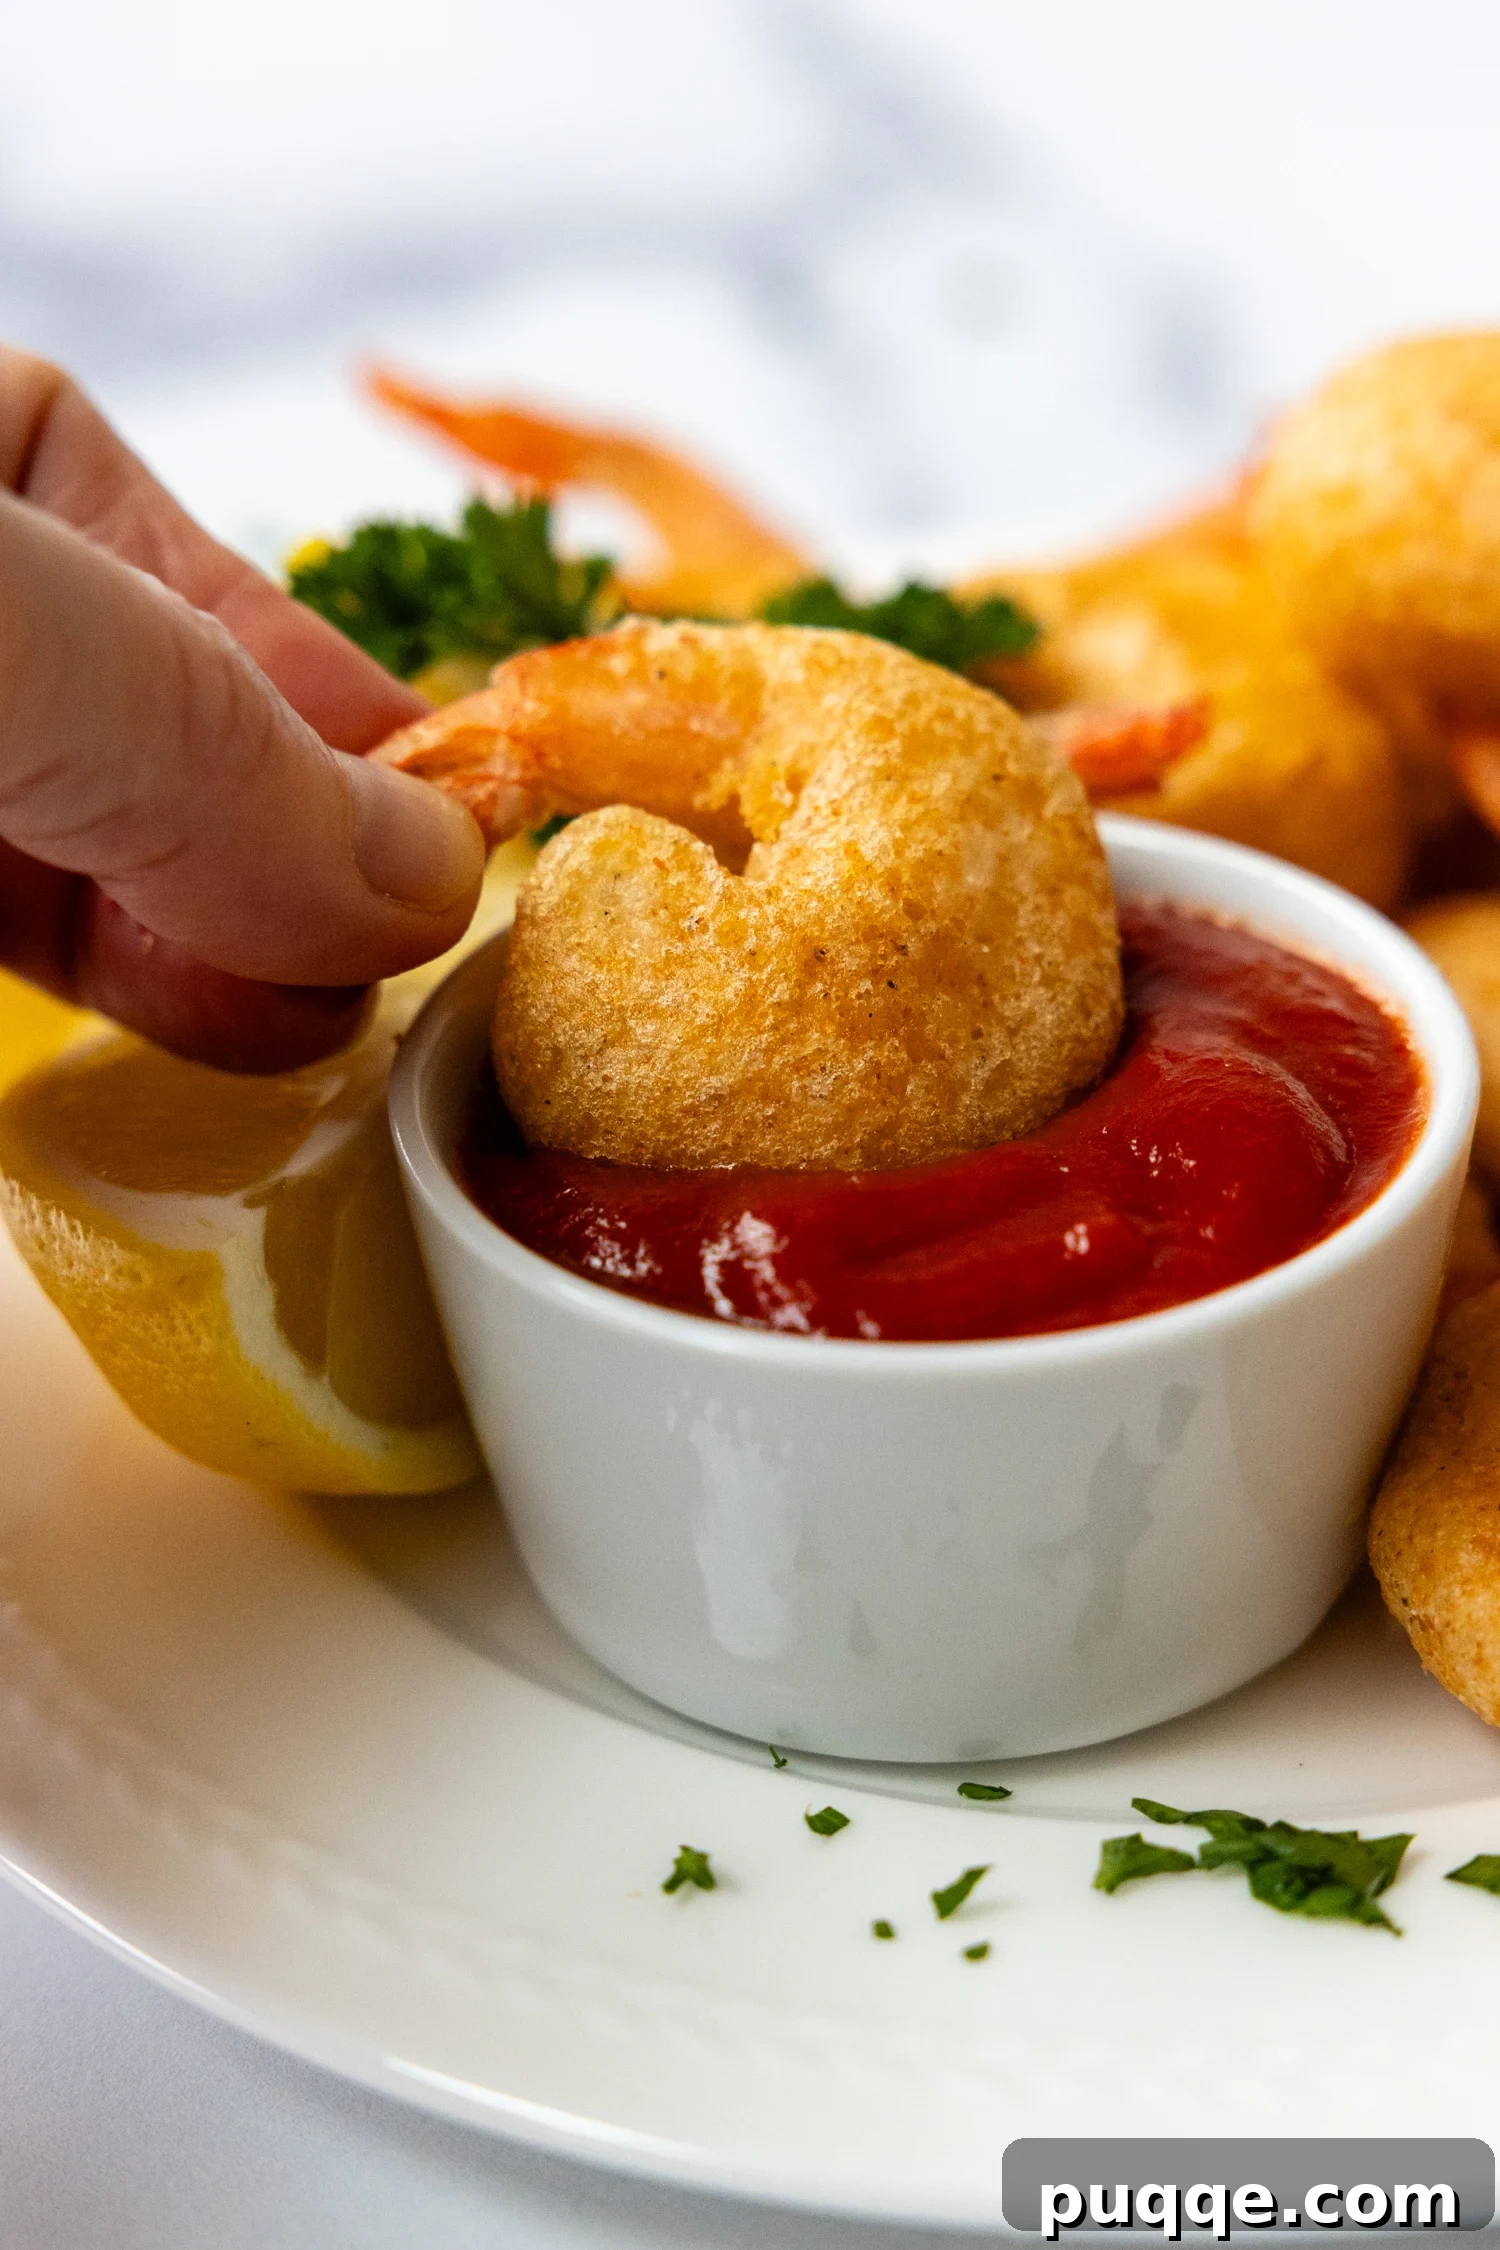
Reclaiming the Joy of Classic Fried Shrimp: A Gluten-Free Revelation
For many years, the thought of enjoying truly crispy, battered fried shrimp was merely a delicious memory for those avoiding gluten. So often, gluten-free versions fall short – yielding a dense, heavy coating that masks the delicate flavor of the shrimp, or a batter that simply refuses to adhere properly. My journey to perfect this recipe was inspired by the overwhelming success of my widely popular gluten-free fish batter, which garnered countless rave reviews. The logical next step was to adapt it for shrimp, but as I soon discovered, shrimp requires a slightly different approach to achieve that ideal balance and signature lightness.
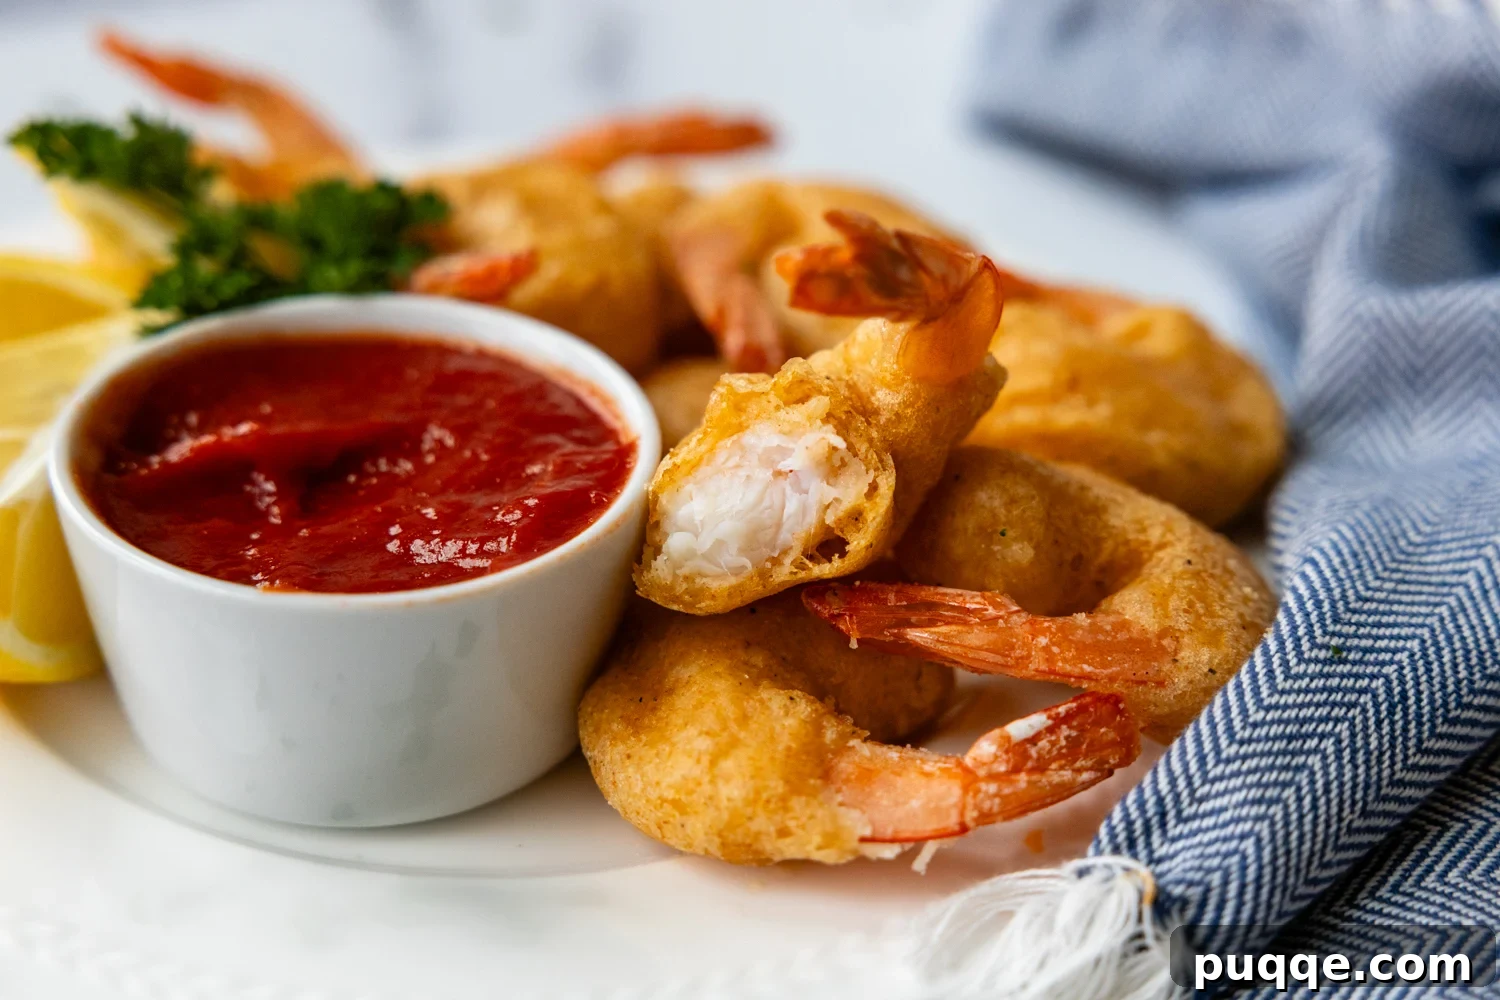
What makes this particular gluten-free shrimp recipe extraordinary is its ability to create a coating that is remarkably light and airy, reminiscent of a delicate tempura. While my original fish batter utilized gluten-free beer for a depth of flavor, I opted for plain club soda in this shrimp version. This choice keeps the ingredients simple and accessible, making it perfect for weeknight gluten-free dinner ideas, yet it still delivers a sophisticated taste that rivals the best seafood restaurants. Furthermore, considering the smaller size of shrimp compared to larger fish fillets, I carefully omitted the baking powder present in the original recipe. This crucial adjustment prevents the batter from becoming too substantial and overwhelming the shrimp, ensuring a harmonious balance between the succulent seafood and its crispy exterior.
To truly elevate your crispy battered and fried shrimp experience – and to relight a culinary spark you might have thought was extinguished – I highly recommend pairing this dish with some fantastic sides. Imagine sinking your teeth into a batch of copycat Red Lobster gluten-free cheddar bay biscuits, warm and savory, alongside a refreshing, creamy, tangy gluten-free coleslaw. This trio creates a complete, comforting, and absolutely unforgettable meal that proves gluten-free doesn’t mean compromising on flavor or texture.
Key Ingredients for Unforgettable Crispy Shrimp
Achieving the perfect gluten-free fried shrimp hinges on selecting the right ingredients and understanding their roles. Here’s a closer look at the stars of this recipe:
- Gluten-Free All-Purpose Flour Blend: This is arguably the most critical component. While I often recommend Cup4Cup GF flour for many of my baking recipes, its higher cornstarch content makes it less ideal for this particular shrimp batter. Cornstarch tends to produce a thicker, denser coating that can be harder to achieve a delicate, tempura-like texture with. For this recipe, I highly recommend King Arthur Measure-for-Measure gluten-free flour, or any high-quality blend that does not list cornstarch among its top three ingredients. Look for blends with rice flour, tapioca starch, or potato starch as primary components for a lighter result.
- White Rice Flour: This ingredient plays a dual role in creating an exceptionally crispy coating. First, it’s used to dredge the shrimp before dipping them in the wet batter. This initial dusting creates a dry surface that helps the liquid batter adhere beautifully, preventing it from slipping off during frying. Second, a portion of white rice flour is incorporated directly into the batter alongside the GF flour blend. This combination of flours is key to achieving that wonderfully light and airy texture. While a cornstarch-free GF blend might be substituted for the dredging if absolutely necessary, white rice flour truly offers the best results for crispiness and adhesion.
- Large to Jumbo Shrimp: The size of your shrimp matters for the ideal shrimp-to-batter ratio. Opt for large to jumbo shrimp, typically around 20-30 count per pound. I’ve tested this recipe with both tails on and tails off. Keeping the tails on is actually a convenient trick for easier handling; you can simply grasp the tail to dip the shrimp into the batter and transfer it to the hot oil, minimizing mess and making the process smoother. Ensure your shrimp are peeled and deveined before you begin.
- Very Cold Club Soda: This is the secret to a light, puffy, and crispy batter. The fizziness of the club soda creates tiny air pockets that expand when they hit the hot oil, resulting in a delightfully airy texture. The colder the soda, the better, as the temperature difference with the hot oil enhances this effect and prevents the batter from becoming too greasy. For a more traditional pub-style flavor, you can substitute a good quality gluten-free beer for the club soda.
- Egg: A cold, large egg acts as a binder in the batter, helping to hold everything together and contributing to the overall structure and golden color of the fried coating.
- Seasonings: A blend of paprika, seasoned salt, regular salt, onion powder, and pepper infuses the batter with a savory, well-rounded flavor that perfectly complements the sweet shrimp. Don’t skimp on these for a truly delicious result.
Mastering the Art of Gluten-Free Fried Shrimp: Step-by-Step
Creating these light and crispy gluten-free fried shrimp is easier than you might think, especially with these detailed steps. Below, you’ll find comprehensive instructions and crucial tips to ensure your success. For exact ingredient measurements, please refer to the recipe card at the bottom of this article.
1. Prep the Shrimp for Perfection
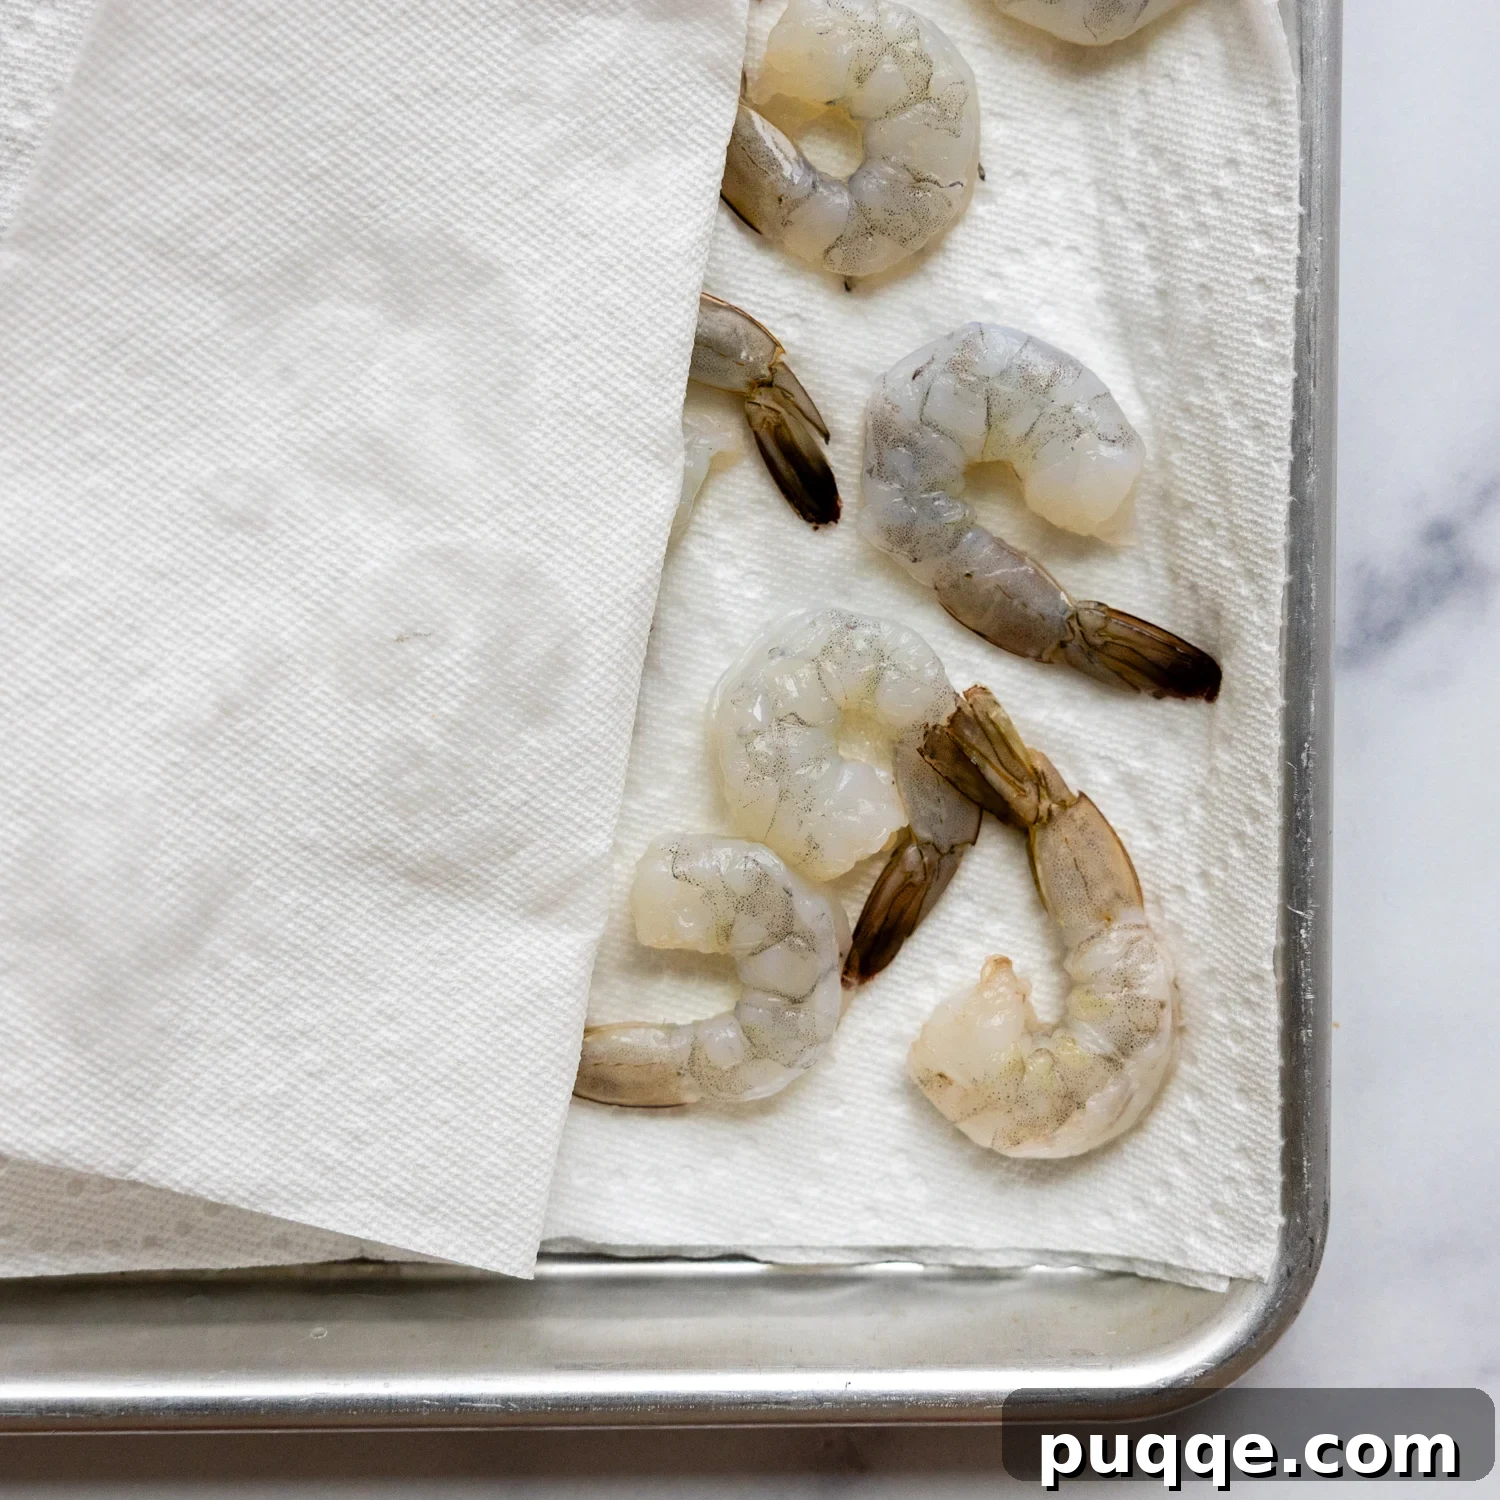
The foundation of crispy fried shrimp is well-prepared shrimp. Begin by ensuring your shrimp are fully peeled and deveined. While you can remove the tails, leaving them on provides a convenient handle for dipping and maneuvering, making the cooking process much easier. If using frozen shrimp, make sure they are completely thawed. Excess moisture is the enemy of crispy batter, so thoroughly drying the shrimp is paramount. To do this, lay the peeled shrimp in a single layer on a baking sheet lined with a double layer of paper towels. Place another layer of paper towels on top and gently press down to blot up as much excess moisture as possible. This step ensures the dredging flour adheres properly, which in turn helps the batter stick and become perfectly crisp.
2. Shortcut Dredging and Batter Prep
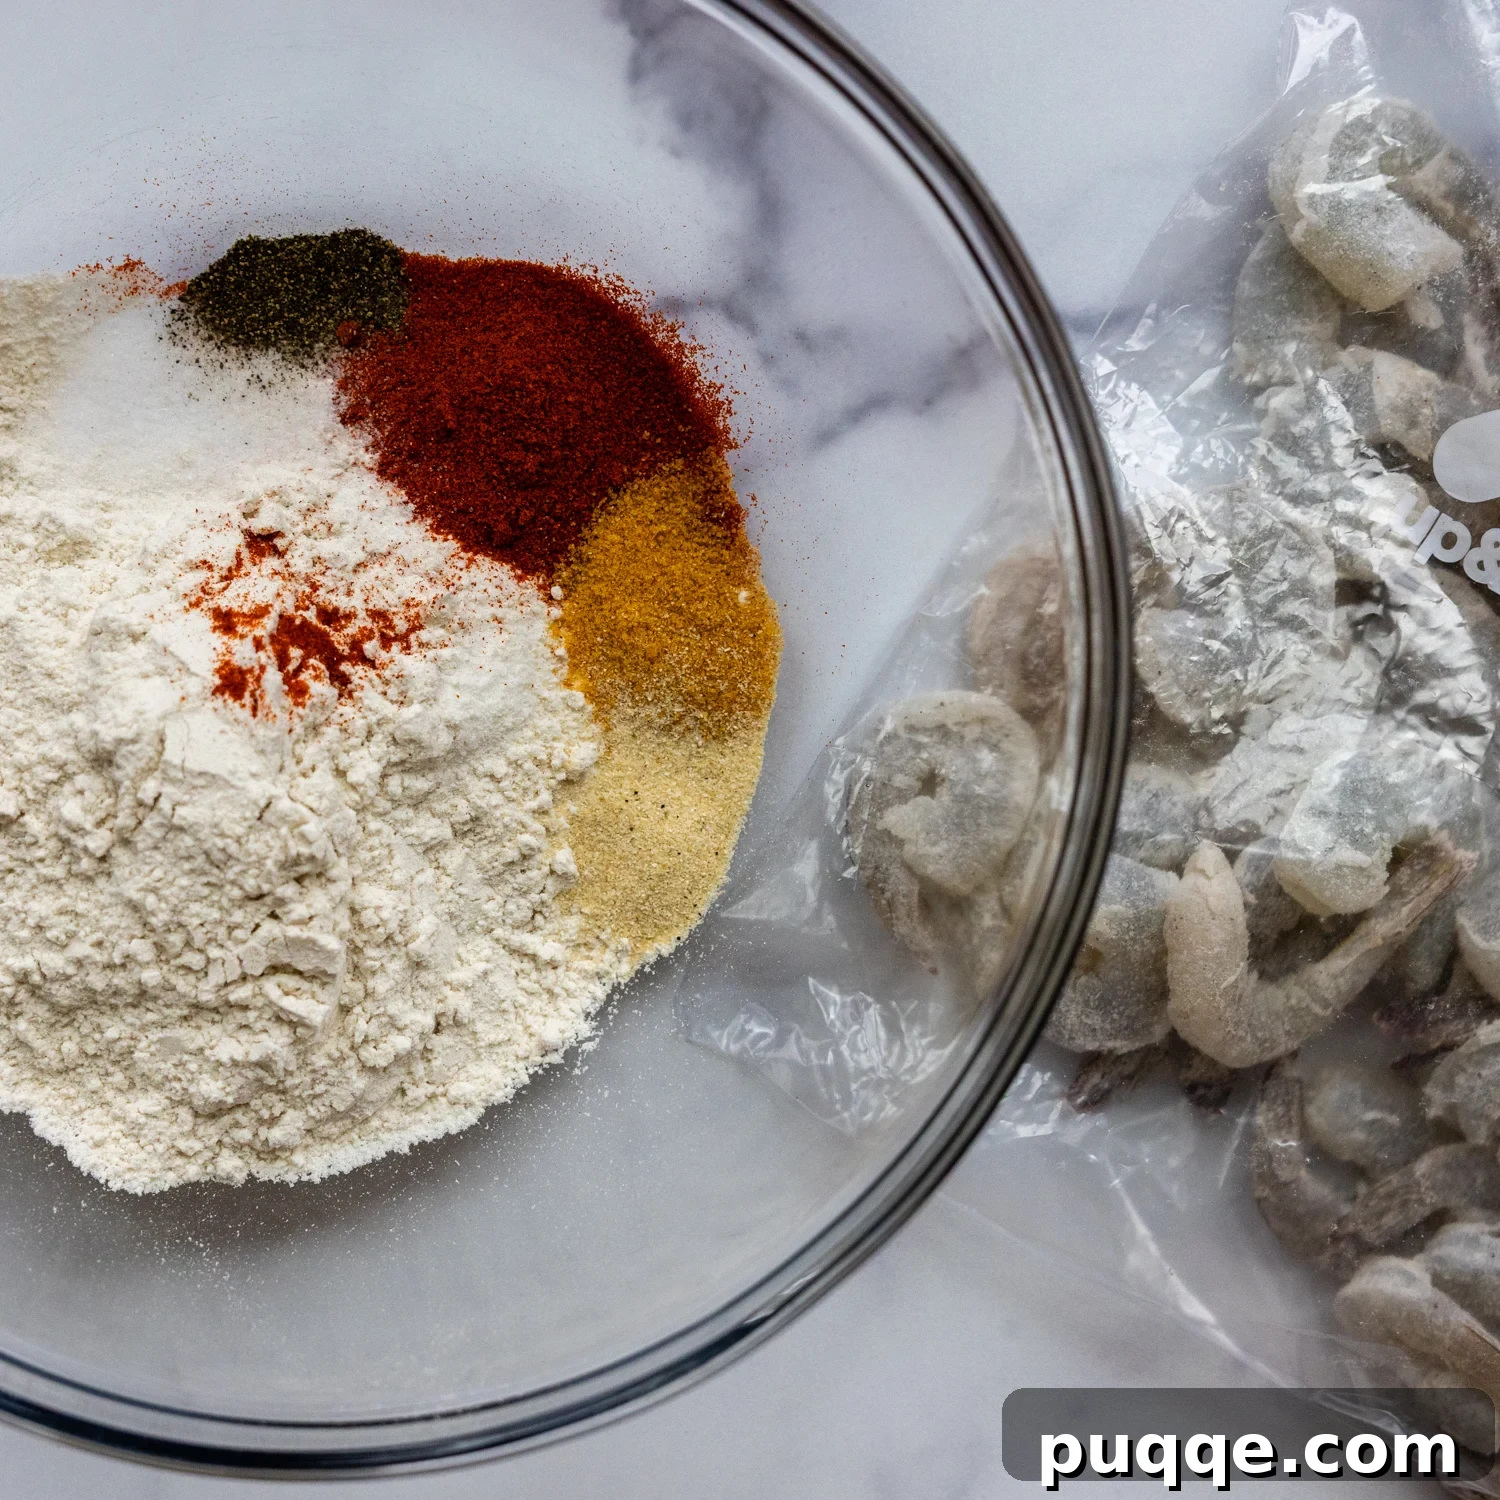
Dredging the shrimp in seasoned white rice flour creates a thin, dry layer that acts as a bridge, helping the liquid batter to cling firmly to the shrimp. For an efficient shortcut, combine the white rice flour, a pinch of salt, and pepper in a large Ziploc bag. Add the dried shrimp to the bag, seal it, and shake gently to coat each piece evenly. Set this aside. Next, prepare the dry ingredients for your batter: whisk together your chosen gluten-free flour blend, white rice flour, paprika, seasoned salt, regular salt, onion powder, and pepper in a large bowl. It’s crucial for the batter to be as cold as possible when it hits the hot oil, so hold off on adding the liquid ingredients until just before you’re ready to fry.
3. The Right Oil Temperature is Key!
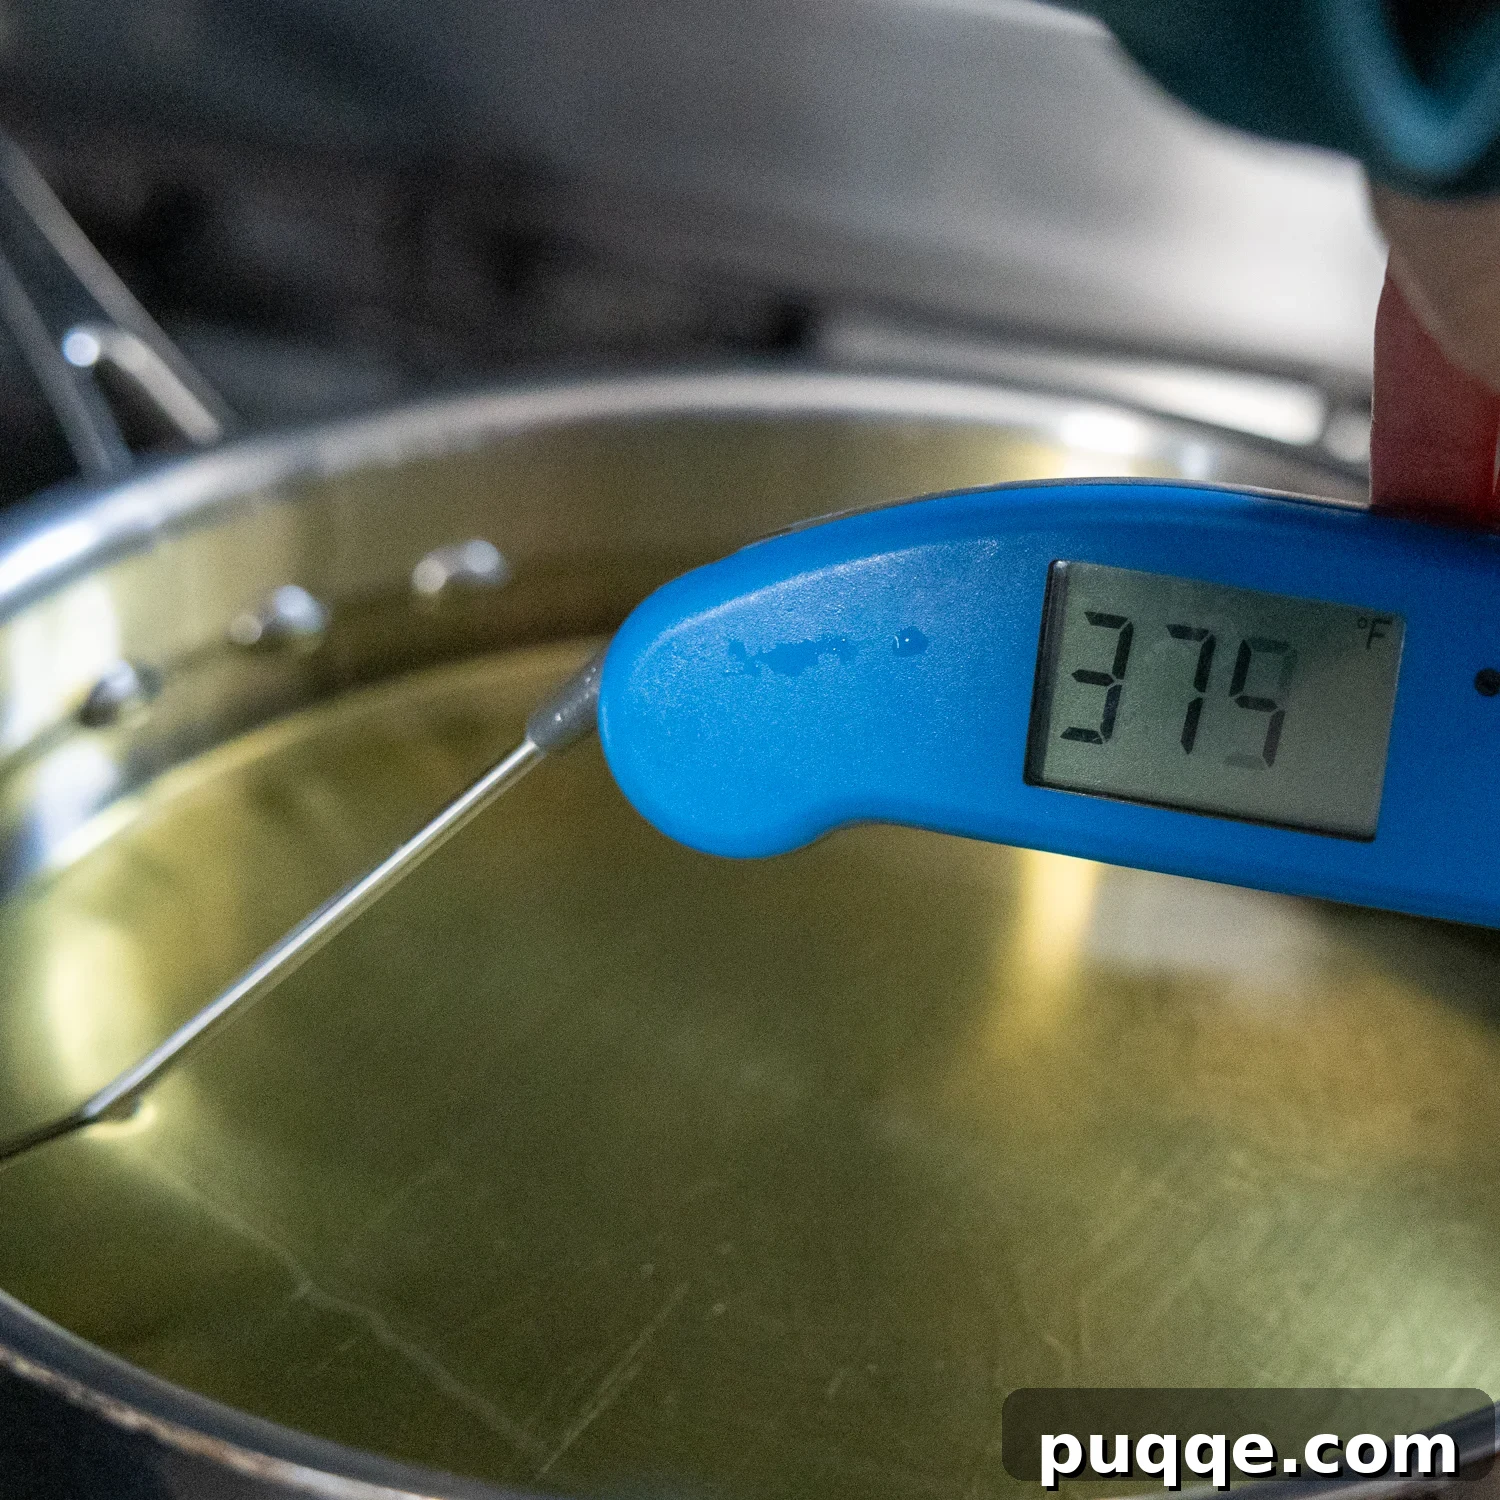
Proper oil temperature is absolutely critical for crispy, non-greasy fried shrimp. Pour a neutral oil with a high smoke point (like vegetable, canola, or peanut oil) into a large, heavy-bottomed deep skillet or Dutch oven. Ensure the oil is about 2 inches deep. Heat the oil over medium to medium-high heat until it reaches a consistent temperature of 360-375ºF (182-190°C). This can take 10-15 minutes, so be patient. Use a reliable instant-read thermometer to monitor the temperature throughout the frying process. If the oil is too cool, the batter will absorb too much oil and become greasy. If it’s too hot, the batter will brown too quickly, leaving the shrimp undercooked inside. Maintain this temperature carefully, adjusting the heat as needed.
4. Dip, Fry, and Savor!
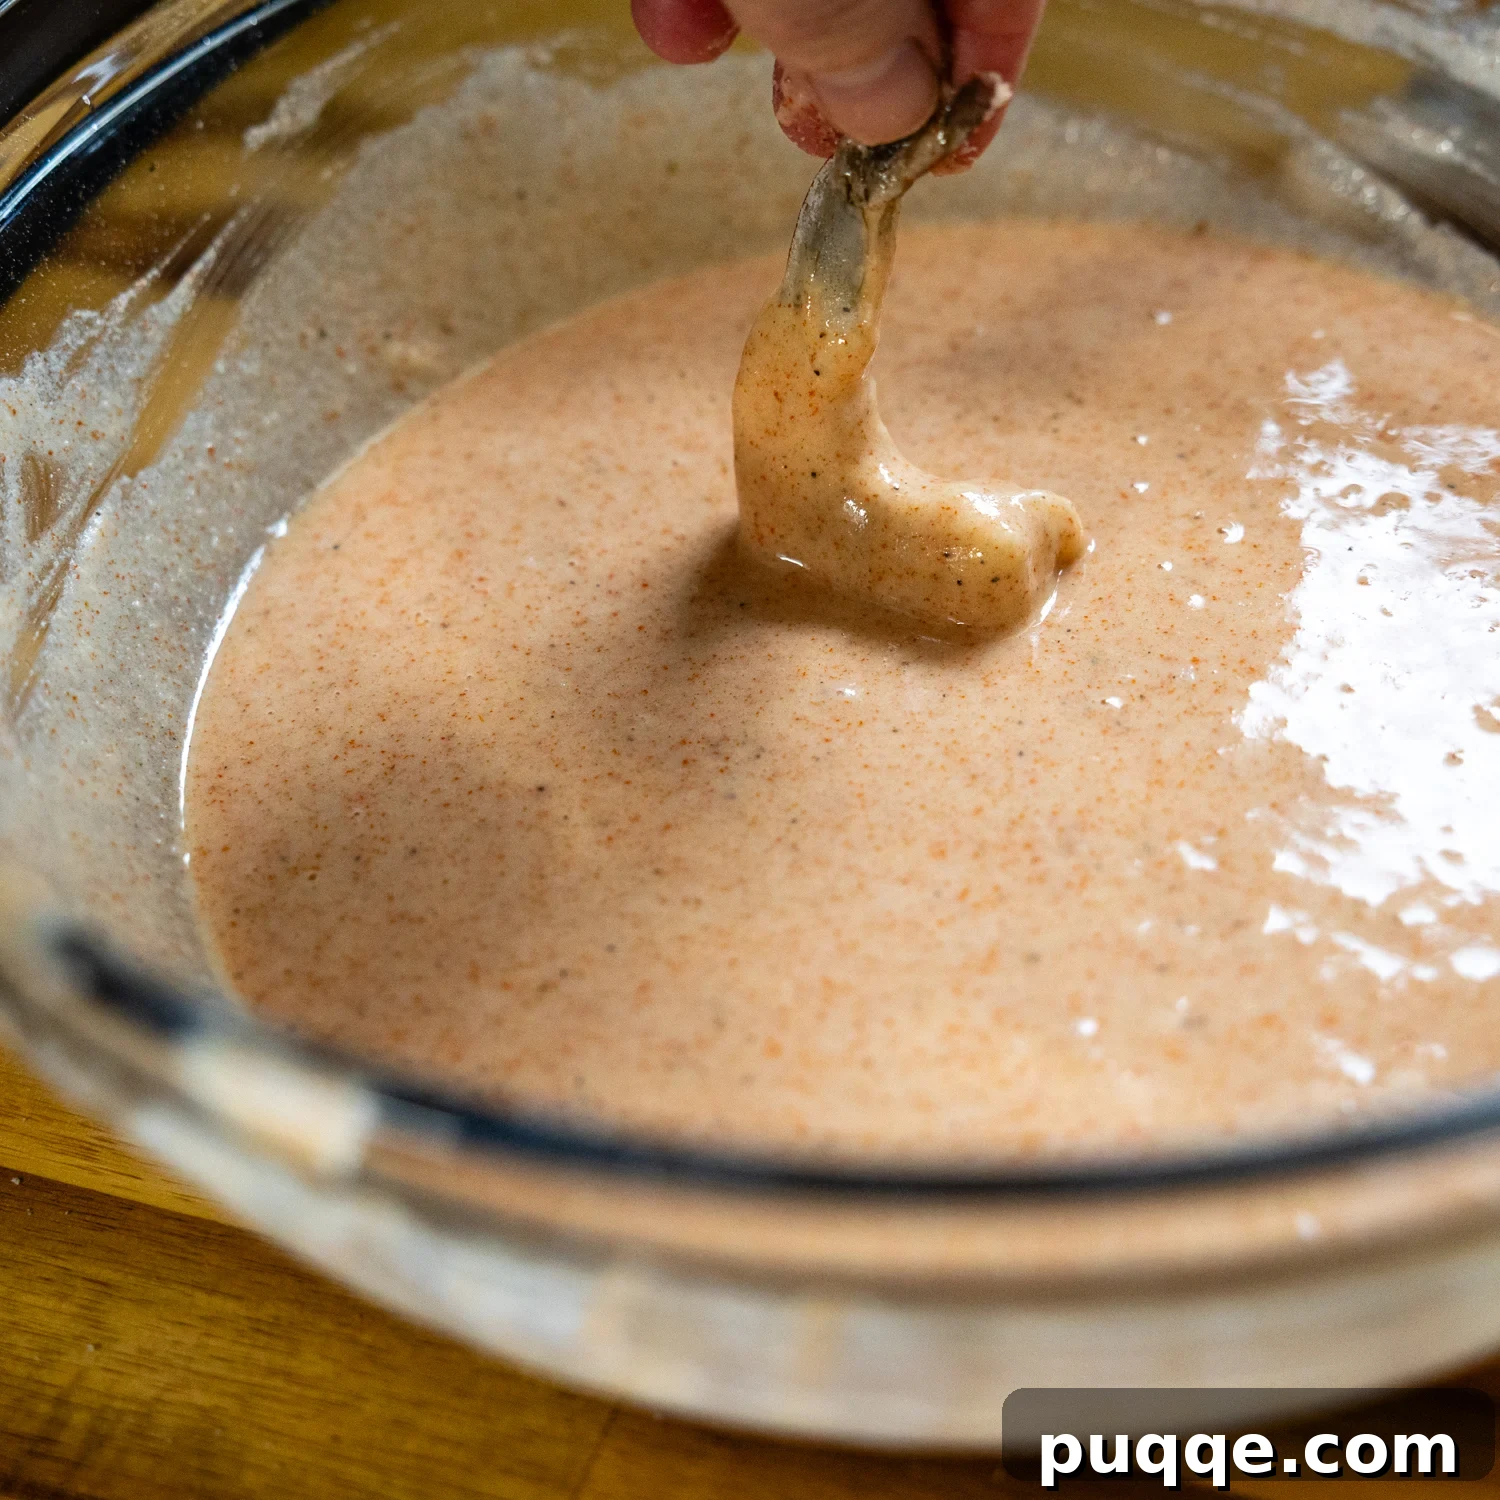
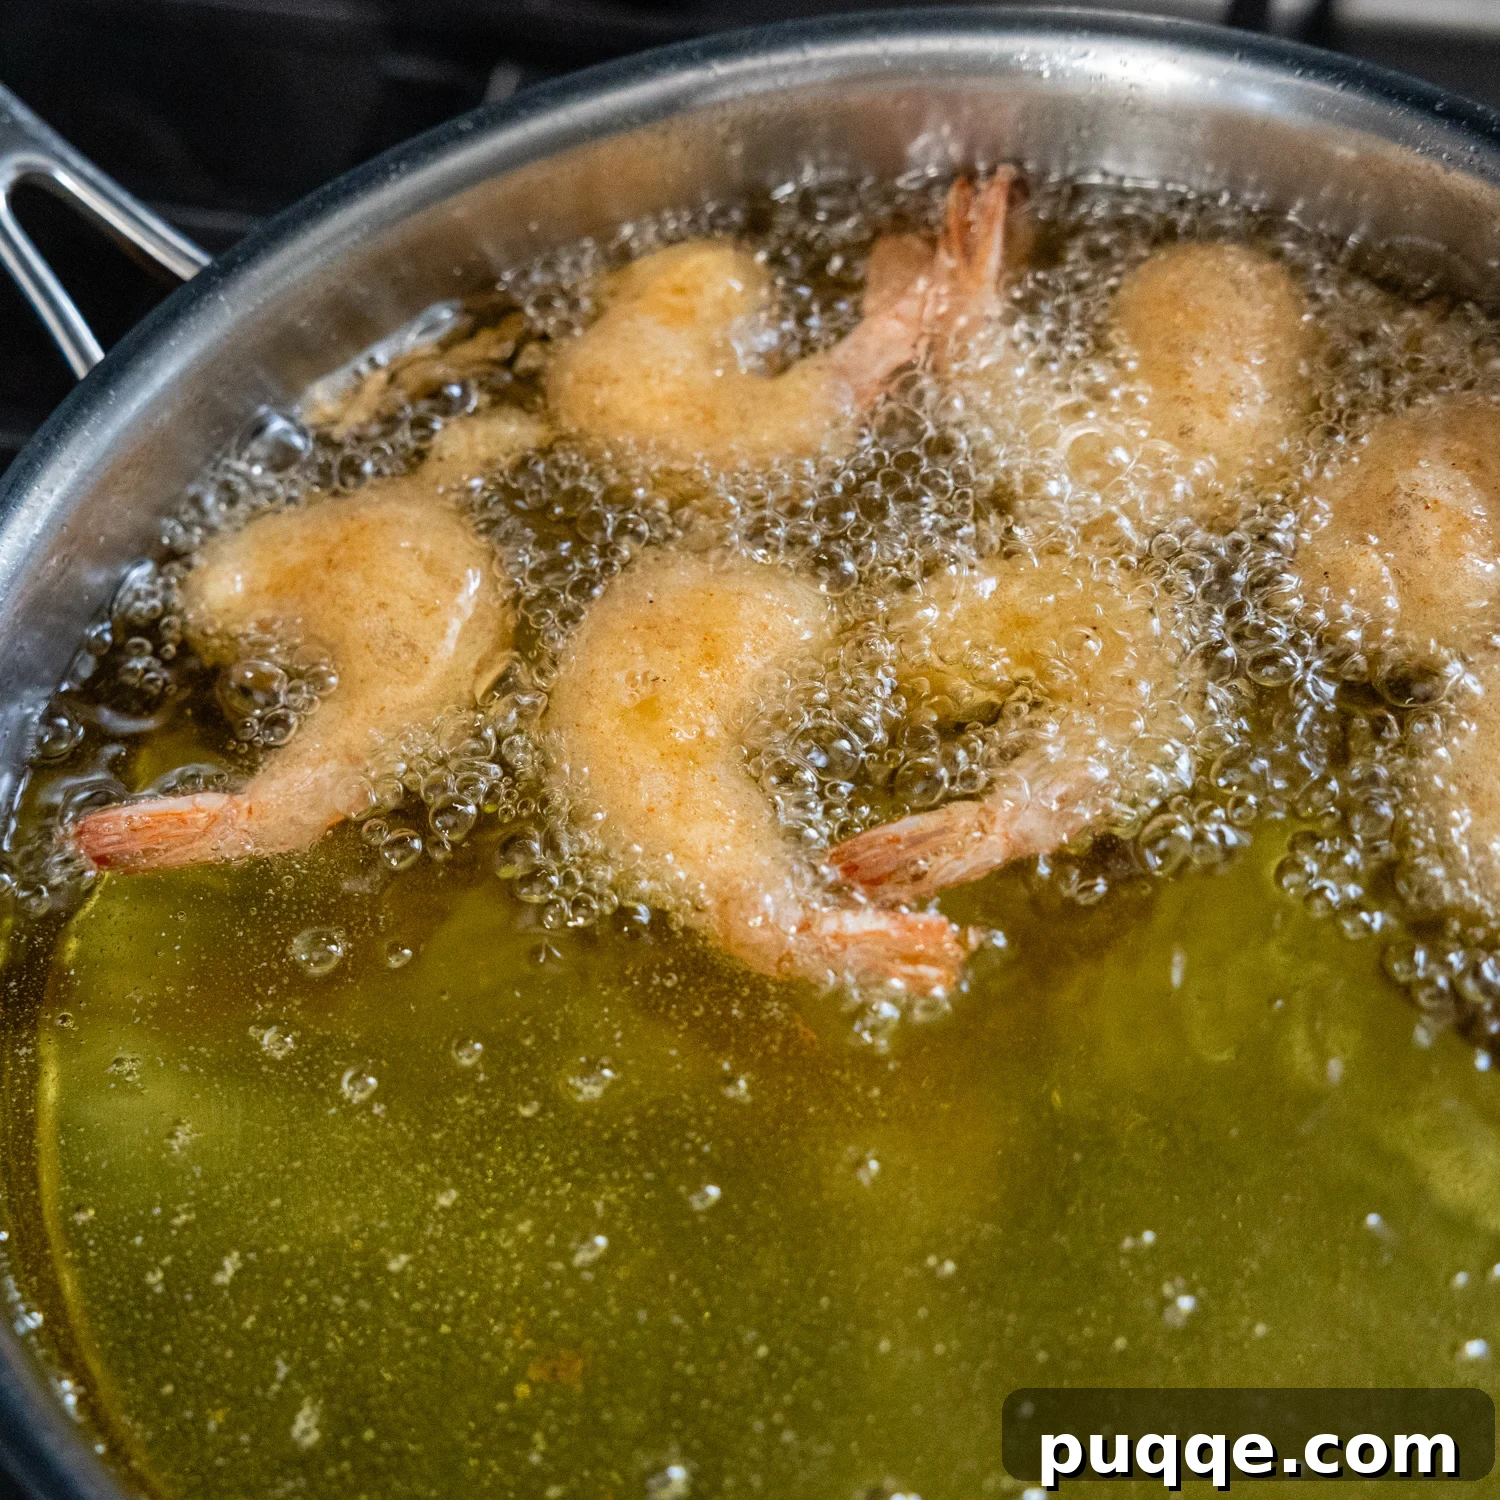
Once your oil is at the perfect temperature, it’s time to assemble your batter. Add the very cold club soda and the cold egg to the dry flour mixture. Whisk everything together until you have a smooth, relatively thin batter. Take a shrimp by its tail (if left on) and dip it fully into the batter, allowing any excess to drip off briefly. Carefully transfer the coated shrimp into the hot oil. Work in batches, frying about 7-8 shrimp at a time to avoid overcrowding the pan, which would cause the oil temperature to drop significantly. Cook for approximately 2 minutes total, flipping the shrimp halfway through to ensure even browning and crispiness on all sides. The shrimp should turn a beautiful golden brown.
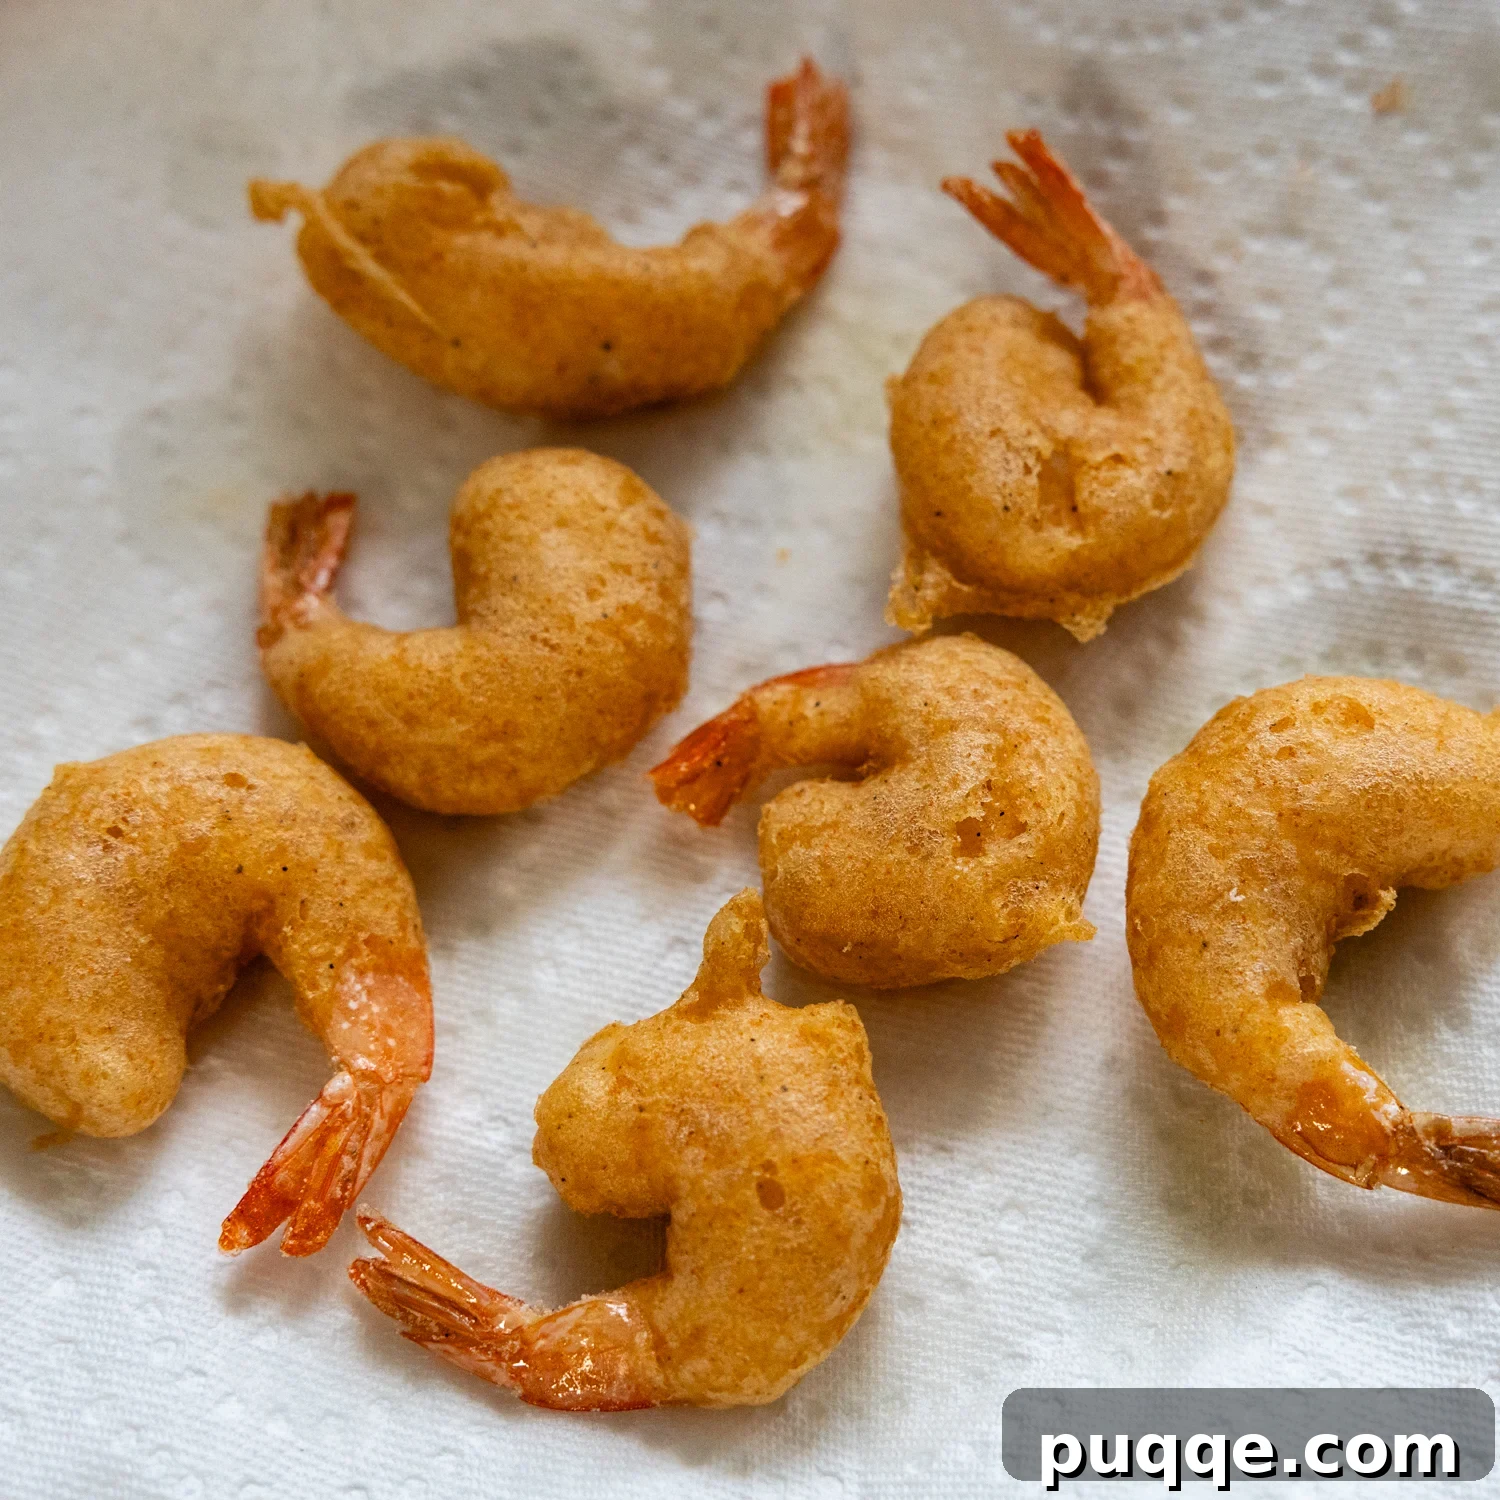
As each batch finishes cooking, use a skimmer spoon to carefully remove the fried shrimp from the oil. Transfer them first to a plate lined with paper towels to briefly absorb any excess grease. Then, immediately move them to a wire rack set inside a baking sheet in a preheated 200ºF (93°C) oven. This keeps the shrimp warm and maintains their crispiness while you continue frying the remaining batches. Serve your perfectly crispy gluten-free fried shrimp immediately and enjoy every delicious bite!
Secrets to Achieving Restaurant-Quality Fried Shrimp
Beyond the basic steps, these invaluable tips will help you consistently achieve flawlessly crispy and flavorful gluten-free fried shrimp:
- Start with Fresh Shrimp (If Possible): While frozen shrimp works wonderfully when properly thawed, fresh shrimp often contains less moisture. Less moisture translates to better batter adhesion and an even crispier end product. If using frozen, take extra care to blot the shrimp thoroughly with paper towels before dredging.
- Crucial Oil Temperature Control: This cannot be stressed enough! Maintaining the correct oil temperature (360-375ºF) is the single most important factor for success. If the oil is too cool, your shrimp will cook slowly and absorb excessive oil, resulting in a greasy, soggy batter. If it’s too hot, the exterior will burn before the shrimp cooks through. The oil temperature will naturally decrease as you add cold shrimp, so continuously check it with an instant-read thermometer and adjust your burner as needed between batches.
- Avoid Overcrowding the Pan: Frying too many shrimp at once will drastically lower the oil’s temperature, leading to greasy results. Fry in small batches (7-8 shrimp at a time) to ensure the oil stays hot and the shrimp cook evenly and quickly.
- Choose the Right Gluten-Free Flour: As mentioned, a gluten-free all-purpose flour blend without a high cornstarch content (like King Arthur Measure-for-Measure) is essential for a light, airy batter consistency. High cornstarch content can make the batter dense and difficult to coat the seafood effectively.
- Keep Your Liquids COLD: The club soda and egg should be as cold as possible. The temperature shock when the cold batter hits the hot oil creates steam, which helps the batter puff up and become exceptionally crispy. Warm batter can lead to a less airy coating.
- Experiment with Flavor (Optional): For a more traditional, rich, pub-style fried shrimp experience, consider swapping out the club soda for a good quality gluten-free beer. The malt notes in the beer will add another layer of flavor. Serve these with a side of “chips” (fries) for the ultimate British pub vibe!
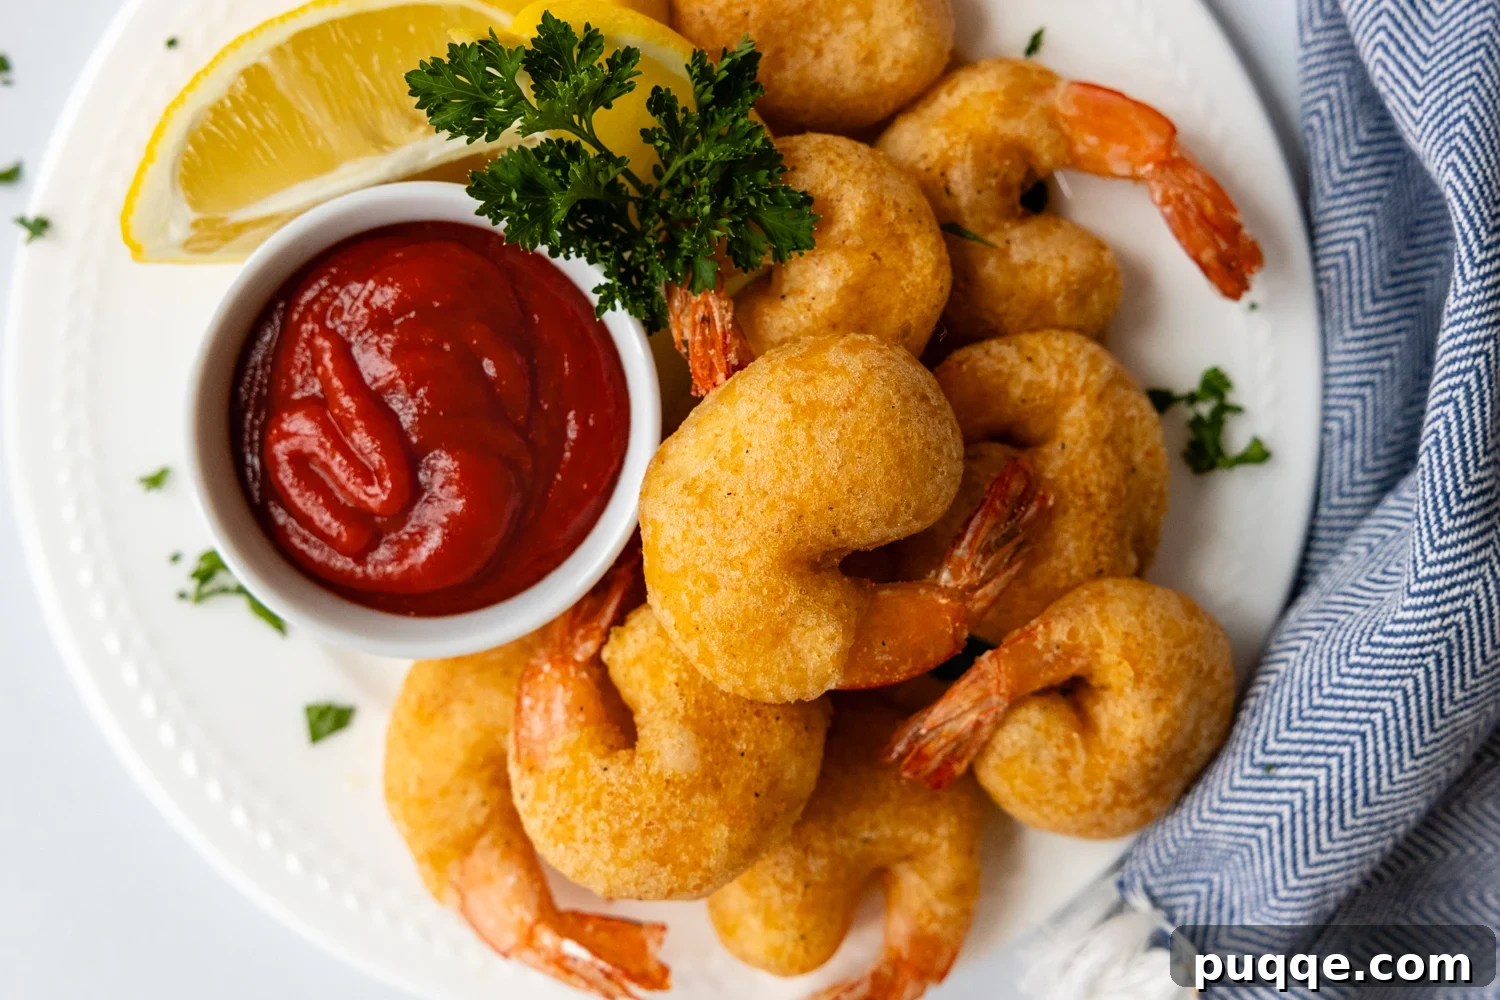
Perfect Pairings: What to Serve with Your Crispy Shrimp
Your perfectly crispy gluten-free fried shrimp deserves to be enjoyed with equally delicious accompaniments. Here are some ideas to complete your meal:
- Classic Dipping Sauces:
- Cocktail Sauce: A tangy, zesty classic that beautifully complements shrimp. Consider making your own for a fresher taste.
- Tartar Sauce: Creamy, savory, and often packed with pickles and herbs, tartar sauce is a quintessential fried seafood companion.
- Remoulade Sauce: A richer, often spicier cousin to tartar sauce, offering a vibrant kick of flavor.
- Bang Bang Sauce: For those who love a sweet and spicy kick, this chili-mayo based sauce is incredibly popular.
- Fresh Lemon Wedges: Sometimes, the simplest addition is the best. A squeeze of fresh lemon juice brightens the flavor of the shrimp and cuts through the richness of frying.
- Hearty Side Dishes:
- Copycat Red Lobster Gluten-Free Cheddar Bay Biscuits: This recommendation is a must! Fluffy, cheesy, and garlicky, they perfectly mimic the beloved restaurant classic.
- Creamy, Tangy Gluten-Free Coleslaw: A refreshing and crunchy side that provides a lovely contrast to the fried shrimp.
- French Fries or Sweet Potato Fries: The ultimate pub-style pairing! Ensure your fries are also prepared in a gluten-free manner.
- Gluten-Free Hush Puppies: Small, savory cornmeal fritters that are fantastic alongside fried seafood.
- Corn on the Cob: Sweet and simple, especially in season.
- Light Green Salad: A fresh salad with a vinaigrette can offer a refreshing balance.
- Beverage Pairings: A crisp, cold gluten-free beer, a glass of dry white wine (like Sauvignon Blanc or Pinot Grigio), or even a refreshing iced tea would all make excellent choices.
Storing and Reheating Your Delicious Fried Shrimp
As with most fried foods, gluten-free shrimp is undeniably best enjoyed immediately after it’s made. The crispiness is at its peak right out of the fryer. However, I understand that sometimes leftovers happen, and I’m happy to report that I’ve had great success warming them up without a significant loss of texture. Here’s how to do it right:
- Storage: Allow any leftover fried shrimp to cool completely before transferring them to an airtight container. Store in the refrigerator for up to 2-3 days.
- Best Reheating Method – Air Fryer: For the absolute best results and to revive that crispy exterior, the air fryer is your secret weapon. Preheat your air fryer to 350ºF (175°C). Arrange the shrimp in a single layer in the air fryer basket, ensuring they are not touching. Cook for approximately 3-5 minutes, shaking the basket halfway through, until they are heated through and gloriously crisp again.
- Next Best Reheating Method – Oven: If you don’t have an air fryer, your oven is the next best choice. Preheat your oven to 375ºF (190°C). Place a wire rack inside a baking sheet and arrange the shrimp in a single layer on top of the rack. This allows air to circulate around the shrimp, helping to crisp them up from all sides. Bake for about 5-7 minutes, or until heated through and crispy.
- Microwave? No Way, Sorry. 🤷♀️: Please, for the sake of your delicious shrimp, avoid the microwave! Microwaving will steam the batter, turning it soggy and chewy, completely ruining the texture we worked so hard to achieve. Stick to the air fryer or oven for optimal reheating.
Save This Recipe to Your Pinterest Board!
Let’s be friends on Pinterest! I’m always sharing great recipes!
Did you make this recipe? I love hearing from you! Leave a star rating and comment below the recipe card. It helps others when searching for recipes and I appreciate feedback from our community. You will always hear back from me! -Melissa
5 stars (1 rating)
Battered Crispy Gluten-Free Fried Shrimp

Melissa Erdelac
This gluten-free recipe for light, crispy shrimp lives up to the best pub-style meal you ever remember having. An easy gluten-free shrimp batter uses fizzy soda water to achieve an ultra airy, tempura-like coating that stays on, even with deep frying. I’ll show you how!
Pin Recipe
Rate This Recipe
Remove Ads
Ingredients
For Dredging
- ¼ cup white rice flour
- ¼ teaspoon salt
- ⅛ teaspoon pepper
Gluten-Free Batter
- 1 ½ pounds large peeled shrimp, tails on
- 1 cup gluten-free all purpose flour blend, King Arthur Measure-for-Measure recommended, see recipe notes
- ¼ cup white rice flour
- 1 tablespoon paprika
- 1 teaspoon seasoned salt
- ½ teaspoon salt
- ½ teaspoon onion powder
- ¼ teaspoon pepper
- 12 ounces club soda, very cold
- 1 large egg, cold
Equipment
- Deep Skillet
- Skimmer Spoon
- Instant Read Thermometer
Instructions
- Line a baking sheet with a double layer of paper towels. Lay the 1 ½ pounds large peeled shrimp on the paper towels. Place another layer on top and press gently to blot up excess moisture. Set aside while the shrimp batter is prepared and oil preheats.
- In a large ziplock bag, combine the mixture for dredging: ¼ cup white rice flour, ¼ teaspoon salt, and ⅛ teaspoon pepper. Shake to combine and set aside.
- Preheat the oven to 200℉ (93°C). Place a wire rack inside a baking sheet and set it in the oven. Line a separate plate with paper towels. After the shrimp cooks, it will be transferred from the oil to this plate, then to the warm oven to keep warm while frying batches.
- For the batter, in a large bowl, whisk together the dry ingredients: 1 cup gluten-free all purpose flour blend, ¼ cup white rice flour, 1 tablespoon paprika, 1 teaspoon seasoned salt, ½ teaspoon onion powder, ¼ teaspoon pepper, and ½ teaspoon salt. Set aside. You will add the cold, liquid ingredients right before frying so the batter stays cold.
- Pour the oil into a large, heavy-bottomed deep skillet. Add enough oil until it covers about 2 inches deep. Heat over medium to medium-high heat until it reaches a temperature of 360-375ºF (182-190°C). This will take about 10-15 minutes to heat. Use an instant thermometer to maintain and keep testing the oil temp. Adjust the heat accordingly throughout frying.
- While the oil is heating, add the shrimp to the ziplock bag and shake to coat evenly. When the oil is the proper cooking temp, add the 12 ounces club soda and 1 large egg to the dry batter ingredients. Whisk to combine until smooth.
- Take shrimp from the ziplock bag and dip into the batter bowl by holding the tail. Coat all sides up to the tail. Let the excess drip off and carefully transfer to the hot oil. Cook about 7-8 shrimp at a time. Do not overcrowd the pan or the oil temperature will reduce too much. Cook for 2 minutes total, flipping halfway through for even cooking and browning.
- Transfer the cooked shrimp to the paper towel-lined plate to briefly absorb excess grease, then transfer to the wire rack on the baking sheet in the warm oven. Repeat with remaining shrimp. Serve immediately.
Notes
Gluten-Free Flour
King Arthur Measure-for-Measure gluten-free flour or a flour blend that doesn’t contain cornstarch as a main ingredient, yields a better batter consistency. Otherwise the batter becomes too thick and doesn’t coat the seafood well, resulting in a heavier texture.
Please leave a star rating and review below. It helps others when searching for recipes and I LOVE feedback!