
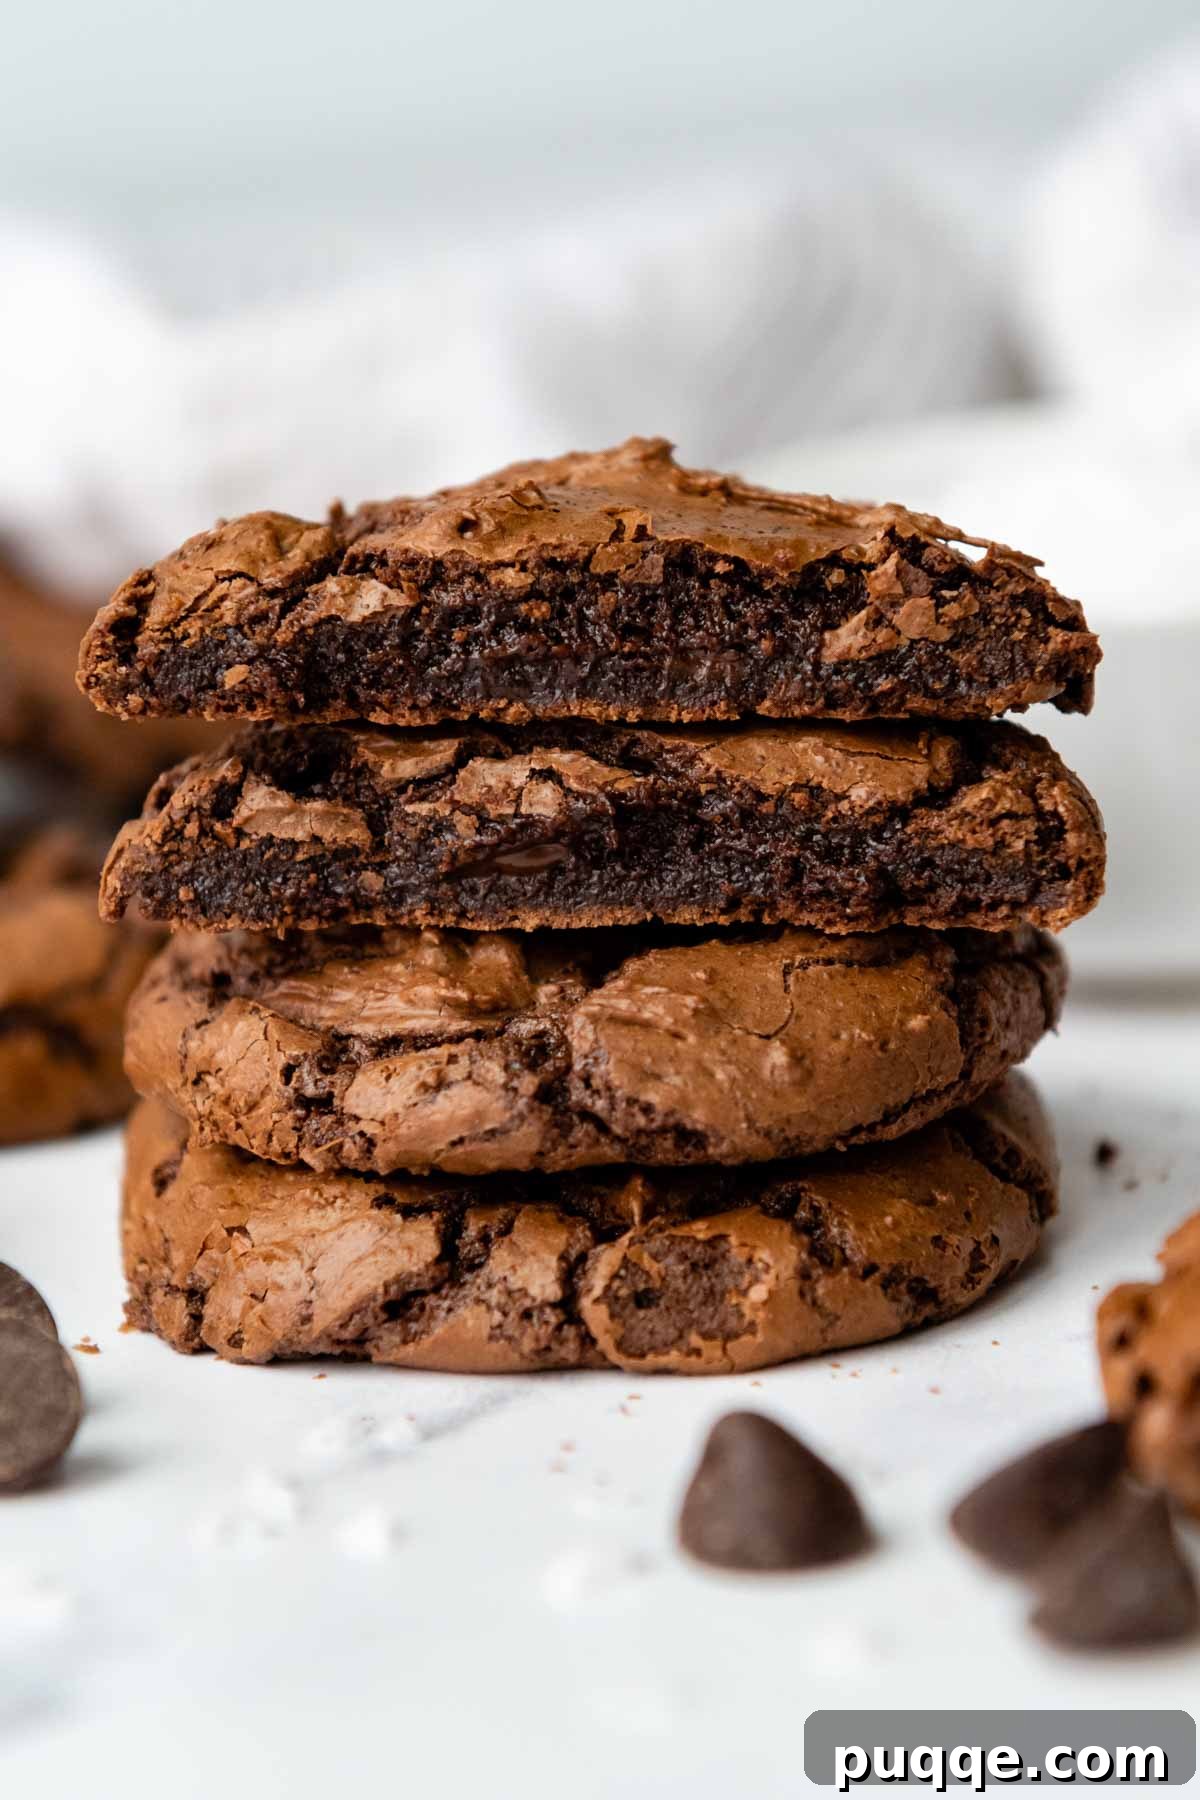
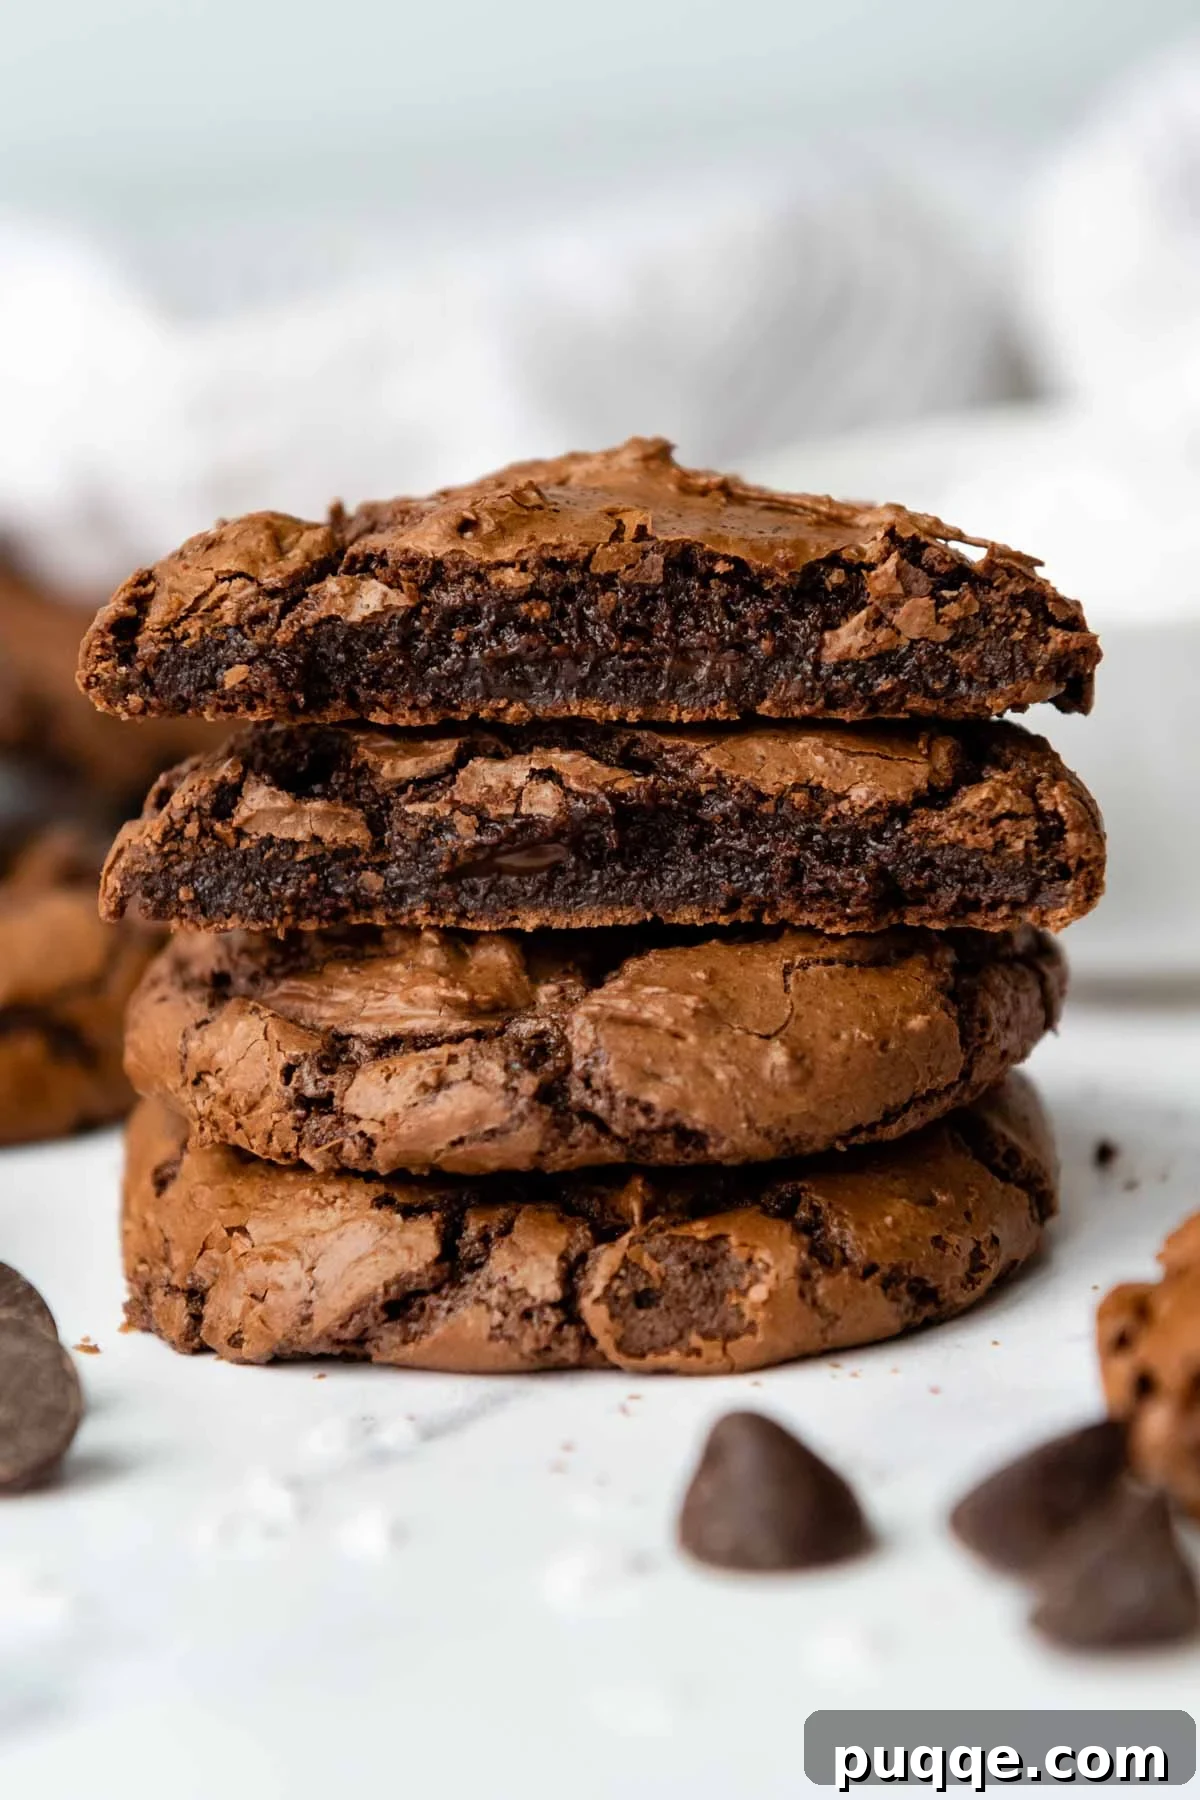
Gluten-free brownie cookies offer an irresistible fusion of two beloved desserts: the rich, deep chocolate flavor and ultra-fudgy texture of a classic brownie, combined with the convenience and satisfying chewiness of a perfect cookie. This incredibly easy recipe promises flawless results every time, featuring those signature crinkly, shiny tops that betray their brownie heritage. Best of all, it utilizes simple, accessible ingredients and includes straightforward modifications for those seeking a dairy-free treat. Prepare yourself for a quick chocolate fix that will surely become a new favorite!
Crafting the Perfect Gluten-Free Brownie Cookie
For those perpetually searching for the ultimate chocolate indulgence, these gluten-free fudgy brownie cookies represent the pinnacle of dessert innovation. This recipe masterfully combines the best attributes of highly-praised fudgy flourless chocolate cookies and classic gluten-free double chocolate cookies, elevating them into an unforgettable, next-level dessert experience. The goal was to create a cookie that delivers intense chocolate flavor and a delightfully chewy, fudgy texture without any of the common pitfalls often associated with gluten-free baking.
The journey to perfecting this recipe involved a careful selection of ingredients and techniques. Initially, I aimed to avoid more “fussy” ingredients like bittersweet chocolate, favoring the simplicity of cocoa powder. However, relying solely on cocoa powder consistently yielded cookies that were dry and lacked the rich, deep chocolate essence I was striving for. This led to a pivotal change in strategy, drawing inspiration from the successful methods used in my popular easy homemade almond flour brownies.
By melting semi-sweet chocolate chips with butter, we achieve a dual benefit: a profoundly rich, chocolatey flavor profile and a significant boost in fudgy moisture, which is crucial for gluten-free baked goods. Integrating a touch of unsweetened cocoa powder alongside the melted chocolate further deepens the chocolate intensity, providing a complex and satisfying taste that truly mimics a high-quality brownie. This strategic combination ensures every bite is bursting with rich, authentic chocolate goodness.
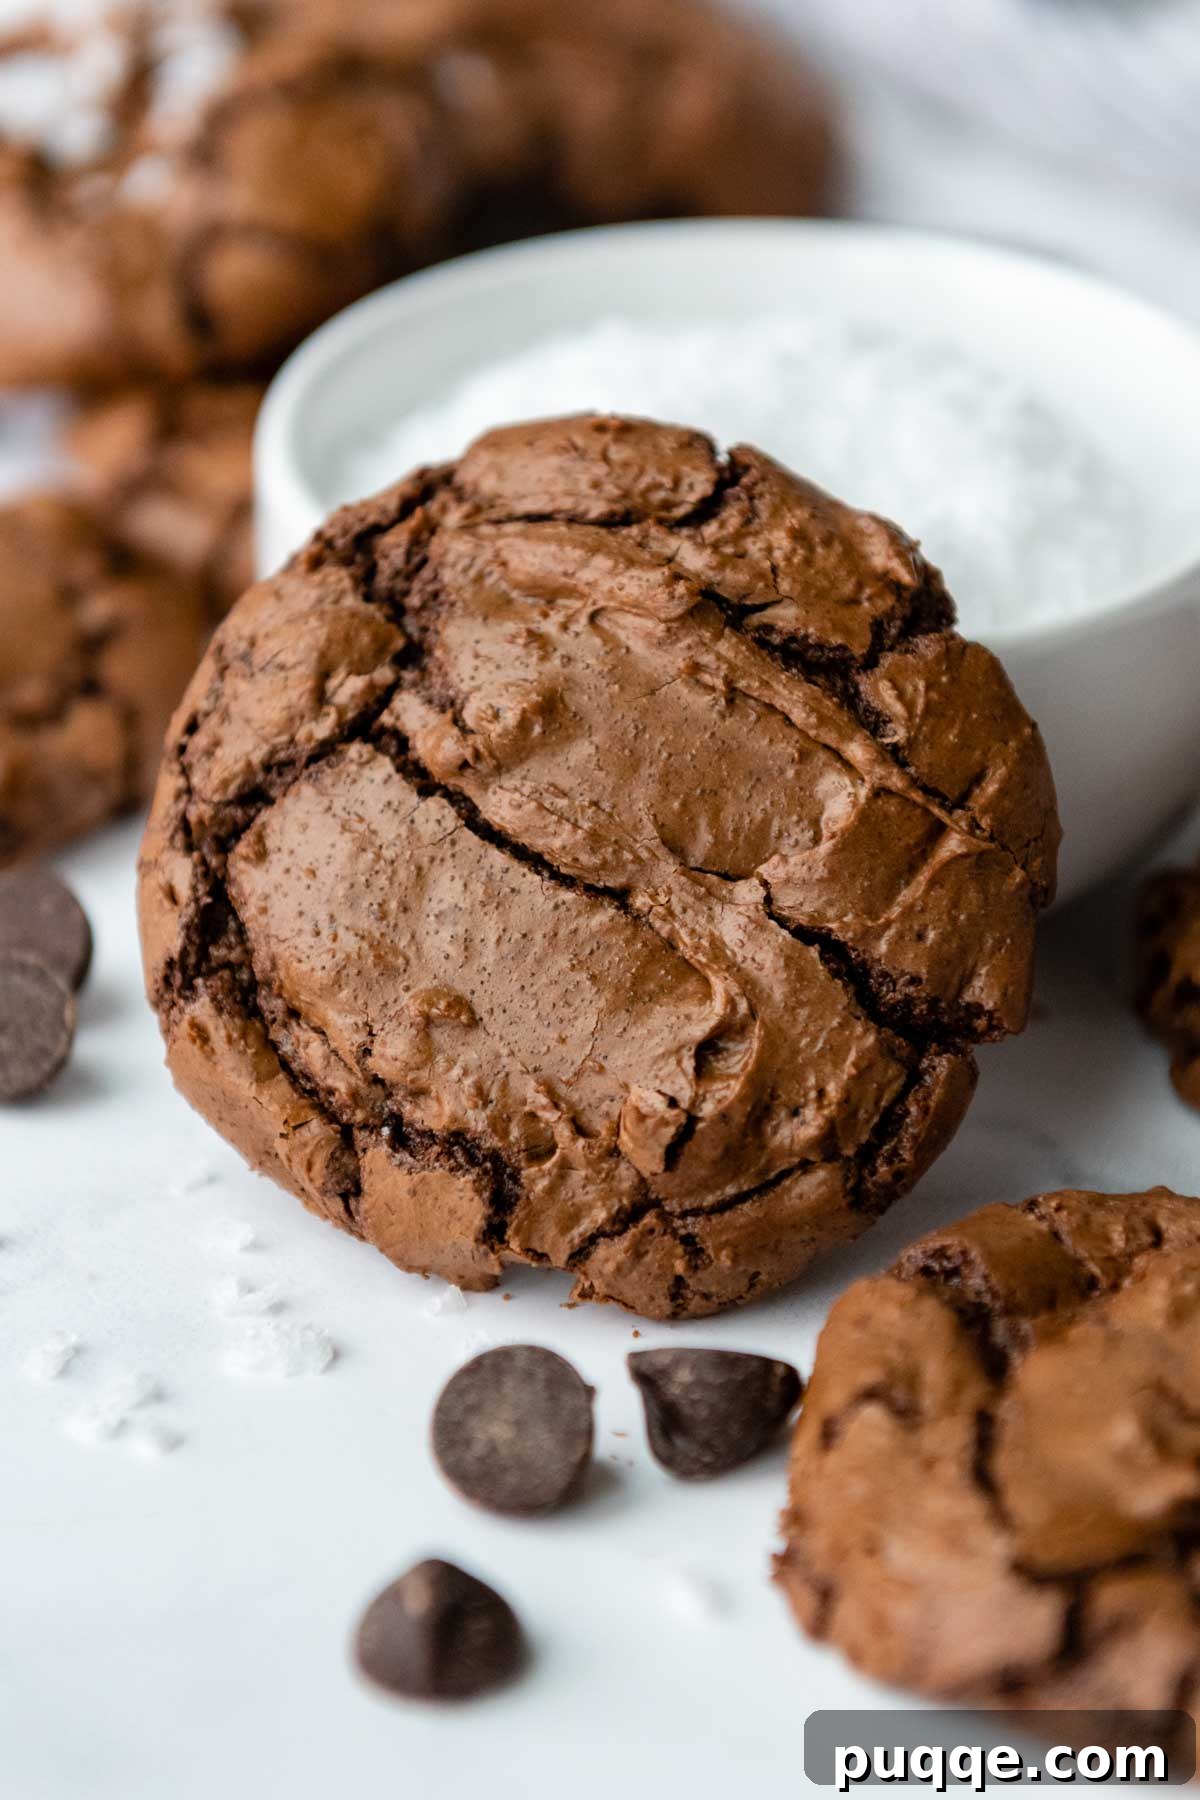
Another key aspiration for these cookies was to achieve that signature crinkly, shiny top and a perfect spread, hallmarks of an expertly baked brownie. While traditional gluten-free cookie recipes often benefit from resting the dough to improve texture, I discovered that this approach made the brownie cookie batter too thick and challenging to work with. The solution? Baking the cookies immediately after mixing at a slightly lower oven temperature. This method not only made the dough incredibly easy to scoop onto baking trays but also ensured soft, delightfully fudgy centers without any grittiness, all while preserving those coveted crinkly tops.
These were truly delicious! They took almost no time to prepare and turned out absolutely perfect. I honestly wouldn’t have known they were gluten-free. I’ll definitely be sharing this recipe and making them again!
—Sophie
Essential Ingredients for Perfect Brownie Cookies
Just like all the recipes featured on MamaGourmand and within my comprehensive gluten-free cookbook, I am dedicated to using affordable and readily available ingredients. These fudgy gluten-free brownie cookies are no exception, relying on everyday kitchen staples to deliver exceptional results. Understanding the role of each ingredient is key to achieving that perfect texture and flavor.
- Chocolate (Chips & Cocoa Powder): This recipe employs a powerful combination of melted semi-sweet chocolate chips and unsweetened cocoa powder. The melted chocolate chips provide essential moisture and contribute significantly to the fudgy texture, while also imparting a rich sweetness. Unsweetened cocoa powder, on the other hand, intensifies the overall chocolate flavor, adding depth and complexity. This double chocolate approach is particularly effective in gluten-free baking, as it helps to properly hydrate gluten-free flour blends and build structure, preventing a dry or crumbly outcome.
- Butter: Unsalted butter is melted with the chocolate chips over low heat, simplifying the mixing process and ensuring a smooth, cohesive base for the cookies. For convenience, you can also melt the butter and chocolate in a microwave, using 20-second intervals and stirring thoroughly after each to prevent burning. Alternatively, a double boiler can be used for a gentle, even melt.
- Sugars (Brown & Granulated): A thoughtful blend of both light brown sugar and granulated sugar is used. Brown sugar is crucial for imparting a lovely chewiness and a subtle caramel note, contributing to the classic brownie texture. Granulated sugar, with its finer crystals, plays a vital role in developing the cookie’s structure and promoting those desirable crinkly tops.
- Gluten-Free Flour Blend: The choice of gluten-free flour is paramount for texture and consistency. I highly recommend Cup4Cup gluten-free flour for this recipe due to its excellent performance in achieving a non-gritty, soft crumb. For more detailed information on why specific blends are recommended and suitable alternatives, please refer to the dedicated gluten-free flour section below.
- Baking Powder: While many traditional cookie recipes rely on baking soda for chewiness, brownie cookies require a bit more lift to achieve their characteristic soft, cake-like yet fudgy interior. Baking powder provides the necessary leavening, ensuring a perfect rise and light texture.
- Eggs: Large eggs bind the ingredients together, adding moisture and richness, and contributing to the chewy texture. Using room temperature eggs helps them incorporate more smoothly into the batter, leading to a more uniform consistency.
- Vanilla Extract: A touch of pure vanilla extract enhances the chocolate flavor, adding a warm, aromatic note that elevates the overall taste profile.
- Salt: A small amount of salt balances the sweetness and brings out the full depth of the chocolate, preventing the cookies from tasting overly saccharine.
Let’s Bake These Fudgy Brownie Cookies Together!
(The following outlines step-by-step photos and detailed instructions. For the complete recipe, including precise ingredient measurements, please scroll down to the full recipe card below.)
Preparation and Chocolate Magic
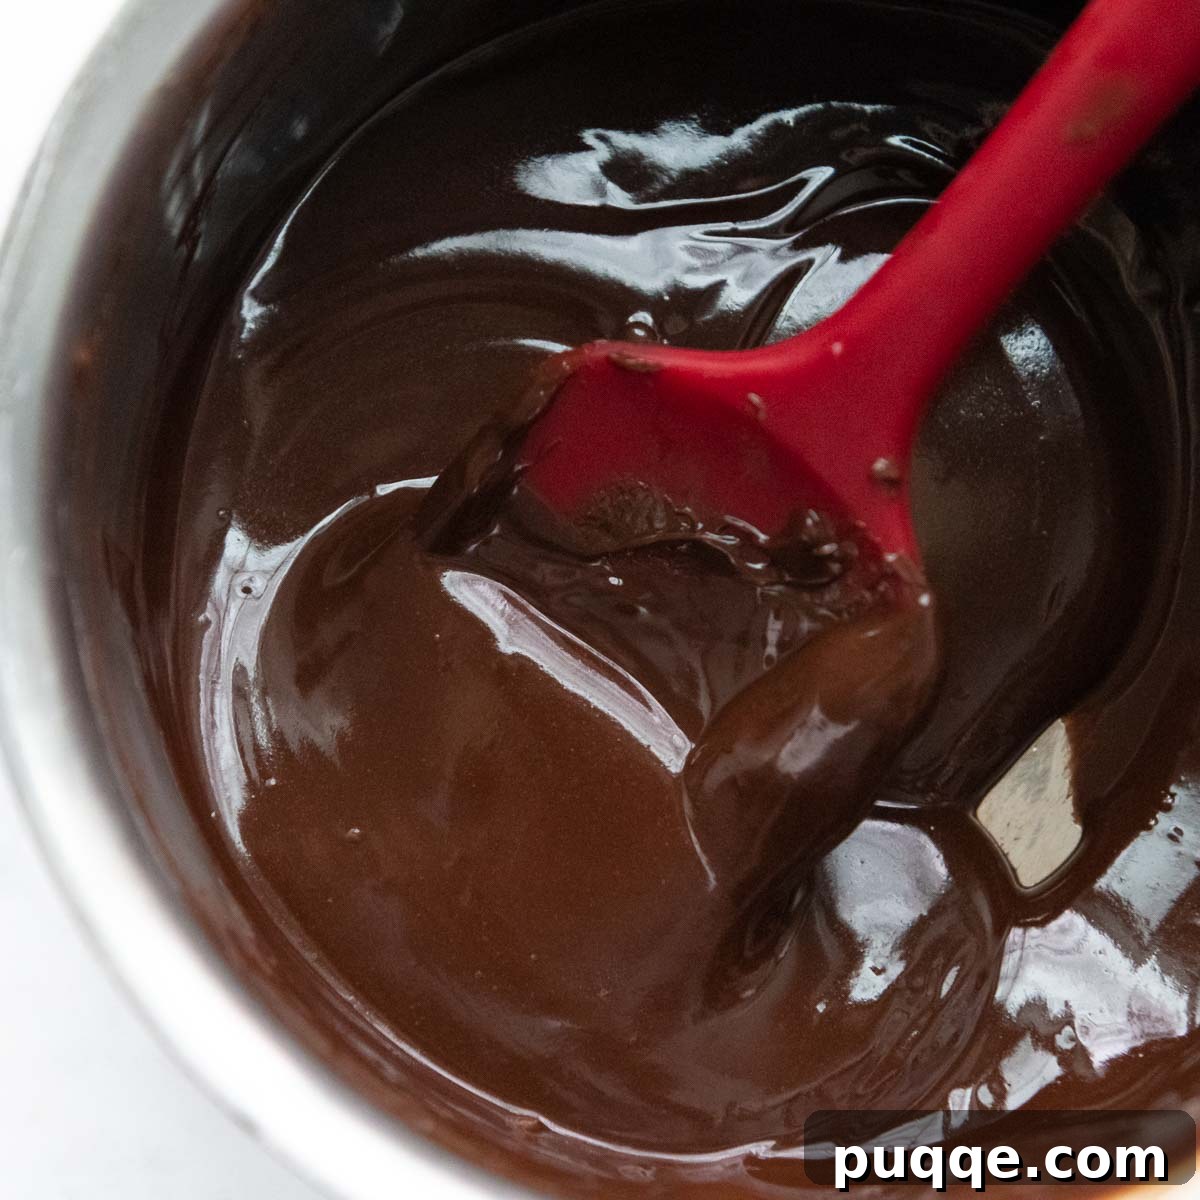
Begin by preheating your oven to 325°F. This specific lower temperature is key for gluten-free cookies (see Why Bake GF Cookies at Lower Temperature for an in-depth explanation!). Next, in a small saucepan over low heat, gently melt the butter with 1 cup of semi-sweet chocolate chips, stirring continuously. As soon as the chocolate chips and butter are approximately 90% melted, remove the saucepan from the heat and continue stirring until the mixture is completely smooth and glossy. Set this rich chocolate mixture aside to cool slightly.
Combine Wet Ingredients
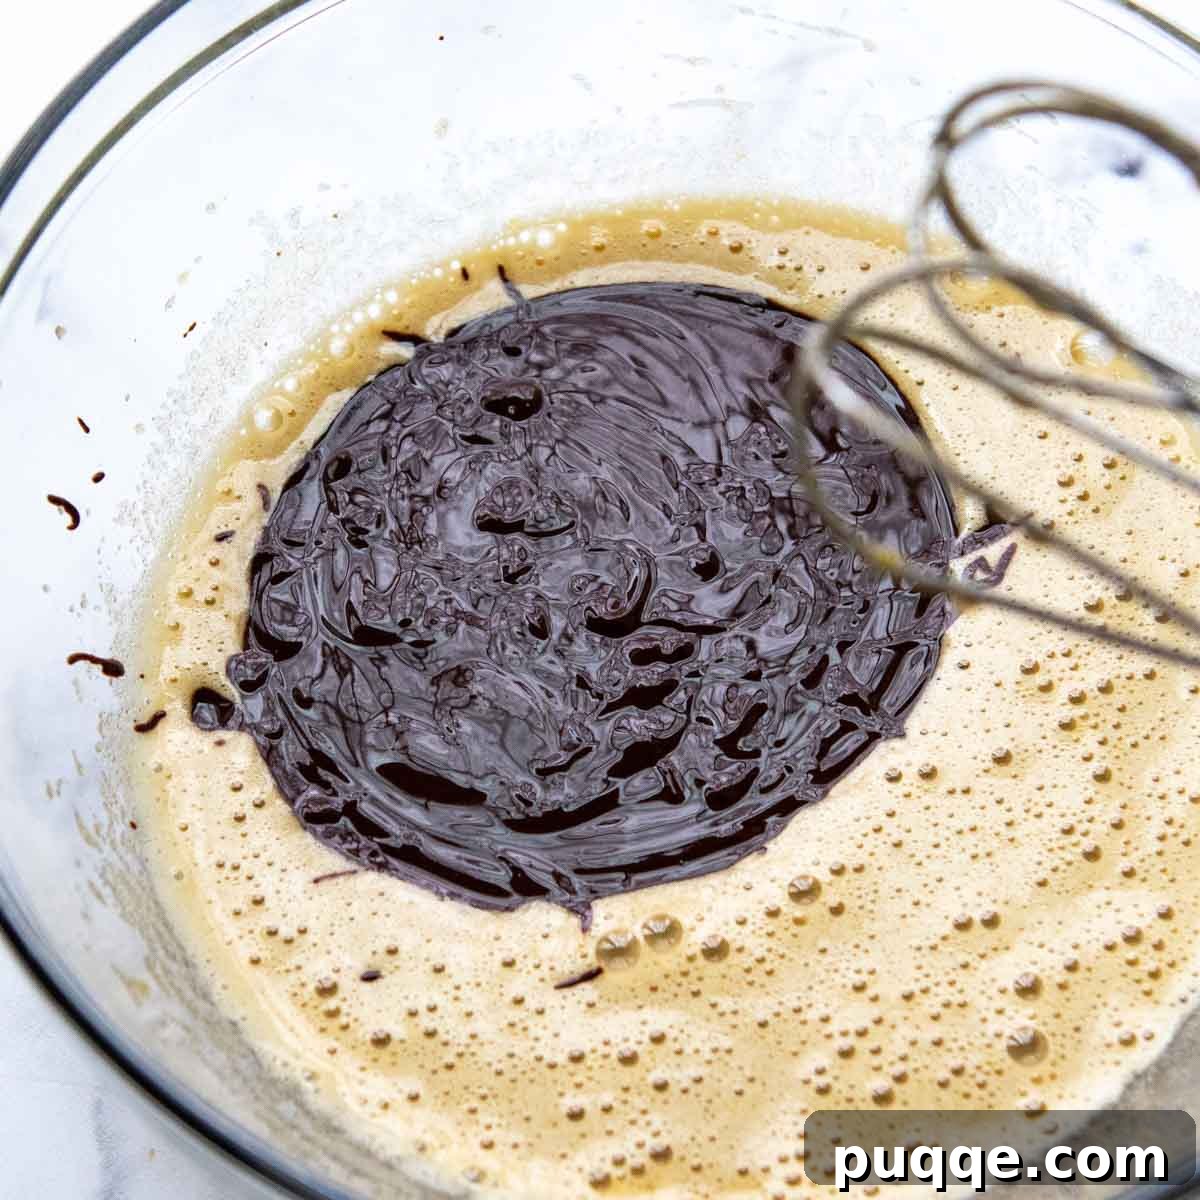
In a large mixing bowl, combine the light brown sugar, granulated sugar, room temperature eggs, and vanilla extract. Beat these ingredients together thoroughly until they are well combined and smooth. Then, gradually add the slightly cooled chocolate-butter mixture to the bowl. Continue beating until the entire mixture is homogenous, smooth, and beautifully glossy.
Add Dry Ingredients and More Chocolate
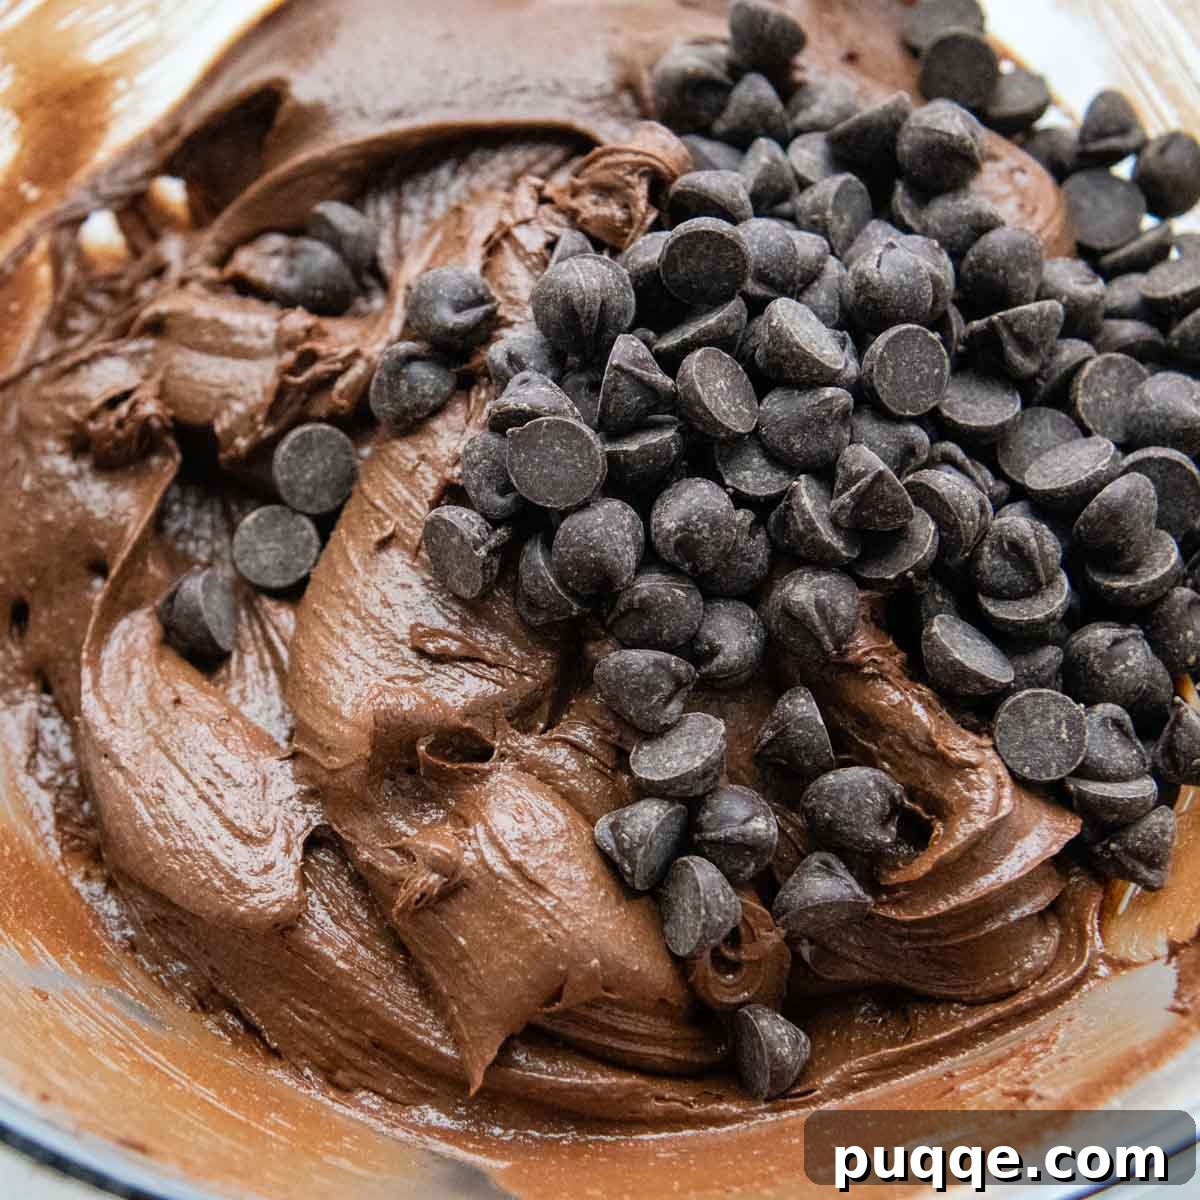
To the wet mixture, add the gluten-free all-purpose flour, unsweetened cocoa powder, baking powder, and salt. Beat the ingredients until no pockets of dry flour remain and the batter is smooth. Once the dry ingredients are fully incorporated, gently stir in the remaining ¾ cup of semi-sweet chocolate chips. This ensures an extra burst of chocolate in every bite!
Scoop, Bake, and Cool
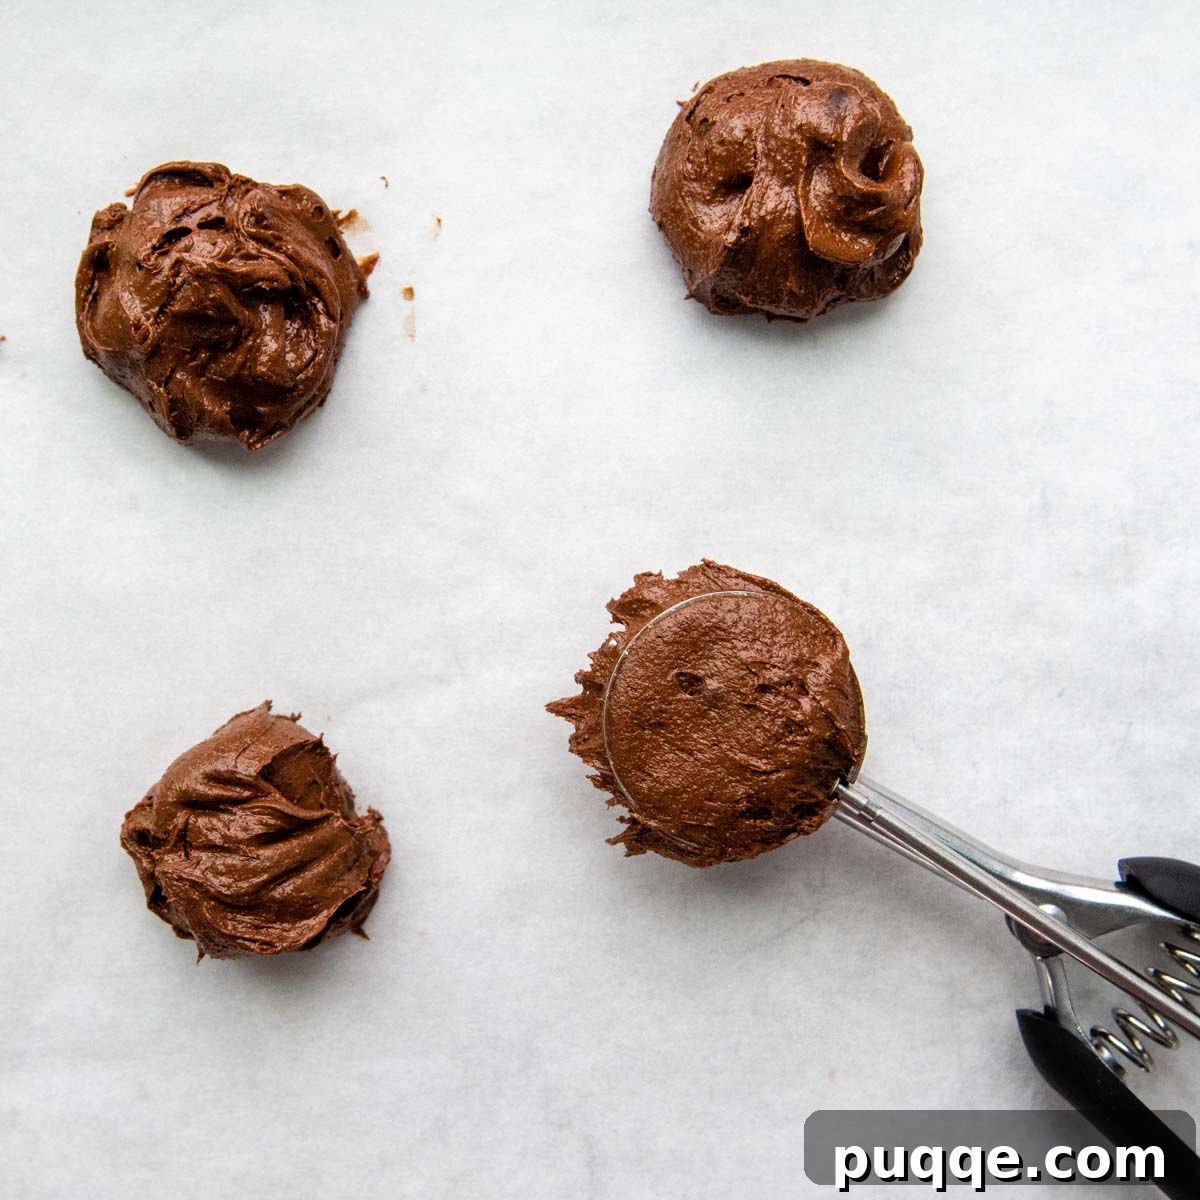
Using a medium cookie scoop (approximately 2 tablespoons), quickly and evenly scoop dough balls onto your prepared baking sheets, ensuring they are spaced about 2 inches apart to allow for proper spreading.
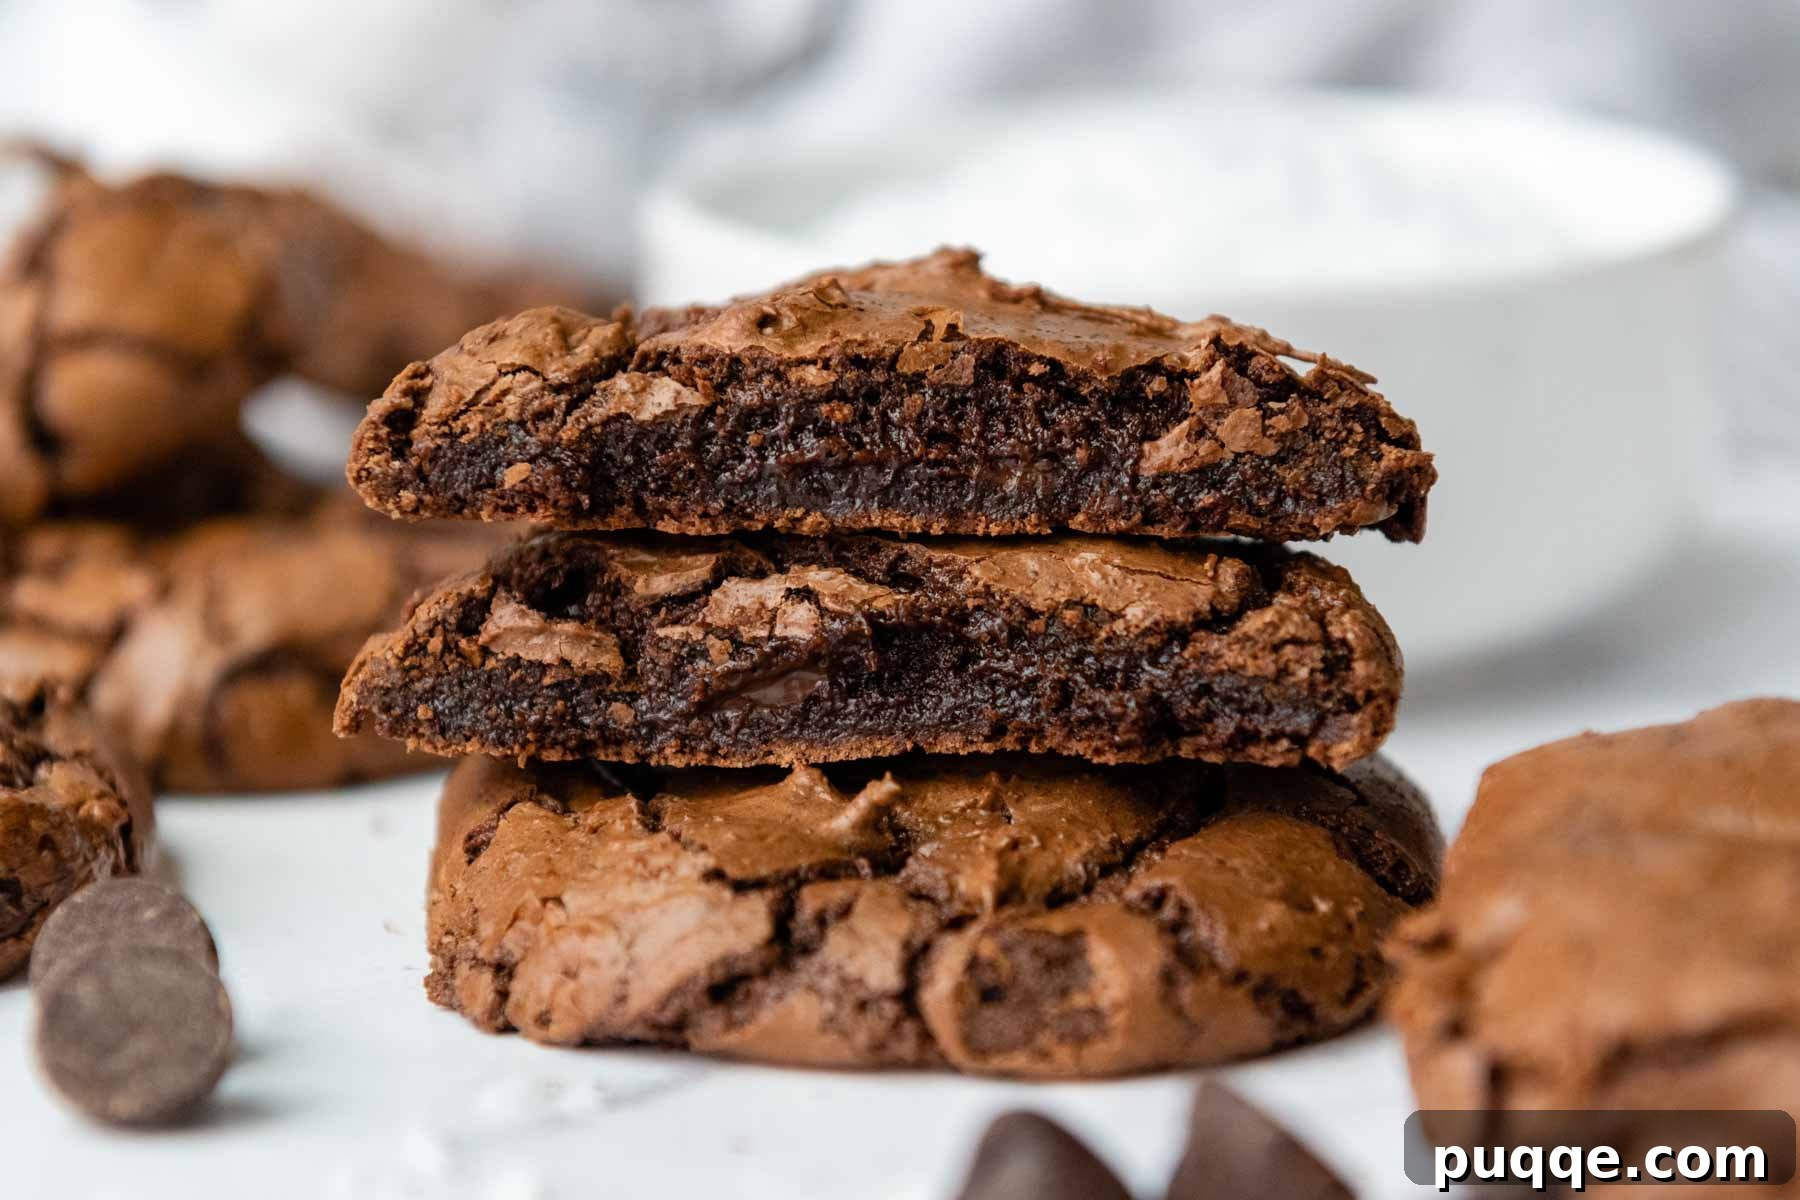
Bake for 14-15 minutes. The cookies are done when their edges are set and they show delightful cracks on top, but the centers still appear slightly soft. It’s crucial not to overbake, as this can lead to dry cookies. For the ultimate fudgy texture, err on the side of slightly underbaking.
Allow the cookies to cool on the baking sheets for at least 10 minutes before carefully transferring them to cooling racks. This crucial cooling period helps them set and prevents them from breaking. If you desire perfectly round, bakery-style cookies, gently use the back of a spoon or a dull knife to push the edges into shape immediately after removing them from the oven. Or, better yet, embrace their rustic charm and simply enjoy them as they are!
Why a Lower Temperature is Best for Gluten-Free Cookies
Through extensive testing of my favorite gluten-free cookie recipes, I’ve consistently found that baking at a slightly lower temperature of 325°F, rather than the more common 350°F, yields significantly superior results. This seemingly small adjustment has a profound impact on the final texture and quality of gluten-free baked goods.
At 325°F, the cookies bake more gently and evenly. This extended, lower-temperature bake allows more time for the fats (like butter and melted chocolate) to thoroughly coat and be absorbed by the gluten-free starches present in the flour blend. This process is vital because gluten-free flours tend to absorb moisture differently and can become dry or gritty if baked too quickly at a high temperature.
The result is a cookie with an incredibly soft, moist, and wonderfully fudgy texture, without becoming dense, gummy, or sticky. Crucially, this lower oven temperature does not negatively impact how the cookies spread or achieve their desired lift. Instead, it promotes a more uniform bake, preventing the edges from over-baking and drying out before the center is cooked to perfection. This technique is a game-changer for achieving consistently delicious gluten-free cookies with the ideal chewy-fudgy balance.
Choosing the Best Gluten-Free Flour for Cookies
The success of any gluten-free baking recipe largely hinges on the quality and characteristics of the flour blend used. Most commercial gluten-free all-purpose flour blends already contain xanthan gum, a common binder that provides elasticity and structure often missing in gluten-free baking. Therefore, if your chosen blend includes xanthan gum (which most do), it will not be necessary to add extra with your dry ingredients. If, however, your preferred mix does not contain it, I recommend adding ¼ teaspoon of xanthan gum per cup of flour to achieve optimal results.
Through rigorous testing across numerous gluten-free baking recipes, I’ve experimented with a wide array of gluten-free flour blends. The goal was always to identify blends that could replicate the taste and texture of traditional wheat-based recipes while being easy to work with. You can explore the detailed results and conclusions from these experiments in my comprehensive best gluten-free flour guide.
Specifically for cookie recipes like these fudgy brownie cookies, I have a strong preference for how Cup4Cup gluten-free flour performs. Its inclusion of cornstarch provides a noticeable boost in chewiness, and any potential grittiness often associated with gluten-free flours is significantly less detectable. My close runner-up is King Arthur Measure-for-Measure gluten-free flour. While it works beautifully as a dairy-free alternative (as Cup4Cup contains milk powder), it can sometimes impart a very slight “floury” texture. Always check ingredient labels if you have specific allergen concerns.
Elevate Your Brownie Cookies with Flavorful Additions
Now that you have the foundational recipe for truly fudgy gluten-free brownie cookies, why not experiment and make them uniquely yours? These cookies are incredibly versatile and welcome a variety of delicious mix-ins and flavor enhancements to suit any palate.
Chopped nuts are always a classic and welcome addition, providing a delightful textural contrast. Feel free to stir in ½ cup of your favorite nuts—whether it’s crunchy walnuts, buttery pecans, savory peanuts, or even a mix! For those who enjoy a hint of coffee, a teaspoon of espresso powder will deepen the chocolate flavor beautifully without adding a distinct coffee taste. A sprinkle of orange zest can introduce a bright, citrusy counterpoint, while a touch of peppermint extract paired with crushed candy canes makes for a festive, minty treat, especially around the holidays. Don’t limit yourself to just semi-sweet chocolate chips; try white chocolate chips for a sweeter contrast, or a combination of both for a marbled effect.
If you’re a fan of Mexican chocolate, consider adding ½ teaspoon of ground cinnamon and a tiny pinch (⅛ teaspoon) of cayenne pepper to the dry ingredients for a subtle warmth and spicy kick that perfectly complements the rich chocolate.
Personally, I can never resist the delightful contrast of sweet and salty. A final sprinkle of flaky sea salt on top of the warm cookies before they cool is my go-to finish, enhancing all the flavors and providing a truly gourmet touch.
Why Didn’t My Brownie Cookies Spread as Expected?
One common concern in baking, especially with certain cookie doughs, is whether the cookies spread adequately during baking to achieve the desired texture and appearance. If your gluten-free brownie cookies didn’t spread as much as you hoped, it’s often due to the batter becoming thicker as it sits and absorbs moisture. While this natural thickening process won’t negatively impact the flavor or the delicious fudgy texture of your cookies, it can indeed result in less spread. Luckily, this issue is easily remedied!
After you’ve scooped the brownie batter onto your prepared cookie sheets, simply take a moment to gently press down on each dough ball with your fingers or the back of a spoon. This slight flattening before baking will encourage the cookies to spread more evenly in the oven, helping them achieve those desirable crinkly tops and a more classic cookie shape. If you find the dough to be a bit sticky, you can slightly dampen your fingers with water before pressing to prevent sticking. Then, bake as directed in the recipe instructions, and you’ll be on your way to perfectly spread, fudgy brownie cookies!
Love this recipe? Pin it for later!
Let’s connect on Pinterest! I’m always sharing delicious recipes!
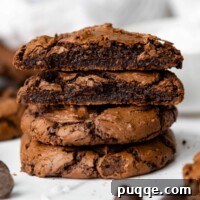
Fudgiest Gluten-Free Brownie Cookies (Extra Easy)

Melissa Erdelac
24 cookies
10 mins
14 mins
24 mins
Gluten-free brownie cookies capture the rich taste and incredible texture of the world’s best chocolate brownies, featuring irresistible crinkly, shiny tops and ultra-fudgy centers. This extra easy recipe uses simple ingredients for flawless results and includes handy dairy-free modifications!
Pin Recipe
Ingredients
- 1 cup semi-sweet chocolate chips (see notes for dairy-free options)
- ⅓ cup unsalted butter, sliced in 5 pieces (see notes for dairy-free options)
- ¾ cup packed light brown sugar
- ¼ cup granulated sugar
- 2 large eggs, room temperature
- 1 teaspoon vanilla extract
- ¾ cup gluten-free all-purpose flour (Cup4Cup gluten-free flour recommended)
- ¼ cup unsweetened cocoa powder
- 1 teaspoon baking powder
- ¼ teaspoon salt
- ¾ cup semi-sweet chocolate chips or miniature chips (for mixing in)
Equipment
- Baking Sheets
- Medium Cookie Scoop
- Hand Mixer
Instructions
- Line two baking sheets with parchment paper or use silicone baking mats. Preheat the oven to 325°F (160°C).
- In a small saucepan over low heat, melt the butter with 1 cup of semi-sweet chocolate chips, stirring constantly. Once about 90% melted, remove from heat and stir until smooth. Set aside for 5 minutes to cool slightly.
- In a large mixing bowl, add the brown sugar, granulated sugar, eggs, and vanilla extract. Beat until well combined, then add the cooled chocolate-butter mixture. Beat again until smooth.
- Add the gluten-free all-purpose flour, cocoa powder, baking powder, and salt. Beat until no flour pockets remain. Then, stir in the remaining ¾ cup of semi-sweet chocolate chips.
- Use a medium cookie scoop (equivalent to 2 tablespoons) to scoop dough balls quickly and evenly, placing them about 2 inches apart on the prepared cookie sheets.
- Bake for 14-15 minutes. The cookies will have cracked tops and set edges, but their centers should remain slightly soft for optimal fudginess. Avoid over-baking to prevent dryness.
- Allow the cookies to cool on the baking sheets for 10 minutes before carefully transferring them to cooling racks to cool completely.
Notes
Dairy-Free Modification
To make these cookies dairy-free, substitute Enjoy Life chocolate chips or your preferred dairy-free chocolate chip brand for all chocolate chips. For the butter, use vegan butter sticks (e.g., Miyoko’s Kitchen or Earth Balance sticks) or melted coconut oil. If using coconut oil, reduce the salt in the recipe by half, as coconut oil can sometimes alter the overall salt balance. Please note that the recommended gluten-free flour, Cup4Cup, does contain milk powder. For a fully allergen-free alternative, I suggest using King Arthur Measure-for-Measure gluten-free flour.
Storing and Freezing
Gluten-free cookies tend to have a slightly shorter shelf life than traditional cookies because they can dry out and lose their soft texture after a couple of days. For best results, if you don’t plan to enjoy all the cookies within one or two days, I highly recommend freezing them. To freeze, wrap stacks of 2-3 cooled cookies tightly in plastic wrap, then transfer them to a freezer-safe ziplock bag. They can be stored in the freezer for up to 3 months. To store at room temperature, ensure the cookies have cooled completely before stacking and placing them in an airtight container. They will remain fresh and soft for 2-3 days.
Recipe adapted from Sally’s Baking Addiction.
Nutrition Facts (per cookie)
- Calories:
- 153 kcal
- Carbohydrates:
- 19g
- Protein:
- 2g
- Fat:
- 8g
- Saturated Fat:
- 5g
- Polyunsaturated Fat:
- 0.4g
- Monounsaturated Fat:
- 2g
- Trans Fat:
- 0.1g
- Cholesterol:
- 21mg
- Sodium:
- 53mg
- Potassium:
- 120mg
- Fiber:
- 2g
- Sugar:
- 14g
- Vitamin A:
- 105 IU
- Calcium:
- 28mg
- Iron:
- 1mg