
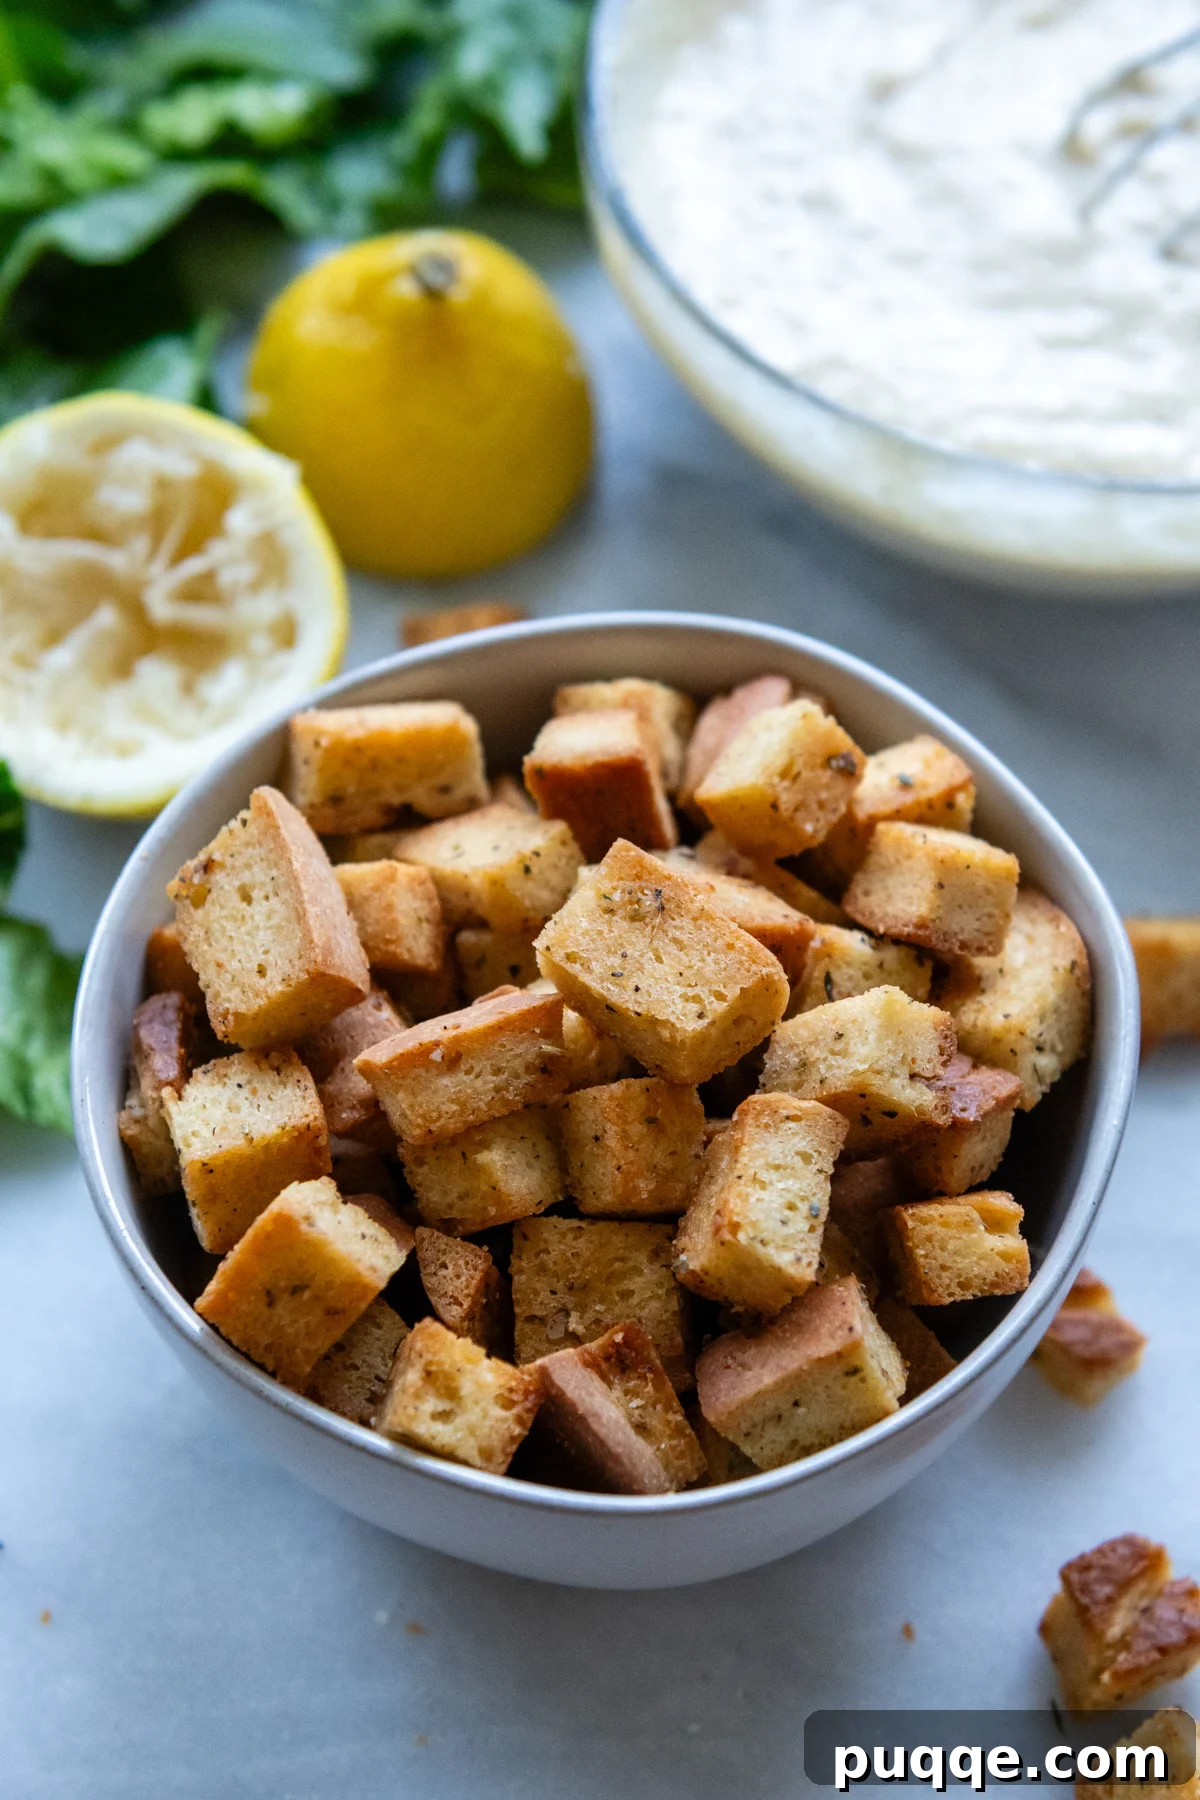
Are you tired of gluten-free croutons that disappoint with their soft texture or lack of vibrant flavor? It’s a common frustration in the gluten-free world, where finding truly crispy and robustly seasoned croutons can feel like a quest. But what if you could make perfectly crunchy, incredibly flavorful gluten-free croutons right in your own kitchen, every single time? This comprehensive guide will show you how to transform ordinary gluten-free bread into extraordinary, crisp, herbed crouton cubes that will elevate your favorite dishes. Our secret lies in an easy yet brilliant baking technique and a bold seasoning blend that guarantees a delightful crunch and an explosion of taste. Say goodbye to soggy, bland store-bought options and hello to homemade perfection! These incredible croutons are absolute perfection on fresh salads, like our epic gluten-free Caesar recipe, or comforting, hearty soups.
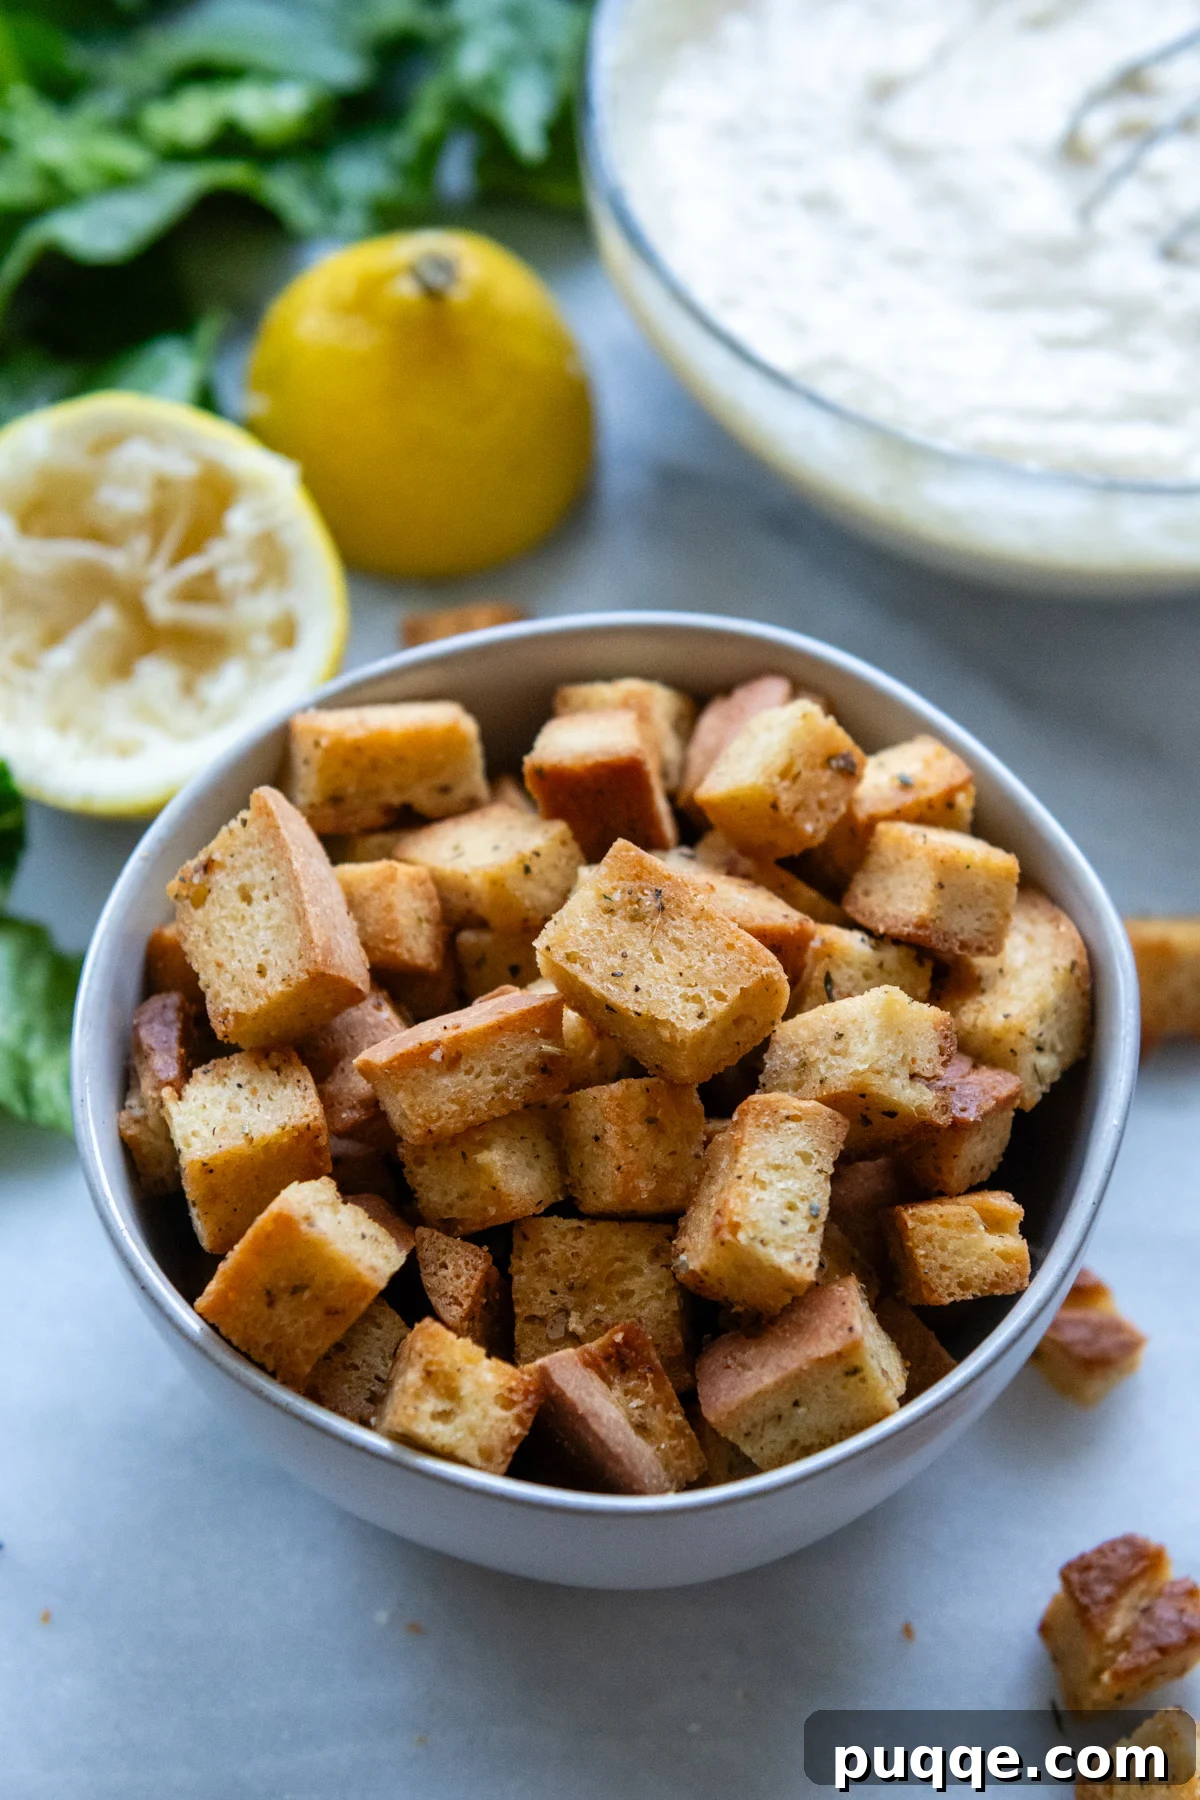
The Secret to Seriously Crispy Gluten-Free Croutons: Flavor & Texture Unlocked
You might wonder, “Why not just take any crouton recipe and swap in gluten-free bread?” The truth is, that approach often leads to merely “okay-ish” croutons that lack the deep flavor and consistent crunch we all crave. Gluten-free bread, by its very nature, can be denser and retain more moisture than traditional bread, making it a unique challenge to toast to golden, crispy perfection. This recipe specifically addresses those challenges with two ingenious upgrades, ensuring your homemade GF croutons are truly exceptional.
Firstly, let’s talk flavor. These aren’t your average lackluster croutons. Our recipe achieves a rich, savory depth using a combination of melted butter and olive oil. Butter contributes a luxurious, unmistakable richness, while olive oil ensures that ultimate crispiness by helping to dry out the bread cubes evenly and prevent sogginess. This dynamic duo creates a foundation of flavor and texture that truly stands out, making these the best gluten-free croutons you’ll ever taste.
Beyond the fats, the seasoning is nothing short of perfection. It’s bold, aromatic, and easily adaptable using common pantry staples. Imagine cubes bursting with garlic, classic Italian herbs, and just the right amount of kosher salt and freshly ground black pepper. These intensely seasoned beauties will instantly enhance everything they touch – from a vibrant fresh gluten-free Panzanella salad or a simple house salad, to your favorite comforting soups. For an unforgettable pairing, try sprinkling them generously over this seriously great gluten-free tomato soup recipe – it’s a game-changer that will leave you craving more!
Secondly, the key to achieving that ideal texture lies in our specialized toasting method. Baking gluten-free bread at a consistently high temperature can lead to a quick exterior crisping, but often leaves the interior soft and chewy – a common pitfall that results in unsatisfying croutons. Conversely, a prolonged low-temperature bake might thoroughly dry them out, but you’ll miss that beautiful golden-brown, caramelized exterior. Through extensive testing, we’ve developed a unique, two-stage baking technique: an initial higher-temperature bake for quick, beautiful browning, followed by a slightly reduced temperature to thoroughly dry out the bread’s interior. This “mash-up” process, combined with crucial tossing intervals, guarantees croutons that are perfectly golden on the outside and wonderfully crunchy all the way through. It’s an easy technique that yields professional-level results every time, ensuring your homemade gluten-free croutons are consistently crisp and delicious.
Choosing Your Canvas: The Best Gluten-Free Breads for Crispy Croutons
The beauty of homemade gluten-free croutons is their adaptability, especially when it comes to the bread itself. While many types of GF bread will work, the ideal loaf isn’t pre-sliced too thinly. This recipe is a fantastic way to utilize that leftover stale bread you have on hand, transforming it from forgotten crumbs into a culinary delight. It’s also perfect for repurposing a store-bought gluten-free loaf that didn’t quite meet your expectations as sandwich bread – it will truly shine when transformed into these herbed, savory croutons!
Generally, I gravitate towards a loaf from my personal gluten-free bread recipe collection. These homemade options often have a more substantial crumb and better texture, which is perfect for absorbing the seasoning and achieving maximum crunch. However, don’t limit yourself! You can experiment with various gluten-free bread varieties, keeping in mind their density and crumb structure for the best results:
- Gluten-Free Sandwich Loaf: A common and versatile choice. Opt for a brand that isn’t too airy or crumbly; a slightly denser loaf will hold up better during cubing and baking.
- Gluten-Free Italian or French Bread: These artisan-style, denser, and often crustier loaves are excellent for classic, robust croutons. They develop a fantastic texture and flavor, especially when making croutons for an epic Caesar salad recipe. My personal favorite for this purpose is my GF Italian loaf.
- Gluten-Free Cornbread: For a unique flavor profile, cornbread croutons add a delightful sweetness and slightly crumbly texture. They are particularly good with chili, Southwestern-inspired salads, or even as a topping for sweet potato casserole.
- Gluten-Free Bagels or English Muffins: If you happen to have these on hand, they can also be cut into cubes for a chewier, more substantial crouton with a distinct texture. For these denser options, ensure you slice them thicker than usual for better results, typically 1-inch cubes to prevent them from becoming too hard.
Regardless of your choice, ensure the bread is firm enough to hold its shape when cut. Slightly stale bread is actually preferable as it has less inherent moisture, which helps achieve that superior crispness faster. If your bread is very fresh, you can lightly toast the slices in an oven or toaster before cubing them to remove some initial moisture, though this isn’t strictly necessary with our highly effective dual-temperature baking method.
Crafting Perfection: Let’s Make Homemade Gluten-Free Croutons Together!
(Below, you’ll find step-by-step photos and detailed instructions to guide you through the process. For precise ingredient quantities and the full recipe, please scroll down to the comprehensive recipe card at the end of this article.)
Step 1: Start with the Right Size Bread Cubes
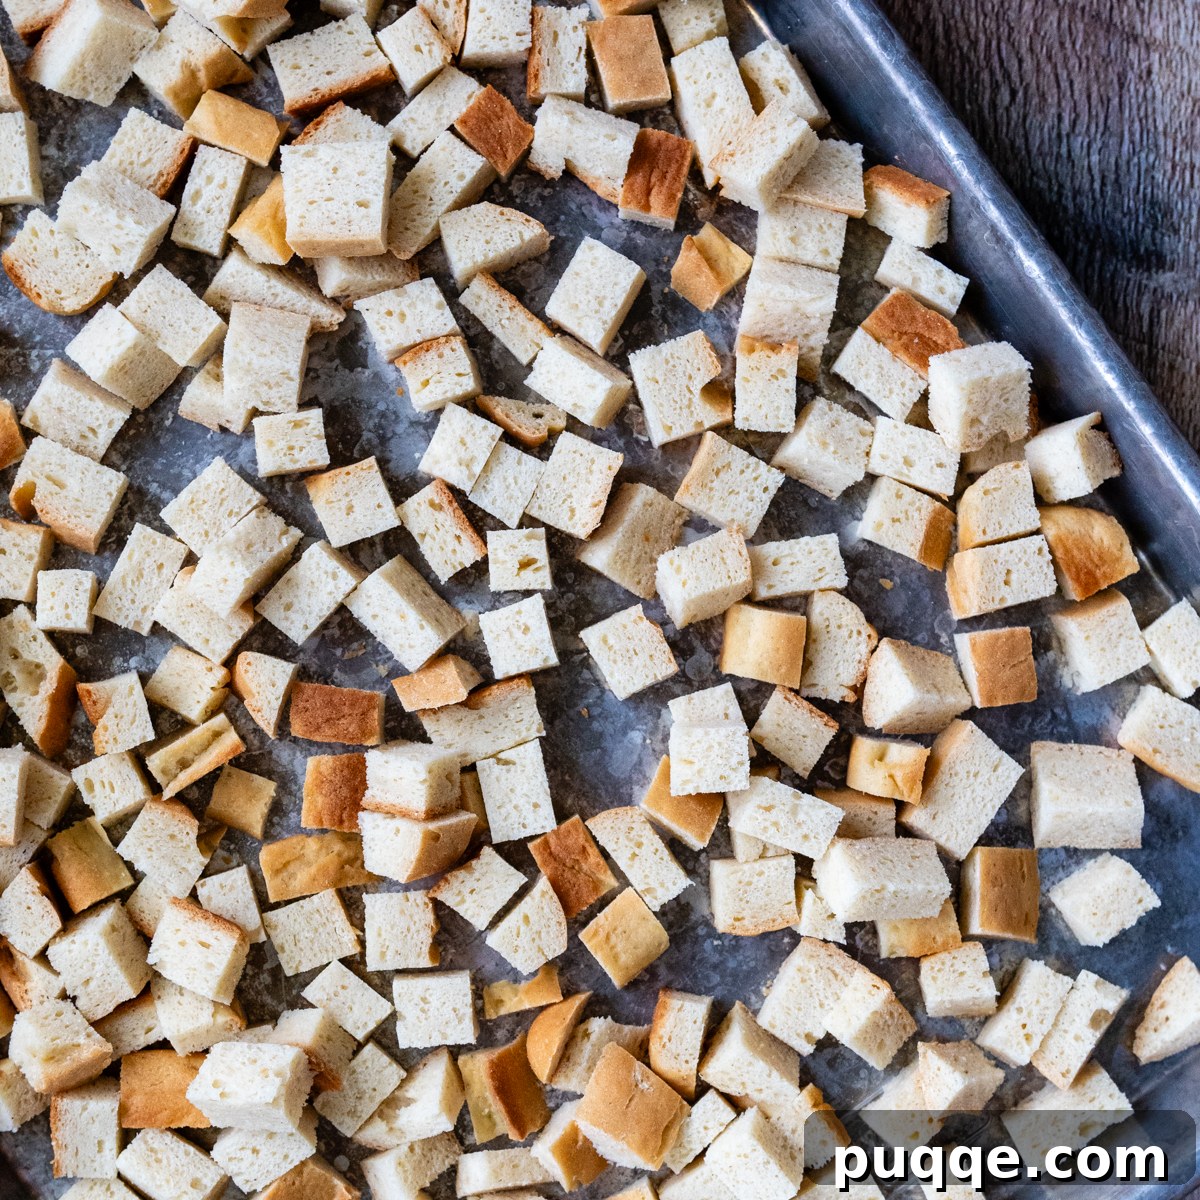
This step is crucial for achieving uniformly crispy croutons. Through my extensive recipe testing, I found that cube size significantly impacts the final texture. Cubes that are too large won’t toast through evenly, potentially leaving a soft, doughy center. Conversely, cubes that are too small risk over-browning and burning before the interior has a chance to crisp and dry out. The sweet spot for perfectly balanced croutons? Aim for consistent ¾-inch cubes. Use a sharp, serrated bread knife for clean, precise cuts – this helps prevent squishing the bread. Once cubed, measure out approximately 6 cups of bread cubes and spread them evenly across your baking sheet(s). Ensure there’s plenty of space between cubes to allow for proper air circulation, which is essential for crisping.
Step 2: Infuse with Zesty Seasoning & Prepare for Baking
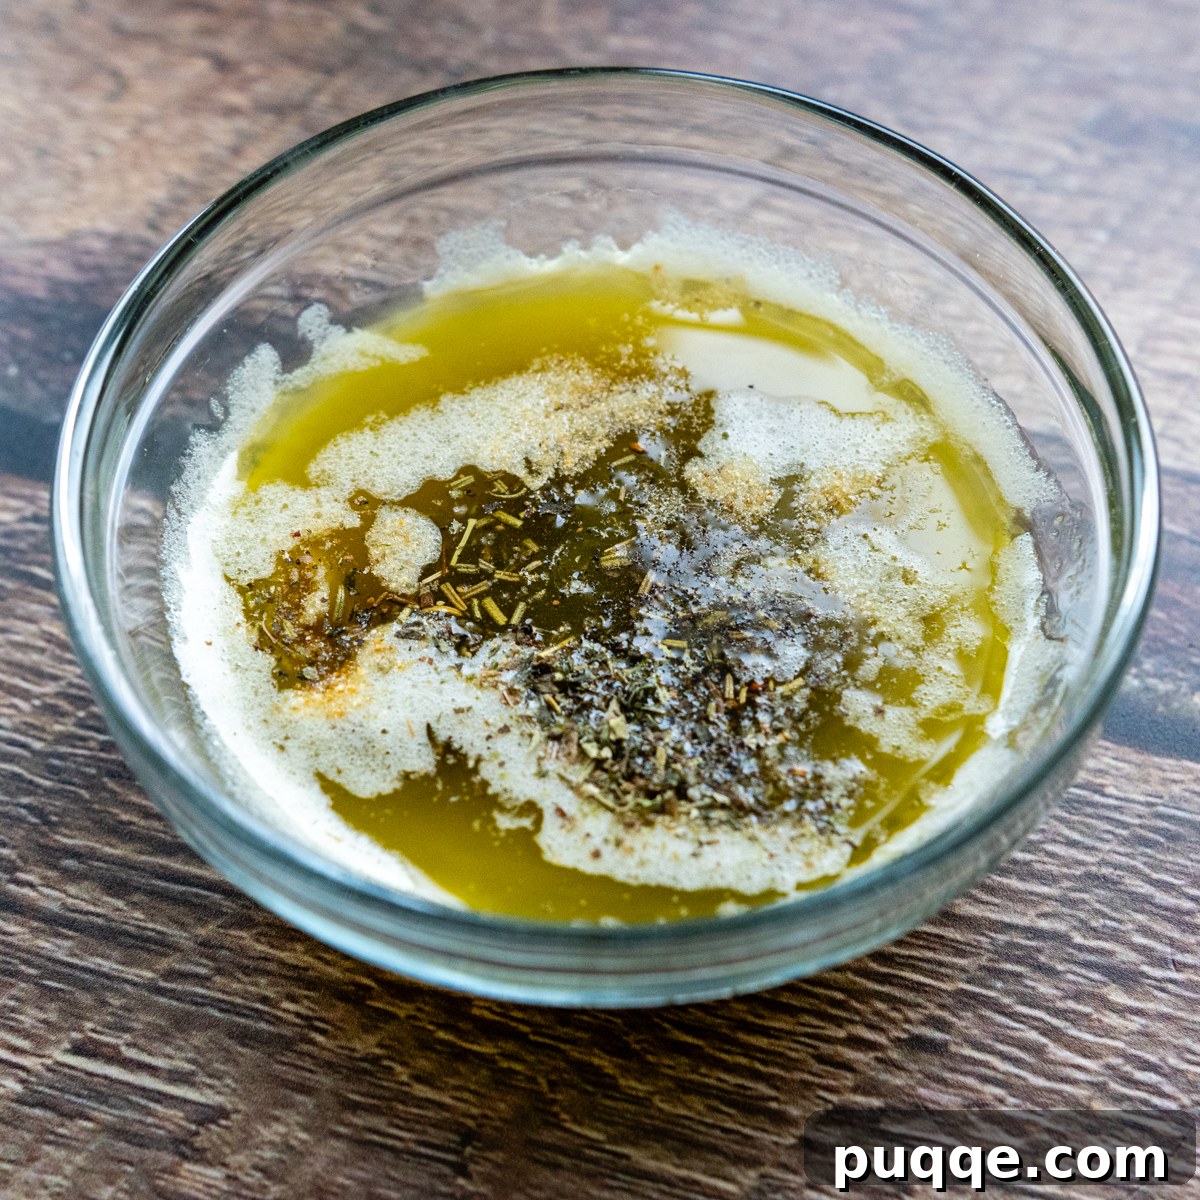
First, melt the butter in a small microwave-safe bowl or a saucepan over low heat. Once melted, add the olive oil, along with your chosen seasonings: garlic powder, Italian seasoning, kosher salt, and a dash of freshly ground black pepper. Whisk all the ingredients together vigorously until the mixture is well combined and fragrant – the aroma alone will be delicious! Next, pour this aromatic butter-oil blend evenly over your cubed bread that’s already on the baking sheet. Use your clean hands or a large spatula to gently but thoroughly toss the bread cubes, ensuring every single cube is coated with the flavorful mixture. This even coating is vital for both consistent taste and uniform crisping. After coating, spread the seasoned bread cubes out into a single layer once more on your baking sheet(s). Avoid overcrowding the pan at all costs, as this can steam the bread rather than crisp it, leading to a softer crouton.
Step 3: The Golden Bake – Two-Stage Perfection
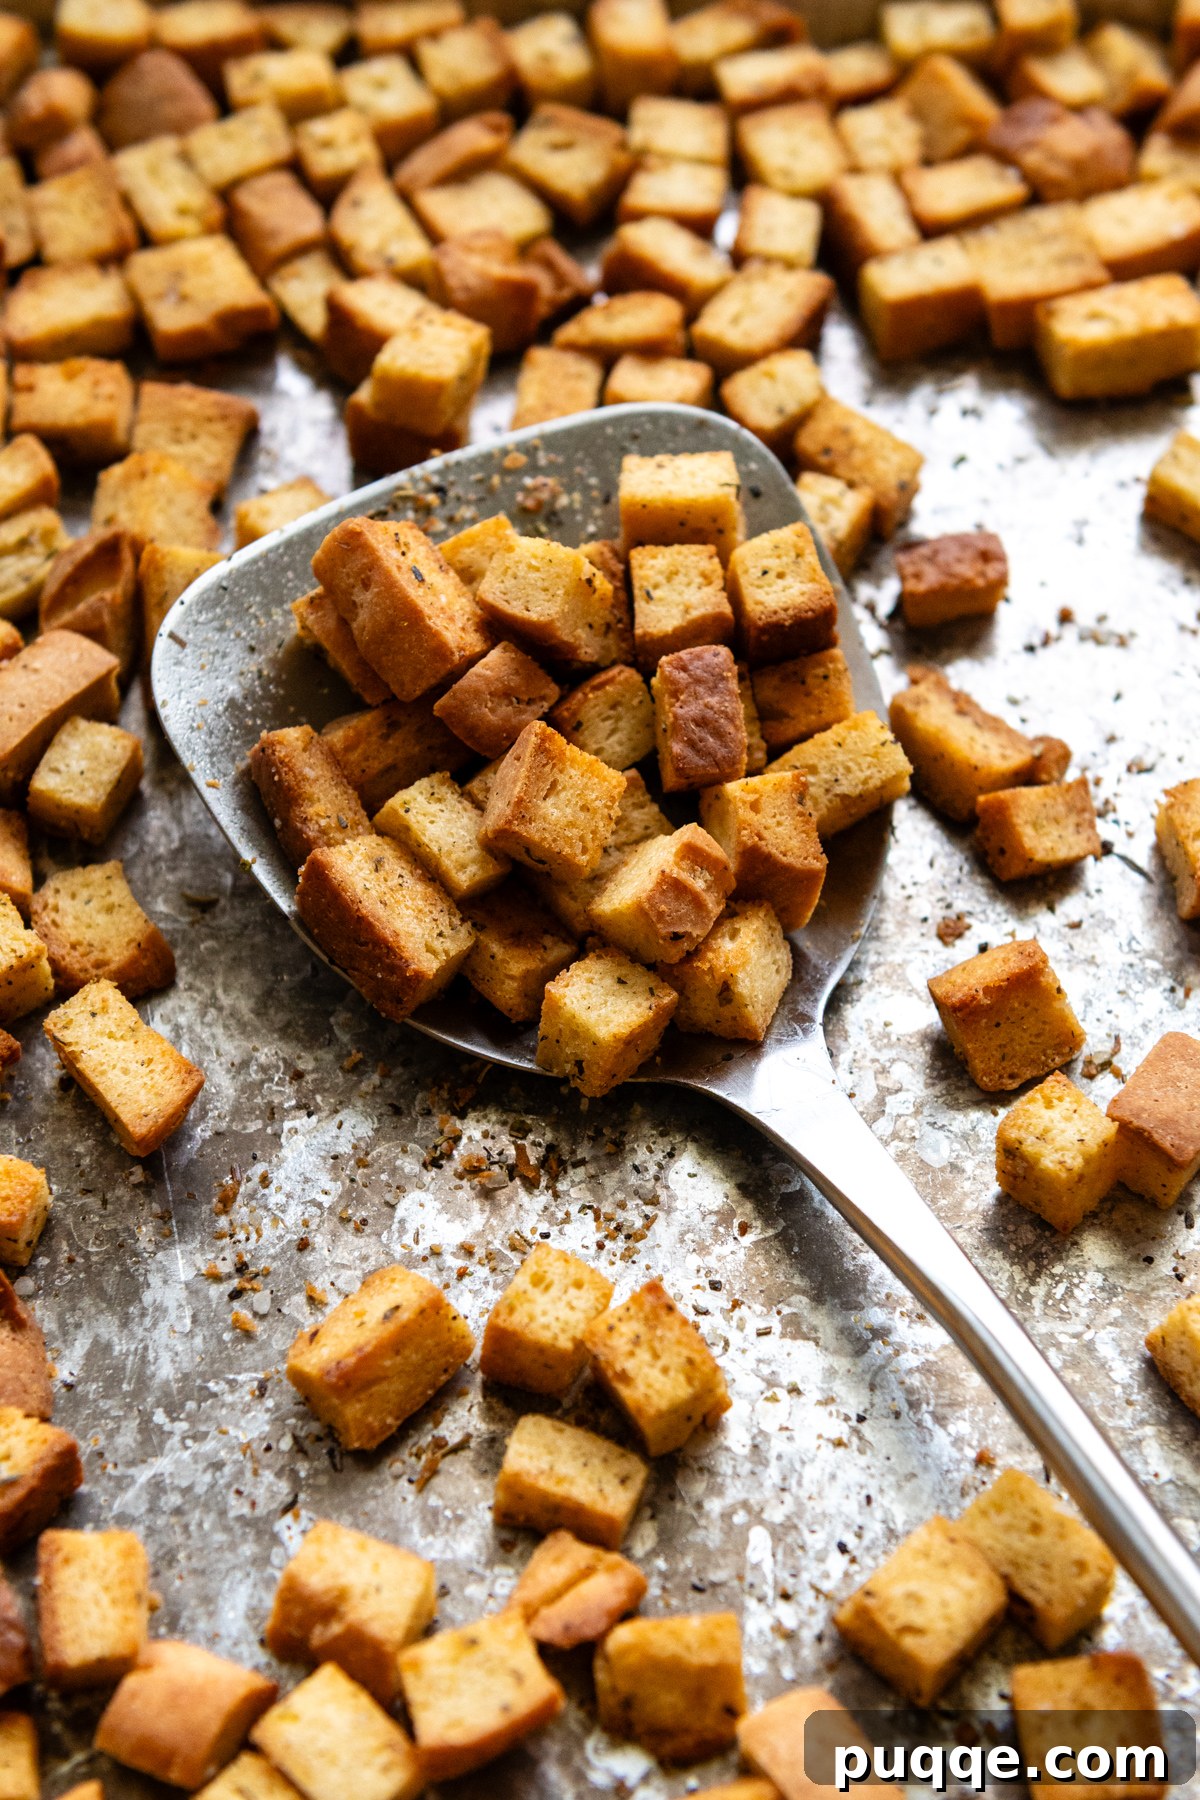
Preheat your oven to 375°F (190°C). Place the baking sheet with the seasoned bread cubes into the preheated oven and bake for 10 minutes. This initial higher temperature helps to quickly develop a beautiful golden crust and start the crisping process on the exterior. After 10 minutes, carefully remove the baking sheet from the oven and, using a spatula or by gently shaking the pan, thoroughly toss the cubes to ensure even browning and to expose different sides to the heat. Lay them back out in a single layer. Return the sheet to the oven, then immediately reduce the oven temperature to 350°F (175°C). Continue baking for another 10 minutes at this slightly lower temperature. This crucial second stage allows the interior of the croutons to slowly dry out and become consistently crisp without over-browning the exterior. Remove and toss the cubes one more time. Bake for an additional 5-10 minutes, or until your croutons are gloriously golden brown and perfectly crunchy all the way through. Keep a close eye on them during the final stage, as ovens can vary and the last few minutes can make all the difference between perfectly crisp and burnt.
Dairy-Free Adaptation & Flavor Customization: For a delicious dairy-free version of these homemade gluten-free croutons, simply substitute the melted butter with an equal amount of olive oil (making it 4 tablespoons total olive oil), or use a high-quality non-dairy butter alternative. If you choose to use dairy-free butter, you might want to slightly reduce the amount of kosher salt in the seasoning blend, as many non-dairy butters can be saltier than their dairy counterparts. To get creative with additional flavors, the possibilities are endless! Consider adding a pinch of smoked paprika for a smoky depth, a dash of onion powder for extra savory notes, dried rosemary or thyme for a more earthy profile, or even a touch of nutritional yeast for a cheesy umami kick without the dairy. For those who enjoy a little heat, a dash of red pepper flakes would be a fantastic addition!
Important Stuff: How to Store and Revive Your Homemade GF Croutons
Once your gluten-free croutons are baked to golden perfection, it’s crucial to allow them to cool completely on the baking sheet before storing them. This step is often overlooked but is vital, as trapping any residual warmth can lead to condensation inside the container, which will inevitably result in soggy croutons. I’ve found that these homemade beauties retain their peak crispness for about 24 hours when stored in an airtight container at room temperature. They are so incredibly good, they rarely last longer than that in my house!
However, if by day two you notice them beginning to soften slightly as they absorb ambient humidity, don’t despair! Their glorious crunch can be easily resurrected. Simply spread them out in a single layer on a baking sheet and pop them back into a preheated oven (around 300°F/150°C) or an air fryer for a quick 3-5 minutes. The low heat will evaporate any absorbed moisture, and they’ll emerge just as crispy and delicious as the moment they were first made, ready to top your next meal.
For longer-term storage, or if you’ve made a particularly large batch of leftovers, freezing is your best friend. Place the completely cooled croutons in a freezer-safe airtight bag or container. This prevents freezer burn and helps maintain their quality. They can be frozen for up to 3 months without losing their delightful texture or flavor. When you’re ready to enjoy them, you have a couple of convenient options: either let them come to room temperature for about 15-20 minutes, or for instant crispness, pop them directly from the freezer into a preheated oven or air fryer for a few minutes until warmed through and crunchy. This makes them a perfect make-ahead component for quick meals!
Beyond Salads: Creative Ways to Enjoy Your Homemade GF Croutons
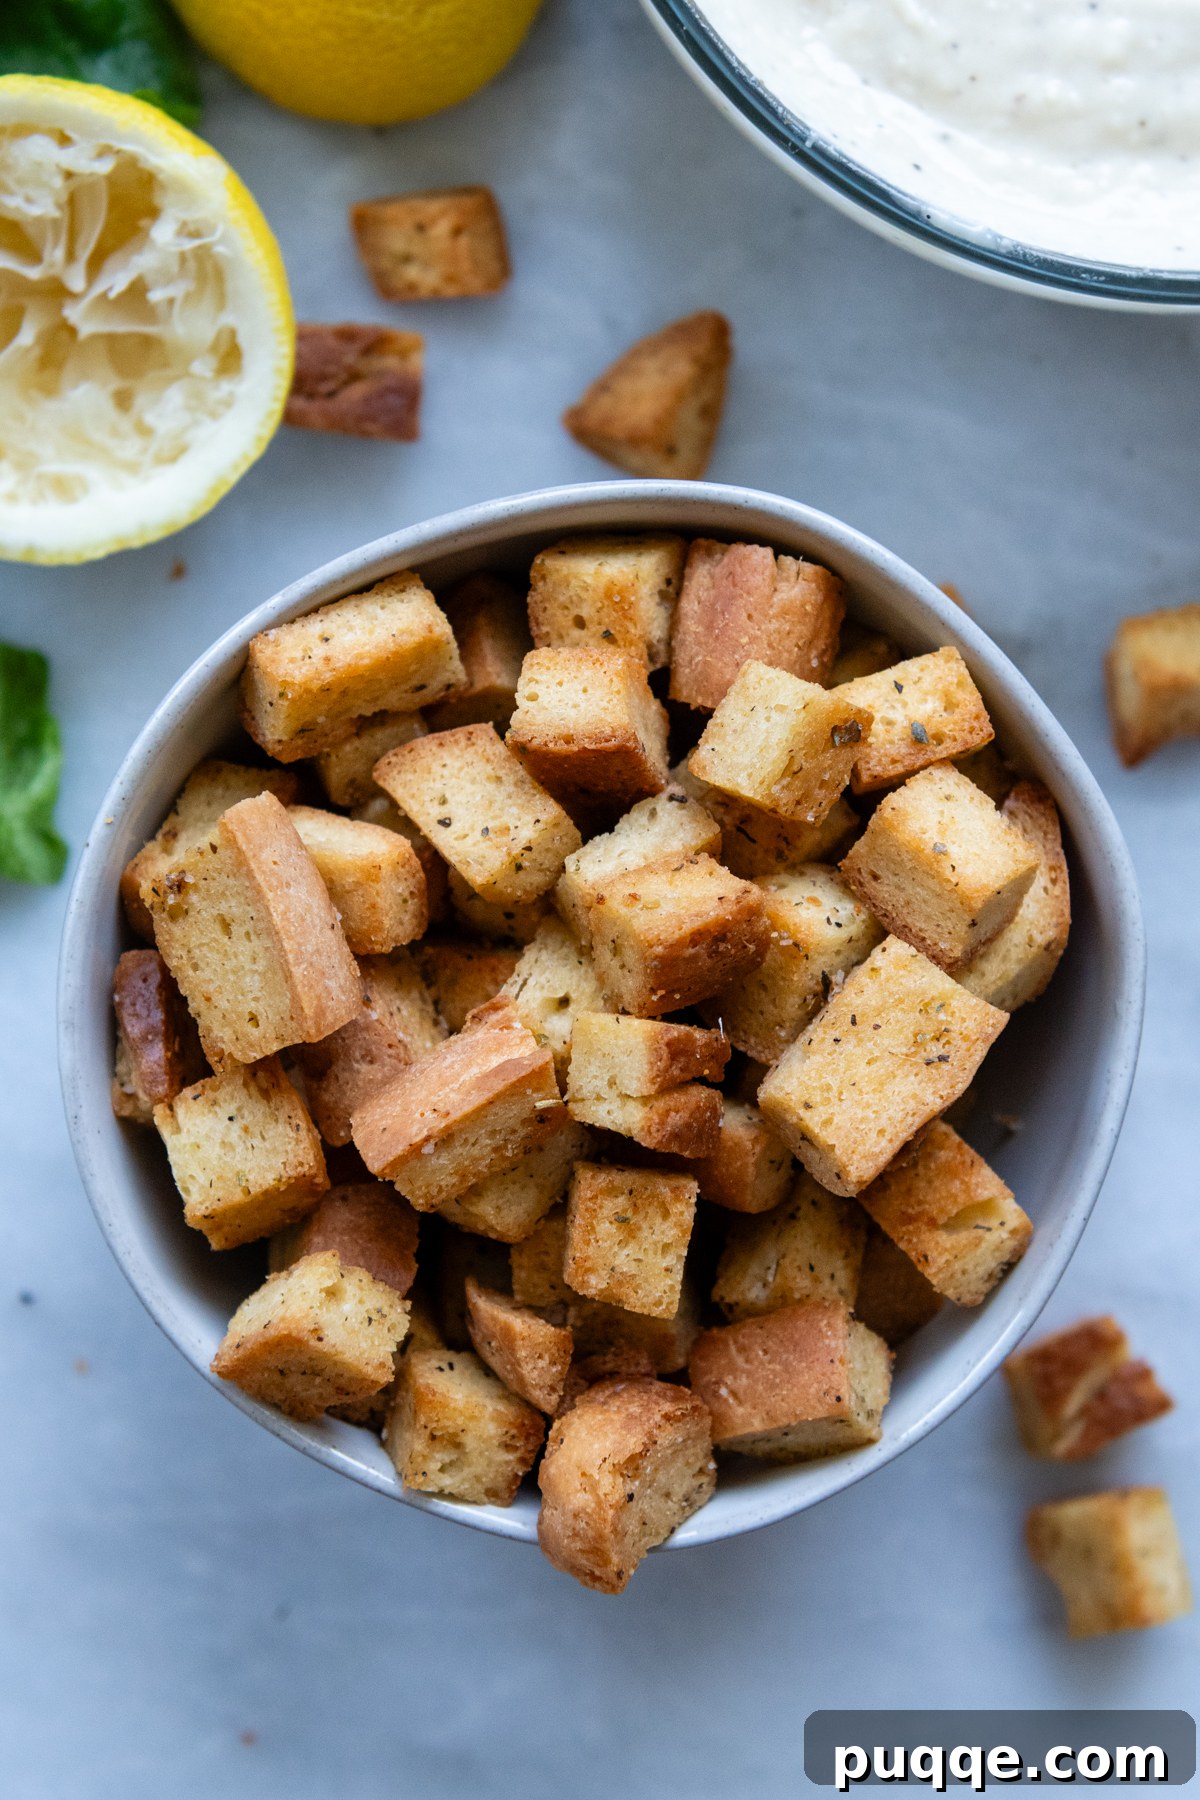
While these seriously crispy gluten-free croutons are absolute perfection on salads and soups, their versatility extends far beyond just these classic uses. Don’t limit yourself! Their bold flavor and satisfying crunch make them a fantastic addition to a wide array of dishes. Here are some creative and delicious ideas to incorporate these flavorful cubes into your everyday meals and special occasions:
- Soups and Stews: Not just for creamy tomato soup! Elevate your favorite French onion soup, minestrone, lentil soup, chili, or any hearty stew with a generous sprinkling of these croutons for an essential textural contrast and burst of herbed flavor.
- Roasted Vegetables: Add an irresistible crunch to your roasted vegetables. Sprinkle them over roasted asparagus, Brussels sprouts, green beans, or broccoli during the last few minutes of cooking for an extra layer of crunch and savory goodness.
- Casseroles: Replace traditional breadcrumbs with these flavorful croutons! Use them as a golden, crispy topping for baked mac and cheese, gluten-free green bean casserole, or any gratin. They create a beautiful, textured crust.
- Stuffing/Dressing: While typically made from stale bread, these seasoned croutons can be a fantastic, flavor-packed base for a flavorful gluten-free stuffing, especially if slightly softened with broth and then re-crisped.
- Egg Dishes: Crumble them over scrambled eggs, omelets, frittatas, or quiches for added texture and savory notes, transforming a simple breakfast or brunch into something special.
- Snack Attack: Honestly, these are so good, they make a delicious, satisfying, and surprisingly addictive snack all on their own! Keep a small container on your desk for a quick pick-me-up.
- Dips and Spreads: Serve them alongside your favorite hummus, spinach artichoke dip, baba ghanoush, or any creamy spread instead of crackers or pita bread. Their sturdiness and flavor make them an excellent dipping companion.
- Avocado Toast Topping: Elevate your avocado toast by sprinkling some crushed or whole croutons on top for crunch and flavor.
Frequently Asked Questions (FAQs) About Homemade Gluten-Free Croutons
Here are some common questions you might have when making your own delicious and crispy gluten-free croutons:
- Can I use fresh gluten-free bread for this recipe?
- Yes, you absolutely can! While slightly stale bread is often considered ideal for traditional croutons as it has less moisture, our unique two-stage baking method is specifically designed to effectively dry out even fresh gluten-free bread. If your bread is very fresh, you might just need to bake for an extra 5 minutes in the final stage to ensure maximum crispness, but it will still work wonderfully.
- My croutons aren’t getting crispy enough. What might have gone wrong?
- The most common reasons for less-than-crispy croutons are overcrowding the baking sheet, insufficient baking time, or not tossing them enough during the baking process. Ensure your bread cubes are in a single layer and not touching too much; if they are too close, they will steam instead of crisp. Don’t be afraid to bake for the full recommended time, and even a little longer if needed, until they reach your desired level of crispness. Regular tossing during baking is key to even drying and browning.
- Can I make these gluten-free croutons in an air fryer instead of the oven?
- Absolutely! An air fryer is a fantastic alternative for making crispy gluten-free croutons, especially for smaller batches or when you want them quickly. Follow the same steps for cutting and seasoning the bread cubes. Air fry them at 350°F (175°C) for approximately 8-12 minutes, making sure to shake the basket thoroughly every 3-4 minutes to ensure even browning and crisping. Cooking times can vary significantly between different air fryer models, so keep a close eye on them to prevent burning.
- What other seasonings can I use to customize the flavor?
- The possibilities for customizing the flavor are endless! Beyond Italian seasoning and garlic powder, consider adding onion powder, smoked paprika, dried oregano, thyme, or finely chopped fresh rosemary for different aromatic profiles. For a cheesy flavor, grated Parmesan cheese (or nutritional yeast for dairy-free) can be added along with the butter mixture during the last few minutes of baking. A sprinkle of red pepper flakes adds a delightful kick for those who enjoy a bit of spice. Feel free to get creative with what you love!
- How far in advance can I make these homemade gluten-free croutons?
- These croutons are best enjoyed within 24 hours for optimal crispness when stored in an airtight container at room temperature. However, they are excellent make-ahead components! They can be prepared several days in advance and stored in the freezer for up to 3 months. Just remember that for the best texture, it’s always recommended to re-crisp them in a preheated oven or air fryer for a few minutes before serving to bring back that delightful crunch and warmth.
Save This Recipe to Your Pinterest Board!
Let’s be friends on Pinterest! I’m always sharing great recipes!
Did you make this recipe? I love hearing from you! Leave a star rating and comment below the recipe card. It helps others when searching for recipes and I appreciate feedback from our community. You will always hear back from me! -Melissa
Crunchy, Zesty Gluten-Free Croutons (Homemade)

Melissa Erdelac
Pin Recipe
Rate This Recipe
Remove Ads
Ingredients
- 1 gluten-free Italian bread recipe, ¾-inch cubes, 6 cups (see post for alternative GF breads)
- 2 tablespoons melted butter
- 2 tablespoons olive oil
- 1 teaspoon garlic powder
- 1 teaspoon Italian seasoning
- 1 teaspoon kosher salt
- ⅛ teaspoon ground black pepper
Equipment
-
Baking Sheets
-
Bread Knife
-
Small Whisk
Instructions
-
Preheat the oven to 375°F (190°C). Using a sharp bread knife, cut your gluten-free bread into uniform ¾-inch cubes. Transfer these cubes to a large baking sheet, ensuring they are spread out in a single layer. If you have a large batch, use two baking sheets to avoid overcrowding.1 gluten-free Italian bread recipe
-
In a small bowl, melt the butter (either in the microwave or on the stovetop). Once melted, add the olive oil, garlic powder, Italian seasoning, kosher salt, and ground black pepper. Whisk all the ingredients together until well combined and fragrant.2 tablespoons olive oil, 1 teaspoon garlic powder, 1 teaspoon Italian seasoning, 1 teaspoon kosher salt, ⅛ teaspoon ground black pepper
-
Pour the butter and oil mixture evenly over the bread cubes on the baking sheet. Use your clean hands or a spatula to gently toss and coat every single cube thoroughly. Ensure the bread is again spread into a single, even layer on the baking sheet for optimal air circulation and crisping.2 tablespoons melted butter
-
Bake in the preheated 375°F (190°C) oven for 10 minutes. Remove the baking sheet from the oven and, using a spatula, toss the cubes thoroughly to redistribute them and expose different sides to the heat. Lay them back out in a single layer. Place the baking sheet back in the oven and reduce the oven temperature to 350°F (175°C). Continue to bake for another 10 minutes. Toss the croutons one more time and bake for an additional 5-10 minutes, or until they are golden brown and perfectly crisp all the way through. Cooking times may vary, so check for desired crispness.
-
Allow the croutons to cool completely on the baking sheet before transferring them to an airtight container. Store at room temperature for 1-2 days for peak freshness. For longer storage, freeze them in an airtight container for up to 3 months. If they start to soften after 24 hours, simply re-crisp them in a 300°F (150°C) oven or air fryer for 3-5 minutes.
Did you make this recipe?
Please leave a star rating and review below. It helps others when searching for recipes and I LOVE feedback!