
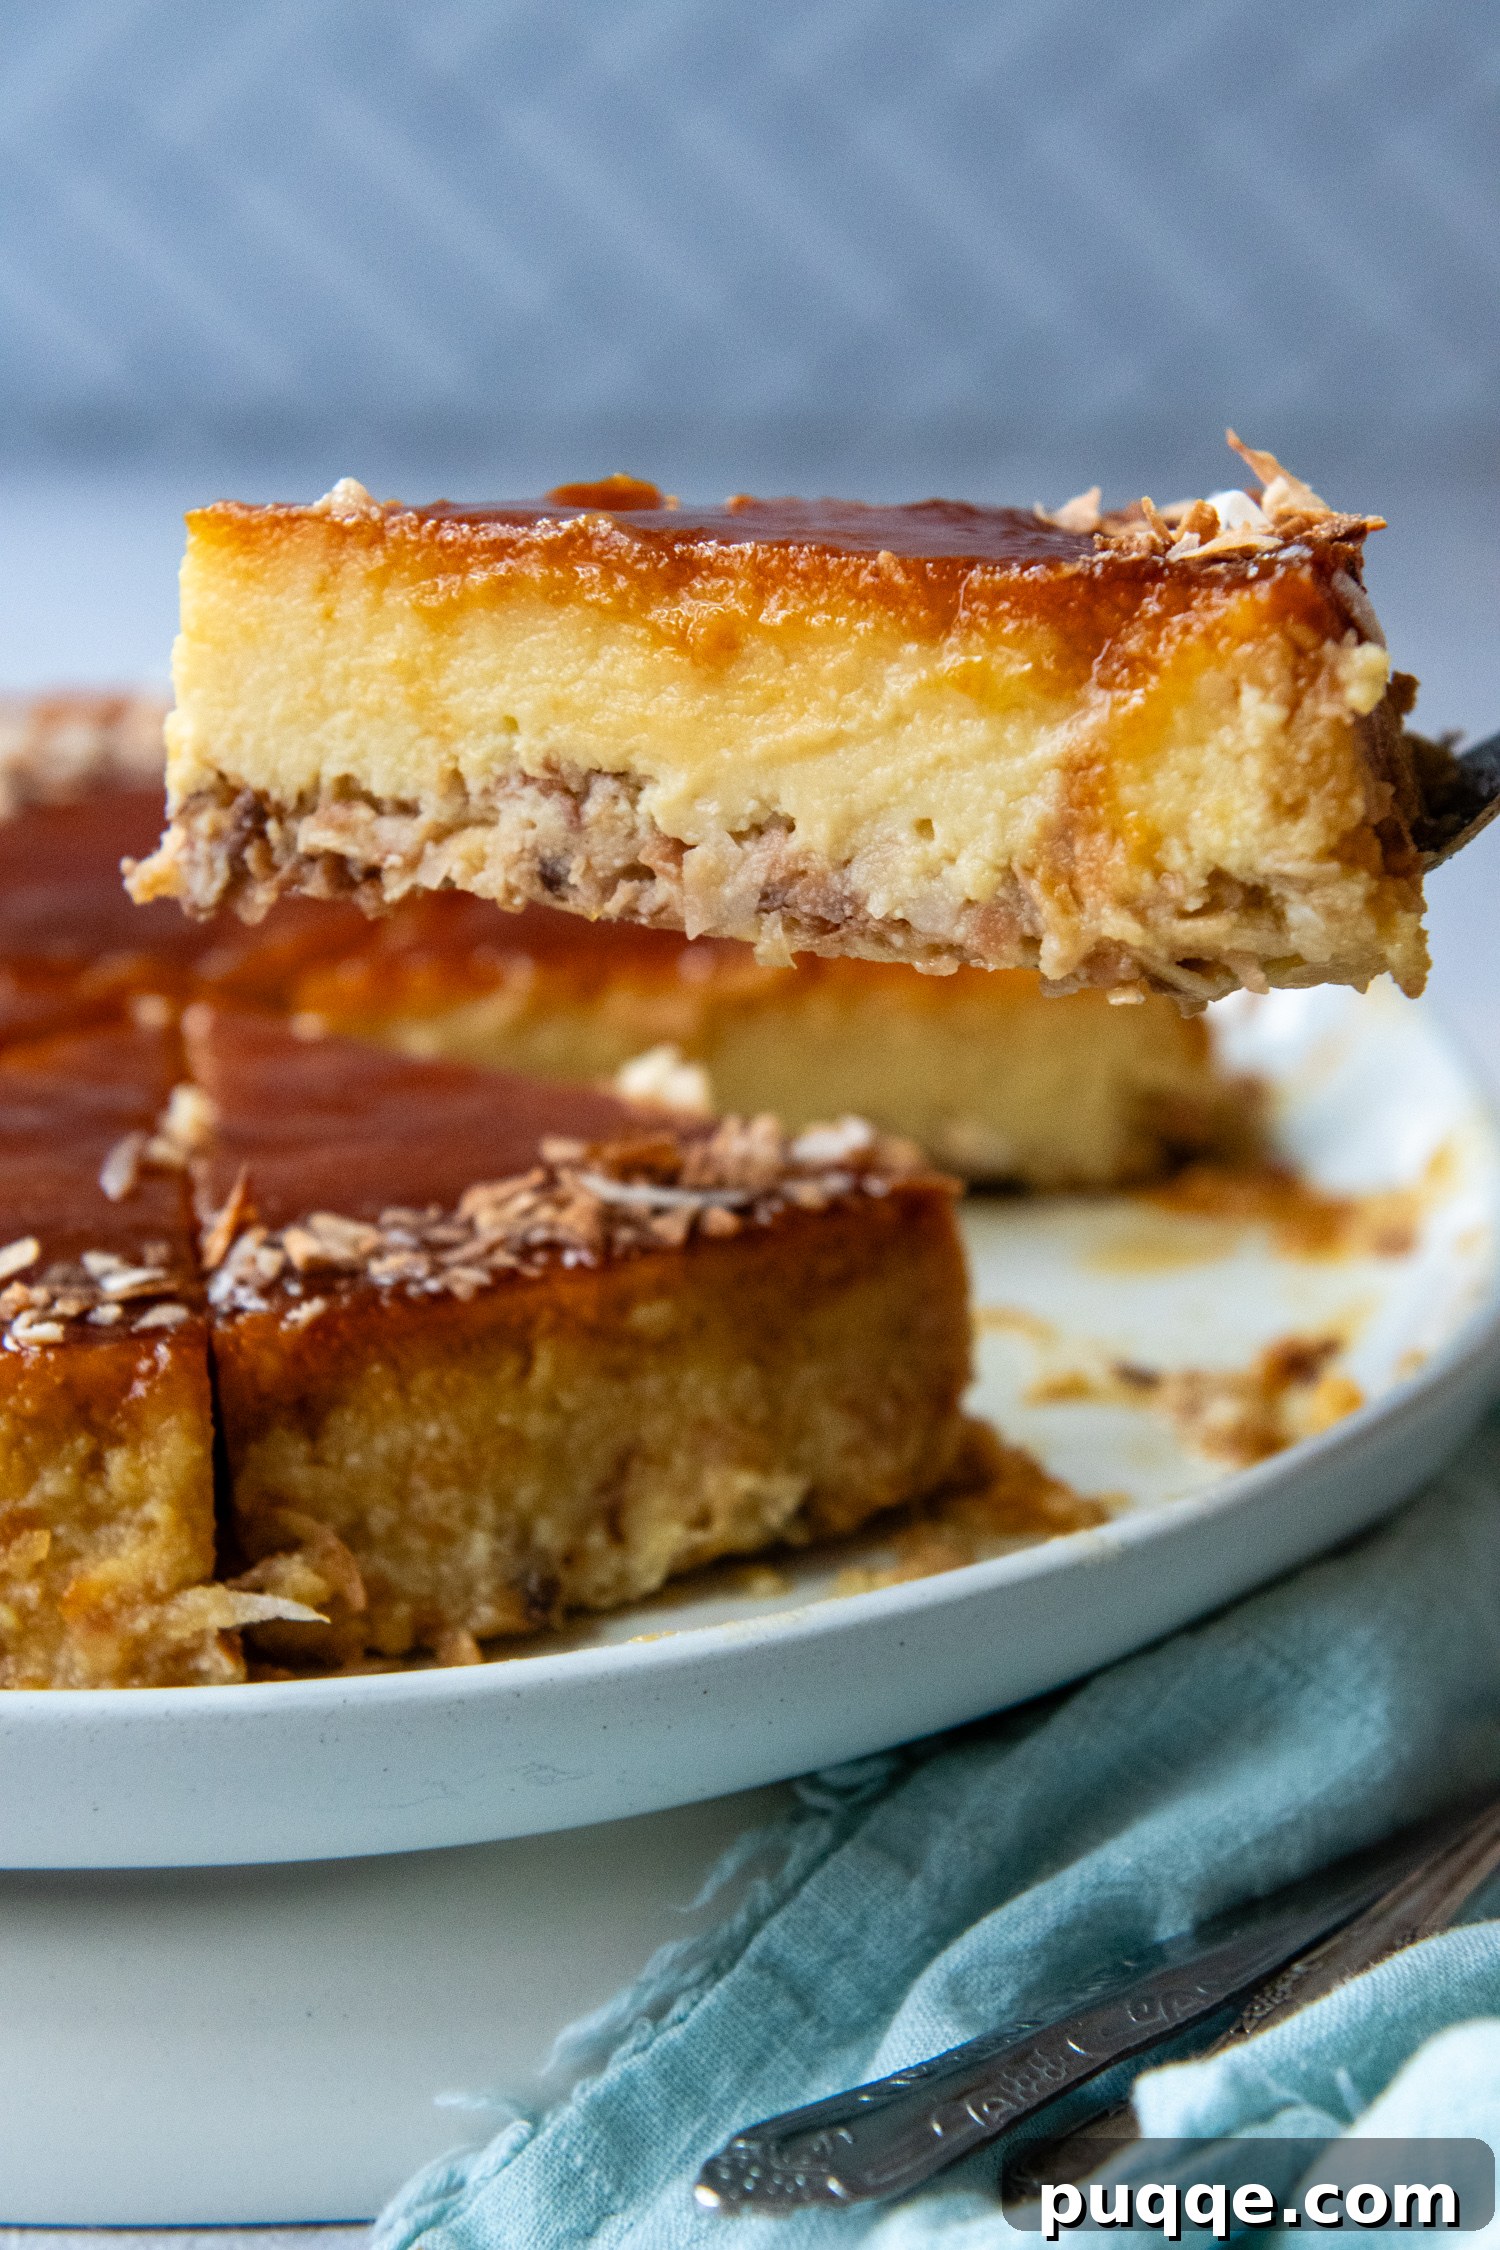
Indulge in the exquisite delight of this **Creamy Coconut Flan with a Toasted Coconut Crust**, an elevated take on the beloved classic, Flan de Coco. Prepare to be captivated by layers of rich, golden caramel, a velvety smooth coconut custard, and a uniquely satisfying toasted coconut crust that forms at the bottom. Crafted with simple, wholesome ingredients, this naturally gluten-free dessert promises an effortlessly elegant experience, perfect for any occasion.
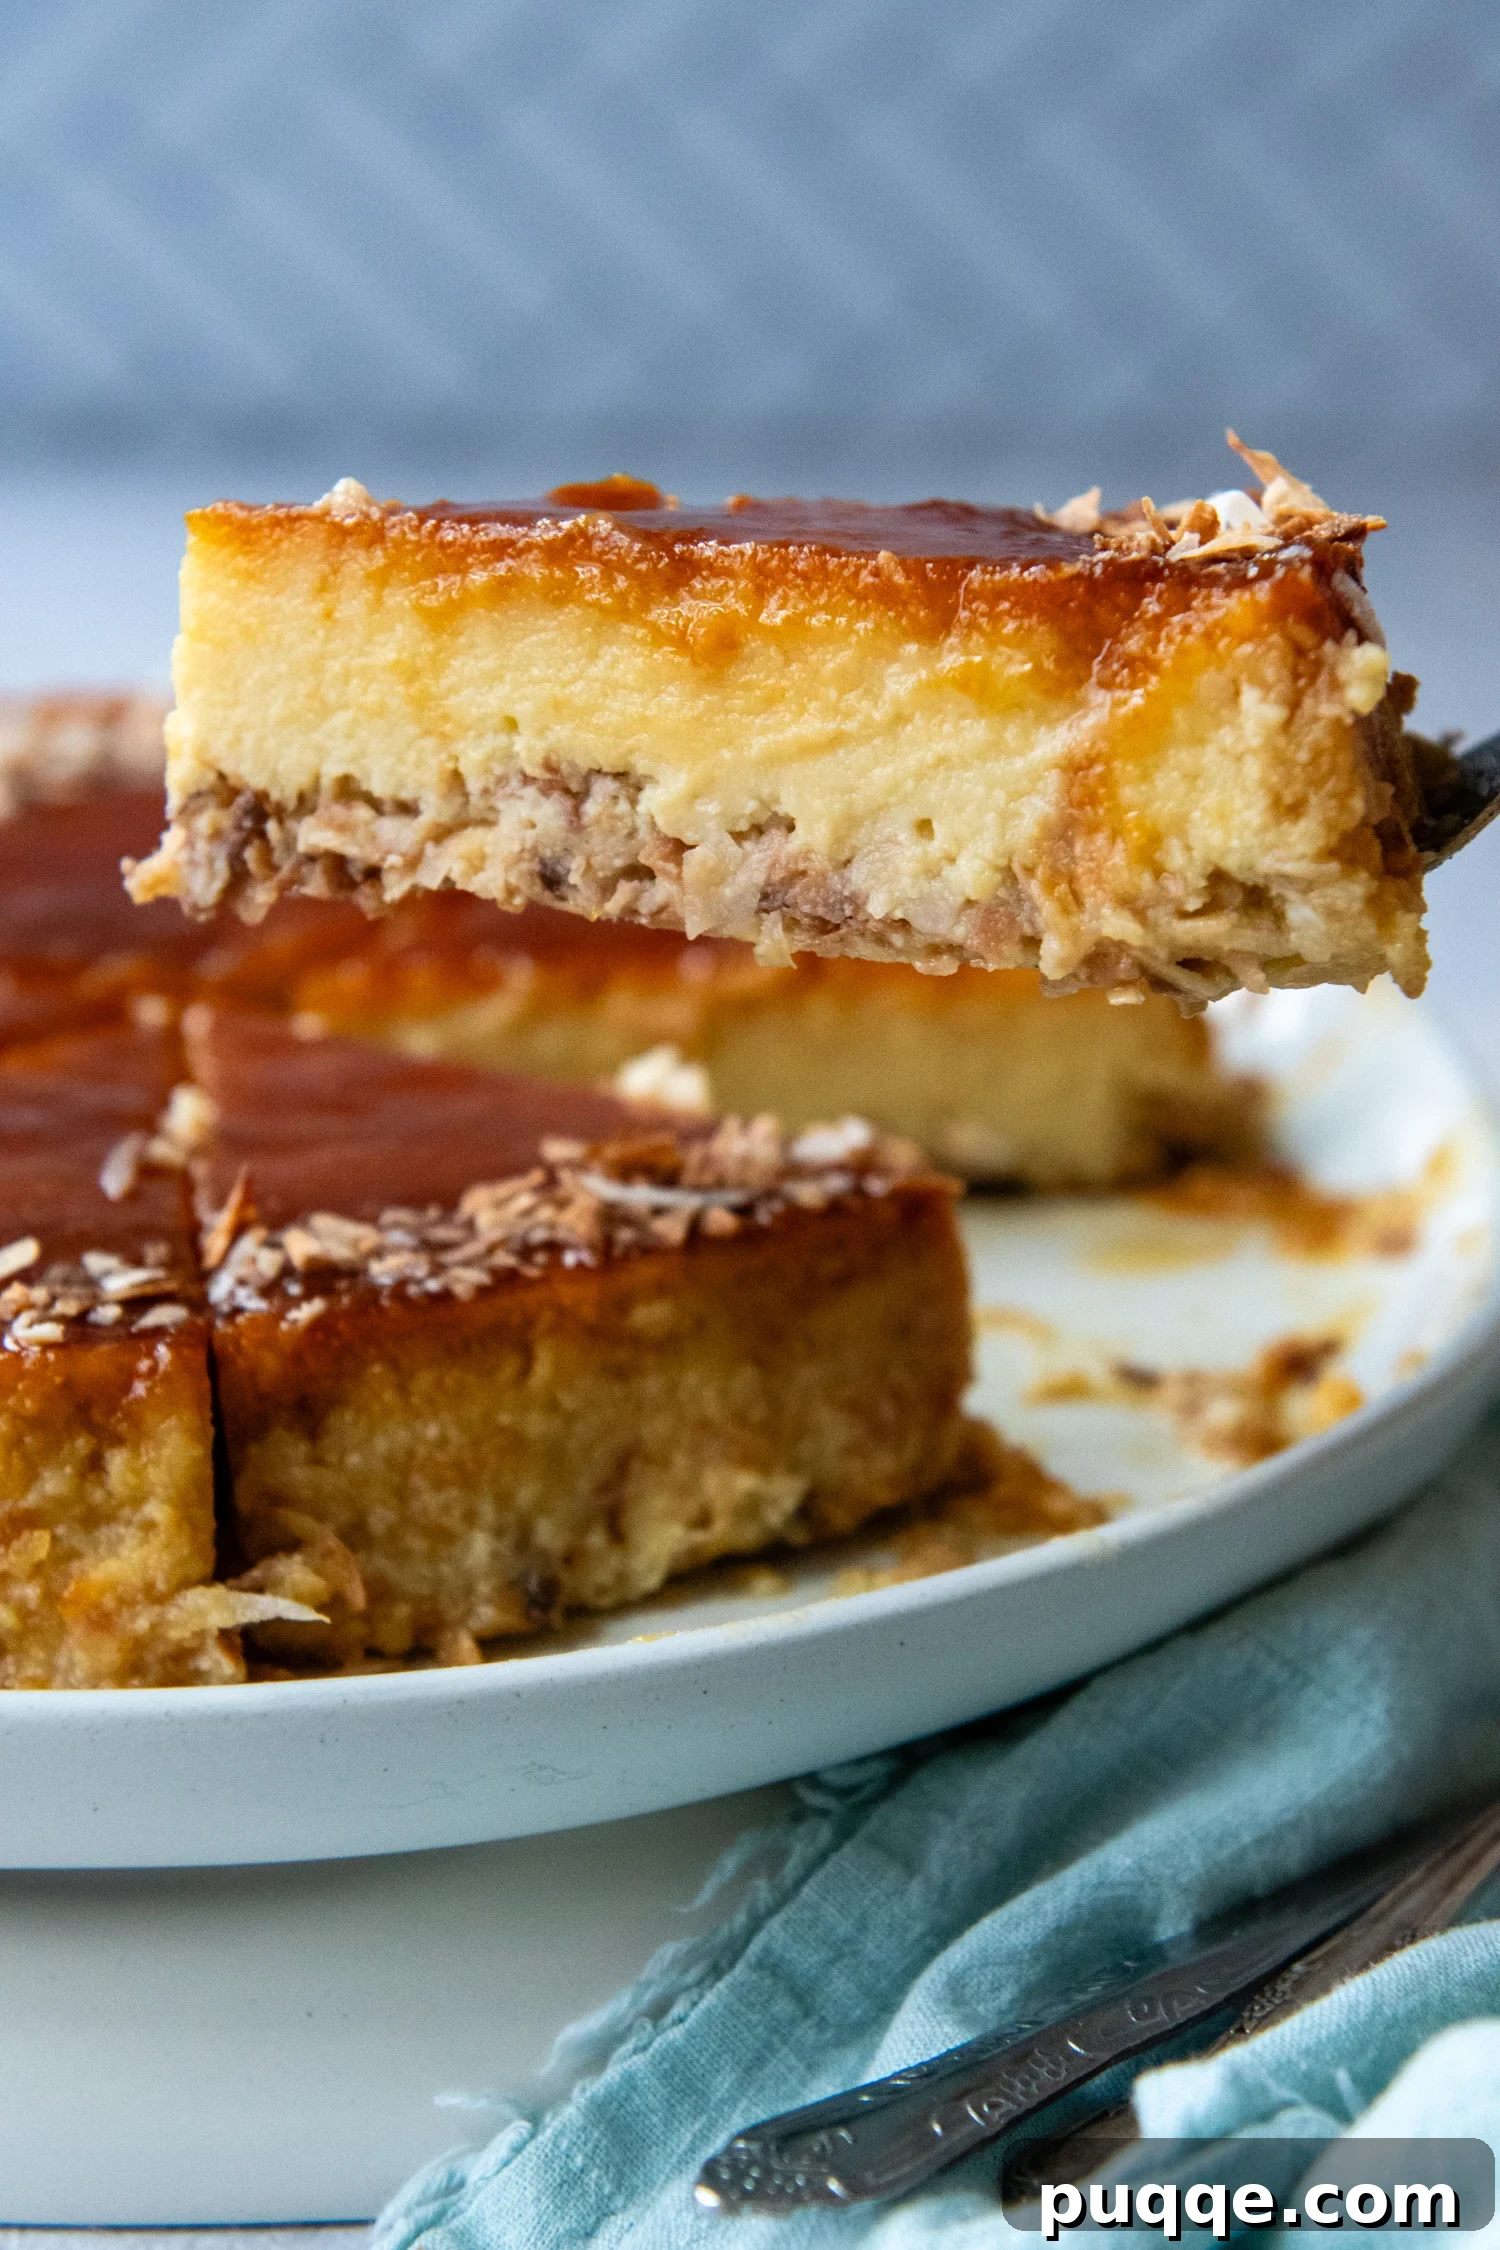
The Tropical Inspiration: Creamy Coconut Flan de Coco
My culinary journey often leads to unexpected and delightful discoveries, and this naturally gluten-free coconut flan recipe is certainly one of them. My inspiration for this dessert stems from a memorable summer trip exploring the vibrant culture and flavors of Belize. Nestled in Central America with a rich Caribbean influence, Belizean cuisine is a magnificent tapestry of tastes, a true culinary potpourri.
During our travels, we stumbled upon a quaint dinner cafe where every dessert was made from scratch. It was there that I first tasted a version of flan made with fresh coconut milk, and it was nothing short of revelatory. The moment that creamy caramel coconut custard touched our table, we were instantly enchanted, ordering a second serving within minutes. It was that utterly delicious and unforgettable.
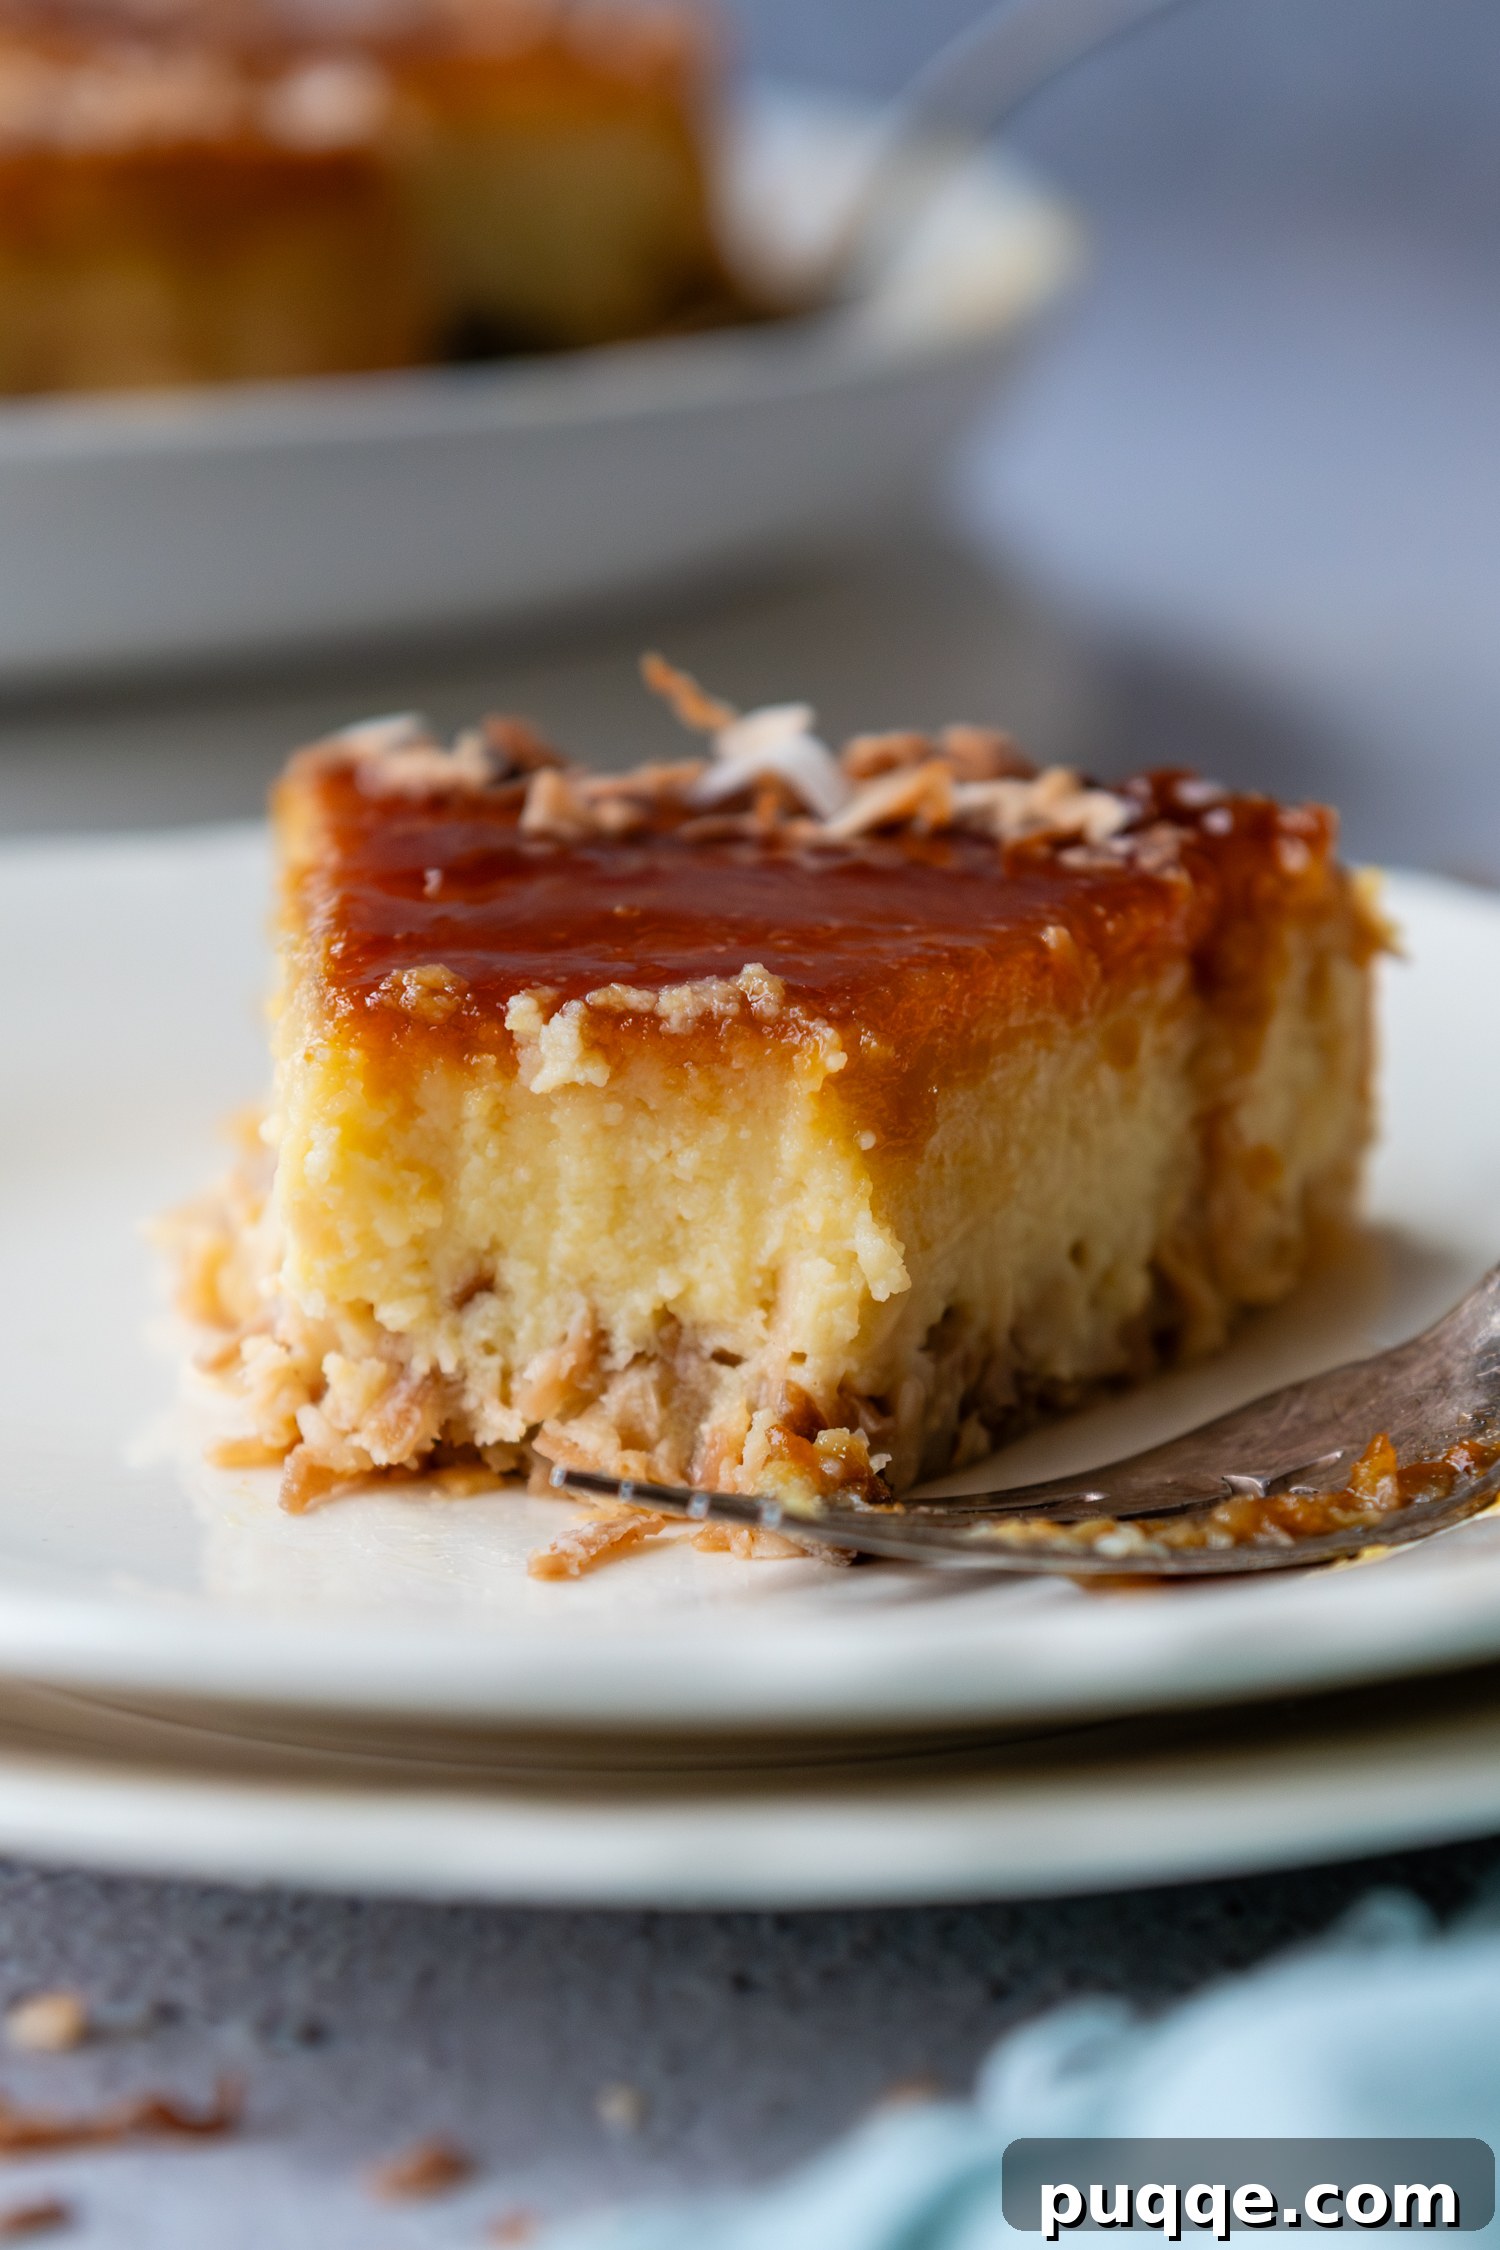
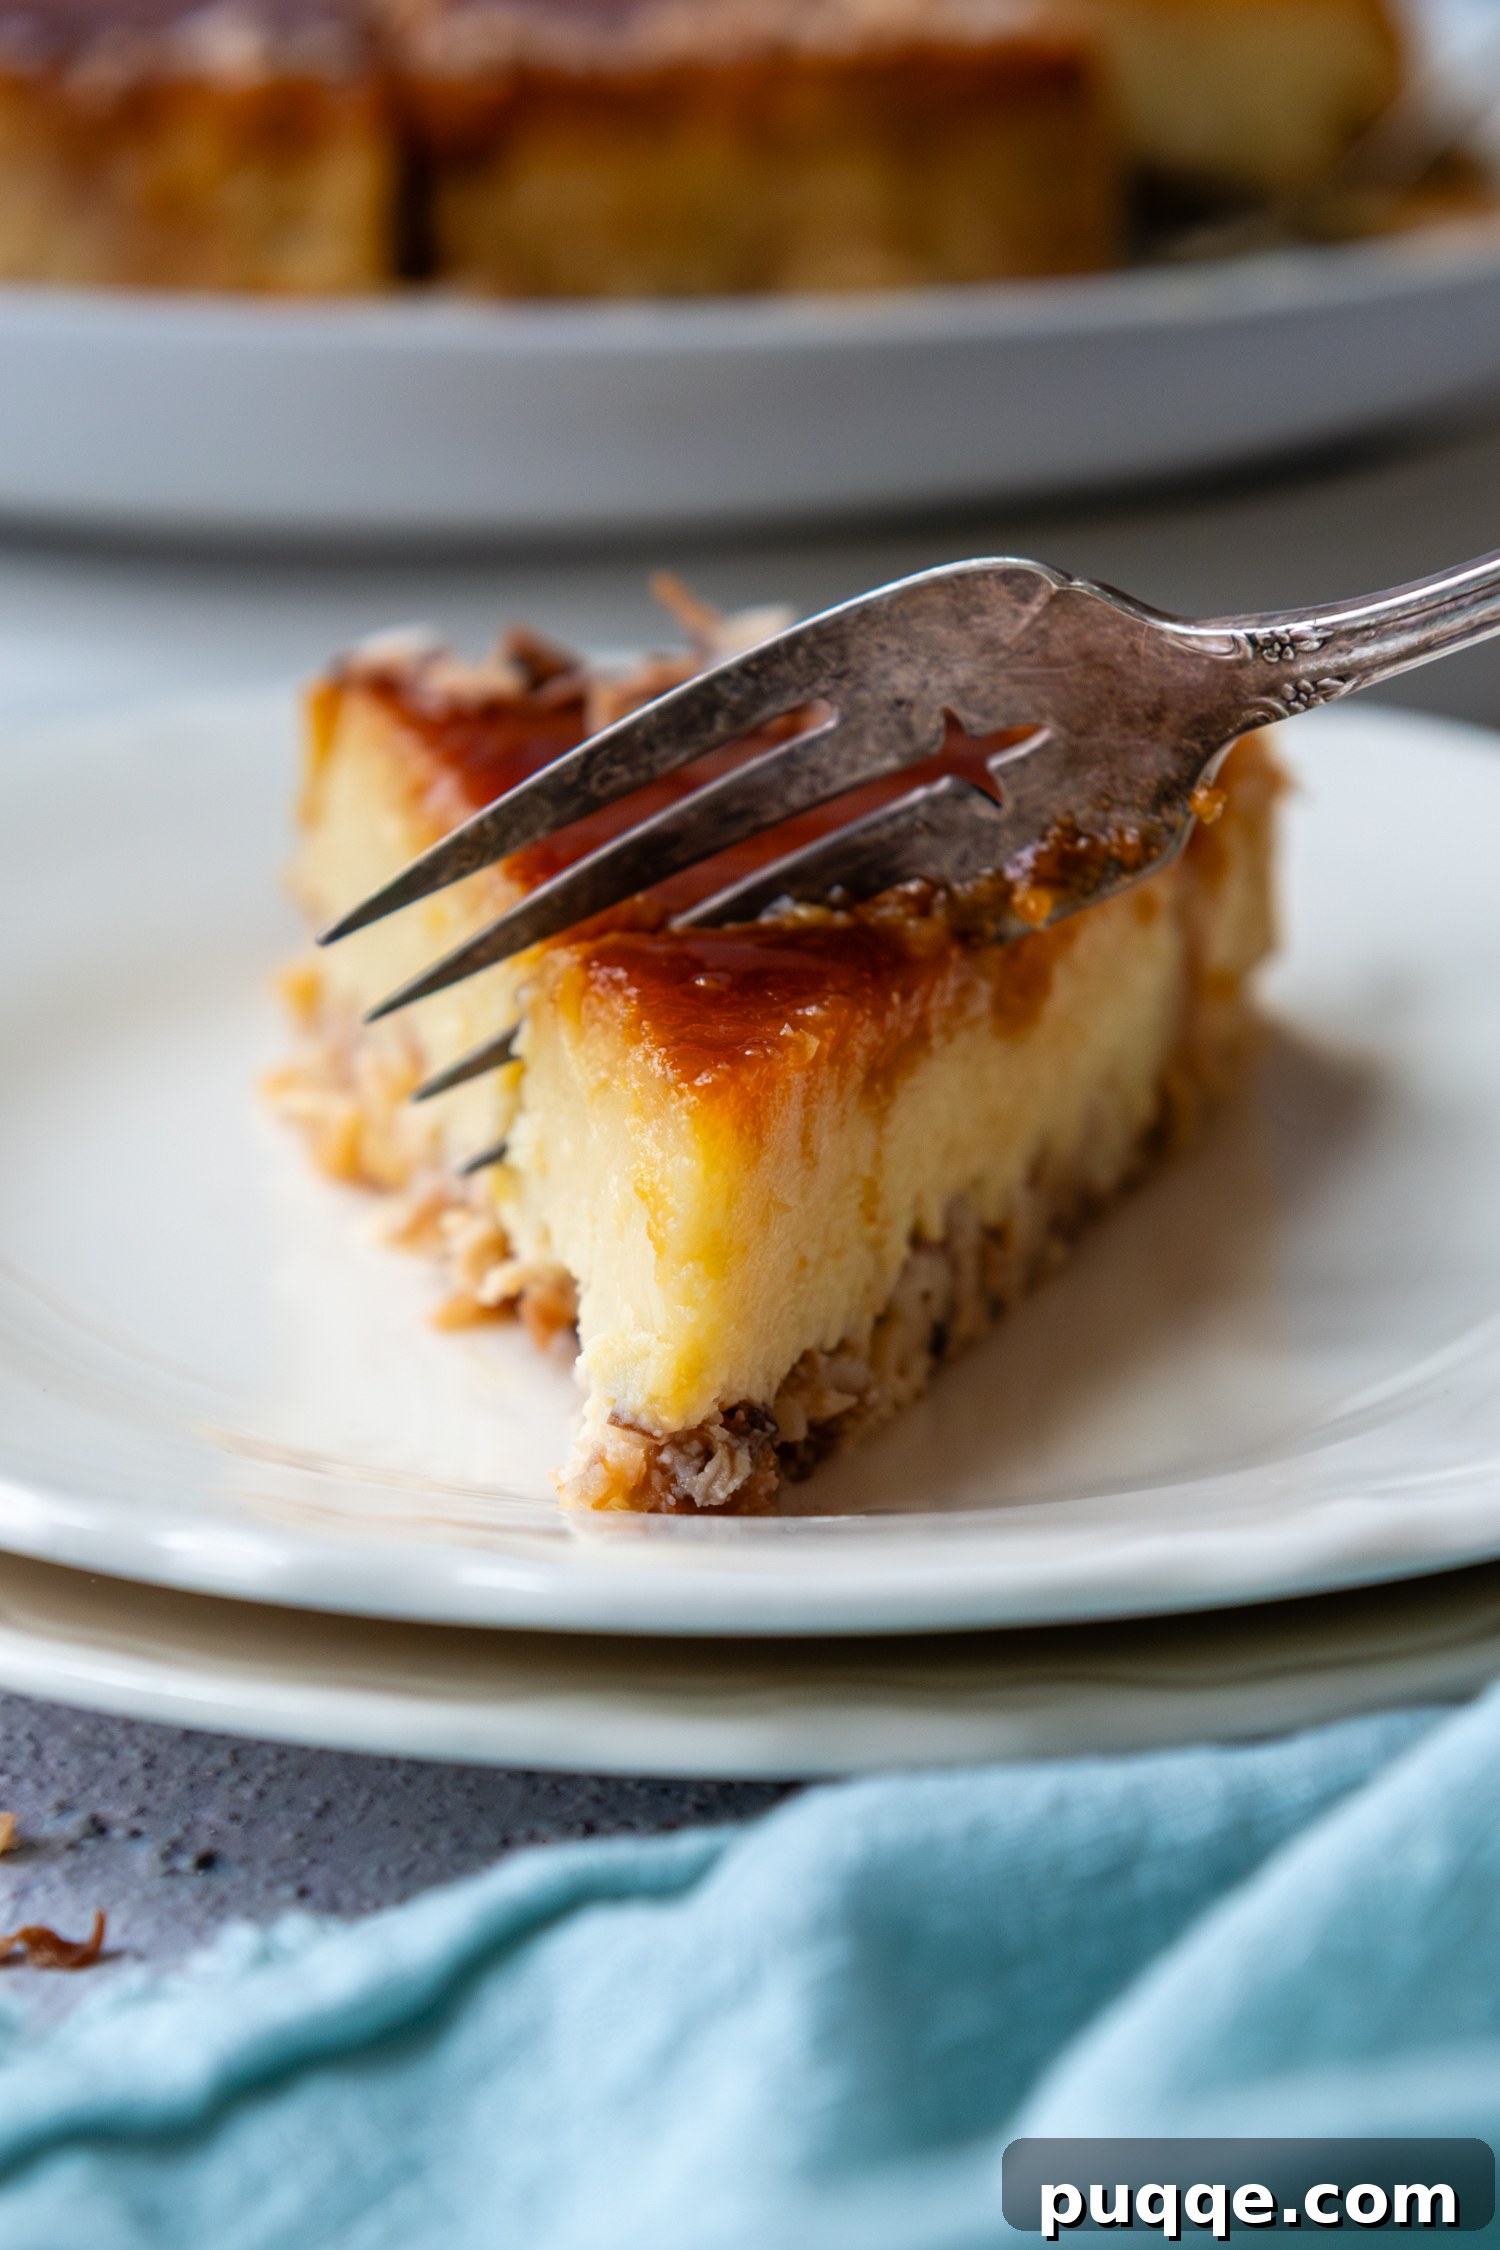
What truly set that Belizean coconut flan apart, and what I strived to emulate in this recipe, was the ingenious toasty bottom coconut crust. While the finished dessert looks incredibly sophisticated and complex, achieving this unique texture is surprisingly simple. The shredded coconut is thoughtfully incorporated into the flan mixture, and as the custard bakes gently in the oven, the shredded coconut naturally rises, forming a delightful, slightly crispy crust at what becomes the bottom of the flan when inverted.
I conducted several experiments, both toasting and not toasting the coconut before adding it to the custard. The results were clear: toasting the coconut yields a superior flavor profile, imbuing the dessert with a golden hue and a deeper, more aromatic nutty essence. While it introduces a minor additional step, it’s quick, easy, and can be done simultaneously while you prepare the homemade caramel. Moreover, this technique is a fantastic “back-pocket” power move that can add an extra dimension to many other sweet treats, such as a homemade coconut rice pudding finished with a perfectly toasted coconut topping.
If the phrases “homemade caramel” or “flan made from scratch” typically evoke a sense of intimidation, rest assured, I completely understand and have you covered! There is absolutely nothing inherently difficult about preparing this utterly delicious coconut dessert. The process is straightforward, though it does require a fair amount of passive time for baking, cooling, and chilling. The flan bakes for approximately 75 minutes, followed by essential cooling time and at least 4 hours of chilling in the refrigerator to achieve its perfect texture. However, this extended preparation time comes with an added bonus: it makes this flan an absolutely clutch gluten-free dessert idea for entertaining. It’s a make-ahead marvel, ensuring a crowd-pleasing delight that minimizes last-minute stress.
Essential Ingredients and Tips for Success
Crafting the perfect Coconut Flan hinges on a few key ingredients and understanding their roles. Here are some “tid bits” to guide you:
- Coconut Milk: For that rich, authentic flavor and creamy texture, it is crucial to use full-fat canned coconut milk. You’ll typically find this in the international foods aisle of your local grocery store. Make sure to use the entire can, including the solid layer of coconut cream that often separates and rises to the top. Do not substitute with coconut cream sold separately in smaller containers or the thinner, refrigerated coconut milk beverages, as these will not yield the desired consistency for this recipe.
- Shredded Coconut: This recipe works beautifully with either sweetened or unsweetened shredded coconut or flakes. Your choice simply depends on your personal preference for the dessert’s overall sweetness level. Sweetened coconut will naturally make the flan richer and more dessert-like, while unsweetened offers a more subtle coconut essence, allowing the other flavors to shine through.
- Flan Pan Size: While you don’t need a specialized flan mold, the size of your baking pan does significantly impact the baking time and the final thickness of your flan. I typically use an 8-inch round cake pan, which produces a flan of ideal thickness and texture. If you opt for a 9-inch round pan, the flan will be thinner and will, therefore, require less baking time. Regardless of the size, it is essential that the pan remains ungreased to allow the caramel and flan to properly set and release.
Crafting Your Flan de Coco: A Step-by-Step Journey
Let’s embark on this delicious adventure together! The following outlines the key stages of making this exquisite coconut flan. For the complete recipe, including precise ingredient amounts and detailed instructions, please refer to the recipe card below.
Mastering the Hands-Off Caramel
Creating the perfect caramel layer, which forms the glossy, sweet topping of your flan, involves two crucial elements for success. Firstly, the choice of saucepan makes a considerable difference. Utilizing a heavy-bottom saucepan with a wider surface area – ideally one with about a 7-8-inch bottom – is recommended. This design helps in evenly distributing the heat across the sugar, preventing hotspots and promoting uniform melting.
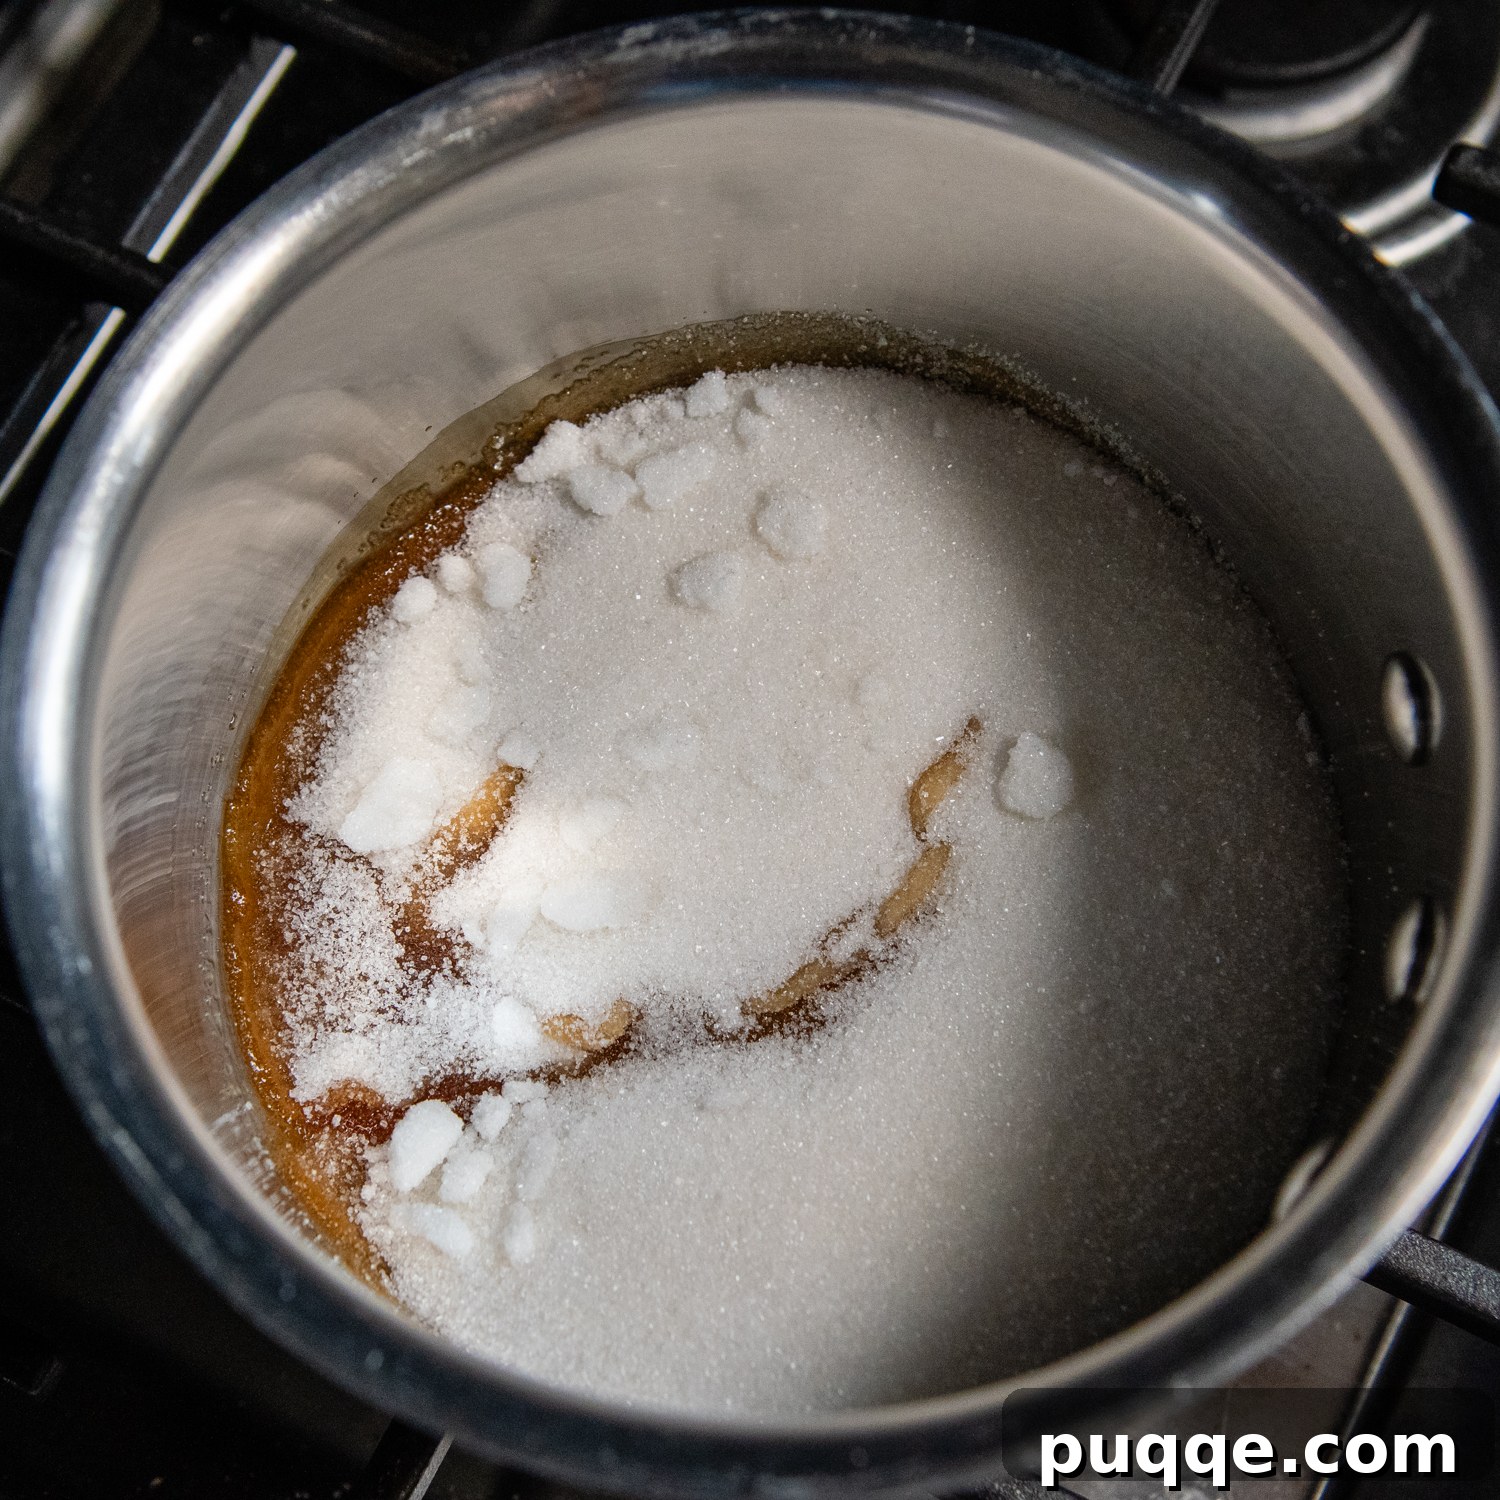
Secondly, and perhaps most importantly, resist the urge to stir the sugar once it’s on the heat. Place the granulated sugar over medium heat and allow it to work its magic undisturbed. After approximately 2 minutes, you will notice the sugar beginning to melt around the edges. At this point, reduce the heat to medium-low and continue cooking (still no stirring!), observing closely until it starts to turn a light golden brown.
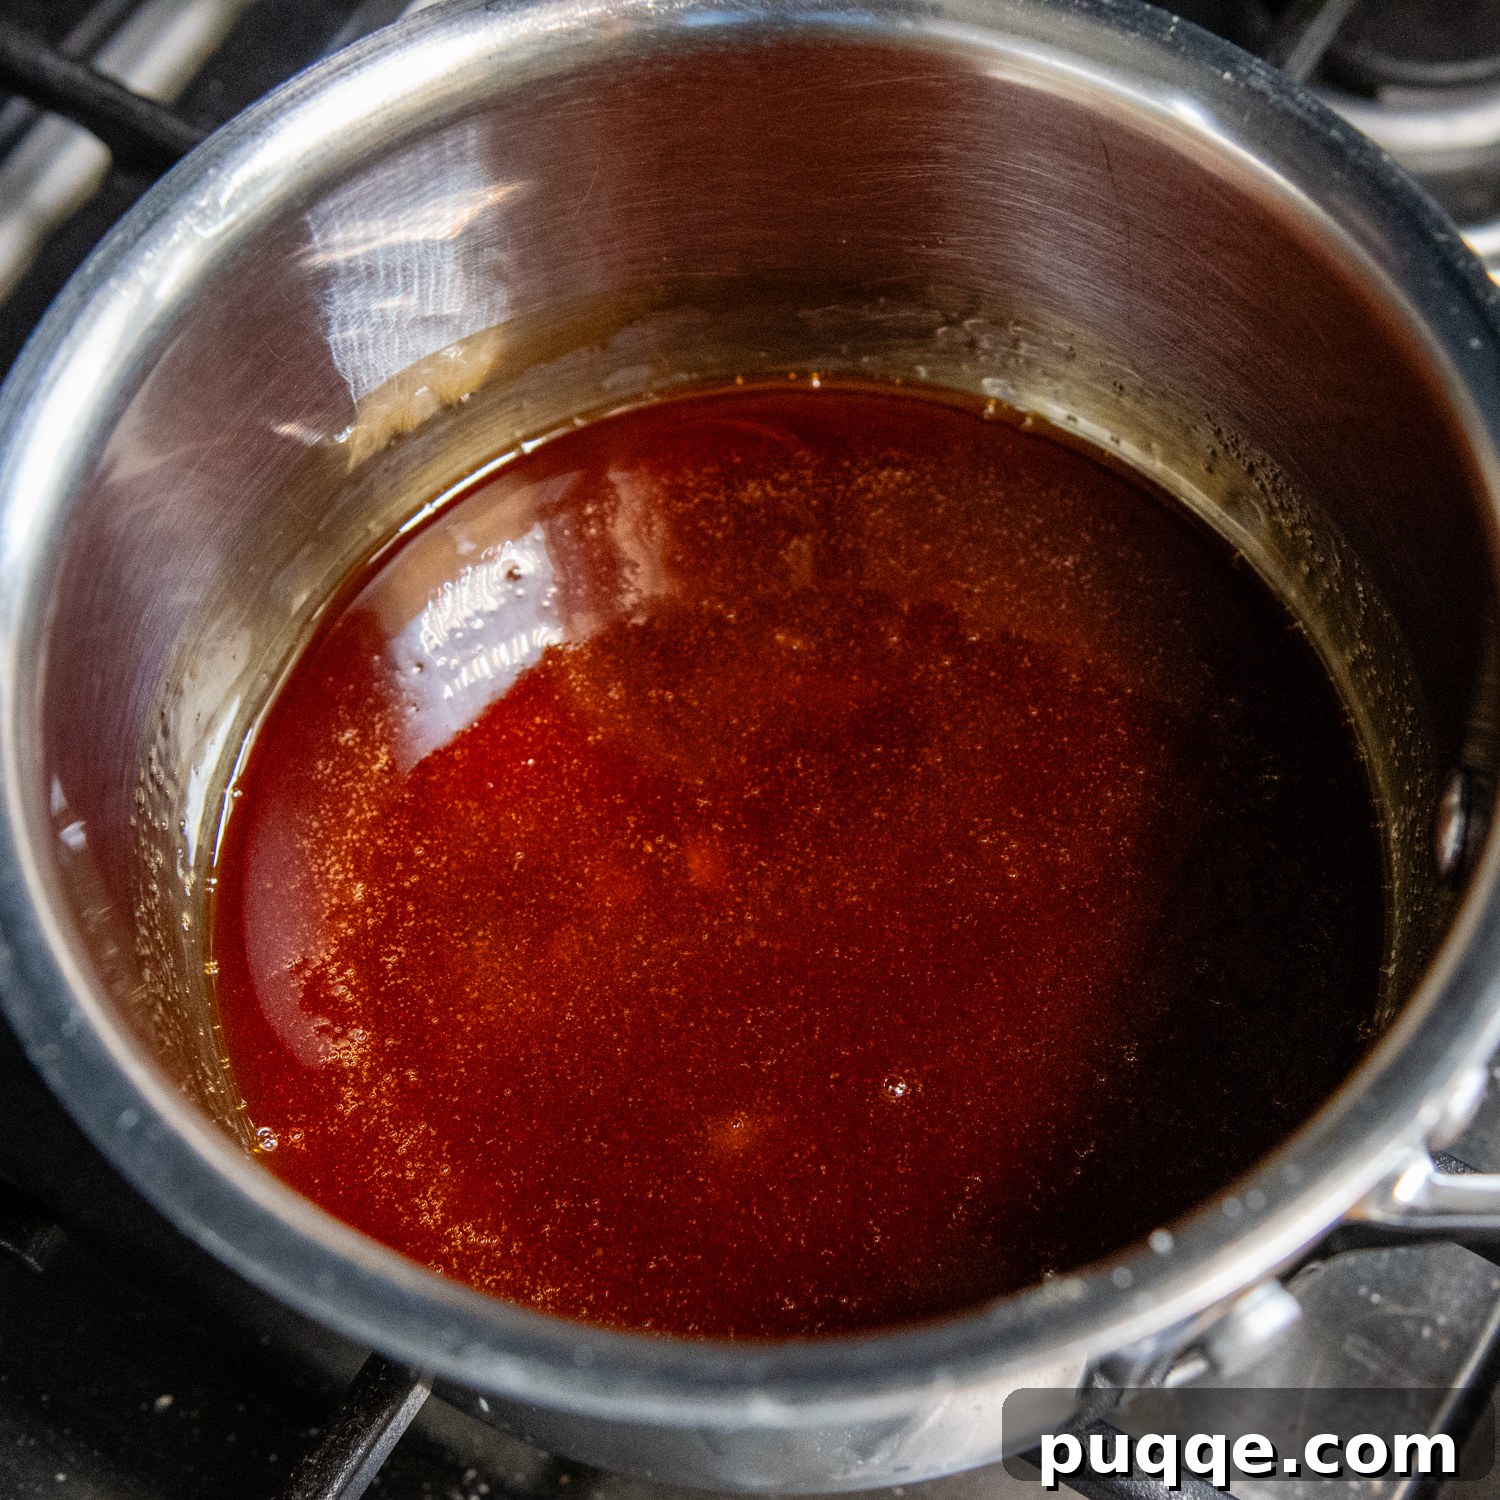
You can occasionally tilt and gently swirl the pan to encourage any unmelted sugar crystals to dissolve into the forming caramel. Continue to cook gently until the sugar is fully melted and transforms into a deep, rich amber color. Once this happens, immediately remove the pan from the heat, pour the hot caramel into your ungreased flan pan, and set it aside to cool while you prepare the custard. The caramel will quickly harden as it cools.
Creating the Magical Coconut Flan Layers
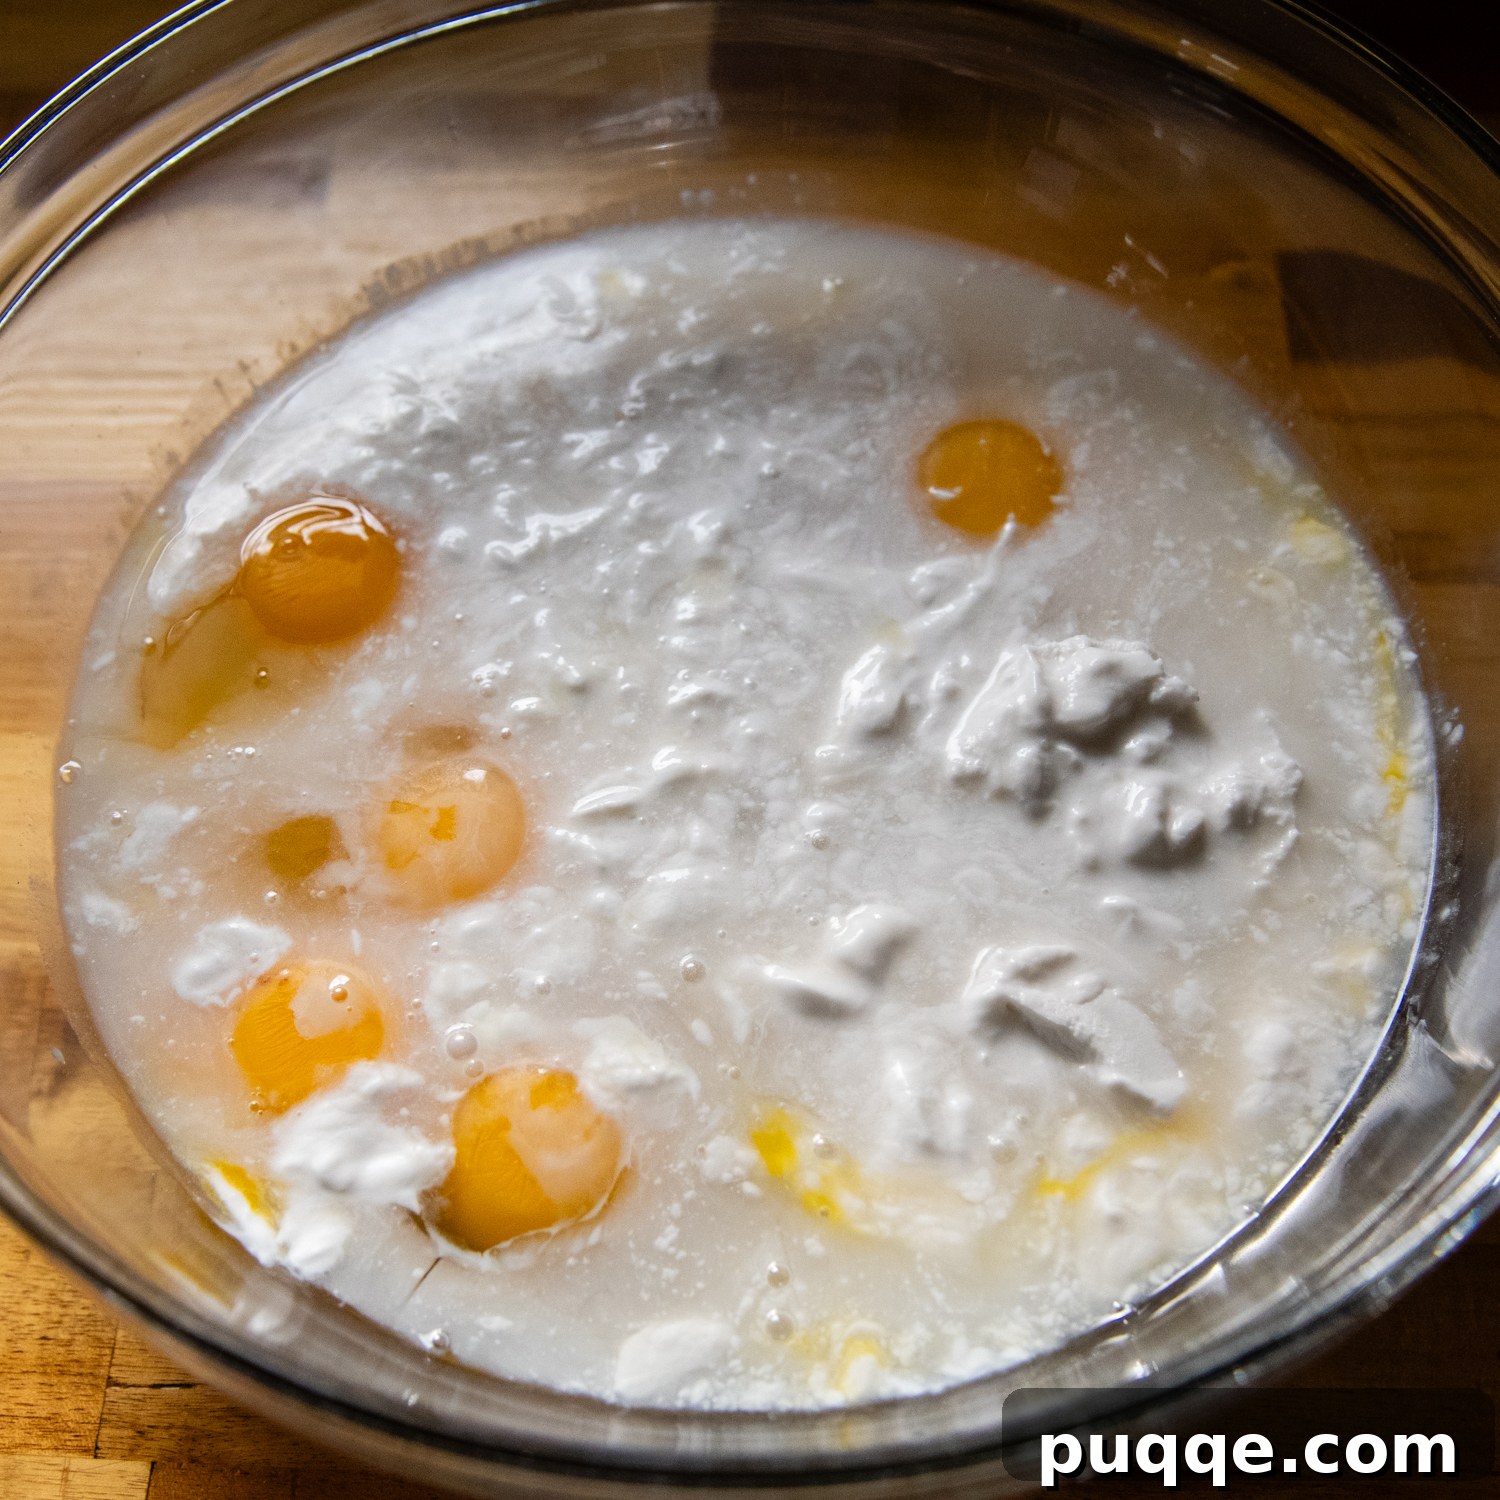
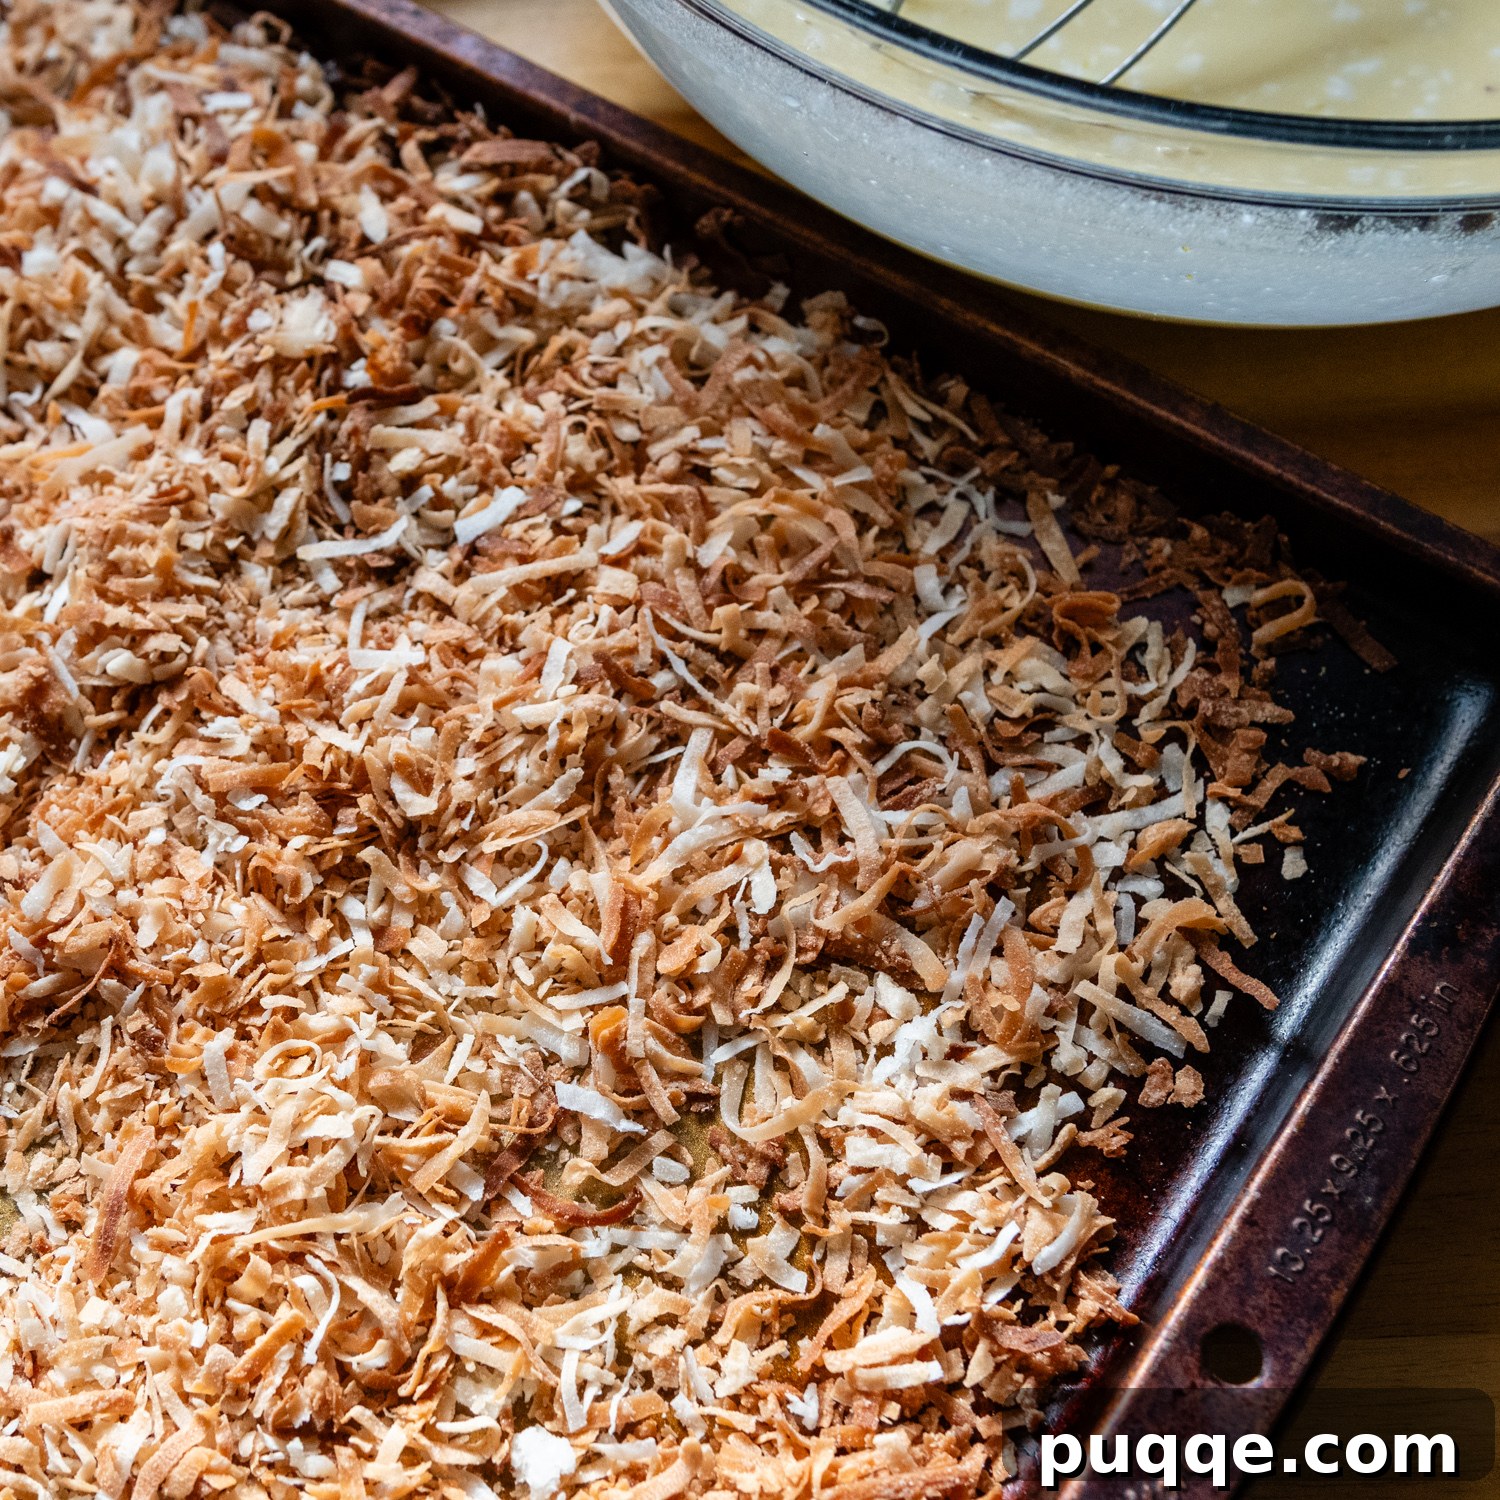
While your shredded coconut is toasting in a 350°F (175°C) oven, which typically takes about 7-10 minutes, begin preparing your rich custard base. In a large mixing bowl, whisk together a simple yet sublime combination of full-fat canned coconut milk, sweetened condensed milk, a quartet of large eggs, two additional egg yolks for extra richness, and a tiny pinch of salt to balance the sweetness. Whisk diligently until the mixture is as smooth and uniform as possible, ensuring all ingredients are thoroughly combined.
Once the toasted coconut has achieved a beautiful golden color and has cooled slightly to prevent cooking the eggs, gently whisk it into your custard mixture. As the flan bakes, a magical transformation occurs: the toasted coconut, being lighter, will naturally rise to the surface of the pan. This layer, upon inverting the flan onto its serving plate, will become the wonderfully flavorful and textured bottom crust.
Baking to Silky Perfection: The Water Bath Method
Given that flan is a delicate egg custard, the best method for achieving its signature silky, creamy texture is to bake it in a water bath, also known as a bain-marie. This technique provides gentle, indirect heat, which prevents the custard from cooking too quickly, cracking, or becoming rubbery.
Carefully pour your prepared coconut flan mixture over the hardened caramel in the ungreased flan pan. Next, place this flan pan into a larger baking vessel, such as a roasting pan or a 9×13-inch baking pan. Fill the larger pan with boiling water until the water level reaches approximately halfway up the sides of the flan pan.
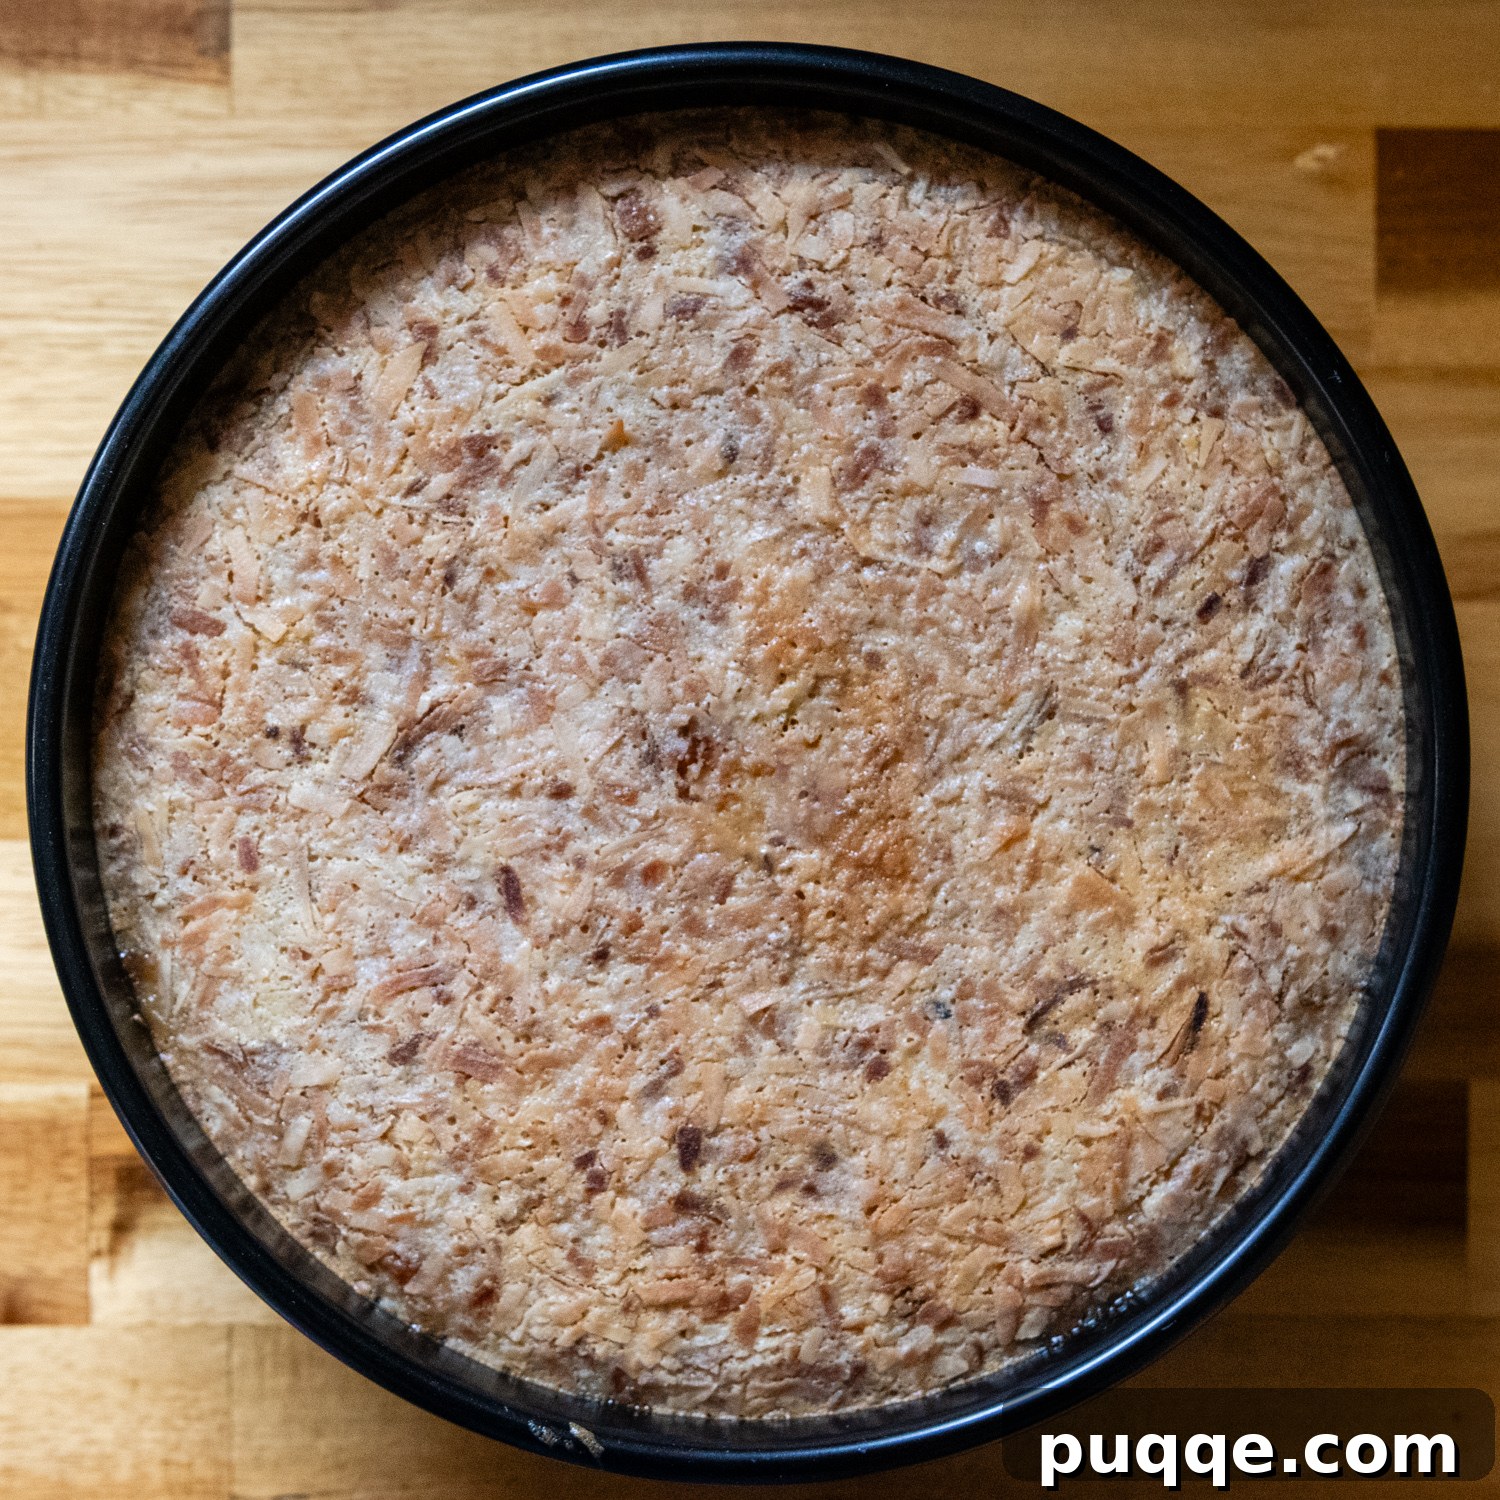
With caution, transfer the entire setup (the large pan with the flan pan nestled inside) to your preheated oven. Bake for approximately 1 hour to 1 hour and 20 minutes. The flan is perfectly baked when its edges are fully set, and the center gently jiggles like firm gelatin, but without any sloshing liquid. A helpful trick is to insert a knife blade into the center; if it comes out mostly clean, with no wet liquid adhering, your flan is done.
The Grand Reveal: Cool, Chill, and Release
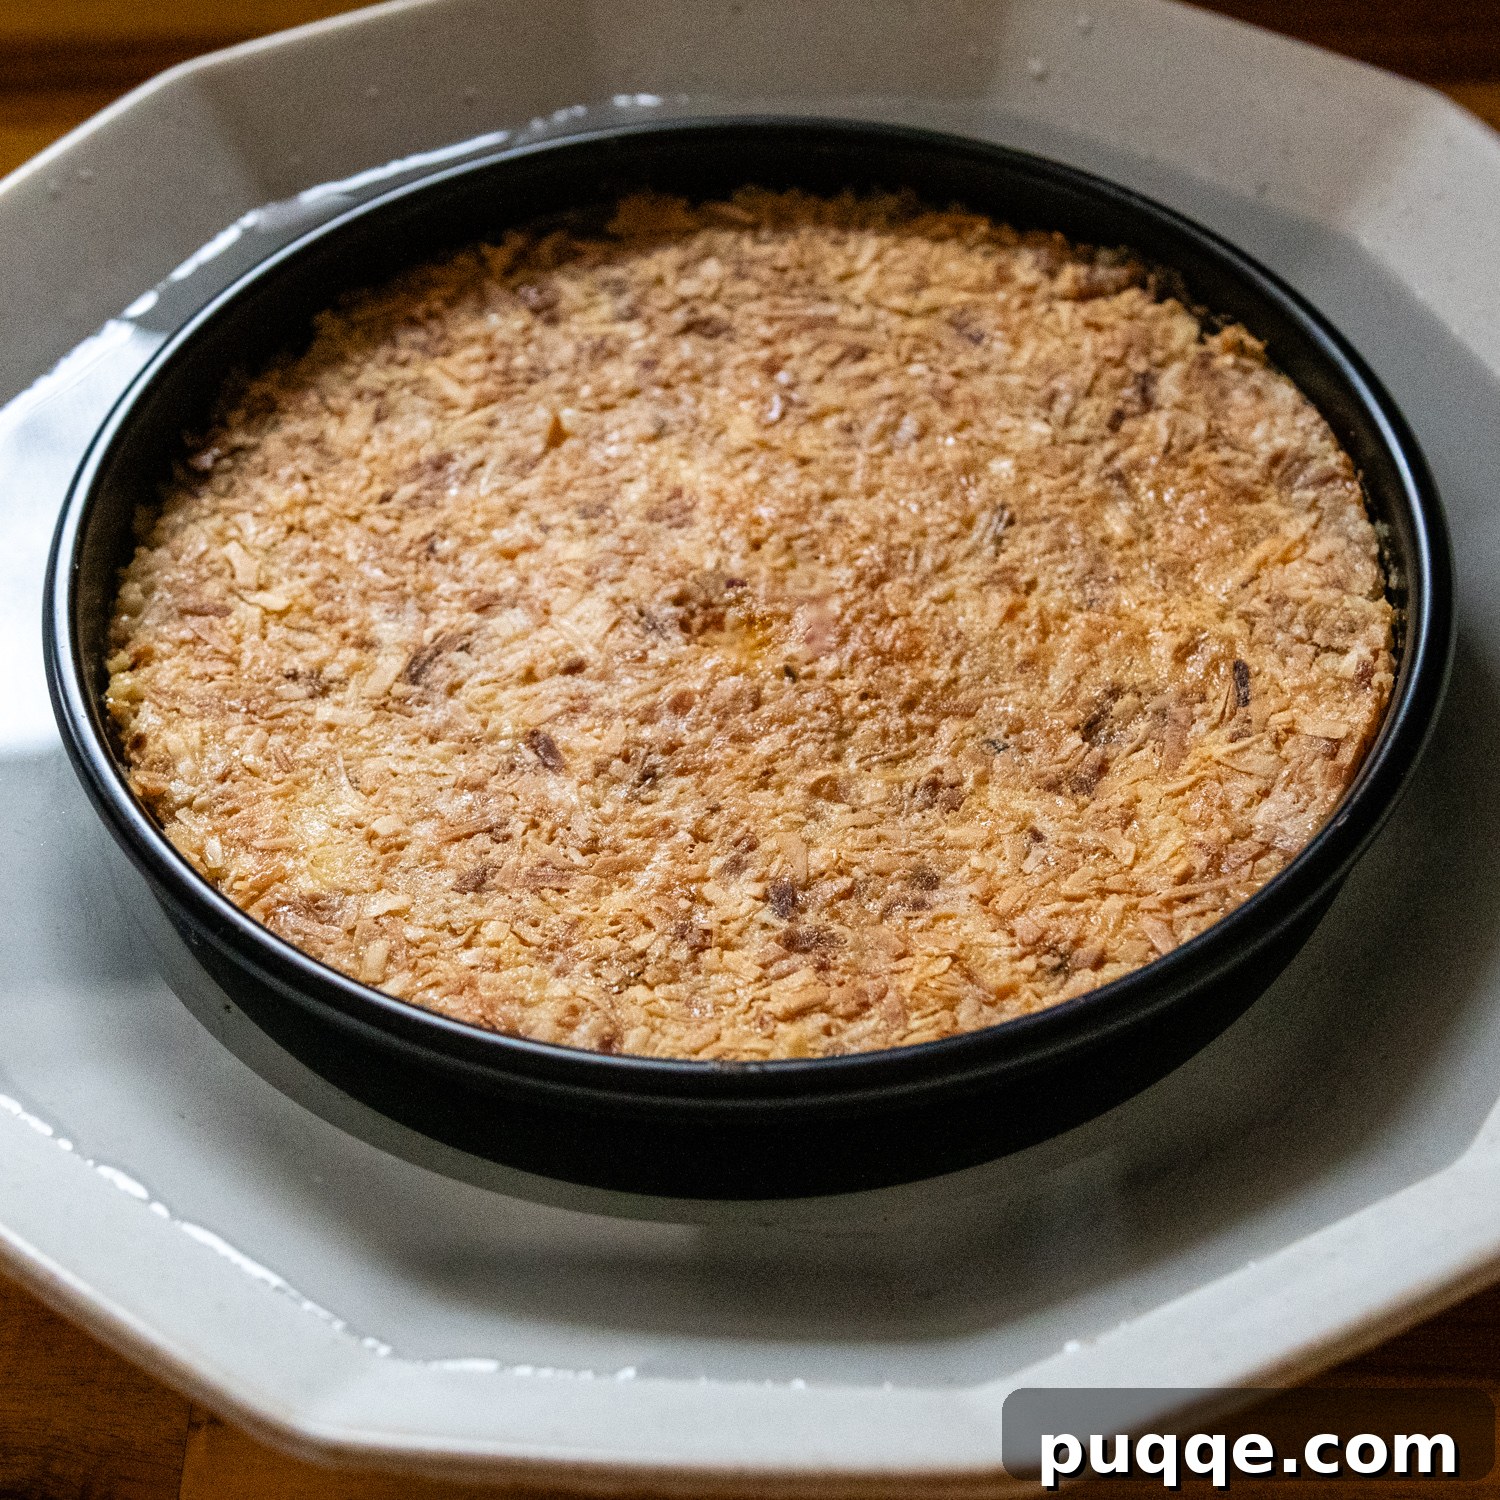
Once your flan has finished baking, carefully remove it from the oven and let it cool completely to room temperature. This gradual cooling is vital for its structure and texture. After it has cooled, transfer it to the refrigerator to chill thoroughly for at least 4 hours, or ideally, overnight. This chilling period is crucial for the flan to firm up and for the flavors to fully meld.
Now, for the most exciting part – the grand reveal! To ensure an effortless release of your beautiful flan, place the chilled flan pan into a larger basin filled with about 2 inches of warm water. Let it sit for a few minutes; this gentle warmth will slightly soften the hardened caramel at the bottom, making it easier to detach.
Run a thin, sharp knife carefully around the entire edge of the flan, separating it from the pan. Then, invert a serving plate (larger than your flan pan) over the pan. Holding both the plate and the pan tightly together, quickly and confidently flip them over. Voilà! Your stunning Coconut Flan, complete with its glistening caramel and unique crust, will slide out perfectly. Pat yourself on the back – you’ve just created a truly impressive and delicious coconut dessert!
For the most visually appealing presentation, it is best to serve the flan within a couple of hours of inverting it onto the serving plate. As it sits, the luscious caramel topping will gradually begin to seep down and absorb into the custard, which is delicious but means that vibrant, glossy top layer will start to diminish. While this doesn’t affect the incredible taste, having the caramel beautifully pooling around the flan when served adds to the overall experience.
The Science of Baking: Water Bath for Ultimate Creaminess
During the development and testing of this coconut flan recipe, I meticulously compared baking it with and without a water bath. While omitting the water bath undeniably shortens the overall baking time, I consistently found that the resulting flan had a noticeably drier and less creamy texture. Baking in a water bath, on the other hand, provides a much gentler and more even temperature distribution throughout the custard. This indirect heat is paramount for achieving that incredibly smooth, melt-in-your-mouth creaminess that defines a truly exceptional flan.
Traditional flan recipes often recommend covering the pan while baking. I experimented with this method as well, but observed that covering the flan significantly increased the baking time (sometimes up to 1 hour and 45 minutes) without offering any substantial improvement in texture. Furthermore, this specific gluten-free coconut flan recipe features a unique layer of shredded coconut that naturally floats to the top during baking. I discovered that leaving this layer exposed to the air during baking helps it develop into a delightful, slightly crisper crust, adding another fantastic textural element to the dessert. Thus, for this recipe, baking uncovered in a water bath is the optimal approach.
Save This Delicious Recipe to Your Pinterest Board!
Let’s be friends on Pinterest! I’m always sharing great recipes and culinary inspiration!
Did you make this recipe? I absolutely love hearing from you and seeing your creations! Please leave a star rating and comment below the recipe card. Your feedback helps others discover and enjoy these recipes, and I truly appreciate hearing from our community. You will always hear back from me! -Melissa
Easy Coconut Flan with Toasted Coconut Crust

Melissa Erdelac
8 slices
25 mins
1 hr 15 mins
5 hrs 40 mins
This smooth and creamy coconut flan recipe is an elevated twist on classic Flan de Coco. Bite through layers of caramel, velvety custard, and a bottom toasted coconut crust finish. Just simple ingredients and a quick, easy prep stands in your way of this naturally gluten-free dessert idea!
Pin Recipe
Ingredients
- ¾ cup (150 g) granulated sugar
- 4 large eggs
- 2 egg yolks
- 13 ounce can coconut milk, full fat (not coconut cream)
- 11 ounce can sweetened condensed milk
- ⅛ teaspoon salt
- 1½ cups (95g) shredded coconut, sweetened or unsweetened
- Additional toasted coconut, optional garnish
Equipment
- 8 inch cake pan or flan mold
- Heavy-bottom saucepan
- Larger roasting or baking pan (for water bath)
- Whisk
- Large mixing bowl
- Baking sheet (for toasting coconut)
Instructions
- Preheat oven to 350℉ (175°C). Have an 8-inch UNGREASED cake pan or flan mold ready. Start boiling water in a medium saucepan for the water bath. For the toasted coconut, spread 1½ cups (95g) of shredded coconut evenly on a baking sheet, reserving an extra tablespoon for garnish if desired. Bake for 7-10 minutes, stirring every 3-5 minutes, until lightly golden. Set aside to cool.
- Meanwhile, prepare the caramel. Place ¾ cup (150g) of granulated sugar in a medium, heavy-bottom saucepan (one with a 7-8-inch bottom works best) over medium heat. Once it begins to melt (about 2 minutes), lower the heat to medium-low and continue cooking without stirring. Let it cook until it starts to brown, about 5 minutes. You can occasionally tilt and swirl the pan to incorporate any unmelted sugar. Continue cooking gently, still without stirring, until the sugar is fully melted and becomes a dark amber brown, which takes about 5 more minutes. Turn off the heat.
- Quickly and carefully pour the hot caramel into the ungreased flan pan. Tilt the pan to ensure the caramel coats the entire bottom surface evenly. Set aside to cool and harden completely.
- In a large bowl, whisk together the 4 large eggs, 2 egg yolks, 13 ounce can full-fat coconut milk, 11 ounce can sweetened condensed milk, and ⅛ teaspoon salt until the mixture is as smooth as possible. Whisk in the toasted coconut (from step 1), ensuring you’ve reserved a tablespoon for optional garnish if desired. Carefully pour this coconut custard mixture over the hardened caramel in the flan pan.
- Prepare the water bath. Place the flan pan into a larger roasting pan or a 9×13-inch baking pan. Fill the larger pan with boiling water until the water level reaches halfway up the sides of the flan pan. Carefully transfer the assembly to the preheated oven. Bake for 1 hour to 1 hour and 20 minutes, or until the edges of the flan are fully set and the center gently jiggles like firm gelatin, but without being watery or sloshy. You can test for doneness by inserting a knife blade into the center; it should come out mostly clean.
- Remove the flan from the oven and carefully lift the flan pan out of the water bath. Let it cool completely to room temperature for several hours. Once cooled, transfer the flan to the refrigerator and chill thoroughly for at least 4 hours, or preferably overnight, to allow it to fully set.
- When you are ready to serve (for the best visual appeal with the caramel pooling, I suggest doing this close to serving time), place the chilled flan pan in about 2 inches of warm water for a few minutes. This helps to gently soften the caramel at the bottom of the pan, facilitating an easy release. Run a thin knife around the edges of the flan to loosen it from the pan. Invert a large serving plate over the flan pan, hold them tightly together, and swiftly flip them over. Gently lift the pan to reveal your beautifully set Coconut Flan. Garnish with additional toasted coconut if desired.
Notes
Storing:
Refrigerate any leftover flan, loosely covered, for up to 2 days. Please note that as it is stored, the caramel layer on top will gradually absorb into the custard, which may diminish its glossy appearance but will not affect the delicious taste. I do not recommend freezing this flan, as it can alter the delicate texture.
Calories: 434kcal
,
Carbohydrates: 51g
,
Protein: 8g
,
Fat: 24g
,
Saturated Fat: 18g
,
Polyunsaturated Fat: 1g
,
Monounsaturated Fat: 3g
,
Trans Fat: 0.01g
,
Cholesterol: 144mg
,
Sodium: 171mg
,
Potassium: 358mg
,
Fiber: 2g
,
Sugar: 49g
,
Vitamin A: 288IU
,
Vitamin C: 2mg
,
Calcium: 139mg
,
Iron: 2mg
Did you make this recipe?
Please leave a star rating and review below. It helps others when searching for recipes and I LOVE feedback!