
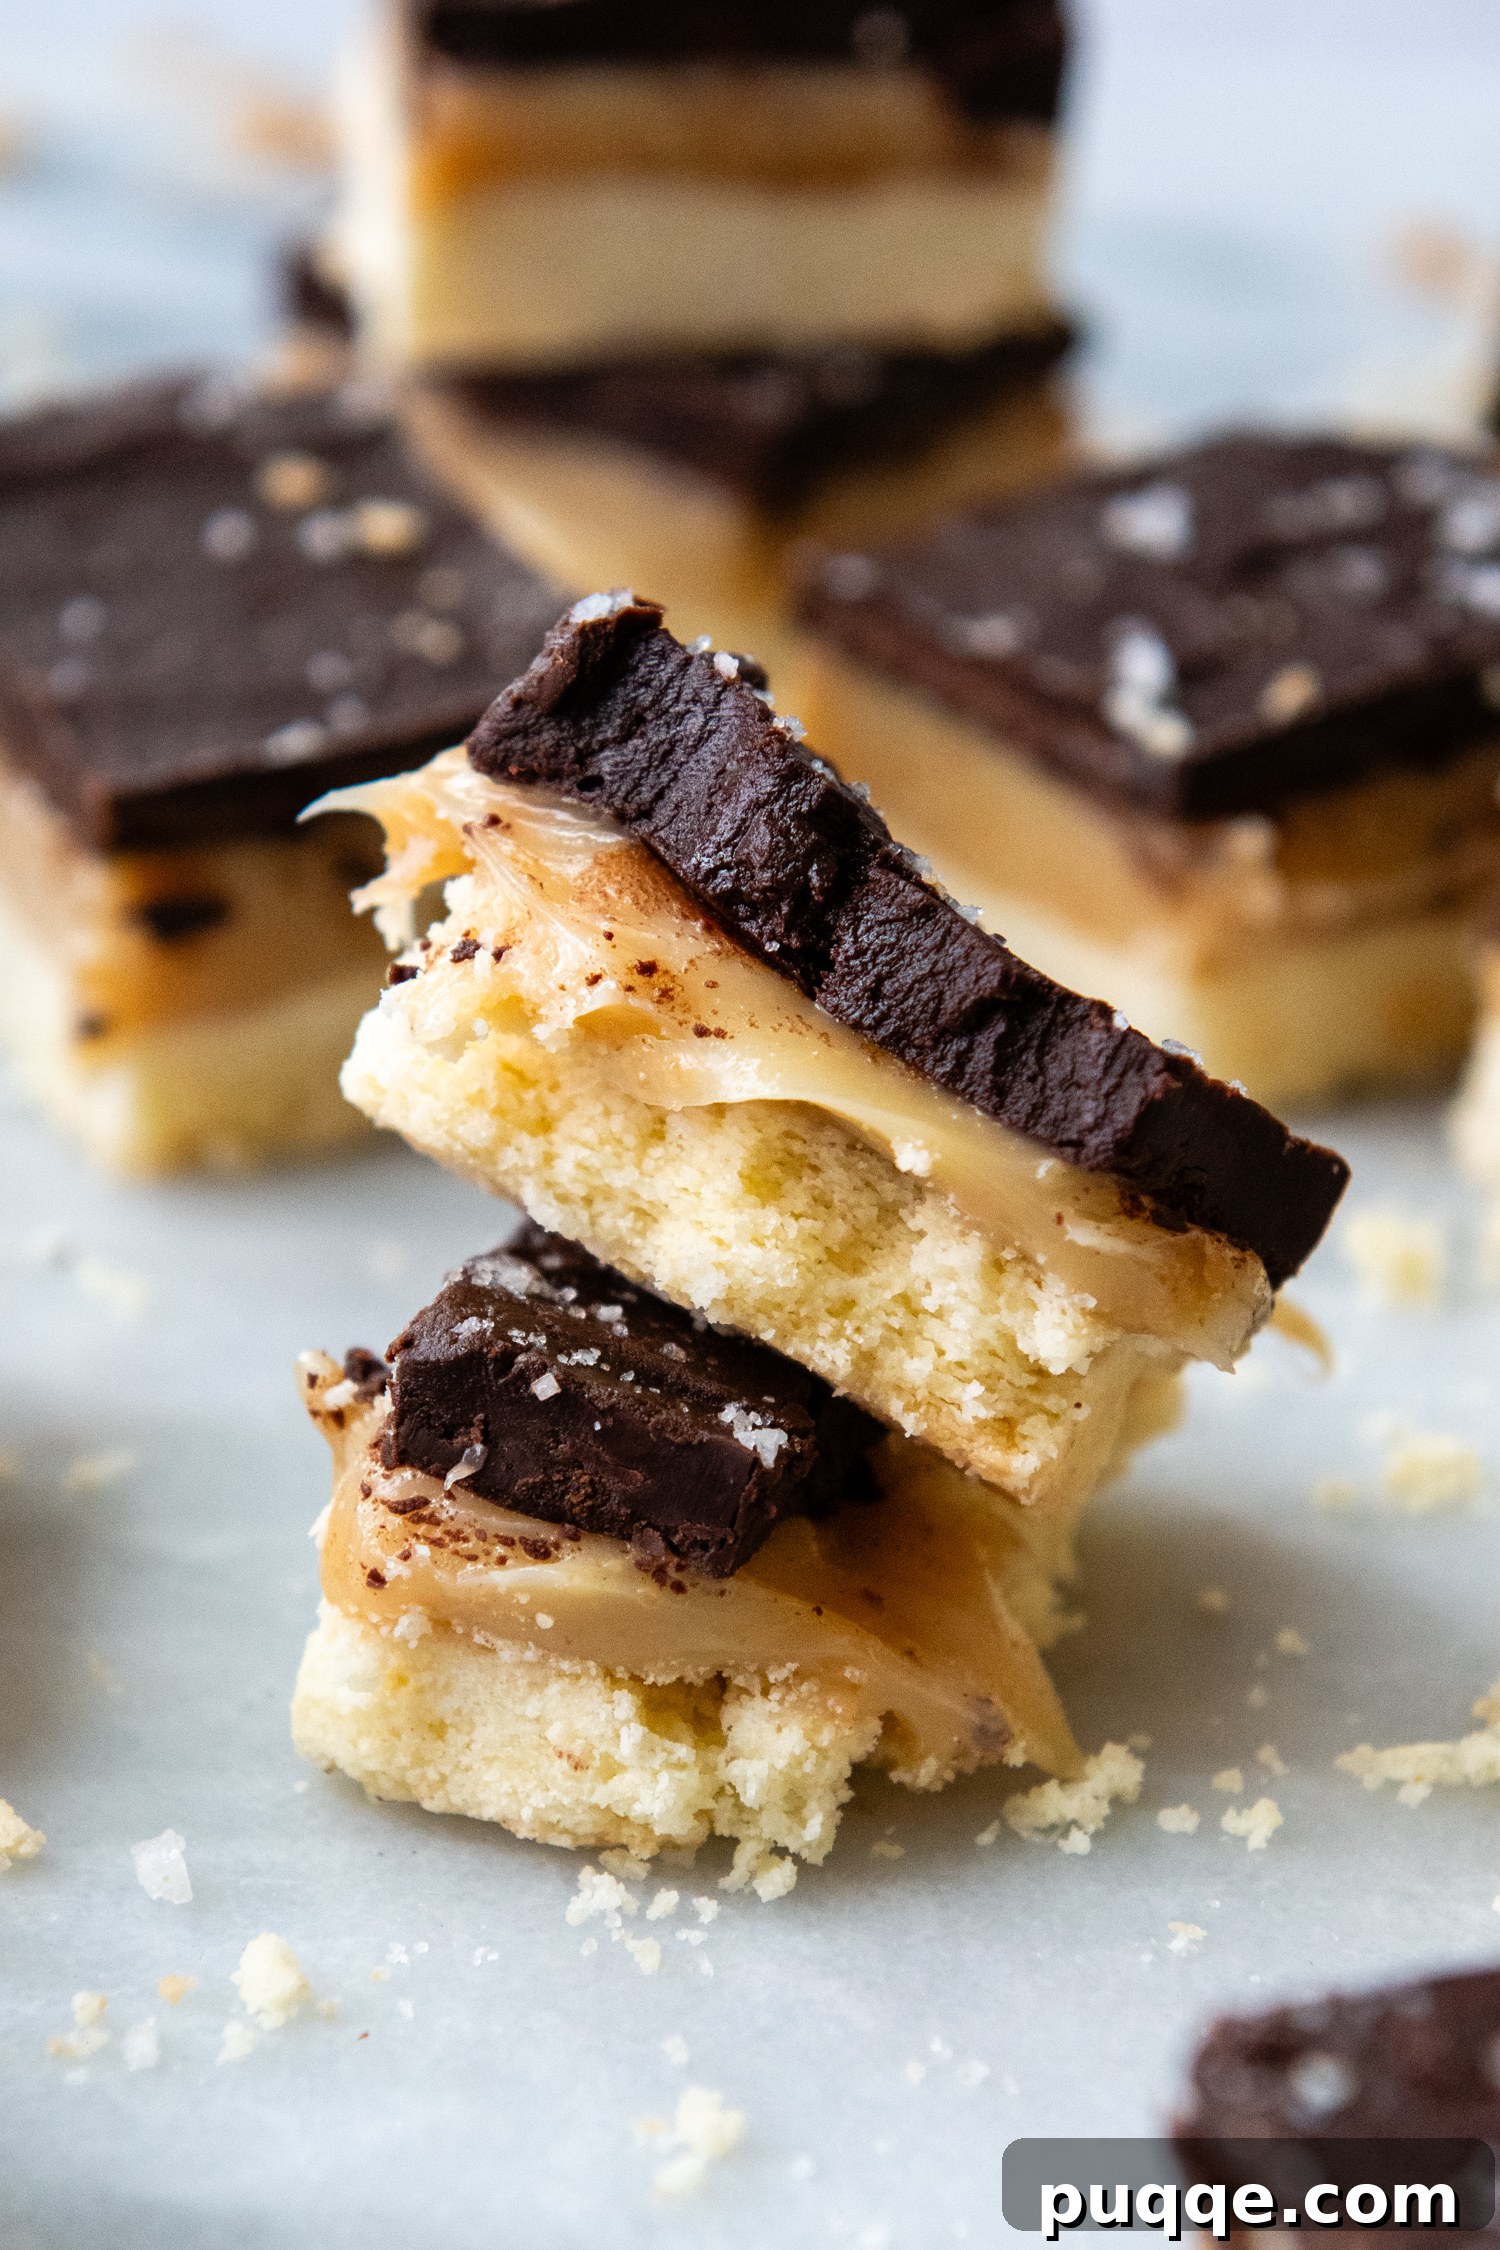
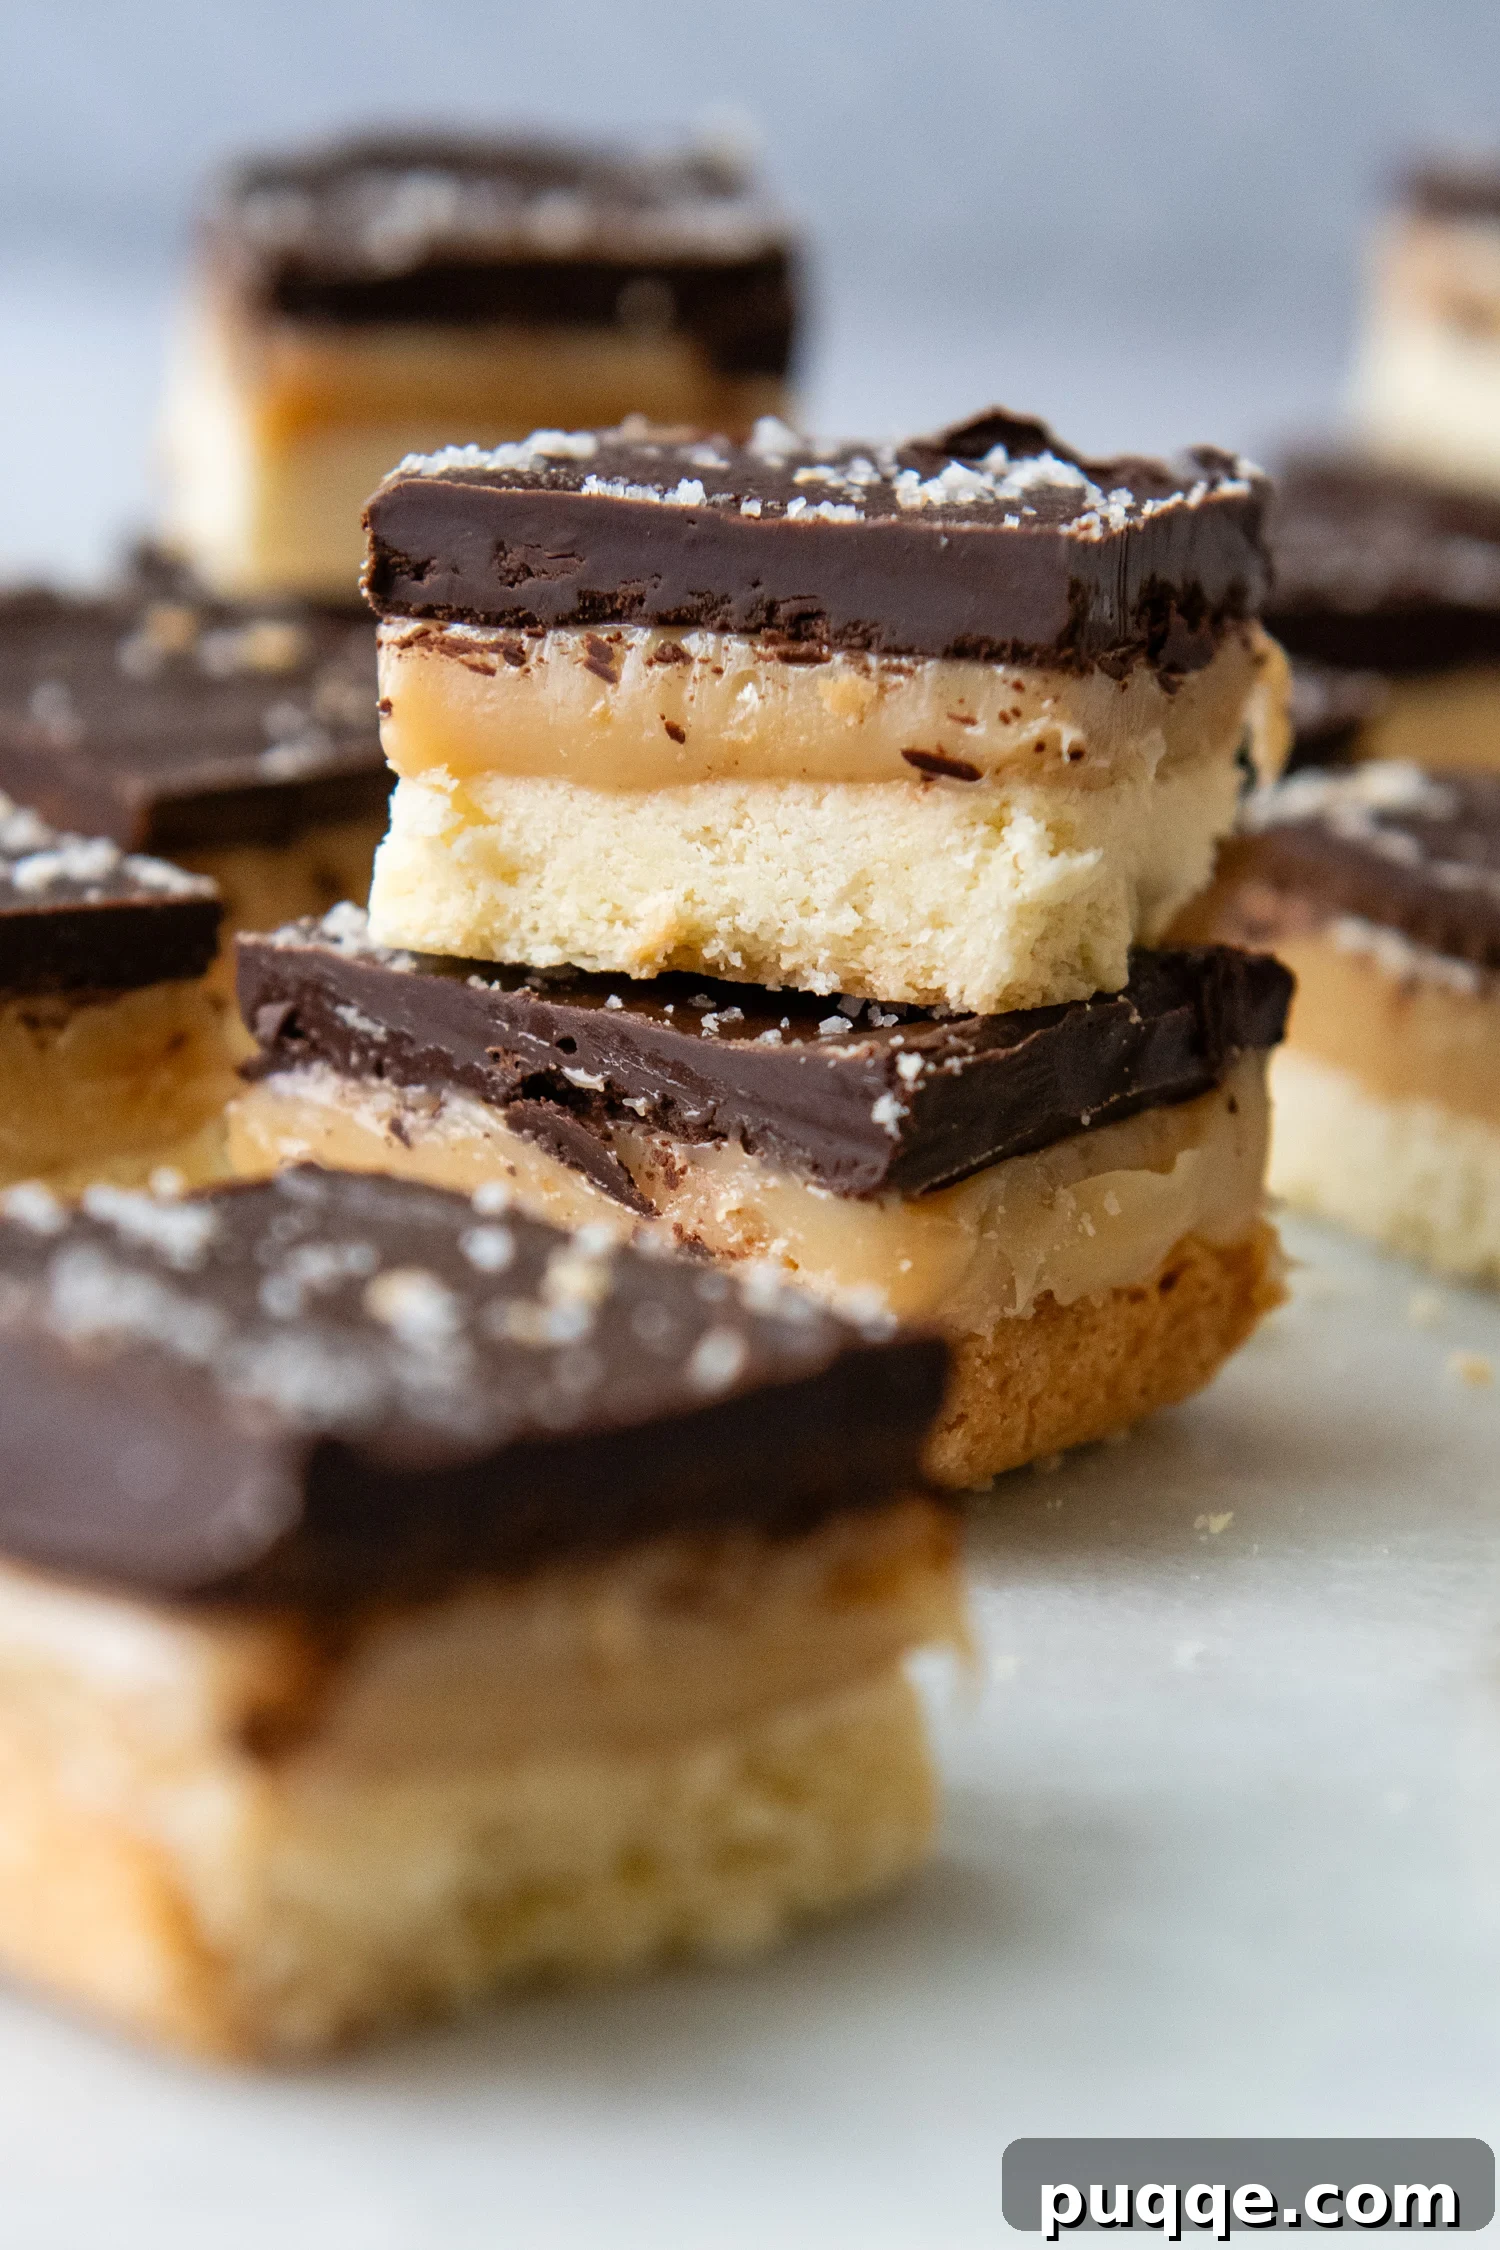
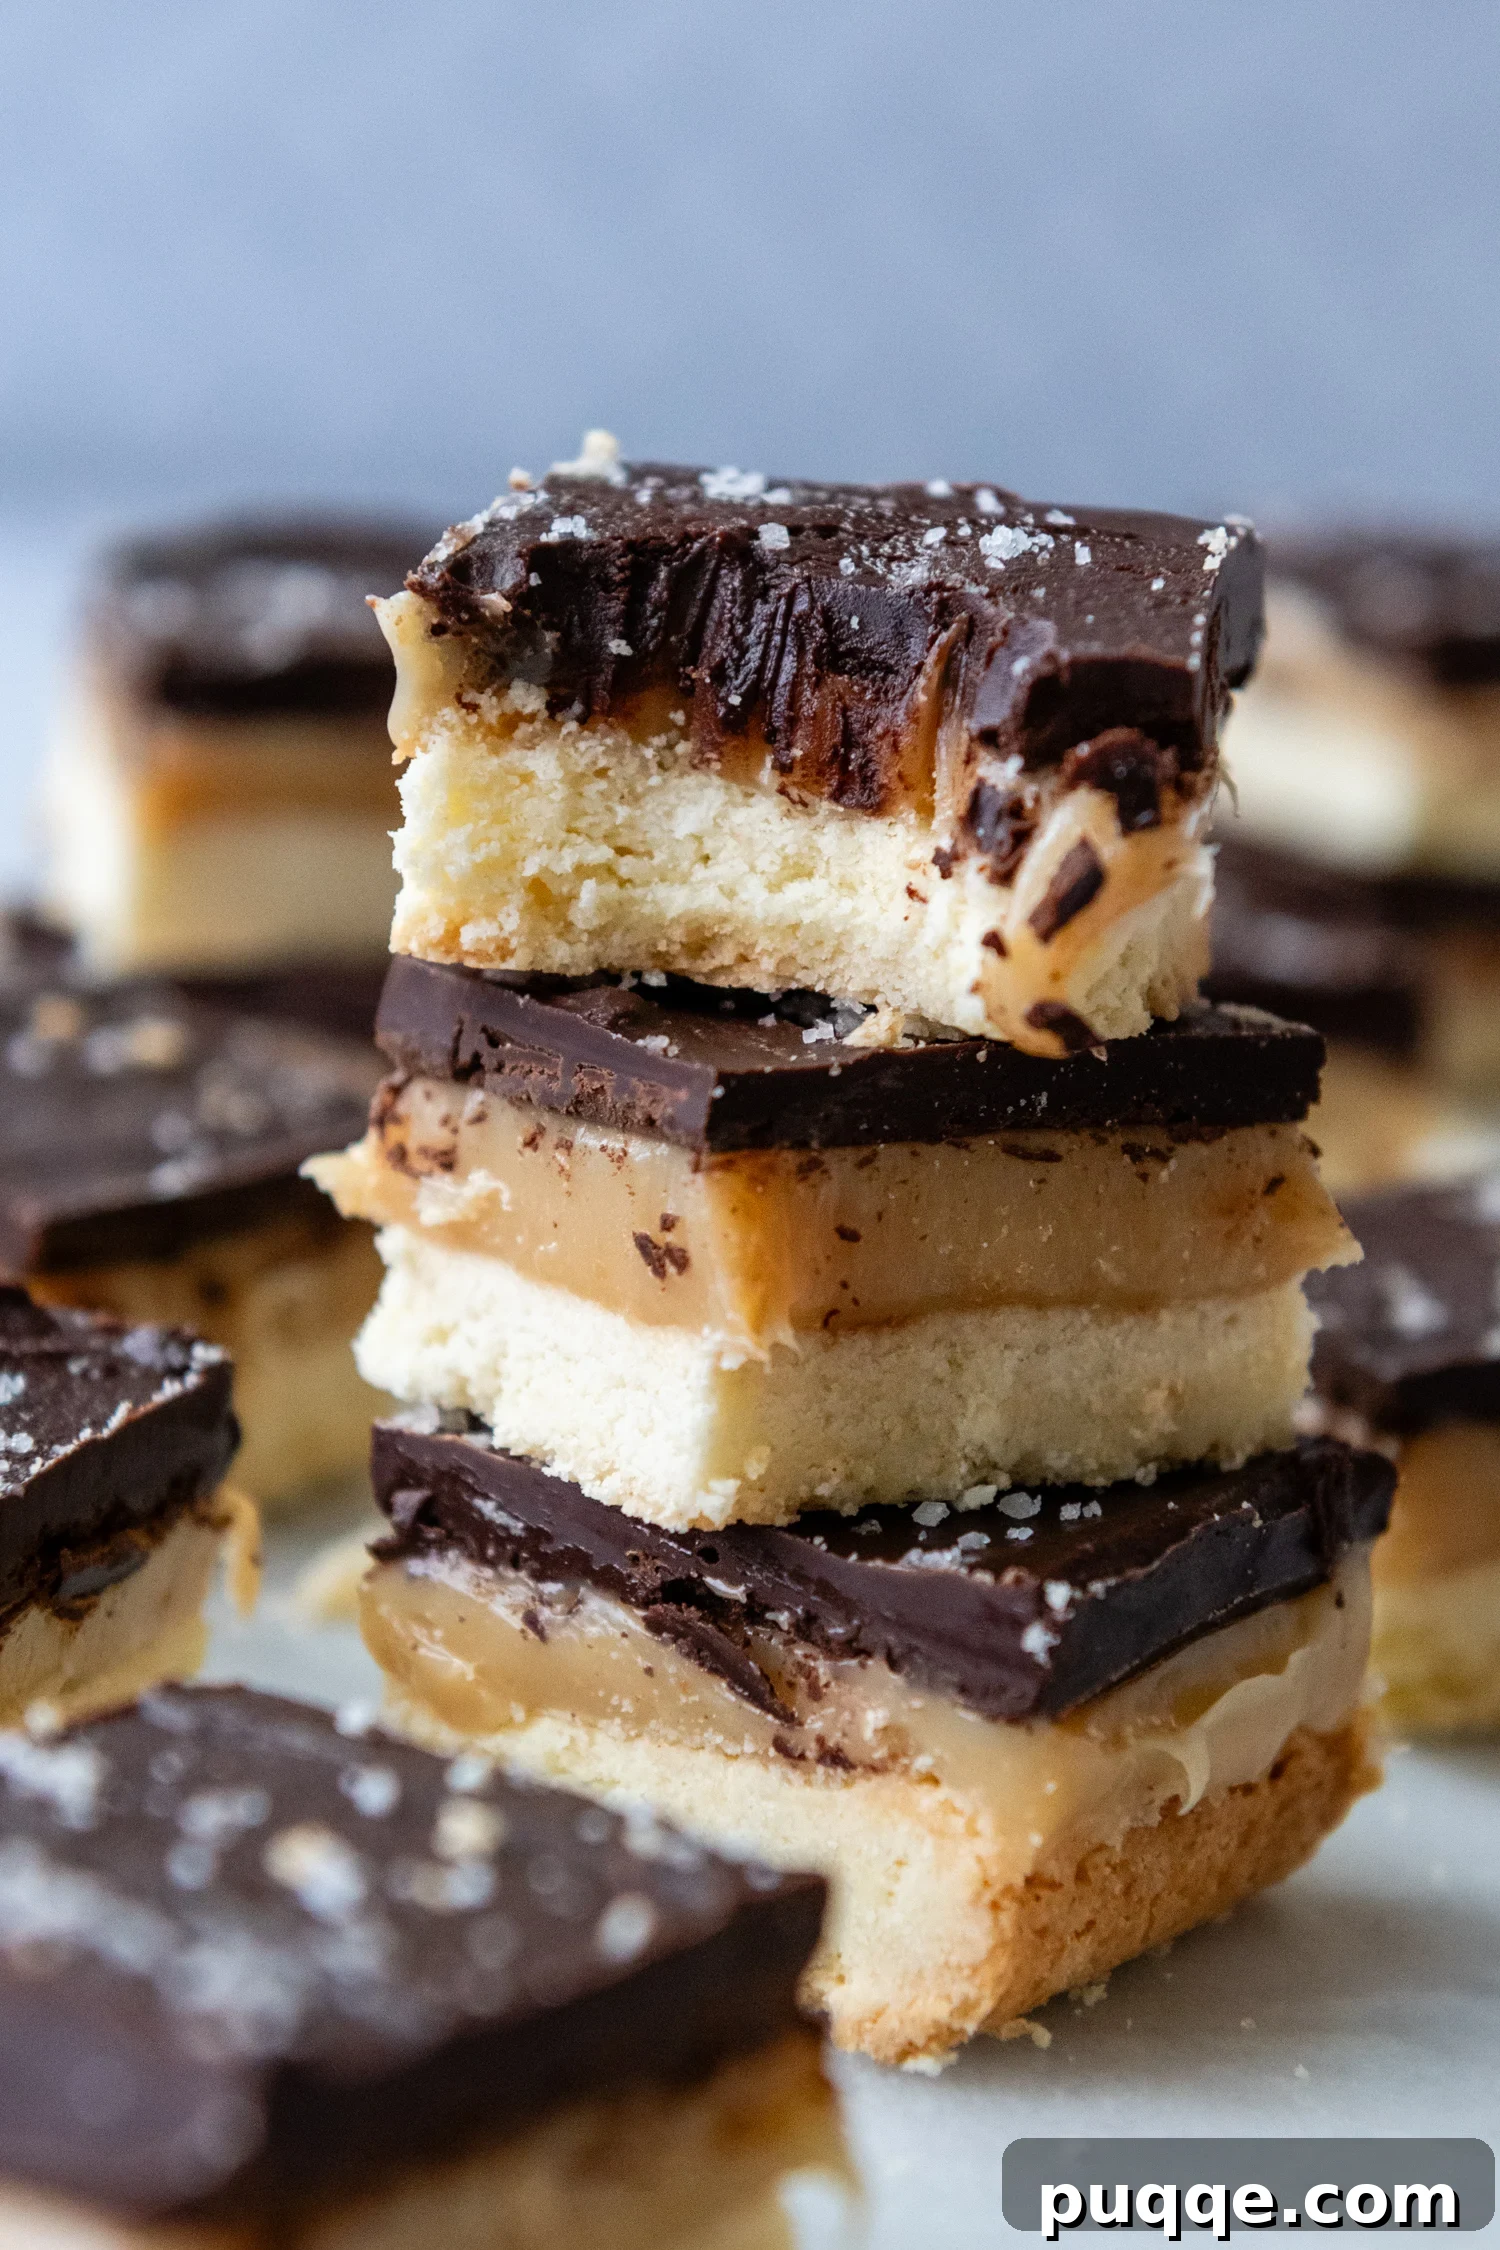
Welcome to the ultimate guide for crafting irresistibly delicious, no-fail Gluten-Free Millionaire Bars! If you’ve been searching for a show-stopping dessert that’s surprisingly simple to make, yet tastes like absolute success, you’ve hit the jackpot. These bars feature a tender, buttery press-in shortbread crust, a gloriously soft and rich caramel filling, and a thick layer of salted chocolate topping that ties everything together beautifully. Forget crumbly crusts, caramel that won’t set, or complicated ingredient lists; this perfected recipe is designed for ease and guaranteed satisfaction.
Why These Gluten-Free Millionaire Bars Stand Out
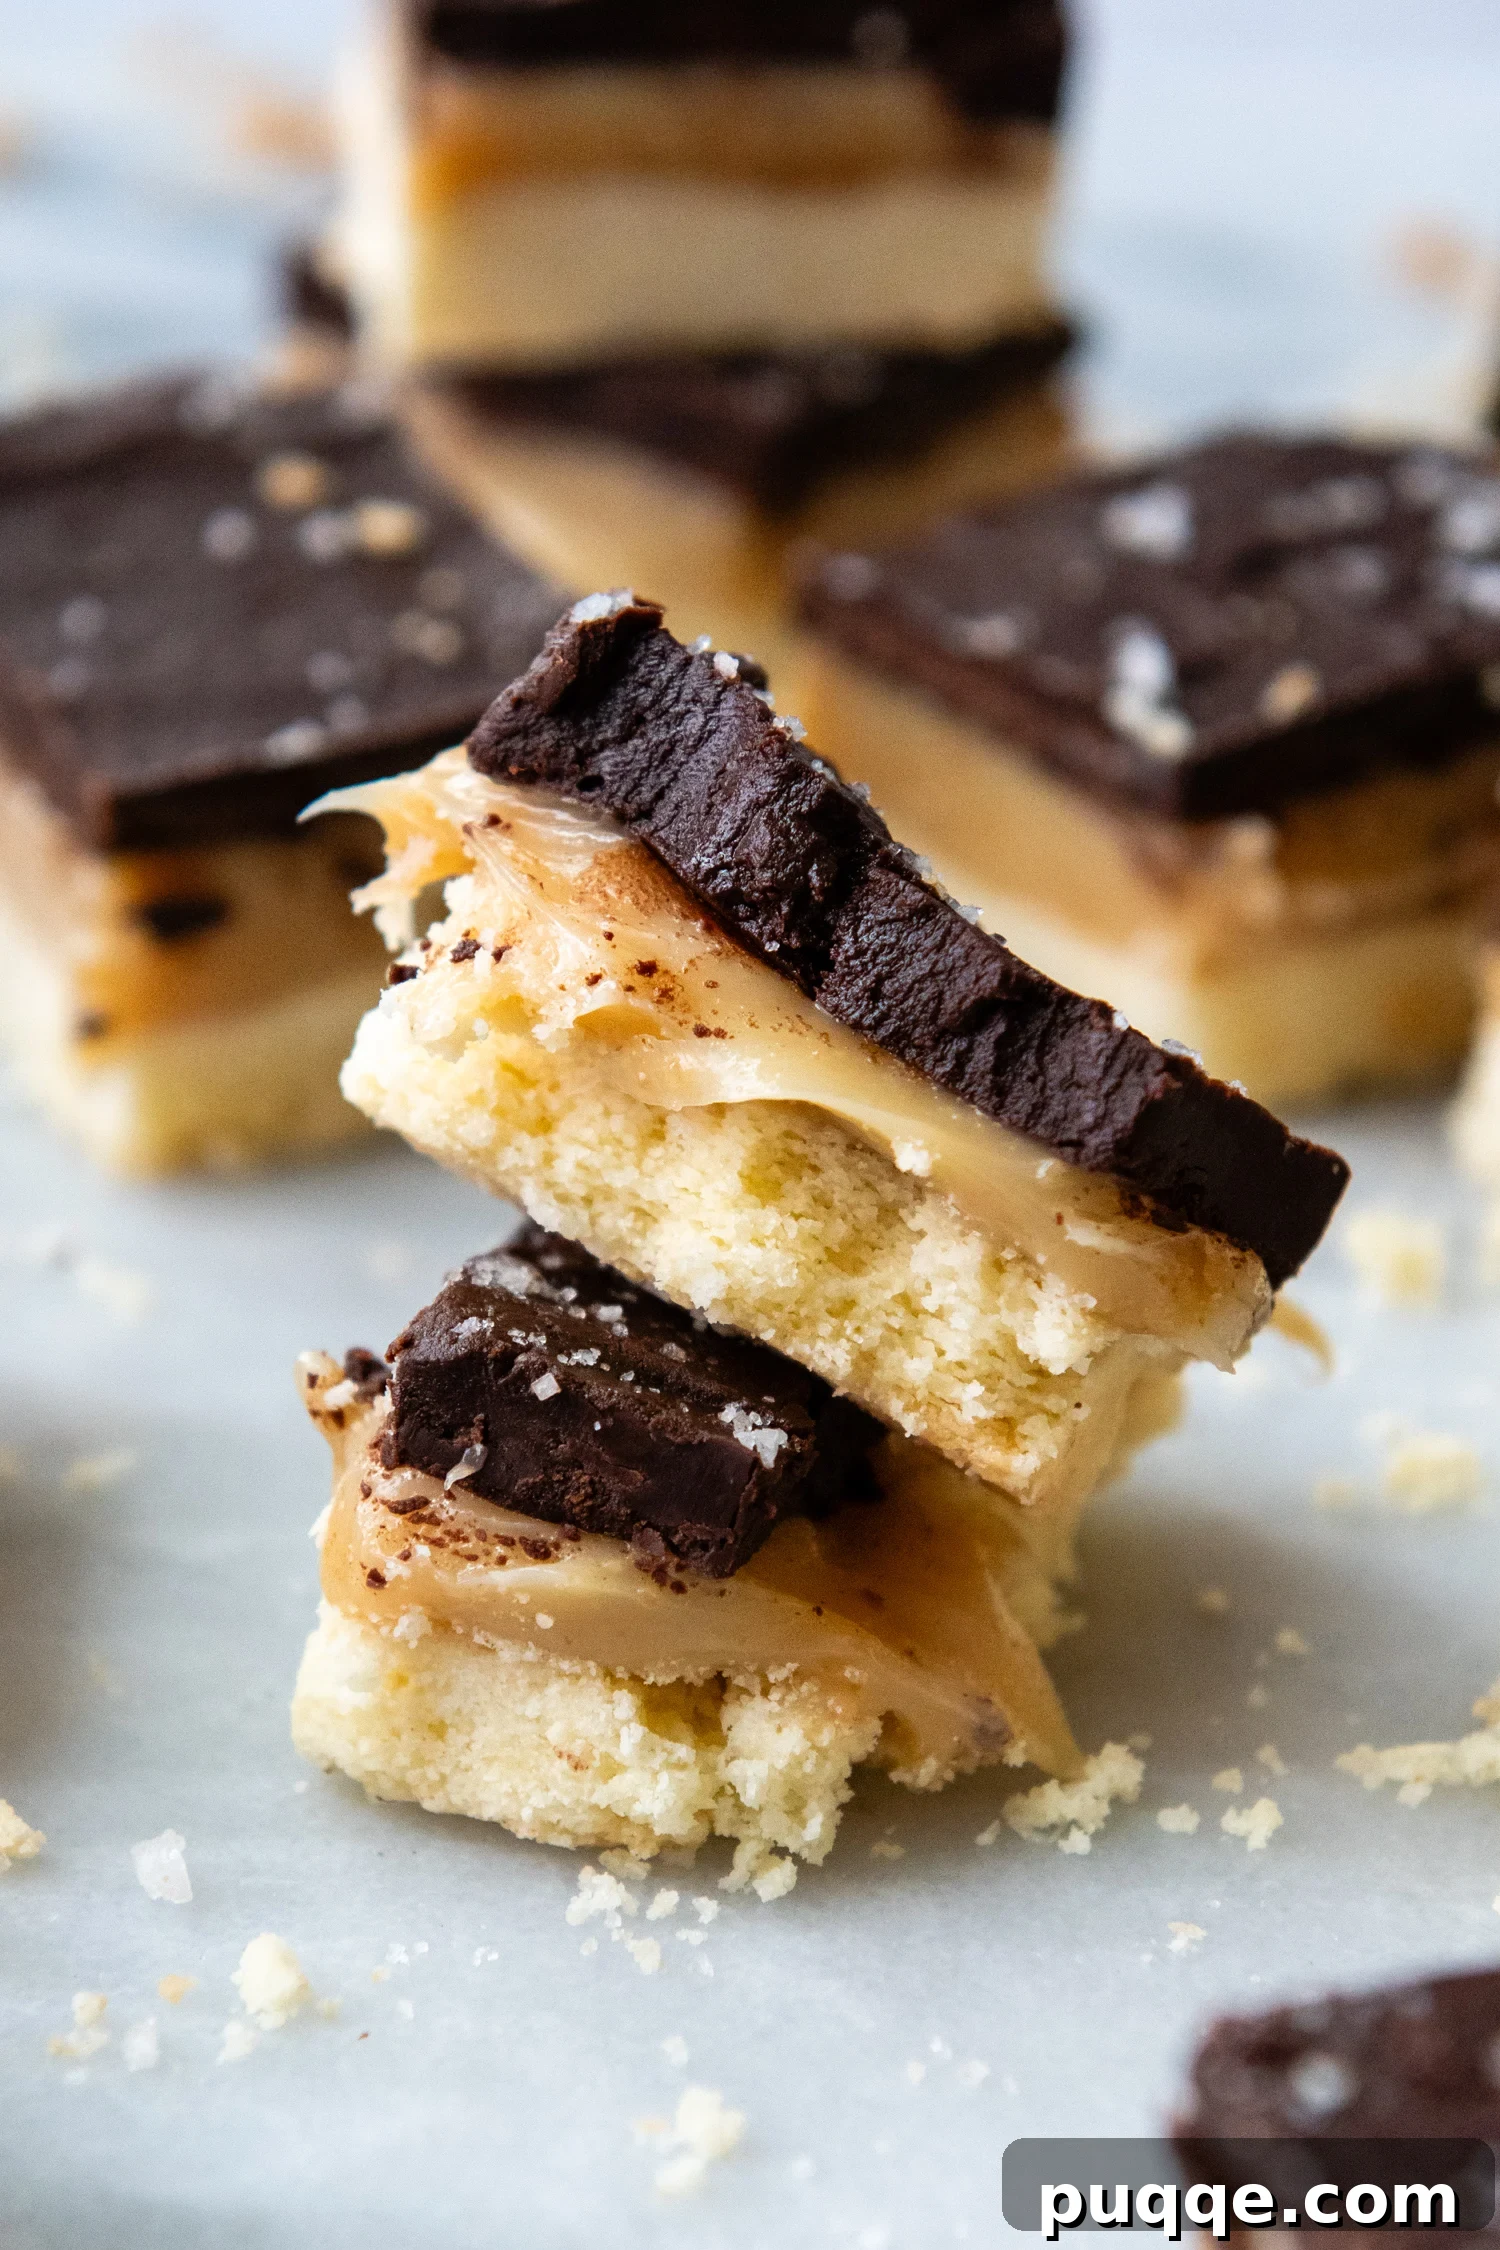
If you’re a fan of the classic Twix bar or simply adore the divine combination of chocolate and caramel, then you absolutely must try these gluten-free millionaire bars. While the exact origin of their lavish name remains a sweet mystery, one bite will undoubtedly make you feel like you’ve struck gold. This recipe is not just another dessert; it’s a testament to simple baking done right, ensuring every slice is pure bliss.
Many home bakers find themselves intimidated by the prospect of homemade caramel or a gluten-free shortbread that doesn’t crumble. This recipe was meticulously developed to overcome those common hurdles, offering a foolproof path to dessert bar perfection. We focus on a shortbread base that is both buttery and robust, able to support the indulgent layers above without falling apart. The caramel is crafted to be wonderfully soft yet perfectly set, making slicing a breeze, and the chocolate topping is designed for a smooth, crack-free finish.
My journey to this perfected recipe began with my trusted classic gluten-free pecan pie bars, renowned for their reliable and easy-to-make shortbread crust. For the millionaire bar adaptation, I enhanced the shortbread by incorporating an egg yolk. This subtle addition provides extra binding power, creating a sturdier foundation that beautifully holds up to the richness of the caramel and chocolate layers. This thoughtful modification ensures that your bars remain intact and delightful from the first cut to the last bite, making them a true standout in your gluten-free dessert bar collection.
The caramel layer is often the most daunting part of millionaire bars, but not with this recipe. We utilize a blend of sweetened condensed milk, brown sugar, a touch of corn syrup, and butter to achieve a consistently soft and chewy caramel. My research into homemade caramel revealed a wide variance in butter quantities across recipes, with some calling for a substantial amount. However, using excessive butter can lead to unpredictable results, especially for those new to candy making. Overheating or stirring too vigorously can cause the butter to separate, resulting in an oily, unappealing mess and wasted ingredients.
To ensure success every time, this recipe uses a carefully measured amount of butter that enhances flavor without compromising stability. This approach provides a built-in “insurance policy” against common caramel mishaps, making the process much more forgiving regarding temperature and timing. Rest assured, I’ll guide you through each step with clear instructions and helpful visual cues, empowering you to create legendary millionaire bars that will rival even the most elaborate confections. Get ready to add these to your repertoire, right alongside favorites like buckeye gluten-free peanut butter bars – both are incredibly easy and destined for repeat performances!
Mastering the Process: A Step-by-Step Visual Guide
(The following provides detailed step-by-step photos and elaborated instructions. For the full recipe with precise ingredient amounts, please refer to the recipe card below.)
Crafting the Easy Gluten-Free Shortbread Layer
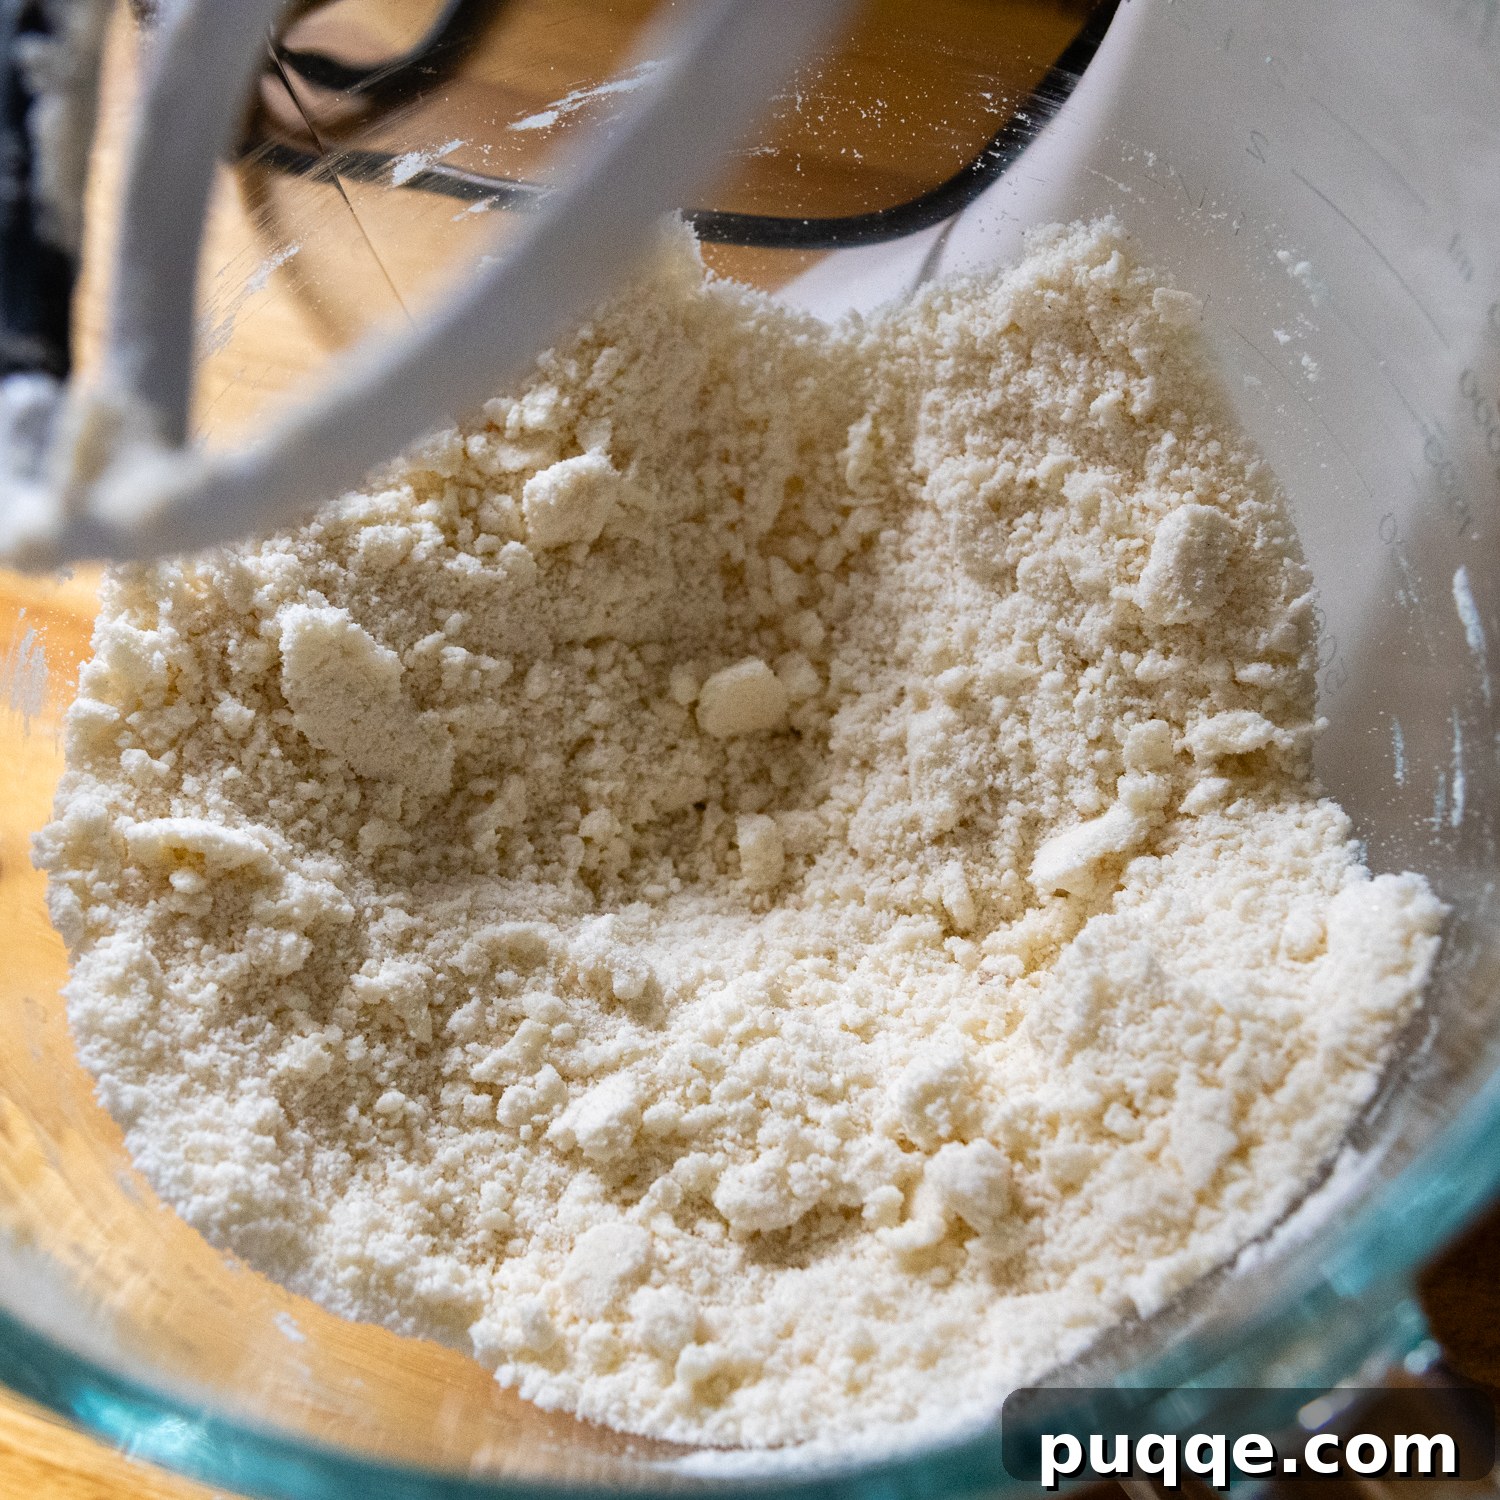
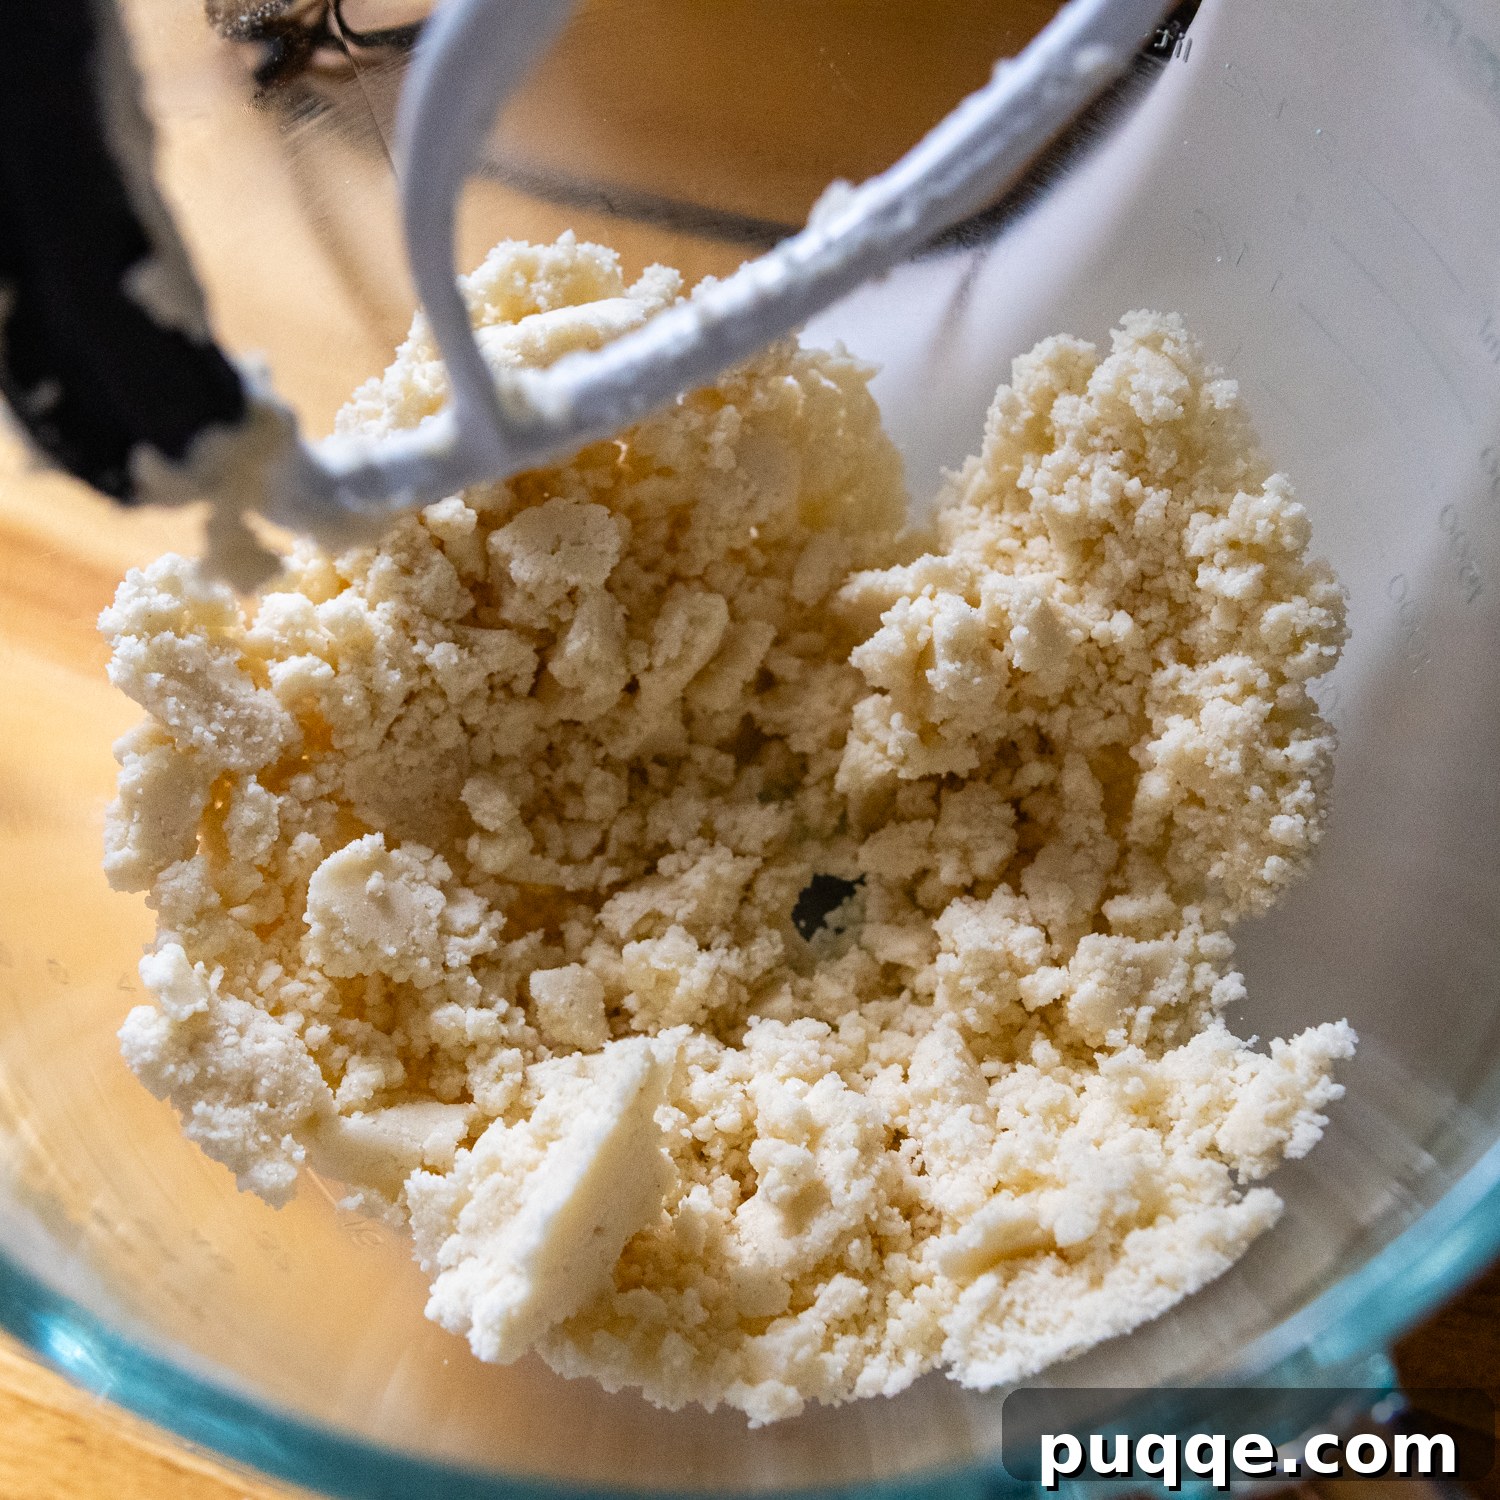
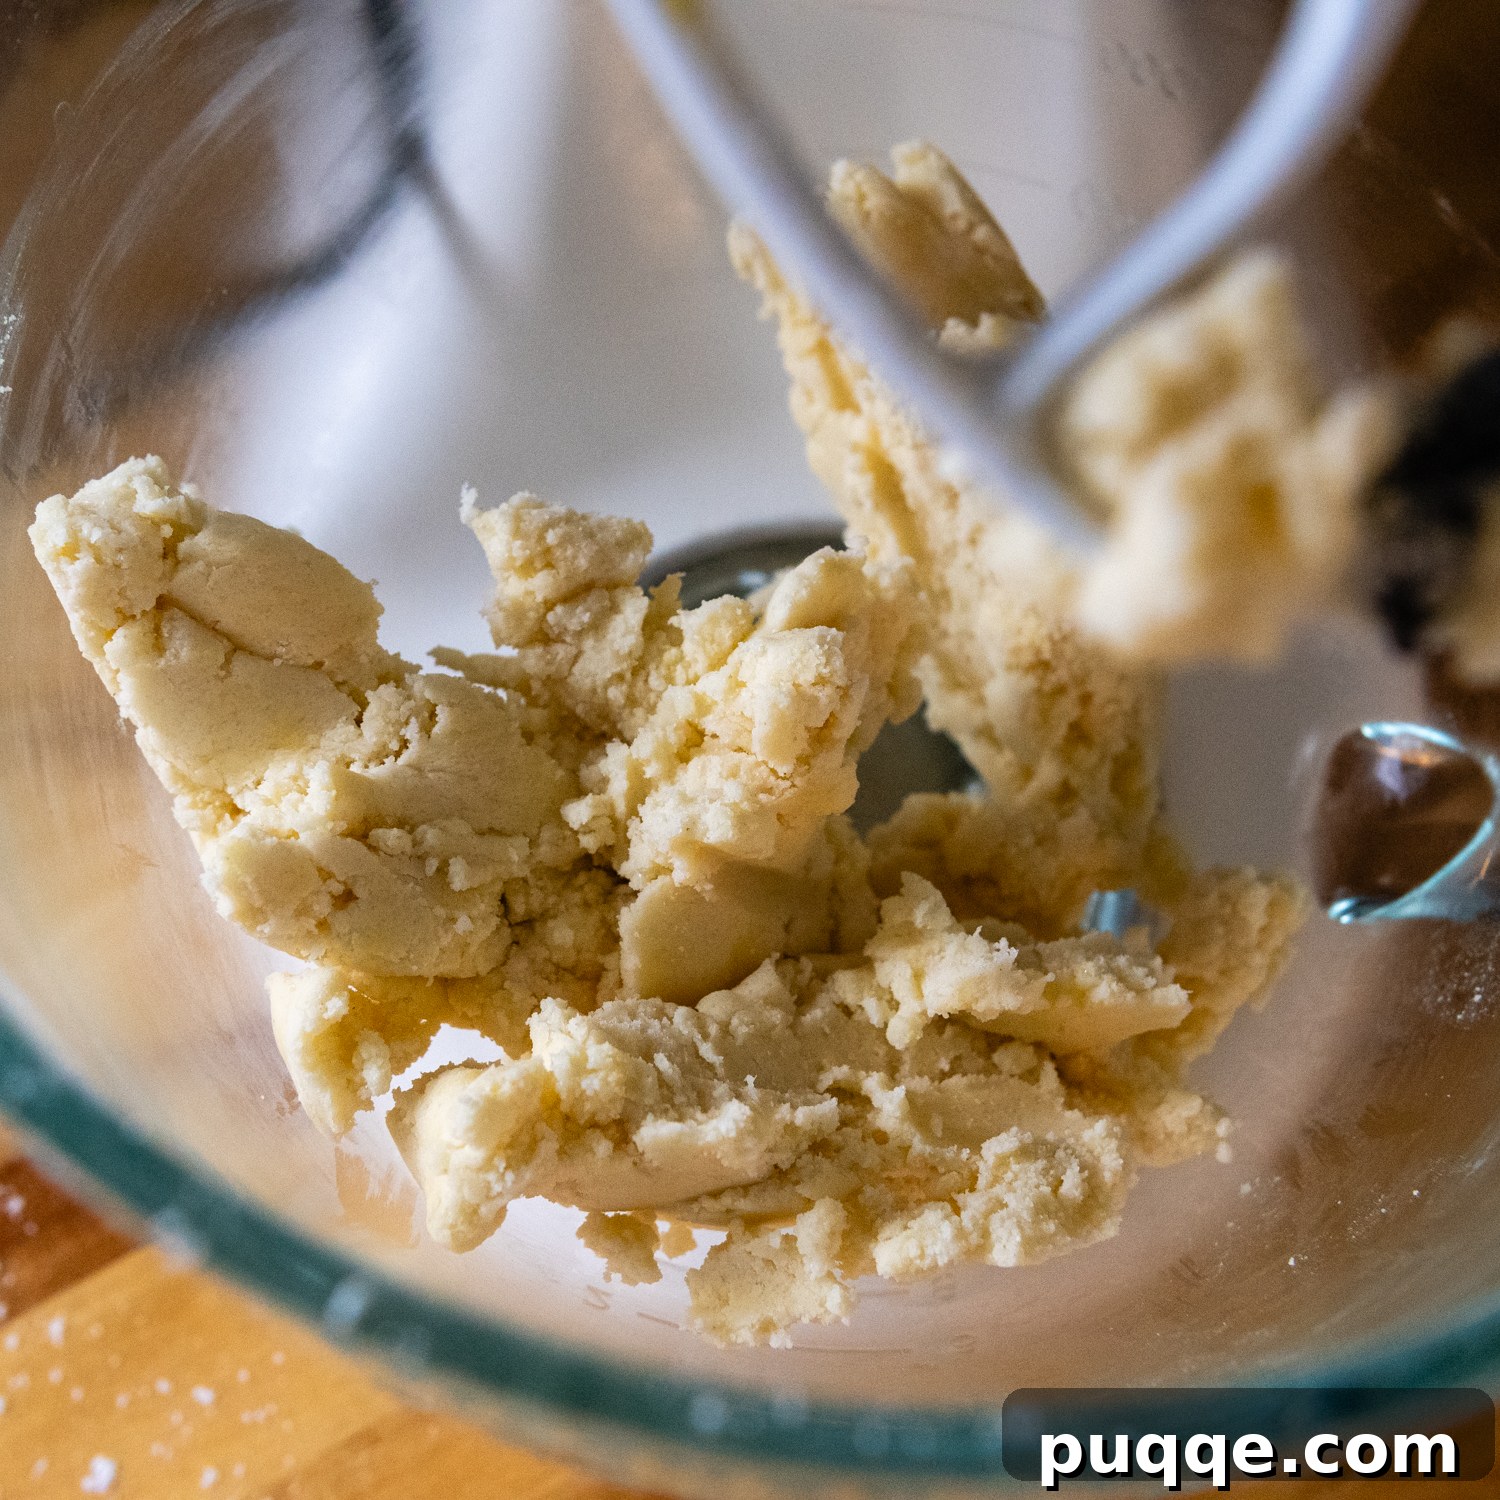
Begin by combining your dry ingredients—gluten-free all-purpose flour, granulated sugar, and salt—in a spacious mixing bowl. Gradually add the softened unsalted butter, one tablespoon at a time, mixing well after each addition. Initially, the mixture will have a sandy texture, but as you continue to mix, the butter will fully incorporate, causing the dough to clump together. Keep mixing until it resembles the second image below. Finally, gently fold in the egg yolk until a soft, pliable dough forms. This ensures a perfectly bound and tender crust.
Pressing and Baking for the Perfect Base
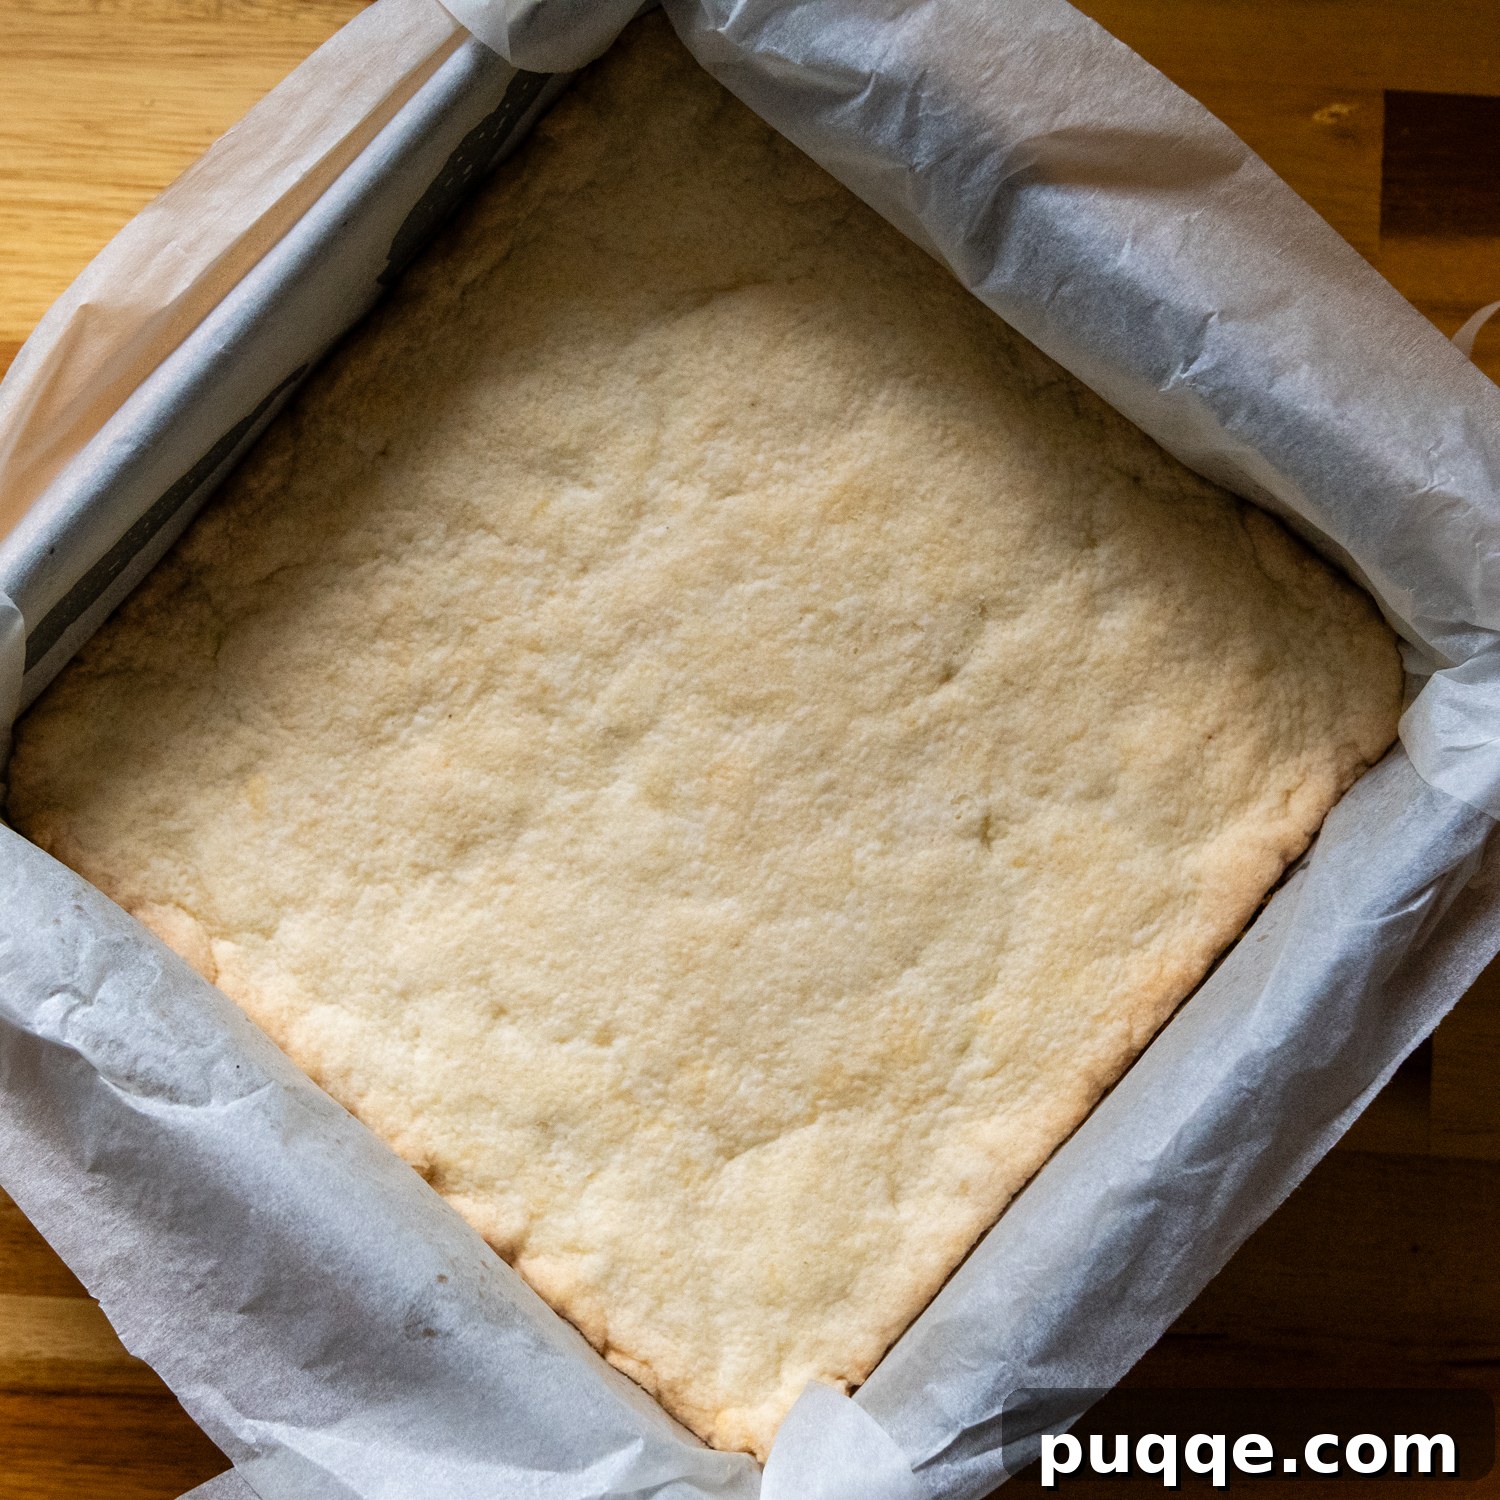
Carefully transfer the shortbread dough into an 8×8 inch baking pan that has been lined with parchment paper. This parchment paper is crucial as it creates convenient overhang “handles,” allowing you to effortlessly lift the cooled bars out of the pan for neat slicing. For the crispiest, most satisfying crust—much like a traditional Twix bar—I highly recommend using a metal baking pan. Press the dough evenly across the bottom of the pan. For a perfectly flat and uniform base, you can use the bottom of a small measuring cup to gently press the dough into place. Bake in a preheated 350°F (175°C) oven for approximately 25 minutes, or until the edges are lightly golden brown. Once baked, set the crust aside to cool completely while you prepare the rich caramel filling.
Homemade Caramel, Made Easy and Flawless
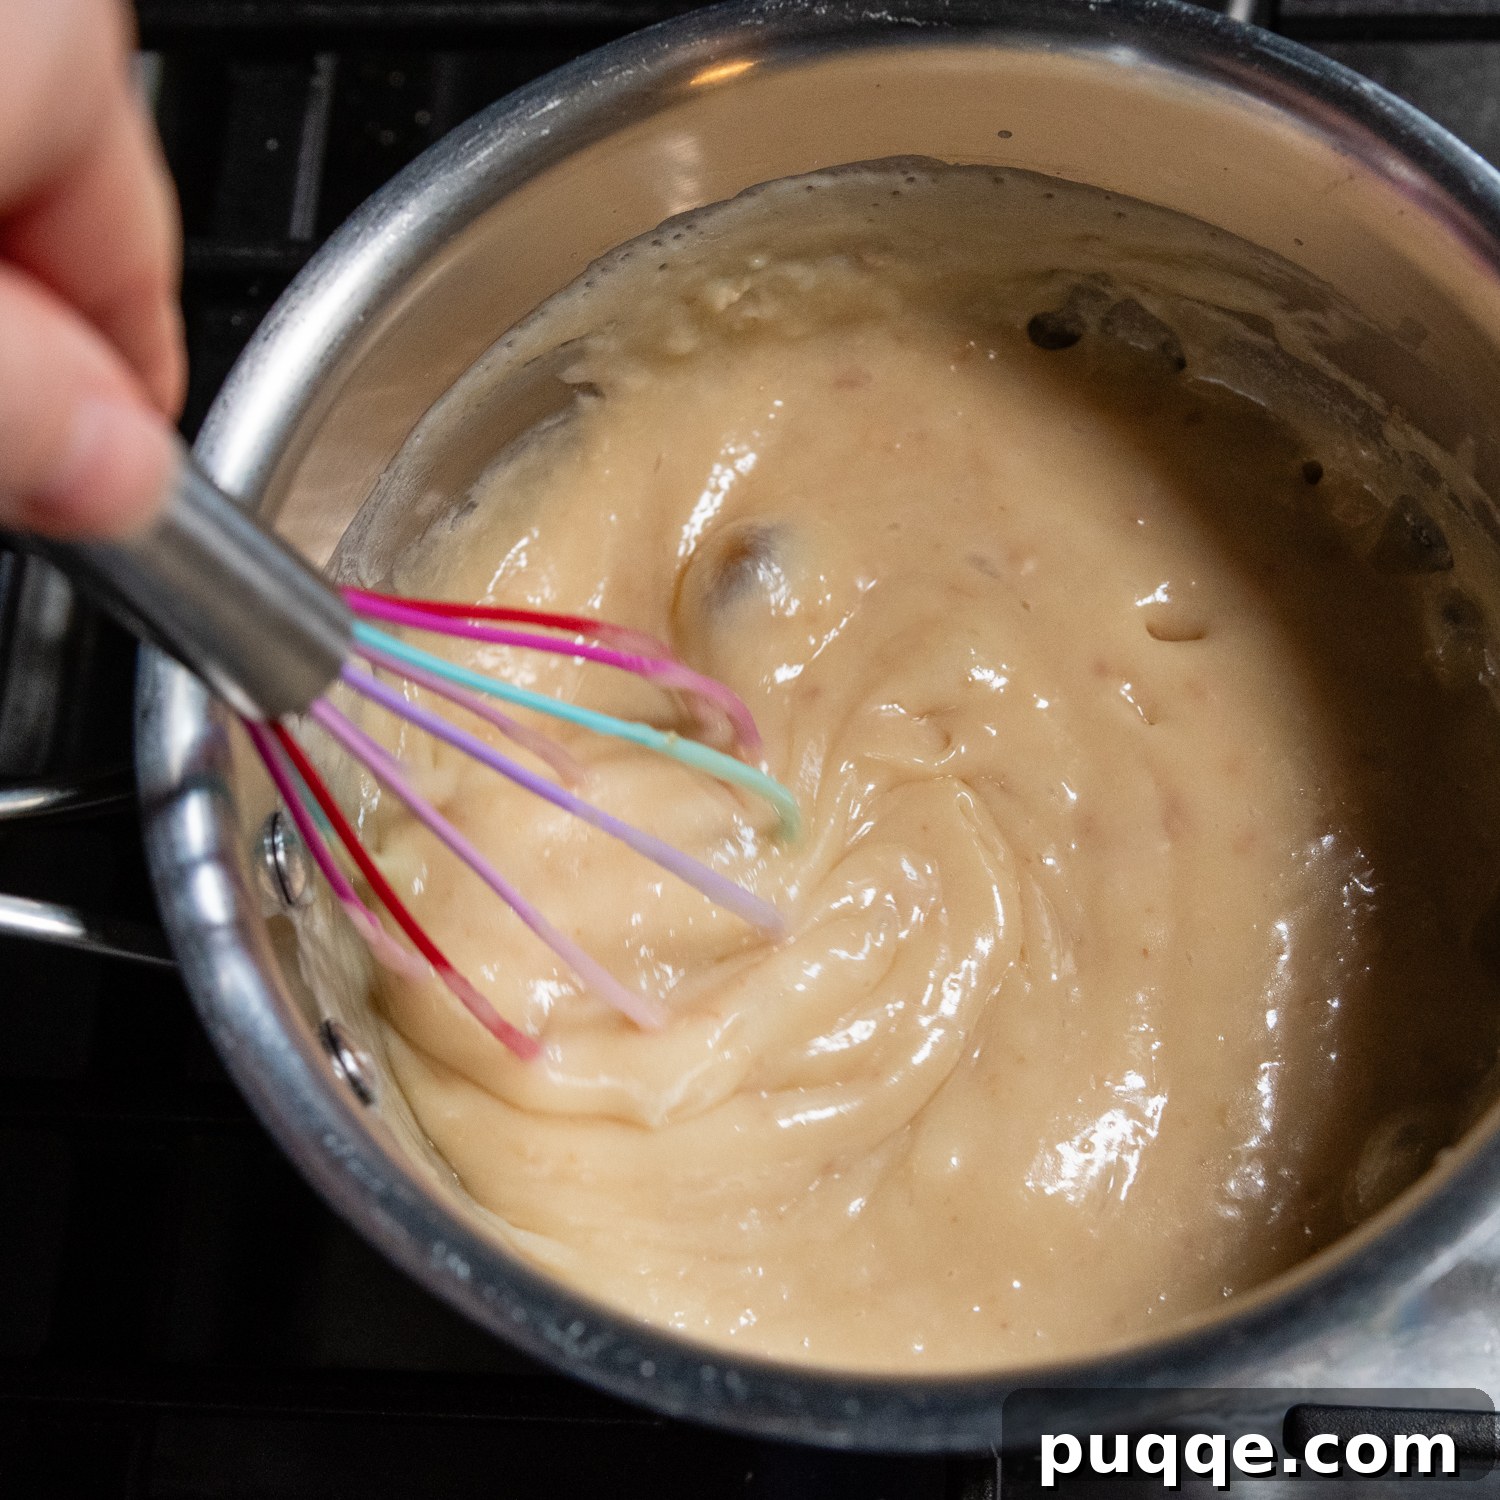
In a medium saucepan, combine the sweetened condensed milk, packed brown sugar, light corn syrup, and cut-up butter over medium-low heat. Whisk continuously until the butter is fully melted and the ingredients are well integrated. Continue whisking gently but consistently until the mixture reaches a precise temperature of 220-225°F (104-107°C) on an instant-read thermometer or candy thermometer. This typically takes about 7-10 minutes. Maintaining medium-low heat is essential; higher heat significantly increases the risk of the caramel separating, resulting in a grainy or oily texture. Once the desired temperature is reached, remove the saucepan from the heat and stir in the vanilla extract. Pour the warm, smooth caramel evenly over the cooled shortbread crust. For a perfectly smooth layer, an offset spatula is an excellent tool. Refrigerate the bars for about 20 minutes, or until the caramel is firm and set.
The Irresistible Salted Chocolate Topping
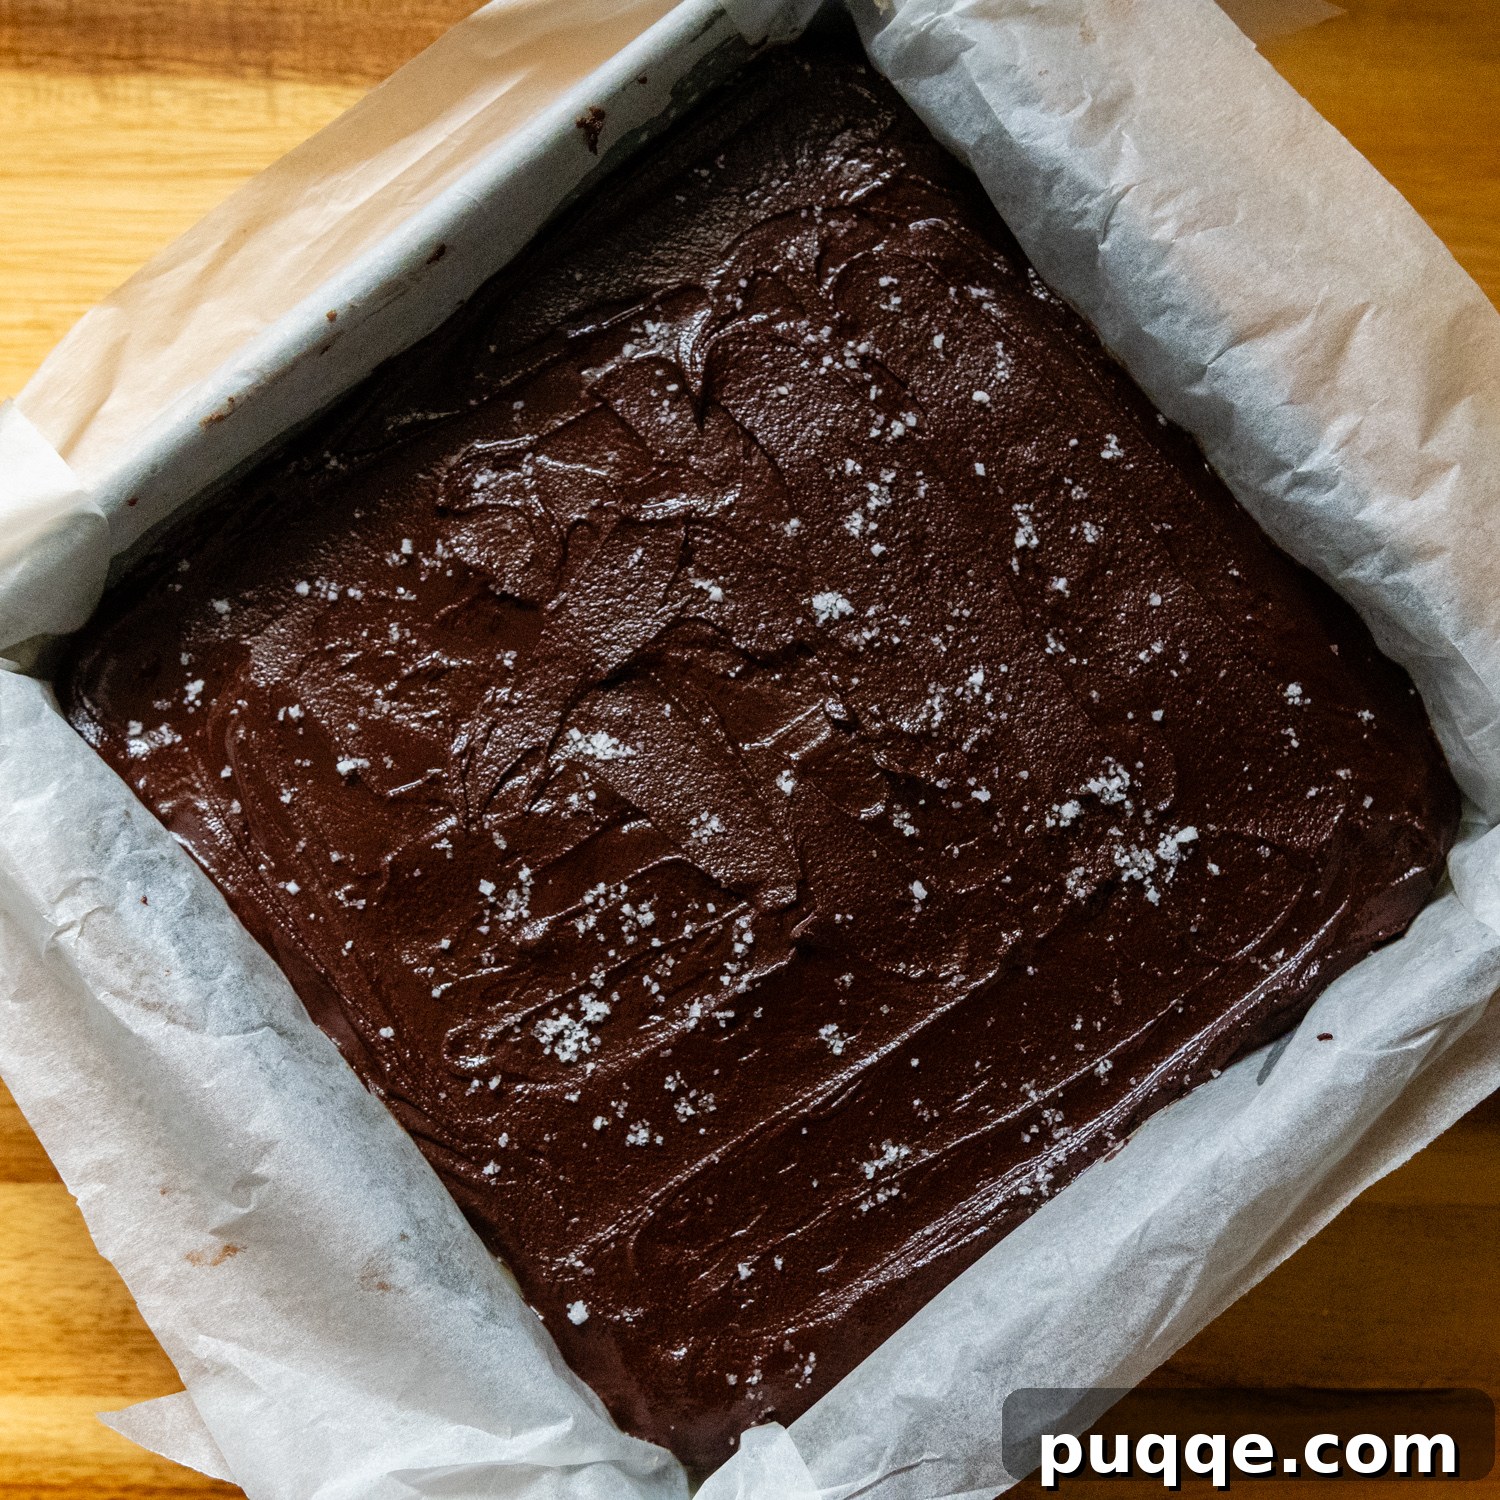
The chocolate layer is often an afterthought, but here, it’s designed for perfection. Using only melted chocolate chips can lead to frustrating cracks when slicing the bars. To prevent this, we create a slightly softer, ganache-like topping by incorporating a bit of heated heavy cream. This method ensures the chocolate sets into a thick, luxurious, yet sliceable layer that doesn’t shatter. Once poured over the chilled caramel, and while the chocolate is still wet, I highly recommend a generous sprinkle of flaky sea salt. This addition is the ultimate “chef’s kiss,” elevating the millionaire bars with a delightful balance of sweet and savory notes.
These make-ahead gluten-free dessert bars are ideal for any occasion, from festive Christmas cookie trays to a crowd-pleasing potluck dessert or a thoughtful homemade gift. Remember to account for cooling time between layers: the shortbread needs to cool after baking, followed by the caramel layer, and finally, the chocolate topping must set completely. They can be conveniently stored in the fridge until you’re ready to slice and serve, ensuring a perfectly chilled treat.
Pro Tips for Millionaire Bar Perfection
Achieving bakery-quality millionaire bars at home is easier than you think with these expert tips:
- **Caramel Success Strategy:** To ensure a smooth, soft-set caramel, always remember these three key steps: whisk continuously (but not overly vigorously), maintain a consistent medium-low heat, and remove the mixture from heat precisely when it reaches 220-225°F (104-107°C) using a candy thermometer.
- **Crispy Shortbread Secret:** For a remarkably crispy gluten-free shortbread crust that mimics a classic cookie, utilize a metal baking pan. Its heat conductivity aids in achieving that desirable crisp texture.
- **Customizing Caramel Color:** If you prefer a deeper, richer colored caramel, simply use dark brown sugar instead of light brown sugar, or incorporate dark corn syrup for a more pronounced hue.
- **Optimal Storage:** These versatile bars can be stored in the refrigerator until you’re ready to serve, or kept at room temperature for up to 5 days, making them perfect for advance preparation. For extended freshness, they can also be frozen.
- **Patience is Key:** While this recipe is incredibly straightforward, it does require ample cooling time between layers. Rushing the cooling process can lead to layers blending or losing their distinct texture, so allow sufficient time for each layer to set properly.
- **Perfect Slicing Technique:** For impeccably clean slices, remove the bars from the fridge about 20 minutes before cutting. This allows the layers to soften slightly. Dip a sharp knife under hot water, wipe it completely dry, and then make your cut. Repeat this hot water and dry wipe process before each slice for the cleanest results.
Variations and Customizations
Feel free to experiment with this recipe to make it truly your own! Consider using white chocolate for a different flavor profile, or adding a sprinkle of toasted shredded coconut or finely chopped nuts (if not avoiding nuts) over the caramel layer before the chocolate sets. A dash of almond extract in the shortbread or a hint of orange zest in the chocolate could also offer delightful twists. The possibilities are endless for personalizing these already incredible bars.
Frequently Asked Questions (FAQs)
Here are answers to some common questions about making these gluten-free millionaire bars:
- **Can I make these dairy-free?** While the original recipe uses dairy, you can experiment with dairy-free butter, sweetened condensed coconut milk, and dairy-free chocolate chips. Results may vary slightly in texture and flavor.
- **How long do these bars last?** When stored properly in an airtight container, either refrigerated or at room temperature, these millionaire bars will stay fresh for up to 5 days. For longer storage, they can be frozen for up to 3 months.
- **What if my caramel doesn’t set?** This usually indicates the caramel didn’t reach a high enough temperature. Ensure you’re using an accurate instant-read or candy thermometer and that the mixture reaches the 220-225°F range. If it’s still too soft, you can gently reheat it, stirring constantly, to reach the correct temperature.
- **Can I use a different gluten-free flour blend?** I highly recommend Cup4Cup gluten-free flour for its consistent results in baking. Other 1:1 gluten-free flour blends may work, but their composition can affect the shortbread’s texture. Always ensure your chosen blend contains xanthan gum for best binding.
Save This Irresistible Recipe to Your Pinterest Board!
Let’s be friends on Pinterest! I’m always sharing great recipes!
Did you make this recipe? I love hearing from you! Leave a star rating and comment below the recipe card. Your feedback truly helps others discover and enjoy our recipes, and I always make sure to respond! -Melissa
★
★
★
★
Easiest Gluten-Free Millionaire Bars (No Fail!)

Melissa Erdelac
12
Bars
10
40
1
40
Pin
Rate
Remove Ads
Ingredients
Shortbread Crust
-
1 ⅓
cups
(192 g) gluten free all purpose flour
,
I use and recommend Cup4Cup gluten-free flour -
⅓
cup
(67 g) granulated sugar
-
¼
teaspoon
salt
-
8
tablespoons
(113 g) unsalted butter
,
softened and cut into 8 pieces -
1
egg yolk
Caramel
-
14
ounce
can sweetened condensed milk
-
¼
cup
packed light brown sugar
-
2
tablespoons
light corn syrup
-
4
tablespoons
unsalted butter
,
(cut in 4 pieces) -
½
teaspoon
salt
-
1
teaspoon
vanilla extract
Chocolate Topping
-
10
ounces
(1 ½ cups) dark or semi-sweet chocolate chips -
⅓
cup
heavy cream
-
flaky sea salt
,
for sprinkling on top
Equipment
-
8×8 Metal Baking Pan -
Instant Read Thermometer -
Offset Spatula
Instructions
-
Preheat your oven to 350ºF (175°C). Lightly grease an 8×8-inch baking pan. For a crisper crust, a metal pan is preferred. Line the pan with a piece of parchment paper, pressing it firmly into the bottom and up the sides, ensuring sufficient overhang to easily lift the bars out after baking. Set the prepared pan aside.
-
In a large mixing bowl, thoroughly combine the gluten-free flour, sugar, and salt. Add the softened butter, 1 tablespoon at a time, mixing well after each addition. The dough will initially appear dry and sandy. Continue mixing until the butter is fully incorporated and the dough begins to clump into soft balls. Finally, add the egg yolk and beat until the mixture comes together into a cohesive, soft dough, similar to cookie dough.1 ⅓ cups (192 g) gluten free all purpose flour,
⅓ cup (67 g) granulated sugar,
8 tablespoons (113 g) unsalted butter,
1 egg yolk,
¼ teaspoon salt -
Press the prepared shortbread dough evenly into the bottom of the lined baking pan. You can use the bottom of a small measuring cup or your fingers to achieve a smooth, uniform layer. Bake on the middle oven rack for 25 minutes, or until the crust is lightly browned around the edges. Allow the baked shortbread to cool completely while you prepare the caramel filling.
-
In a medium saucepan, combine the sweetened condensed milk, brown sugar, corn syrup, butter, and salt over medium-low heat. Whisk continuously until the butter melts and all ingredients are thoroughly combined. Continue whisking gently but steadily until the mixture reaches a temperature of 220-225°F (104-107°C) on an instant-read thermometer. This process usually takes about 7-10 minutes. It is crucial to maintain medium-low heat; increasing the heat too much can cause the caramel mixture to separate.14 ounce can sweetened condensed milk,
¼ cup packed light brown sugar,
2 tablespoons light corn syrup,
4 tablespoons unsalted butter,
½ teaspoon salt -
Remove the caramel from the heat and stir in the vanilla extract until fully incorporated. Pour the warm caramel evenly over the cooled shortbread crust. Use an offset spatula to smooth the caramel into an even layer across the entire surface. Refrigerate the bars for approximately 20 minutes, or until the caramel layer is firm and set.1 teaspoon vanilla extract
-
Place the chocolate chips and heavy cream in a microwave-safe bowl. Heat in 20-second increments, stirring thoroughly after each interval, until the chocolate is completely melted and smooth. Pour this glossy chocolate mixture over the chilled caramel layer and spread it evenly to cover the entire surface. Immediately sprinkle generously with flaky sea salt for that perfect sweet and savory finish.10 ounces (1 ½ cups) dark or semi-sweet chocolate chips,
⅓ cup heavy cream,
flaky sea salt -
Return the pan to the refrigerator for at least 30 minutes to allow the chocolate layer to firm up completely before slicing and serving. Refer to the recipe notes section for expert tips on slicing and storing your delicious millionaire bars.
Notes
Slicing and Storing
For optimal freshness, refrigerate the bars until ready to serve or store them at room temperature for up to 5 days in an airtight container. For longer preservation, these bars can be frozen for up to 3 months.
To achieve perfect, clean slices, take the bars out of the refrigerator approximately 20 minutes before cutting. This allows the layers to soften slightly. For each cut, run a sharp knife under hot water, wipe it completely dry, and then slice. Repeat this process as necessary to prevent sticking and ensure neat portions.
Calories:
465
kcal
,
Carbohydrates:
53
g
,
Protein:
6
g
,
Fat:
27
g
,
Saturated Fat:
16
g
,
Polyunsaturated Fat:
1
g
,
Monounsaturated Fat:
7
g
,
Trans Fat:
0.5
g
,
Cholesterol:
66
mg
,
Sodium:
227
mg
,
Potassium:
275
mg
,
Fiber:
3
g
,
Sugar:
40
g
,
Vitamin A:
569
IU
,
Vitamin C:
1
mg
,
Calcium:
132
mg
,
Iron:
2
mg
Did you make this recipe?
Please leave a star rating and review below. It helps others when searching for recipes and I LOVE feedback!