
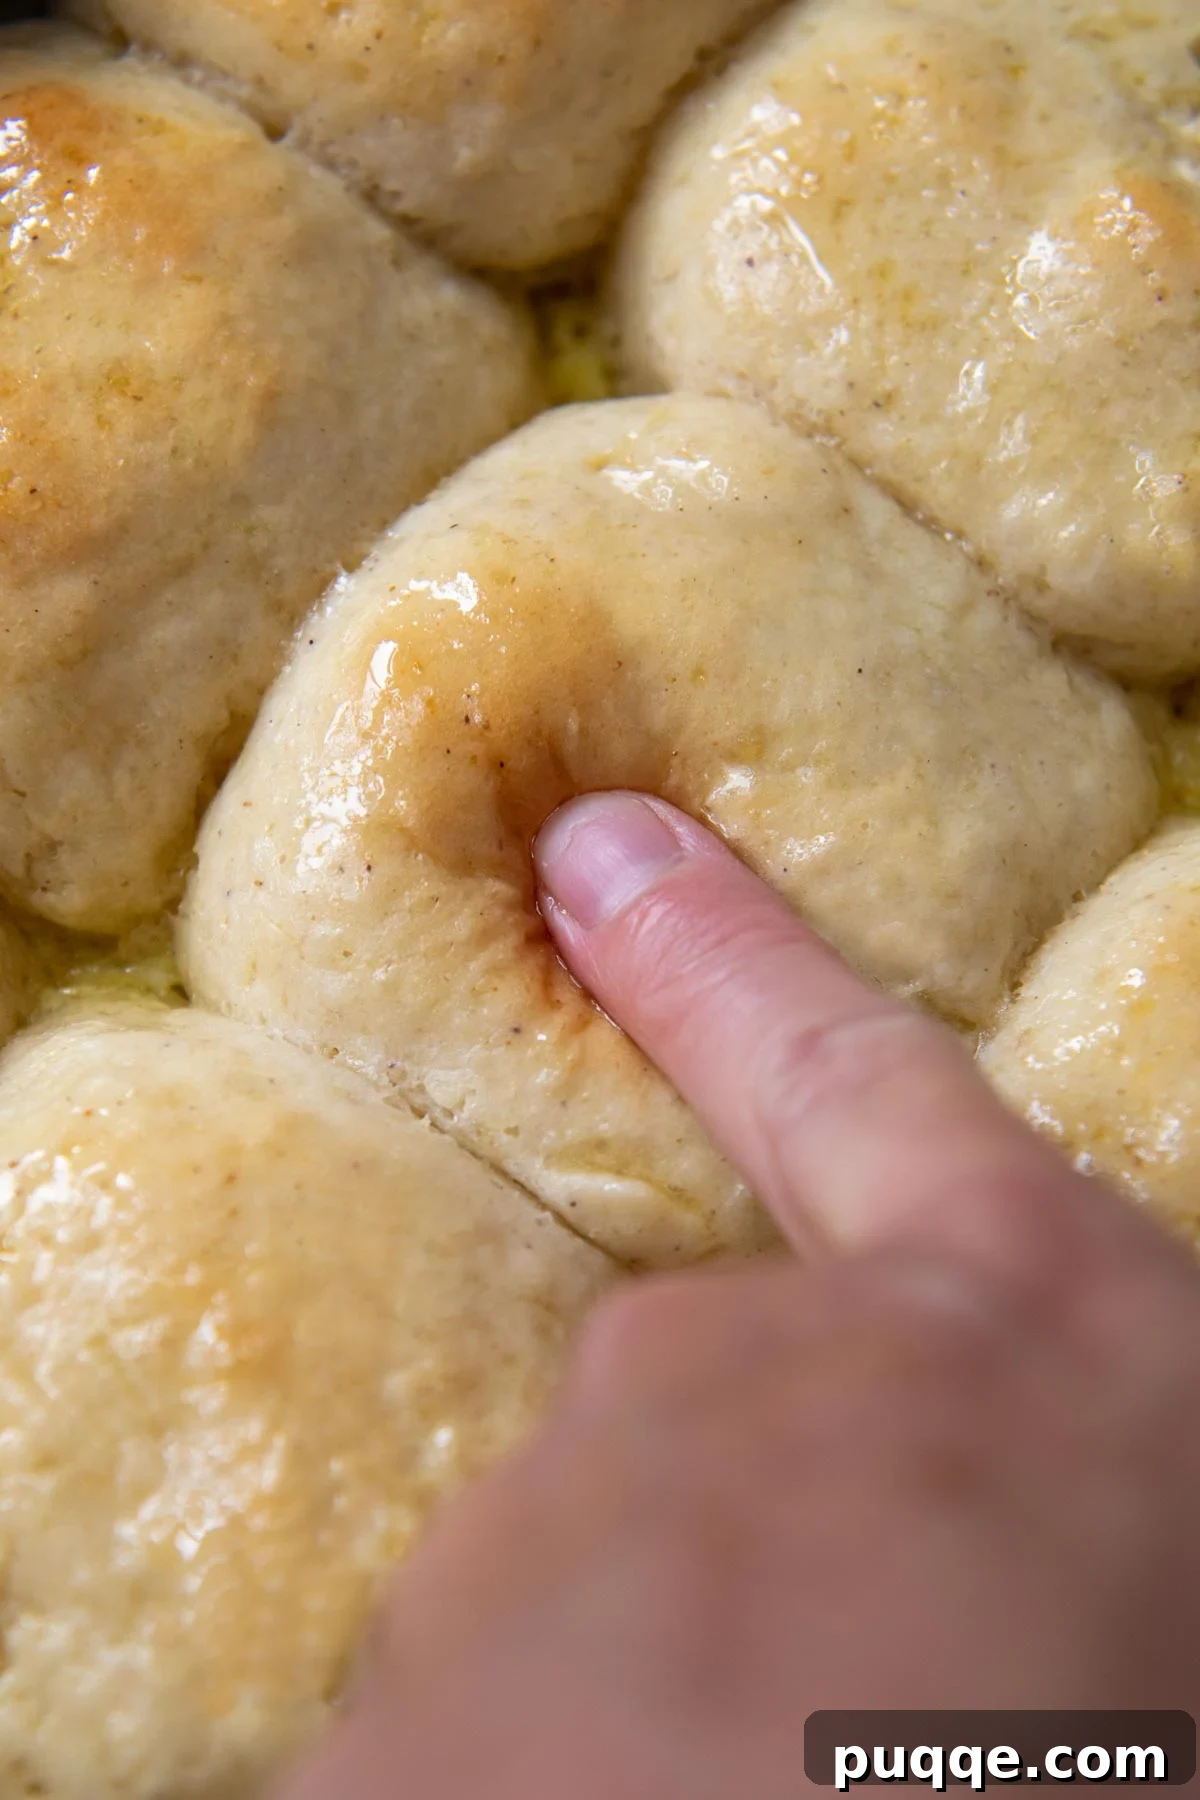
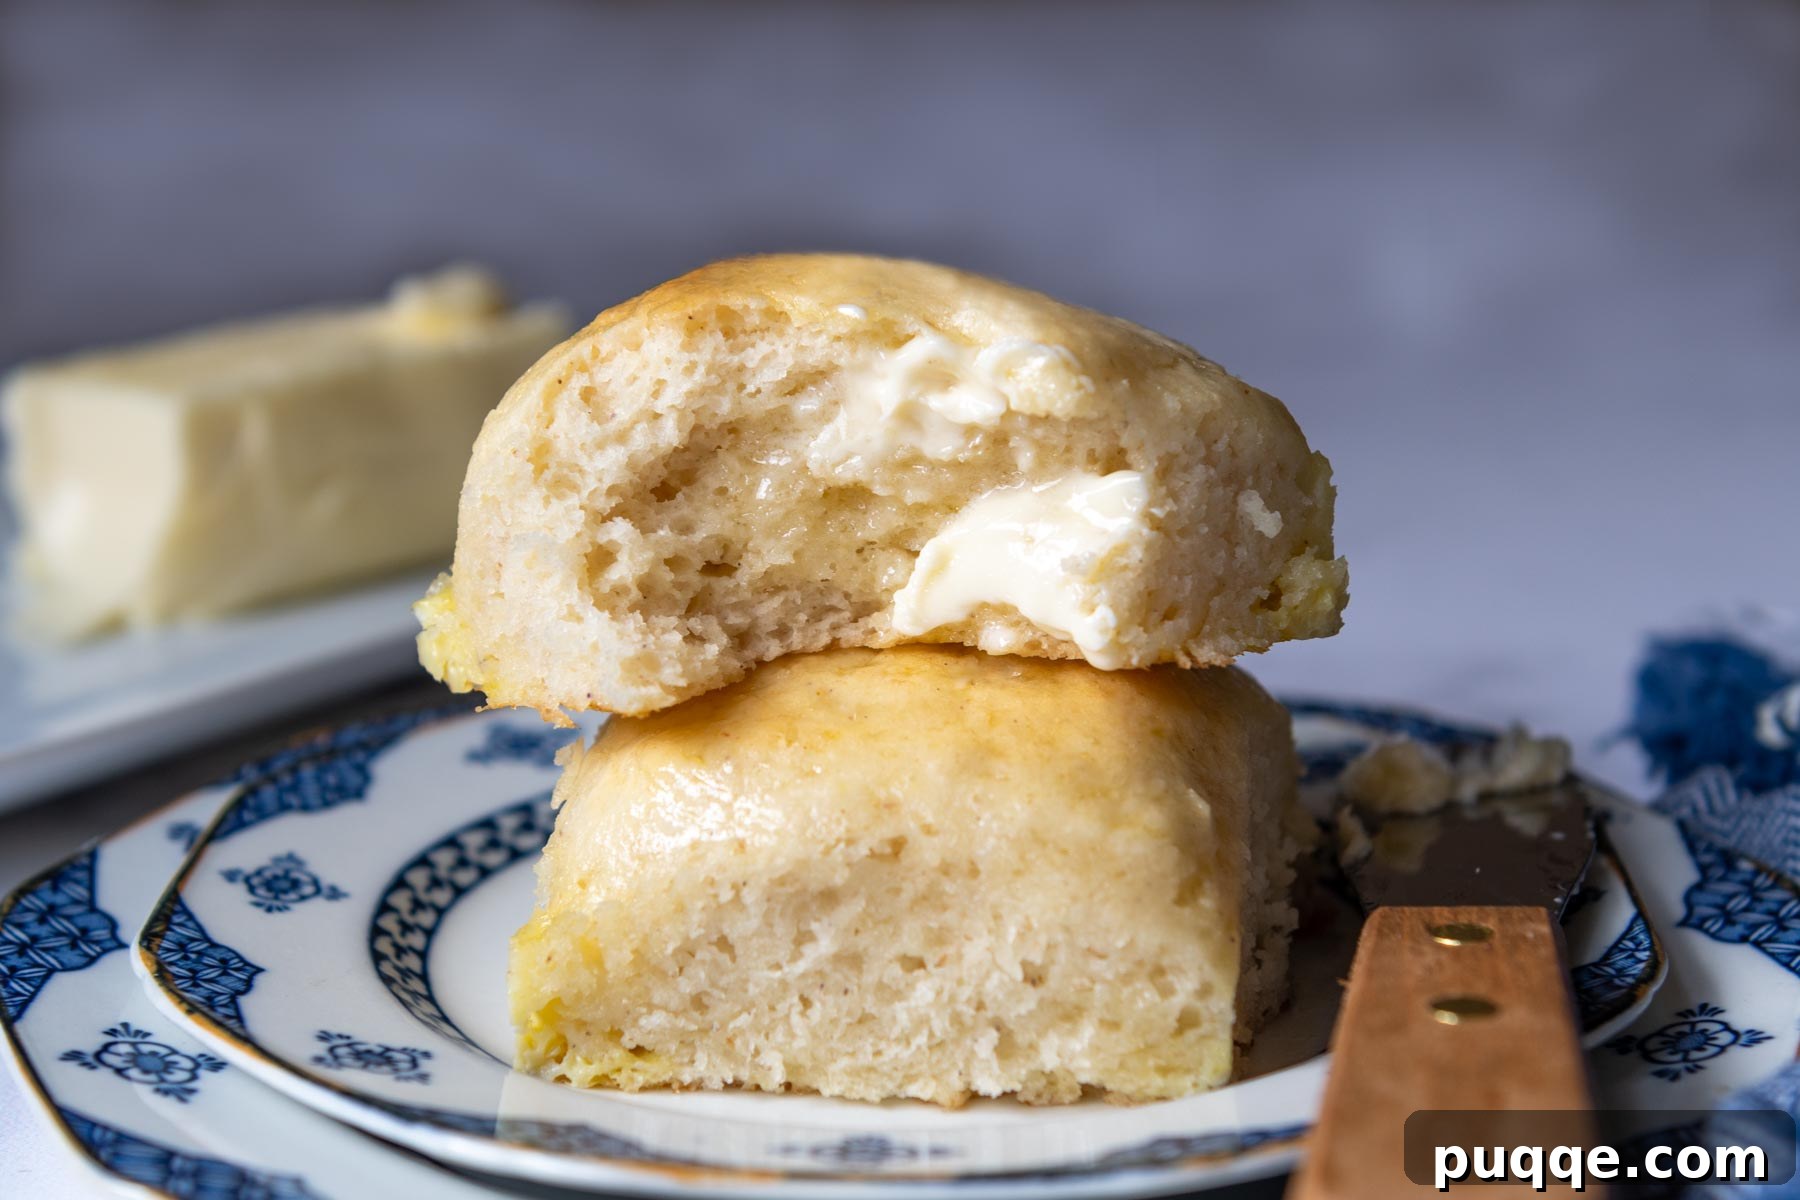
Welcome to the ultimate guide for crafting the most incredible gluten-free rolls you’ve ever tasted. Forget everything you thought you knew about gluten-free baking. These aren’t just ‘good for gluten-free’ rolls; these are genuinely fluffy, airy, and soft dinner rolls that boast an unmatched texture, tantalizing flavor, and an unbelievably simple preparation process. What’s even better? They can be on your table, warm and ready to enjoy, in just about an hour! Get ready to discover the game-changing secret technique that elevates these from mere bread rolls to a culinary masterpiece, rivaling their gluten-containing counterparts.
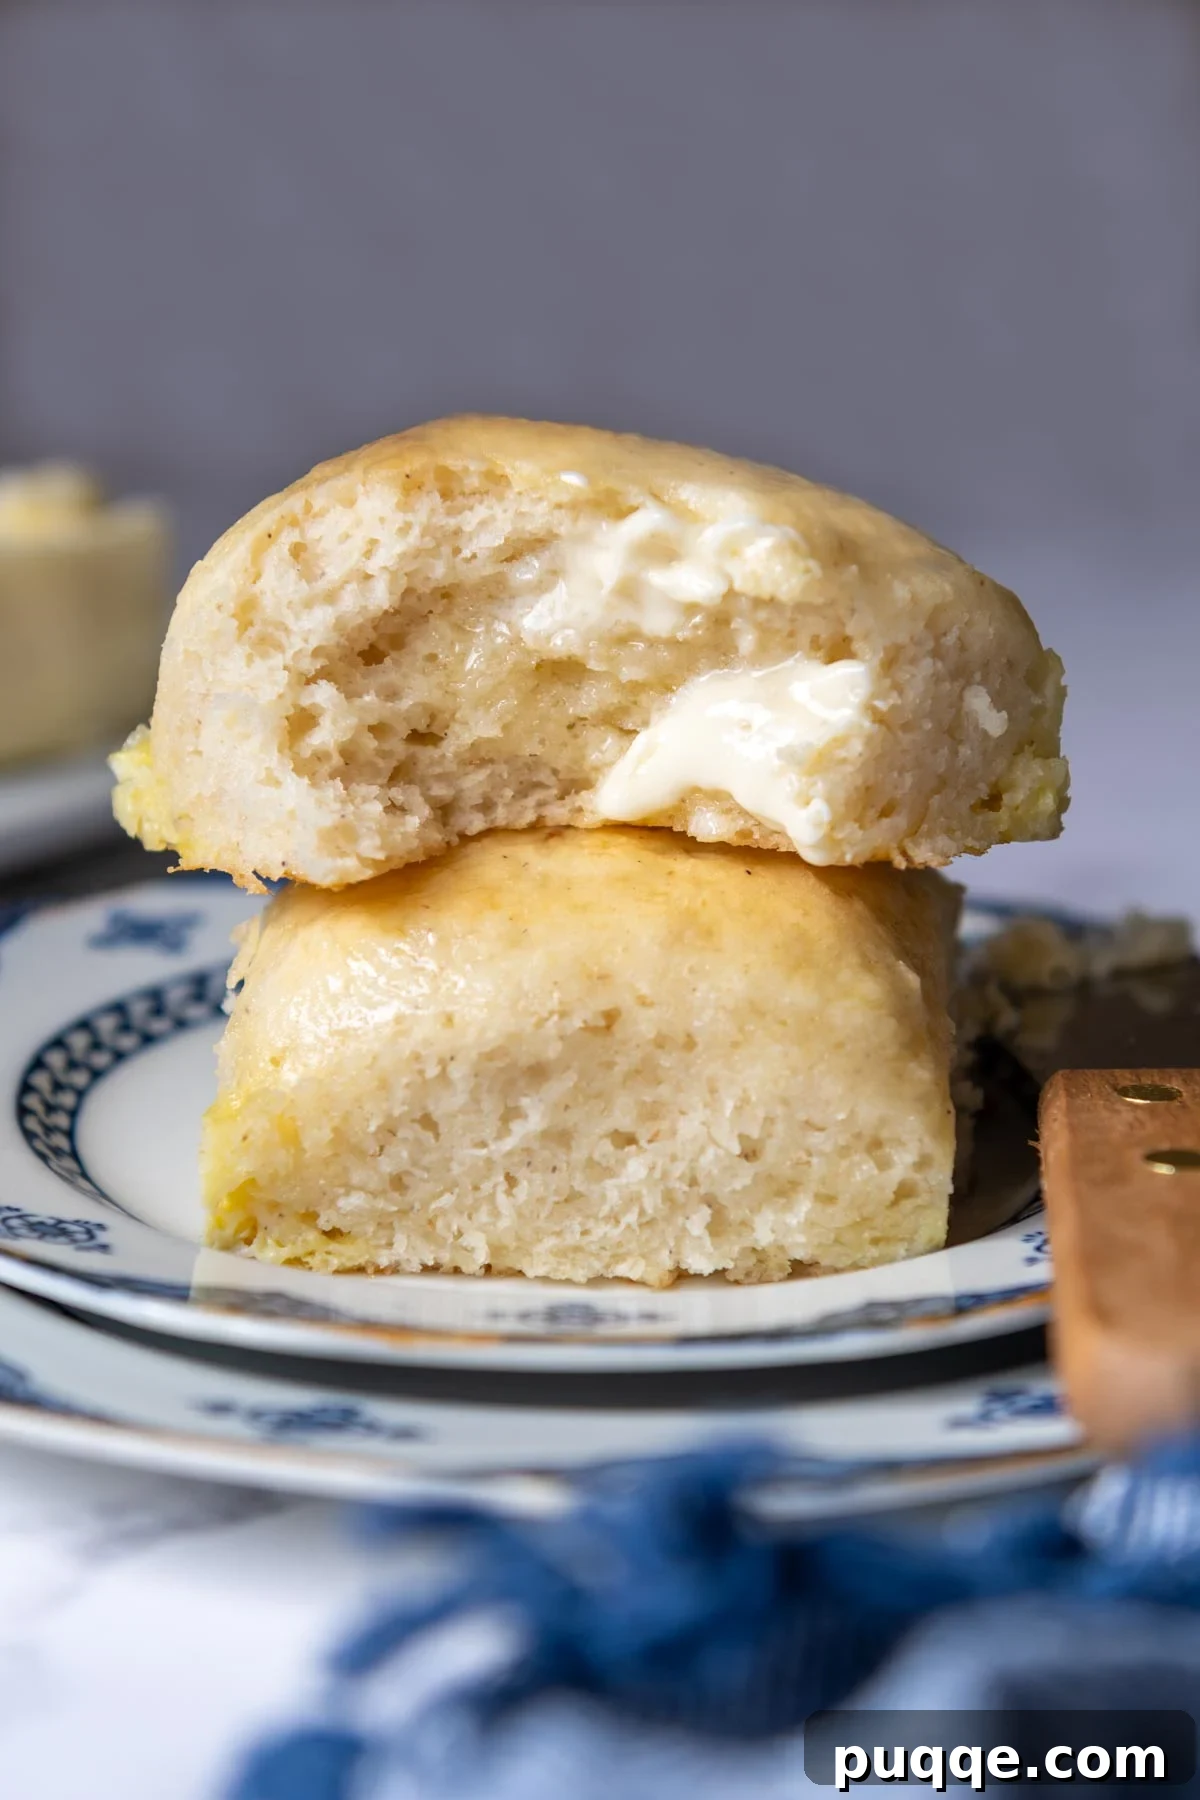
Unveiling the Best Gluten-Free Dinner Rolls Recipe
Crafting these remarkably soft gluten-free rolls has been a journey, culminating in a recipe that has secured a coveted spot in my Gluten-Free Bread Hall of Fame. They stand shoulder-to-shoulder with my celebrated copycat Olive Garden gluten-free breadsticks, inspiring delighted “oohs and aahs” with every buttery, golden bite. The most telling sign of success? My family, with no dietary restrictions, couldn’t stop praising them, often reaching for seconds, completely forgetting they were eating a gluten-free creation!
This recipe for easy gluten-free yeast rolls sets a new benchmark for taste and texture, echoing the widespread acclaim received by our 5-Star viral gluten-free bread recipe. To achieve this extraordinary level of perfection, this recipe rigorously adheres to several key criteria:
- Effortless Preparation: No complex steps or endless kneading. The dough comes together beautifully in a single bowl, requires just one short rise, and then bakes to perfection. Simplicity at its best.
- Common Pantry Staples: We rely on ingredients you likely already have or can easily find, ensuring these delicious rolls are always within reach.
- Incredibly Quick: Who has all day for yeast rolls? This recipe respects your time, delivering warm, fresh rolls ready to be devoured in a mere one hour from start to finish.
- Unrivaled Taste and Texture: This is the crucial one. We confidently claim these rolls taste *better* than any other gluten-free roll recipe out there. They achieve that elusive soft, squishy, pull-apart texture that is often missing in gluten-free baking. Seriously, prepare to be amazed.
These homemade gluten-free rolls have not only captured my heart but have also garnered hundreds of glowing reviews and heartfelt testimonials across our website and Pinterest community. Creating gluten-free bread recipes that impress even the toughest critics is my passion, and these rolls represent one of my proudest achievements. 😎
“My daughter’s Celiac diagnosis a year ago plunged me into the world of gluten-free baking, a humbling experience filled with many (unpalatable) failures despite my experience as a baker. Then I found this recipe, and it was a true EUREKA moment! Everyone at the table, including our gluten-eating friends and family, raved about them. We were stunned by how spongy and utterly delicious these rolls were. The texture was indistinguishable from regular bread, and for the first time, there was no gritty aftertaste. Just pure, wonderful, comforting bread. This recipe is a lifesaver!”
—Kate
“These gluten-free rolls were absolutely phenomenal. My small family adored them, and I was so impressed by how incredibly easy they were to make. I’ve experimented with countless recipes from various popular gluten-free websites, but these were hands down the softest and fluffiest rolls I have ever produced. A definite keeper!”
—Lisa
Essential Ingredients: What Makes These Gluten-Free Rolls Shine
Achieving truly exceptional gluten-free rolls hinges on a few key ingredients and understanding their roles. Let’s delve into the specific components that make this recipe a triumph:
- Premium Gluten-Free All-Purpose Flour: The foundation of any successful gluten-free bake. The quality of your chosen flour blend can truly make or break your dinner rolls. After extensive testing, Cup4Cup gluten-free flour remains my top recommendation, consistently delivering outstanding results in all my gluten-free baking, a staple I highlight in my GF cookbook.
- Potato Starch (Crucially, Not Flour): This is the unsung hero, our secret ingredient for achieving that coveted soft and fluffy texture. Instead of simply relying on more gluten-free flour to build dough structure (which can lead to dense results), we incorporate potato starch. It’s a lighter starch that contributes tenderness without toughness. While potato starch offers the best results, you can substitute with tapioca starch or even a little extra gluten-free flour in a pinch, though the texture may vary slightly.
- Psyllium Husk Powder: In gluten-free baking, psyllium husk powder is a marvel. It acts as a powerful binder, mimicking the elasticity and binding properties of gluten. This helps maintain crucial moisture within the rolls, preventing them from becoming crumbly or dry. Furthermore, it adds structure, making the dough more pliable and allowing for those delightful pull-apart rolls to be shaped with ease. I specifically recommend the linked brand to ensure your rolls remain light-colored, as some psyllium husk brands can impart a darker, or even purple, hue. It sounds odd, but it makes a visual difference!
- Instant (Rapid Rise) Yeast: For convenience and efficiency, instant yeast is our choice. Unlike active dry yeast, it doesn’t require prior proofing with warm liquids; it can be mixed directly into your dry ingredients, saving valuable time. For avid bakers, I highly suggest purchasing it in bulk and storing it in your refrigerator to maintain its potency.
- Butter: Rich, creamy butter serves multiple purposes here. It infuses the dough with incredible flavor and richness, and a generous brushing before and after baking ensures a beautiful golden crust and added moisture. I typically use unsalted butter, adding a touch of salt to the melted butter before brushing for that perfect savory balance.
- Milk: Beyond adding moisture, milk elevates the overall taste and contributes to the tender crumb of the rolls, especially when combined with butter and salt. For those needing dairy-free dinner rolls, rest assured, you can easily substitute with your preferred non-dairy milk, such as almond milk or soy milk, without compromising on quality.
Let’s Bake These Amazing Gluten-Free Rolls Together!
(The following section provides step-by-step photos and detailed instructions to guide you through the process. For the comprehensive recipe, including exact ingredient quantities, please scroll down to the printable recipe card at the bottom of the page.)
The Tangzhong Method: How a Roux Transforms Gluten-Free Baking
The secret weapon in achieving truly soft and moist gluten-free rolls is the tangzhong method, also known as a roux. Gluten-free flours typically absorb liquids less efficiently than wheat flour, often resulting in drier, more crumbly baked goods. The tangzhong method ingeniously pre-saturates a small portion of the flour with liquid, allowing it to absorb significantly more moisture. This crucial step contributes to a wonderfully soft and fluffy texture, preventing the rolls from becoming dense or gummy – a common pitfall in GF baking.
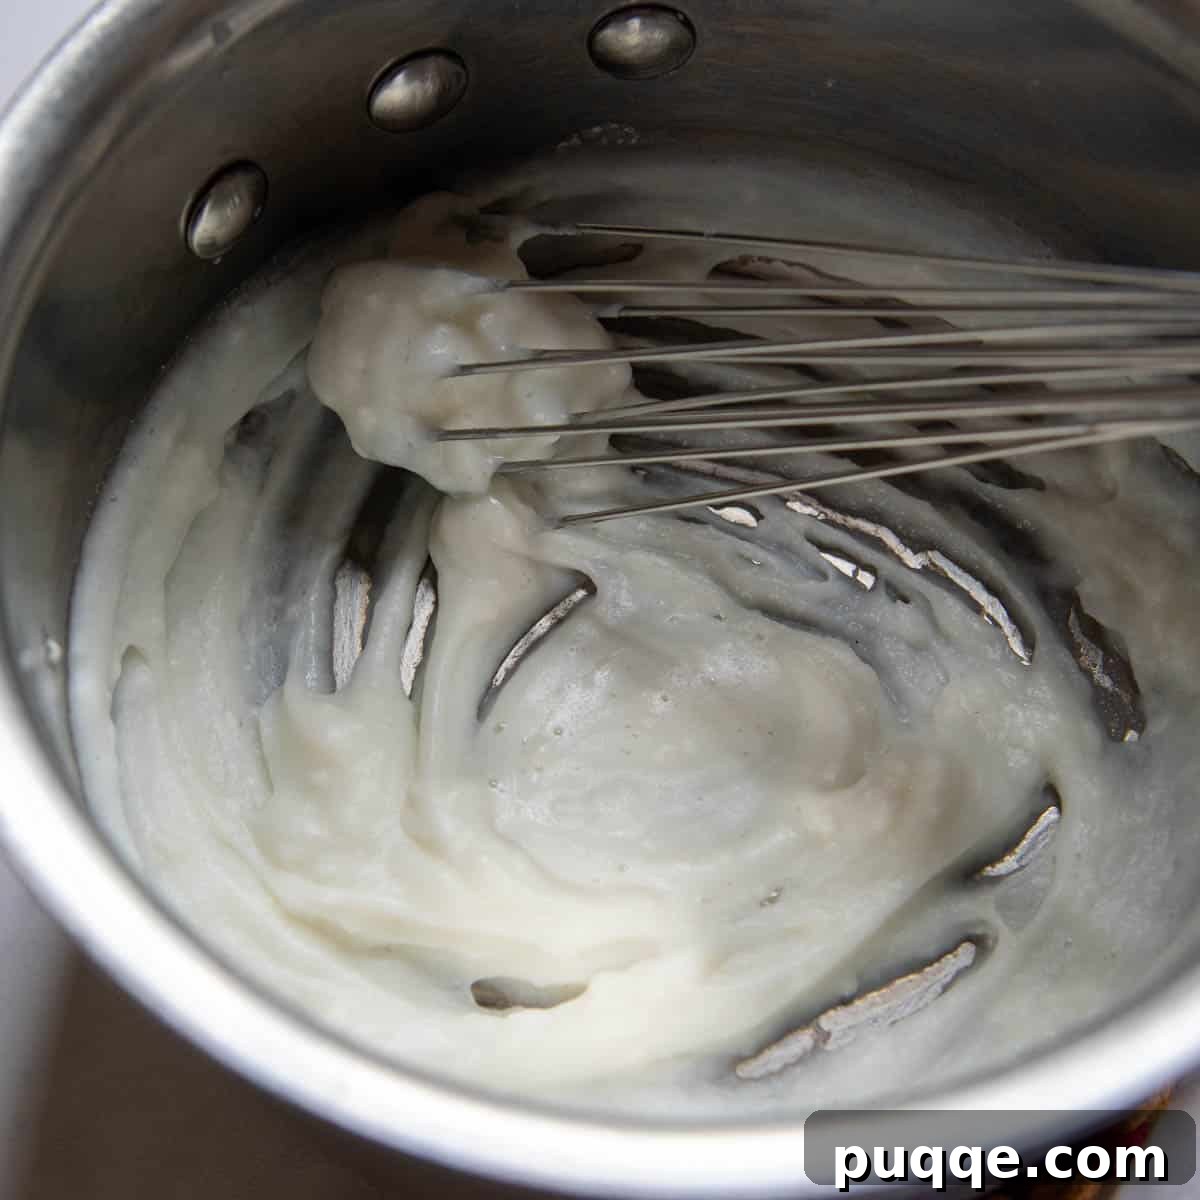
Despite its fancy-sounding name, preparing a tangzhong roux is remarkably simple. Just combine 2 tablespoons of your chosen gluten-free flour with milk and water in a small saucepan. Whisk continuously over medium heat. Within a minute or so, you’ll notice a distinct trail separation appearing at the bottom of the pan as the mixture thickens. That’s it! It’s a small effort with a massive impact on the final texture of your rolls.
Effortlessly Mixing Your Gluten-Free Dough
With your roux prepared and slightly cooled, the rest of the dough mixing process is wonderfully straightforward. Begin by adding all your dry ingredients – the gluten-free flour blend, potato starch, sugar, psyllium husk powder, instant yeast, baking powder, and salt – into the bowl of your stand mixer. Use a paddle attachment on low speed to gently combine them, ensuring an even distribution.
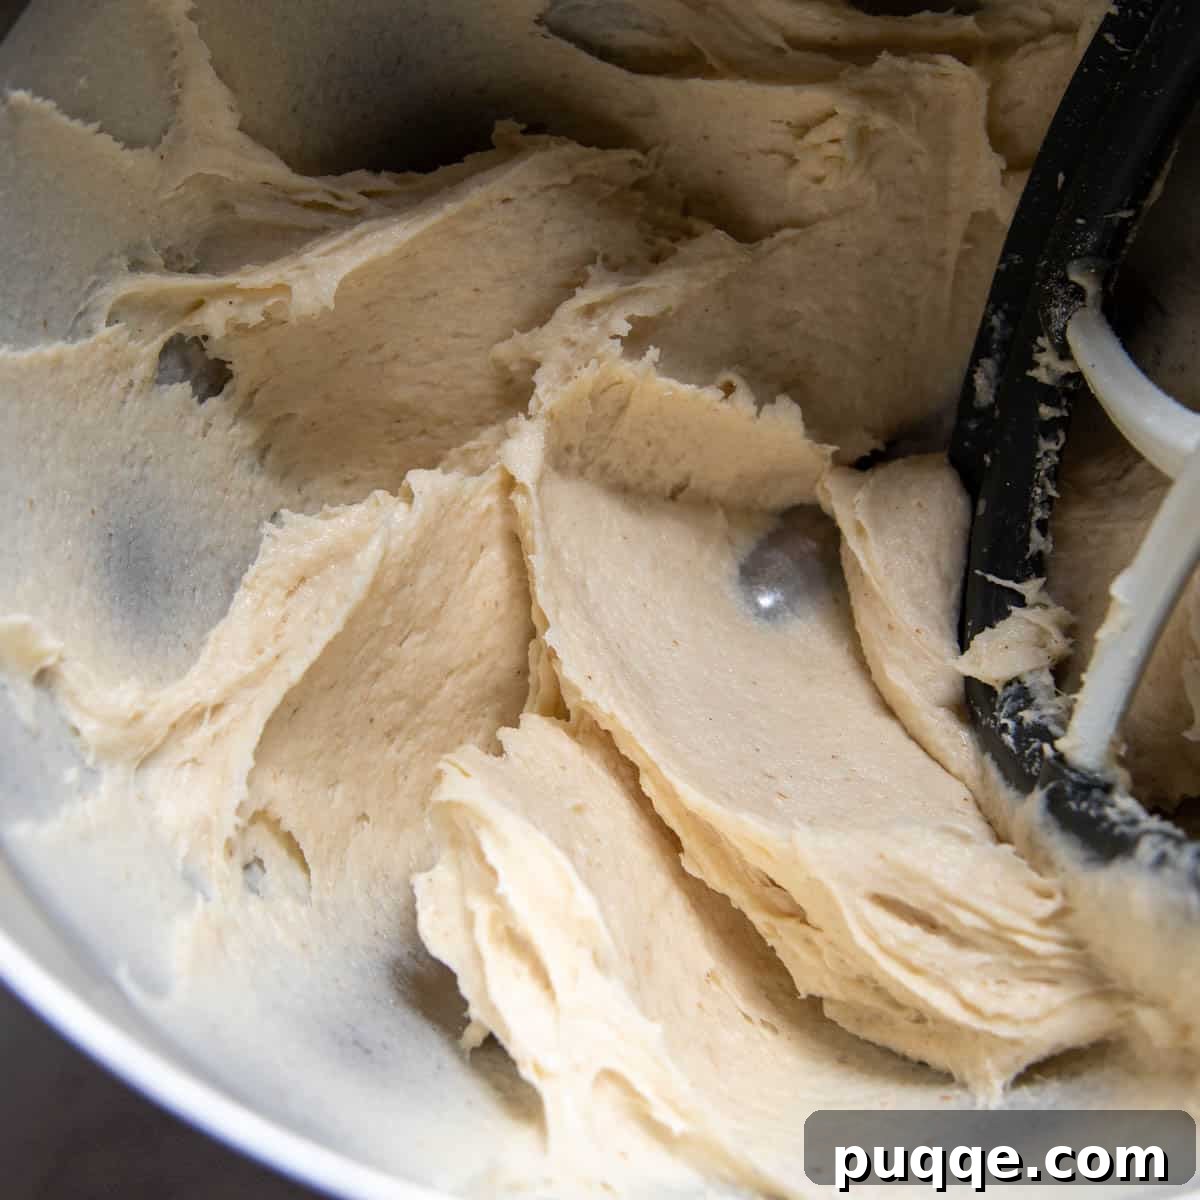
Next, incorporate the wet ingredients: your slightly cooled roux, warm milk, room temperature egg, and the melted butter. Start mixing on low speed until all ingredients are thoroughly blended. Then, increase the speed to high and beat the dough for a full 5 minutes. Remember to pause once or twice during this time to scrape down the sides of the bowl, ensuring everything is fully incorporated. The resulting dough will be robust and stiff, yet still possess a pleasant stickiness, which is perfectly normal for gluten-free yeast dough.
Shaping Your Gluten-Free Rolls with Ease
One of the delightful advantages of working with this particular gluten-free dough is how incredibly easy it is to shape! Unlike traditional gluten-rich doughs that can be temperamental, this GF dough is cooperative and forgiving. If precision is your preference, you can certainly portion out the dough into approximately 2-ounce servings. Using a food scale and a greased piece of plastic wrap makes this process neat and accurate.
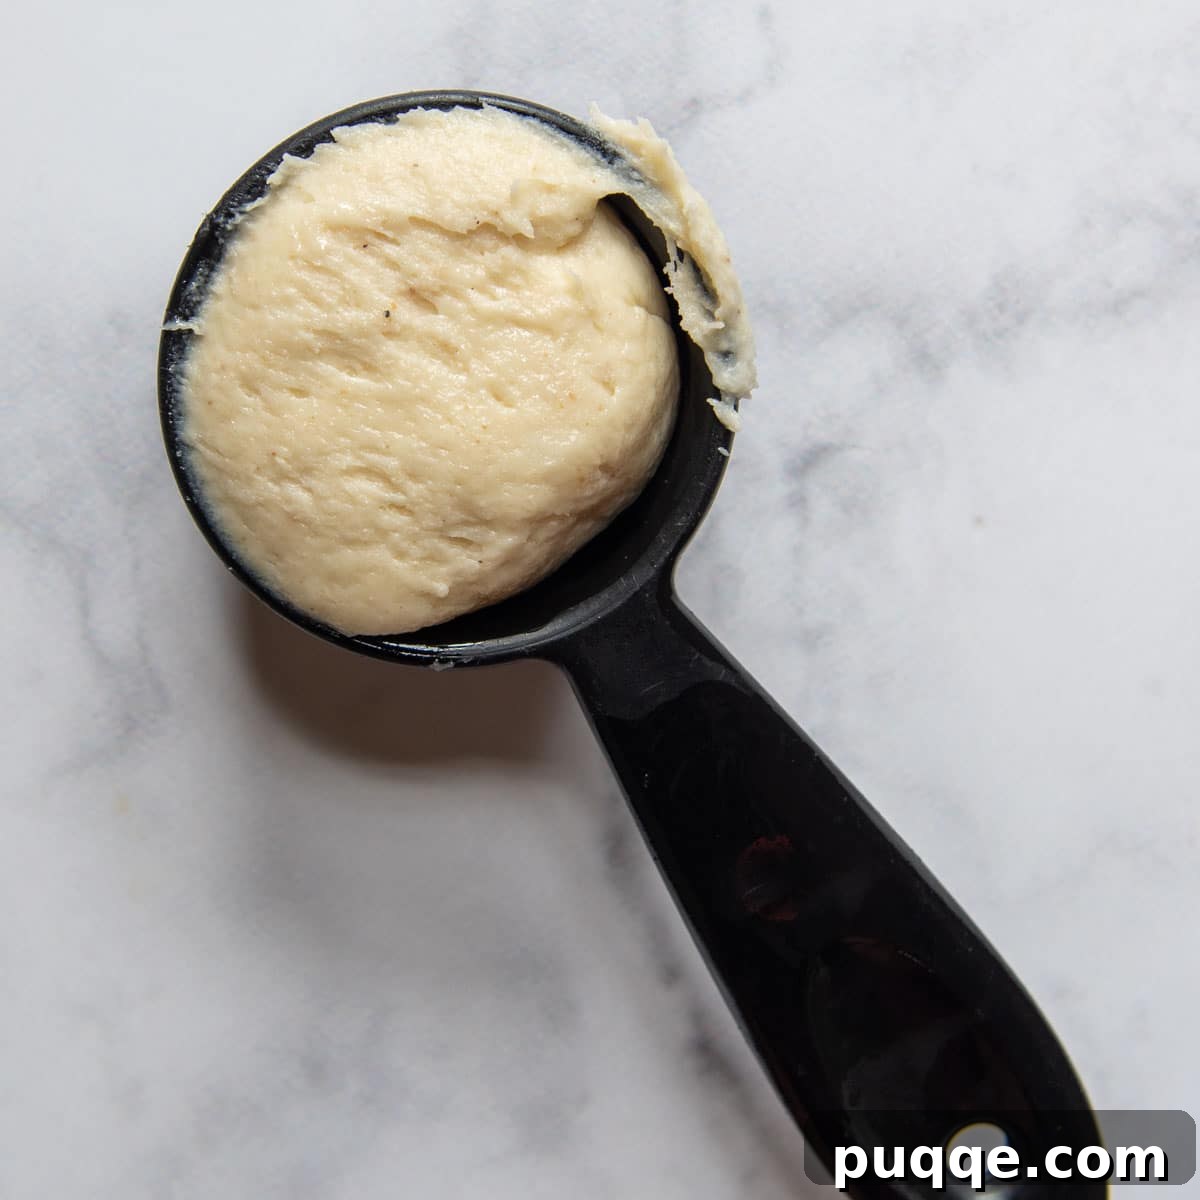
However, for a quicker and more casual approach, I simply spray a 1/4 measuring cup liberally with non-stick spray. Then, I scoop out slightly less than a full cup, which typically yields a perfectly sized dough portion for a single roll. This method ensures consistent sizing without the need for a scale. The stickiness of the dough means less handling is better, and the non-stick spray is your best friend here.
The Quick Rise and Golden Finish
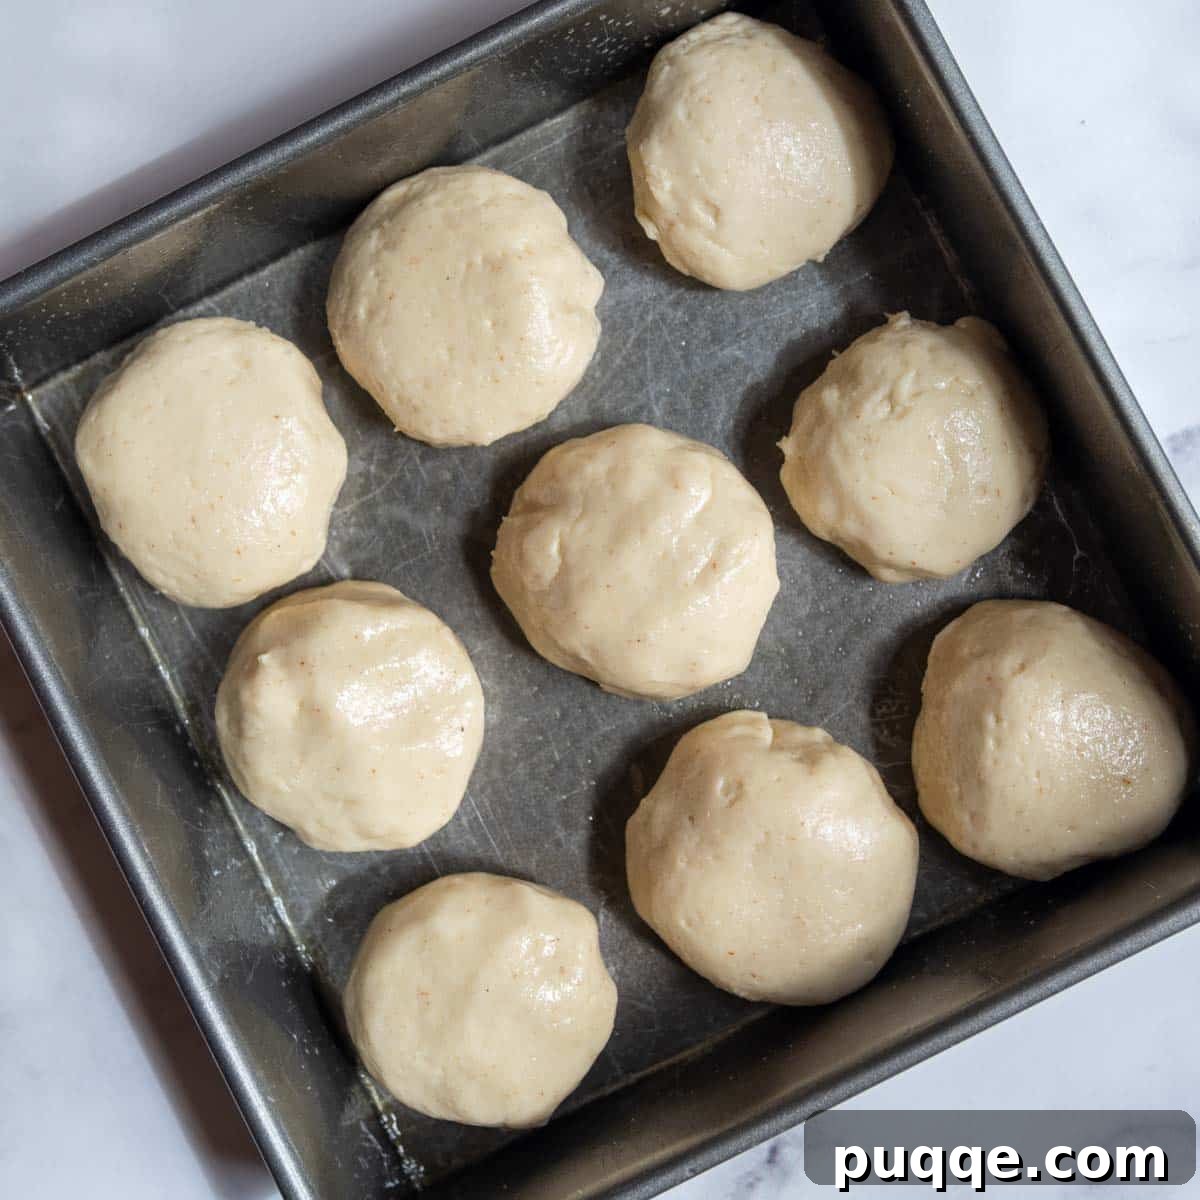
Once you’ve scooped your dough, gently dump it into slightly greased hands. Smooth it into a neat ball, then carefully place each ball into a greased 8×8-inch baking pan, arranging them close enough to touch, encouraging that classic pull-apart dinner roll effect.
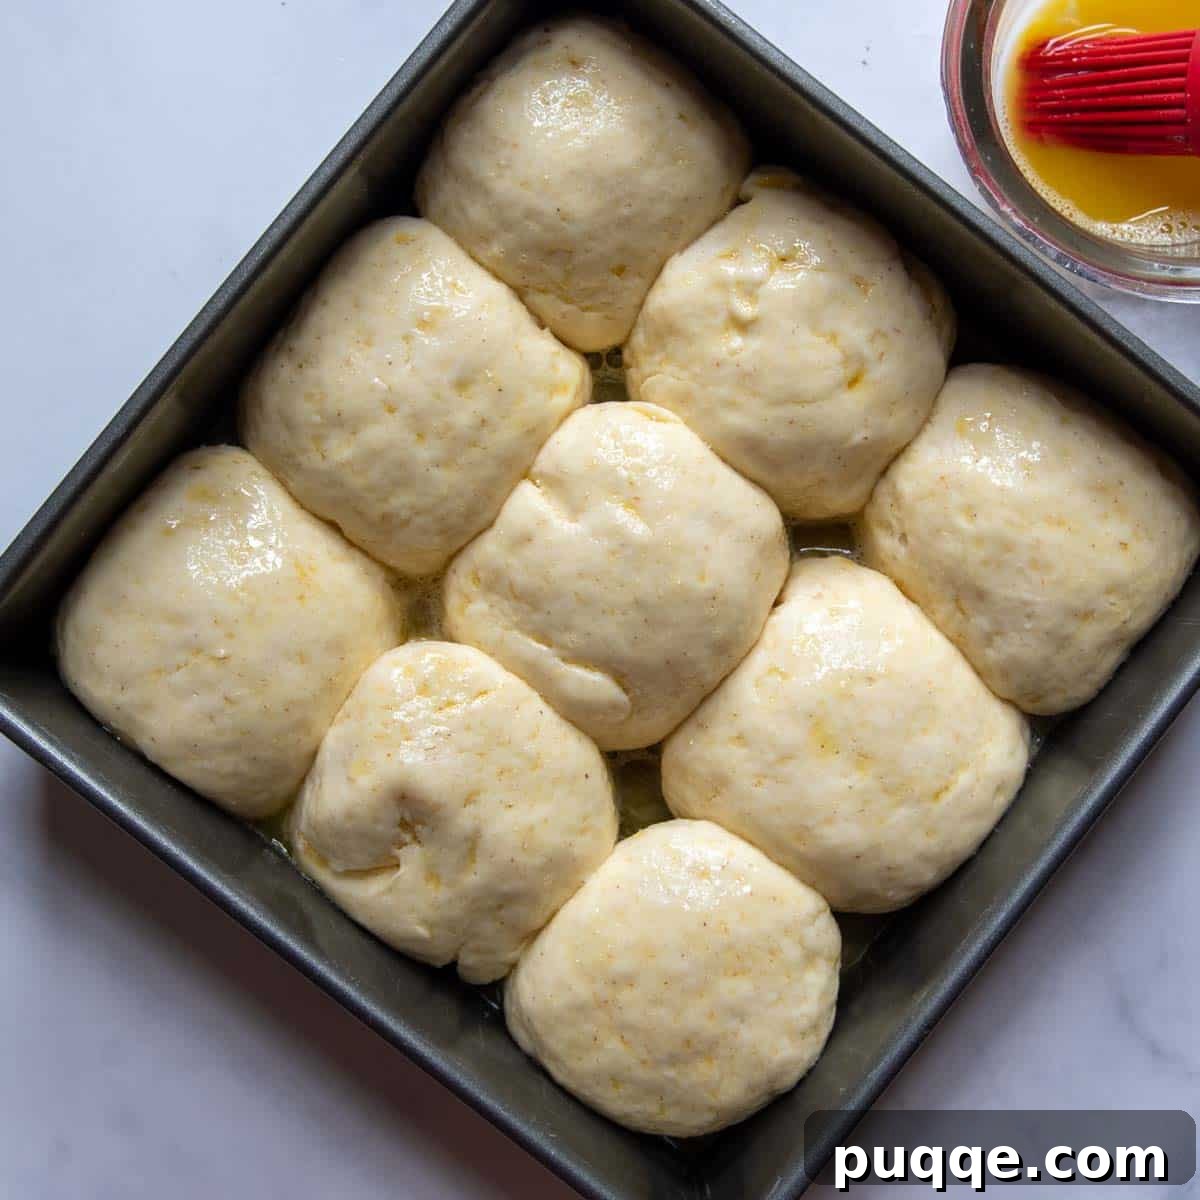
These rolls benefit from a unique, accelerated rising process, taking only 30 minutes in total. First, they spend 10 minutes in a slightly warmed, turned-off oven. This gentle warmth provides the ideal environment for the yeast to spring into action. After this initial boost, remove the pan and let the rolls continue rising at room temperature for another 20 minutes while your oven preheats to the baking temperature. Additionally, the inclusion of baking powder in the recipe offers an extra lift, ensuring a beautiful loftiness during baking. Before baking, brush the tops with a generous amount of salted melted butter, reminiscent of classic Parker House rolls. And don’t forget another brushing right when they emerge, golden and fragrant, from the oven. Prepare to savor the most seriously heavenly gluten-free rolls imaginable!
The Secret to Shaping Perfect Gluten-Free Yeast Rolls
Achieving the perfect balance in gluten-free rolls is a delicate art: you need enough gluten-free flour blend to create a dough that’s manageable and shapeable, yet not so much that it compromises the desired fluffy, airy, and tender texture. Too much flour can lead to a dense, tough crumb, which is precisely what we aim to avoid.
To bypass the common pitfalls of over-flouring, this recipe intentionally uses less flour than many other gluten-free dinner roll recipes. Instead of relying on excess flour to create a firm, easy-to-handle dough, we employ a clever technique involving nonstick cooking spray and a simple measuring cup to facilitate shaping these delicate buns. This method is incredibly effective and mirrors the shaping techniques we successfully use in some of our most popular recipes, such as our fluffy gluten-free hamburger buns and these incredibly soft gluten-free slider buns.
Here’s the refined technique: generously spray a 1/4 measuring cup with nonstick cooking spray. Also, coat your hands lightly with the spray. Scoop out a portion of dough that is slightly less than 1/4 cup; this will yield approximately a 2-ounce dough ball, ideal for a single roll. Gently dump the dough from the measuring cup into your greased hands and quickly roll it into a smooth, even ball. The spray prevents sticking and allows for minimal handling.
Alternatively, for those who prefer working on a surface, lay out a greased silicone baking mat or a piece of parchment paper. Scoop the dough onto this greased surface, then lightly flatten it with your greased fingers. From there, gather and pinch the edges upwards into the center to form a ball. Smooth the top of the roll and place it in your greased baking pan with the pinched ends facing downwards. This ensures a beautifully smooth top surface for your baked rolls. These simple tricks ensure your gluten-free rolls maintain their light, airy structure without becoming overworked or dense.
Selecting the Perfect Gluten-Free All-Purpose Flour
The choice of your gluten-free all-purpose flour blend is arguably the most critical decision when baking gluten-free, as it profoundly impacts the texture, rise, and overall flavor of your finished product. Having rigorously tested numerous flour blends across a wide spectrum of baking and bread recipes, I’ve developed a strong preference for a particular brand that consistently delivers superior results for soft and squishy baked goods, especially for these dinner rolls. When embarking on this gluten-free roll adventure, I unequivocally reach for Cup4Cup.
In terms of taste and texture, Cup4Cup emerged as the undisputed champion in my extensive evaluations. The rolls made with this blend possess absolutely no “gluten-free” discernible taste – a common complaint with many blends. Instead, they are wonderfully soft, incredibly squishy, and boast a subtle, appealing sweetness that makes them truly addictive. It’s important to note that even with their updated formula, Cup4Cup continues to perform exceptionally well in this recipe, maintaining its reputation for excellence.
While many gluten-free bakers often turn to Bob’s Red Mill 1-to-1 Gluten-Free Flour, my personal experience, and that of many others, indicates that it can sometimes leave an unpleasing aftertaste and results in a denser crumb structure. The goal for these rolls is light and airy, which Cup4Cup achieves beautifully. If you’re considering using a different brand of gluten-free all-purpose flour, I highly recommend browsing through the comments section below. Our vibrant community often shares their successful experiences and modifications with a variety of brands, so you might find valuable insights to adapt this recipe to your preferred blend.
Craving These Delicious Rolls? Save This Recipe Now!
Let’s connect and be friends on Pinterest! I’m always sharing fantastic recipes and gluten-free inspiration!
Did you whip up a batch of these amazing gluten-free rolls? I absolutely love hearing about your baking adventures! Please take a moment to leave a star rating and comment below the recipe card. Your feedback is invaluable, helping others discover and enjoy this recipe, and I truly appreciate every review from our wonderful community. You can always count on a personal reply from me! -Melissa
Squishy Soft Gluten-Free Rolls Recipe (1 Hour)
 Melissa Erdelac
Pin
Rate
Remove Ads
Ingredients
Roux
- 2 tablespoons (18 g) gluten free all purpose flour, I recommend Cup4Cup brand
- 3 tablespoons (45 g) water
- 3 tablespoons (45 g) milk
Rolls
- 1 ½ cups (214 g) gluten free all purpose flour, (Cup4Cup gluten free flour highly recommended – see recipe notes for optional milk powder addition)
- 3 tablespoons (31 g) potato starch
- 3 tablespoons (38 g) granulated sugar
- 1 tablespoon (11 g) psyllium husk powder, (what is psyllium husk?)
- 1 packet (9 g) packet (2 ¼ tsp) instant rapid rise yeast, see recipe notes for active dry yeast
- 1 teaspoon baking powder
- ½ teaspoon salt
- ¾ cup (184 g) warm milk (110°F), microwaved for 30-45 seconds
- 1 large egg, room temperature
- 2 tablespoons (28 g) melted butter, slightly cooled
Butter for tops
- 2 tablespoons (28 g) butter
- ¼ teaspoon salt
Equipment
-
Stand Mixer
-
Cup 4 Cup Gluten Free Flour
-
8X8 Baking Dish
Instructions
-
Prepare your oven and baking dish: Before you begin preparing the roux, preheat your oven to 200ºF. Once it reaches temperature, immediately turn it off. This creates a warm, still environment that will serve as an ideal spot for the rolls to begin their initial rise. While the oven warms, generously grease an 8×8-inch baking pan and set it aside.2 tablespoons (18 g) gluten free all purpose flour, 3 tablespoons (45 g) water, 3 tablespoons (45 g) milk
-
Make the roux (tangzhong): While the oven is warming (or immediately after turning it off), combine 2 tablespoons of gluten-free flour with 3 tablespoons of milk and 3 tablespoons of water in a small saucepan. Whisk this mixture constantly over medium heat. Continue whisking until you see a distinct trail or separation appear at the bottom of the pan as the mixture thickens. This usually takes just a minute or two. Remove the saucepan from the heat and set the roux aside to cool slightly.
-
Combine dry ingredients: In the large mixing bowl of a stand mixer fitted with a paddle attachment, add the 1 ½ cups of gluten-free all-purpose flour, 3 tablespoons of potato starch, 3 tablespoons of granulated sugar, 1 tablespoon of psyllium husk powder, 1 packet (2 ¼ tsp) of instant rapid rise yeast, 1 teaspoon of baking powder, and ½ teaspoon of salt. Mix on low speed until all the dry ingredients are well combined.1 ½ cups (214 g) gluten free all purpose flour, 3 tablespoons (31 g) potato starch, 3 tablespoons (38 g) granulated sugar, 1 tablespoon (11 g) psyllium husk powder, 1 packet (9 g) packet (2 ¼ tsp) instant rapid rise yeast, 1 teaspoon baking powder, ½ teaspoon salt
-
Add wet ingredients and beat the dough: To the dry ingredients, add the warm milk (approximately 110°F), the room temperature large egg, the slightly cooled melted butter, and the prepared roux. Start mixing on low speed until all ingredients are thoroughly blended and no dry spots remain. Once combined, increase the mixer speed to high and beat the dough for a full 5 minutes. During this beating time, stop the mixer once or twice to scrape down the sides and bottom of the bowl, ensuring everything is fully incorporated. The final dough will be notably stiff but should still maintain a sticky consistency.¾ cup (184 g) warm milk (110°F), 1 large egg, 2 tablespoons (28 g) melted butter
-
Shape the rolls: Lightly grease a silicone baking mat or a piece of parchment paper with cooking spray. Liberally spray the inside of a ¼ measuring cup with cooking spray, and also lightly spray your hands. Scoop out a portion of dough that is slightly less than ¼ cup; this amount typically yields a roughly 2-ounce dough portion. Gently dump the dough from the measuring cup into your greased hands and quickly roll it into a smooth ball. Alternatively, you can dump the dough directly onto the greased baking mat, gently flatten it with your greased fingers, and then pinch the edges up into a ball shape. Smooth the top of the roll and place it in the prepared 8×8-inch baking pan, seam-side down. Repeat for all dough portions.
-
First rise: Loosely cover the baking pan with plastic wrap. Place the covered pan into the previously warmed, now turned-off oven for 10 minutes. This initial warmth helps kickstart the yeast activity. After 10 minutes, remove the pan from the oven and let the rolls continue to rise at room temperature for an additional 20 minutes. During this time, preheat your oven to 350°F.
-
Prepare for baking: In a small bowl, melt the additional 2 tablespoons of butter and stir in the ¼ teaspoon of salt. Carefully remove the plastic wrap from the risen rolls. Gently brush the tops of the rolls with about half of the salted butter mixture. Reserve the remaining butter to brush on after baking.2 tablespoons (28 g) butter, ¼ teaspoon salt
-
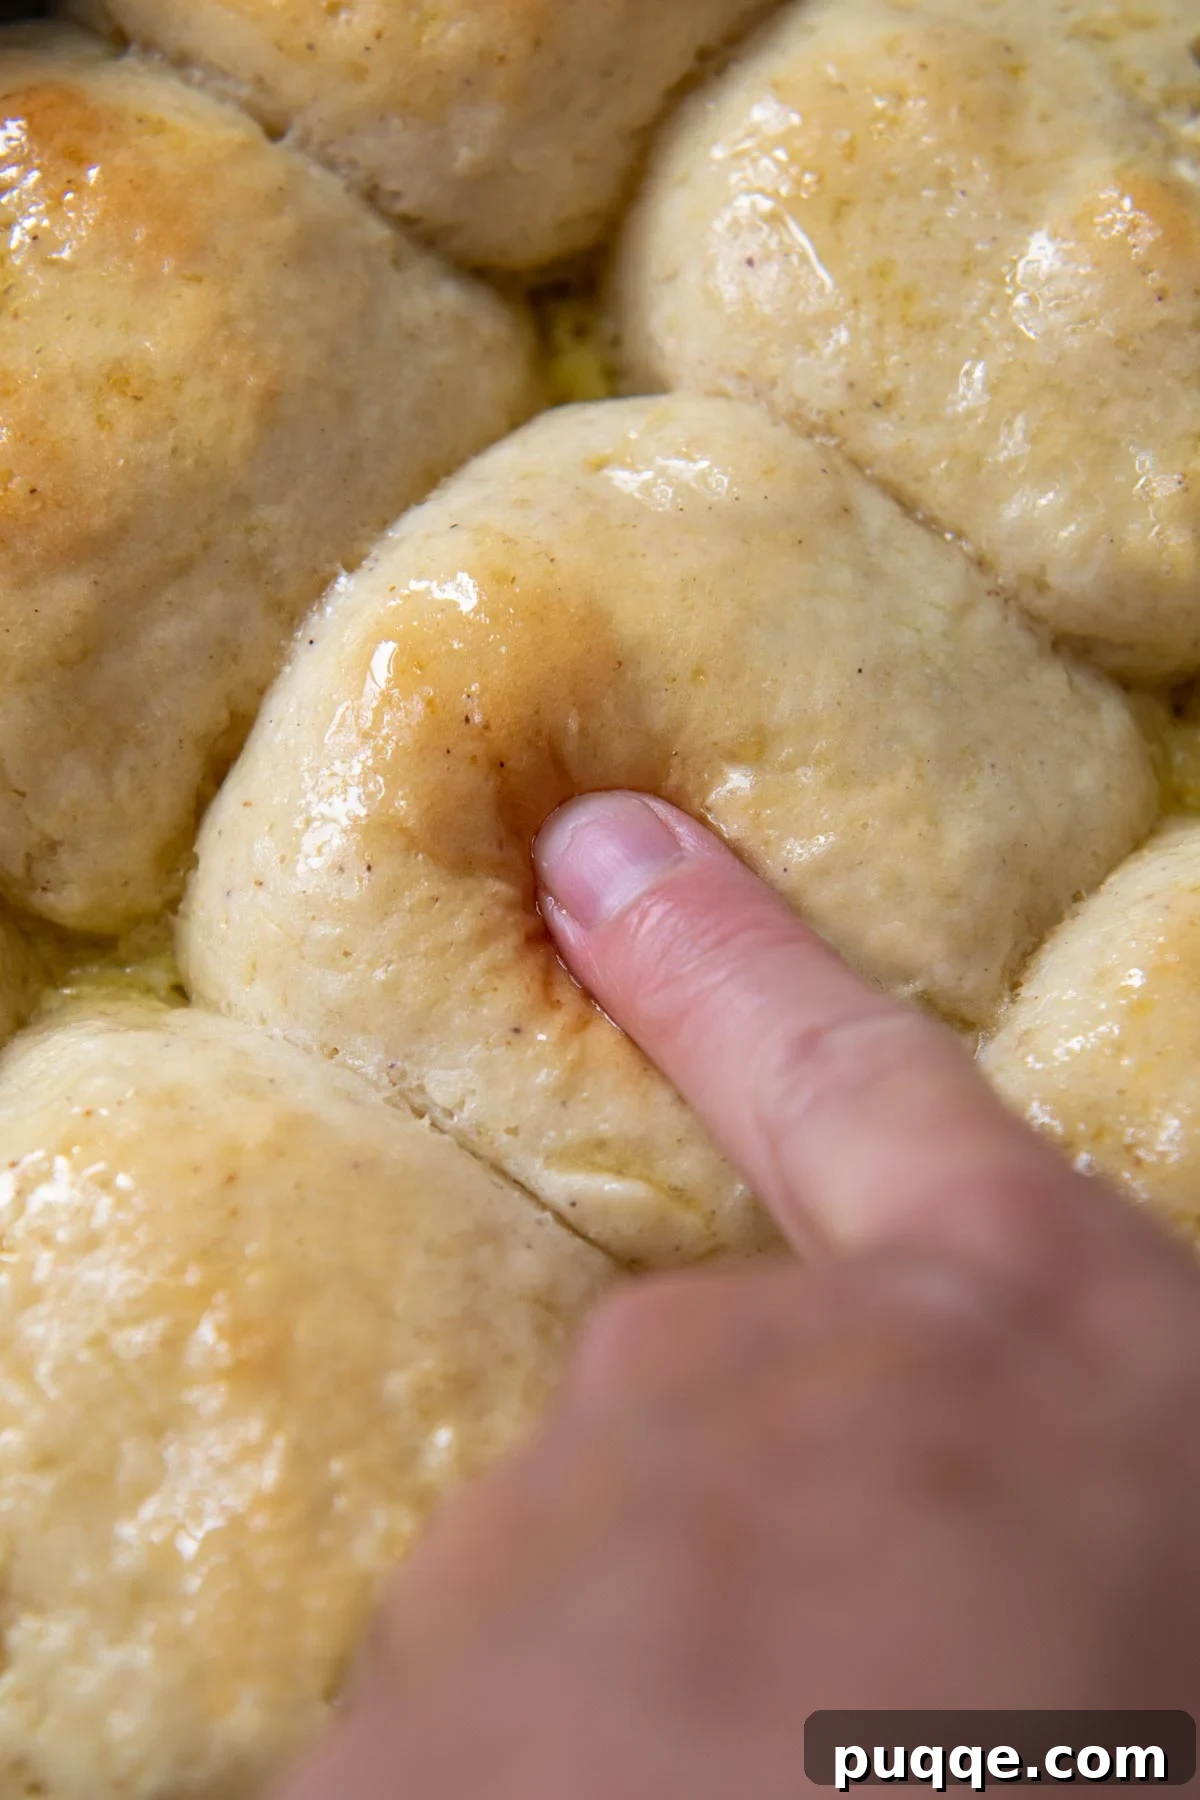
Bake and serve: Place the baking pan in the preheated 350°F oven and bake for 20-22 minutes. The rolls are ready when their tops are beautifully lightly browned and an instant-read thermometer inserted into the center of a roll registers an internal temperature of 195-200ºF. As soon as they come out of the oven, immediately brush the tops with the reserved salted butter. Serve these glorious gluten-free rolls warm and enjoy!
Notes
Enhancing Moisture with Milk Powder
This is an optional yet highly recommended addition for an even moister, more tender crumb. Recently, Cup4Cup adjusted their formulation and removed milk powder. To compensate for this and further boost moisture in any GF flour blend, I now remove 1 ½ tablespoons of the total gluten-free flour called for in the recipe and replace it with 1 ½ tablespoons of gluten-free certified milk powder. This simple swap isn’t exclusive to C4C; it can be applied to any gluten-free flour blend for improved results.
Important Note About Serving Temperature
For rolls pulled from the freezer, it is crucial to thoroughly defrost them at room temperature before serving. If they are even slightly chilled, they tend to become crumbly, which detracts from their optimal texture. For the absolute best taste and softest texture, always warm these rolls slightly in the microwave (or a low oven) just before enjoying them again!
Using Active Dry Yeast Instead of Instant
If you only have active dry yeast on hand, don’t worry, you can still make these rolls! You’ll need to activate it first. Simply mix the active dry yeast with the ¾ cup of warm milk (ensure the milk is at 110ºF to properly activate the yeast) and let it sit for about 5 minutes until it becomes foamy. Once activated, add this mixture to your dry ingredients as instructed in step 3.
Dairy-Free Modification for Allergen-Friendly Rolls
Creating dairy-free gluten-free rolls is straightforward with a couple of easy substitutions. You will need to replace both the milk and the butter. For the milk, use a non-dairy alternative such as almond milk or soy milk. For the butter, opt for a high-quality plant-based vegan butter.
Important: Since many dairy-free butters contain more salt than their dairy counterparts, you should cut the amount of salt in the dough and the salt used for brushing the tops in half. This will prevent your rolls from becoming overly salty.
Expert Tips to Remember for Gluten-Free Baking Success
- Room Temperature Eggs: If you forget to bring your egg to room temperature, a quick trick is to place the whole egg (still in its shell) in a bowl of warm (not hot) water for 5 minutes. This helps it incorporate better into the dough.
- Double the Batch: To make a larger batch, simply double all the ingredients listed. When it comes time to rise, arrange the doubled quantity of dough balls in a larger 9×13-inch baking pan.
- Temperature is Key: An instant-read thermometer is an invaluable tool for this recipe. It takes the guesswork out of baking! Use it to ensure your milk is at the correct temperature (around 110ºF) for yeast activation, and also to determine when your rolls are perfectly baked. The interior of the rolls should register between 195-200ºF when they are ready to be pulled from the oven, ensuring they are cooked through but still moist.
Serving, Storing, and Freezing Tips for Longevity
These rolls are best enjoyed fresh and warm. While they can be wrapped tightly and kept at room temperature for up to 24 hours, their optimal taste and signature soft texture will diminish fairly quickly after this time.
For best results for future enjoyment, freeze the rolls after they have completely cooled down (allow at least 2 hours post-baking). When you’re ready to enjoy them, simply pull them from the freezer and allow them to defrost thoroughly at room temperature.
As noted above, for an unparalleled experience every time, always re-warm the defrosted rolls slightly in the microwave or a low oven just before serving. This revives their incredible softness and brings out their full flavor profile.