
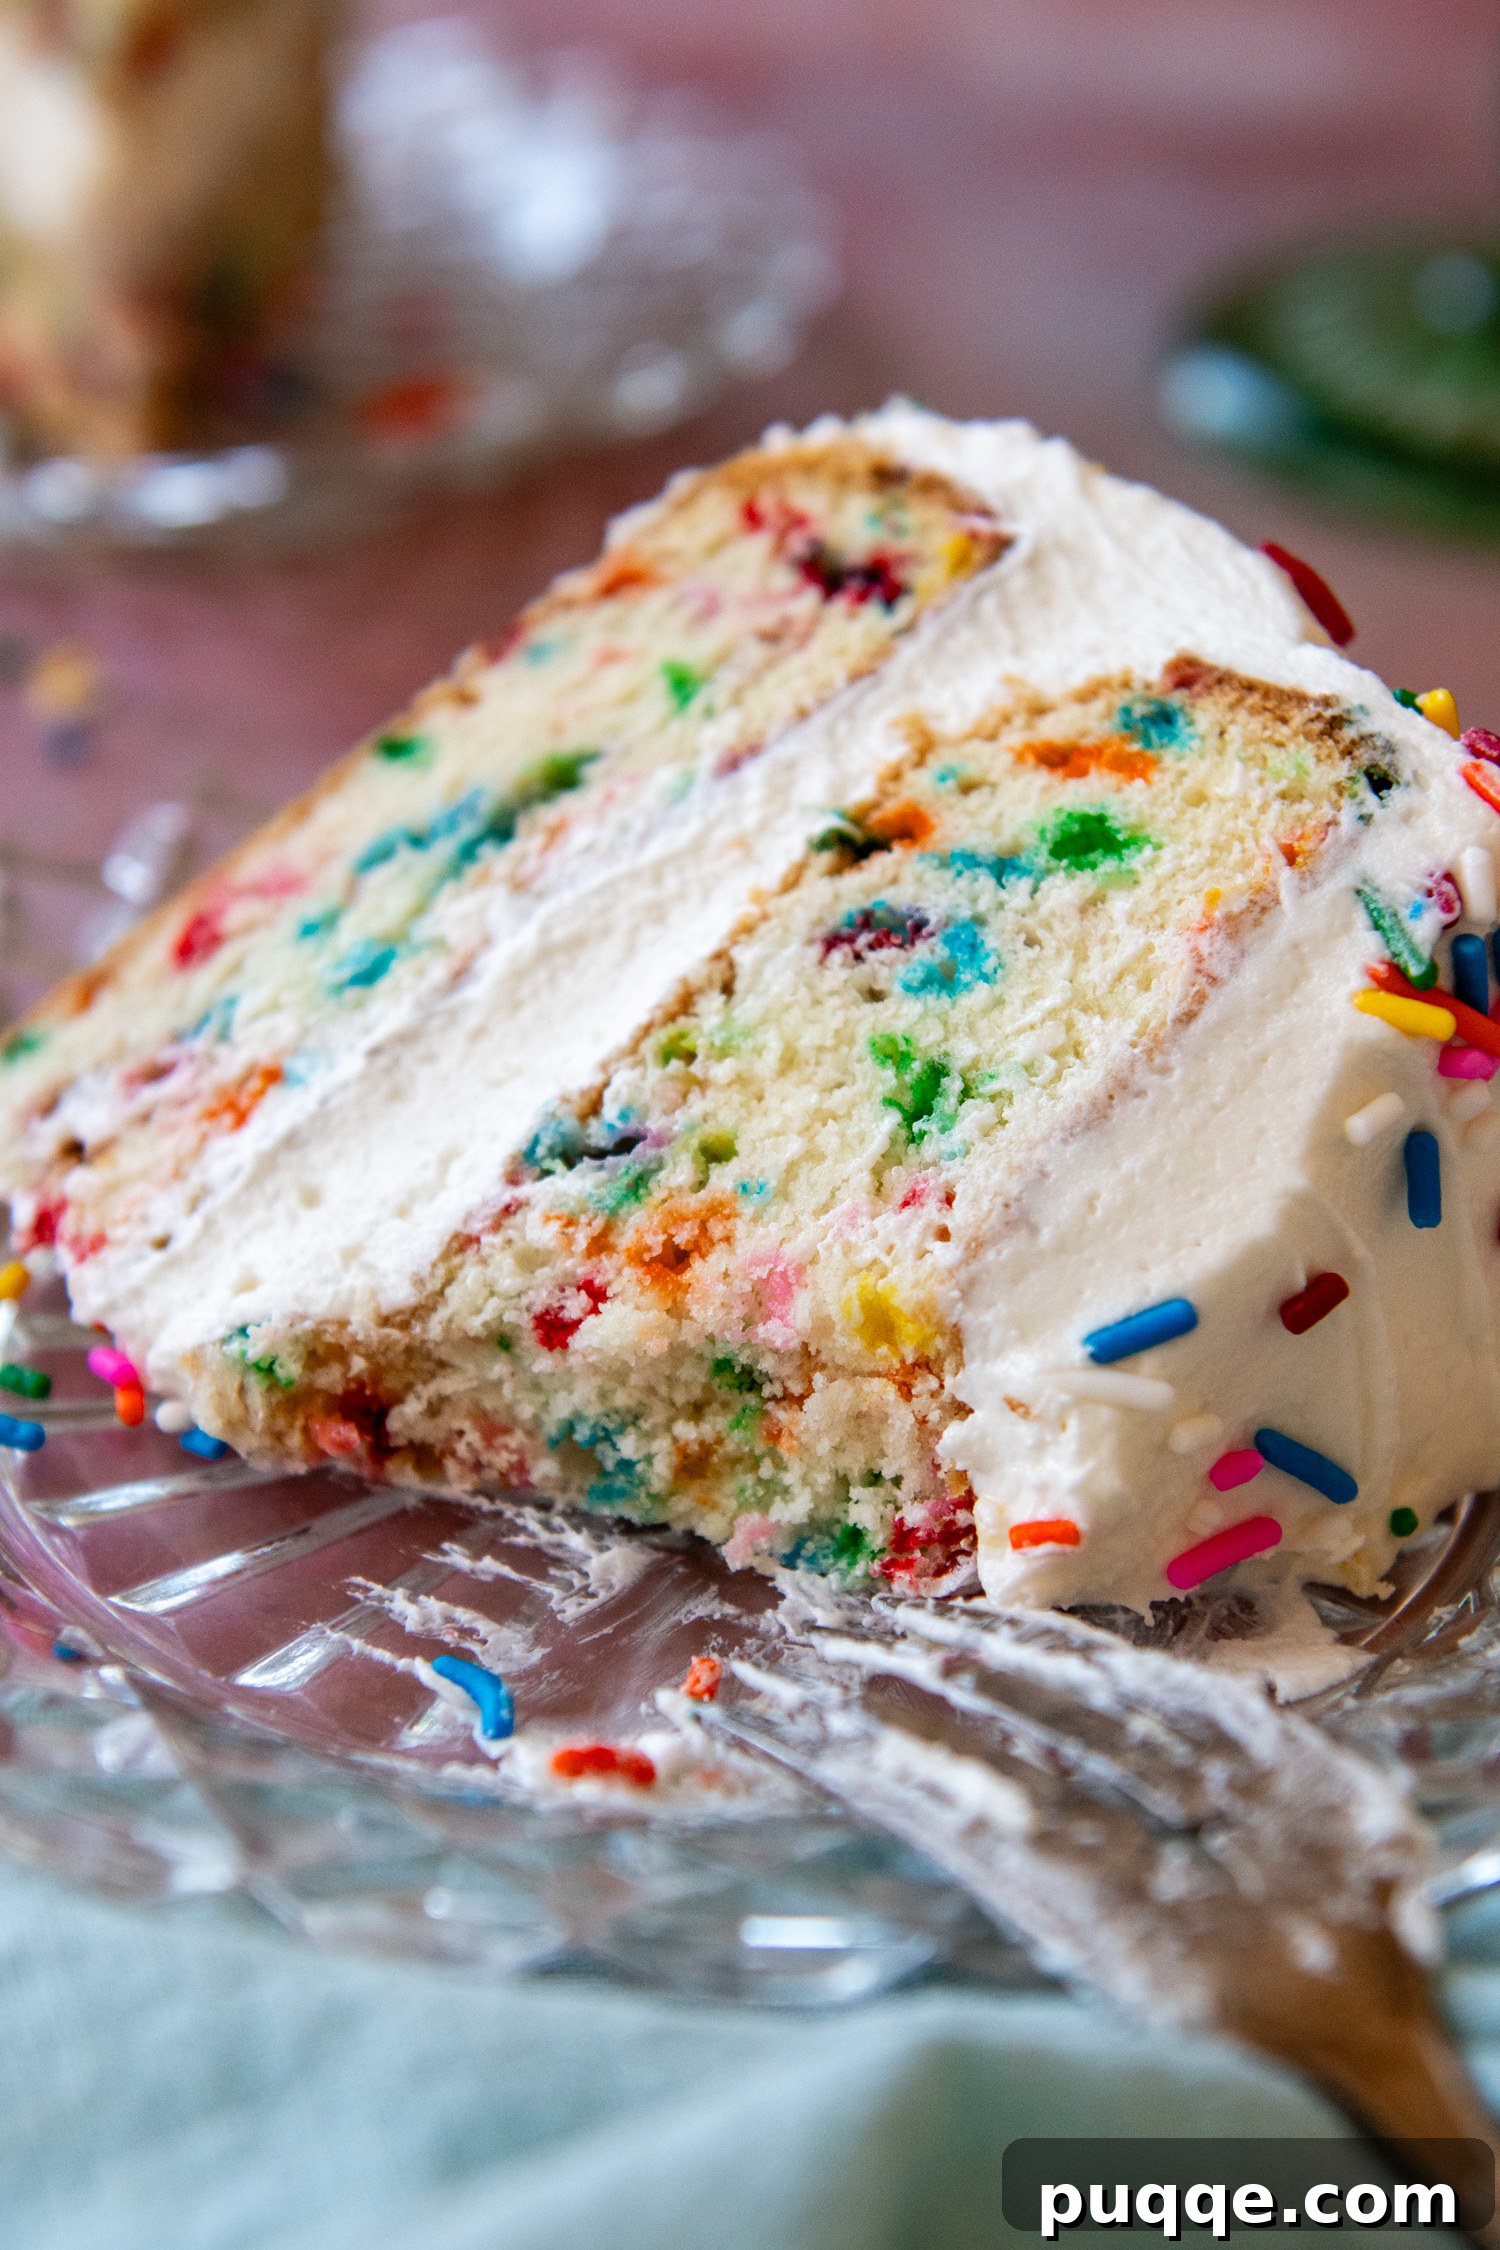
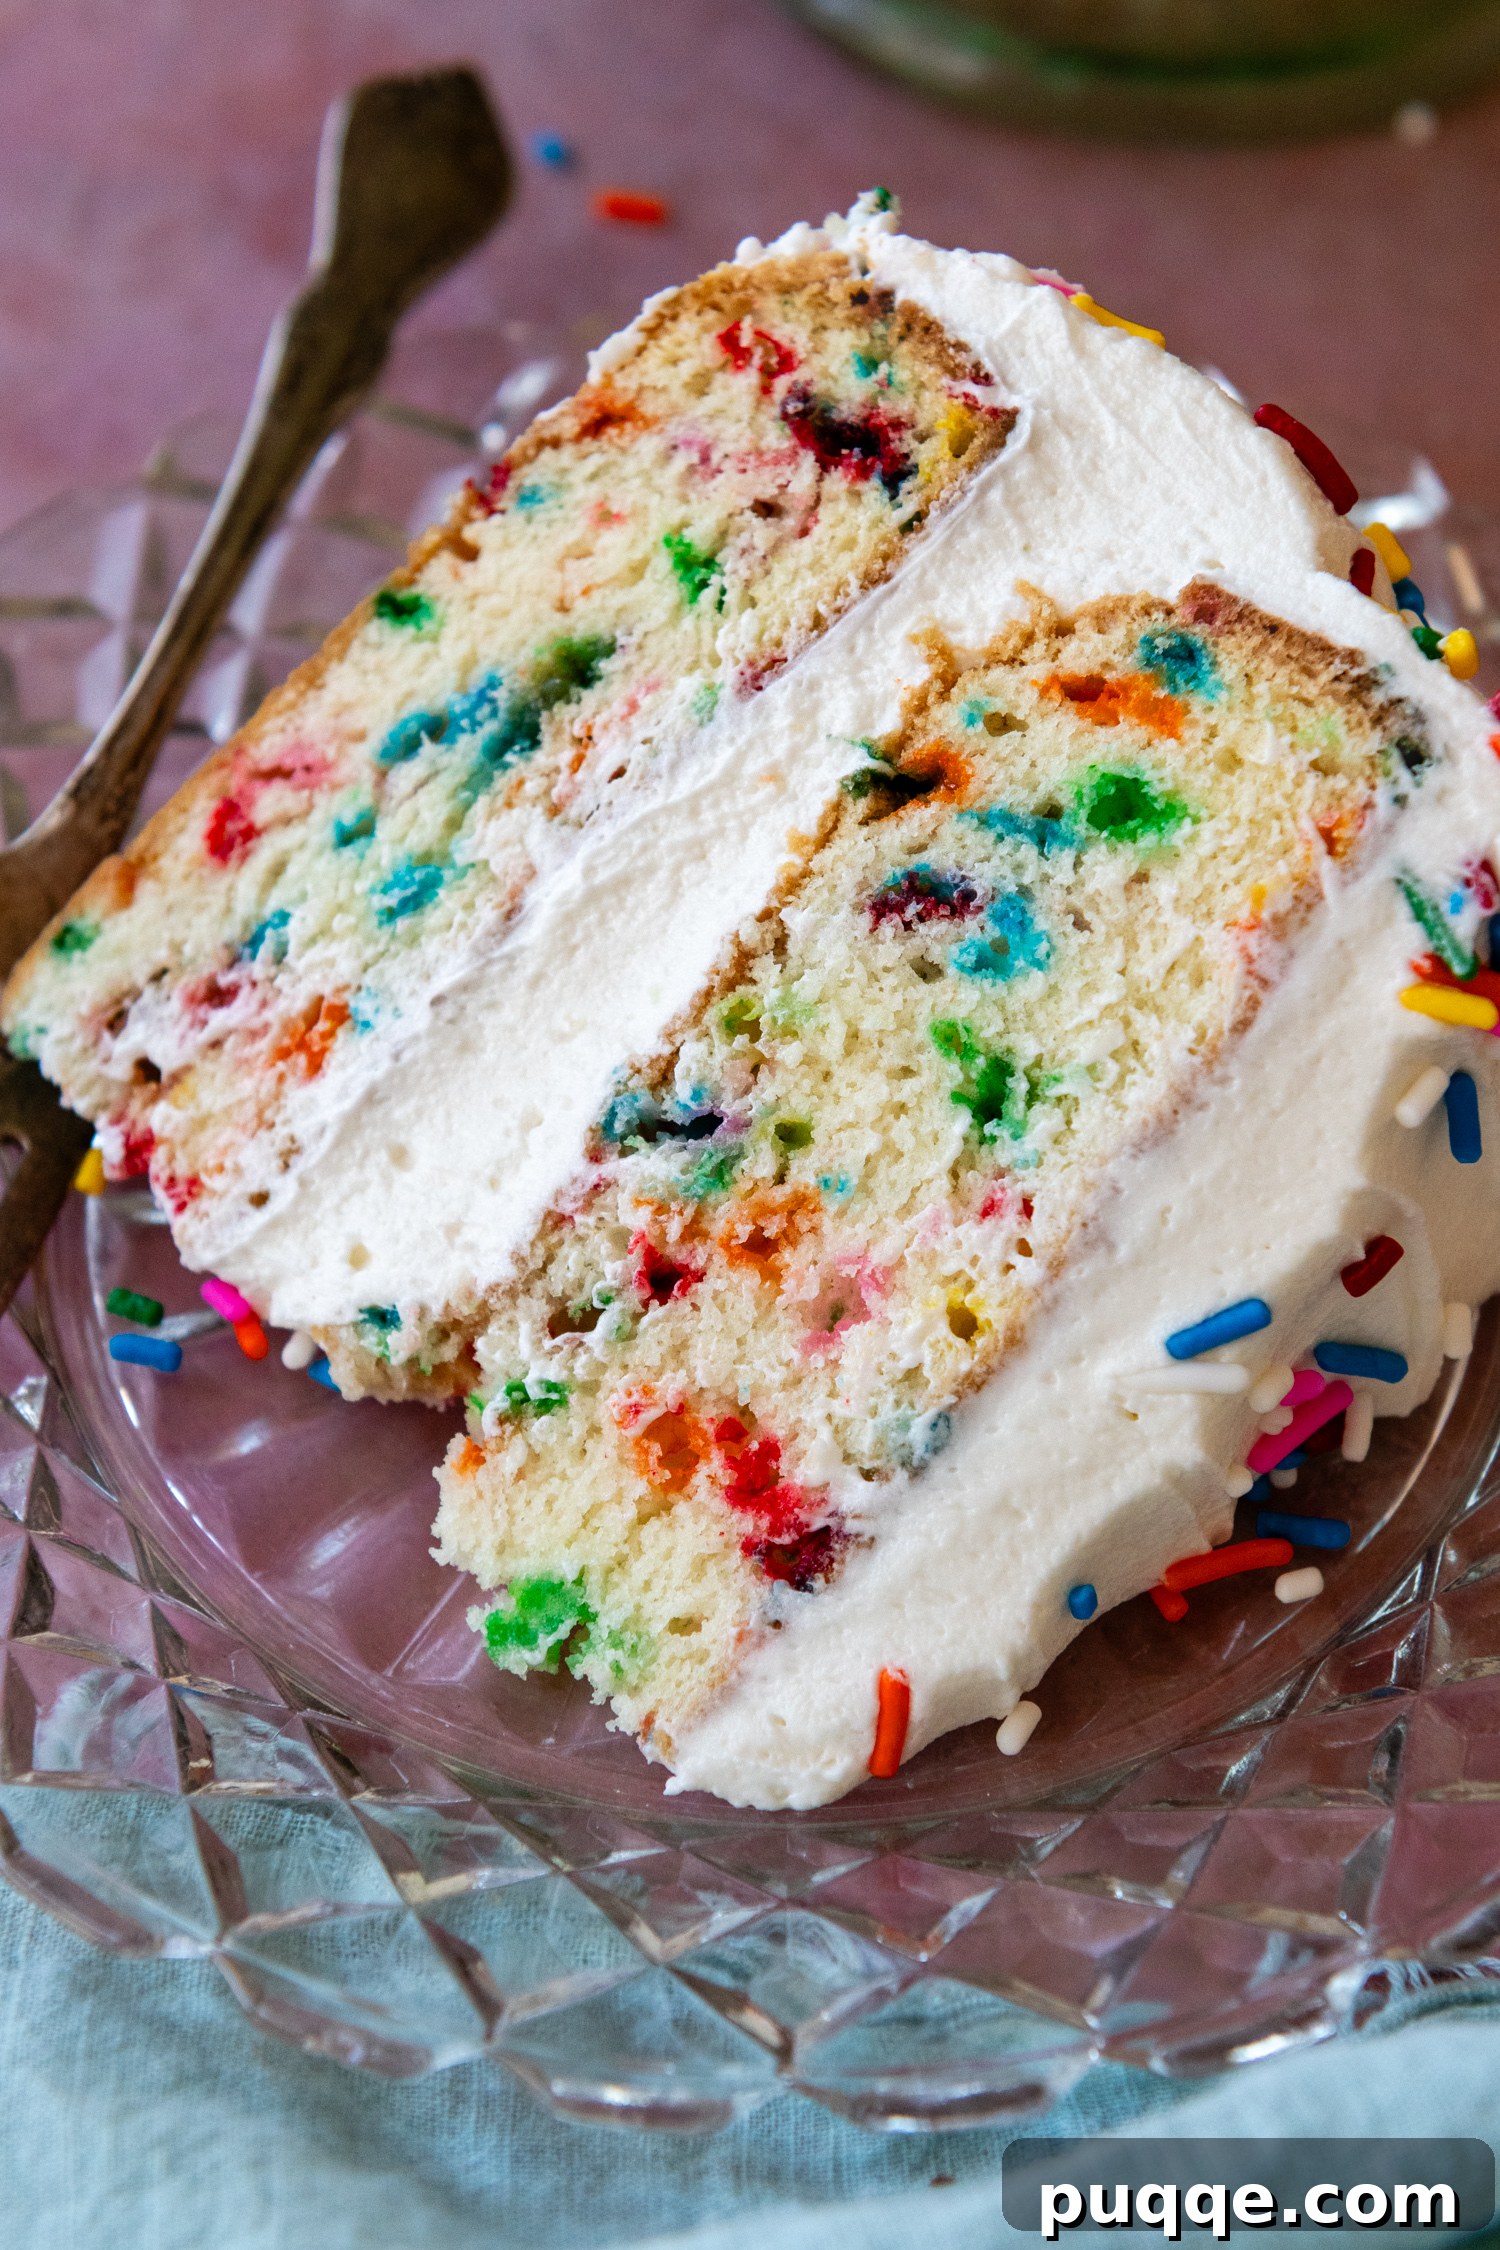
Step aside, store-bought mixes! Get ready to bake a truly unforgettable Gluten-Free Funfetti Cake that will amaze everyone. Whether you’re celebrating a birthday, an anniversary, or just the joy of a Tuesday, this remarkably soft, moist, and fluffy cake, studded with vibrant rainbow sprinkles, tastes so good your guests won’t even realize it’s gluten-free. Don’t let the simplicity of its pantry-staple ingredients fool you. This recipe delivers a rich, creamy vanilla flavor that rivals any professional bakery creation, yet it’s incredibly straightforward for even novice bakers to master.
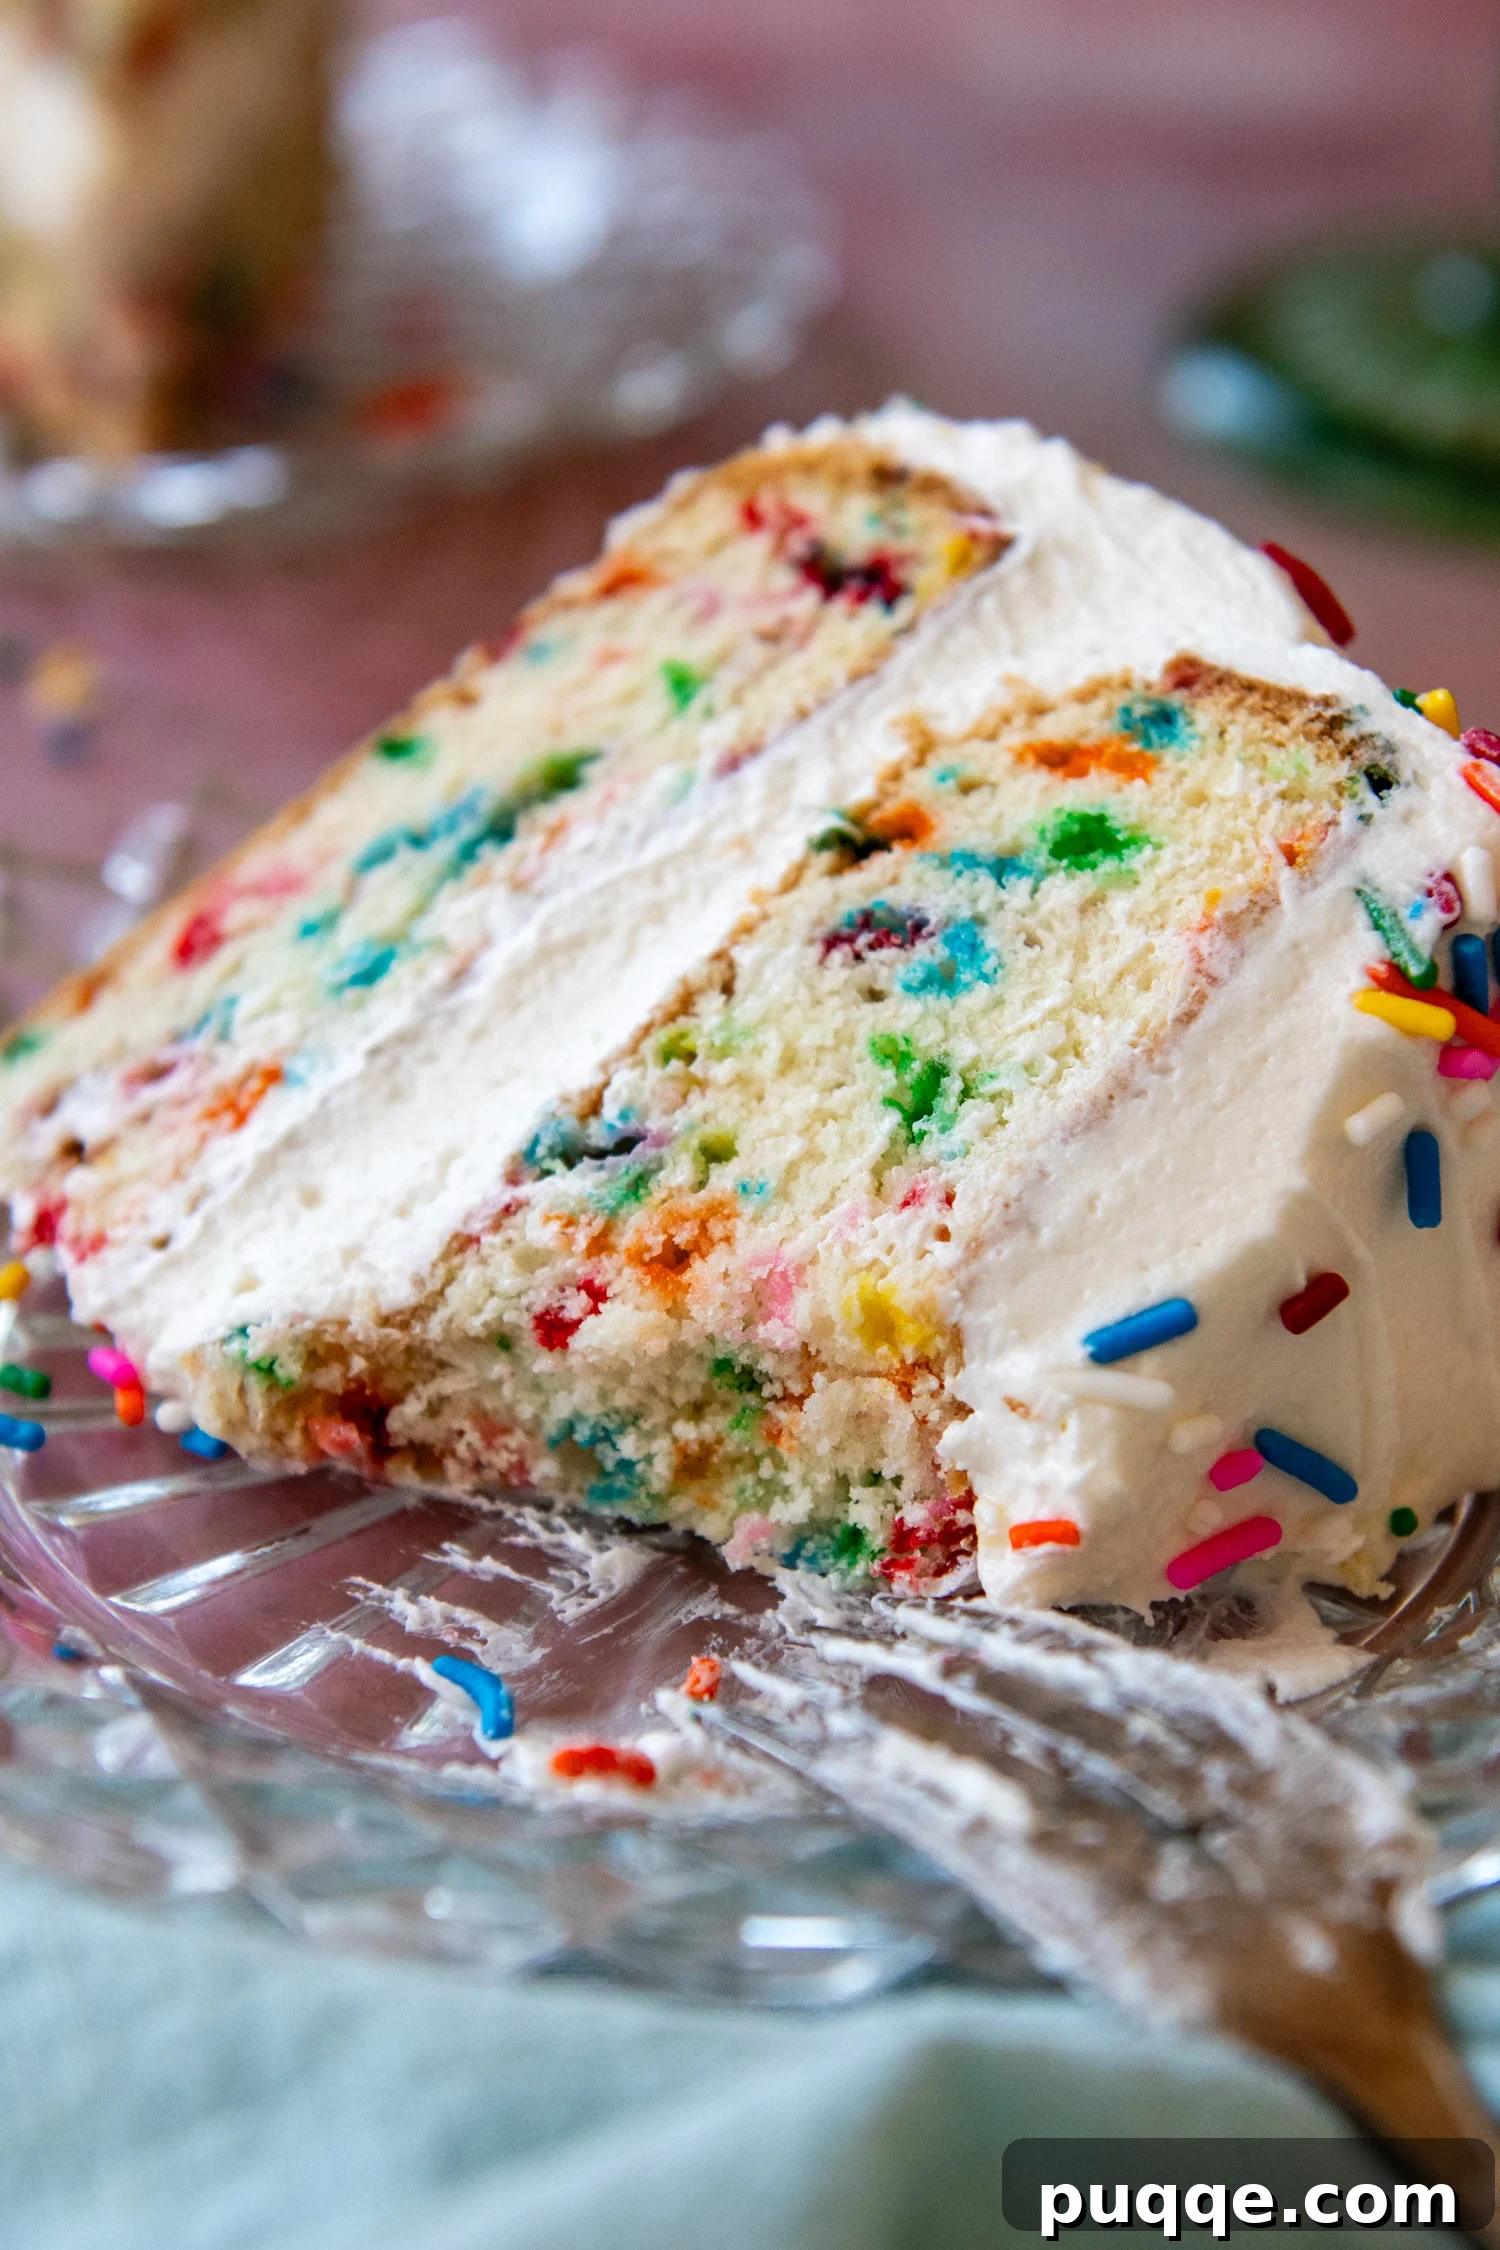
Crafting the Ultimate Gluten-Free Funfetti Cake with Ease
As a proud child of the 80s, I vividly remember the confetti cake mix craze. There was nothing I wanted more for my birthday than those vibrant, sprinkle-filled layers. Decades later, the longing for that classic funfetti joy never truly faded, especially when faced with the limitations of a gluten-free diet. The feeling of “food envy” at parties was a familiar companion.
But what’s a girl to do? I decided to take matters into my own hands and create a homemade gluten-free funfetti cake that isn’t just “good for gluten-free” but genuinely better than those nostalgic box mixes. And let me tell you, I poured my heart into perfecting this recipe.
My journey began by exploring my extensive gluten-free cake recipe collection to find the ideal foundation. I knew I wanted a cake with a distinctly creamy vanilla flavor and the quintessential qualities of a classic white cake: soft, fluffy, light, and perfectly white. MamaGourmand’s classic GF white cake recipe proved to be the perfect starting point, with countless glowing testimonials confirming its success.
To transform this excellent base into the best rainbow funfetti cake, I incorporated several of my tried-and-true gluten-free baking techniques. First, using melted butter instead of softened butter is a game-changer. This method allows the fat to more effectively coat the gluten-free starches, resulting in a cake that’s incredibly moist and tender, rather than dry and crumbly. Secondly, a slightly longer beating time for the batter, followed by a crucial resting period before baking, helps to build out the cake’s structure. This prevents those frustrating collapsed layers and ensures a beautifully risen, airy crumb. However, there’s one vital task that still falls to you before the celebration begins.
If this delicious creation is destined to be a birthday cake, you absolutely *must* inquire about the guest of honor’s frosting preference. Are they firmly team white cake with fluffy white buttercream frosting, or do they prefer the contrast of white cake paired with rich homemade chocolate frosting? While I wouldn’t turn down a slice of either, everyone has a strong preference. Seriously, just ask! A personalized touch makes all the difference. 🙌
Essential Ingredients for a Perfect GF Funfetti Cake
Understanding the role of each ingredient is key to successful gluten-free baking. Here’s a closer look at the components that make this funfetti cake truly special:
- Gluten-Free All-Purpose Flour Blend: I wholeheartedly recommend Cup4Cup GF flour blend, especially for cakes. Its specific formulation, which includes a significant amount of cornstarch, mimics the texture and light crumb typically achieved with traditional cake flour. This blend is exceptional for creating a tender and delicate cake. While other blends can be used, results may vary, so sticking with Cup4Cup for this recipe is highly advised for optimal texture.
- Melted Butter: This is a critical technique for gluten-free cakes. Unlike wheat flour, which readily absorbs fats, gluten-free flours behave differently. By using melted butter, we ensure the fat is evenly distributed and coats the individual starch particles. This keeps the fat and moisture locked into the starches, preventing a dry or crumbly cake and instead yielding a wonderfully moist crumb. Ensure the melted butter is cooled to room temperature before incorporating it to avoid cooking the egg whites prematurely.
- Whole Milk: The higher fat content in whole milk contributes significantly to the cake’s moistness and rich flavor. If you need a dairy-free alternative, opt for a full-fat plant-based milk like cashew milk or a rich almond milk to maintain the desired moisture level and creamy texture. Avoid thin, watery milk alternatives as they can compromise the cake’s structure and moistness.
- Room Temperature Egg Whites: Starting with room temperature ingredients is a golden rule in baking, and it’s particularly important for gluten-free recipes. Room temperature egg whites, along with milk, emulsify much more effectively with the other ingredients, creating a smooth, uniform batter. This leads to a more consistent rise and a finer crumb in the finished cake. Plan ahead and let your eggs and milk sit out on the counter for at least 45 minutes before you begin mixing.
- Gluten-Free Rainbow Sprinkles: These are what transform a delicious vanilla cake into a joyful funfetti masterpiece! Always double-check the ingredient labels to ensure your chosen brand of sprinkles is certified gluten-free and safe for your dietary needs. For the best visual effect and to prevent color bleeding into the batter, use classic “jimmie” style sprinkles or long, thin sprinkles. Avoid the small, round, ball-shaped nonpareil sprinkles if mixing into the batter, as their colors tend to bleed during baking, which can tint your beautiful white cake an undesirable shade of pink or grey. Nonpareils are perfect for decorating the outside, but not for folding into the batter.
Let’s Bake This Gluten-Free Funfetti Cake Together!
(Below, you’ll find step-by-step photos and detailed instructions to guide you through the process. For precise ingredient amounts and the full printable recipe card, please scroll down further.)
Whipping Up the Super Simple Cake Batter
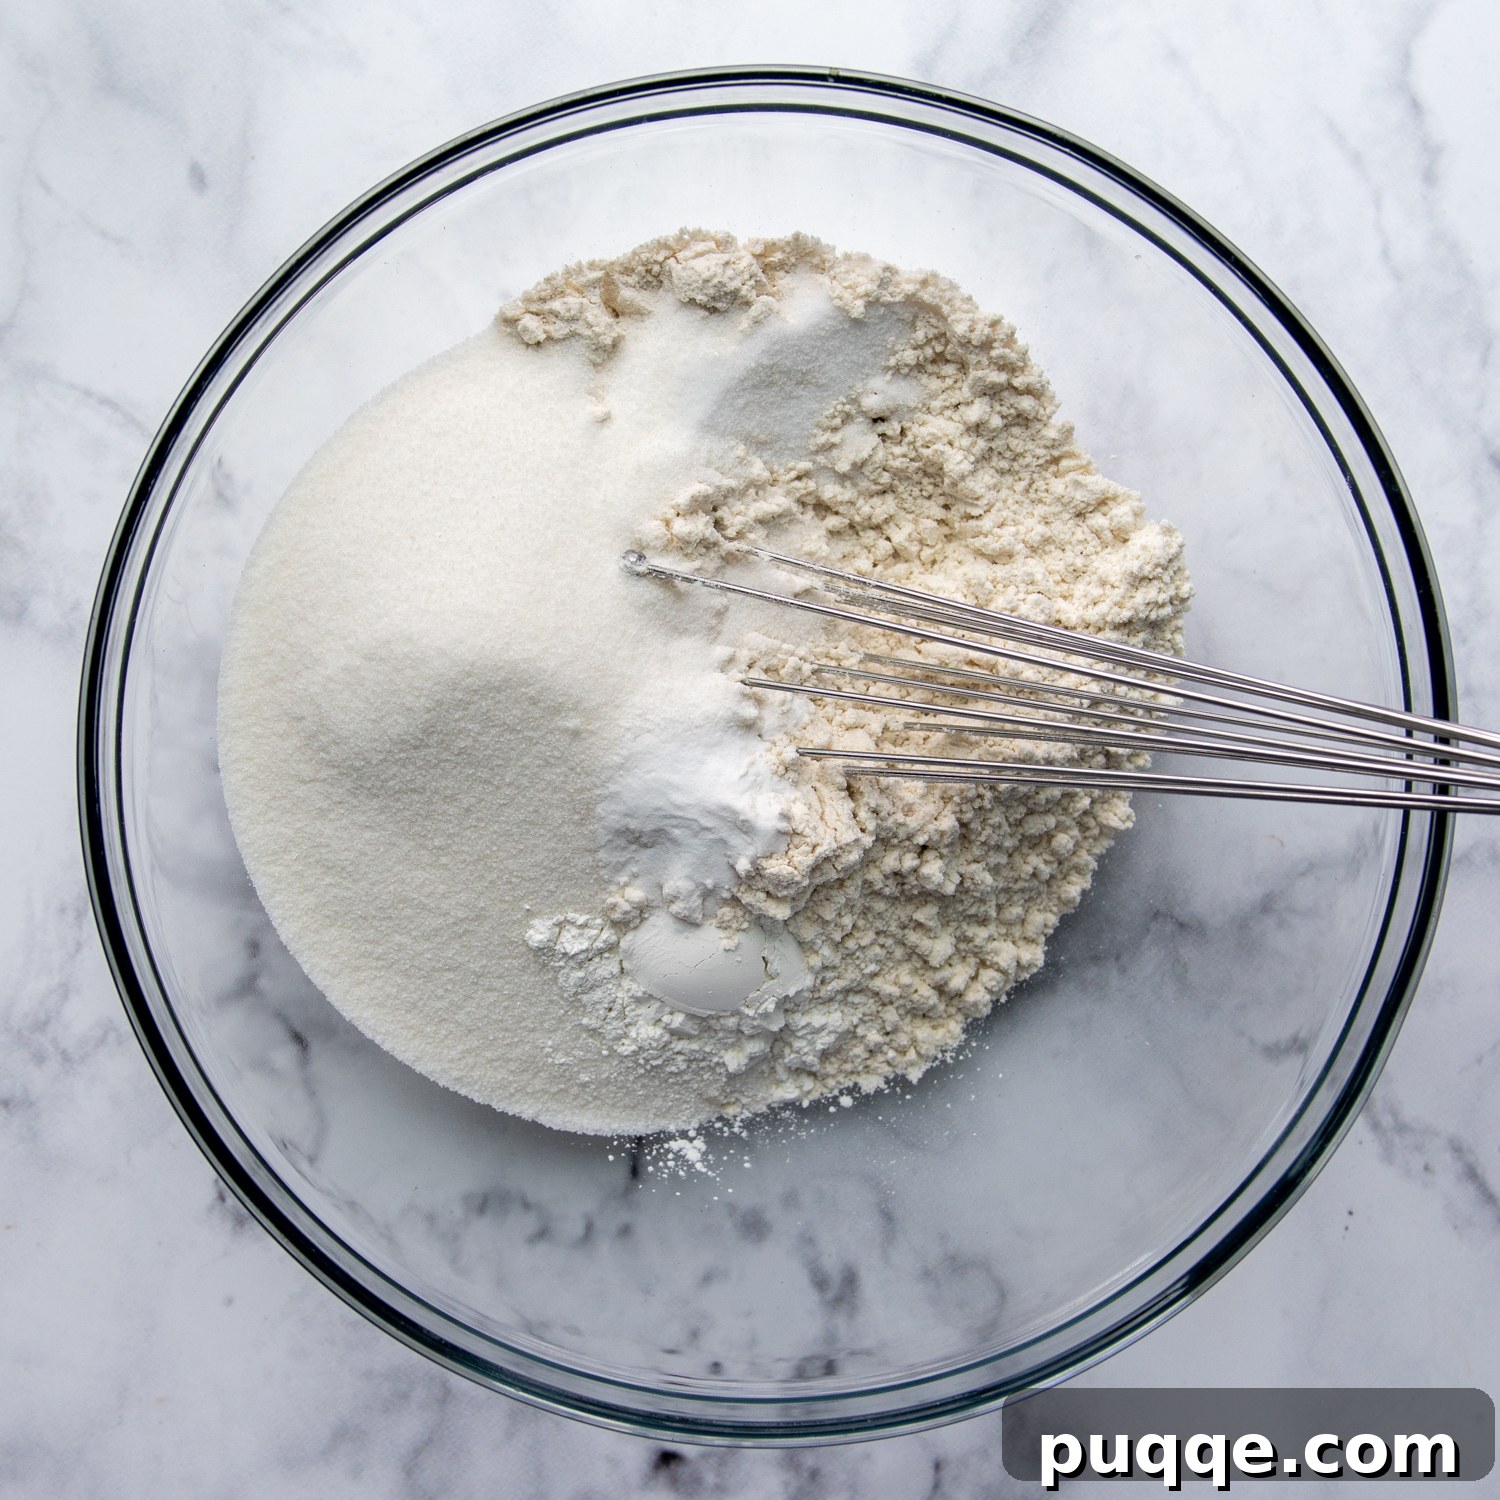
Start by preparing your dry ingredients. In a large mixing bowl, or the bowl of a stand mixer fitted with the paddle attachment, whisk together your gluten-free all-purpose flour, granulated sugar, baking powder, baking soda, and salt. Blend them on low speed until thoroughly combined. Yes, you read that correctly – this gluten-free funfetti cake recipe calls for a generous 1 tablespoon of baking powder! Gluten-free starches are naturally a bit heavier than wheat flour, so this extra lift is essential for achieving that light, lofty, and airy texture we’re aiming for.
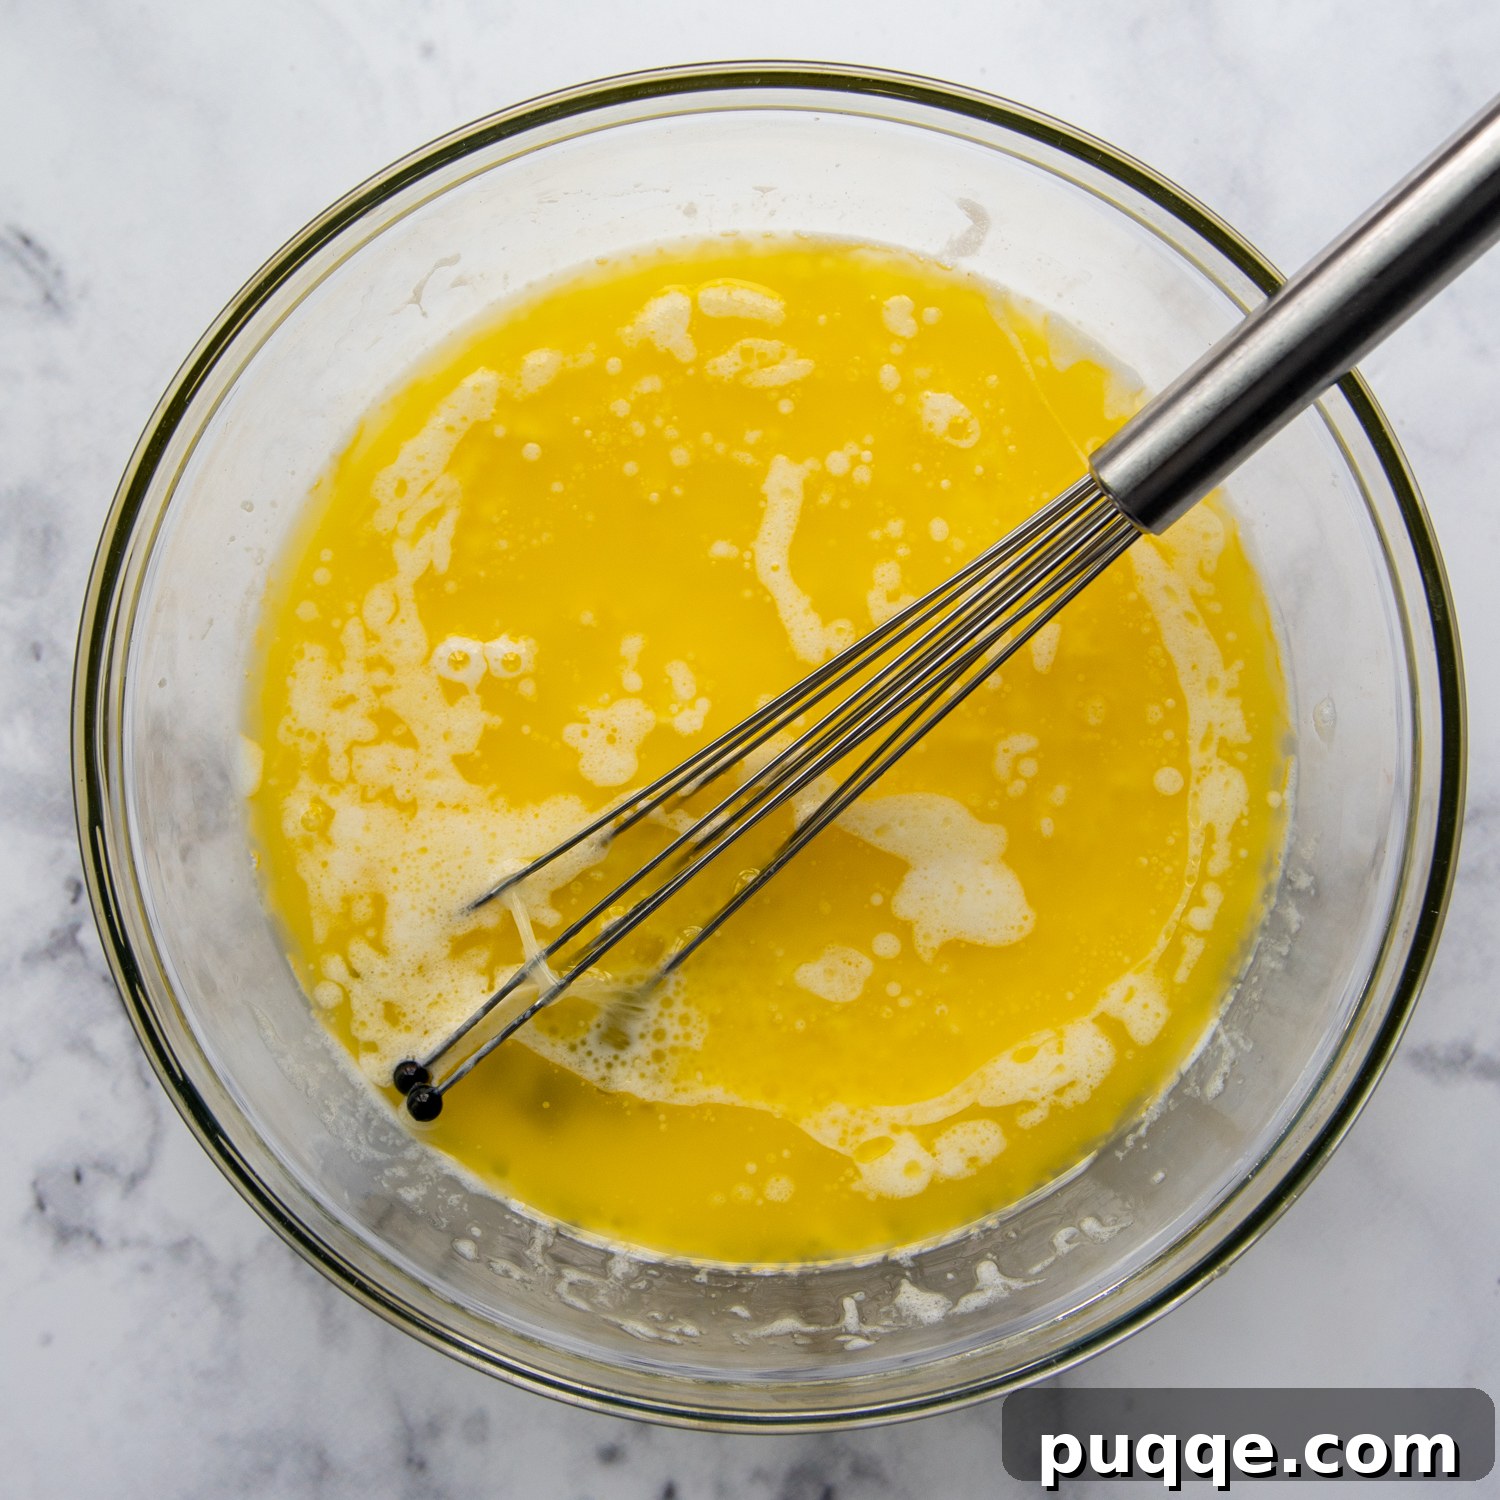
Next, prepare your liquid ingredients. In a separate bowl, whisk together the room temperature whole milk, egg whites, and vanilla extract. Crucially, make sure your melted butter has cooled completely to room temperature before adding it to this mixture. Whisk everything together until well combined.
Mastering the Mixing Technique for Gluten-Free Batter
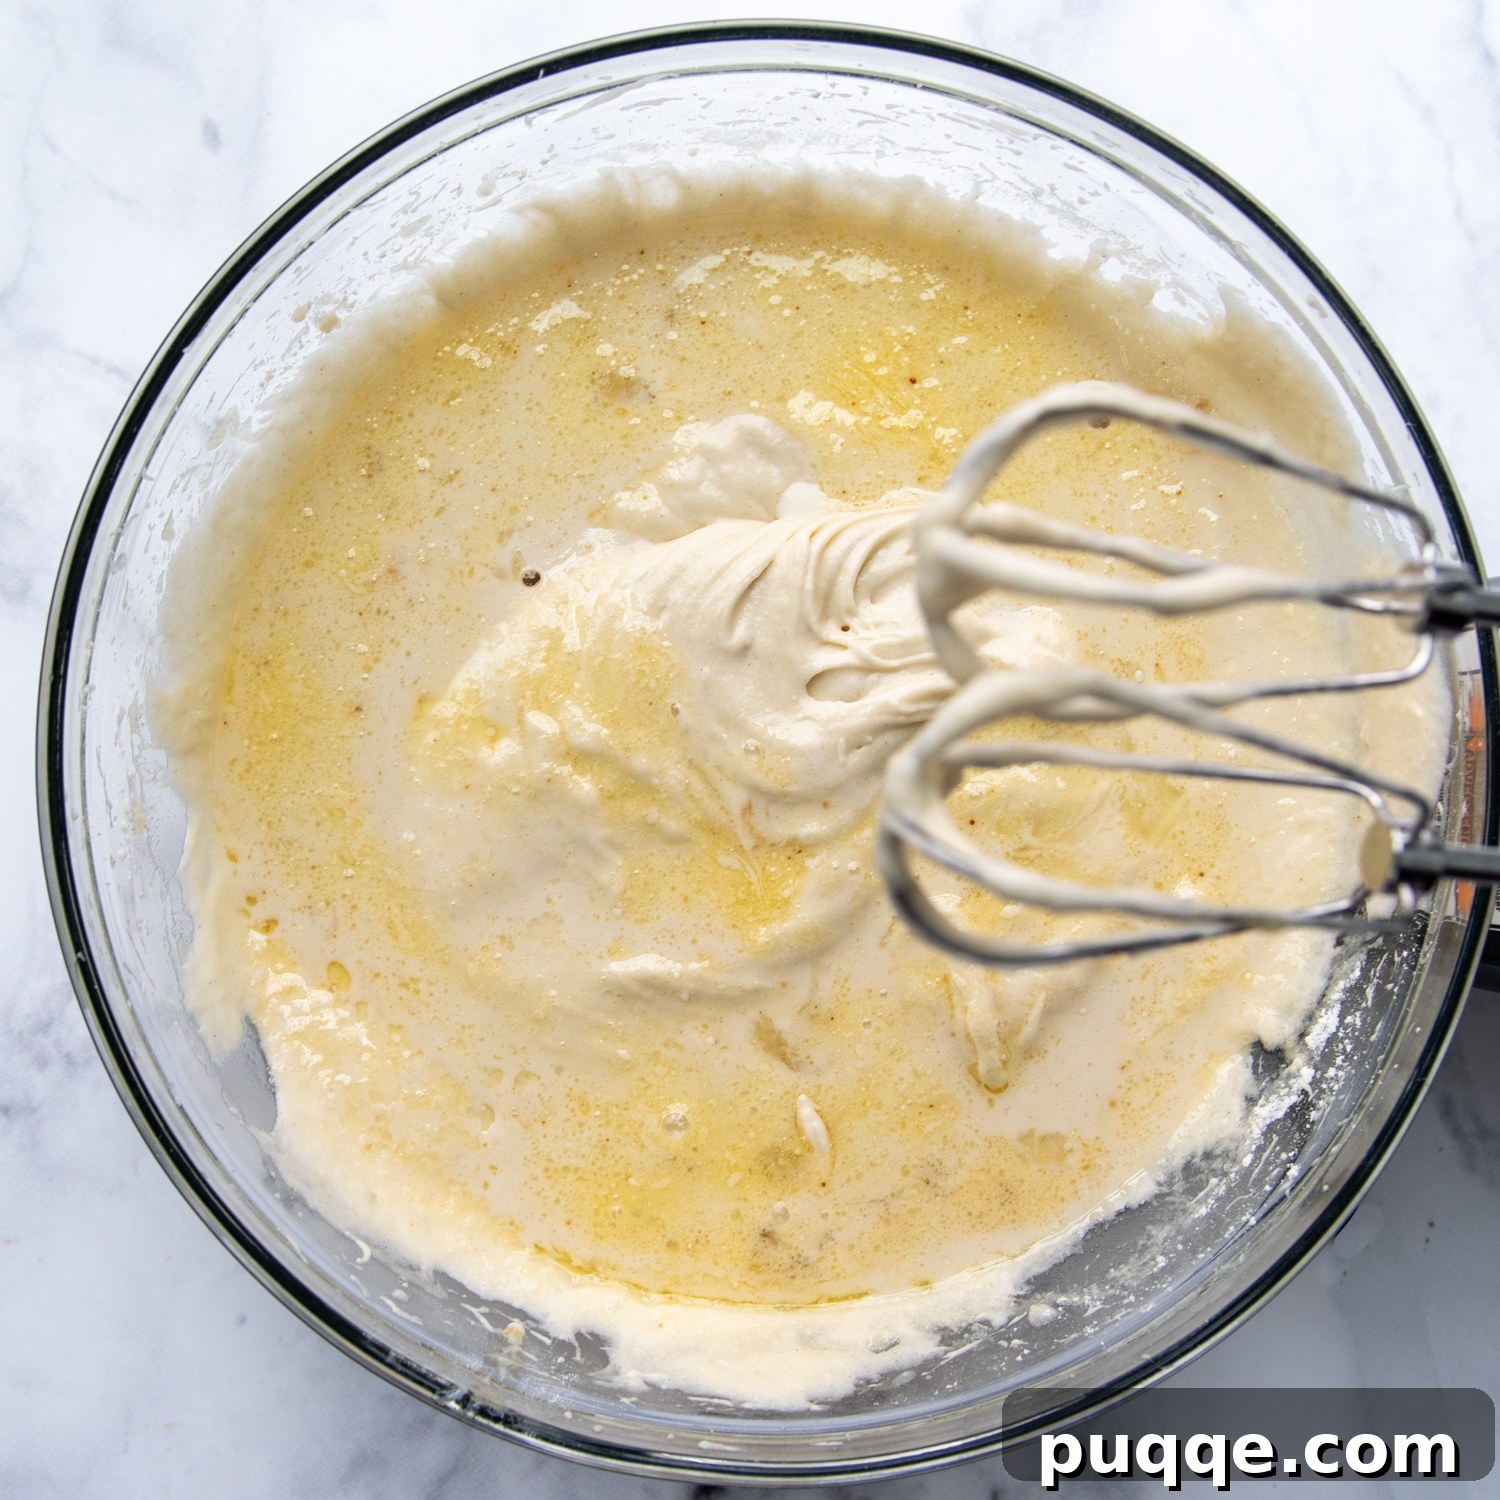
Now for the unique mixing technique that yields an exceptionally tender gluten-free cake. Pour *almost* all of your liquid ingredients into the bowl with the dry ingredients, reserving about 1/2 cup of the liquid mixture. Begin beating the batter on low speed to moisten everything, then increase the speed to medium and beat for a full 2 minutes. During this time, you’ll observe the batter becoming noticeably paler and fluffier. After 2 minutes, pour in the remaining reserved liquid and continue beating for an additional minute. One of the best aspects of gluten-free baking is that you don’t have to worry about overmixing! Since there’s no gluten to develop, you can’t risk the cake becoming tough. In fact, extended mixing actually helps to aerate and lighten gluten-free batters, contributing to a more tender and voluminous final product.
The Most Important Part – Adding the Sprinkles!
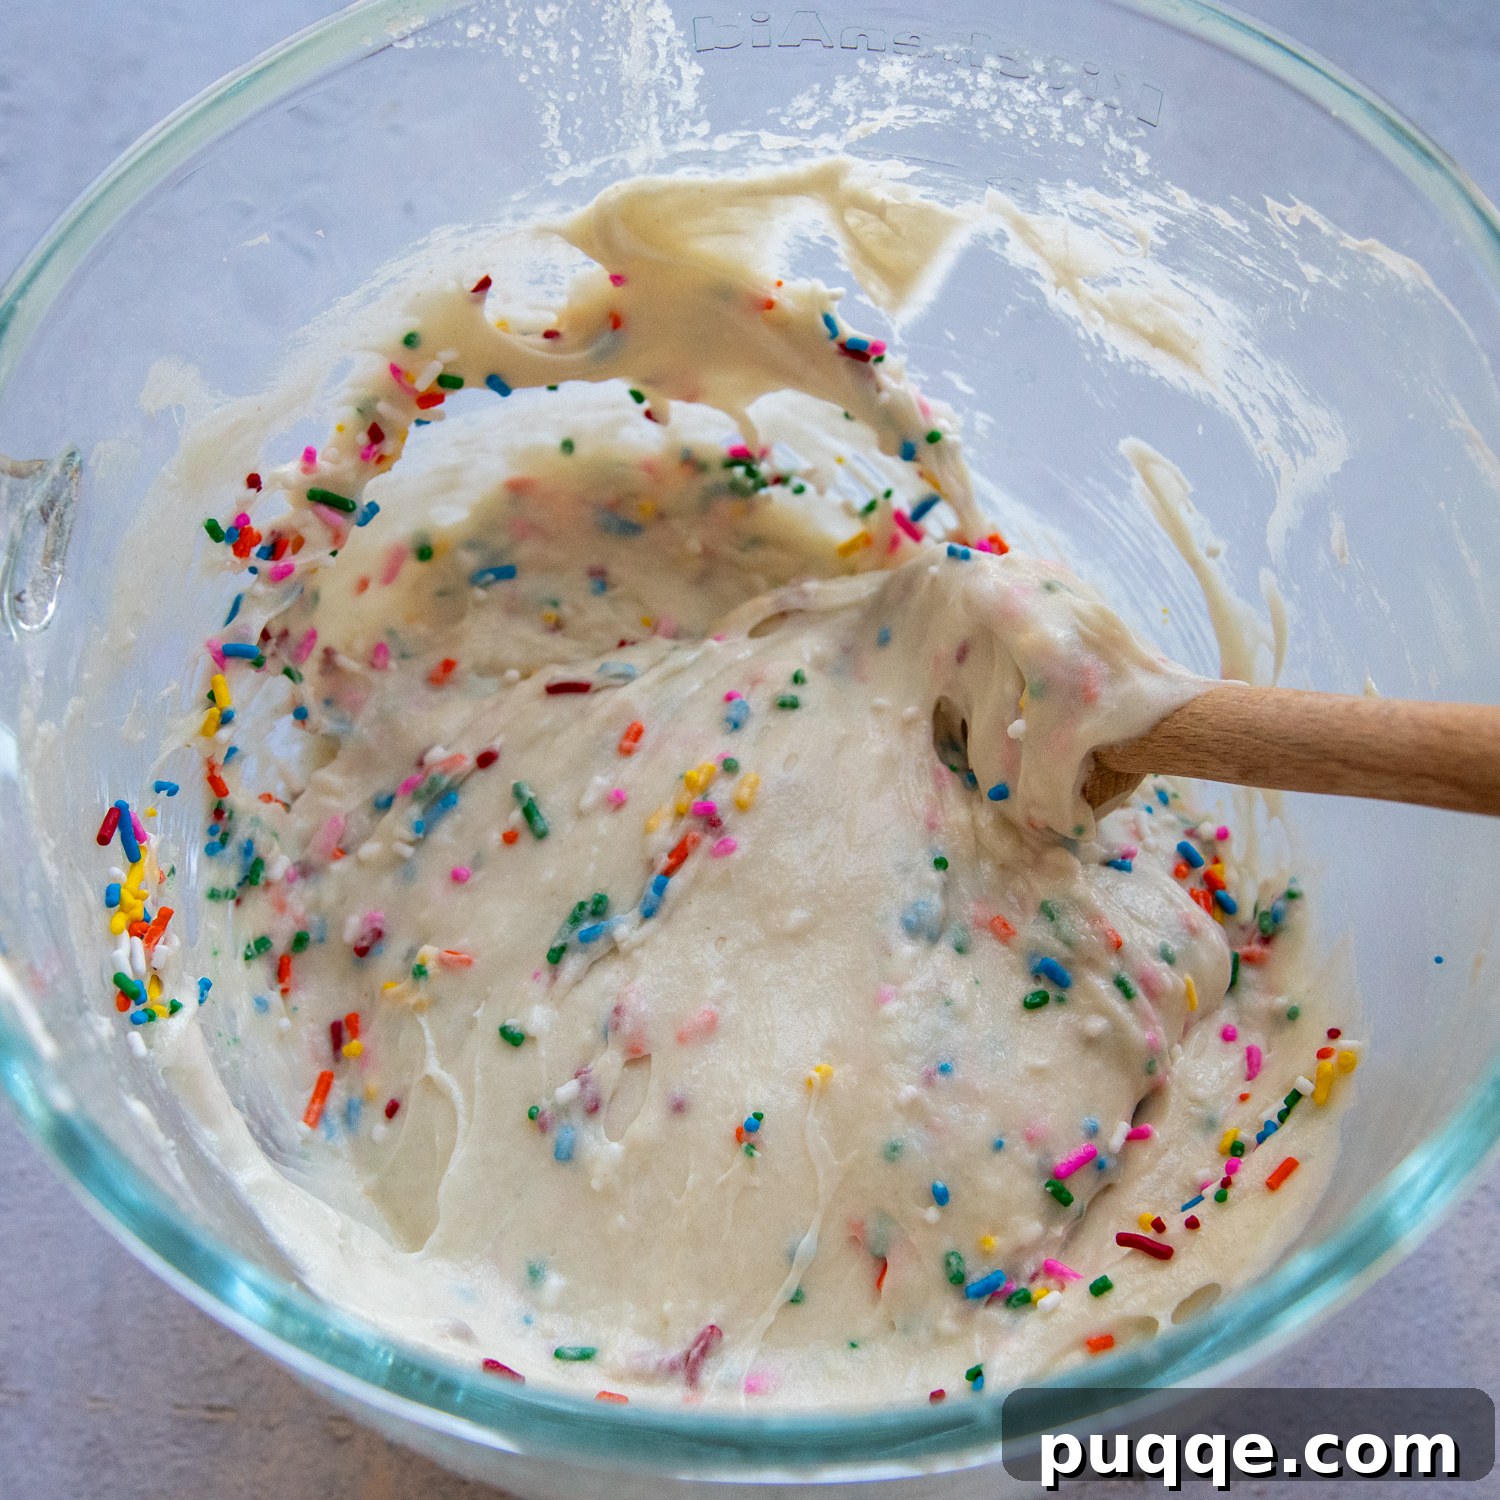
It’s time for the fun to begin! Gently fold in your gluten-free rainbow sprinkles. If you’re using the recommended Cup4Cup GF flour, you might notice the batter has a slightly stiffer, gummier consistency due to the cornstarch content. Don’t be alarmed or concerned; this is perfectly normal and contributes to the cake’s structure. Once baked, it will magically transform into that wonderfully light and fluffy texture you desire.
Carefully divide the batter evenly between your two prepared 8-inch round cake pans. This next step is crucial for achieving perfectly lofty, even layers: let the batter rest in the pans for 15 minutes while your oven preheats. This resting period allows the gluten-free flours to fully hydrate and absorb the liquids, preventing dense cake layers that might sink in the middle. After resting, bake for approximately 25 minutes. If you opt for 9-inch cake pans, your baking time will be slightly shorter, so start checking for doneness around 23 minutes. The cakes are ready when a toothpick inserted into the center comes out clean and the tops are golden brown.
Frosting Your Gluten-Free Funfetti Cake Like a Pro
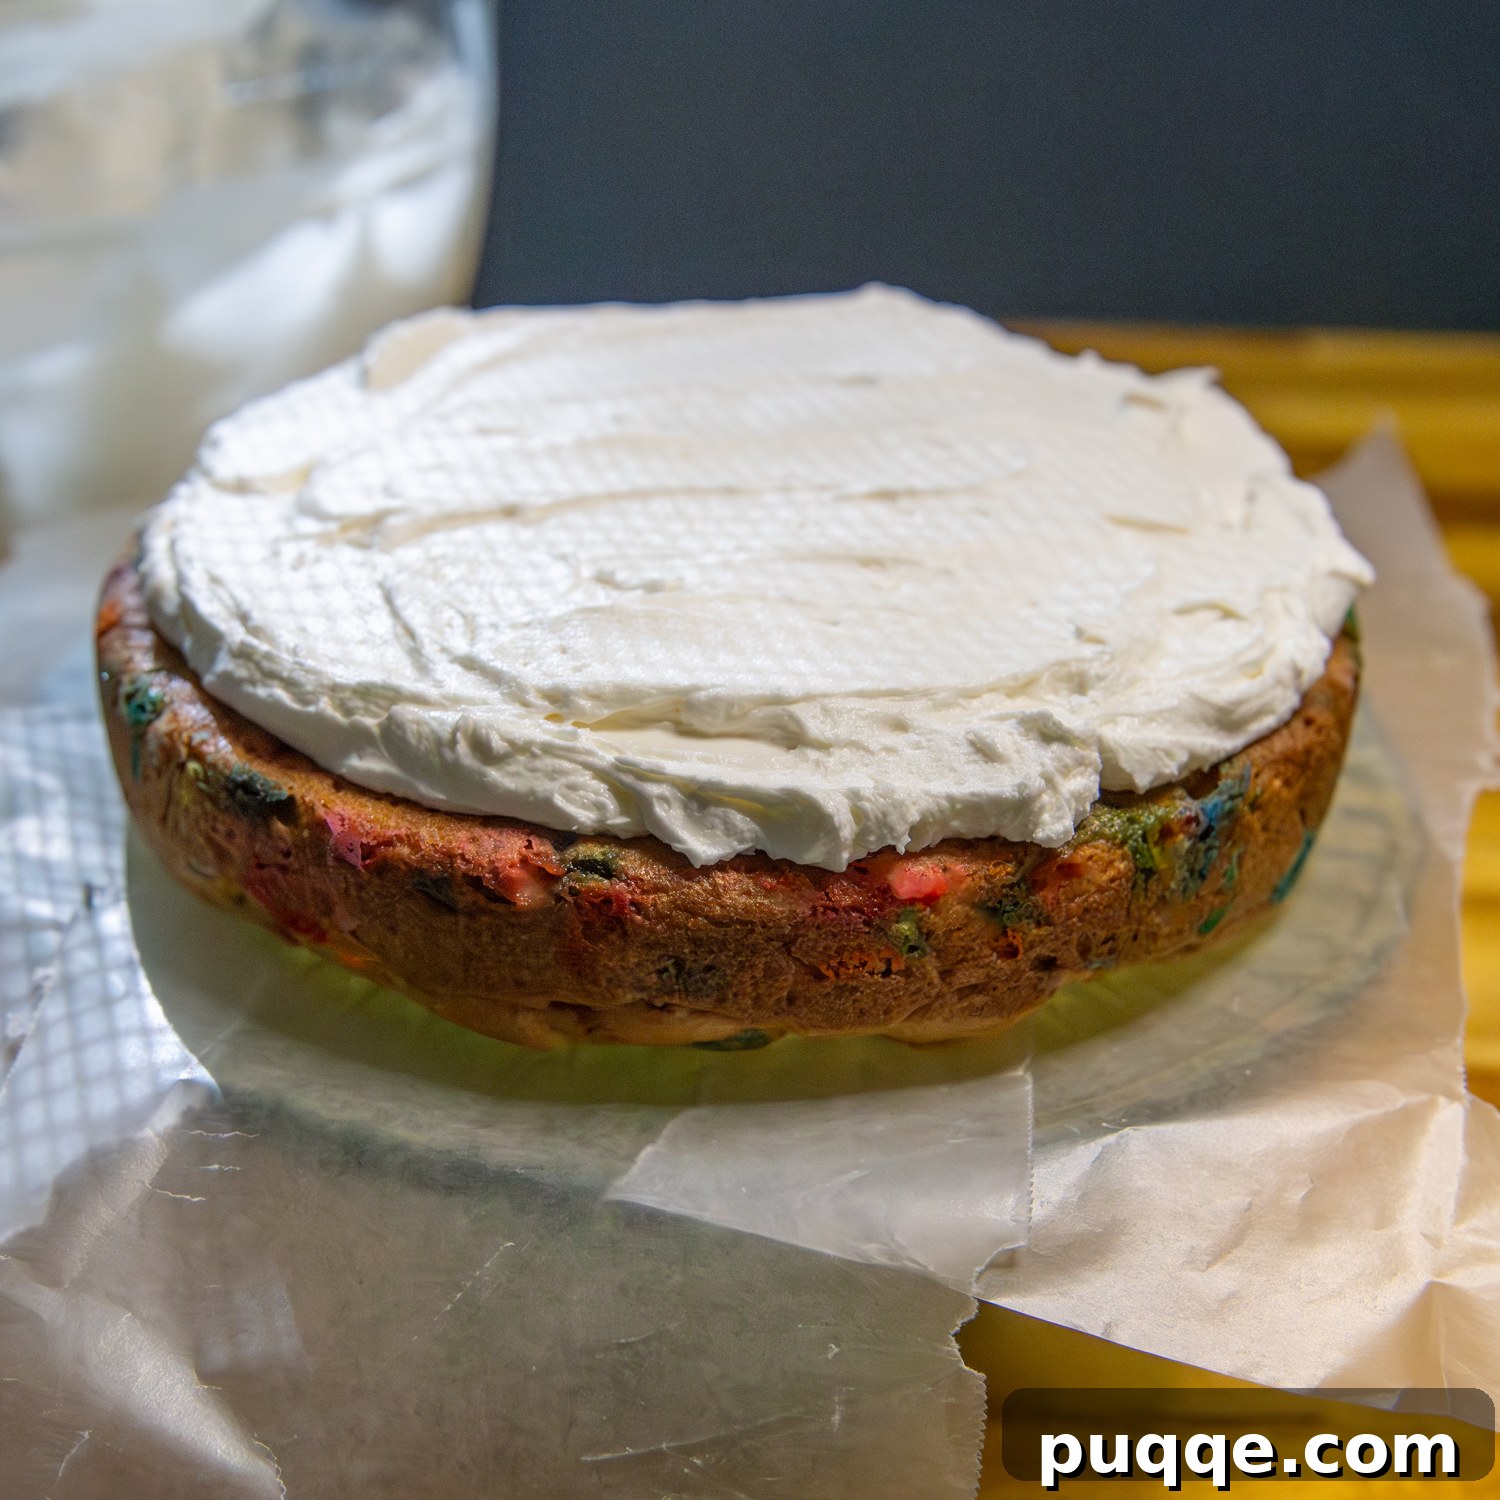
Once your cake layers are completely cooled (this is vital to prevent melting frosting!), it’s time to unleash your inner cake decorator. Here’s a simple trick for clean, professional-looking frosting: Place your first cake layer on your serving platter. Then, tuck strips of waxed paper or parchment paper underneath the edges of the cake, extending all the way around. These strips will catch any excess frosting, keeping your platter spotless. Spread a generous, even layer of your favorite frosting (vanilla buttercream is highly recommended!) on top of the first layer. Carefully place the second cake layer on top, then proceed to frost the top and sides of the entire cake. Using an offset spatula makes this task incredibly easy and smooth; it’s truly one of my most cherished kitchen tools!
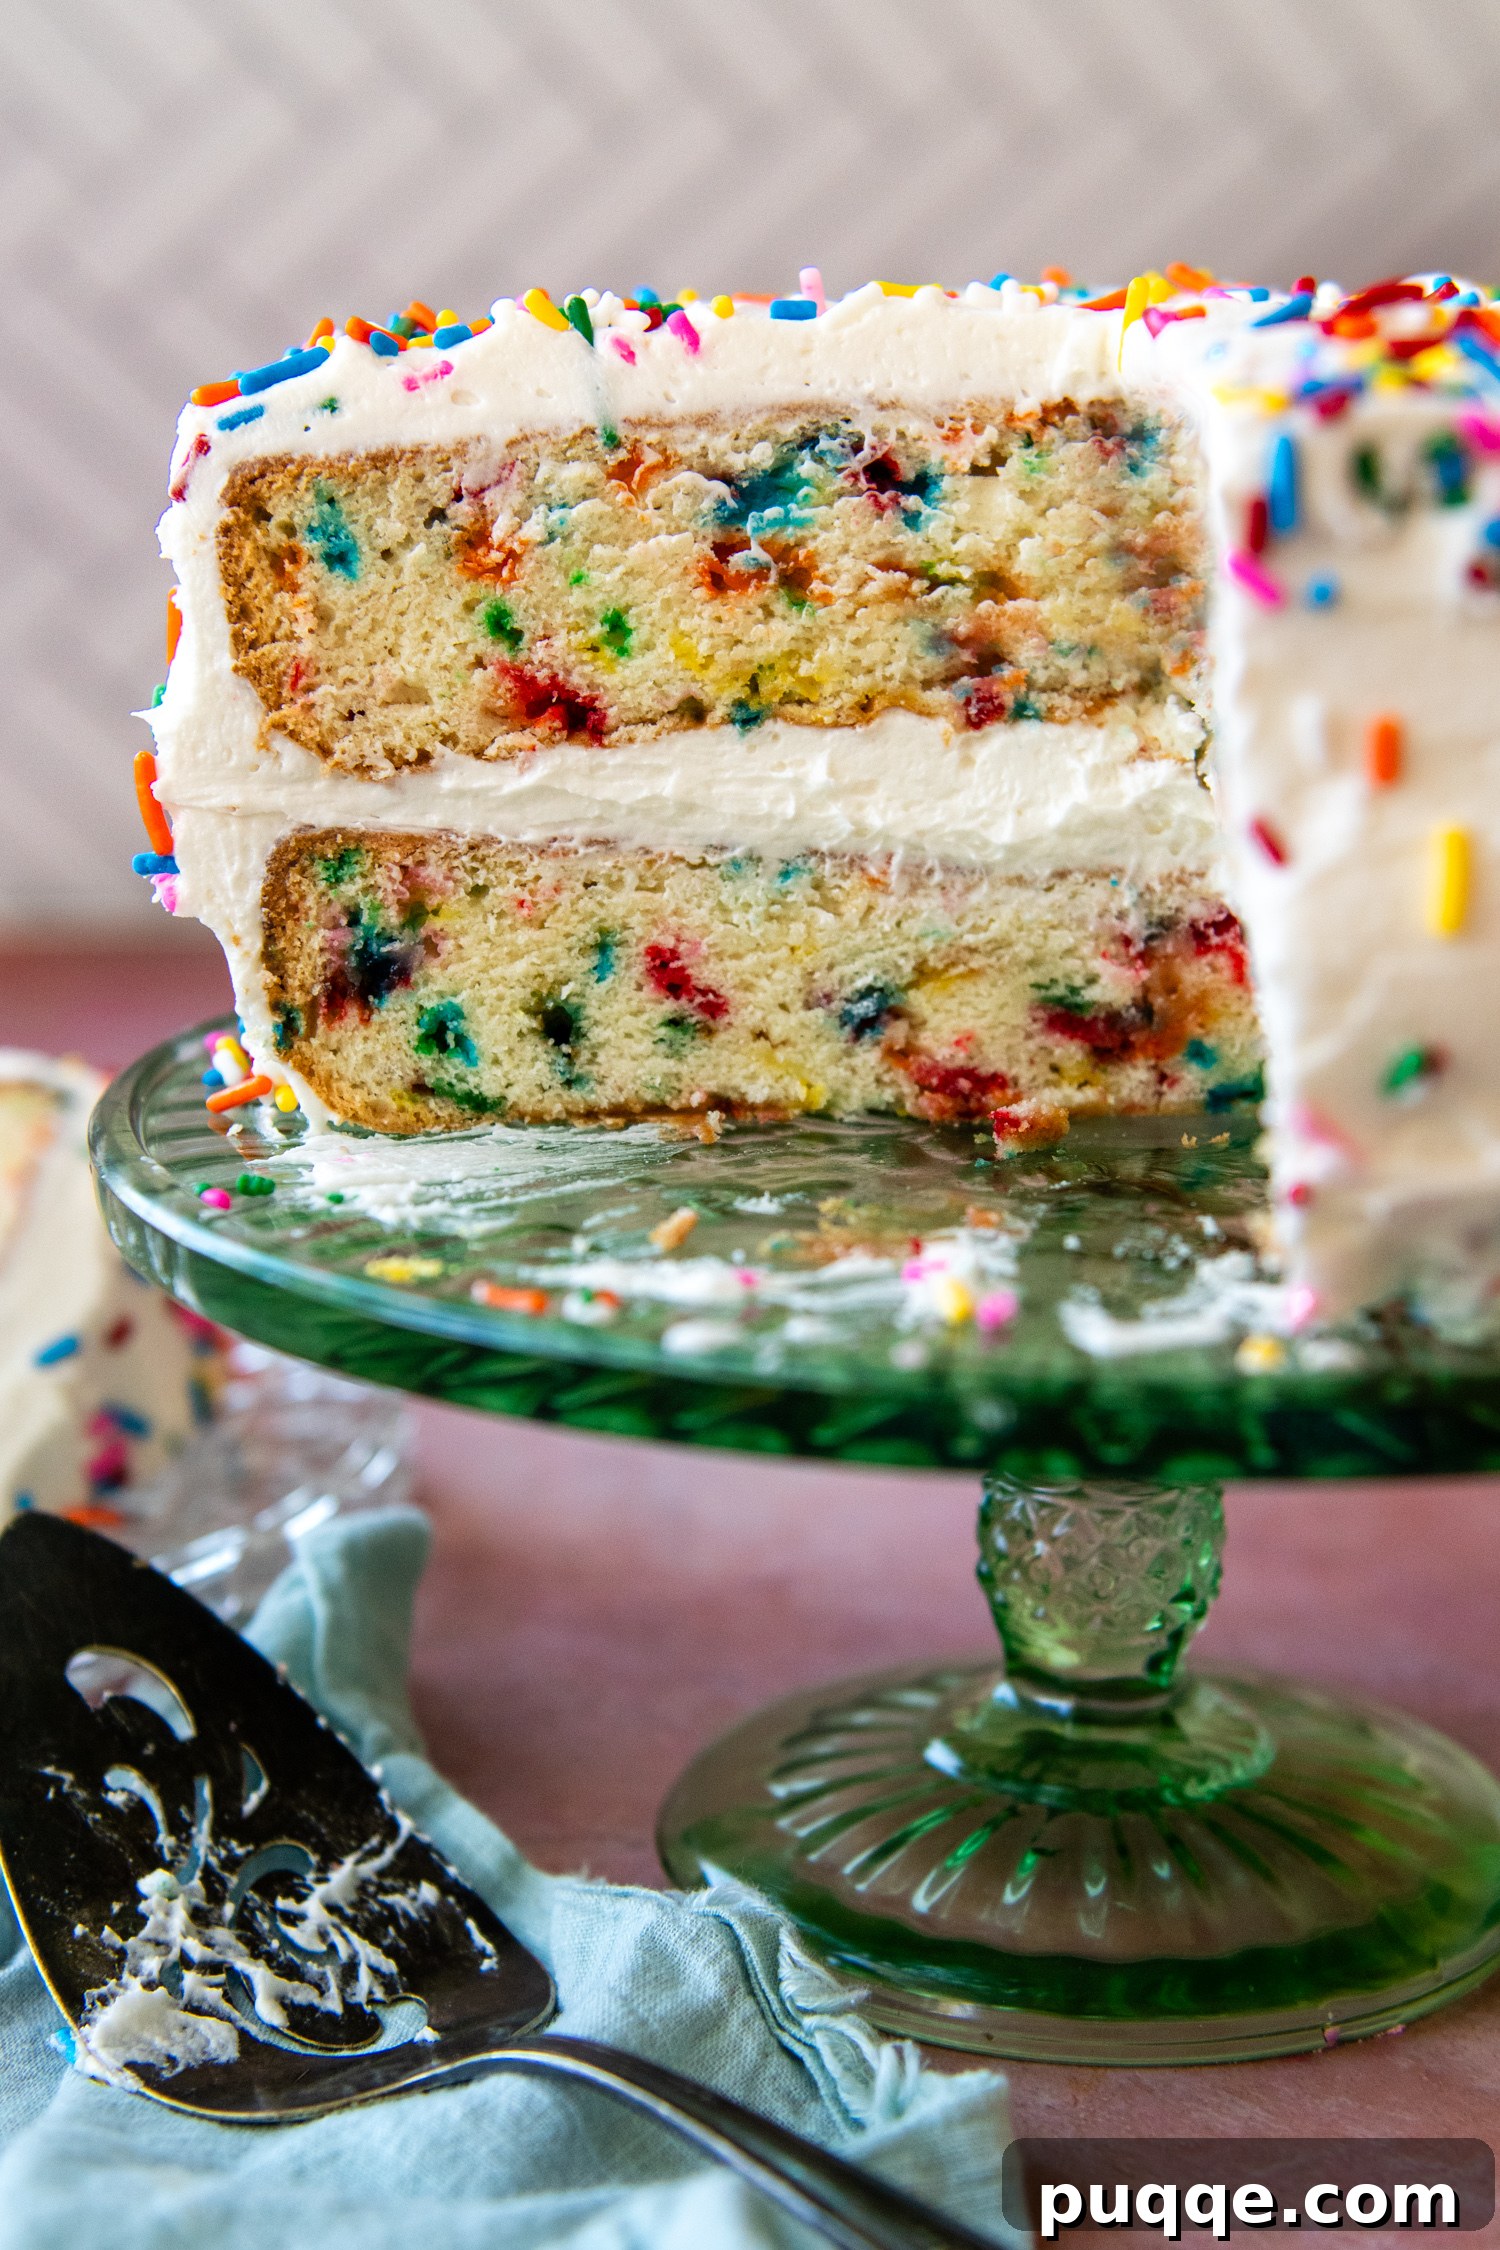
For that extra festive touch, decorate your frosted cake with a generous scattering of additional sprinkles on both the top and sides. Embrace the joyful mess—yes, you will inevitably have sprinkles everywhere, but it’s all part of the fun! Once your masterpiece is adorned, carefully pull away the waxed paper strips from underneath the cake. You’ll be left with a beautifully frosted cake and a perfectly clean serving platter, ready to impress.
Cake Pan Options and Smart Baking Tips
This recipe is incredibly versatile, allowing you to adapt it to various pan sizes for different occasions. Here are some options and tips to ensure perfect results every time:
- For Classic Layer Cakes: To achieve beautifully thick and impressive cake layers, I highly recommend using two 8-inch round cake pans. This is the ideal size for the recipe as written, yielding substantial slices perfect for celebrations.
- Using 9-inch Pans: If 9-inch round cake pans are what you have on hand, they can certainly be used. Be aware that the cake layers will be slightly thinner due to the larger surface area. Adjust your baking time accordingly, checking for doneness 2-3 minutes earlier than the suggested time for 8-inch pans.
- Making a Funfetti Sheet Cake: For a more casual gathering or larger crowd, transform this recipe into a delightful sheet cake. Simply pour the prepared batter into a greased 9×13-inch baking pan. Allow it to rest for the crucial 15 minutes to hydrate the flour, then bake for 30-35 minutes, or until a toothpick inserted into the center comes out clean. When baking gluten-free cakes, it’s often better to err on the side of slightly over-baking rather than under-baking, as this helps prevent the layers from deflating in the center.
- Funfetti Cupcakes: Who can resist a festive cupcake? This batter works beautifully for cupcakes too. For baking instructions, you can refer to my guide on homemade gluten-free vanilla cupcakes. Fill your cupcake liners about two-thirds full to allow for a good rise without overflowing. Cool them completely on a wire rack before spreading or piping on your favorite frosting. Cupcakes are perfect for portion control and easy serving at parties!
Regardless of the pan you choose, always remember to properly prepare your pans by greasing and flouring (with GF flour!) or lining with parchment paper to prevent sticking and ensure easy release of your precious cake layers.
Expert Tips for Keeping Gluten-Free Cake Layers Exceptionally Moist and Fluffy
Gluten-free baking can sometimes feel like an entirely different science, and while it’s not inherently difficult, the rules definitely diverge from traditional baking. The goal is always to achieve a taste and texture that’s just as good, if not better, than the classic desserts you fondly remember. Here are some essential tips to keep your gluten-free cakes wonderfully moist and fluffy:
- Avoid Refrigeration Unless Absolutely Necessary: This is perhaps the most crucial tip for maintaining optimum texture. Refrigerating gluten-free cakes tends to compress their delicate crumb and dry them out significantly faster than traditional cakes. For the best flavor and texture, store and serve your gluten-free funfetti cake at room temperature. A covered cake stand or an airtight container will keep it fresh for up to 2-3 days.
- Always Frost Before Refrigerating or Freezing: If you absolutely must refrigerate or freeze your cake (for example, for make-ahead convenience or to serve later), ensure it is completely frosted first. The frosting acts as an insulating barrier, protecting the cake layers from drying out and locking in moisture. If you’ve refrigerated the cake, allow it to sit out at room temperature for a couple of hours before serving to let the cake soften and reach its ideal texture.
- Embrace Longer Beating Times and Resting Periods: Gluten-free starches, unlike wheat flour, require more time to fully absorb liquids. Therefore, beating the batter for a slightly longer duration than you might for a traditional cake helps to thoroughly incorporate all the ingredients and encourages better hydration. The subsequent resting period before baking is equally important; it gives the gluten-free flours ample time to fully hydrate and plump up, which is essential for building a stable, lofty structure and preventing those dreaded sunken centers. Think of it as allowing the cake’s internal architecture to set before it even hits the oven.
- Mind Your Ingredients’ Temperature: As mentioned earlier, using room temperature eggs and milk ensures better emulsification and a smoother batter, leading to a finer, more even crumb. Cold ingredients can cause the batter to curdle and affect the cake’s overall texture.
- Measure Precisely: Gluten-free baking demands accuracy. Use a kitchen scale to measure your flour for the most consistent results. Even slight variations in flour quantity can significantly impact the cake’s final texture.
Save This Irresistible Recipe to Your Pinterest Board!
Let’s be friends on Pinterest! I’m always sharing delicious and inspiring recipes!
Did you make this recipe? I love hearing from you! Leave a star rating and comment below the recipe card. Your feedback helps others discover amazing recipes, and I truly appreciate it from our community. You will always hear back from me! -Melissa
Soft, Moist Gluten-Free Funfetti Birthday Cake
 Melissa Erdelac
Pin
Rate
Remove Ads
Ingredients
- 8 tablespoons (113 g) unsalted butter, melted and cooled
- ⅔ cup (163 g) whole milk, room temperature
- 4 large egg whites, room temperature
- 2 teaspoons vanilla extract
- 2 cups (308 g) gluten free all purpose flour, I use and highly recommend Cup4Cup
- 1 ¼ cup (250 g) granulated sugar
- 1 tablespoon baking powder
- ½ teaspoon baking soda
- ½ teaspoon salt
- ½ cup gluten-free rainbow sprinkles, not nonpareils
- 1 batch fluffy buttercream frosting
Equipment
-
8 inch cake pans
-
Cup4Cup Gluten Free Flour
-
Offset Spatula
Instructions
-
Preheat your oven to 350ºF (175ºC) and position an oven rack in the middle. Generously spray two 8-inch round cake pans with cooking spray. Line the bottoms of the pans with parchment paper circles, then grease the parchment as well. This ensures your cakes release perfectly. Set the prepared pans aside.
-
First, melt the unsalted butter and allow it to cool completely to room temperature. This is crucial for proper batter consistency. Once cooled, whisk together the melted butter, whole milk, large egg whites, and vanilla extract in a medium bowl until thoroughly combined.8 tablespoons (113 g) unsalted butter, ⅔ cup (163 g) whole milk, 4 large egg whites, 2 teaspoons vanilla extract
-
In a large mixing bowl or the bowl of a stand mixer fitted with the paddle attachment, combine the gluten-free all-purpose flour, granulated sugar, baking powder, baking soda, and salt. Mix on low speed until all the dry ingredients are well combined. Add all *but* approximately ½ cup of the liquid mixture (eyeball this amount) to the dry ingredients. Begin beating on low speed until the ingredients are just moistened, then increase the speed to medium and beat for 2 minutes. The batter will become noticeably paler and fluffier. Pour in the remaining reserved liquid and beat for 1 minute longer. Finally, gently stir in the gluten-free rainbow sprinkles until evenly distributed.2 cups (308 g) gluten free all purpose flour, 1 ¼ cup (250 g) granulated sugar, 1 tablespoon baking powder, ½ teaspoon baking soda, ½ teaspoon salt, ½ cup gluten-free rainbow sprinkles
-
Divide the batter evenly between the two prepared cake pans. Allow the batter to rest in the pans for 15 minutes. This crucial resting period ensures the liquids are fully absorbed by the gluten-free flours, resulting in beautifully fluffy and even cake layers that won’t sink in the middle. For 8-inch pans, bake for 25-26 minutes. If you are using 9-inch pans, start checking for doneness around 23 minutes. The cakes are done when the tops are golden, and a toothpick inserted into the center comes out clean.
-
Once baked, allow the cake layers to cool in their pans for 10 minutes. After 10 minutes, carefully invert them onto a wire rack, remove the parchment paper, and let them cool completely. It’s essential that the cakes are entirely cool before you begin frosting them with your choice of fluffy vanilla buttercream or rich chocolate buttercream.1 batch fluffy buttercream frosting
Notes
Storing and Freezing Gluten-Free Cakes
Gluten-free cakes generally do not stay fresh as long as their gluten-containing counterparts due to the different starch structure. To ensure the best quality, if you don’t plan on freezing the cake, assemble and serve it within 24 hours of baking.
For make-ahead convenience, I frequently bake the cake layers in advance and freeze them until I’m ready to assemble with filling and frosting. Alternatively, an entire cake can be baked, frosted, and then frozen whole for future enjoyment.
Freezing Cake Layers: Once the cake layers are completely cooled, individually wrap each layer securely in several layers of plastic wrap. Transfer the wrapped layers to a gallon-sized freezer bag or an airtight container to prevent freezer burn. They can be frozen for up to 3 months. When you’re ready to use them, remove the desired layers from the freezer bag and thaw them, still wrapped, at room temperature for approximately 1 hour.
Freezing a Frosted Cake: Assemble and frost the entire cake as usual. Transfer the whole frosted cake to the freezer, uncovered, for about 30-60 minutes, or until the frosting is firm and solid to the touch. Once frozen, carefully wrap the entire cake securely with several layers of plastic wrap, making sure every surface is covered. Then, add an outer layer of aluminum foil for extra protection against freezer burn. The frosted cake can be frozen for up to 3 months. To thaw, transfer the wrapped cake to the refrigerator overnight. Once thawed in the fridge, carefully remove the plastic wrap and foil. Allow the cake to continue thawing at room temperature for another 5-6 hours before serving. This gradual thawing process helps maintain moisture and texture.