
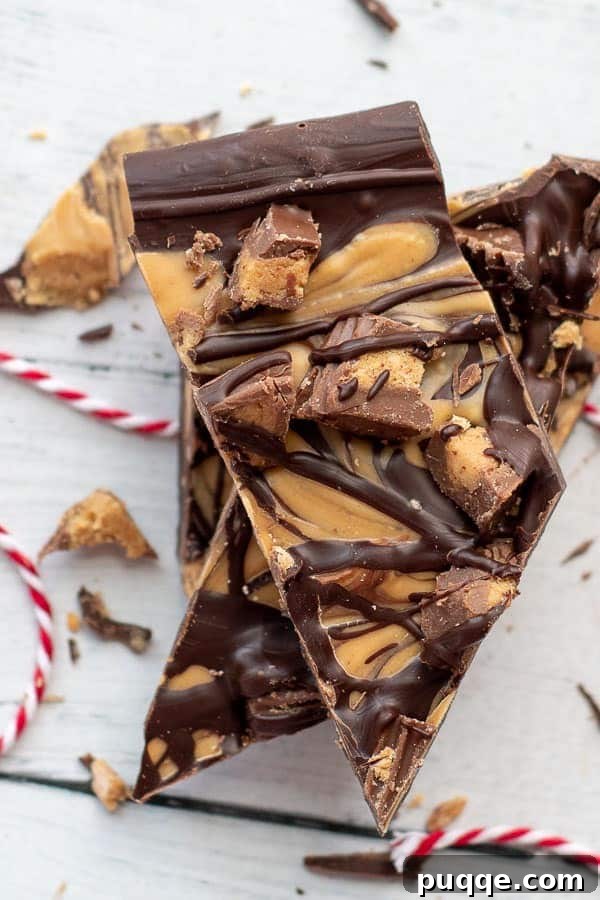
Craving a sweet indulgence that’s both effortless to make and naturally gluten-free? Look no further than this incredible Chocolate Peanut Butter Bark, famously known as Tiger Butter. Whether you’re preparing a special gluten-free Christmas treat, a quick homemade dessert for guests, or simply satisfying a sudden chocolate craving, this bark recipe is your perfect solution. It masterfully blends rich, melted chocolate with creamy peanut butter, swirled together and generously adorned with chopped peanut butter cups. The result is a stunning, glossy confection that delivers an irresistible crunch and flavor in every single bite.
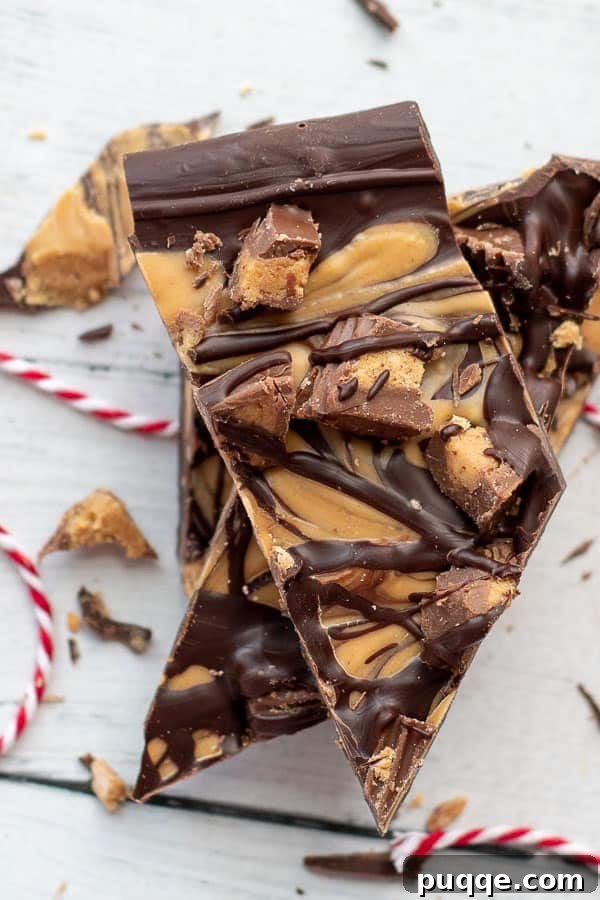
Effortless Gluten-Free Chocolate Bark: A Sweet Sensation for Every Occasion
Certain times of the year, and indeed, any time a sweet craving strikes, call for truly decadent chocolate candies. Valentine’s Day, Christmas, Easter, or even just a cozy movie night, provide the perfect excuse to whip up a batch of delicious bark or other no-bake treats. This homemade gluten-free chocolate bark stands out not only for its incredible flavor but also for its sheer simplicity. Requiring just three core ingredients and mere minutes of active preparation, it’s a dessert that almost magically comes to life in your kitchen.
If you’re a devoted peanut butter enthusiast – and let’s be honest, who isn’t a fan of the classic chocolate-peanut butter pairing, especially when Reese’s is involved? – then this family-favorite recipe is an absolute must-try. It holds a cherished spot alongside other beloved gluten-free delights in our household, right up there with fudgy flourless chocolate cookies and classic, bakery-style gluten-free chocolate chip cookies. This delightful bark perfectly complements any gluten-free holiday or celebration spread, offering a rich and satisfying crunch that appeals to everyone.
This irresistible GF chocolate peanut butter bark is created by swirling together velvety melted chocolate chips and creamy peanut butter chips. The magic truly happens with the generous scattering of chopped gluten-free Reese’s peanut butter cups on top, adding bursts of flavor and texture. If you consider yourself a true fanatic of the chocolate and peanut butter combination, you’ve undoubtedly landed in the right place. We understand the obsession!
For those who can’t get enough of this iconic duo, we highly recommend exploring our epic soft and chewy gluten-free peanut butter cookies, or indulging in another old-school classic: our mouth-watering no-bake chocolate peanut butter bars. Each recipe promises to deliver that comforting, nostalgic flavor you love, all while being completely gluten-free.
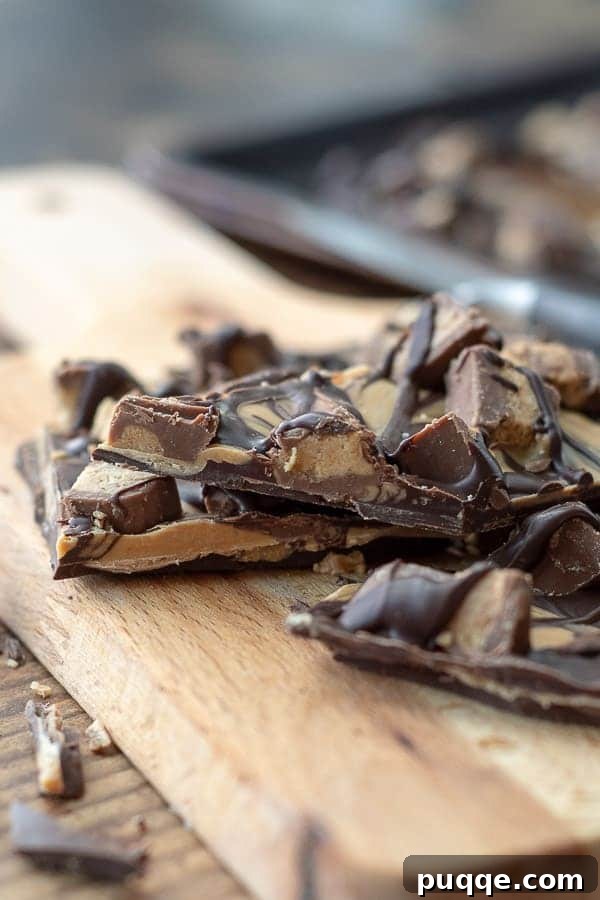
The Secret to Chocolate Bark That Snaps: Understanding Tempering
Creating truly excellent chocolate bark, especially a gluten-free version, starts with ensuring all your ingredients are safe and high-quality. We always recommend checking ingredient labels for gluten-free certification, and specific trusted brands are detailed in our full recipe card below.
While the concept of candy bark seems straightforward – simply melting chocolate – you might encounter common challenges such as unsightly white streaks, known as “bloom,” or chocolate that refuses to properly harden and snap. These issues often arise from incorrect melting temperatures, which affect the cocoa butter crystals within the chocolate.
Fortunately, there’s a simple, effective solution: tempering chocolate. Tempering involves carefully melting and cooling chocolate to specific temperatures that stabilize the cocoa butter crystals, resulting in a smooth, glossy finish that sets beautifully with a satisfying snap. Although the term “tempering” might sound like a professional pastry chef’s technique, it can be surprisingly easy to achieve right in your microwave. We’ll guide you through a foolproof microwave tempering method that ensures your Tiger Butter bark is always perfect, preventing bloom and guaranteeing that sought-after crispy texture.
Beyond its aesthetic appeal, properly tempered chocolate also boasts a superior mouthfeel and a longer shelf life at room temperature, making it ideal for gifting or storing. It means your delicious homemade bark won’t melt too quickly in your hands and will maintain its luxurious texture.
Crafting Your Tiger Butter Bark: A Step-by-Step Visual Guide
(The section below provides step-by-step photos and detailed instructions for visual learners. For precise ingredient quantities and the complete recipe, please scroll down to the comprehensive recipe card.)
1. Preparation is Key for Success
Begin by thoroughly preparing your workspace. Line a sturdy baking pan or sheet with either wax paper or parchment paper, ensuring it lies flat. Next, measure out your chocolate chips and peanut butter chips, and finely chop your gluten-free peanut butter cups. Having all your components ready before you start melting is crucial for a smooth process. Now, you’re perfectly poised to begin the melting phase!
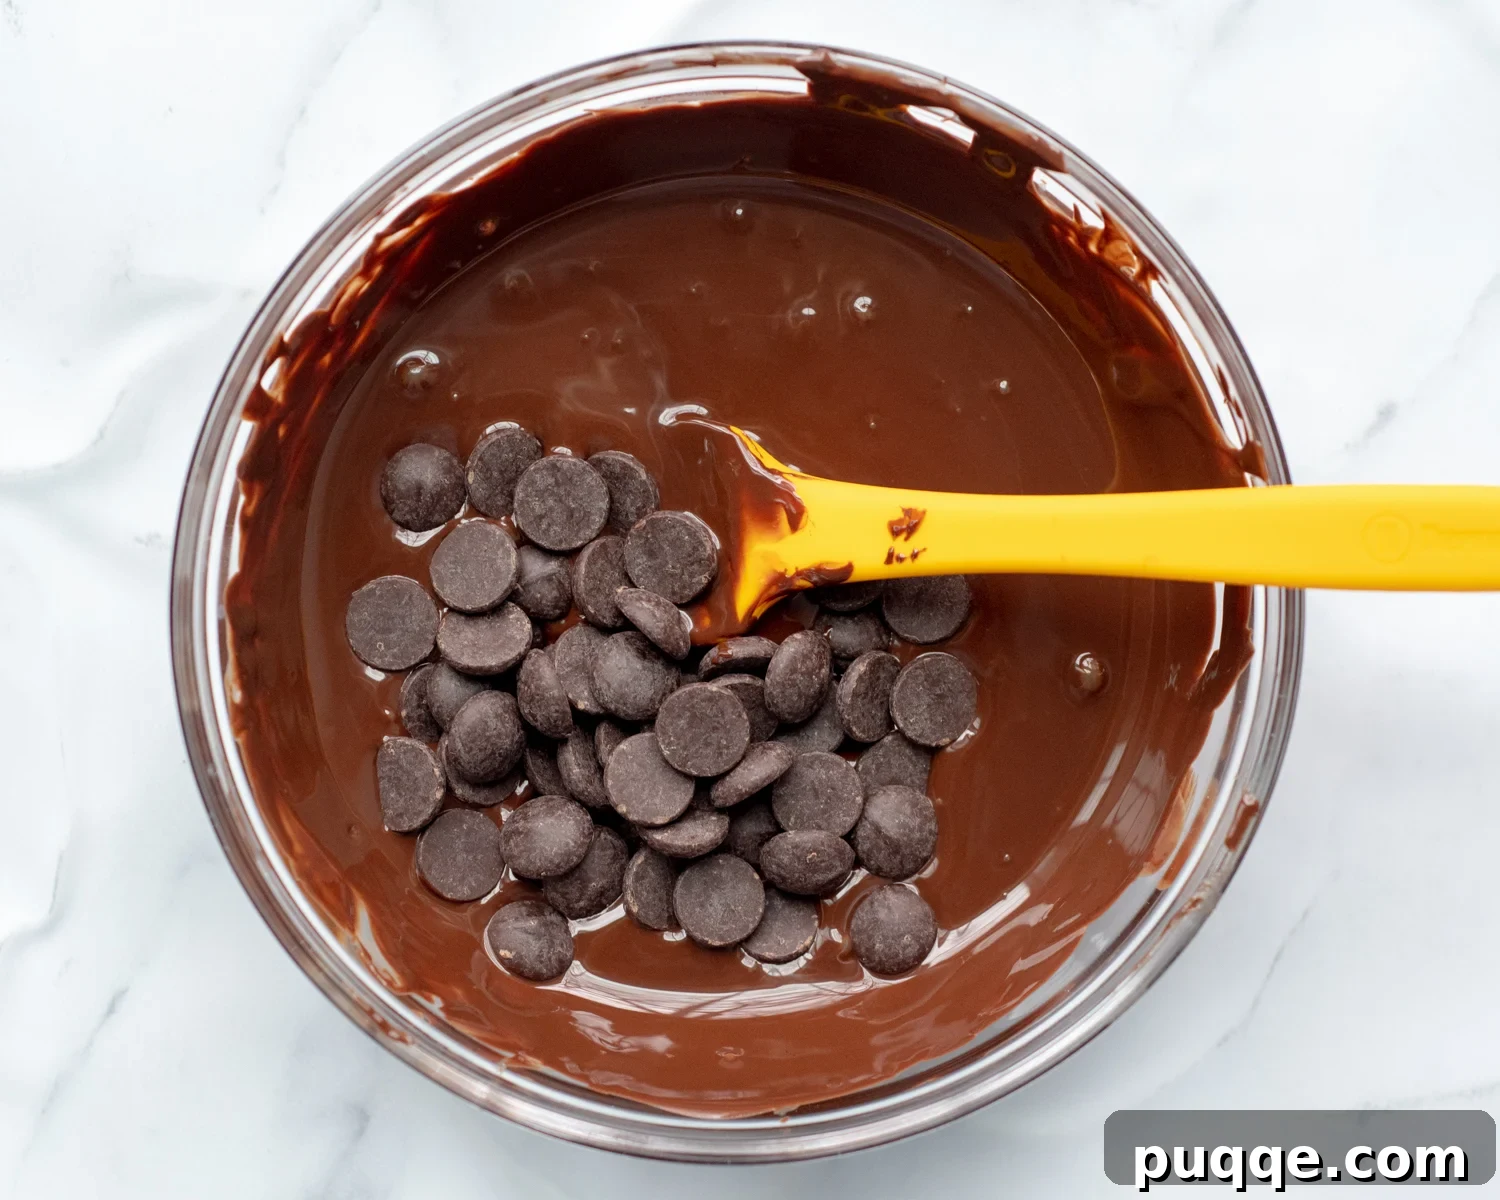
Place two-thirds of your measured chocolate chips into a microwave-safe bowl. Microwave the chocolate in short, controlled intervals (15-30 seconds), stirring vigorously after each interval. Continue this process until the chocolate chips are completely melted and smooth. This typically takes around 2 minutes in total, but it’s vital to monitor closely during the last 45 seconds to prevent overheating. Overheating can cause chocolate to seize or burn.
Once the initial portion of chocolate is fully melted and glossy, add the remaining one-third of the un-melted chocolate chips to the bowl. Stir continuously and thoroughly until these new chips are incorporated and melt solely from the residual heat of the already-melted chocolate. This method is the essence of easy microwave tempering, designed to stabilize the chocolate without complex equipment. Allow it to sit for a minute, then stir again. The mixture will become beautifully smooth and shiny as the latent heat finishes the job.
2. Spread the Chocolate & Drizzle the Peanut Butter
Carefully pour the majority of the perfectly melted chocolate onto your prepared baking sheet. It’s important to reserve a couple of tablespoons of melted chocolate in the bowl; these will be used later for the final decorative and functional touches. Using an offset spatula, gently spread the chocolate evenly across the lined baking sheet, aiming for a thickness of about ¼-inch. Work quickly but carefully to achieve a uniform layer.
In a separate microwave-safe bowl, melt your peanut butter chips. Again, use short bursts in the microwave, stirring frequently, until the peanut butter mixture is completely smooth and creamy. Once melted, take a spoon and elegantly drizzle the warm peanut butter mixture generously over the spread chocolate. Don’t worry if it looks a bit messy at this stage; the next step will transform it into something truly beautiful.
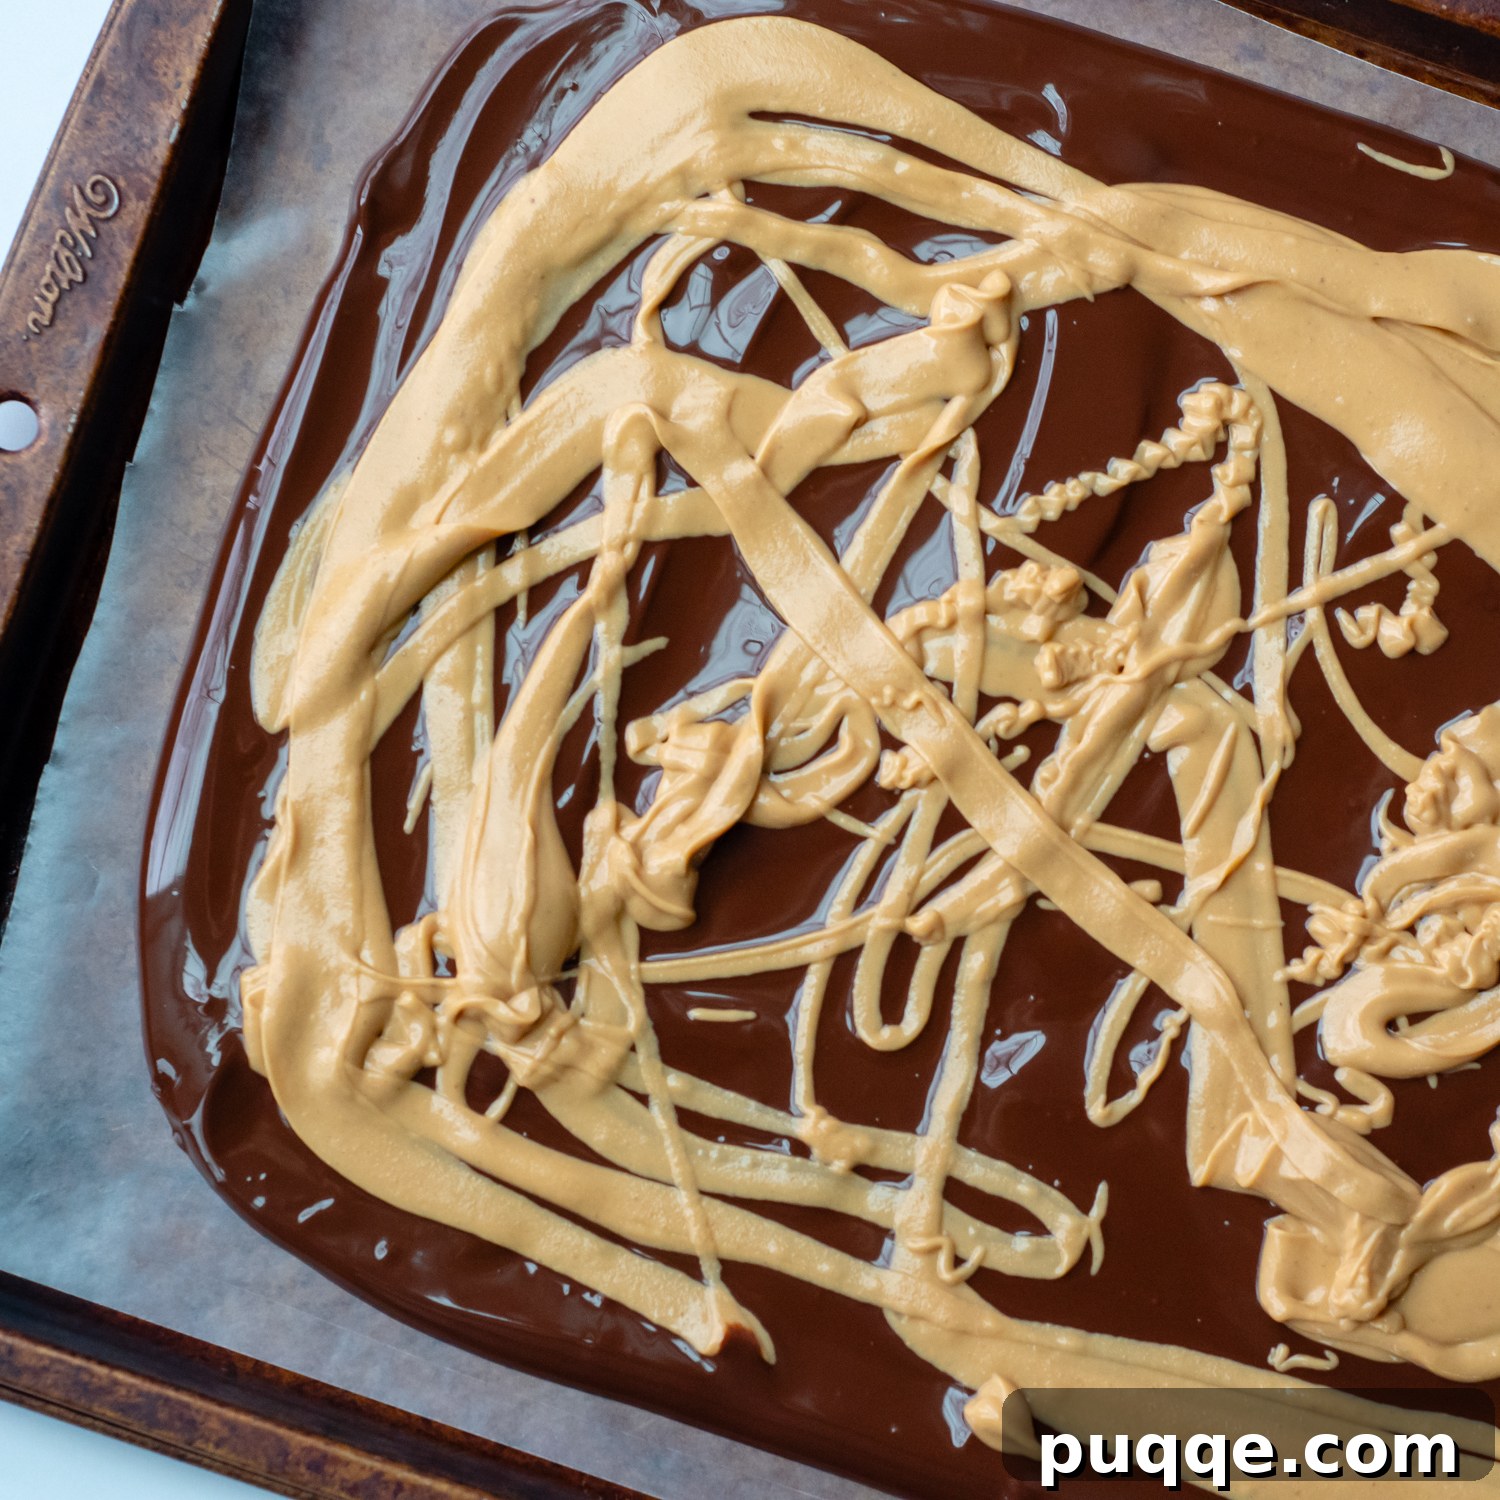
3. The Alluring Finishing Touches
Now for the artistry! Take a thin knife, skewer, or even a toothpick, and gently swirl the melted chocolate and peanut butter together. Create beautiful marbled patterns by drawing lines through the drizzled peanut butter, first horizontally, then vertically. This swirling action is what gives Tiger Butter its signature, captivating appearance. Isn’t that truly pretty and enticing?
Immediately after swirling, generously scatter your chopped gluten-free peanut butter cups all over the top of the swirled chocolate and peanut butter. For the final step, take the couple of tablespoons of reserved melted chocolate and drizzle it delicately over the peanut butter cups. This last drizzle not only adds another layer of chocolatey goodness but also helps to secure the peanut butter cup pieces firmly in place as the bark sets. Now comes the hardest part: patience! Allow the bark ample time to set and harden completely at room temperature, typically about 2-3 hours, before breaking it into beautiful, irregular pieces. Resist the urge to rush this step, as proper setting ensures that delightful snap.
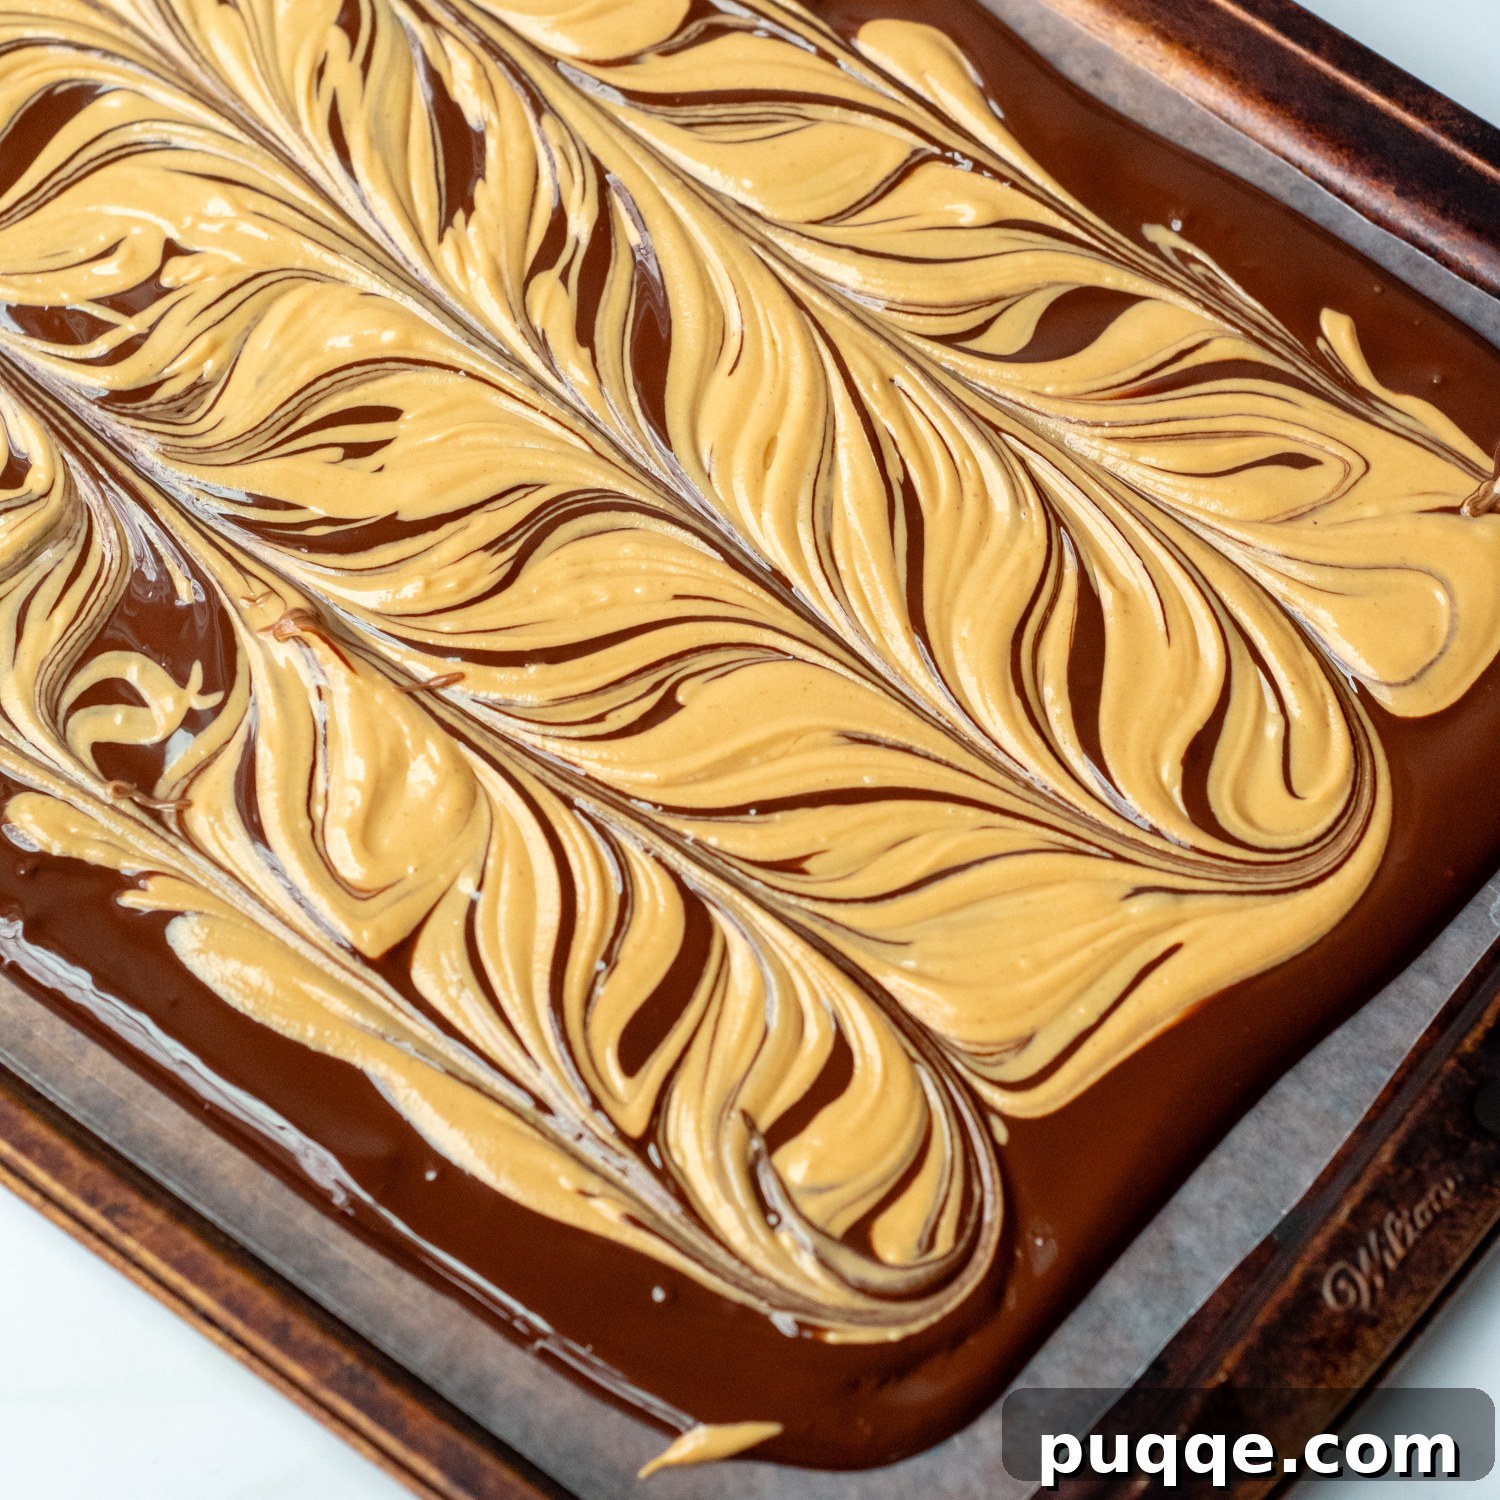
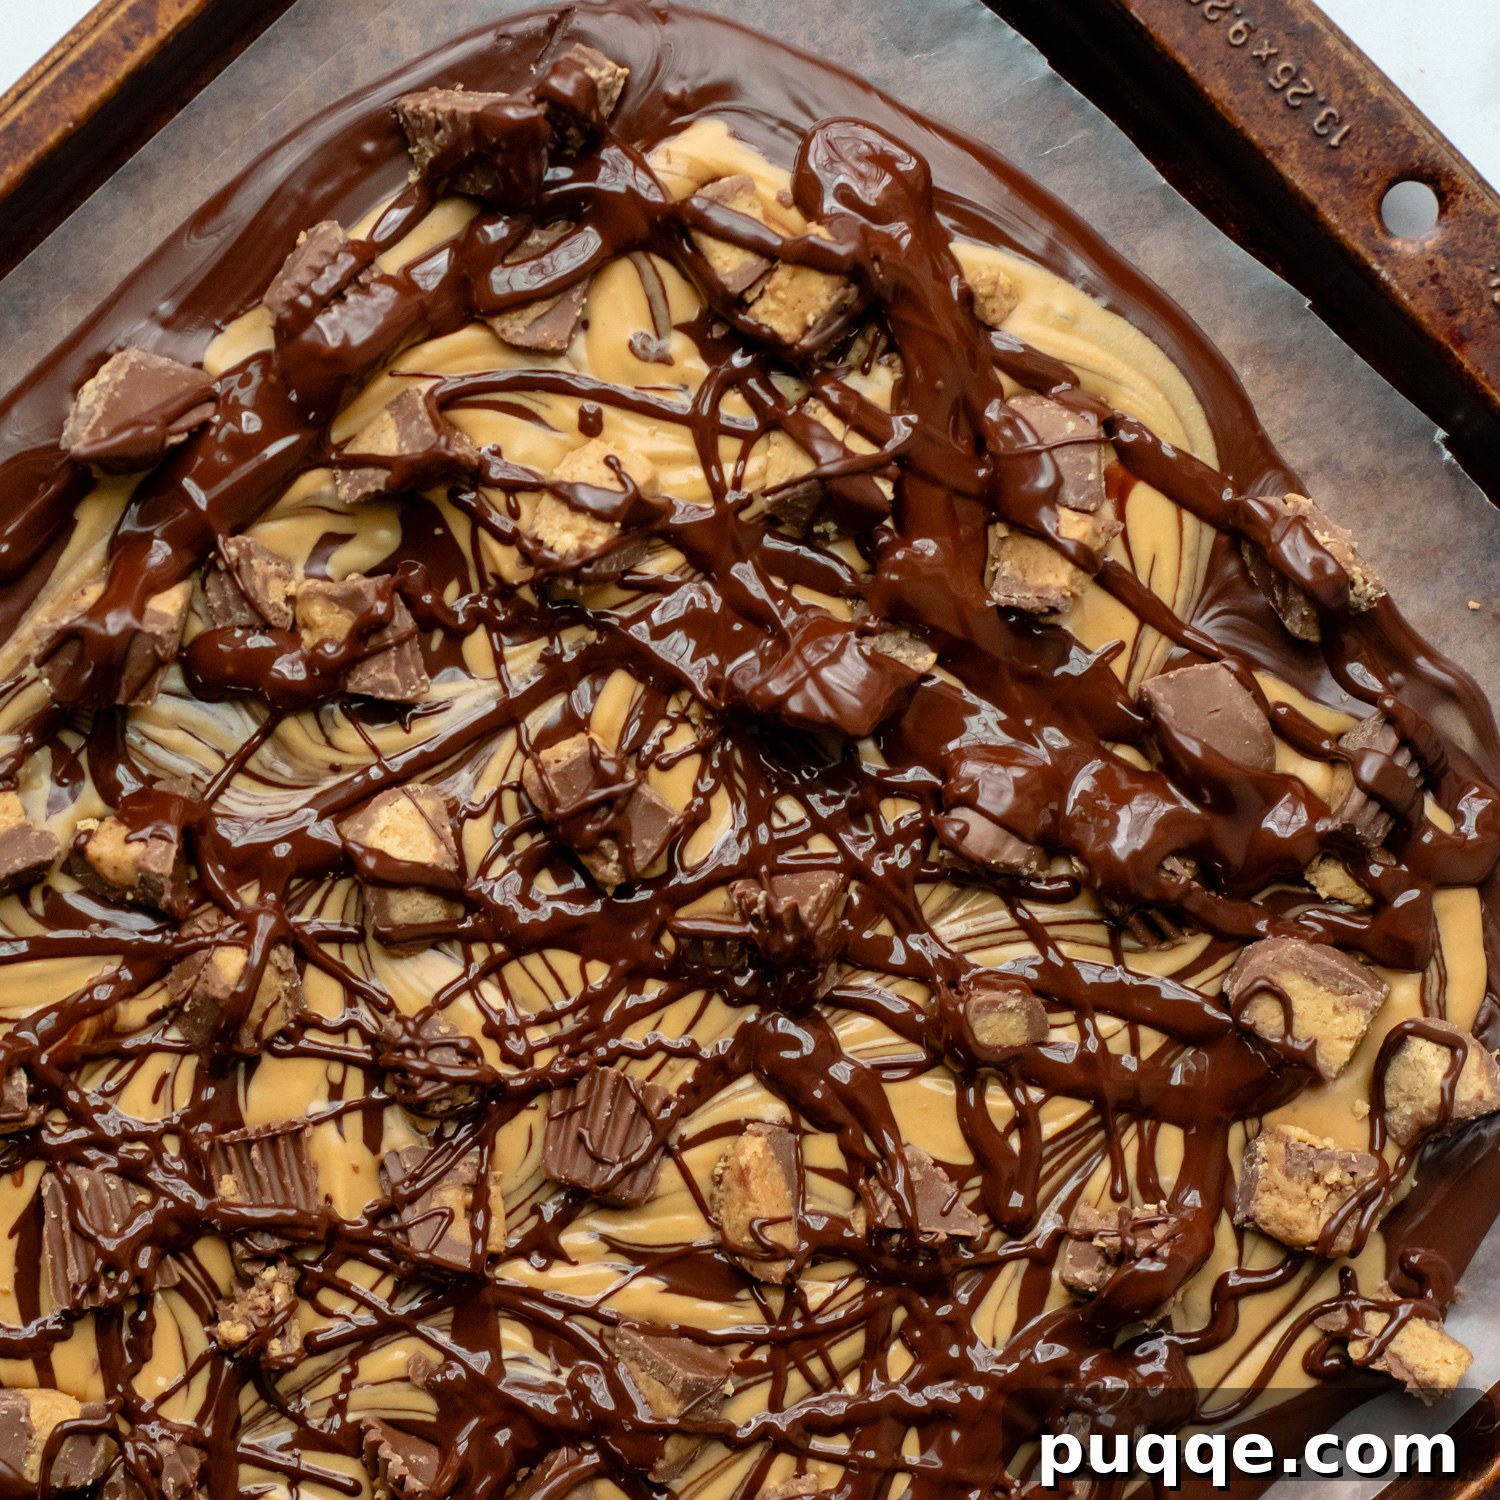
Don’t Forget to Pin This Irresistible Recipe!
Let’s connect on Pinterest! I’m always sharing delicious, easy-to-make recipes that you’ll love.
Made this delightful bark? We absolutely love hearing from you! Please leave a star rating and comment below the recipe card. Your valuable feedback helps other home cooks discover and enjoy these recipes, and I truly appreciate hearing about your culinary experiences from our wonderful community. I always make sure to respond! -Melissa
Why This Gluten-Free Bark Recipe is a Must-Try
Beyond its incredible flavor, this Tiger Butter recipe offers a myriad of reasons why it should be your go-to for quick, impressive treats. Firstly, its simplicity is unmatched. With only three main ingredients and a straightforward process, it’s perfect for novice bakers and busy individuals alike. There’s no complex baking, no delicate doughs, just pure, chocolatey goodness.
Secondly, the gluten-free aspect makes it a versatile choice for everyone. In today’s world, having delicious gluten-free options is more important than ever, and this bark ensures that no one misses out on a decadent dessert. It’s a thoughtful treat for gatherings where dietary needs vary, guaranteeing everyone can enjoy a slice of happiness.
Lastly, the versatility in presentation and gifting makes it a year-round favorite. Whether you break it into rustic chunks for a casual snack or arrange elegantly shaped pieces in a decorative box, this bark always looks impressive. It’s an ideal edible gift for holidays, birthdays, or as a simple token of appreciation.
Tips for Perfecting Your Chocolate Peanut Butter Bark
Achieving perfect Tiger Butter bark every time is simple with a few key tips:
- Quality Ingredients Matter: Since there are only three ingredients, their quality significantly impacts the final taste. Use good quality chocolate chips (60% cacao offers a nice balance) and fresh peanut butter chips.
- Don’t Rush the Tempering: While the microwave tempering method is easy, it’s crucial to let the residual heat melt the final third of the chocolate chips. Patience here prevents overheating and ensures a proper set and shine.
- Even Spreading: Use an offset spatula to spread your chocolate base evenly. A consistent thickness (around ¼ inch) ensures the bark breaks cleanly and uniformly.
- Creative Swirling: Don’t overmix the chocolate and peanut butter when swirling. A few elegant passes with a knife are enough to create beautiful marbling without fully blending the two distinct flavors and colors.
- The Setting Process: Allow your bark to set at room temperature for at least 2-3 hours. While refrigeration can speed up the process, it can sometimes lead to a duller finish and less stable chocolate (especially if not perfectly tempered). A cool, dry room is ideal.
Variations and Customizations
While the classic Tiger Butter is perfect on its own, feel free to get creative with additions and variations:
- Nutty Additions: Sprinkle some chopped peanuts, almonds, or cashews along with (or instead of) the peanut butter cups for an extra layer of crunch.
- Different Chocolates: Experiment with milk chocolate, white chocolate, or even dark chocolate with a higher cacao percentage. Just ensure all chocolate used is gluten-free.
- Other Toppings: Consider adding a sprinkle of sea salt flakes for a sophisticated sweet-and-salty kick, or crushed pretzels (gluten-free, of course!) for extra texture. Mini marshmallows or M&Ms (check for GF status) could also be fun.
- Seasonal Flair: For holiday themes, add festive sprinkles after the final chocolate drizzle. Crushed candy canes can be a wonderful addition for a Christmas-themed peppermint bark twist.
Serving and Gifting Your Homemade Bark
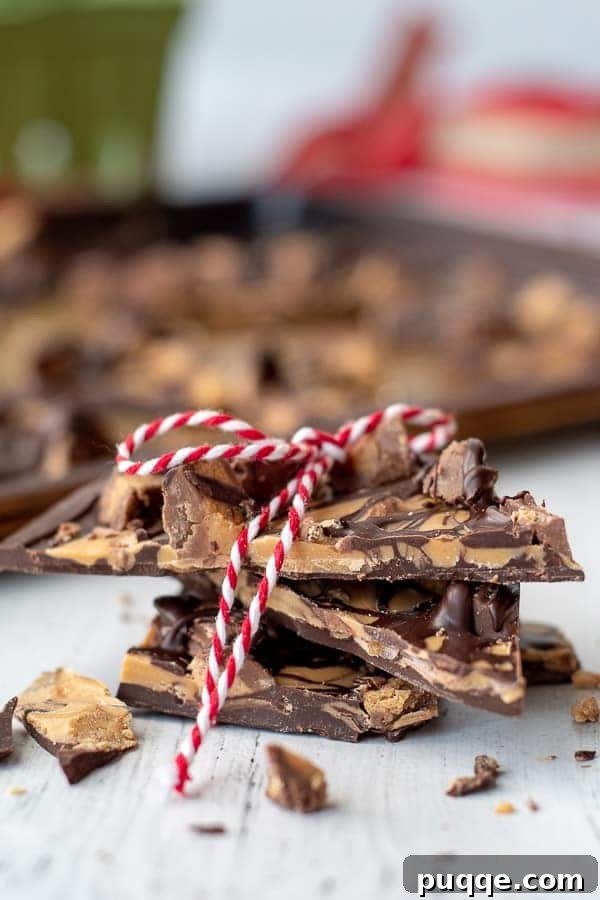
Once your Gluten-Free Chocolate Peanut Butter Bark has fully set, break it into irregular, bite-sized pieces. The beauty of bark lies in its rustic, imperfect charm. Serve it on a platter for a dessert spread, or keep it in an airtight container for an easy snack throughout the week.
This bark also makes an exceptional homemade gift. Arrange the pieces in a decorative tin or cellophane bag, perhaps tied with a festive ribbon, for a personal touch that friends and family will adore. It’s a heartfelt present that showcases your baking prowess without requiring hours in the kitchen.

3-Ingredient Gluten-Free Bark (Chocolate Peanut Butter)

Melissa Erdelac
8
5 minutes
5 minutes
2 hours
10 minutes
Pin
Rate
More Delicious Recipes
Ingredients
-
10-11
ounce
bag 60% cacao chocolate chips
-
1
cup
peanut butter baking chips
,
Reese’s brand are gluten-free -
¾
cup
chopped gluten-free peanut butter cups
,
Reese’s brand are gluten-free
Equipment
-
Baking Sheets
-
Offset Spatula
-
Instant Read Thermometer
Instructions
-
Prepare your setup: Take out two microwave-safe bowls. In the first bowl, place two-thirds of your chocolate chips, reserving the remaining one-third for later. In the second bowl, place your peanut butter chips. Line a baking sheet with wax paper or parchment paper and set it aside. This preparation ensures a smooth and efficient process.
-
Melt the first portion of chocolate: Microwave the two-thirds chocolate in 15-30 second intervals on high power, stirring thoroughly after each interval. Continue until the chocolate chips are completely melted and smooth. This typically takes about 2 minutes, but pay close attention during the last 45 seconds to prevent burning or seizing.
-
Temper the chocolate: Add the reserved one-third of the un-melted chocolate chips to the bowl of melted chocolate. Stir continuously until all the added chocolate melts from the residual heat, becoming smooth and glossy. Do not return it to the microwave at this stage, as this can break the temper. Allow it to sit for a minute, then stir again. While the chocolate is finishing melting, proceed to melt the peanut butter chips in their separate bowl.
-
Melt the peanut butter chips: Microwave the peanut butter chips on high power for 1-2 minutes in total, stirring every 15-30 seconds, until the peanut butter is completely smooth and melted.
-
Assemble the bark: Pour the majority of the melted chocolate onto your prepared baking sheet, reserving a couple of tablespoons in the bowl. Use an offset spatula to spread the chocolate to an even thickness of about ¼-inch. Drizzle the melted peanut butter over the chocolate base. Using a knife, swirl the chocolate and peanut butter together by drawing lines, first horizontally, then vertically, to create a marbled effect. Immediately sprinkle the chopped peanut butter cups generously over the top. Finally, drizzle the reserved chocolate over everything to help secure the peanut butter cups in place.
-
Set and serve: Allow the chocolate bark to set and harden completely on the counter at room temperature. This will take approximately 2-3 hours. Do not attempt to break it into pieces until it is fully set to ensure clean, snappy breaks.
Notes
How to Store
Once the chocolate bark is completely set and broken into pieces, store it in an airtight container in a cool, dry place, ideally at a temperature less than 70ºF (21ºC). Properly tempered chocolate will maintain its quality and texture for several weeks and does not typically require refrigeration.
If you must store it in the refrigerator, ensure it is in a truly airtight container to protect it from moisture, absorbing refrigerator odors, or developing condensation, all of which can negatively impact the chocolate’s quality and appearance. Allow it to come closer to room temperature before serving for the best flavor and texture.
Calories:
442
kcal
,
Carbohydrates:
46
g
,
Protein:
9
g
,
Fat:
25
g
,
Saturated Fat:
18
g
,
Cholesterol:
6
mg
,
Sodium:
175
mg
,
Potassium:
315
mg
,
Fiber:
3
g
,
Sugar:
33
g
,
Vitamin A:
15
IU
,
Vitamin C:
0.2
mg
,
Calcium:
128
mg
,
Iron:
1.3
mg
Did you make this recipe?
Please leave a star rating and review below. It helps others when searching for recipes and I LOVE feedback!