
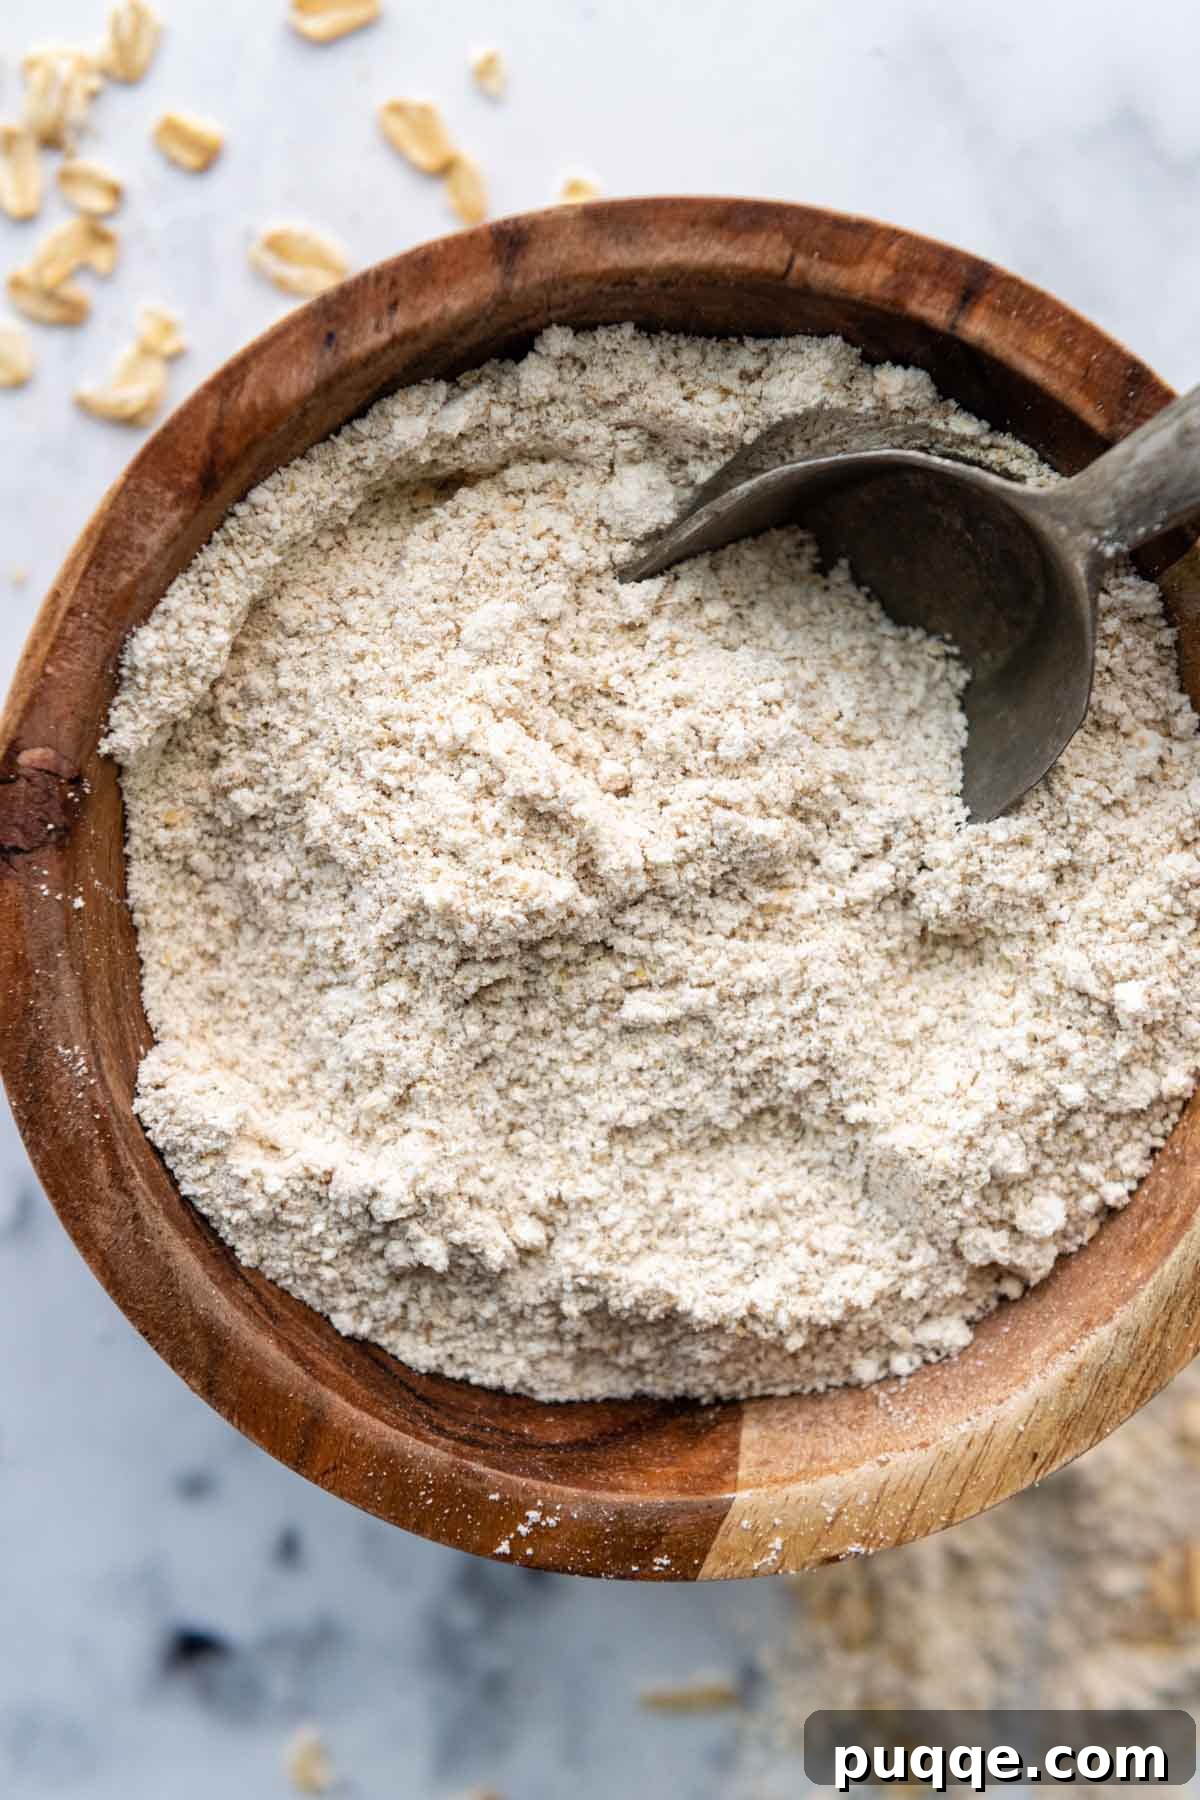
Unlock the secret to healthier, more versatile baking with our comprehensive guide on how to make oat flour at home! This isn’t just a simple tutorial; it’s a complete resource designed to transform your kitchen. We’ll dive deep into expert tips for achieving the fluffiest oat flour, provide clear equivalents for different oat types, explore ideal substitutes, and answer all your pressing questions. Prepare to elevate your baking game with this essential, naturally gluten-free ingredient!
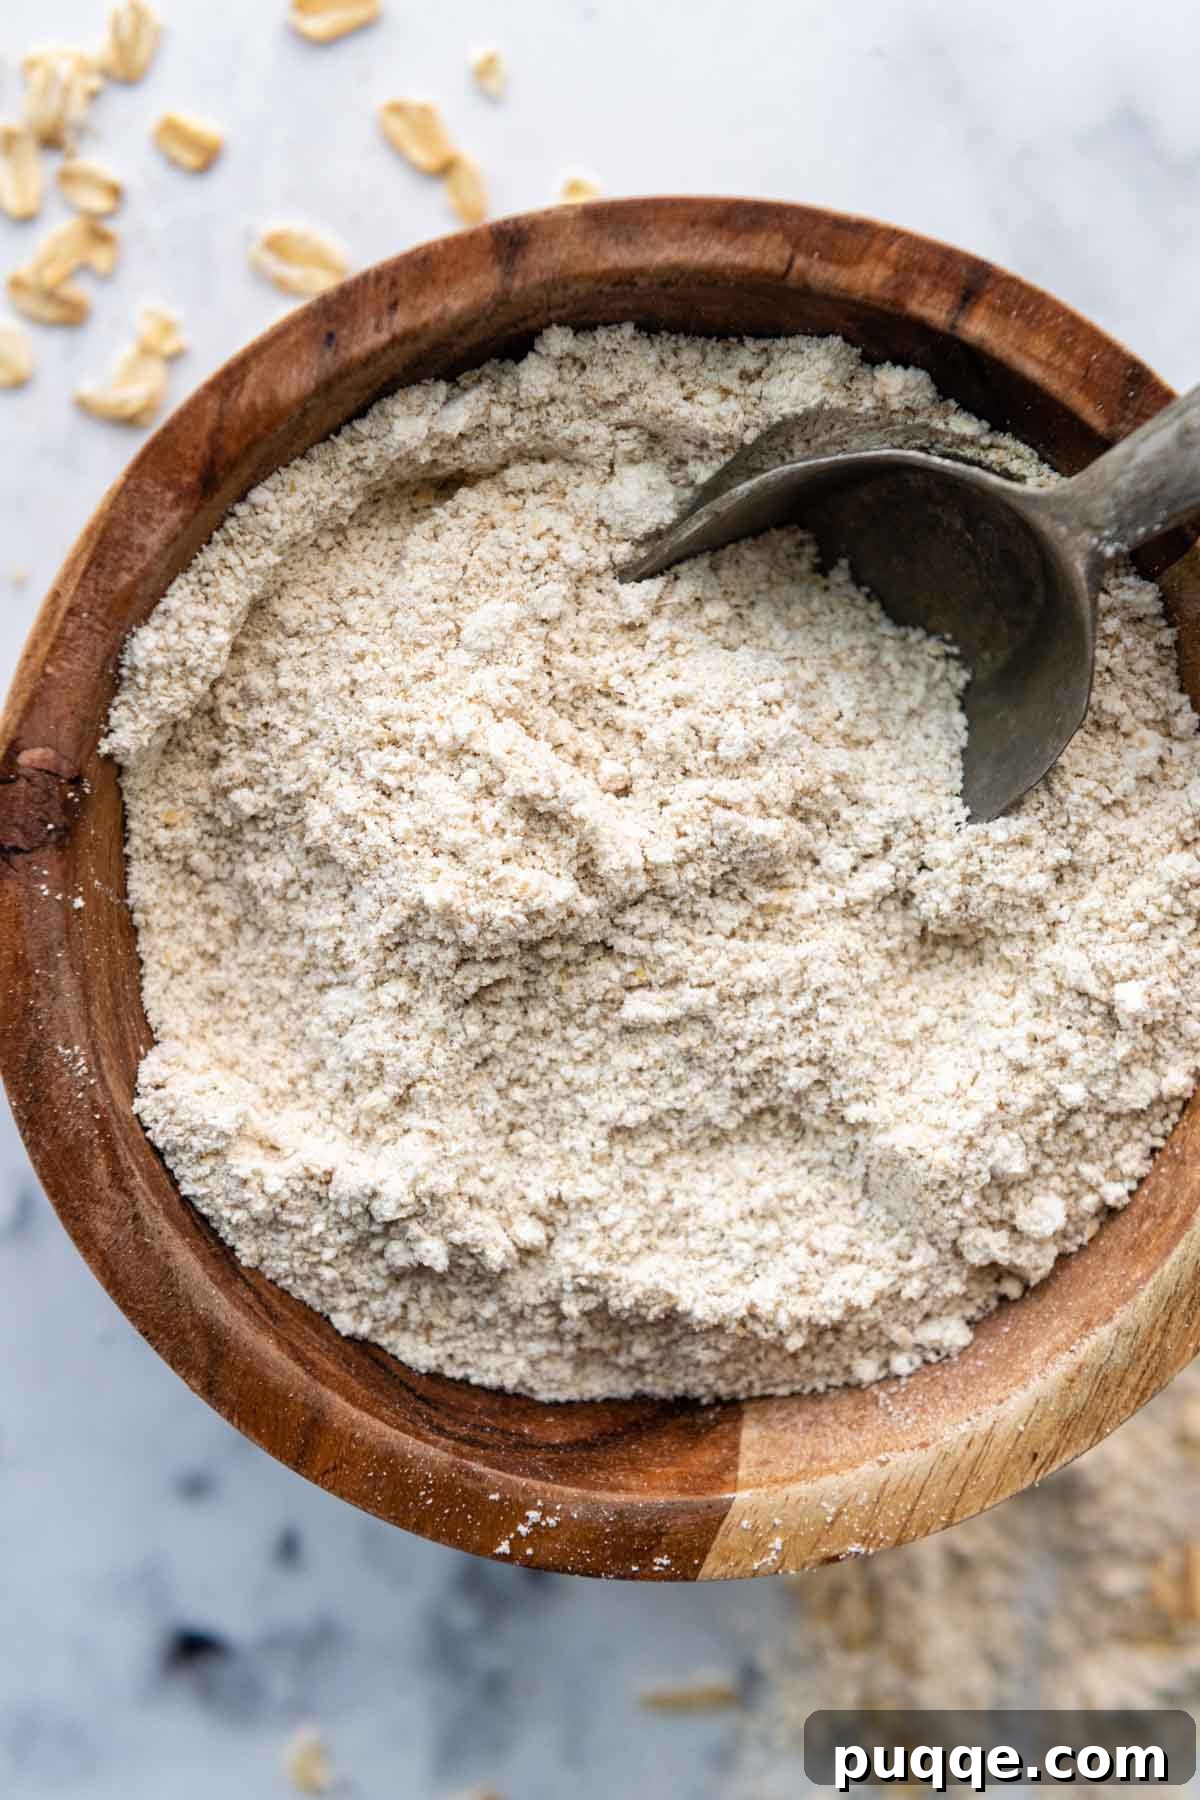
Why Make Your Own Oat Flour? The Smart Baker’s Choice
Opting for homemade oat flour offers a multitude of benefits that extend beyond just convenience. Not only does it provide a naturally gluten-free alternative for baking, but it also presents a significantly more cost-effective solution compared to purchasing specialty flours like all-purpose gluten-free blends, homemade almond flour, or other expensive grain flours. Imagine consistently saving money while enjoying superior quality ingredients in your culinary creations!
Beyond the economic advantages, freshly ground oat flour imbues your baked goods with a delightful, slightly sweet and nutty flavor. This distinct profile enhances a wide array of gluten-free oat flour recipes, from hearty oat flour bread and decadent cakes to chewy cookies, flaky pie crusts, and moist oat flour muffins. By making it yourself, you control the freshness and purity, ensuring no unwanted additives or stale flavors interfere with your culinary masterpieces.
This comprehensive guide will equip you with everything you need to know about preparing oat flour right in your own kitchen. We’ll cover essential topics such as proper storage techniques to maintain freshness, effective substitution methods for various recipes, and crucial tips to ensure you achieve the absolute fluffiest results every time. Get ready to transform your approach to baking!
Is Oat Flour Gluten-Free? Understanding the Nuances
The question of whether oat flour is gluten-free is common and important. Technically, pure oats inherently contain no wheat or the gluten proteins found in wheat, barley, and rye. This makes them a fantastic option for many individuals adhering to a gluten-free diet. However, the journey from oat field to your pantry can introduce potential challenges.
A significant concern is cross-contamination. Oats are often processed in facilities that also handle gluten-containing grains. During harvesting, transportation, or manufacturing, oats can come into contact with wheat, barley, or rye, leading to gluten contamination. For individuals with celiac disease or severe gluten sensitivity, even trace amounts of gluten can trigger adverse reactions. Furthermore, it’s worth noting that a small percentage of people with celiac disease may not tolerate avenin, a protein found in oats, which can mimic gluten in some sensitive individuals. Consulting a healthcare professional is always recommended if you have concerns.
To ensure your homemade oat flour is genuinely 100% gluten-free, it is absolutely essential to use certified gluten-free oats. These oats are grown, harvested, and processed under strict conditions to prevent cross-contamination, and their gluten content is regularly tested to meet specific certification standards. Many grocery stores now carry certified gluten-free oats from reputable brands such as Bob’s Red Mill, Trader Joe’s, and Vitacost, and they are also widely available online through retailers like Amazon. Always check the packaging for the “certified gluten-free” label to be completely confident in your ingredient choice.
What is Oat Flour? Simply Ground Oats!
At its core, oat flour is simply ground oatmeal. This versatile flour can be made from various forms of oats, including whole oat groats, steel-cut oats, rolled oats, and quick oats. The magic happens when these whole oats are finely processed into a powdery consistency, transforming a breakfast staple into a baking powerhouse.
However, it’s important to understand that the type of oat you choose significantly impacts the final flour. Each variety of oat will yield different amounts of flour and contribute to variations in texture. For example, steel-cut oats are denser and require more processing to break down, potentially yielding a coarser flour. Rolled oats and quick oats, being pre-steamed and flattened, are generally easier to grind into a fine, fluffy flour, which is often preferred for most baking applications. We’ll delve deeper into the specific yields of each oat type in our Oat Flour Equivalents section.
If you’re not concerned about gluten intolerance, any plain, unflavored oatmeal can be blended into a fine powder. However, as previously mentioned, to ensure your homemade oat flour is 100% free from cross-contamination and truly gluten-free, always opt for certified gluten-free oats. For those with only a food processor at hand, rather than a high-powered blender, a coarser oat flour can be wonderfully utilized in recipes where a slightly textured result is desirable. Think rustic oatmeal pie crusts, nutritious energy balls, or wholesome desserts like gluten-free apple crisp. These recipes benefit from the added chewiness and structural integrity that a less finely ground oat flour provides.
The Best Way to Make Oat Flour: Equipment Choices
The key to making excellent homemade oat flour lies in your choice of equipment. While several appliances can grind oats, the texture and quality of the resulting flour can vary significantly. Understanding the capabilities of each will help you achieve your desired outcome.
Using a High-Powered Blender: The Gold Standard
For truly powdery, fluffy, and fine oat flour, a high-powered blender is undoubtedly the best tool. Blenders like Vitamix or Blendtec are designed with powerful motors and sharp blades that efficiently break down oats into an incredibly fine consistency, comparable to store-bought flour. This ultra-fine texture is crucial for achieving the best results in delicate baked goods such as light and airy oat flour cookies, cakes, and quick breads where a smooth crumb is desired.
Even if you don’t own a top-tier blender, more affordable options like Ninja or Magic Bullet blenders can still produce usable oat flour, especially for recipes where a slightly less fine grind is acceptable. These blenders are perfectly capable of creating flour for items like hearty pumpkin oat flour muffins or fluffy flourless pancakes, where a little texture can even add to the rustic charm.
Step-by-Step Instructions for Blending Oat Flour:
- Prepare Your Oats: Ensure your rolled oats or quick oats are dry and free from any moisture. This prevents clumping and helps achieve a finer powder.
- Load the Blender: Place the desired amount of oats into your high-powered blender. It’s best not to overfill, as this can hinder proper circulation and result in uneven grinding. A good rule of thumb is to fill the blender no more than half to two-thirds full.
- Blend to Perfection: Secure the lid tightly. Start blending on a medium speed and gradually increase it, if necessary. Process the oats for about 30 seconds to 1 minute, or until they transform into a uniformly fine, powdery flour.
- Check and Repeat: Periodically stop the blender and check the consistency. If you notice any larger flecks of oats, scrape down the sides of the blender jar with a spatula and blend again for a few more seconds until completely fine.
Using a Food Processor: For Coarser Grinds
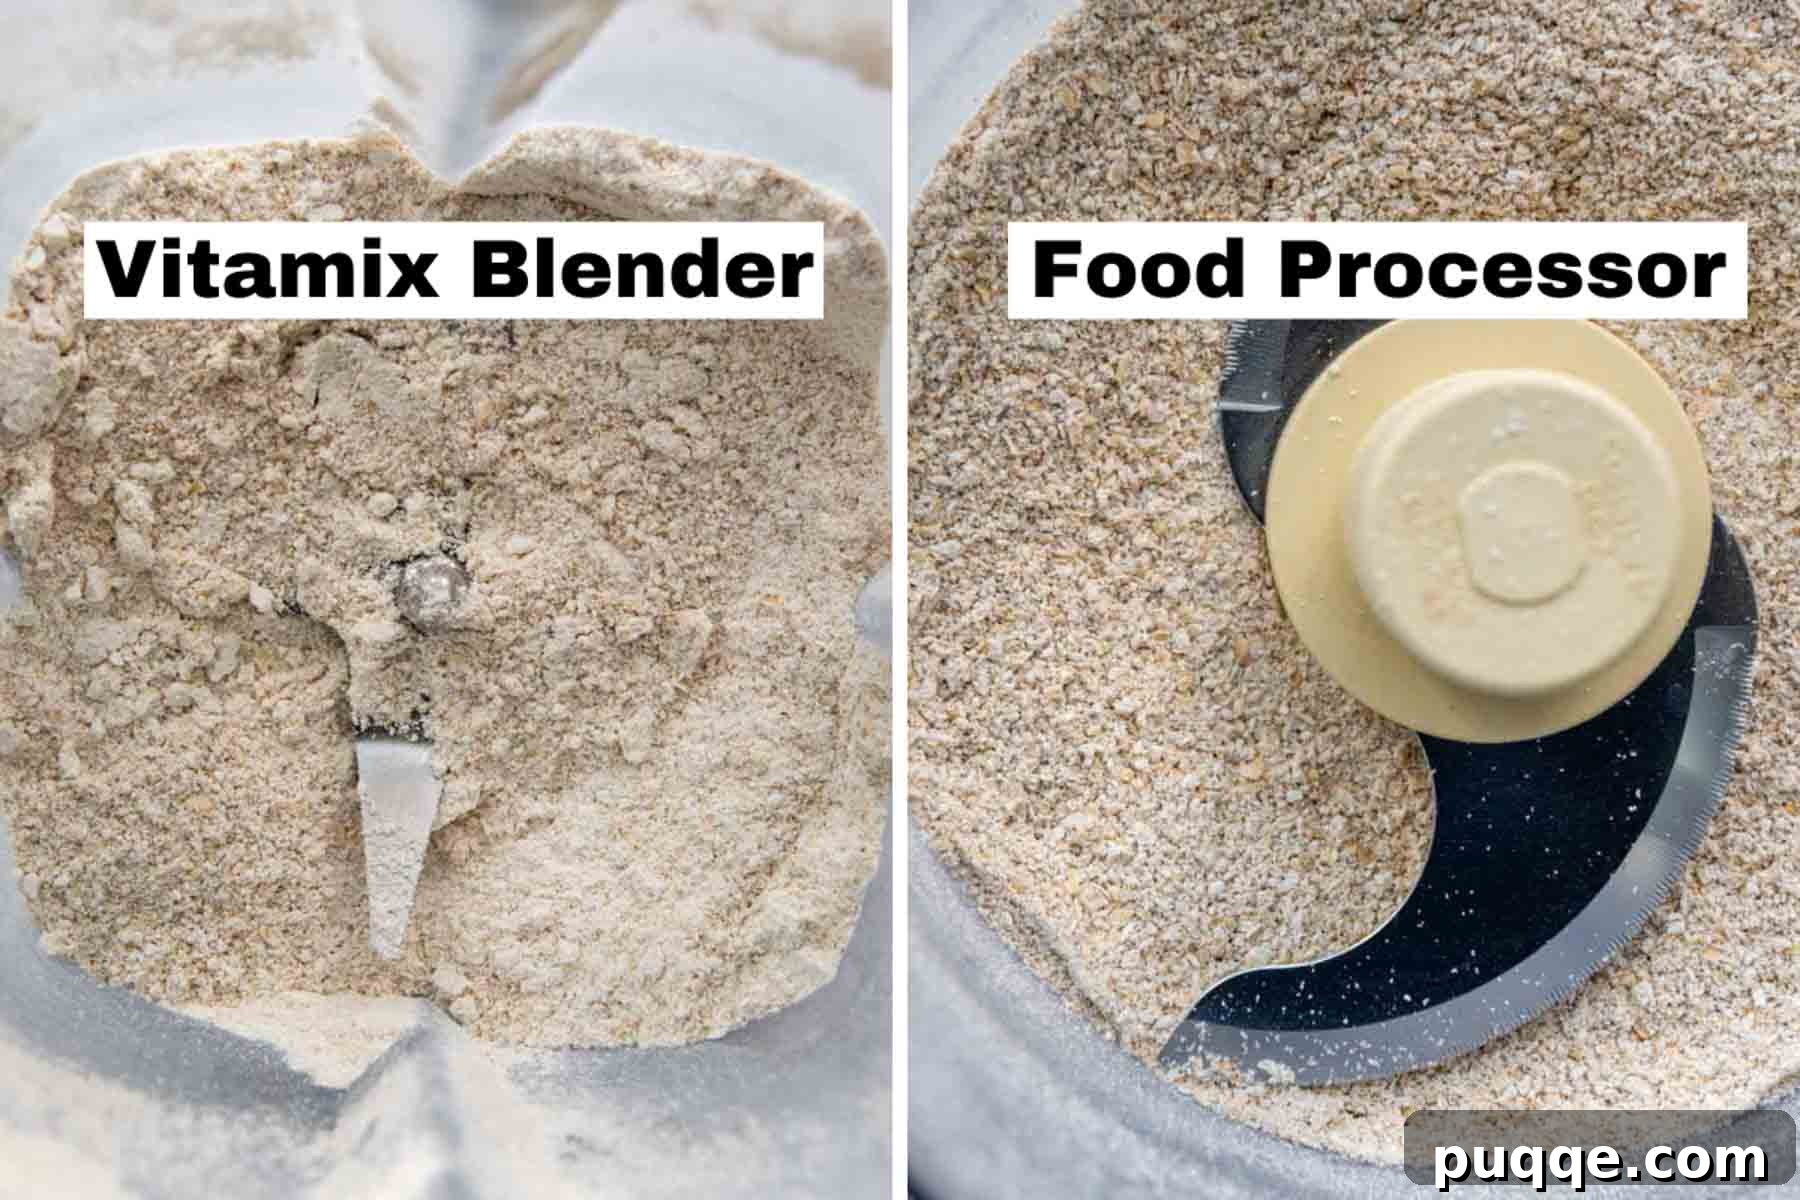
While a food processor can grind oats, it often struggles to achieve the fine, fluffy texture that a high-powered blender delivers. The design of food processor blades and their wider processing area typically result in a coarser oat flour, as clearly illustrated in the image comparing blender vs. food processor results.
My experience with a 14-cup Cuisinart, for instance, did not yield the finely milled flour ideal for delicate cakes. However, smaller capacity food processors might perform slightly better, as their blades would make more continuous and intensive contact with the oats. If you have success making fine oat flour with a smaller food processor, please share your tips in the comments below!
Despite its limitations for fine flour, a food processor is excellent for creating a coarser oat meal or flour, which is perfectly suited for specific recipes. Dishes where the batter rests and hydrates, such as light and fluffy oat flour waffles, or recipes that cook for an extended period, like moist oat flour banana bread, often benefit from a slightly coarser texture. The longer cooking or resting times allow the oat particles to soften and fully hydrate, resulting in a tender and satisfying crumb.
Using a Coffee Grinder: Ideal for Small Batches
For very small batches of oat flour, a dedicated coffee grinder can be surprisingly effective. Its powerful, fast-spinning blades are designed to pulverize hard coffee beans, making it adept at grinding oats into a very fine powder. This method is great if you only need a few tablespoons of oat flour for a recipe, or if you want to experiment with different oat types in small quantities. The main drawback is its limited capacity, making it impractical for larger baking projects. Ensure your coffee grinder is thoroughly cleaned if you typically use it for coffee, as residual coffee grounds can impart unwanted flavors to your oat flour.
Oat Flour Equivalents: Precision for Perfect Baking
One of the most frequently asked questions by home bakers is, “How much oat flour does one cup of oats yield?” The answer isn’t always straightforward, as the resulting flour quantity depends heavily on the type of oats used. Grinding steel-cut oats, whole rolled oats, or quick oats will all produce distinct flour amounts due to their differing densities and processing levels.
You may also encounter discrepancies between conversion charts found online and results from personal testing. These variances often stem from the specific equipment used for grinding and the inherent differences in oat varieties. For instance, a high-powered blender like a Vitamix typically yields a much fluffier and lighter oat flour, which takes up more volume, whereas a food processor or a coffee grinder might produce a denser, coarser flour that occupies less space per weight (refer back to the image comparison for visual evidence).
For the most reliable and consistent baking results, we strongly recommend weighing your flour rather than relying solely on volumetric measurements. Weight provides a precise, universally consistent measurement that eliminates variables caused by compaction or differences in grind. Below, you’ll find the median equivalents derived from tests using a Vitamix blender to achieve a fluffy oat flour:
- 1 cup steel-cut oats = approximately 1 ⅓ cup oat flour (125 grams)
- 1 cup whole rolled oats = approximately 1 cup oat flour (94 grams)
- 1 cup quick oats = approximately 1 cup + 1½ tablespoons oat flour (98 grams)
Keep these guidelines in mind when converting your recipes, but always prioritize weighing for optimal accuracy in your baking endeavors.
Storing Homemade Oat Flour: Keeping it Fresh
Proper storage is crucial to maintain the freshness and quality of your homemade oat flour, preventing it from going rancid due to its natural oils. Oats contain healthy fats that, when exposed to air, light, and heat, can oxidize and develop off-flavors.
For short-term storage, homemade oat flour (or opened store-bought oat flour) should be kept in an airtight container at room temperature in a cool, dark pantry for up to 3 months. Containers like OXO storage containers are excellent choices due to their very secure seals, which are essential for protecting the flour from moisture and air. These containers are versatile and can be used for a variety of dry goods, from homemade flours to granola.
For extended freshness, especially if you’ve made a larger batch, freezing is the best option. Transfer your oat flour into a double layer of ziplock freezer bags, pressing out as much air as possible, or use a freezer-safe, airtight storage container. Stored this way, oat flour can remain fresh for up to 6 months. When you’re ready to bake, simply remove the desired amount from the freezer and allow it to come to room temperature before incorporating it into your recipe. This prevents condensation from forming, which could alter the flour’s texture and affect your baking results.
Baking with Oat Flour: What to Expect
Baking with oat flour can be a delightful experience, but it’s important to understand its unique properties compared to traditional wheat flour or other gluten-free alternatives. Oat flour has a distinct nutty flavor and a slightly sweet undertone, which can beautifully complement both sweet and savory recipes.
One of its most notable characteristics is its high absorbency. Oat flour tends to soak up more moisture than many other flours, which means recipes specifically developed for 100% oat flour will have adjusted liquid ratios. If you’re adapting a recipe, you might need to increase the liquid slightly or use less oat flour. This absorbency can also lead to a denser crumb if not properly balanced, so many oat flour recipes incorporate leavening agents or additional moisture to keep baked goods light and tender.
Oat flour works exceptionally well in quick breads, muffins, pancakes, waffles, and certain cookie recipes. Its texture can contribute to a satisfying chewiness and a hearty feel. For recipes like oat flour muffins or banana bread, it lends a wonderful moistness and robust flavor. Don’t be afraid to experiment; the versatility of homemade oat flour will quickly become a favorite in your gluten-free baking arsenal.
Oat Flour Substitutes: Alternative Flours for Your Pantry
Even the most prepared baker might find themselves without oat flour when a recipe calls for it. Fortunately, there are many excellent substitutes available for gluten-free baking. It’s crucial to note, however, that these substitutes perform best when you’re converting recipes that use a smaller amount of oat flour or a blend of starches, rather than recipes that are 100% oat flour based.
As mentioned, oat flour is highly absorbent. Recipes formulated solely with oat flour typically account for this by adjusting liquid ingredients accordingly. When substituting in such recipes, be mindful that the texture and moisture content of your final product may vary. However, for recipes like these delicious gluten-free bagels or wholesome gluten-free granola bars, which use a moderate amount of oat flour, substitutions are often highly successful.
Generally, all the listed substitutes below can be used in a 1:1 ratio, with one notable exception. Always monitor your batter or dough consistency and adjust liquids as needed, as different flours absorb moisture at varying rates.
- Brown Rice Flour: Use ¾ cup brown rice flour for every 1 cup of oat flour. Brown rice flour offers a slightly coarser texture and a nutty flavor, making it a good gluten-free choice for heartier baked goods.
- White Rice Flour: A lighter, more neutral-flavored gluten-free option. It can be a good choice for delicate recipes where you don’t want the flour to overpower other flavors.
- Almond Flour: Rich in protein and healthy fats, almond flour adds moisture and a tender crumb. It’s naturally gluten-free but has a distinct flavor and can make baked goods denser if not balanced correctly.
- Coconut Flour: This highly absorbent, gluten-free flour requires significantly more liquid than other flours. While the original content suggests a 1:1 ratio here, be cautious and anticipate needing to increase liquids considerably if using coconut flour, as its absorbency is exceptional.
- All-Purpose Wheat Flour: If gluten-free is not a concern, standard all-purpose wheat flour can be a direct substitute, offering a familiar texture and binding quality.
- Cassava Flour: A fantastic grain-free and gluten-free alternative, cassava flour has a surprisingly similar texture to wheat flour and is often an excellent 1:1 substitute in many recipes.
- Amaranth Flour: With a slightly earthy and nutty flavor, amaranth flour is a nutrient-dense, gluten-free option that can add a unique character to your baked goods.
- Buckwheat Flour: Despite its name, buckwheat is not related to wheat and is gluten-free. It has a strong, distinctive flavor, making it excellent for savory applications or robust sweet treats.
Experimenting with these substitutes will help you understand their unique properties and how they interact in your favorite recipes. Always remember that baking is a science, but also an art, and small adjustments can lead to delicious discoveries!
SAVE THIS How to Make Oat Flour Recipe TO YOUR PINTEREST BOARD!
Let’s be friends on Pinterest! I’m always sharing great recipes!
Fluffy Oat Flour: How To Make, Substitutes, Equivalents

Melissa Erdelac
1 cup
1 min
1 min
Pin
Ingredients
- 1 cup whole rolled oats, (for gluten free oat flour, use certified GF oats)
Equipment
-
Vitamix (or other high-powered blender)
Instructions
-
Place the oatmeal in a high-powered blender. Blend the oats until it turns into a fine, powdery flour, about 30 seconds – 1 minute.
-
Check to see if there are any large flecks. If so, scrape the sides and process again until smooth.
-
Yield Reference (when using a Vitamix): 1 cup whole rolled oats = 1 cup oat flour (94 grams); 1 cup quick oats = 1 cup 1½ tablespoons oat flour (98 grams).
-
DID YOU MAKE THIS RECIPE? We’d love your feedback!
Notes
Storing Tips
Store homemade oat flour (or opened store bought) in an airtight container for up to 3 months in a cool, dark place.
For longer storage, place in a double layer of ziplock freezer bags, or an airtight storage container, and freeze for up to 6 months. Allow it to come to room temperature before using for baking.