
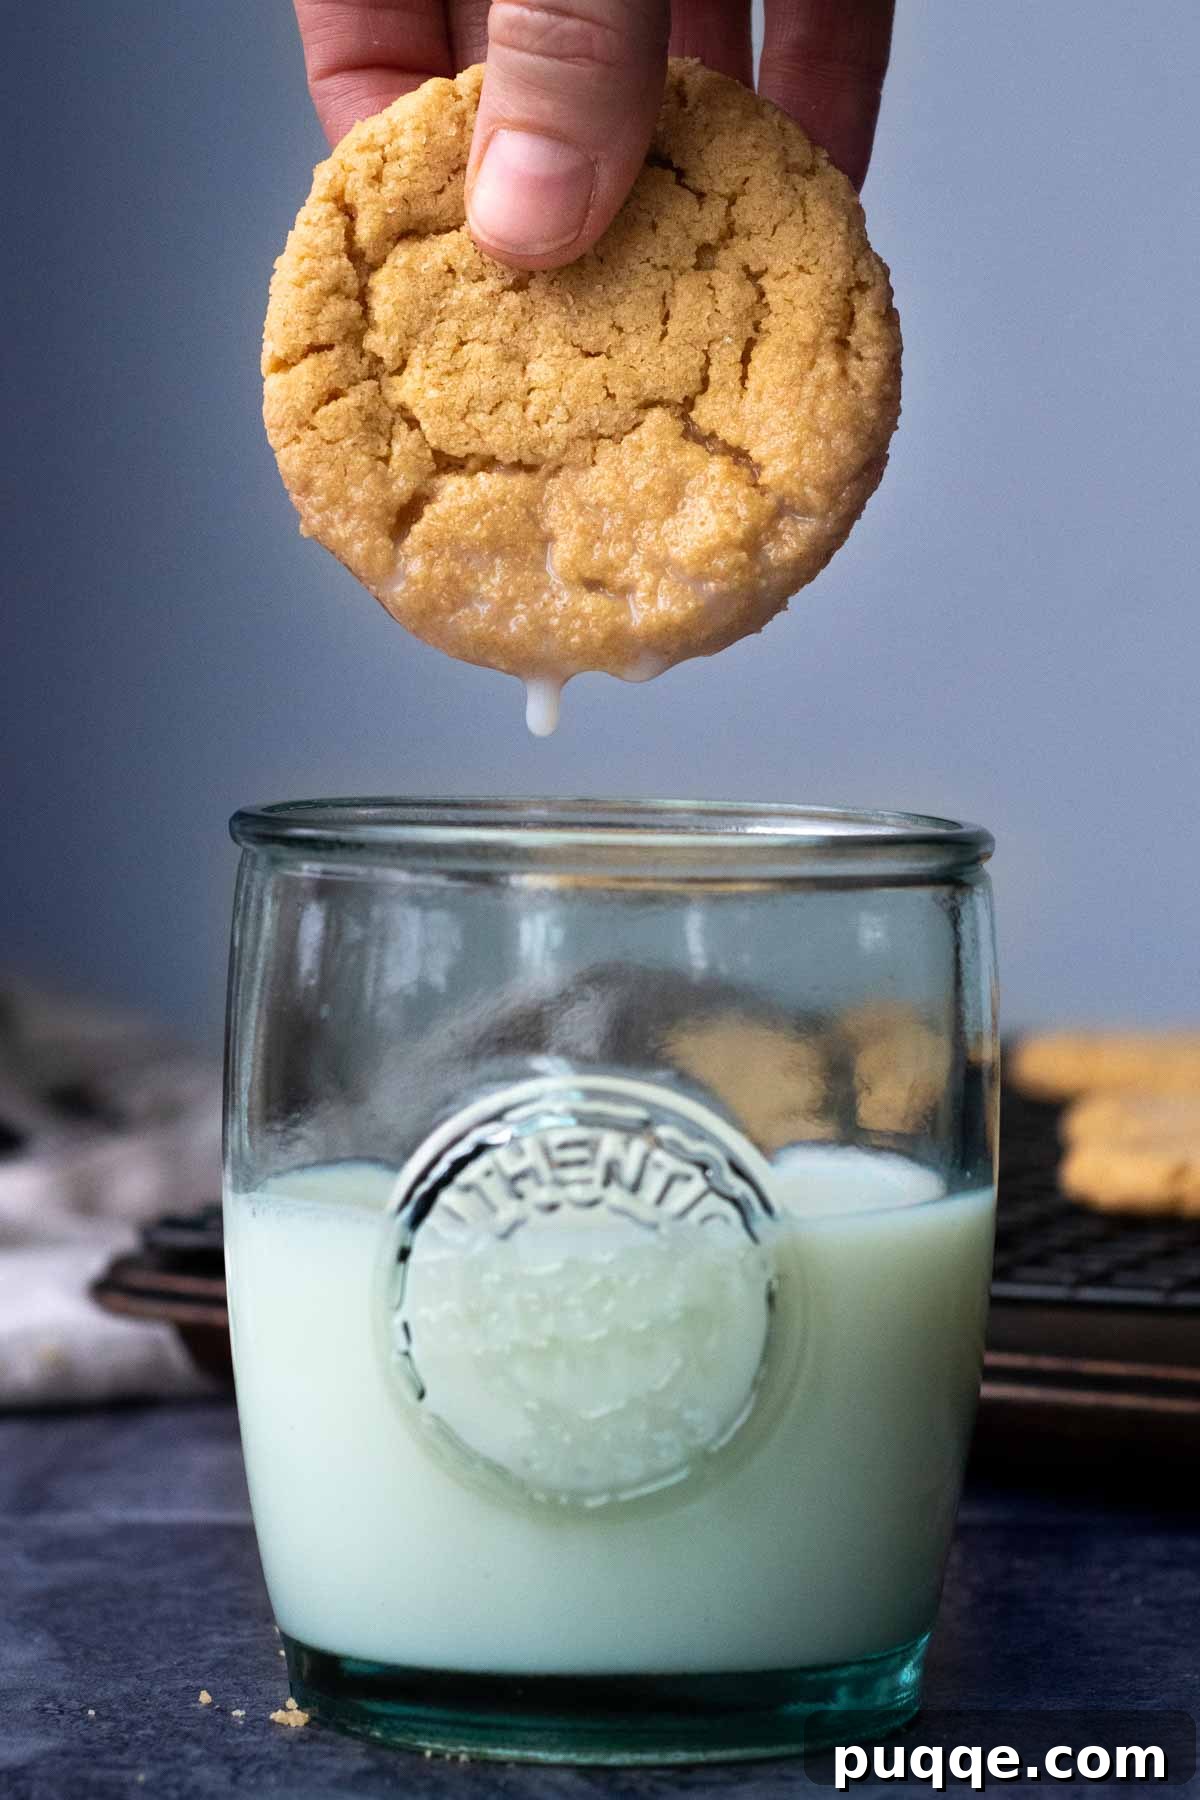
Prepare to rediscover the joy of homemade baking with a recipe that promises to end your quest for the perfect peanut butter cookie. Imagine sinking your teeth into a cookie that’s wonderfully chewy, delightfully soft, and brimming with that classic, old-fashioned peanut butter flavor – precisely the kind Gramma used to make. What makes this recipe truly extraordinary, almost unbelievable (but completely true!), is that these delectable treats are naturally gluten-free and grain-free. This isn’t just a good gluten-free cookie; it’s an exceptional cookie, period. With just a few simple ingredients, most likely already residing in your pantry, and the star component – blanched almond flour – you’re set for ultimate cookie success. Get ready to bake a batch that will impress everyone, whether they follow a specific diet or simply crave a timeless comfort food.
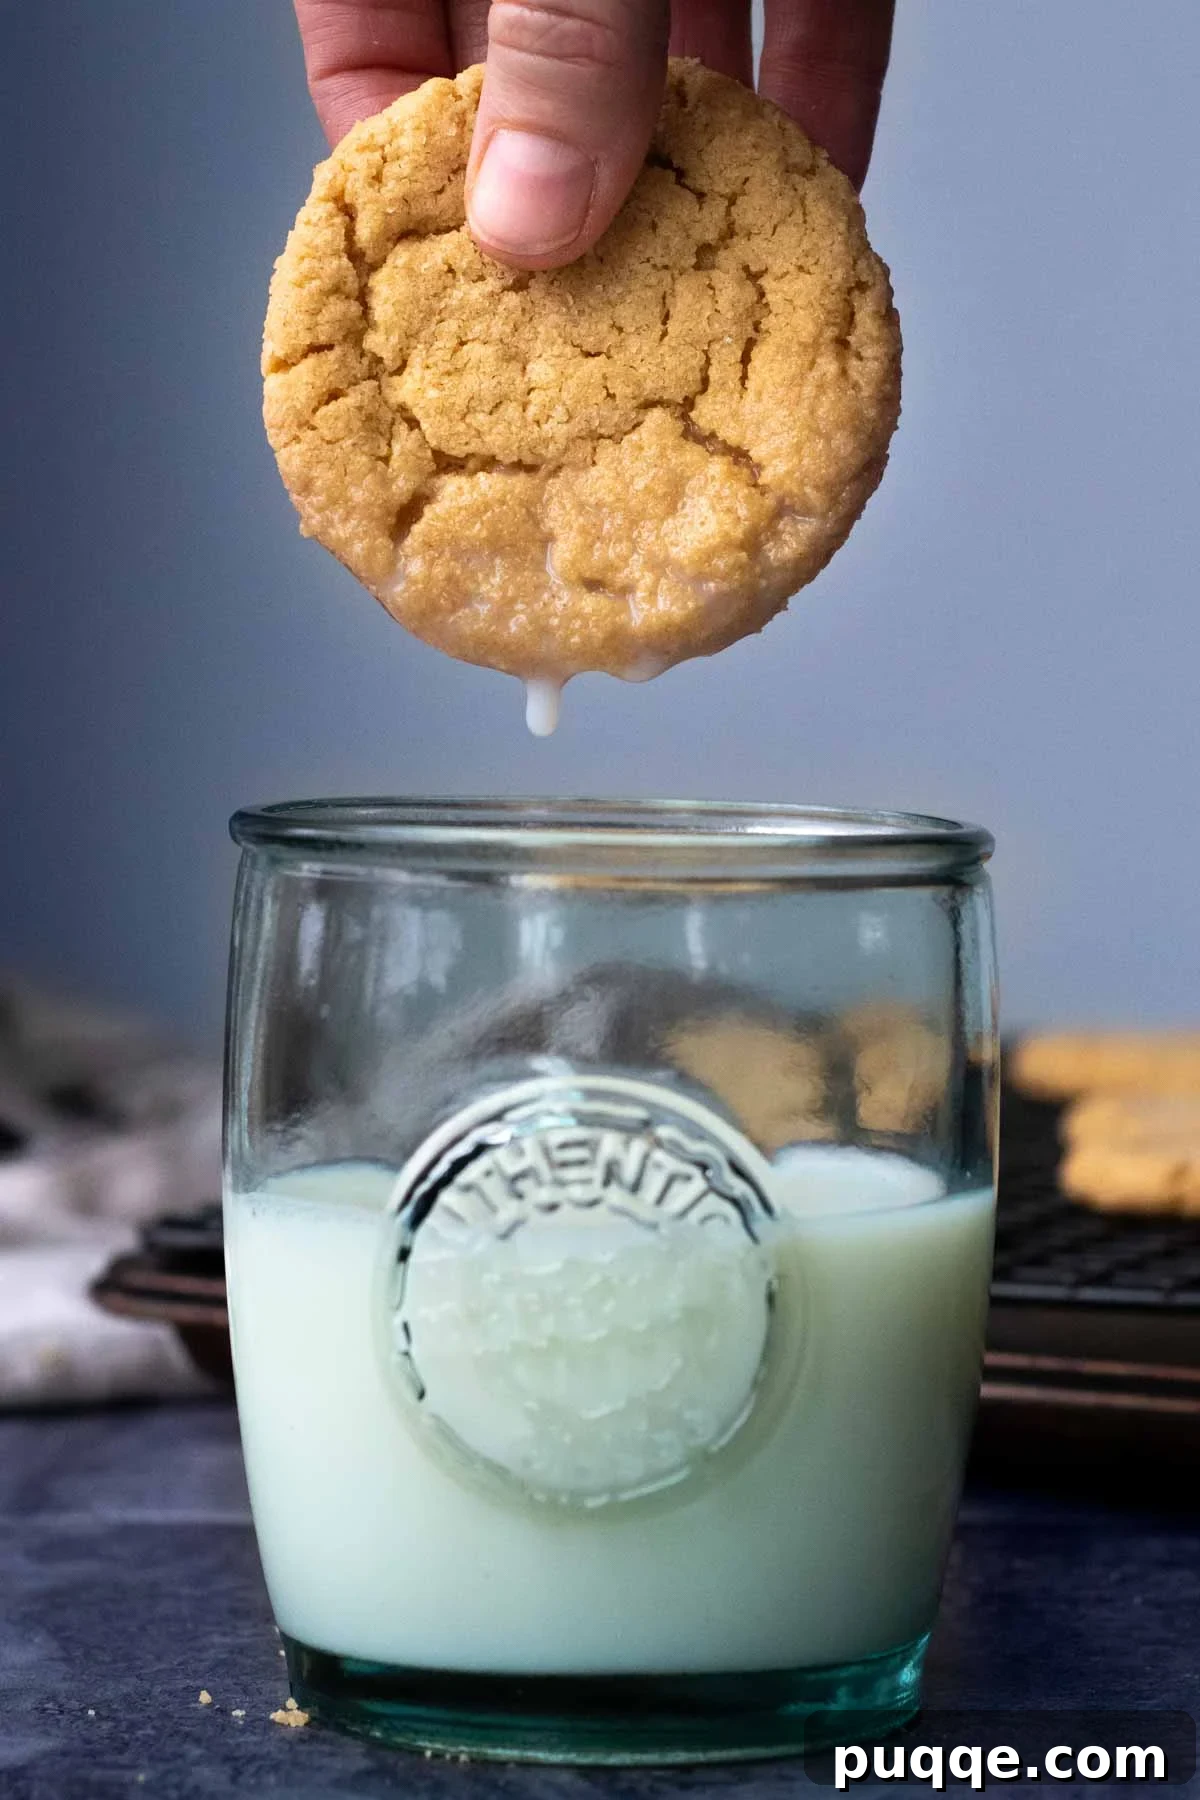
Elevate Your Baking: The Art of Almond Flour Peanut Butter Cookies
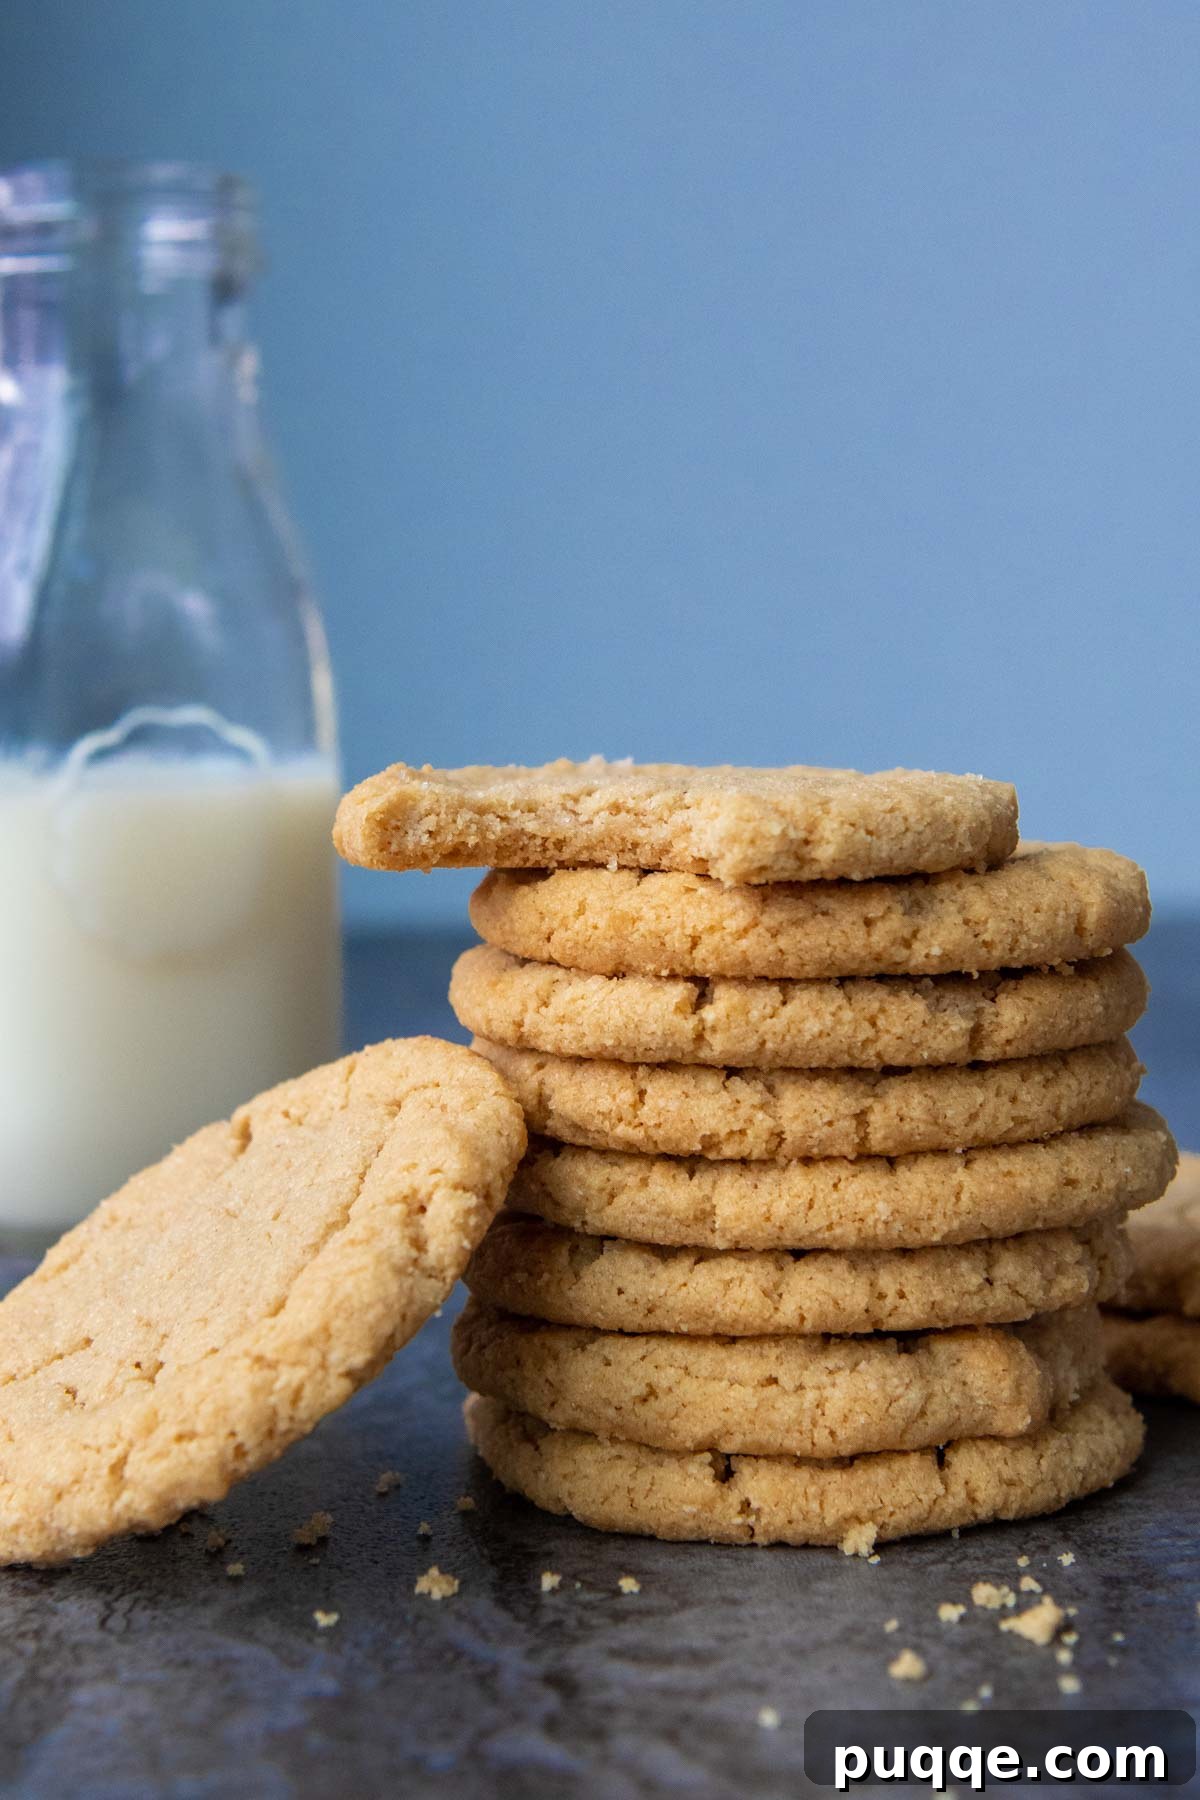
If the memory of biting into a chewy, soft peanut butter cookie as a child brings a smile to your face, prepare to fall head over heels once more with this almond flour adaptation! This recipe isn’t just a substitute; it’s an enhancement, offering everything you love about traditional peanut butter cookies while being completely gluten-free. The secret to their incredible texture lies in the thoughtful combination of brown sugar and creamy peanut butter, which works synergistically to keep these cookies exceptionally soft and wonderfully chewy, even hours after they’ve emerged from the oven and cooled to perfection. This ensures every bite delivers that nostalgic melt-in-your-mouth experience.
Crafting these homemade gluten-free almond flour peanut butter cookies is surprisingly straightforward. Designed for ease and efficiency, the entire dough comes together in a single bowl, minimizing cleanup and maximizing your baking enjoyment. You’ll only need a handful of common baking essentials, making this recipe accessible for bakers of all skill levels. From start to finish, you could be savoring warm, fragrant, and chewy cookies in as little as 15 minutes! The only ingredient you might not routinely stock, but which is absolutely vital for this recipe’s success, is blanched almond flour. Unlike almond meal, blanched almond flour provides a finer texture, contributing to the superior chewiness and tenderness of these cookies.
During the development of my extensive collection of almond flour recipes, one of the primary challenges I consistently work to overcome is almond flour’s inherent dense moisture. While this characteristic can be beneficial in some contexts, it often requires careful calibration to prevent baked goods from becoming overly heavy or gummy. For recipes like my famous lemon almond flour cake, incorporating a small amount of cornstarch proves effective in absorbing excess moisture, yielding a light and airy crumb. With cookies, however, our approach needs to be slightly different to achieve that coveted old-school homemade texture.
For these peanut butter cookies, we’re aiming for a perfectly chewy and soft result, reminiscent of classic bakery treats, rather than the cakey loft found in some gluten-free alternatives. This means avoiding ingredients that promote excessive rise. To skillfully offset the natural denseness that can arise when baking with 100% almond flour, I’ve found that a balanced mixture of both baking soda and baking powder is crucial. This dynamic duo provides just the right lift and tender crumb without compromising on chewiness or introducing any greasiness. Furthermore, using creamy peanut butter not only delivers that authentic, beloved peanut butter taste we all cherish but also contributes to the dough’s moisture and structure. While creamy peanut butter is recommended for its smooth texture and consistent results, you can certainly experiment with almond butter for a different flavor profile, ensuring it’s a creamy, not gritty, variety to maintain the cookie’s integrity.
Oh my goodness these are absolutely delicious😋! My entire family loves them! I used extra crunchy peanut butter, so good. These are my go to PB cookies. I just made another batch today. Thank to you for sharing ☺️
—Kimberlee
Let’s Make This Together!
Baking these glorious almond flour peanut butter cookies is a rewarding and surprisingly simple experience. Below, you’ll find step-by-step photos accompanied by modified instructions, designed to guide you effortlessly through each stage of the process. For the precise ingredient amounts and a comprehensive recipe, please scroll down to the full recipe card at the bottom of this page. This detailed guide ensures you have all the information you need to create a batch of these irresistible cookies in your own kitchen.
The Magic of No-Chill Dough: Quick and Easy Preparation
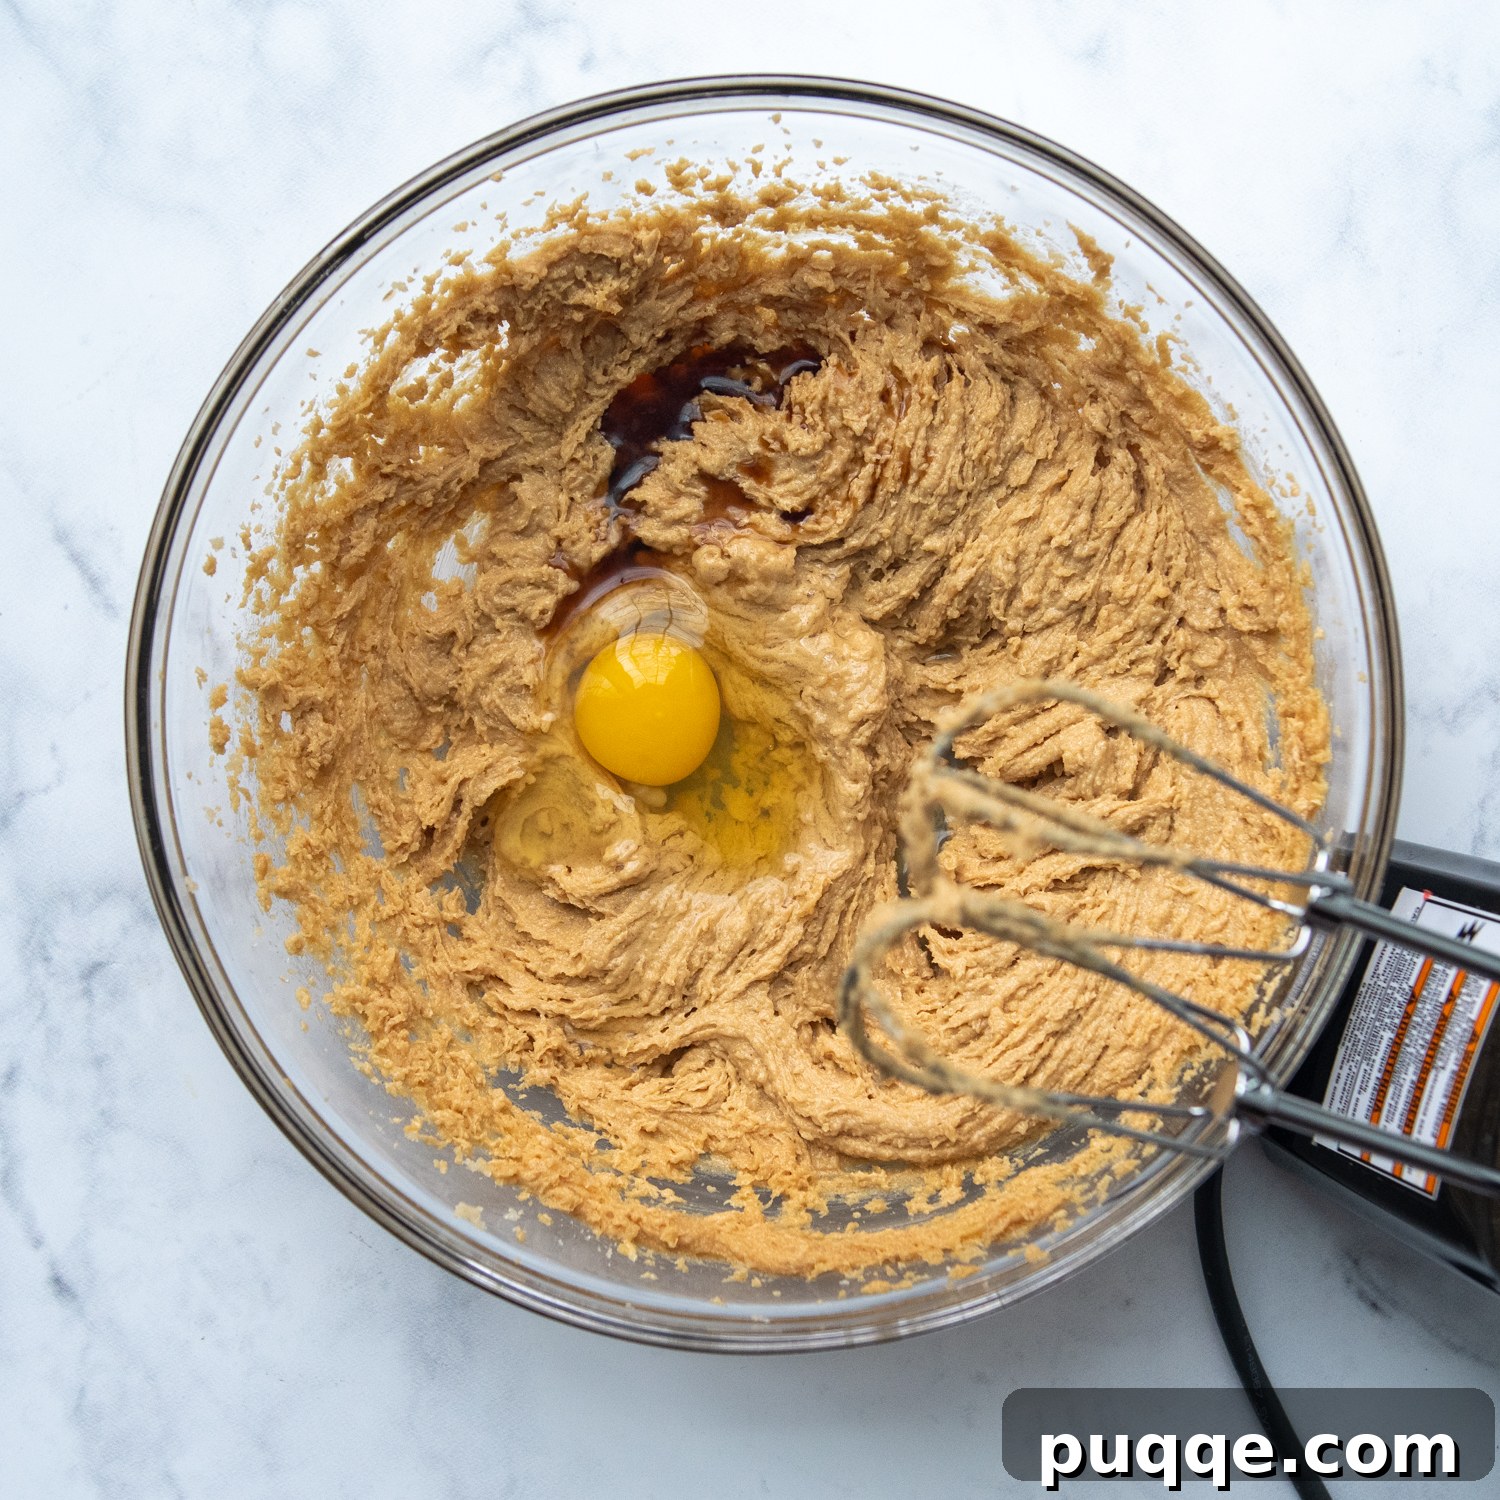
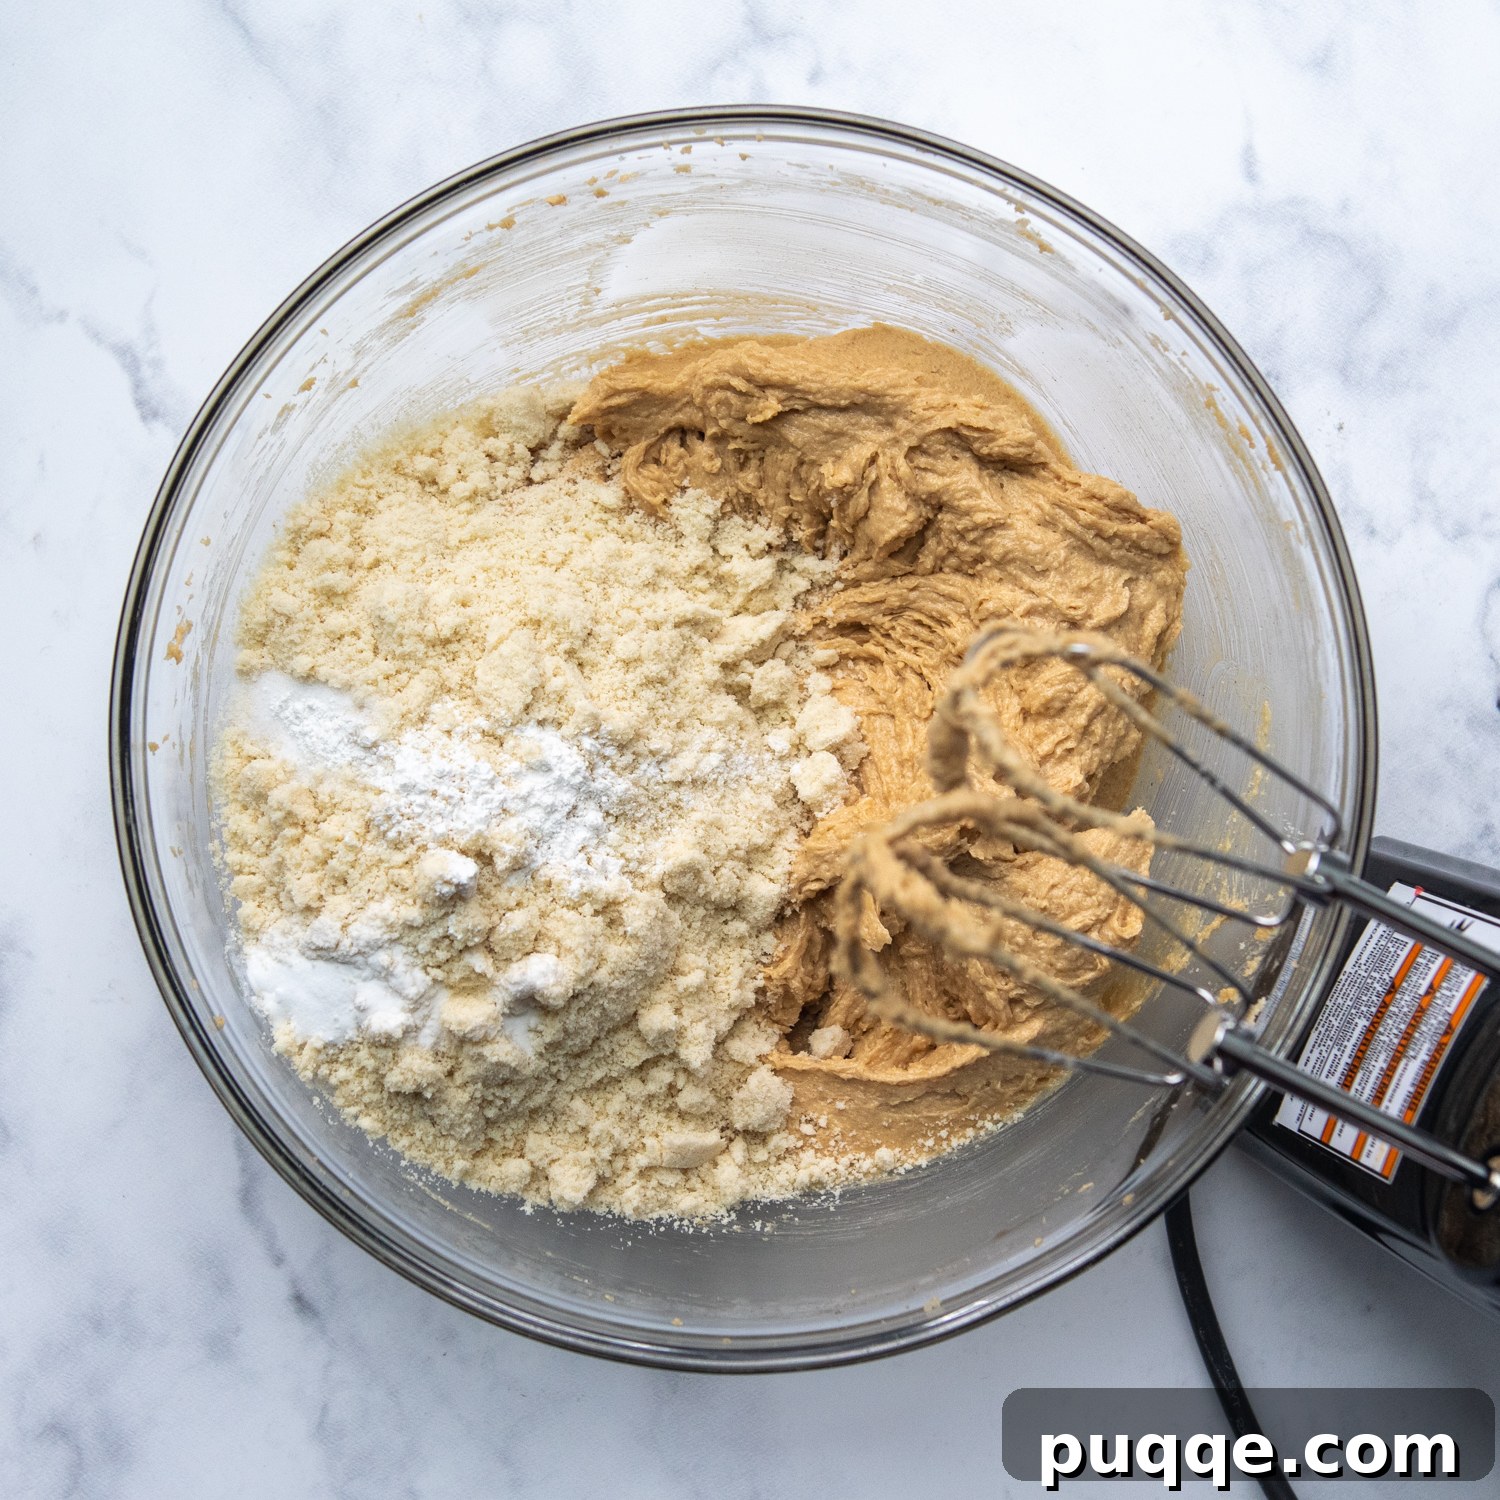
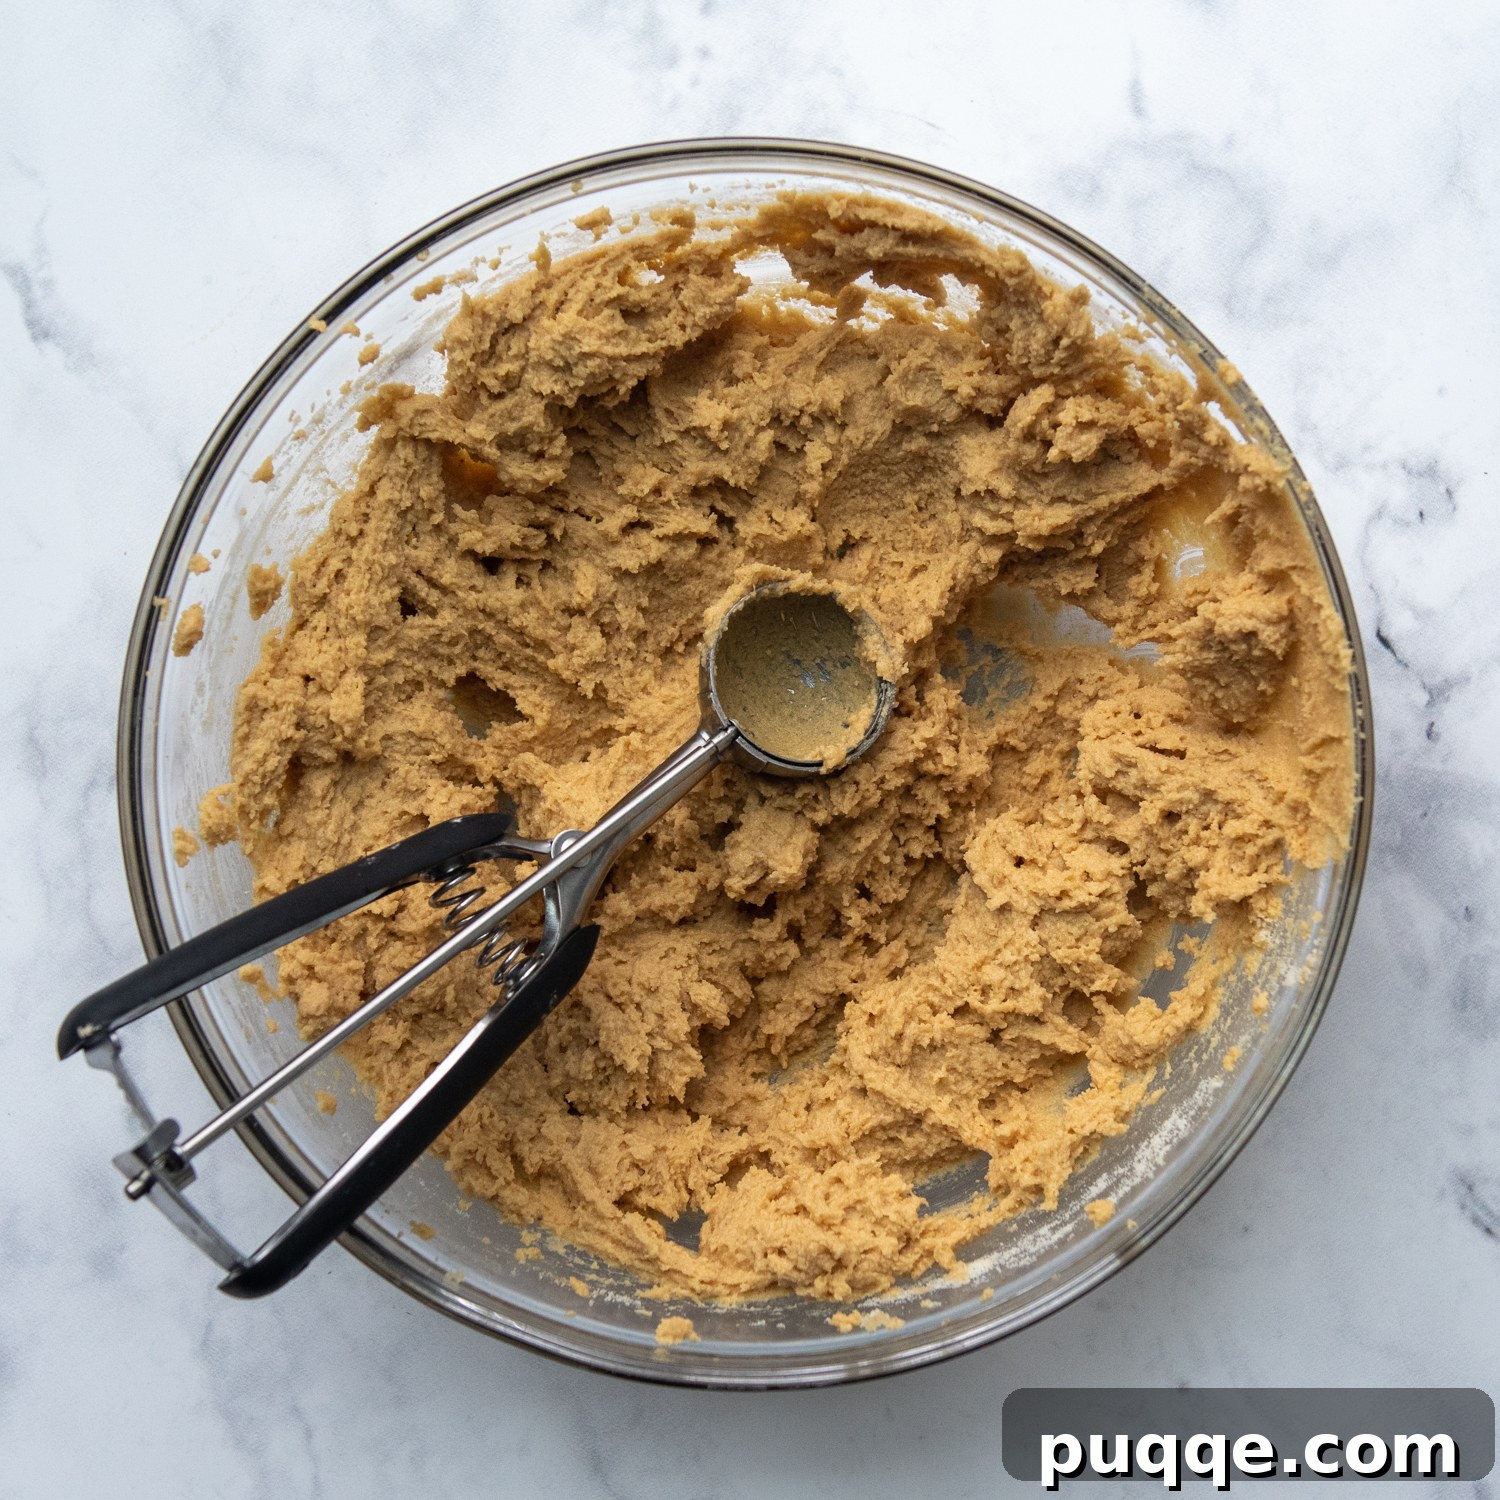
The beauty of this recipe starts with its incredibly forgiving and easy-to-handle, no-chill dough. To begin, in a large mixing bowl, cream together the softened unsalted butter with the creamy peanut butter, along with both granulated sugar and packed brown sugar. This initial creaming process is crucial for incorporating air and creating a light, fluffy base. Continue to beat until the mixture is light in color and perfectly well combined, usually taking about 2 minutes. Next, introduce the large egg and a generous splash of vanilla extract, mixing until fully incorporated and smooth. Finally, gradually add the blanched almond flour along with the rest of the dry ingredients – baking soda, baking powder, and salt. Mix until the flour is just combined and no dry streaks remain. The dough will be noticeably thick and stiff, but this is exactly the desired consistency. And just like that, your dough is done and ready for baking – no tedious chilling required!
Scoop, Bake, and Savor: Effortless Perfection
Once your dough is ready, the next step is as simple as it gets: scoop and bake! Due to the almond flour, the dough will naturally be quite soft, which is perfect for creating tender cookies. For consistent sizing and an even baking process, I highly recommend using a small cookie scoop. This tool makes portioning out the dough incredibly simple and ensures each cookie bakes uniformly. If a cookie scoop isn’t part of your kitchen arsenal, don’t fret! You can easily achieve similar results by using two spoons: scoop a generous spoonful of dough with one, then use the other to gently scrape it onto your ungreased baking sheets, leaving about 2 inches between each cookie to allow for proper spreading. Before placing them in the oven, you can gently press the tops with the tines of a fork in a classic crosshatch pattern or slightly flatten them with the bottom of a sugar-dipped glass for that signature peanut butter cookie look. These cookies bake quickly, requiring only about 10 minutes in a preheated oven, or until the edges are just set and lightly golden. Be careful not to overbake, as they will continue to firm up as they cool. Allow them to rest on the baking sheet for a crucial 5 minutes after baking; this helps them set fully and prevents breakage before carefully transferring them to a wire rack to cool completely. Then, the best part – enjoy and share with loved ones, or perhaps keep these delightful treats all to yourself!
Optimizing Dough: To Chill or Not to Chill?
One of the most common questions when baking cookies is whether to chill the dough. For this specific almond flour peanut butter cookie recipe, extensive testing revealed an interesting outcome: chilling the dough did not significantly impact the cookies’ spread during baking or their final texture. This is fantastic news for impatient bakers, as it means you don’t *have* to refrigerate the dough if you’re eager to get these delicious cookies into the oven right away!
However, while not strictly necessary for the end result, refrigerating the dough can indeed make it a little easier to handle, especially if you prefer working with a firmer consistency. My preferred method for portioning out the dough is using a cookie scoop. A scoop ensures consistent size, which leads to even baking, and makes the entire process incredibly quick and mess-free, regardless of whether the dough is chilled or at room temperature.
If you don’t own a cookie scoop and plan to roll the dough into balls by hand, I highly recommend chilling the dough first. Refrigerating it for at least 1 hour, or even freezing it for about 30 minutes, will firm it up considerably. This makes it much less sticky and significantly easier to roll into uniform 1-inch balls, ensuring a neater presentation and more manageable baking process.
But if achieving perfectly round cookies isn’t your top priority, and you’re simply craving that incredible peanut butter flavor without any extra steps, then there’s absolutely no need to chill the dough. You can simply use two teaspoons to scoop and gently scrape the dough directly onto your baking sheet. The rustic shape will still yield a wonderfully soft and chewy cookie. The key is to get them into the oven and enjoy them as quickly as possible!
Creative & Delicious Mix-In Ideas for Your Peanut Butter Cookies
While these almond flour peanut butter cookies are absolutely perfect on their own, their simple yet robust flavor profile makes them an excellent canvas for creativity! This versatile basic recipe can morph into a wide array of different cookie possibilities with the addition of a few simple mix-ins. Don’t be shy about experimenting – if you come up with your own unique twist, please leave a comment below; I’d love to hear about it!
- Chocolate Chip Extravaganza: The classic pairing of peanut butter and chocolate is irresistible. Simply mix in 1 cup of your favorite chocolate chips or chocolate chunks into the dough during the final mixing stage. Semi-sweet, milk, or even dark chocolate chips work wonderfully, adding pockets of gooey sweetness.
- M&Ms Fun: For a pop of color and a delightful candy crunch, add 1 cup of M&Ms to the cookie dough at the very end of the mixing process. This is a fantastic option for parties or for baking with kids, as they love the vibrant look and chocolatey surprise.
- Wholesome Oatmeal Twist: This version turned out so incredibly amazing that I dedicated a whole separate almond flour oatmeal cookie recipe to it! ❤️ The addition of oats provides a delightful chewiness and a slightly heartier texture, making for a wonderfully comforting cookie.
- Spiced Raisin Delight: For a warm and aromatic twist, mix in ½ teaspoon of ground cinnamon and ¼ teaspoon of ground nutmeg with your dry ingredients. Then, fold in 1 cup of plump raisins to the dough at the end. The spices complement the peanut butter beautifully, and the raisins add a burst of fruity sweetness.
- Hershey Kiss Blossoms: To create the iconic “blossom” cookie, as soon as the cookies come out of the oven, while they are still warm and soft, gently press an unwrapped Hershey’s Kiss (or another small chocolate candy) into the center of each cookie. The residual heat will slightly melt the chocolate, creating a beautiful and delicious finish.

Indulgence Elevated: Chocolate Dipped Perfection
If you wholeheartedly subscribe to the motto that everything tastes better with chocolate, then prepare to have your mind blown. Naturally, these incredibly soft and chewy almond flour peanut butter cookies become an absolute dream when dipped in melted chocolate! The combination of salty-sweet peanut butter and rich, smooth chocolate is a match made in dessert heaven, creating a truly irresistible treat that’s perfect for any occasion, or simply for an elevated everyday indulgence.
Achieving that perfectly smooth, dippable chocolate coating is simple. In a microwave-safe bowl, combine 1 cup of your preferred chocolate chips (semi-sweet or milk chocolate work best) with ½ teaspoon of vegetable oil. Microwave on high for 45 seconds to 1 minute, then stir well. The oil is key here; it helps to thin the melted chocolate slightly, making it wonderfully smooth and easy to spread or dip without becoming too thick or seizing. If needed, microwave in additional 15-second intervals, stirring vigorously after each, until the chocolate is completely melted and silky smooth. Adjust the amount of oil as needed to reach your desired consistency – a little more can be added if the chocolate is still too thick.
Once your chocolate is beautifully melted and smooth, take your cooled almond flour peanut butter cookies and dip one half of each cookie into the luscious chocolate. For a more controlled application, you can also use a small knife or an offset spatula to spread the chocolate evenly over half of the cookie. After dipping or spreading, place the chocolate-dipped cookies on wax paper or parchment paper. This provides a non-stick surface, allowing the chocolate to set properly without sticking. Let them sit at room temperature or, for quicker setting, place them in the refrigerator for about 10-15 minutes until the chocolate is firm. Once the chocolate is set, the cookies can be stacked or transferred to an airtight container for storage. These chocolate-dipped delights are not just delicious; they’re also visually appealing, making them a fantastic addition to any dessert platter.
Bookmark This Recipe for Future Baking Adventures!
Let’s connect on Pinterest! I’m constantly sharing new and exciting recipes that you won’t want to miss.
Did you bake this delightful recipe? I genuinely love to hear about your experiences! Please leave a star rating and a comment below the recipe card. Your feedback is incredibly valuable, helping other home bakers discover and enjoy these recipes, and I deeply appreciate hearing from our wonderful community. Rest assured, you will always receive a reply from me! -Melissa

Extra Soft Almond Flour Peanut Butter Cookies
 Melissa Erdelac
Ingredients
- ½ cup (113 g) unsalted butter, softened
- ¾ cup creamy peanut butter
- ½ cup (100 g) granulated sugar
- ½ cup (117 g) packed brown sugar
- 1 large egg
- 1 teaspoon vanilla extract
- 1 ¾ cup (161 g) almond flour
- ½ teaspoon baking soda
- ½ teaspoon baking powder
- ¼ teaspoon salt
Equipment
-
Baking Sheets
-
Small Cookie Scoop
-
Hand Mixer
Instructions
-
Preheat your oven to 350°F (175°C). In a large mixing bowl, beat together the softened unsalted butter, creamy peanut butter, granulated sugar, and packed brown sugar. Continue beating for about 2 minutes, or until the mixture is very well combined, light, and fluffy. Next, add the large egg and vanilla extract, mixing until fully incorporated.½ cup (113 g) unsalted butter, ¾ cup creamy peanut butter, ½ cup (100 g) granulated sugar, ½ cup (117 g) packed brown sugar, 1 large egg, 1 teaspoon vanilla extract
-
To the same bowl, add the blanched almond flour, baking soda, baking powder, and salt. Mix thoroughly until all the dry ingredients are just combined and fully integrated into the wet mixture. The resulting dough will be thick and stiff – this is the correct consistency for perfectly chewy cookies.1 ¾ cup (161 g) almond flour, ½ teaspoon baking soda, ½ teaspoon baking powder, ¼ teaspoon salt
-
Using a small cookie scoop, portion out the dough onto ungreased baking sheets, ensuring there’s about 2 inches of space between each cookie to allow for spreading. If you prefer, and do not have a cookie scoop, you can refrigerate the dough for 1 hour (or freeze for 30 minutes) to make it firmer, then roll into 1-inch balls.
-
Before baking, gently press the cookies down slightly using the bottom of a drinking glass dipped in sugar. Alternatively, for the classic crisscross pattern, dip a fork in sugar and press it lightly onto the top of each cookie. It’s important to remember that these cookies will spread as they bake, so avoid flattening them too much! A slight indentation is all that’s needed.
-
Bake for 10-11 minutes, or until the edges are just set and lightly golden. The centers may still look a little soft, but they will firm up as they cool. Do not overbake. Once removed from the oven, allow the cookies to cool on the baking sheets for 5 minutes before carefully transferring them to wire racks to cool completely. This crucial cooling time on the sheet prevents them from breaking.
Notes
Storing / Freezing Your Almond Flour Peanut Butter Cookies
To maintain their delightful freshness and chewiness, ensure the cookies have cooled completely before storing. Stack them gently and place them in an airtight container at room temperature, where they will stay fresh for up to 3 days. For extended freshness, especially if you plan to enjoy them over a longer period, wrap a couple of cookies together tightly in plastic wrap before placing them in the airtight container. This extra layer of protection can help extend their longevity up to a week.
Almond flour cookies are also excellent candidates for freezing, offering two convenient methods for enjoyment later on:
Freezing unbaked cookies: This method is perfect for having fresh-baked cookies on demand. First, portion out the cookie dough into uniform balls using your cookie scoop or by rolling them by hand. Arrange these dough balls on a baking sheet lined with wax paper, ensuring they are not touching. Place the baking sheet in the freezer until the dough balls are completely solid (this usually takes about 1-2 hours). Once frozen, transfer the solid dough balls to a freezer-safe, airtight container or a heavy-duty freezer bag. They can be stored in the freezer for up to 3 months. When you’re ready to bake, simply place the frozen cookie balls on an ungreased baking sheet, spaced about 2 inches apart. Bake as directed in the recipe, but add an extra 2-3 minutes to the baking time, typically around 12-13 minutes, since they are starting from a frozen state.
Freezing baked cookies: If you prefer to have ready-to-eat cookies on hand, you can freeze them after baking. Bake and cool the cookies completely first. Once cool, stack them in groups of 2 or 3 and wrap each stack tightly in plastic wrap. Then, transfer these wrapped stacks to an airtight freezer container or a freezer bag. They can be frozen for up to 3 months. To enjoy, simply thaw the desired number of cookies on the counter at room temperature for about 30 minutes to an hour. For a warm, freshly baked experience, you can gently reheat them in a microwave for 10-15 seconds or in a toaster oven for a few minutes.