
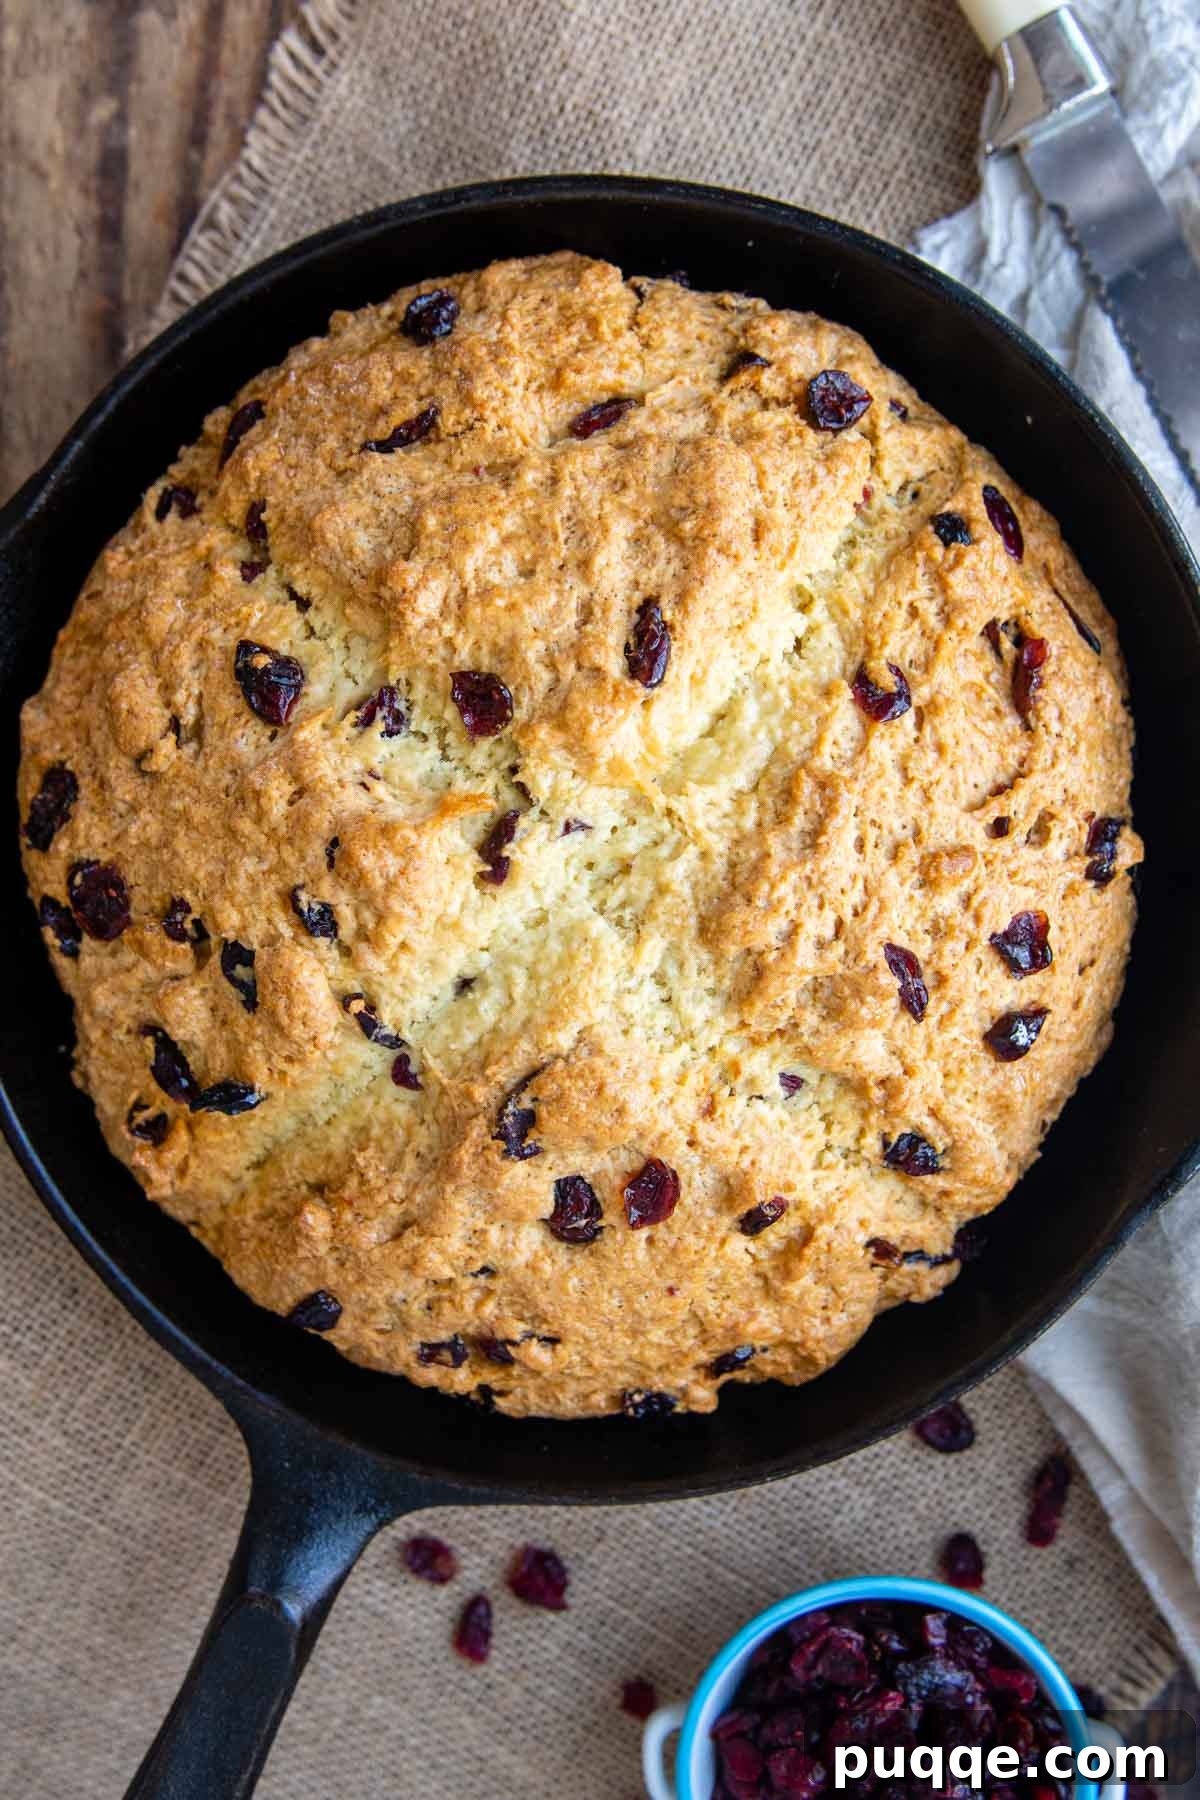
Experience the ultimate comfort food with this **Sweet Irish Soda Bread recipe**, a delightful twist on a classic. Imagine a loaf boasting a beautiful golden, slightly crunchy, and perfectly sweet crust that gives way to an incredibly moist, tender interior infused with the rich tang of buttermilk and vibrant bursts of dried cranberries. This isn’t just any soda bread; it’s a revelation that consistently earns rave reviews for its exceptional flavor and texture. What’s even better? This easy quick bread comes together in mere minutes, requiring no yeast or lengthy kneading, and includes simple adaptations to make it wonderfully gluten-free. Prepare to fall in love with a bread that truly tastes like heaven!
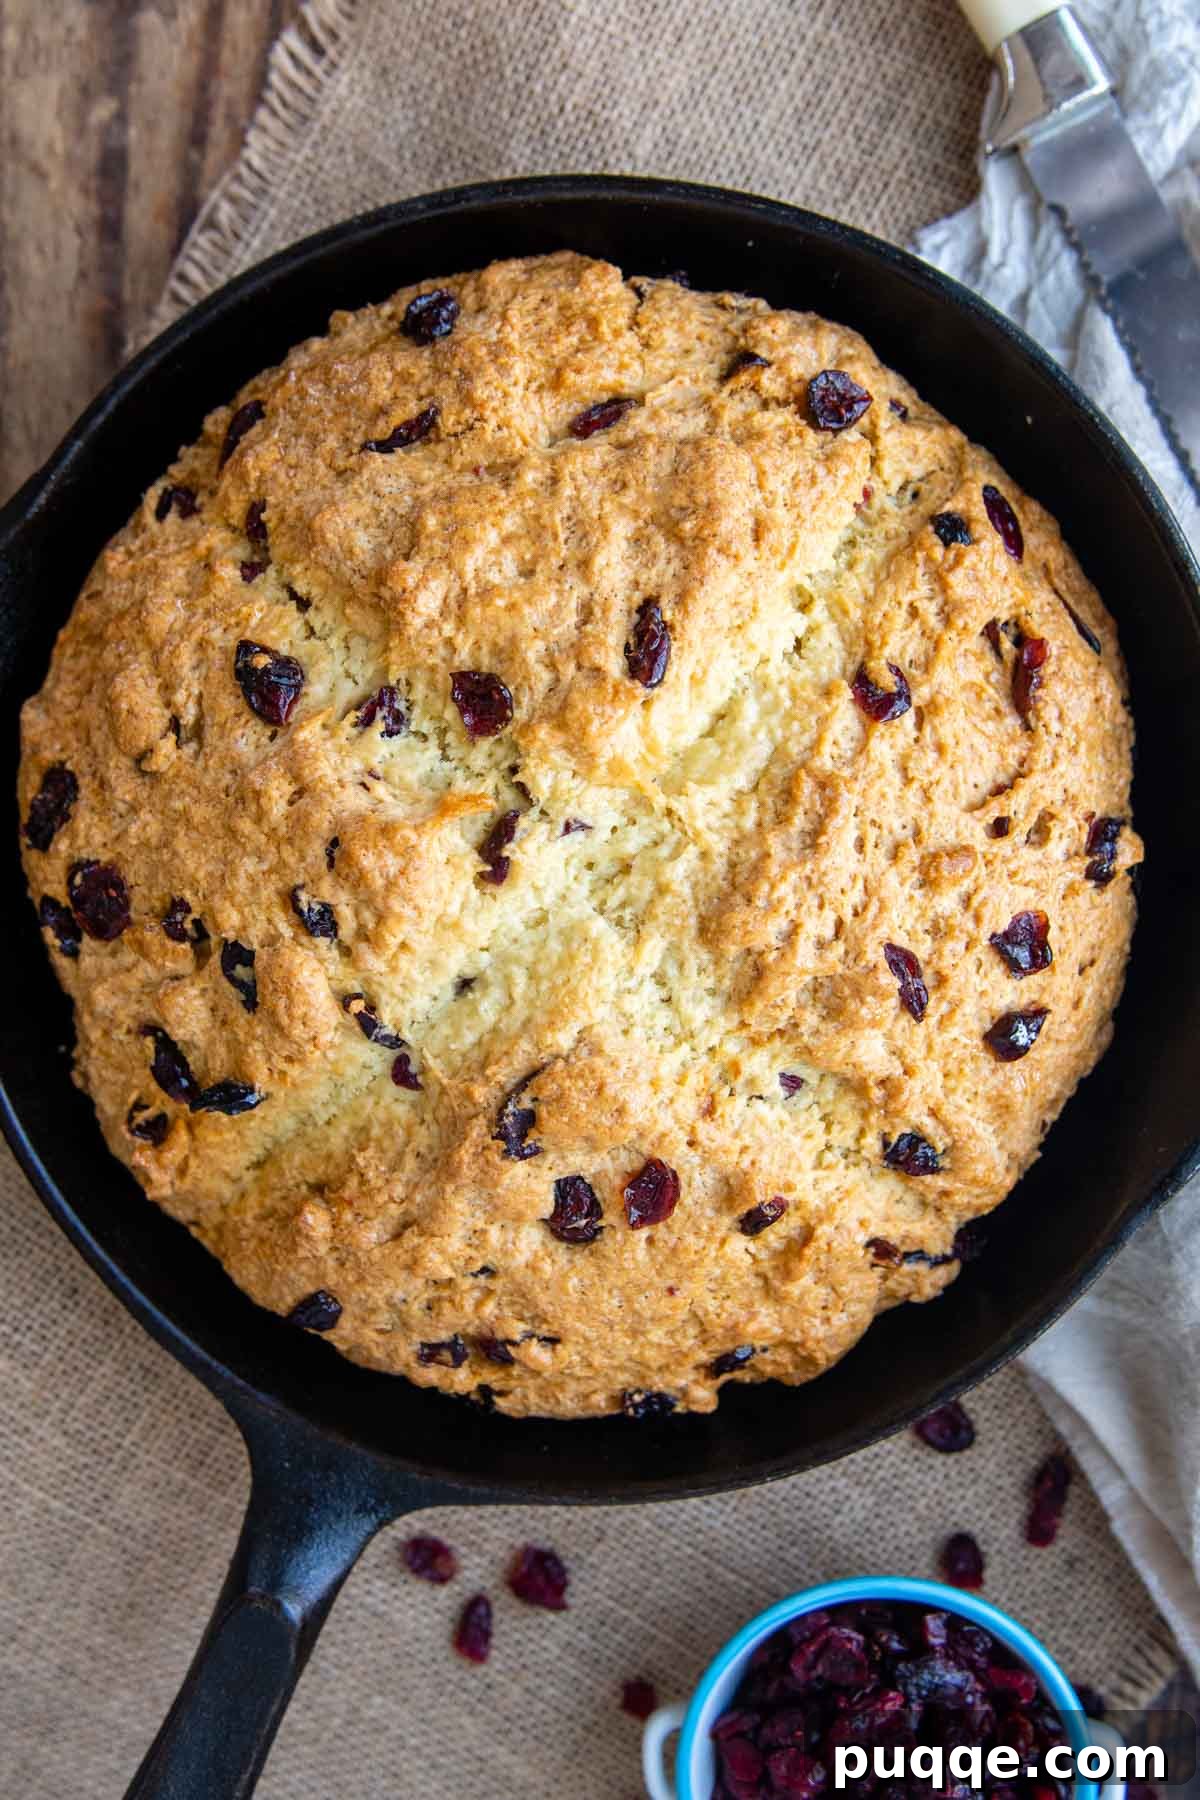
Unveiling the Best Sweet Irish Soda Bread
For many, Irish soda bread conjures images of a rustic, somewhat dense loaf, often served plain or with caraway seeds. But my culinary journey with Irish soda bread began differently. Growing up, the only version I knew was my mom’s sweet rendition, a cherished family tradition that always marked St. Patrick’s Day as a truly special occasion. I honestly believed all Irish soda breads were as wonderfully moist, slightly sweet, and utterly delightful as hers.
That perception shattered during my college years. St. Patrick’s Day celebrations, as they often do for students, involved a fair share of green-tinted beverages. But before diving into the festivities, a proper meal at an authentic Irish pub was a must. When the server presented the promised soda bread, I eagerly dug in, ready to extol its virtues to my friends, promising them a taste of pure bread heaven. To my dismay, the first bite was utterly bland, dry, and nowhere near the sweet, moist goodness I’d always associated with Irish soda bread. I quickly learned that my mom’s recipe, while perhaps not “traditional” in the strictest sense, was a superior culinary experience tailored to our sweet-loving palates.
The secret, it turned out, was a “smidgen” (or perhaps a generous cup!) more sugar than typical recipes, along with the perfect balance of buttermilk for that signature tenderness. This extra sweetness, combined with juicy raisins or tangy dried cranberries, transformed a humble quick bread into something truly extraordinary. My mom’s sweet soda bread, served alongside her legendary Slow Cooker Corned Beef and Cabbage with apple juice, became the highlight of our annual St. Patrick’s Day feast. We literally counted down the days!
Beyond its incredible flavor, one of the greatest appeals of this sweet Irish soda bread is its astonishing simplicity. Forget the complexities of yeast, the effort of kneading, or the need for extensive proofing times. This recipe embodies the very definition of a “quick bread” – a few simple ingredients mixed, poured, and baked. The result is consistently spectacular, proving that extraordinary flavor doesn’t have to be complicated. Much like our viral cheesy sausage muffins, once you try this recipe, it’s bound to become a regular fixture in your kitchen.
This is undeniably the best soda bread recipe I’ve ever encountered. My family now refers to it as “Shawna’s soda bread” because I make it for every gathering. It’s a joy to bake, and the only downside is there are never any leftovers!
—Shawna
OMG!! This is the best Irish Soda Bread I have ever had or ever made! It is exactly what the title states. SWEET and extra MOIST. That’s what I typed into my search engine, “give me a recipe for soda bread that is SWEET and MOIST!” This is a keeper.
—Kathleen
Traditional vs. Sweet: What Makes This Soda Bread Special?
To truly appreciate this sweet Irish soda bread, it helps to understand its traditional counterpart. Historically, Irish soda bread was a staple born out of necessity. Made with just flour, baking soda, salt, and buttermilk, it was a practical, quick-to-prepare bread that didn’t require expensive yeast, which was often scarce. Traditional versions typically feature a very hard, rustic crust and a dense, somewhat tangy interior. The buttermilk reacts with the baking soda to create the rise, giving it a characteristic crumb and flavor profile that is more savory than sweet.
This particular recipe, however, ventures into a deliciously different territory. While it retains the fundamental “quick bread” principle, it embraces a more indulgent and approachable profile. Our sweet Irish soda bread is characterized by its:
- **Exceptional Moisture:** Thanks to a generous amount of buttermilk and a careful balance of ingredients, this bread is incredibly moist, never dry or crumbly.
- **Delicate Sweetness:** Unlike traditional recipes, a thoughtful addition of sugar transforms it from purely savory to a wonderfully sweet, comforting treat. This sweetness enhances the fruit and creates a delightful golden crust.
- **Tender, Cake-like Crumb:** The interior is soft and tender, often described as cake-like, making it a joy to eat on its own or with a simple spread.
- **Versatile Appeal:** It blurs the lines between bread and dessert, making it perfect for any time of day. Enjoy a slice with your morning coffee, as an afternoon snack, or as a sweet accompaniment to dinner. Just like a decadent oatmeal mug cake, its deliciousness makes any classification irrelevant!
This sweet version isn’t meant to replace traditional Irish soda bread, but rather to offer a delectable alternative for those who appreciate a softer, sweeter quick bread with a moist crumb and rich flavor. It’s perfect for celebrating St. Patrick’s Day, brunch gatherings, or simply whenever you crave a comforting, homemade baked good.
Gather Your Ingredients: Simple Staples for Stunning Bread
One of the beauties of this sweet Irish soda bread is its reliance on readily available pantry staples. You won’t need any exotic ingredients or fancy equipment. The magic lies in the simple combination and method. Below, you’ll find step-by-step photos and detailed instructions. For the complete list of ingredients and their exact amounts, please scroll down to the recipe card.
This recipe is incredibly forgiving, requiring absolutely no yeast, no tedious kneading, and certainly no advanced baking expertise. Whether you’re a seasoned baker or a complete novice, you’ll find this process straightforward and rewarding. Even better, it’s easily adaptable for a delicious gluten-free version, ensuring everyone can enjoy a slice of this comforting bread.
Step 1: Whisk Your Dry Ingredients & Create a Well
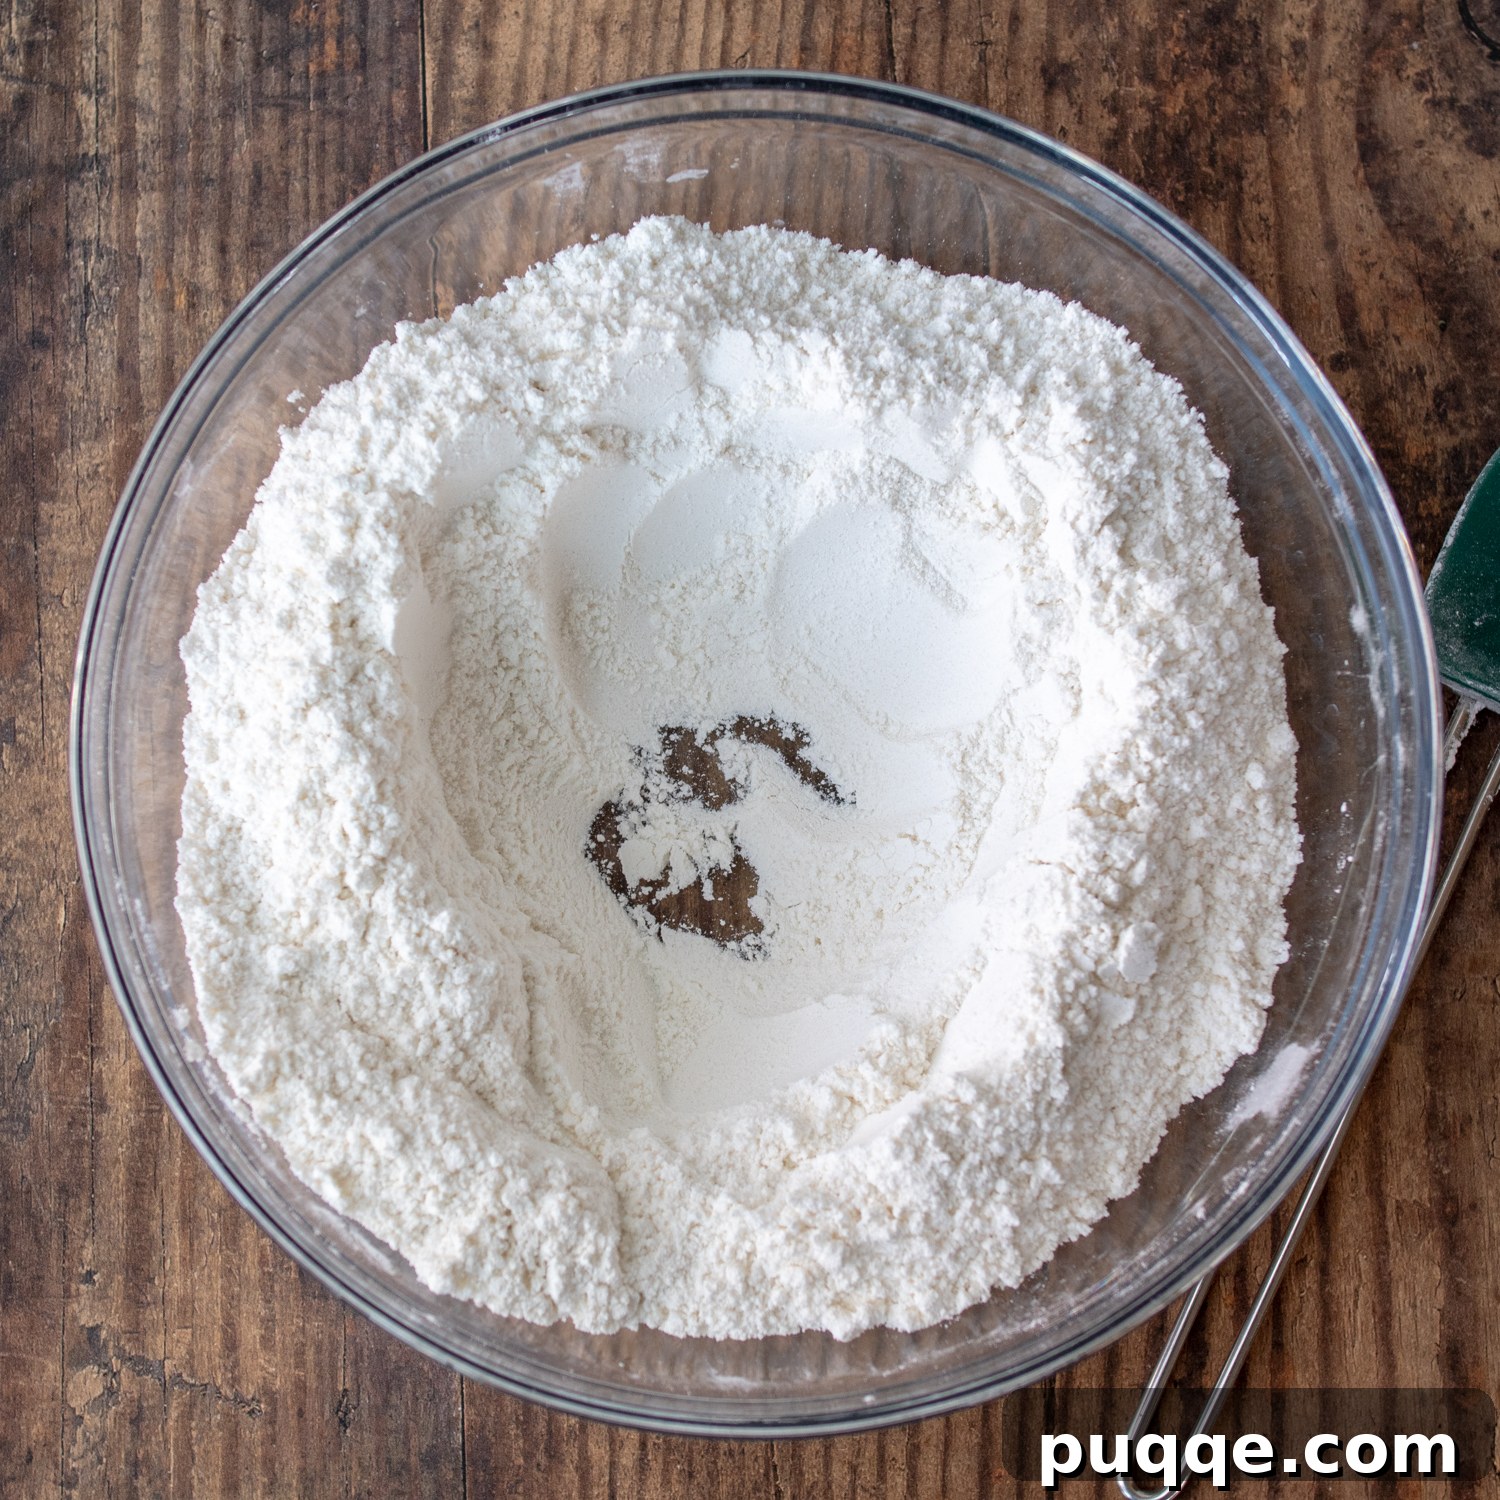
In a large mixing bowl, combine all your dry ingredients: flour, granulated sugar, baking soda, baking powder, and salt. Whisk them together thoroughly to ensure they are well-combined and evenly distributed. Then, using your hand or a spoon, push the dry ingredients towards the sides of the bowl to create a clear “well” in the center. This simple technique allows for easy incorporation of the liquid ingredients later, ensuring a smooth, lump-free dough without overmixing. There’s no need to pull out a stand mixer for this homemade soda bread – a good old whisk and a bowl are all you need!
Step 2: Combine the Wet Ingredients
In a separate, smaller bowl, whisk together the melted unsalted butter, creamy buttermilk, and one egg. It’s crucial that your melted butter has cooled down sufficiently before adding it to the buttermilk and egg. If the butter is too warm, it can cause the dairy to curdle or the egg to cook prematurely, leading to a less-than-ideal texture. A great tip for success is to ensure all your wet ingredients are at room temperature. This helps them combine smoothly and contributes to a more tender final product.
Step 3: Gently Mix and Add Your Favorite Inclusions
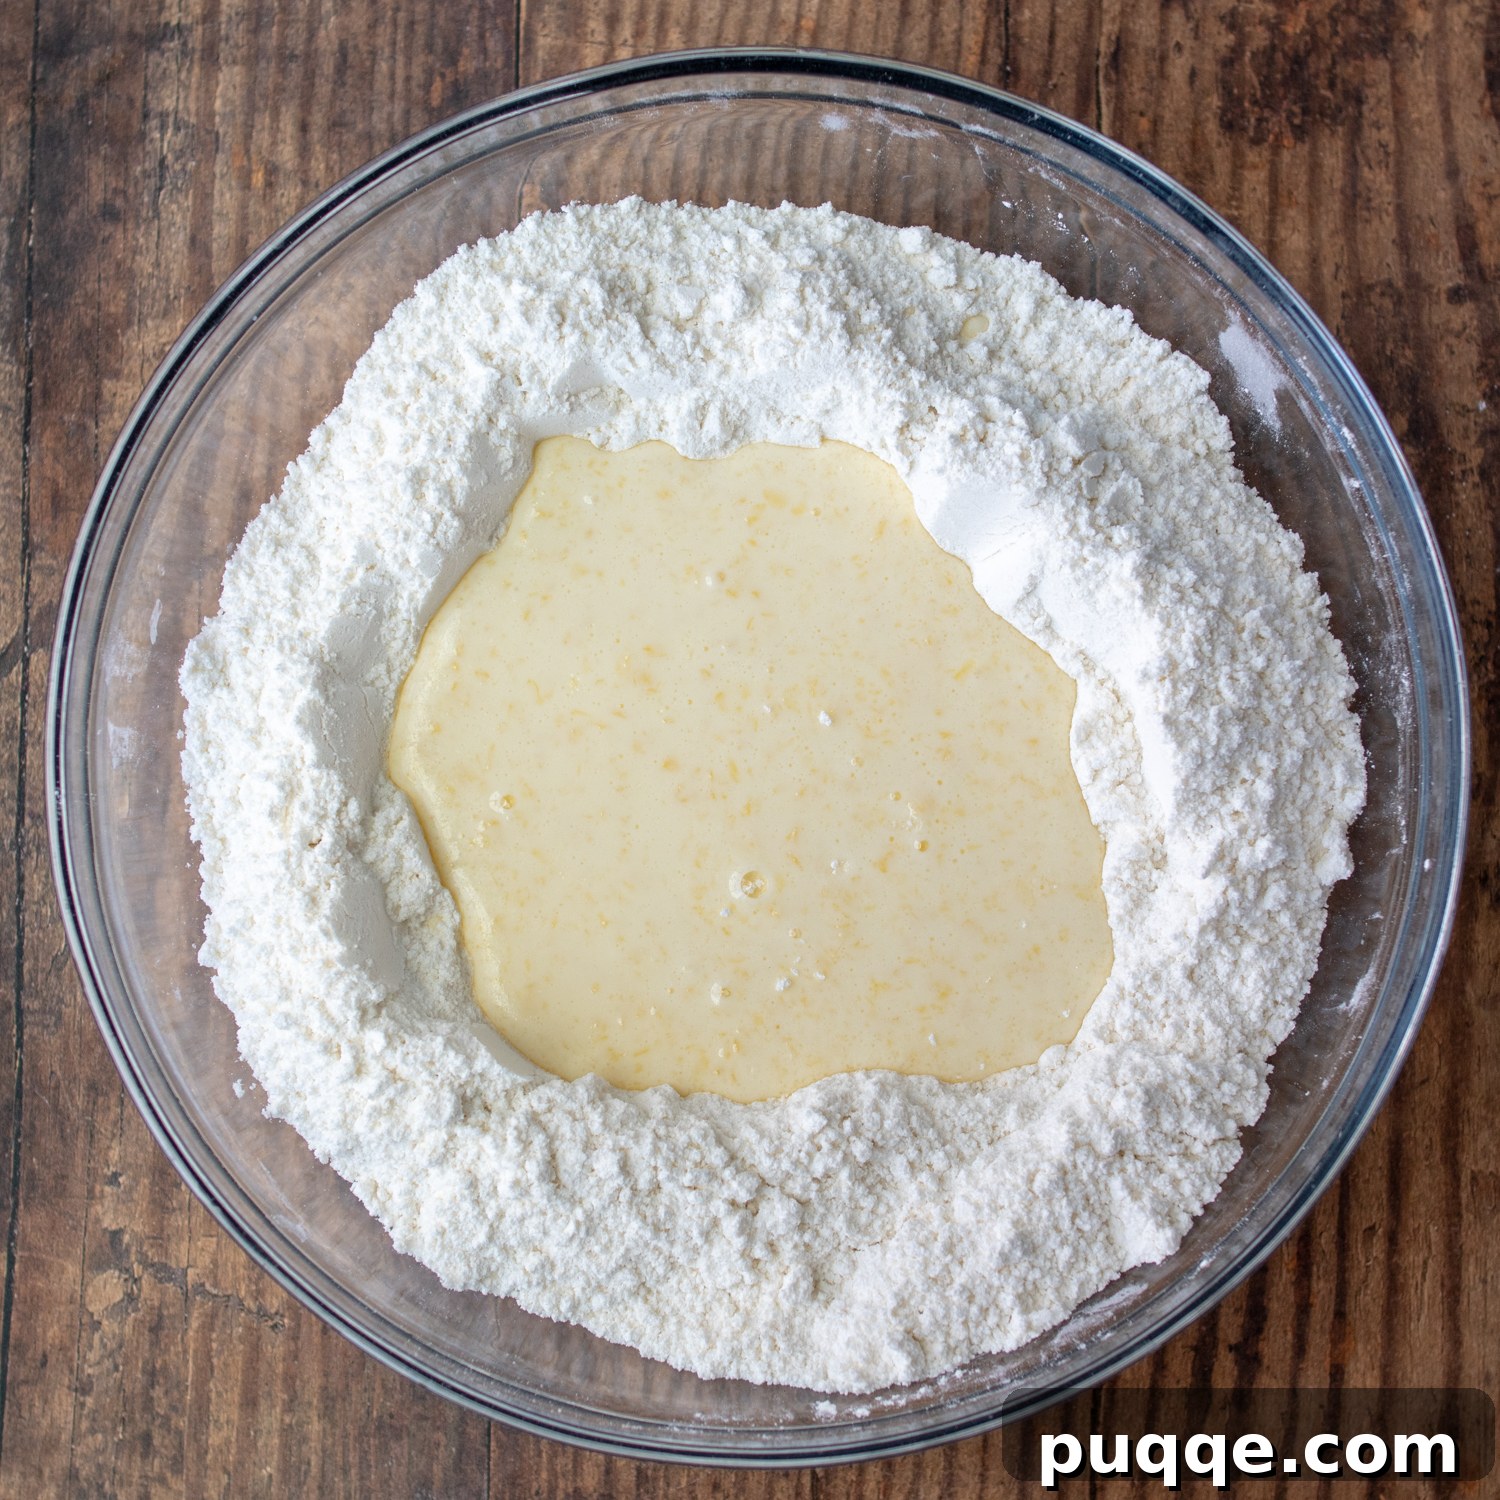
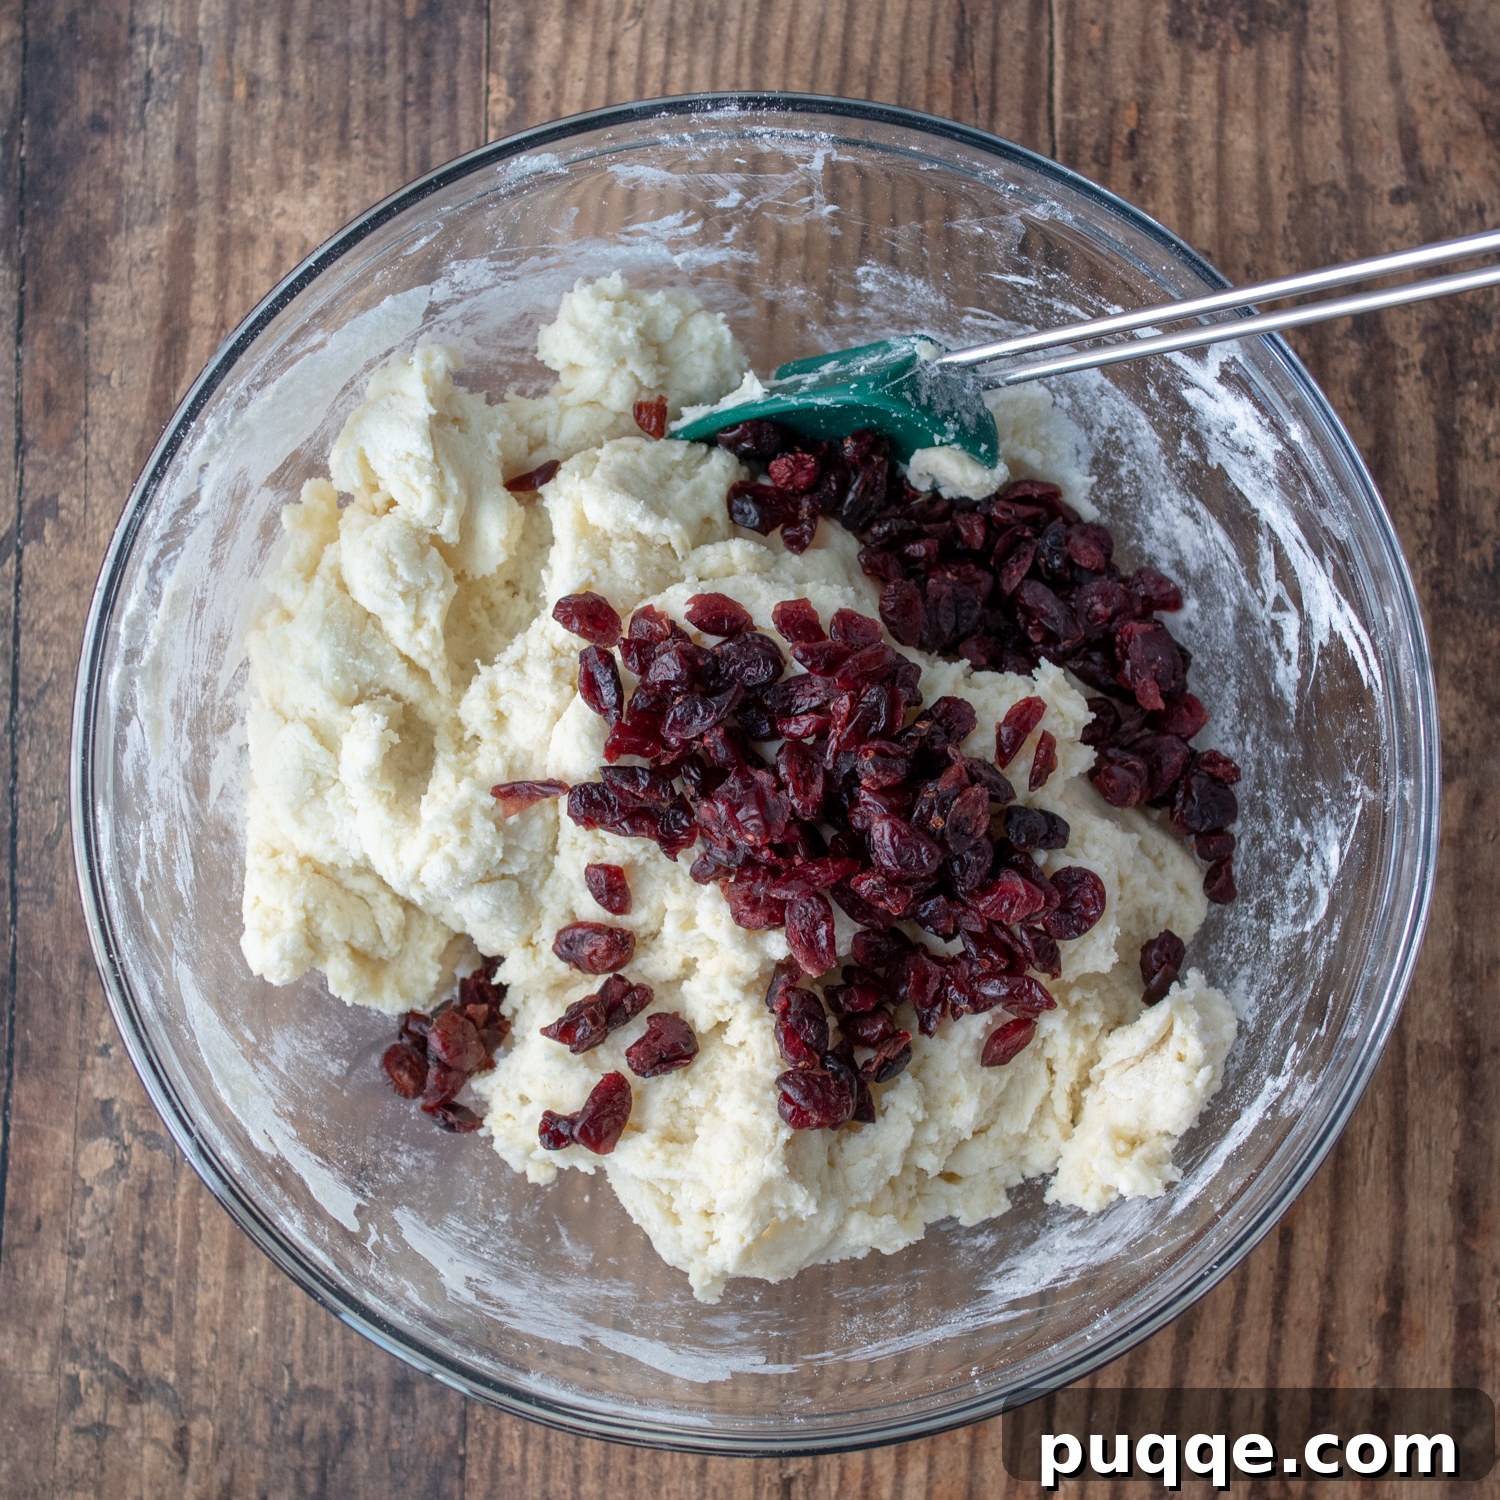
Pour the combined wet ingredients directly into the well you created in the dry ingredients. Using a sturdy spoon or a spatula, gently mix until a soft dough begins to form. Be careful not to overmix, as this can lead to a tough bread. The dough will likely be quite stiff, which is perfectly normal for soda bread. At this point, it’s time to incorporate your “extra goodness.” This sweet and moist crumb pairs beautifully with tangy dried cranberries, but feel free to substitute with golden raisins, sultanas, or even a hint of fragrant orange zest for a bright citrus note. You might need to get your hands in there and lightly knead the dough a few times to ensure all the dry flour is fully incorporated and your chosen mix-ins are evenly distributed. Don’t worry about developing gluten; just focus on bringing everything together.
Step 4: Shape, Score, and Bake to Golden Perfection
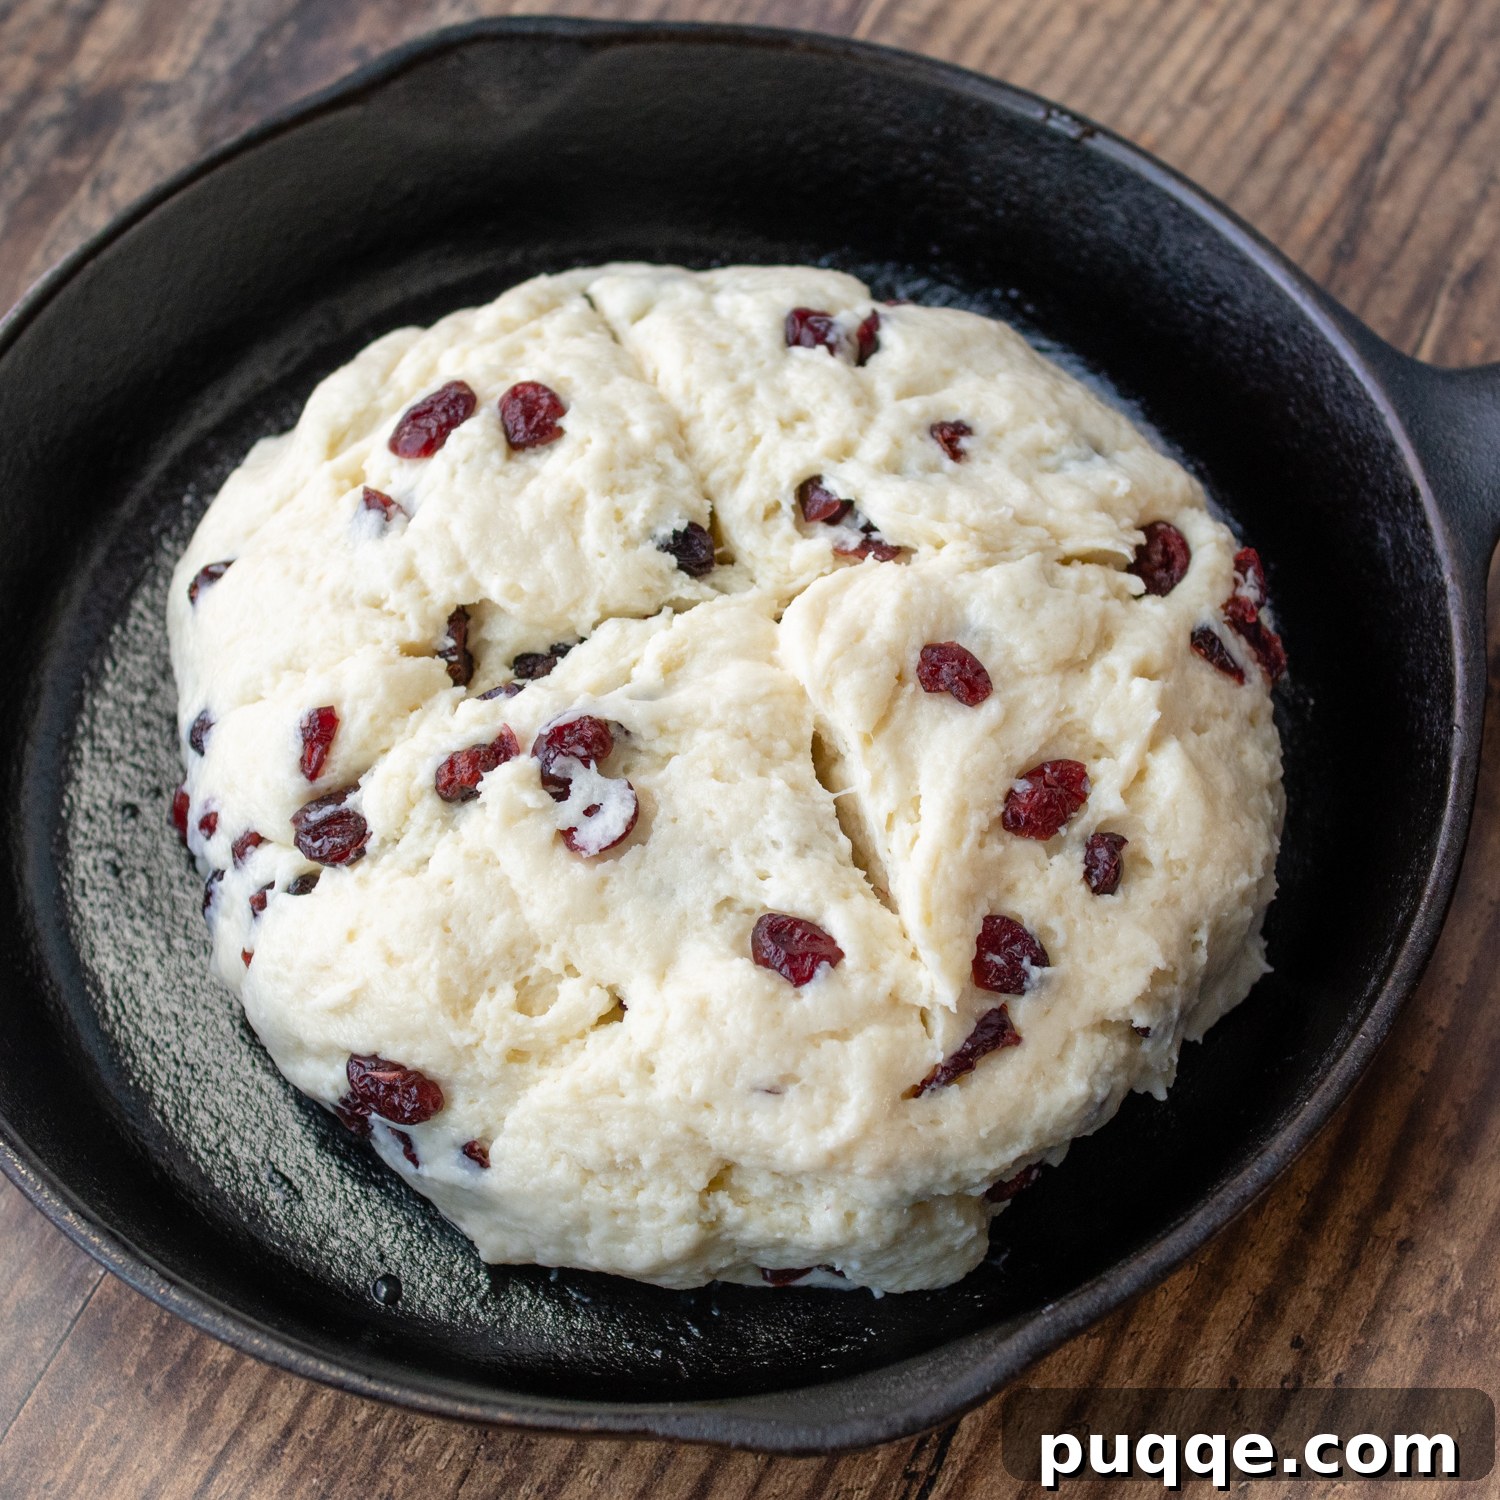
Lightly butter your chosen baking vessel – a classic cast iron skillet, a 9-inch round cake pan, or a baking sheet all work beautifully. Gently shape the stiff dough into a round loaf. If the dough is a little sticky, lightly wet your fingers to make handling easier. Transfer the shaped dough to your prepared pan. Now, for the signature touch: using a sharp knife, make a deep “X” cut across the top of the loaf. This isn’t just for aesthetics; it helps the bread rise evenly and encourages a beautiful, crackled crust. Pop your loaf into a preheated 350ºF (175ºC) oven and bake for approximately 1 hour. If you’re making this with gluten-free flour, you might find it needs an extra 5-10 minutes. More details on gluten-free baking times are provided below!
Crafting the Perfect Gluten-Free Sweet Irish Soda Bread
For those navigating a gluten-free diet, the good news is that this recipe is incredibly forgiving and easily transforms into the best gluten-free soda bread you’ll ever taste! Because Irish soda bread is a “quick bread” – relying on baking soda and buttermilk for its rise rather than yeast – there’s no need to worry about gluten development or elaborate kneading techniques. This makes the flour swap remarkably straightforward and successful. I’ve personally made this bread countless times with gluten-free flour, and the results are consistently outstanding.
The key to a truly fantastic gluten-free sweet Irish soda bread lies in choosing a high-quality, all-purpose gluten-free flour blend. My top recommendation, which I use and wholeheartedly endorse, is Cup4Cup gluten-free flour. This particular blend yields a texture so spot-on that most people can’t even tell the difference from a traditional wheat flour loaf. It provides the perfect balance of structure and tenderness, mimicking the original recipe beautifully.
By substituting with a reliable GF flour blend, you eliminate the need to bake separate loaves for different dietary needs. My entire family, whether they require gluten-free or not, enthusiastically enjoys this adapted recipe with just as much gusto as the original. When baking with gluten-free flour, keep in mind that the dough might feel a little softer or stickier, but it will still come together beautifully. You might also notice a slight increase in baking time – typically an extra 5 to 10 minutes – to ensure the center is fully cooked. Always perform a toothpick test to confirm doneness. Enjoy the same golden crust, moist interior, and delicious flavors, completely gluten-free!
Bonus Baking Tips & Delightful Modifications
This sweet Irish soda bread recipe is fantastic as written, but it’s also wonderfully adaptable! Here are some tips and modifications to help you customize your loaf and ensure baking success:
- **Fruit Variations:** While dried cranberries provide a beautiful tang and color, feel free to substitute them with other dried fruits. Golden raisins, dark raisins, dried cherries, or a mix of several would be delicious. For a simpler loaf, you can also leave the dried fruit out entirely.
- **Citrus Zing:** To add an extra layer of bright, aromatic flavor, stir in 1 tablespoon of fresh orange zest or lemon zest along with your wet ingredients. Citrus pairs wonderfully with the cranberries and buttermilk.
- **Adjust Sweetness:** This recipe leans towards a sweeter profile, but you can always adjust the amount of granulated sugar to suit your personal taste. For a slightly less sweet bread, reduce the sugar by ¼ cup.
- **Gluten-Free Baking Time:** When baking with gluten-free flour blends, the bread often requires a bit more time to fully cook through. Expect to increase the baking time by approximately 5-10 minutes. Always test for doneness by inserting a knife or toothpick into the center – it should come out clean.
- **Authentic Twist (with a sweet touch):** For a nod to more traditional Irish flavors while keeping the sweetness, substitute the dried cranberries with classic raisins and add 2 teaspoons of caraway seeds. Caraway seeds offer a distinctive, slightly anise-like flavor that is a hallmark of many authentic Irish soda breads.
- **Don’t Overmix:** As with all quick breads, overmixing the dough can develop gluten too much, resulting in a tougher, less tender loaf. Mix just until the dry ingredients are incorporated with the wet, and no flour pockets remain.
- **Room Temperature Ingredients:** Ensure your buttermilk and egg are at room temperature. This helps them emulsify better with the melted butter and creates a smoother, more uniform batter, contributing to a lighter texture.
- **Cooling is Key:** Allow the bread to cool for at least 15-20 minutes in the pan before transferring it to a wire rack to cool completely. This helps the crumb set and prevents it from becoming gummy.
Serving Suggestions: How to Enjoy Your Sweet Irish Soda Bread
Once your golden, aromatic loaf emerges from the oven, the possibilities for enjoyment are endless! This sweet Irish soda bread is incredibly versatile and pairs wonderfully with a variety of accompaniments and meals. Here are some delicious serving suggestions:
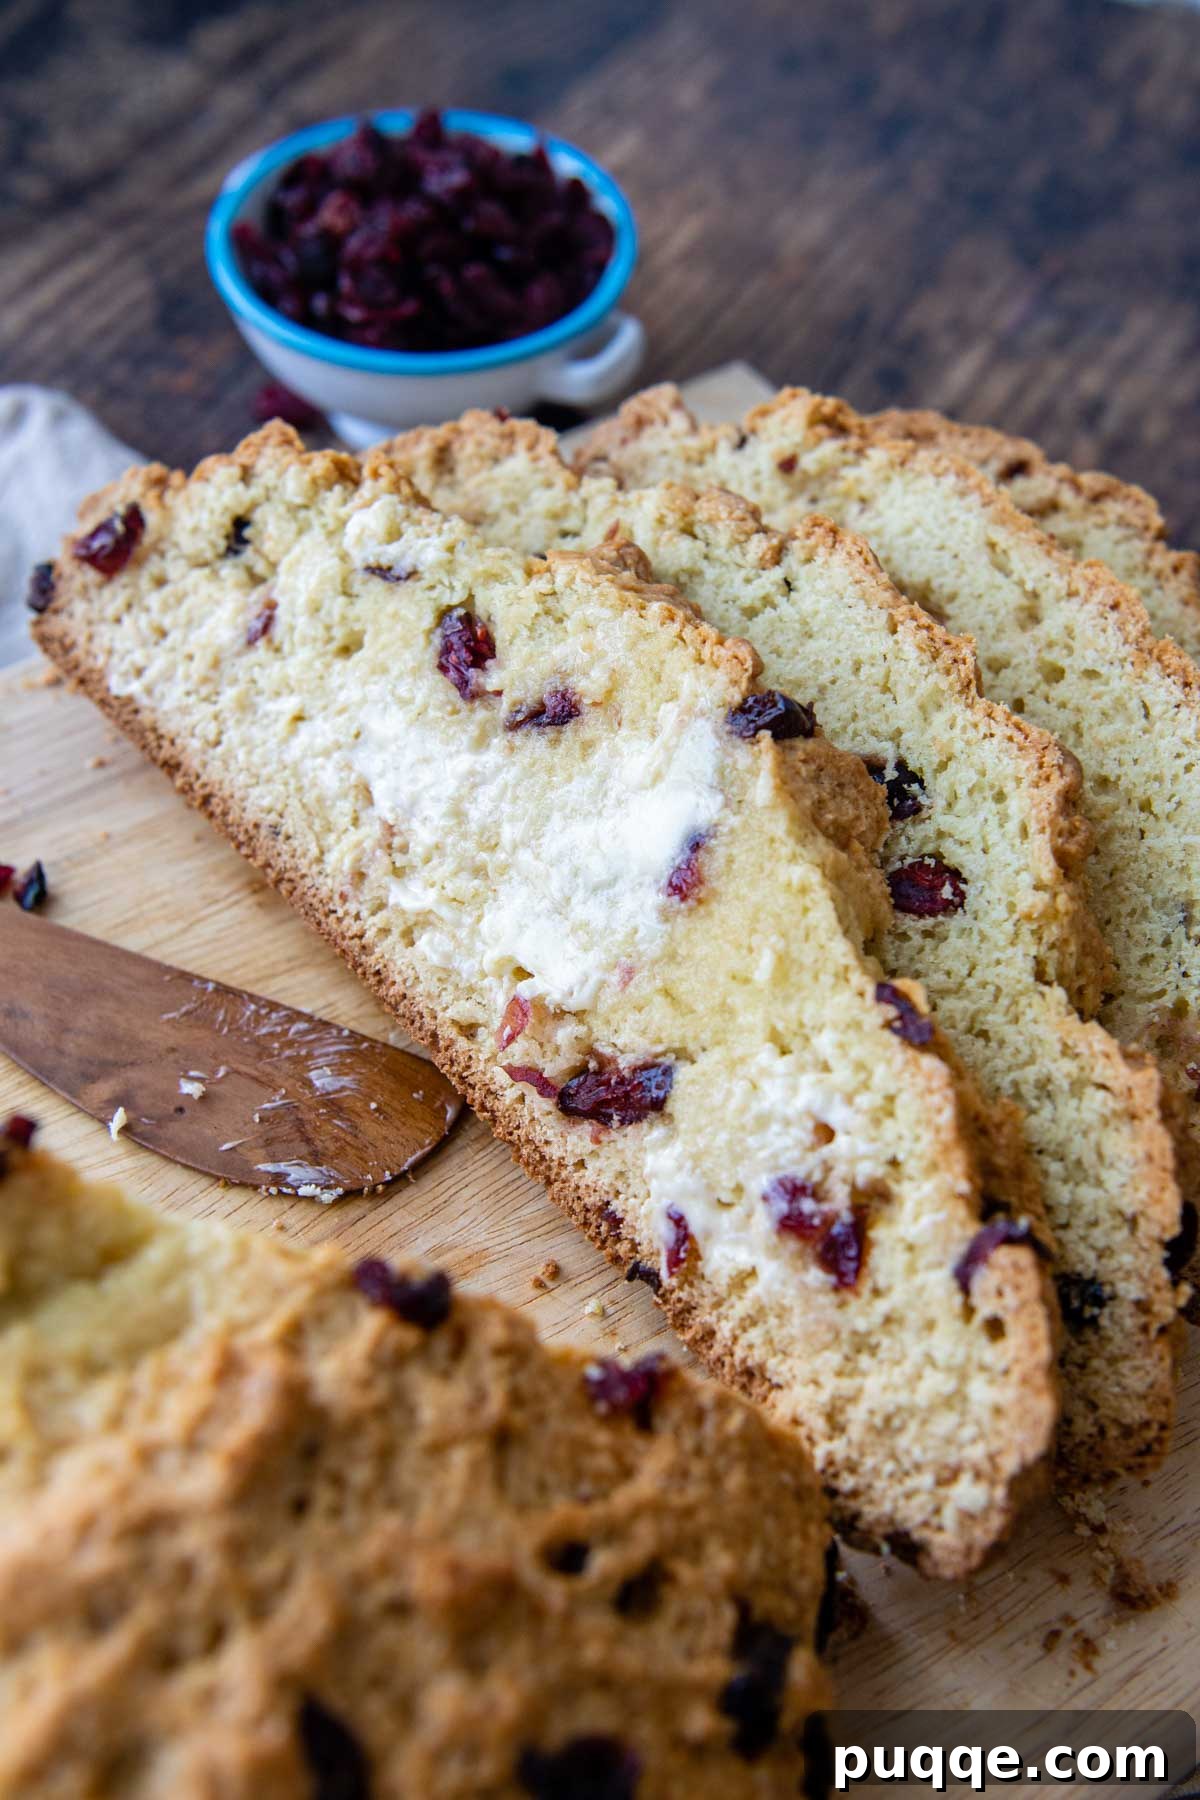
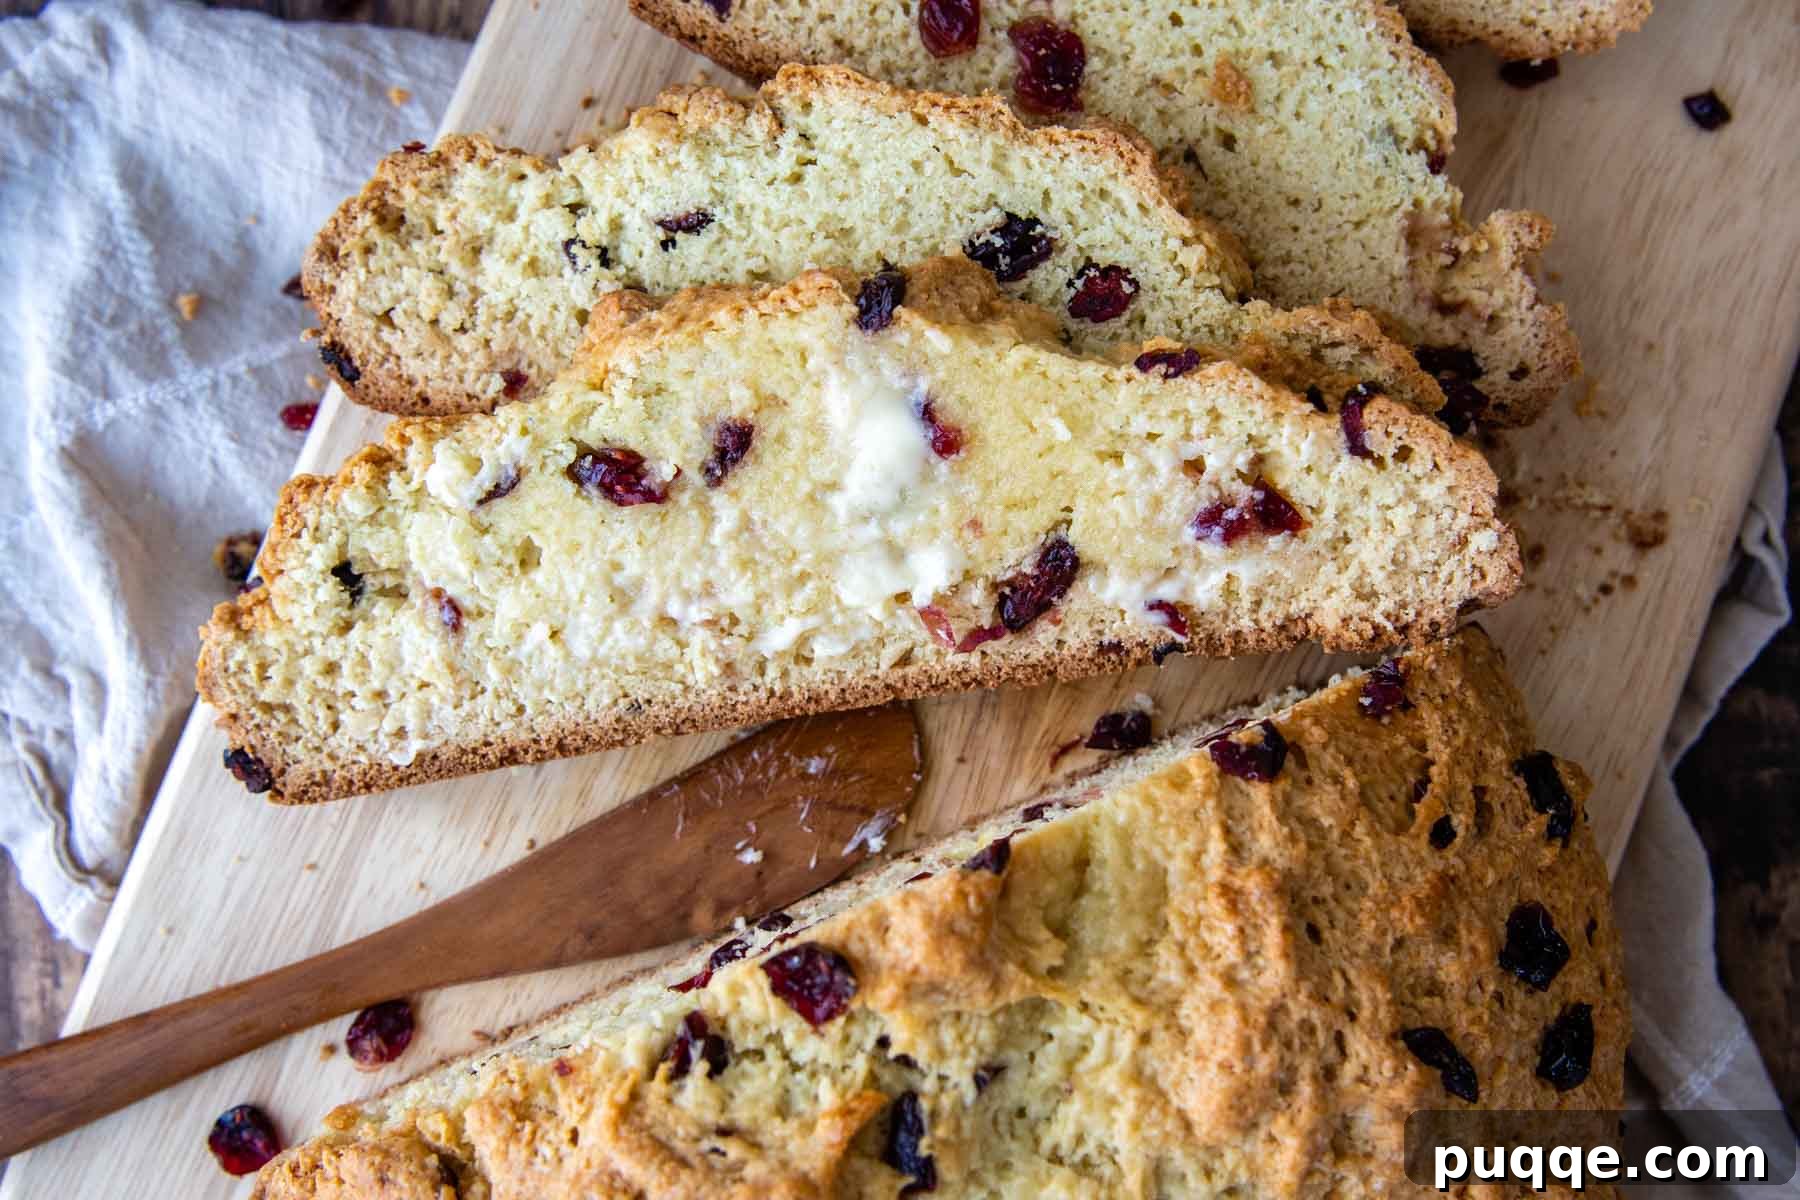
- **Classic with Butter:** The simplest and arguably most satisfying way to enjoy a warm slice is with a generous smear of softened butter. A high-quality salted butter will perfectly complement the bread’s sweetness and tang.
- **Sweet Spreads:** Elevate your breakfast or brunch with fruit jams, marmalades, or honey. A dollop of whipped cream or clotted cream can also transform it into a decadent dessert.
- **With Tea or Coffee:** This bread is the quintessential accompaniment to your morning coffee or a comforting cup of Irish tea. Its moist crumb and sweet flavor make it ideal for dunking or simply savoring alongside your hot beverage.
- **Breakfast or Brunch Staple:** Serve slices as part of a hearty breakfast or elegant brunch spread. It pairs beautifully with eggs, bacon, sausage, or even fresh fruit salads.
- **Dessert Alternative:** Its cake-like texture and sweetness make it a fantastic, less-heavy alternative to traditional desserts. Serve it with a scoop of vanilla ice cream, a drizzle of caramel, or a sprinkle of cinnamon sugar.
- **Alongside Savory Dishes:** Don’t limit it to sweet pairings! While sweet, its buttermilk tang means it can still be a delightful side for certain savory meals, especially those with a hint of sweetness, like roasted pork or chicken dishes.
However you choose to enjoy it, this sweet Irish soda bread is sure to become a beloved favorite.
Save This Delectable Recipe for Later!
Let’s be friends on Pinterest! I’m always sharing great recipes and inspiring ideas!
Did you indulge in this incredible recipe? I absolutely love hearing about your cooking adventures! Please leave a star rating and comment below the recipe card. Your feedback is invaluable, helping other home cooks discover and enjoy these recipes. I promise you’ll always hear back from me! -Melissa
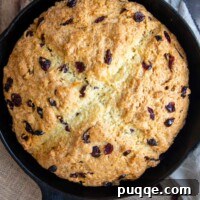
Seriously Moist Sweet Irish Soda Bread Recipe
 Melissa Erdelac
Pin Recipe
Rate This Recipe
Ingredients
- 4 cups all purpose flour or gluten-free flour, (I recommend Cup4Cup gluten-free flour)
- 1 cup granulated sugar
- 1 teaspoon baking soda
- 1 teaspoon baking powder
- ¼ teaspoon salt
- ⅓ cup unsalted butter, melted and cooled
- 1⅓ cup buttermilk
- 1 egg
- ¾ cup dried cranberries, see recipe notes for substitutions
Instructions
-
Preheat your oven to 350ºF (175ºC). Lightly grease a cast iron skillet or a 9-inch round cake pan with butter. (Refer to the recipe notes for other pan options.)
-
In a large bowl, whisk together the flour, granulated sugar, baking soda, baking powder, and salt until well combined. Create a well in the center by pushing the dry ingredients outwards from the middle of the bowl.4 cups all purpose flour or gluten-free flour, 1 cup granulated sugar, 1 teaspoon baking soda, 1 teaspoon baking powder, ¼ teaspoon salt
-
In a separate small bowl, whisk together the melted and cooled unsalted butter, buttermilk, and egg until smooth.⅓ cup unsalted butter, 1⅓ cup buttermilk, 1 egg
-
Pour the liquid ingredients into the well of the dry ingredients. Stir gently with a spoon or spatula until a soft, thick dough forms. The dough will be quite stiff, and you may need to use your hands to lightly knead it a few times to fully incorporate any remaining dry flour. Add the dried cranberries (or your chosen mix-ins) and continue to mix or lightly knead until they are evenly distributed and no flour pockets remain. Be careful not to overmix.¾ cup dried cranberries
-
Shape the dough into a round ball. If the dough is sticky, lightly wet your fingers to handle it. Transfer the dough ball to your prepared pan. Using a sharp knife, make a deep “X” cut across the top of the dough. This helps the bread rise evenly.
-
Bake for approximately 50-60 minutes if using all-purpose flour, or 1 hour to 1 hour 10 minutes for gluten-free flour. The bread is done when it’s golden brown and a knife or toothpick inserted into the center comes out clean. To prevent the crust from browning too much during the last 10-15 minutes of baking, loosely tent the loaf with aluminum foil. Baking times may vary depending on your oven and the size of your pan.
Notes
Baking Pan Options
If you don’t have a cast iron skillet, a 9-inch round cake pan is an excellent substitute. Simply grease the cake pan and shape the dough into a ball in the center. As the bread bakes, it will naturally spread and fill the pan, creating a lovely round loaf.
Alternatively, you can use a baking sheet lined with parchment paper or lightly greased. Shape the dough into a round ball and place it in the middle of the sheet. The dough will spread slightly during baking but will mostly maintain its round shape.
For smaller loaves, some readers have successfully divided the dough between two standard bread loaf pans. If you opt for this method, the baking time will decrease. Start checking for doneness around 35 minutes of baking.
Substitution for Buttermilk
No buttermilk on hand? No problem! You can easily make a homemade substitute:
- Pour 1 tablespoon of white vinegar or lemon juice into a liquid measuring cup.
- Add regular milk (dairy or non-dairy) until the liquid reaches the 1 1/3 cup mark.
- Stir gently and let the mixture sit for 5-10 minutes. The milk will curdle slightly, indicating it’s ready to use.
Freezing and Storing
To store any leftover sweet Irish soda bread, ensure it is completely cooled, then wrap it tightly in plastic wrap or aluminum foil. It will keep well at room temperature for up to two days. Avoid refrigerating the bread, as this can cause it to dry out quickly and lose its delightful moist texture.
For longer storage, this bread freezes beautifully. Once the baked loaf has completely cooled to room temperature, wrap it tightly in a double layer of plastic wrap, followed by a layer of aluminum foil, or transfer it to a freezer-safe bag. It can be frozen for up to 2-3 months.
For ultimate convenience, consider slicing the cooled bread before freezing. Wrap individual slices or small portions tightly and place them in a freezer bag. This allows you to easily grab and thaw only the amount you need, whenever a craving strikes. Thaw slices at room temperature or gently warm them in a toaster or oven.