
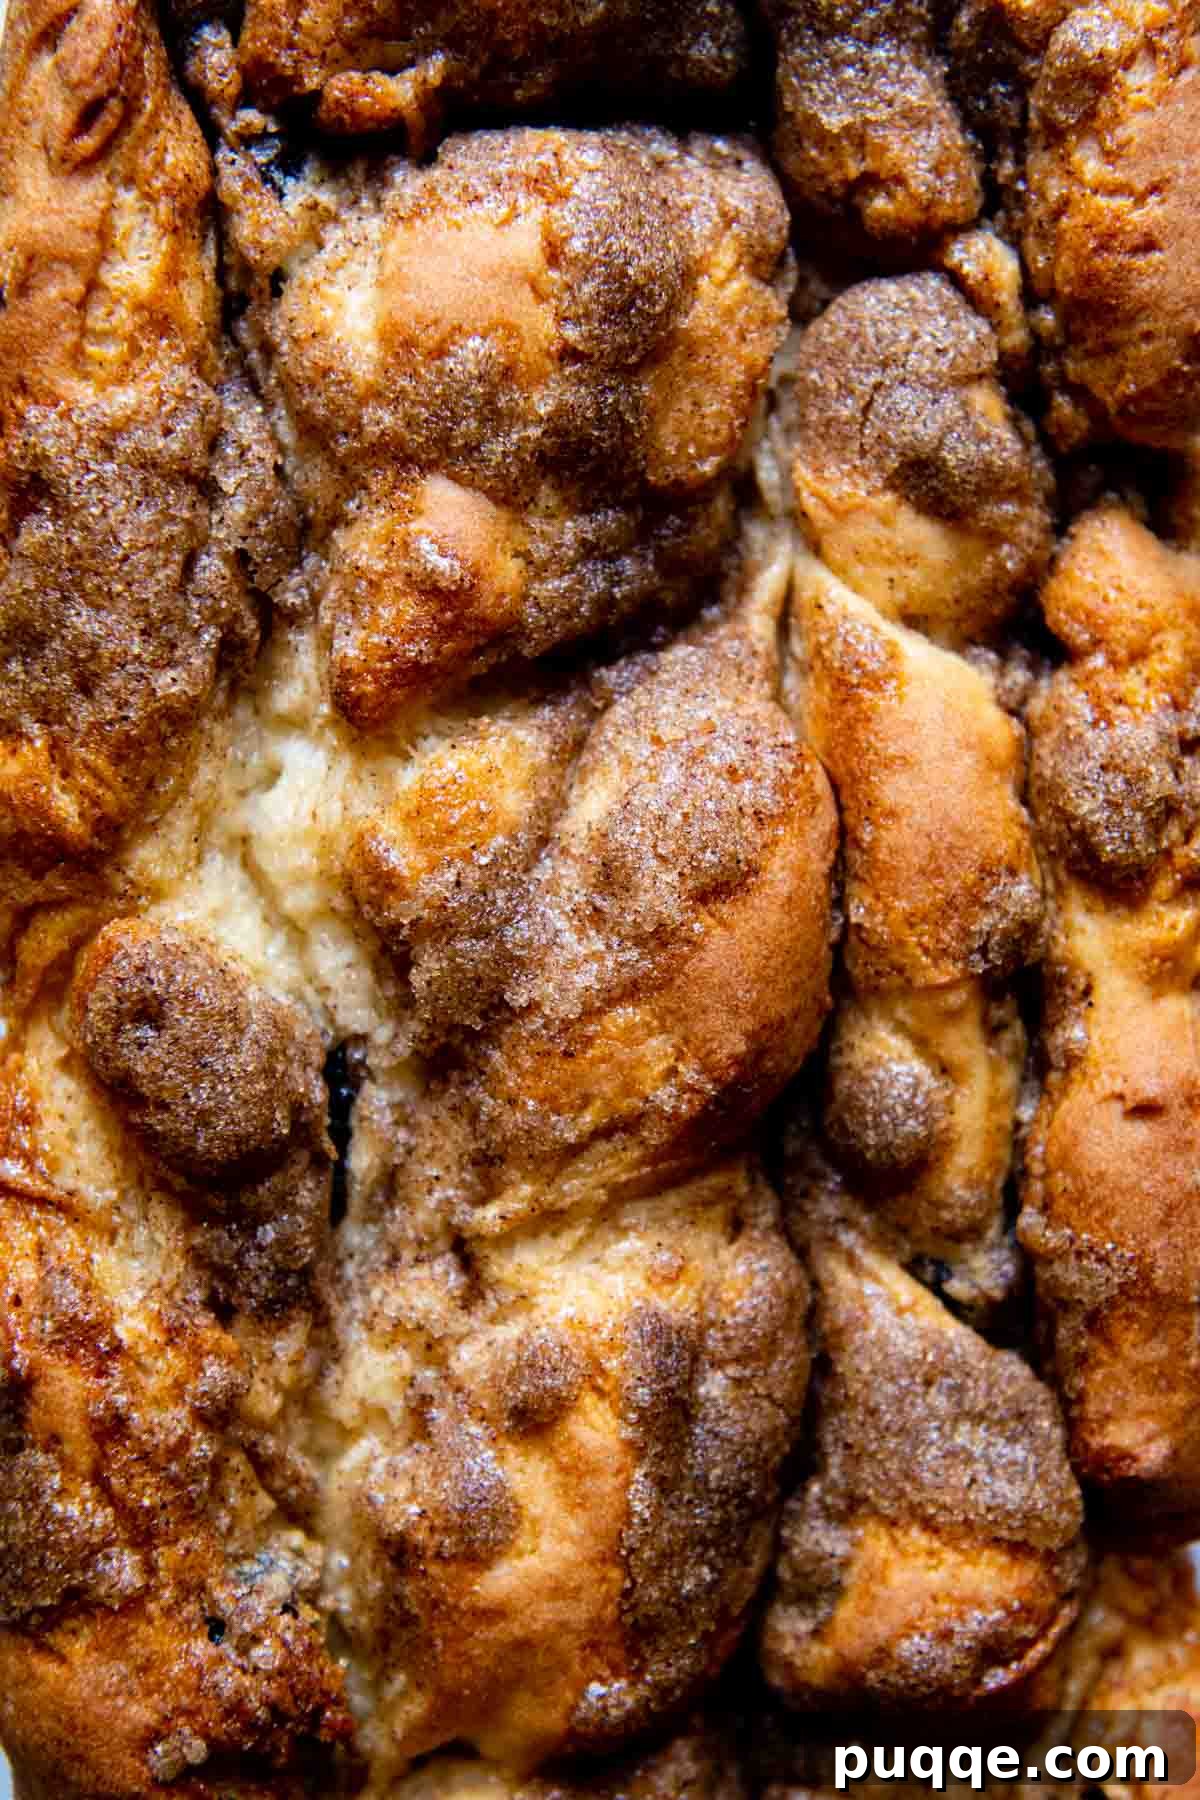
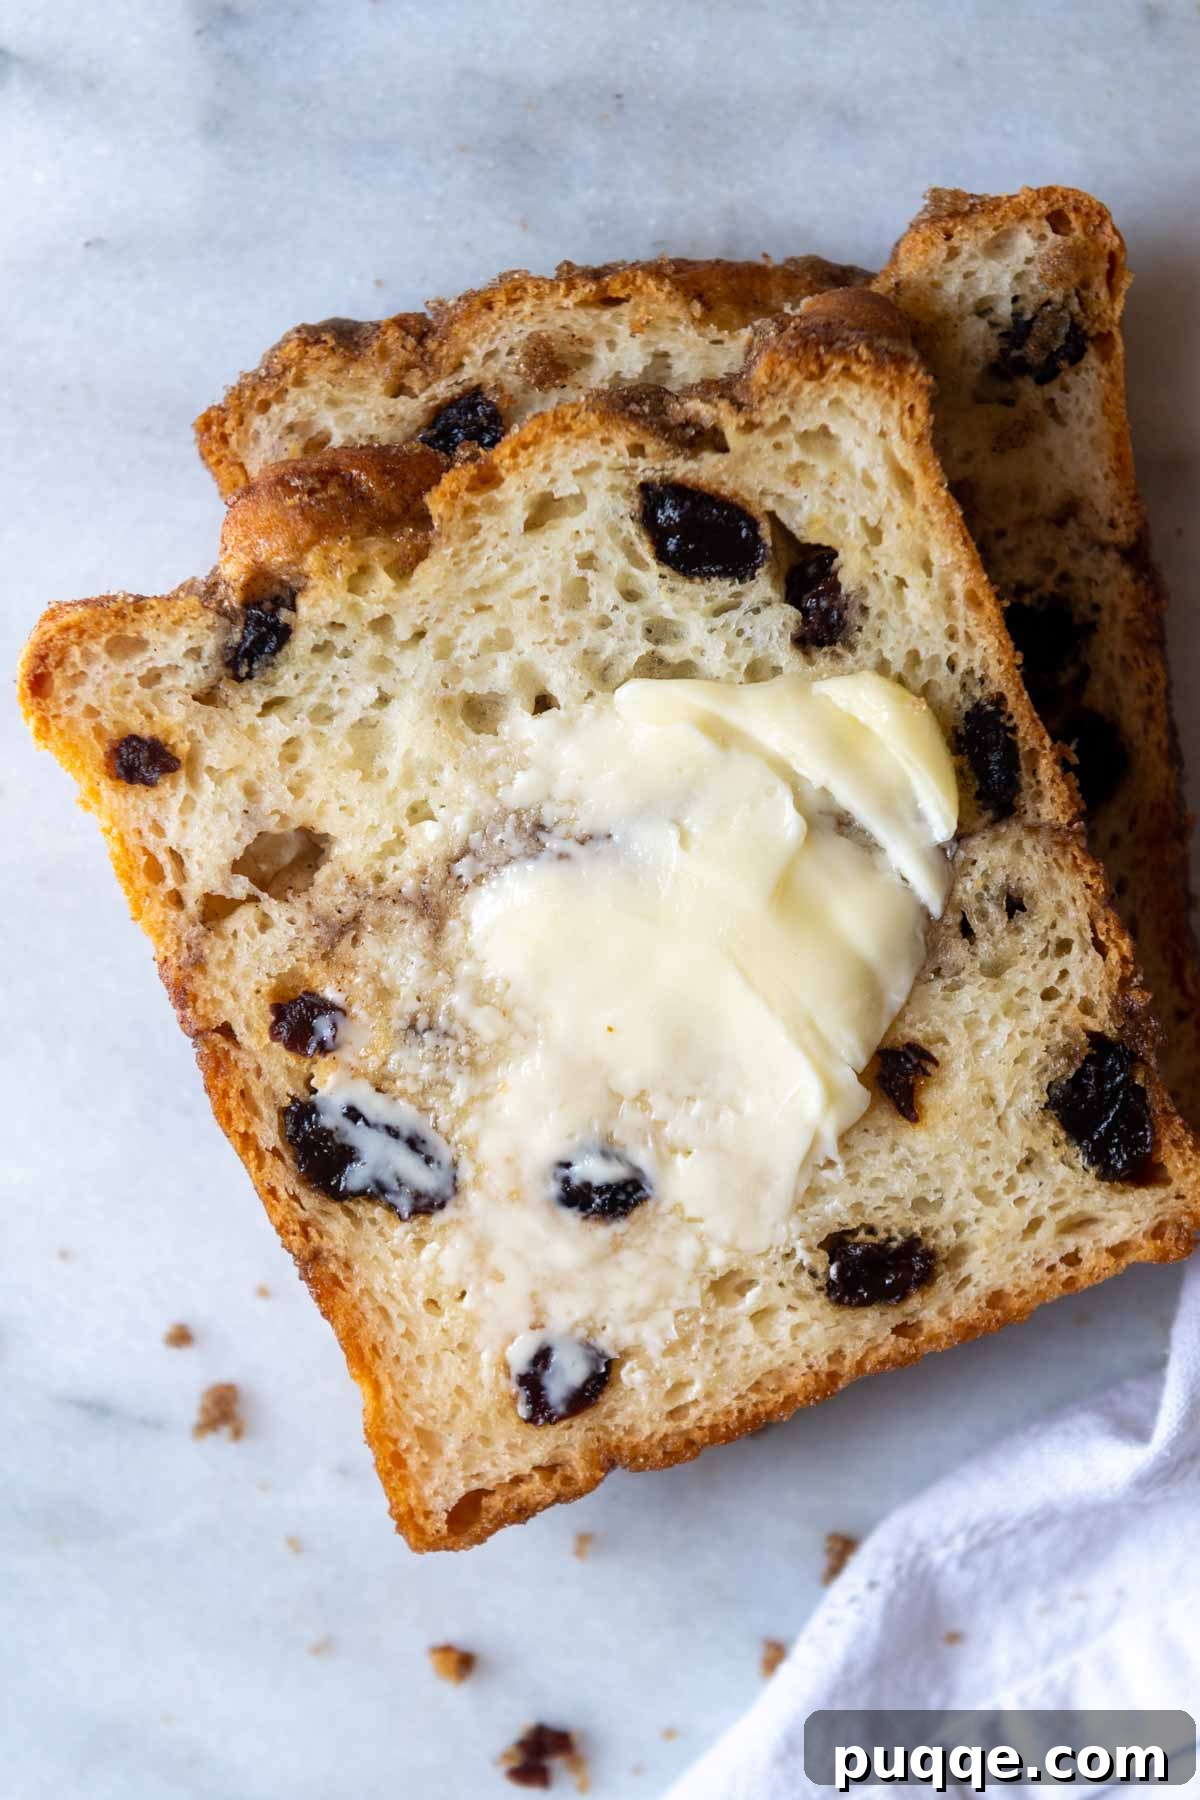
Indulge in the simple pleasure of a perfectly soft, subtly sweet, and wonderfully buttery slice of homemade **gluten-free cinnamon raisin bread**. This recipe is designed for effortless baking, allowing even novice gluten-free bakers to achieve impressive, bakery-quality results. Forget complex techniques or multiple dough rises; this is a straightforward mix, dump, and bake process. We start with an incredibly soft and pliable gluten-free bread dough, generously studded with plump, juicy raisins and elevated by a double swirl of aromatic cinnamon sugar. It’s the ideal treat to brighten your mornings or satisfy that craving for a comforting, classic bread.
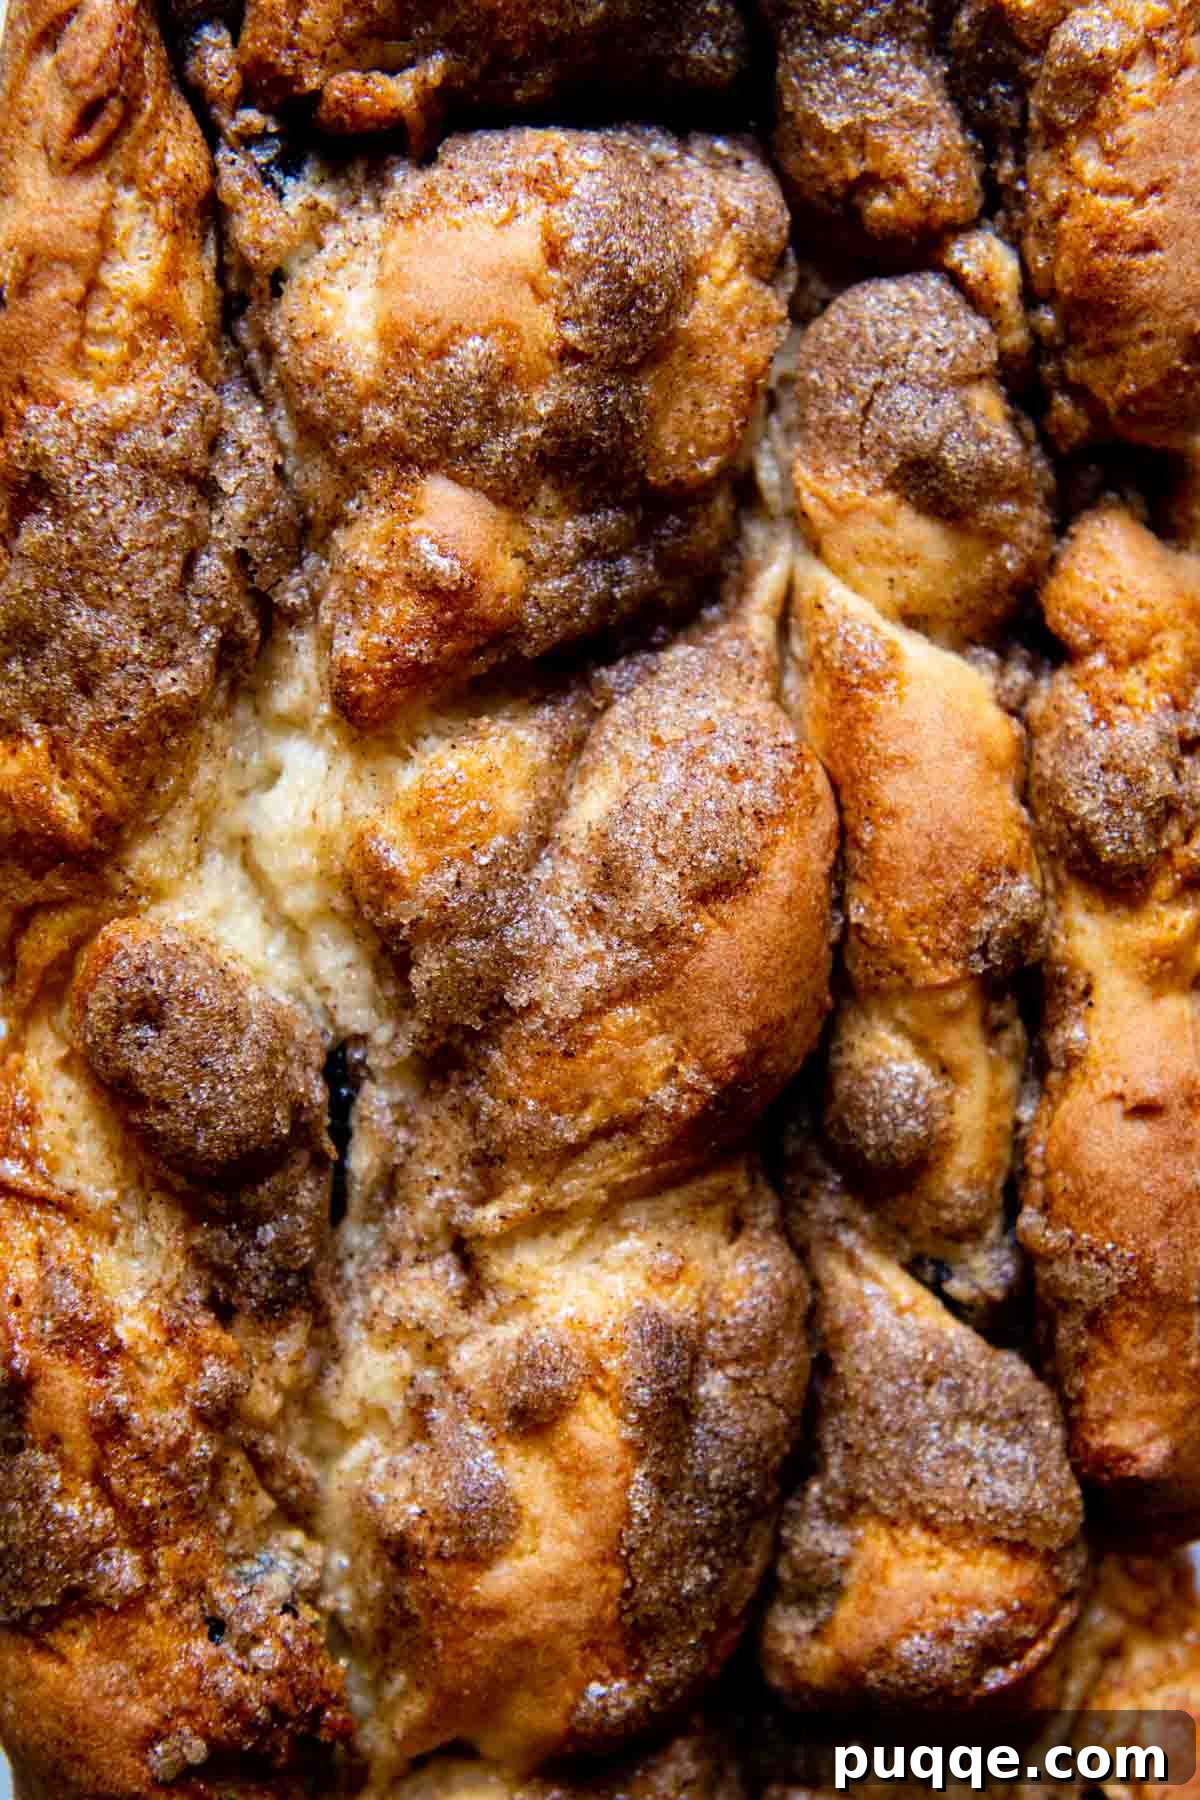
Discover the Easiest Gluten-Free Cinnamon Raisin Bread Recipe
Whether you’re pressed for time and can’t commit to making intricate soft gluten-free cinnamon rolls or sticky, gooey GF monkey bread, or simply yearning for a versatile, sliceable breakfast bread, this gluten-free cinnamon raisin loaf is an absolute game-changer. It delivers on all fronts: incredible flavor, satisfying texture, and remarkable ease of preparation.
Our goal in developing this gluten-free raisin bread recipe was to eliminate common complexities often found in GF baking. That means no multiple rises, no tedious kneading, and no rolling out dough. Yet, we refused to compromise on the ideal sweetness, the irresistibly soft and fluffy texture, or the authentic taste that makes classic cinnamon raisin bread so beloved. To achieve this, we adapted one of our most popular and highly-rated recipes: our 5-star gluten-free bread, which serves as the perfect foundation for this delectable loaf.
The dough preparation is incredibly straightforward – simply combine all the ingredients in a large bowl and pour into your baking pan. To truly maximize that old-fashioned, comforting flavor, this recipe features not one, but two generous layers of cinnamon-sugar mixture, along with a full cup of plump, juicy raisins distributed throughout. This layering technique ensures every bite is bursting with warmth and sweetness.
Below, we’ll guide you through making this incredible gluten-free cinnamon raisin bread, step-by-step. We’ll also share invaluable bonus tips, such as how to easily adapt the recipe to be dairy-free, crucial indicators to know when your bread is perfectly baked, and a variety of delightful ways to enjoy this treat beyond just a simple piece of toast!
Essential Ingredient Insights
Crafting the perfect gluten-free cinnamon raisin bread starts with understanding your ingredients. Here’s a closer look at what makes this recipe shine:
- Gluten-Free Flour Blend: The choice of gluten-free flour is paramount; not all blends yield the same results, and a poor choice can significantly impact the bread’s quality. For this recipe, we highly recommend Cup4Cup GF flour. Its unique blend consistently produces a light, airy crumb and a soft texture. If you’re curious about how other brands compare in terms of taste and texture, our comprehensive guide to gluten-free flour offers detailed insights to help you choose wisely for all your GF baking needs.
- Psyllium Husk Powder: This ingredient is technically optional, but its inclusion significantly enhances the final product. We’ve rigorously tested this bread with and without psyllium husk powder. While it doesn’t alter the taste, it plays a crucial role in maintaining moisture and preventing the bread from becoming crumbly – a common challenge in gluten-free baking. Psyllium husk acts as a binder, providing structure and improving the bread’s elasticity. Be aware that some brands of psyllium husk powder can impart a darker, sometimes purplish, hue to baked goods. For a beautifully golden loaf, we specifically recommend using this particular brand, known for its lighter color and consistent performance.
- Instant (Rapid Rise) Yeast: Our preference for instant yeast stems from its convenience. Unlike active dry yeast, instant yeast requires no prior proofing. You simply mix it directly with your dry ingredients, and it activates quickly, allowing the dough to rise efficiently without extra steps. This saves you time and simplifies the baking process, ensuring a reliable rise every time.
- Honey: Honey not only provides a natural sweetness but also contributes significantly to the bread’s overall moisture and tender texture. While granulated sugar can be substituted if necessary, it may result in a slightly drier loaf. For the signature soft and moist crumb, sticking with honey is highly recommended.
- Oil: Any neutral-flavored oil you prefer will work well in this recipe. Common choices include vegetable oil, coconut oil (melted), or canola oil. Alternatively, you can substitute the same amount of melted butter for an even richer flavor, unless you are making a gluten-free and dairy-free version of the bread, in which case a plant-based oil is essential.
Bake This Delicious Bread Together!
Embark on your journey to baking the most delightful gluten-free cinnamon raisin bread with these easy-to-follow steps. Visual guides are provided through the accompanying images, and for precise ingredient measurements, please refer to the complete recipe card below.
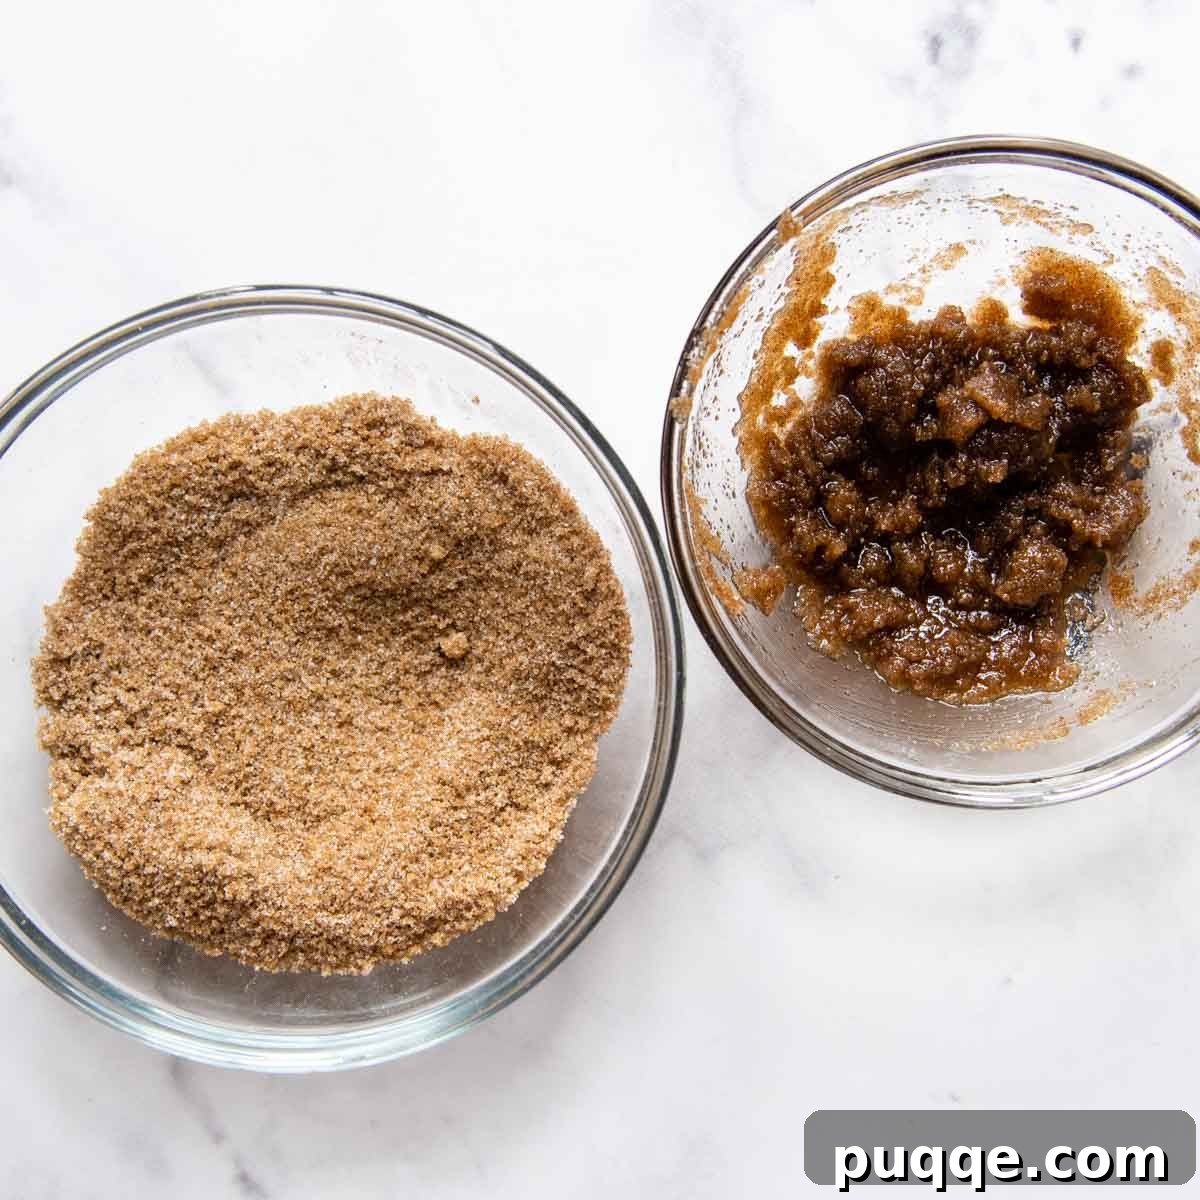
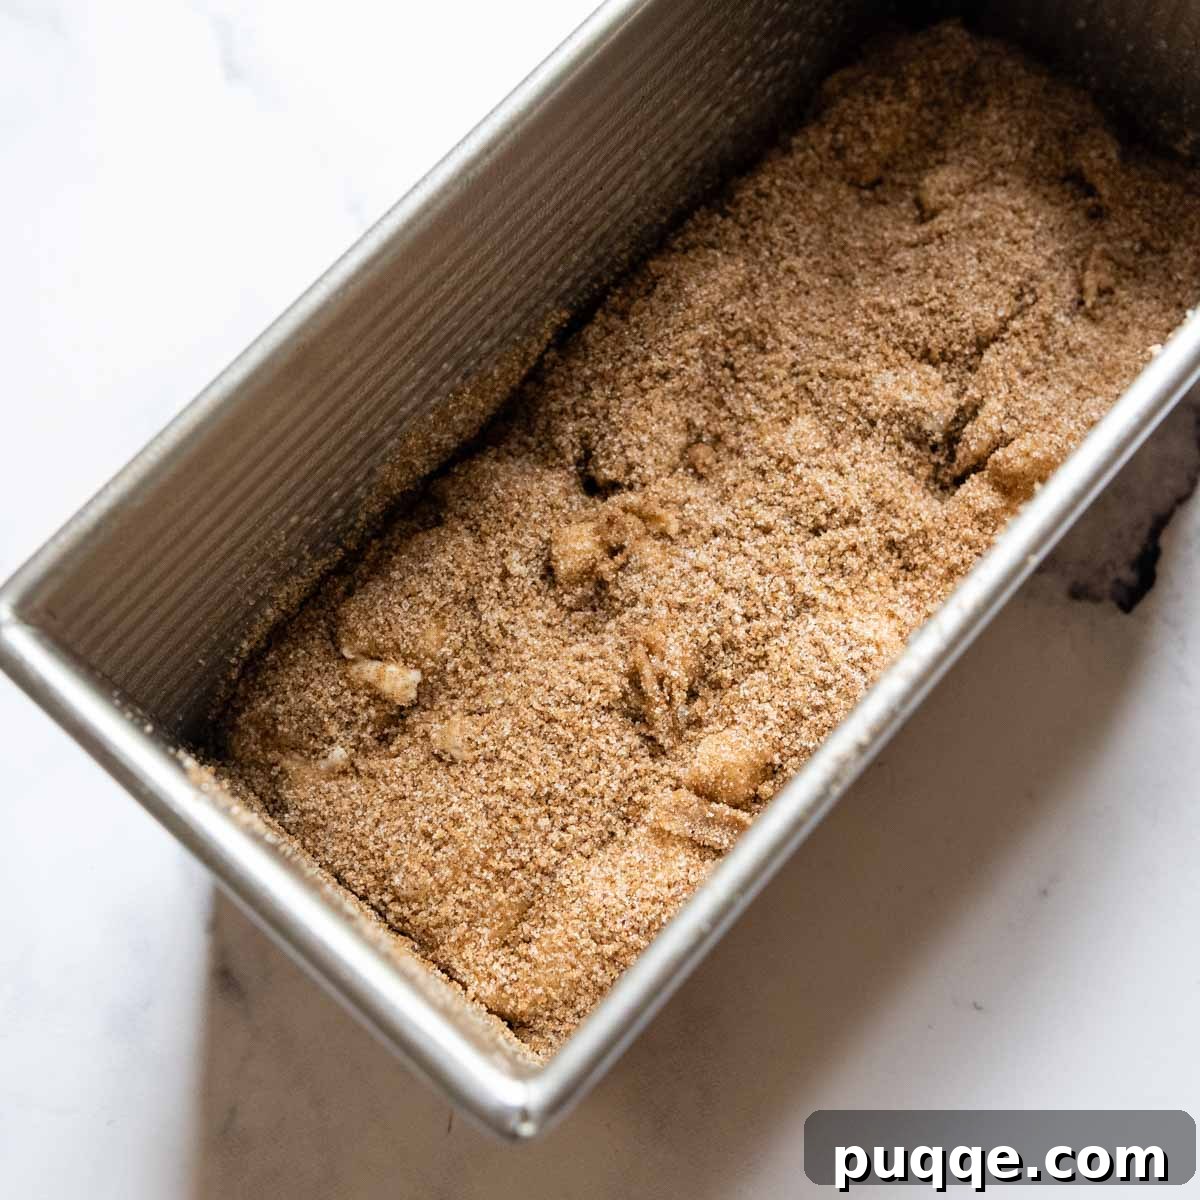
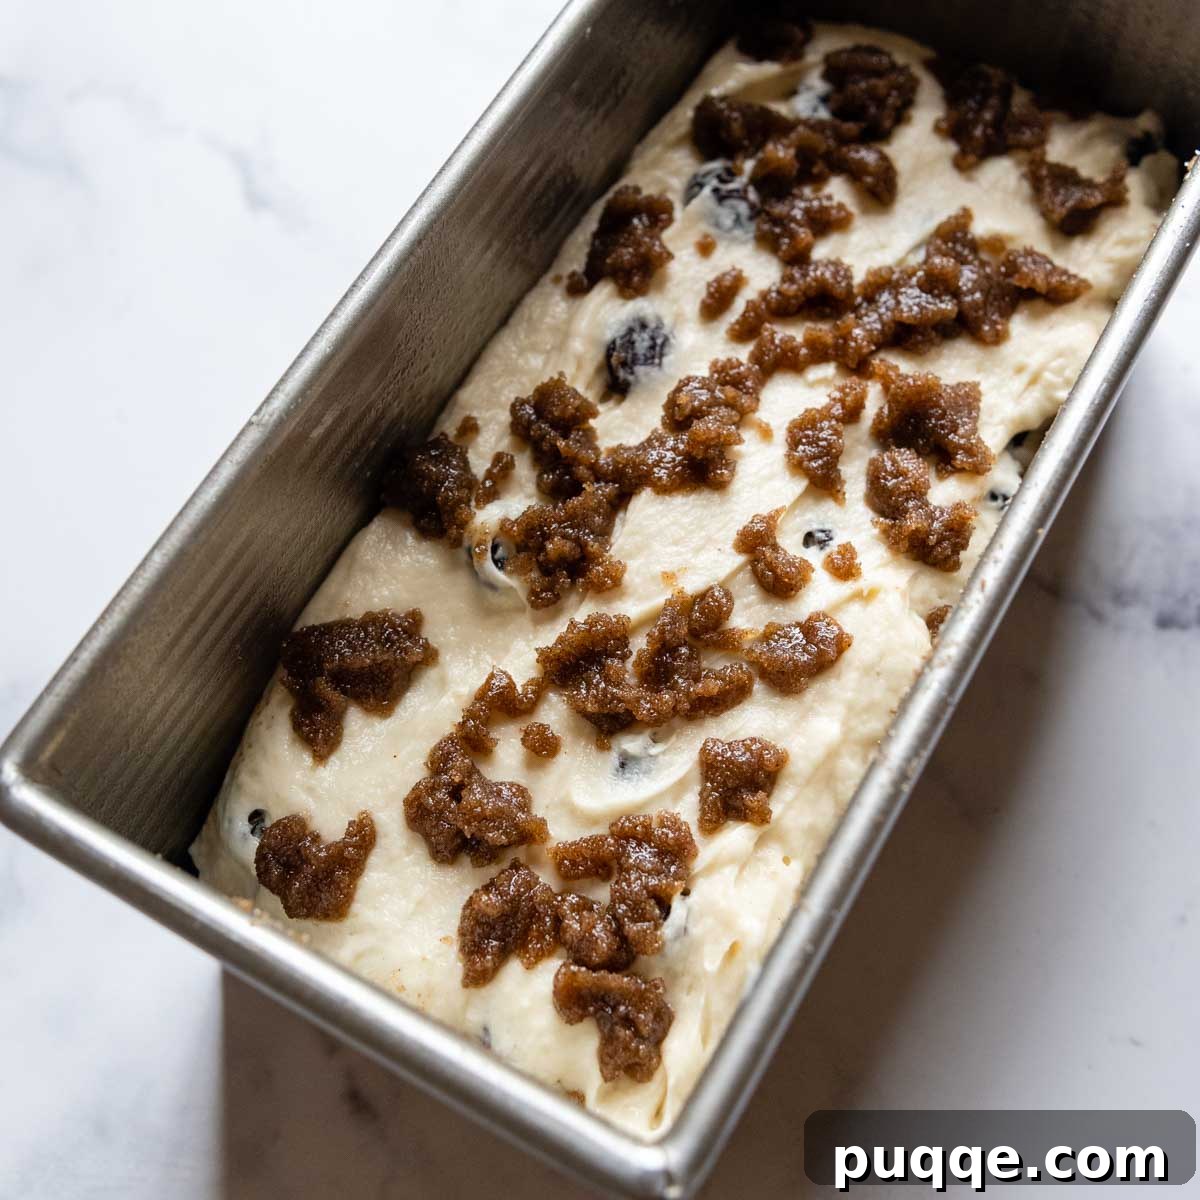
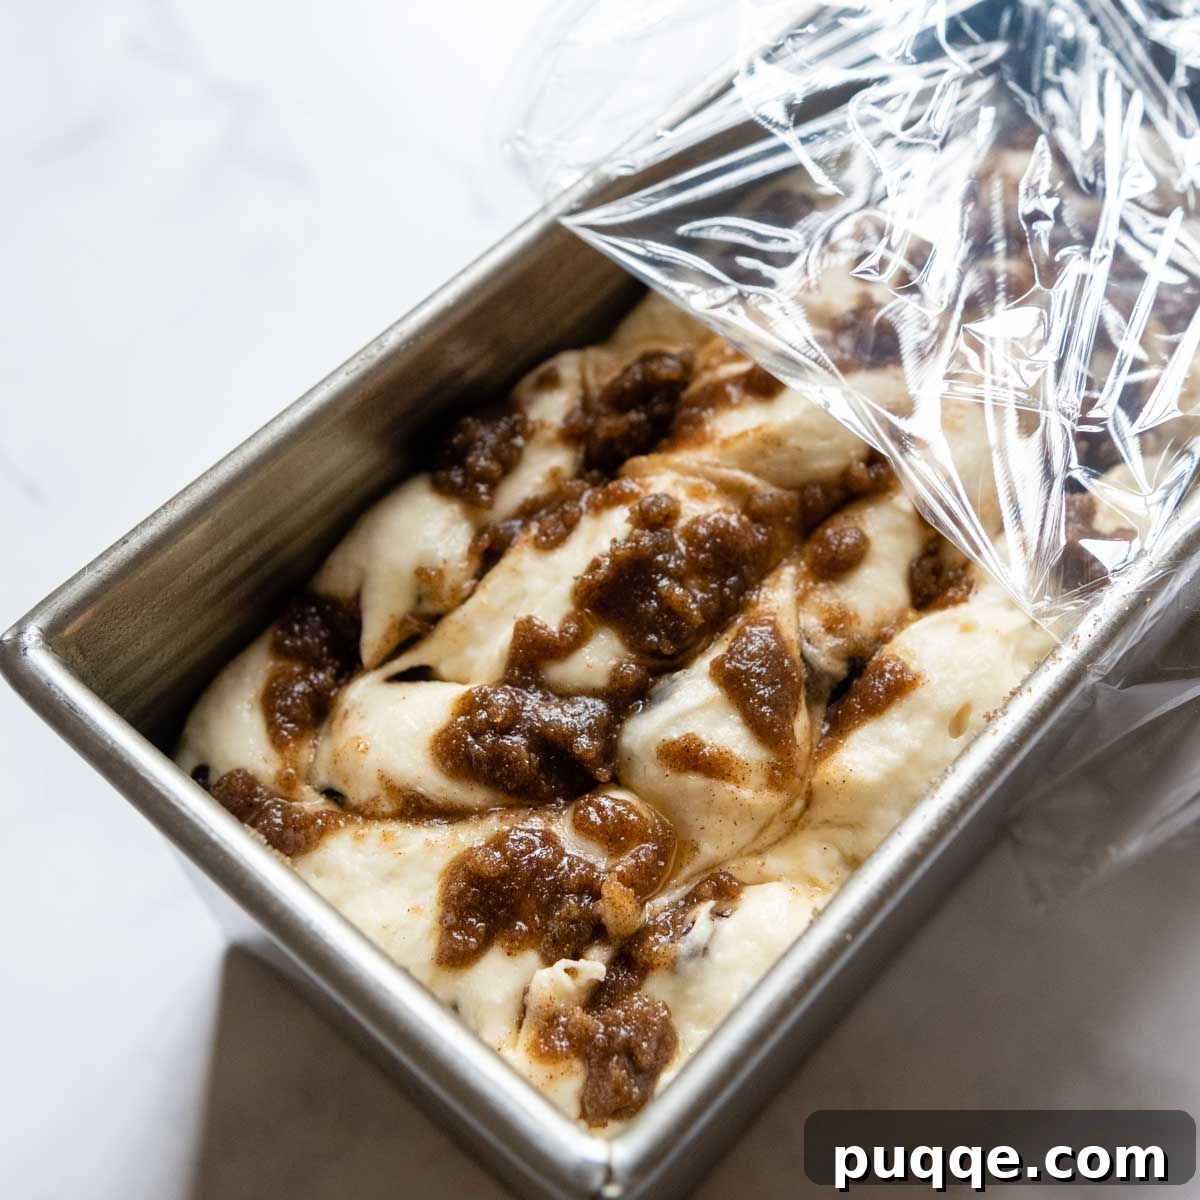
- Prepare the Cinnamon Swirl: In a small bowl, whisk together the brown sugar, granulated sugar, and ground cinnamon until fully combined. Remove 4 tablespoons of this mixture and transfer it to a separate small bowl. Stir 1 tablespoon of melted butter into this reserved portion. The dry mixture will be used within the bread layers, while the buttered mixture is for the top.
- Combine Dry Ingredients: In the bowl of a stand mixer fitted with a paddle attachment, combine the gluten-free all-purpose flour, instant rapid rise yeast, psyllium husk powder (if using), baking powder, and salt. Mix on low speed for about 30 seconds until all the dry ingredients are uniformly incorporated.
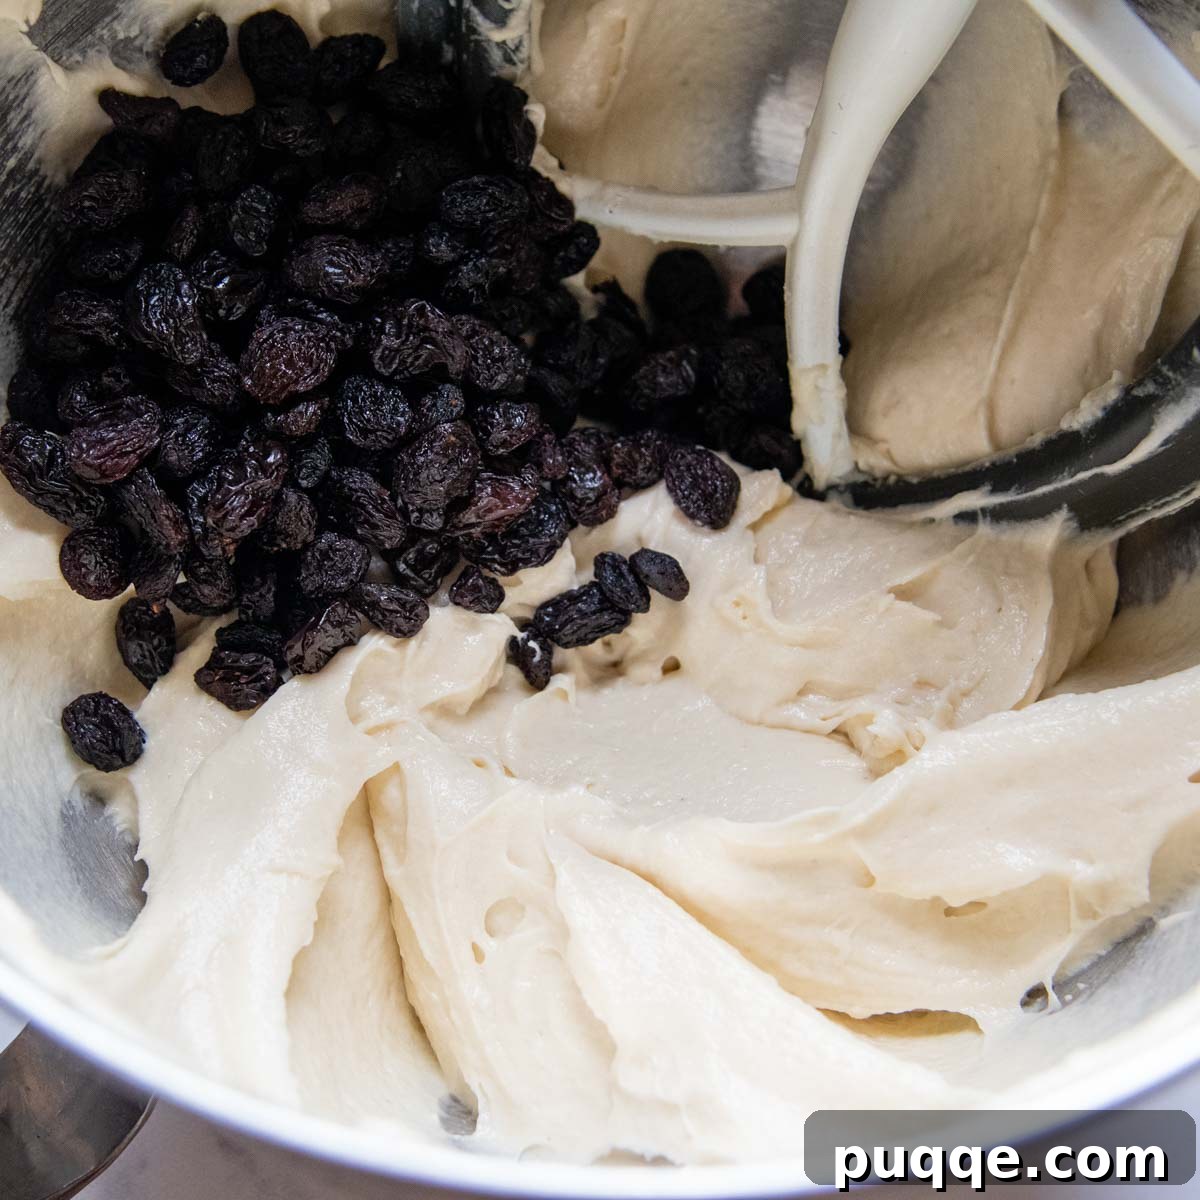
- Add Wet Ingredients & Mix Dough: Pour in the warm water, room temperature eggs, honey, and oil. Mix on low speed for approximately 1 minute, allowing the dough to just come together. Increase the speed to medium and beat for 5 full minutes. Halfway through this mixing time, pause to scrape down the sides of the bowl and the paddle attachment to ensure thorough mixing. The resulting batter will be thin, resembling a consistency slightly thicker than cake batter. Gently fold in the raisins until evenly distributed throughout the dough.
- Layer the Dough & First Swirl: Generously grease your chosen loaf pan. Carefully pour half of the bread batter into the prepared pan and smooth the top evenly with a spatula. Sprinkle the dry cinnamon-sugar mixture (the one without butter) generously over this first layer of dough. Using a butter knife or a thin skewer, gently swirl the cinnamon mixture into the dough. Aim for gentle strokes to create ribbons of spice without fully incorporating it.
- Add Final Layer & Top Swirl: Carefully dollop the remaining bread batter over the swirled layer, then gently smooth it out to cover the surface. Sprinkle the butter-infused cinnamon-sugar mixture over the top. Take your knife or skewer and swirl again, this time piercing all the way down to the bottom of the pan. Swirl in one direction across the length of the loaf, then repeat the process in the opposite direction to create a beautiful, rich swirl pattern.
- Proof the Dough: Lightly spray a large piece of plastic wrap with nonstick cooking spray. Loosely cover the loaf pan with the greased plastic wrap, making sure the greased side faces down. Place the pan in a warm, draft-free spot to rise. The dough should rise until it reaches approximately two-thirds of the way to the top of the pan, which typically takes about 15-20 minutes. It’s crucial not to let it rise past this point, as it will continue to rise significantly during baking. While the dough is proofing, preheat your oven to 350°F (175°C).
- Bake to Perfection: Once the dough has sufficiently risen, carefully remove the plastic wrap. Bake the bread on the middle rack of your preheated oven for 50-55 minutes. To prevent over-browning, loosely tent a piece of aluminum foil over the bread halfway through the baking time (around the 25-30 minute mark). The most accurate way to determine doneness is by checking the internal temperature; it should register between 190°F (88°C) and 200°F (93°C). (For more detailed information, refer to the “How to Know When GF Bread is Done” section below).
- Cool and Serve: Allow the baked loaf to cool in the pan for 10 minutes. This allows the bread to set and prevents it from collapsing. After 10 minutes, carefully remove the bread from the pan and transfer it to a wire rack to cool completely. If you used a 9×4-inch pullman pan, it’s often best to lay the bread on its side to cool. It is essential to let the bread cool for at least 1 hour before slicing. Slicing warm gluten-free bread can lead to a gummy texture. For the best flavor and texture, serve the bread slightly warm or toasted. Chilled or cold gluten-free bread can have a less appealing texture, so a gentle rewarming is always recommended.
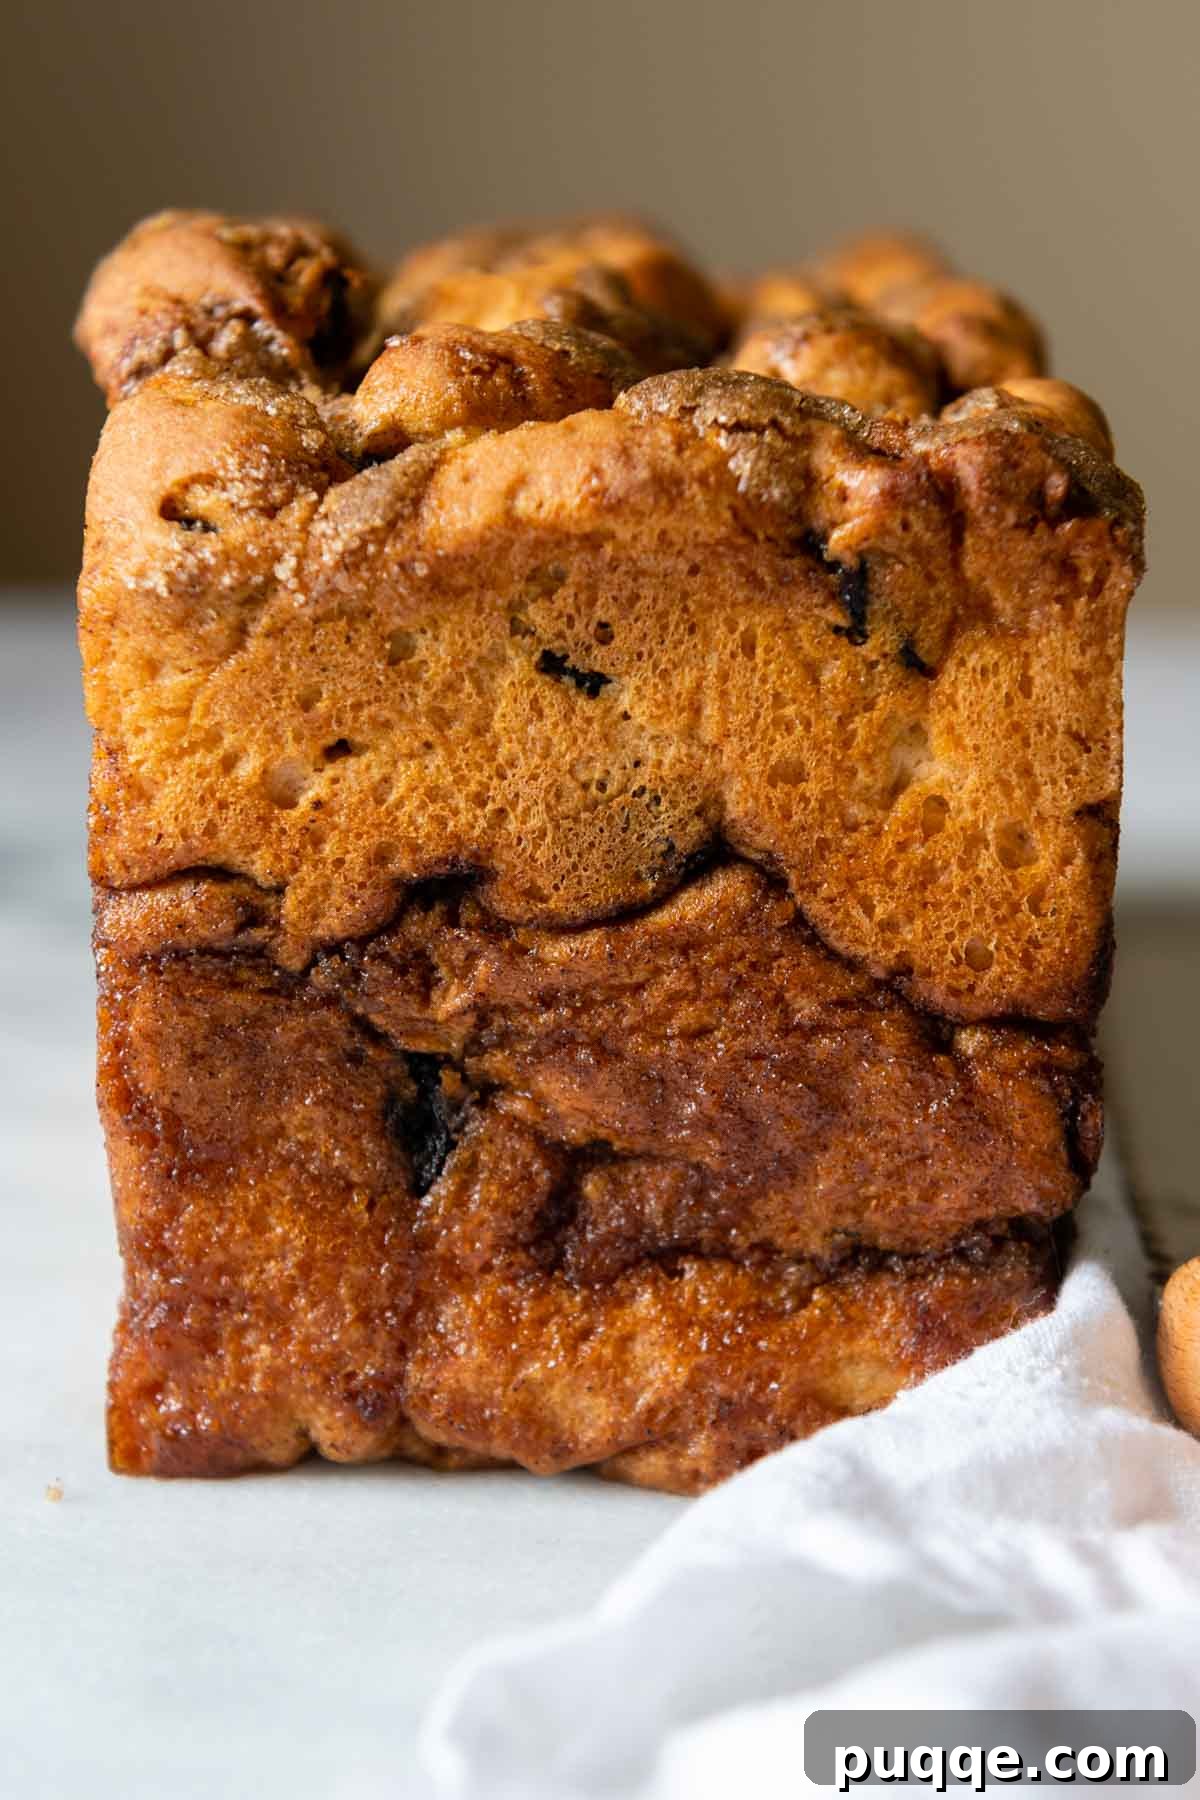
Choosing the Right Baking Pan for Gluten-Free Bread
The volume and dimensions of your loaf pan are surprisingly crucial for the success of this gluten-free bread recipe, as it yields a substantial amount of dough. For truly superior results, we highly recommend investing in a small pullman loaf pan, typically measuring 9x4x4-inches. This specialized pan is designed to handle the dough volume perfectly, ensuring it rises beautifully without overflowing. Its construction promotes even heat distribution throughout the baking process, resulting in a uniformly baked loaf with a consistent texture from crust to center. Furthermore, a pullman pan yields that classic, perfectly rectangular sandwich bread shape, making for ideal slices every time.
If a pullman pan isn’t readily available, a standard 9×5-inch loaf pan will also work effectively. However, it’s vital to avoid using an 8×4-inch pan, as the generous amount of dough in this recipe is likely to overflow, leading to a messy oven and a less-than-perfect loaf. Always choose a pan with adequate capacity to accommodate the dough’s rise during baking.
How to Know When Gluten-Free Bread is Truly Done
Achieving the perfect texture in gluten-free bread requires precise baking, and visual cues can often be misleading. We **highly recommend** using an instant-read thermometer to accurately check the bread’s internal temperature. Unlike traditional bread, gluten-free loaves often “look” done on the outside before the inside has finished baking adequately.
Pulling the bread from the oven too soon is a common mistake that leads to a gummy, dense, or overly moist interior, rather than the desired soft and fluffy crumb. This occurs because the liquids within the dough haven’t had sufficient time to evaporate, which is essential for proper structure and texture development.
The ideal internal temperature for a perfectly baked gluten-free loaf is between 190°F (88°C) and 205°F (96°C). Using a reliable instant-read thermometer, such as a Thermoworks Thermapen, allows for a quick and accurate reading, minimizing heat loss from the oven and ensuring your bread retains its valuable warmth during the crucial final stages of baking. Always insert the thermometer into the center of the loaf, avoiding any raisins or pockets of cinnamon swirl for the most accurate reading.
To Plump or Not to Plump: The Raisin Question
A common question in raisin bread recipes is whether to hydrate or “plump” the raisins in hot water before adding them to the dough. The theory behind this step is that it ensures the raisins remain soft and juicy throughout the baking process, preventing them from becoming hard or dry.
During our extensive recipe testing for this gluten-free cinnamon raisin bread, we experimented with both hydrated and unhydrated raisins. We were pleased to discover that, fortunately, this extra step made virtually no discernible difference in the final result. The inherent moisture in our soft gluten-free bread dough, combined with the steam generated during baking, naturally plumps the raisins perfectly. They emerge from the oven beautifully soft, juicy, and full of flavor.
So, you can confidently skip the pre-plumping step! Save yourself the extra time and effort, knowing that your raisins will be perfectly tender and delicious without any additional fuss.
Creative Variations and Serving Suggestions
While this gluten-free cinnamon raisin bread is utterly delicious on its own, its versatility allows for many exciting variations and serving ideas:
- Sweet Glaze Topping: Elevate your loaf with a simple, quick glaze. Whisk together ¼ cup of powdered sugar, 1 teaspoon of milk (dairy or non-dairy), and ¼ teaspoon of vanilla extract until smooth. Drizzle it generously over the cooled bread for an extra touch of sweetness.
- Decadent French Toast: Transform leftover slices into an incredible gluten-free french toast or a comforting french toast casserole. The rich cinnamon and raisin flavors are perfect for soaking up custardy egg batter.
- Homemade Bread Pudding: Let cubed pieces of slightly dried bread serve as the base for a delightful and easy gluten-free bread pudding. It’s a fantastic way to repurpose any older slices.
- Fruit Swaps: Not a fan of raisins? Feel free to replace them with other dried fruits like dried cranberries, chopped dried apricots, or currants for a different flavor profile.
- Savory Twist: Don’t limit this bread to sweet applications! Use it for griddled sandwiches, such as a warm and comforting hot ham and cheese, where the subtle sweetness complements savory fillings beautifully.
- Unexpected Side Dish: Just like classic cinnamon rolls, slices of this raisin bread make an amazingly comforting side dish for chili or other hearty stews. The slight sweetness offers a wonderful contrast to savory meals.
Save this recipe to your Pinterest board!
Let’s be friends on Pinterest! I’m always sharing great recipes!
Did you make this recipe? I love hearing from you! Leave a star rating and comment below the recipe card. It helps others when searching for recipes and I appreciate feedback from our community. You will always hear back from me! -Melissa

Easy Gluten-Free Cinnamon Raisin Bread (No Roll or Knead)

Melissa Erdelac
14
10 mins
50 mins
1 hr 20 mins
Enjoy a soft, buttery slice of easy gluten-free cinnamon raisin bread without the effort! This mix, dump and bake recipe starts with the softest GF bread dough, enhanced with plump raisins and a double layer of cinnamon swirl. It’s simple enough for even the most novice gluten-free bakers to pull off with impressive, delicious results!
Pin Recipe
Ingredients
Cinnamon Swirl
- ¼ cup (59 g) light brown sugar, packed
- ¼ cup (50 g) granulated sugar
- 1 tablespoon ground cinnamon
- 1 tablespoon (14 g) melted butter
GF Bread
- 3 cups (438 g) gluten free all purpose flour (Cup4Cup gluten free flour highly recommended – see recipe notes for DF)
- 1 packet (2 ¼ tsp, 9 g) instant rapid rise yeast
- 1 tablespoon (11 g) psyllium husk powder (optional), helps with bread moisture & structure (what is psyllium husk?)
- 1 teaspoon baking powder
- 1 teaspoon salt
- 1 ½ cups (360 g) warm water (110°F)
- 2 large eggs, room temperature
- ¼ cup (85 g) honey
- ¼ cup (53 g) oil, any preferred
- 1 cup (170 g) raisins
Equipment
- Stand Mixer
- Cup 4 Cup Gluten Free Flour
- 9×4 Loaf Pan
Instructions
- In a small bowl, mix together the brown sugar, granulated sugar, and cinnamon. Remove 4 tablespoons of this mixture and transfer to another small bowl.
- Stir in the melted butter into the portion that was removed. Set both bowls aside.
- To make the bread dough, use a stand mixer with a paddle attachment. Mix together gluten-free flour, yeast, psyllium husk powder, baking powder, and salt on low speed until combined.
- Add warm water, eggs, honey, and oil. Mix on low speed for about 1 minute to let the dough come together.
- Increase speed to medium and beat for 5 minutes, scraping down the paddle and bowl halfway through. The batter will be thinner, slightly thicker than cake batter. Stir in the raisins.
- Grease a 9×4 loaf pan (preferred) or a 9×5-inch loaf pan. Pour half the batter into the pan and smooth evenly. Sprinkle the dry sugar mixture (without added butter) over the top. Use a butter knife to gently swirl the mixture in.
- Dollop the remaining batter over the top and gently smooth. Sprinkle the butter sugar mixture over the top. Use a knife to swirl again, piercing all the way down to the bottom of the pan. Swirl in one direction and then repeat in the opposite direction.
- Spray a large piece of plastic wrap with nonstick cooking spray. Lay the plastic, greased side down, over the pan.
- Set in a warm, draft-free place to rise until the bread reaches two-thirds to the top of the pan (do not let it go over this point because it rises more in the oven). This should take about 15-20 minutes. Meanwhile, preheat the oven to 350°F (175°C).
- Remove plastic and bake bread on the middle rack for 50-55 minutes, tenting a piece of foil loosely over the bread halfway through. The internal temperature of the bread should read 190-200°F (88-93°C).
- Allow the loaf to cool for 10 minutes in the pan and then remove to a cooling rack. If using a 9×4-inch pullman pan, it’s best to lay the bread on its side to cool. Allow bread to cool at least 1 hour before slicing. For best results, serve the bread slightly warm or toasted. Chilled, cold bread has an adverse effect on texture.
Notes
Dairy Free Modification
Replace the butter in the cinnamon swirl with plant-based, dairy-free butter. You can also use a dairy-free milk alternative if making a glaze.
Psyllium Husk Powder
I’ve made the bread multiple times with and without psyllium husk powder. It doesn’t affect the taste, but it does significantly help maintain moisture, prevents the bread from becoming crumbly, and makes it noticeably softer with a better crumb structure. Psyllium husk powder is very affordable, lasts a long time, and is a game-changer for improving gluten-free bread texture because it effectively absorbs moisture and acts as a binder.
I recommend the psyllium listed in the ingredients because its lighter color doesn’t affect the bread’s appearance. Some psyllium powders are darker and can cause gluten-free baked goods to take on a grayish or purplish tint, which isn’t ideal for a visually appealing loaf.
How to Know When Bread Is Done
I highly recommend using an instant-read thermometer to check the temperature when baking gluten-free bread. Typically, the bread will “look” done before it’s actually baked through. If you pull the bread too soon, the liquids won’t have time to evaporate, and it will result in a gummy and dense texture instead of soft and fluffy. The internal temperature should reach 190ºF-200ºF (88-93°C) for optimal doneness.
Freezing / Storing
Gluten-free bread generally does not have the same shelf life as traditional wheat bread. Refrigerating it will dry it out quickly and is not recommended. It may be wrapped tightly and left at room temperature for a day, but it will lose its optimal taste and texture very quickly.
For best results, slice and freeze the bread after it has completely cooled (allow at least 3 hours). You can then pull individual slices as needed from the freezer to defrost at room temperature or toast directly from frozen. I strongly recommend slightly warming the bread (either in a toaster or microwave) before enjoying it again to restore its soft, delicious texture.
Nutrition Facts
Calories: 219 kcal,
Carbohydrates: 40 g,
Protein: 4 g,
Fat: 6 g,
Saturated Fat: 1 g,
Polyunsaturated Fat: 1 g,
Monounsaturated Fat: 3 g,
Trans Fat: 0.1 g,
Cholesterol: 26 mg,
Sodium: 187 mg,
Potassium: 135 mg,
Fiber: 4 g,
Sugar: 13 g,
Vitamin A: 61 IU,
Vitamin C: 1 mg,
Calcium: 46 mg,
Iron: 1 mg
Please leave a star rating and review below. It helps others when searching for recipes and I LOVE feedback!