
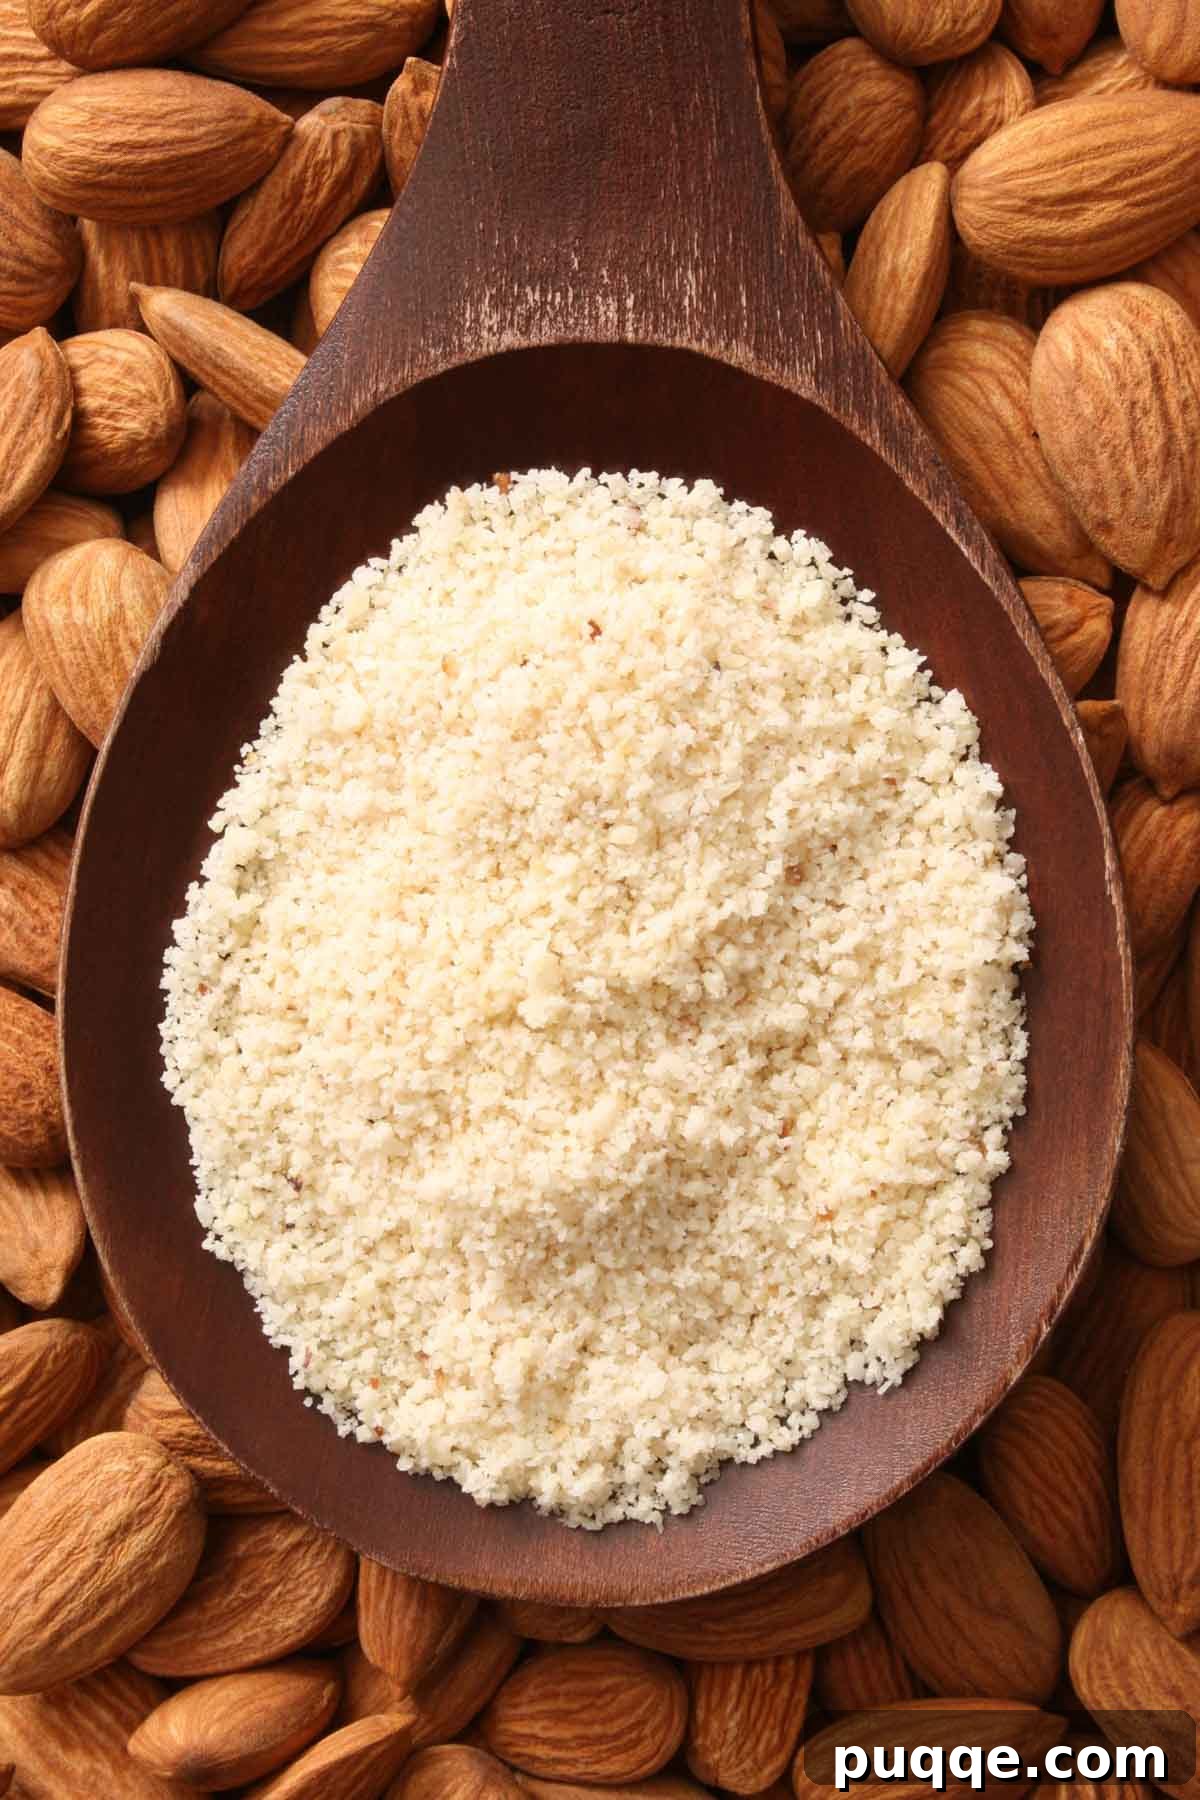
How to Make Fluffy Almond Flour: Your Ultimate Guide to Homemade Perfection
Unlock the secrets to crafting your own light, super-fine, and fluffy almond flour right in your kitchen! This comprehensive guide provides **everything you need to know** to make delicious and affordable homemade almond flour, perfectly suited for all your low-carb, gluten-free, and healthy baking endeavors. Say goodbye to expensive store-bought bags and discover **simple, expert tricks** to transform raw almonds into baking gold in **under 5 minutes**!
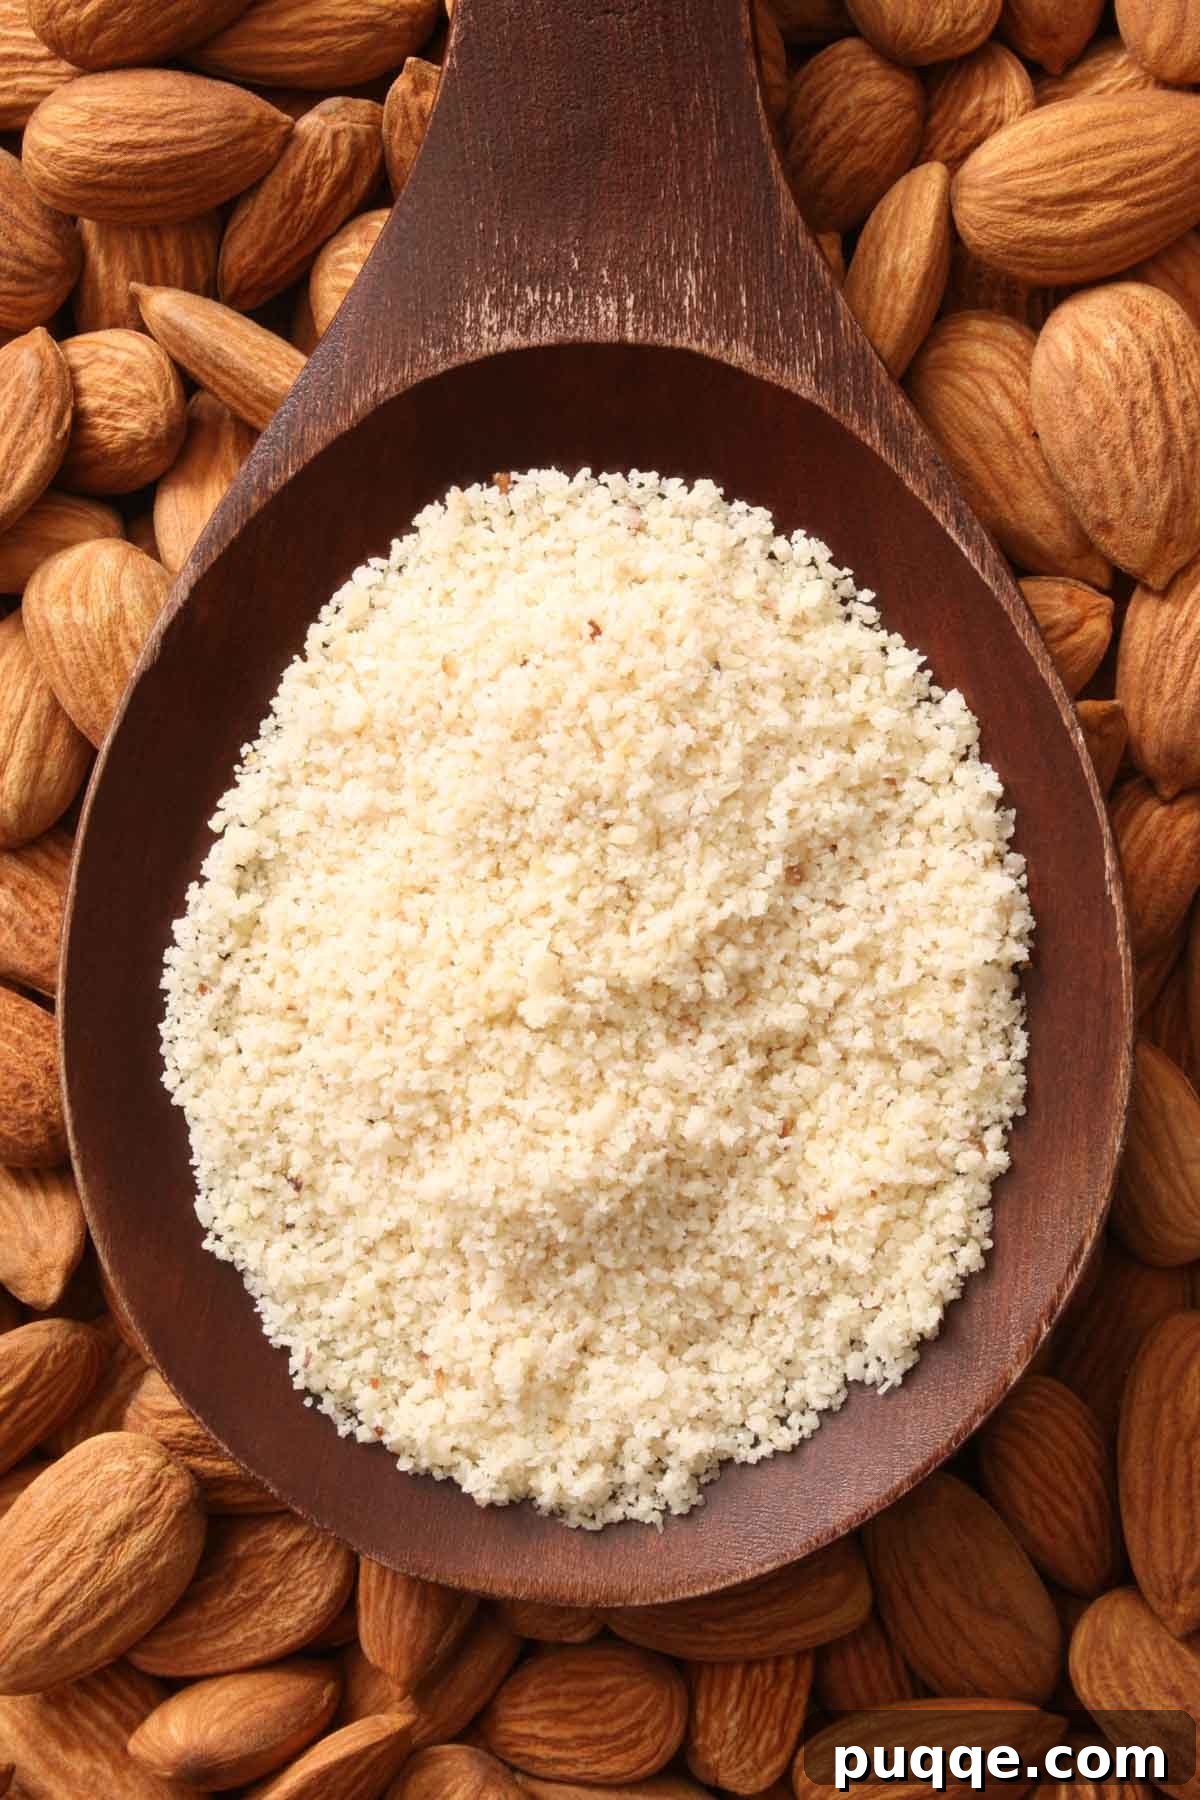
Why Make Homemade Almond Flour? The Smart & Healthy Choice
In today’s world of rising grocery prices, creating your own staples like almond flour is a brilliant way to trim your budget without sacrificing quality. It’s incredibly simple, requires just one ingredient, and takes mere minutes. Beyond the cost savings, homemade almond flour offers a wealth of dietary advantages, making it a cornerstone for many healthy eating plans.
Almond flour is an exceptional ingredient for gluten-free and low-carb diets, providing a nutritious alternative to traditional wheat flours. It’s packed with protein, healthy fats, fiber, and essential nutrients like Vitamin E, magnesium, and calcium. Incorporating it into your diet can support blood sugar control, heart health, and digestive wellness.
I personally love baking with almond flour because it lends a wonderful texture and delicate flavor to a wide array of gluten-free recipes. Some of my absolute favorites include moist almond flour banana bread, fluffy muffins, crisp almond flour biscotti, and soft, chewy almond flour oatmeal cookies. While it’s important to note that almond flour is not a direct 1:1 substitute for all-purpose gluten-free flour in every recipe, there is an abundance of sweet and savory almond flour recipes specifically designed to highlight its unique qualities.
So, let’s dive into the essential tips, tricks, and everything else you need to know to master the art of making perfect almond flour at home!
Tip 1: Selecting the Best Almonds for Your Flour
The type of almonds you choose is crucial and depends on whether you intend to make fine almond flour or coarser almond meal. Understanding the distinction ensures you get the texture you desire for your culinary projects.
For making **blanched almond flour**, which is prized for its fine, powdery consistency ideal for delicate baking and pastry recipes, you must use whole, unsalted raw almonds with their skins meticulously removed. The blanching process, where almonds are briefly boiled and then shocked in cold water, helps to easily slip off their skins. If you start with already blanched almonds, you skip this step entirely, making the process even quicker. You may also use slivered almonds if they are blanched, but be aware that they will yield a slightly different flour amount compared to whole blanched almonds.
Tip 2: Crafting Perfect Almond Meal
If your recipe calls for almond meal, or if you prefer a more rustic texture, you’ll need a different kind of almond. For **almond meal**, sometimes referred to simply as ground almonds, opt for unsalted, raw unblanched almonds – meaning the skins are left on. The presence of the almond skins gives almond meal a slightly darker color and a coarser texture than blanched almond flour.
This coarser grind makes almond meal a fantastic ingredient for specific applications. It serves as an excellent alternative to bread crumbs, adding a nutty depth and satisfying crunch. It’s particularly wonderful for breading meats such as pork cutlets, various fish fillets, or even for making a delicious gluten-free chicken parmesan. The added fiber and rustic texture can elevate simple dishes into something truly special.
Tip 3: Understanding Almond Yield and Quantity
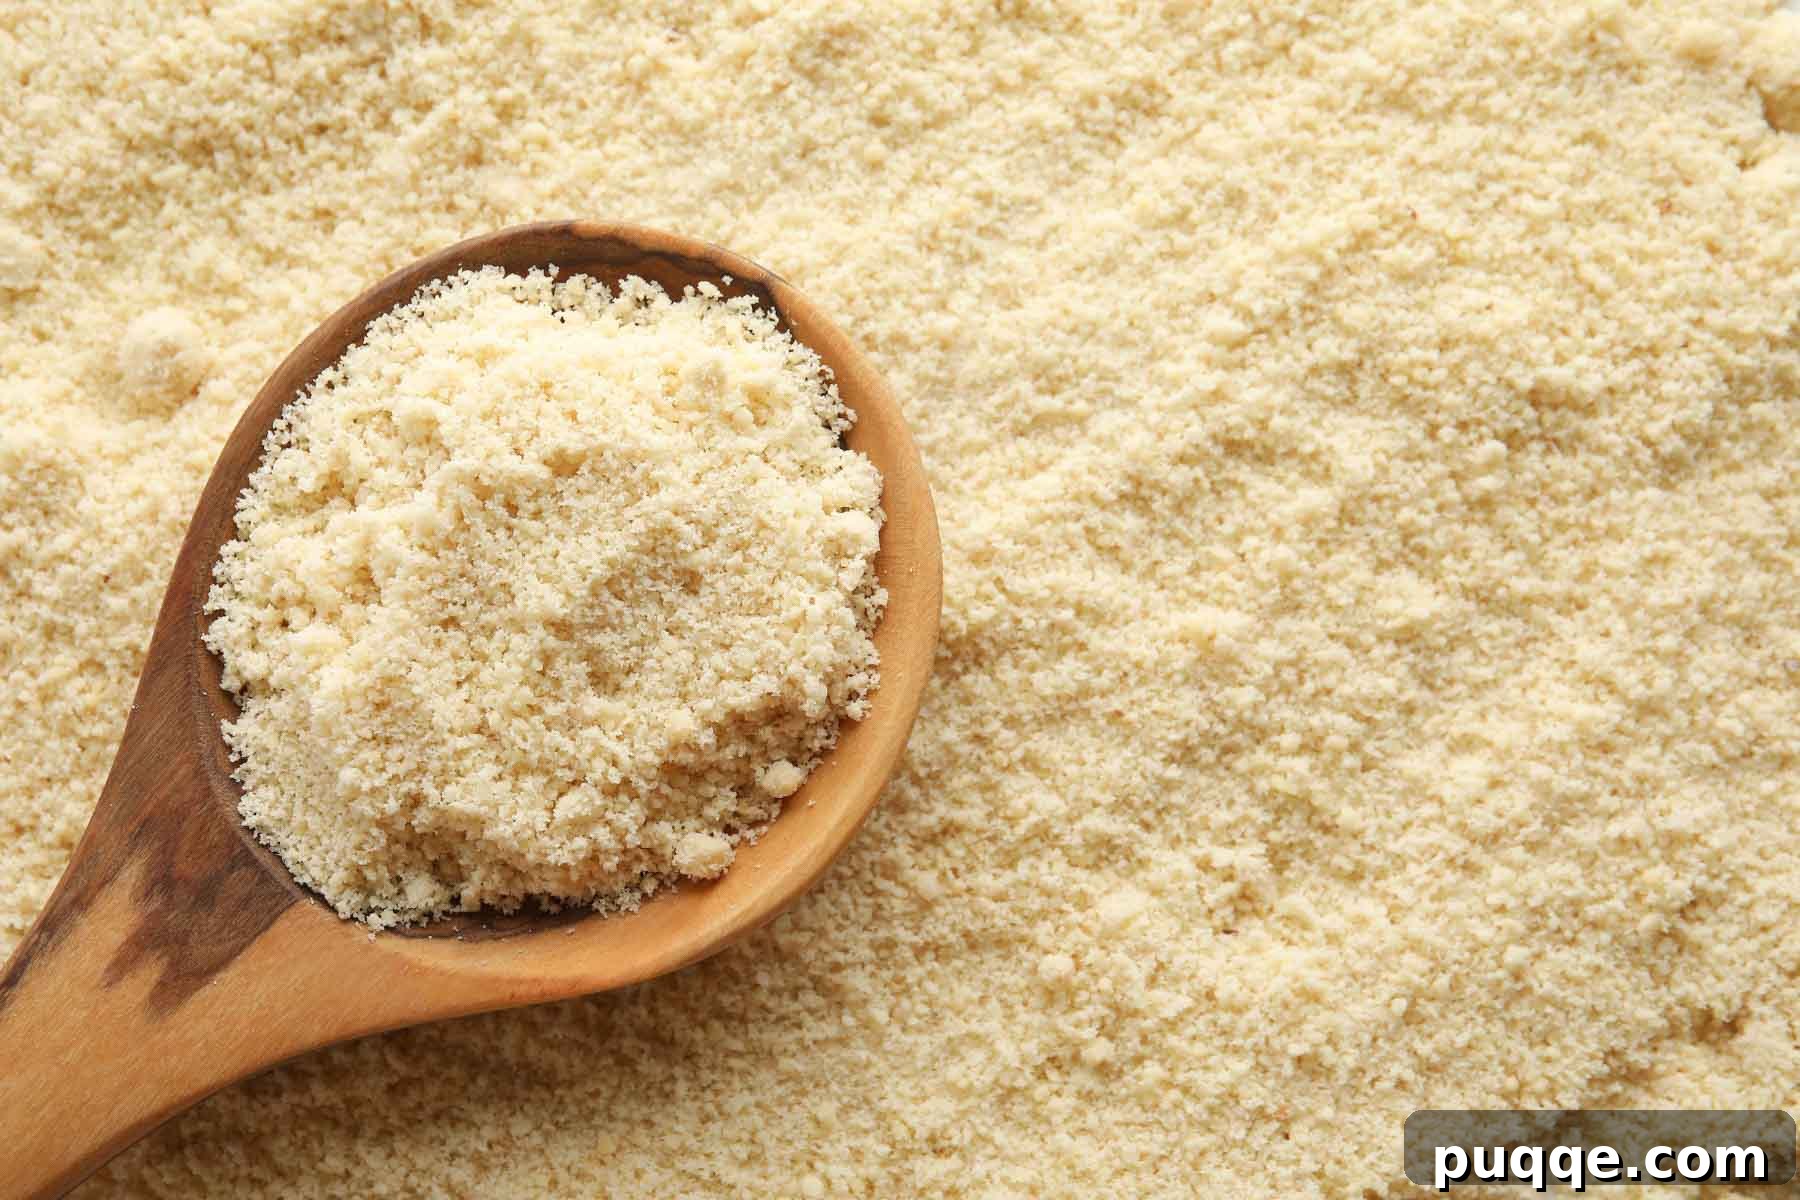
Knowing how much almond flour you can expect from a given amount of whole almonds is helpful for meal planning and budgeting. As a general guideline, one cup of whole, blanched almonds (not slivered or sliced) typically yields approximately 1 ⅓ cups of almond flour, which is about 128 grams. However, this measurement can vary slightly depending on the specific type and form of almonds you are using, as well as the power of your equipment and how finely you process them. Always consider this an approximation and adjust if your recipe requires precise measurements.
Tip 4: Employing the Best Equipment for Optimal Results
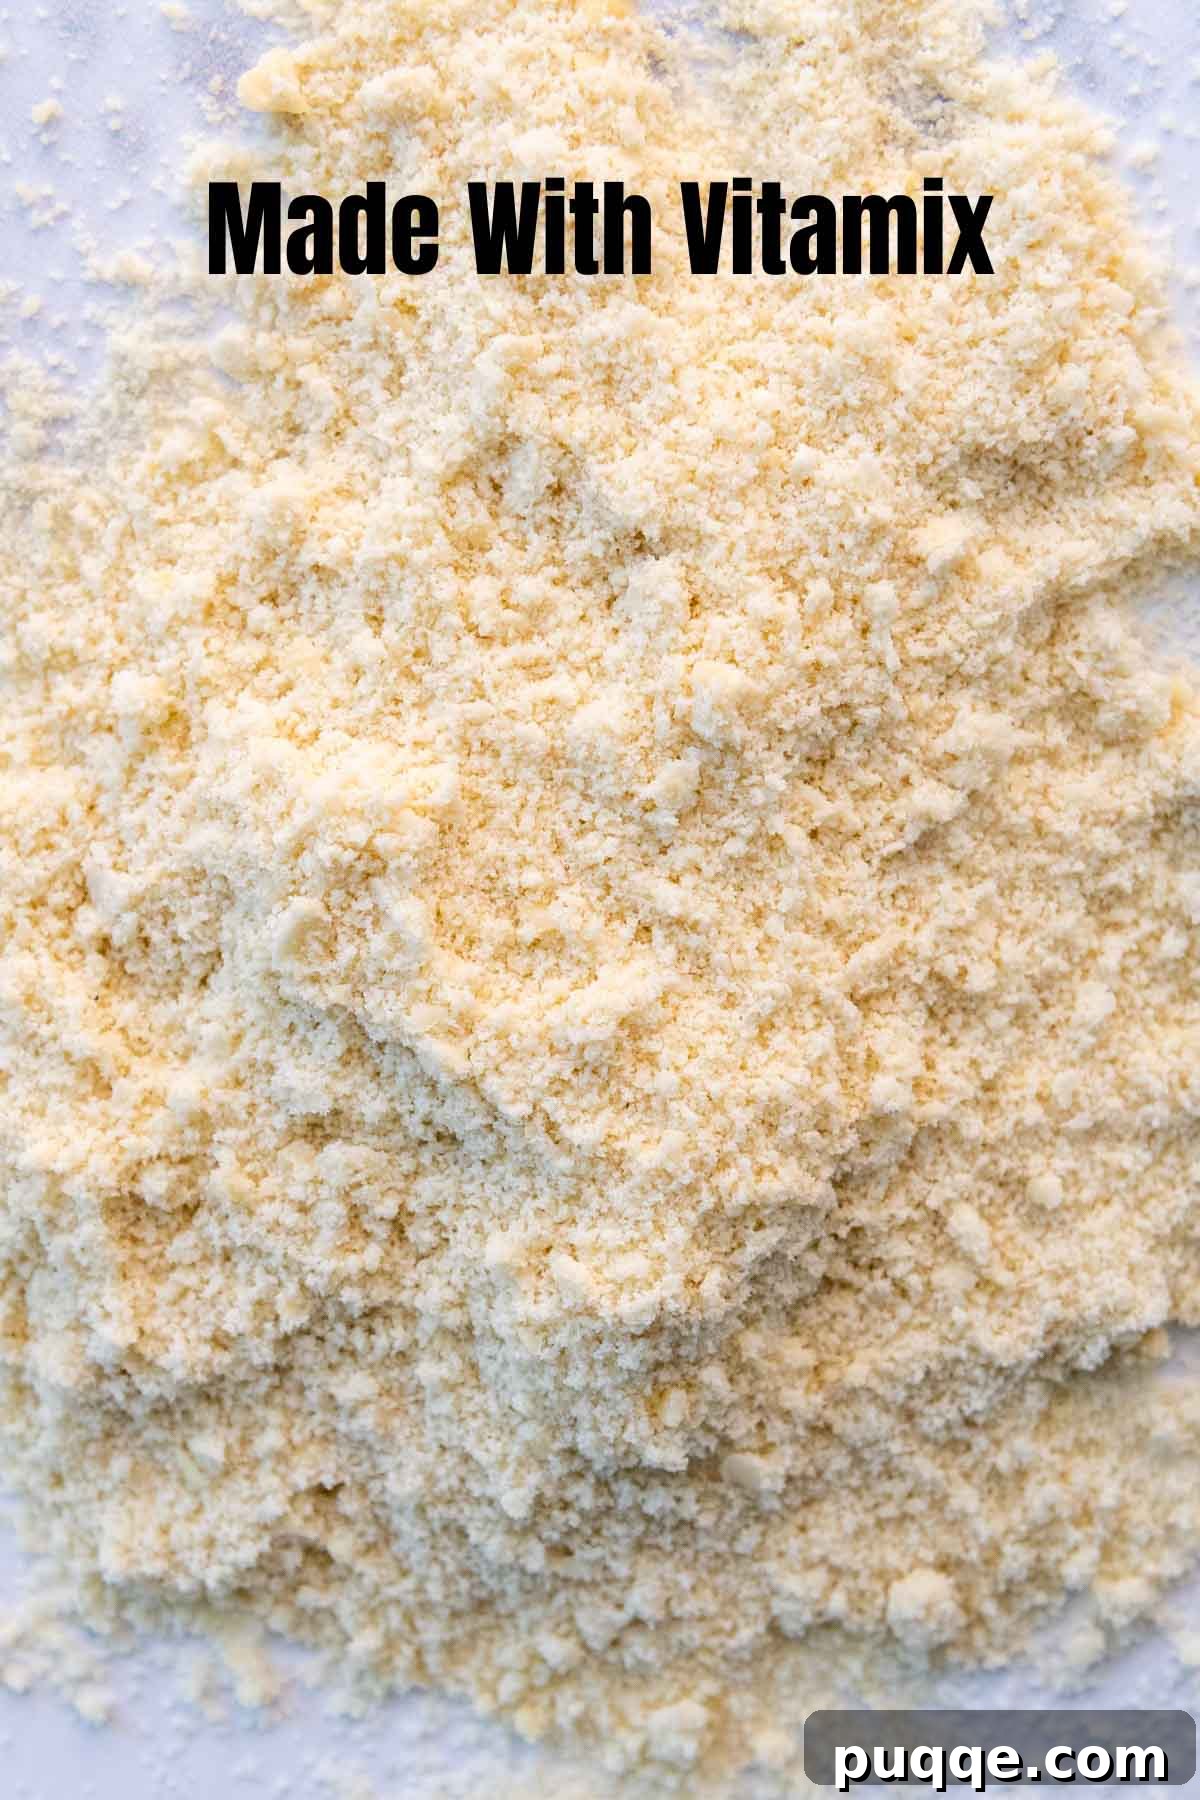
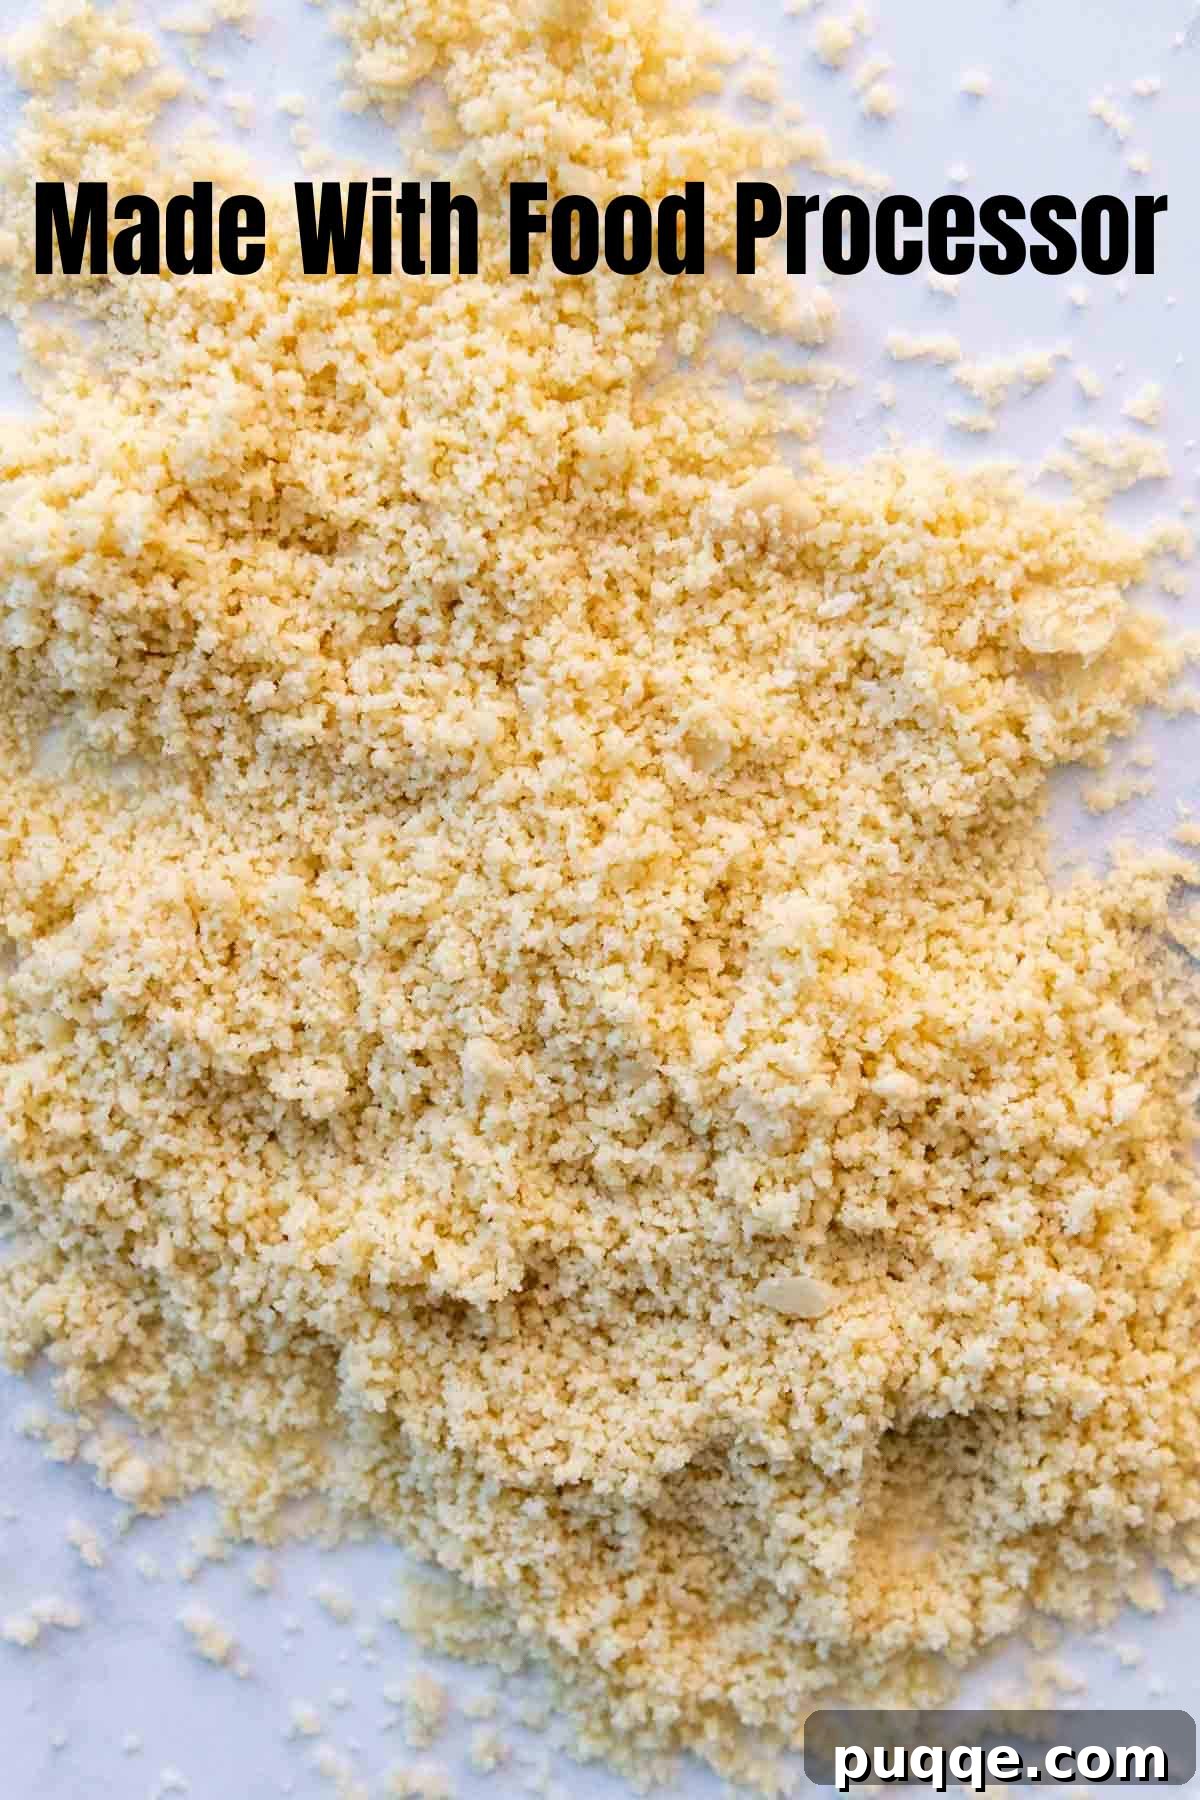
The right kitchen tool makes all the difference when grinding almonds into flour. After extensive testing, I’ve consistently found that a powerful high-speed blender, such as a Vitamix, outperforms a standard food processor for achieving the finest, most powdery almond flour. The immense power and specific blade design of high-speed blenders create a vortex that grinds almonds more uniformly and efficiently, minimizing the risk of over-processing.
During my experiments, I compared results from my Vitamix blender against my 14-cup Cuisinart food processor. The difference was significant: the blender consistently produced a much finer, fluffier, and more powdery flour. The food processor, especially larger models, often required longer processing times to break down the almonds. This extended grinding inevitably started to extract the natural oils from the almonds, resulting in a heavier, wetter, and coarser mixture that was far less desirable for delicate baking applications. The key to success lies in powerful, quick processing.
Tip 5: The Essential Step of Sifting for Super-Fine Flour
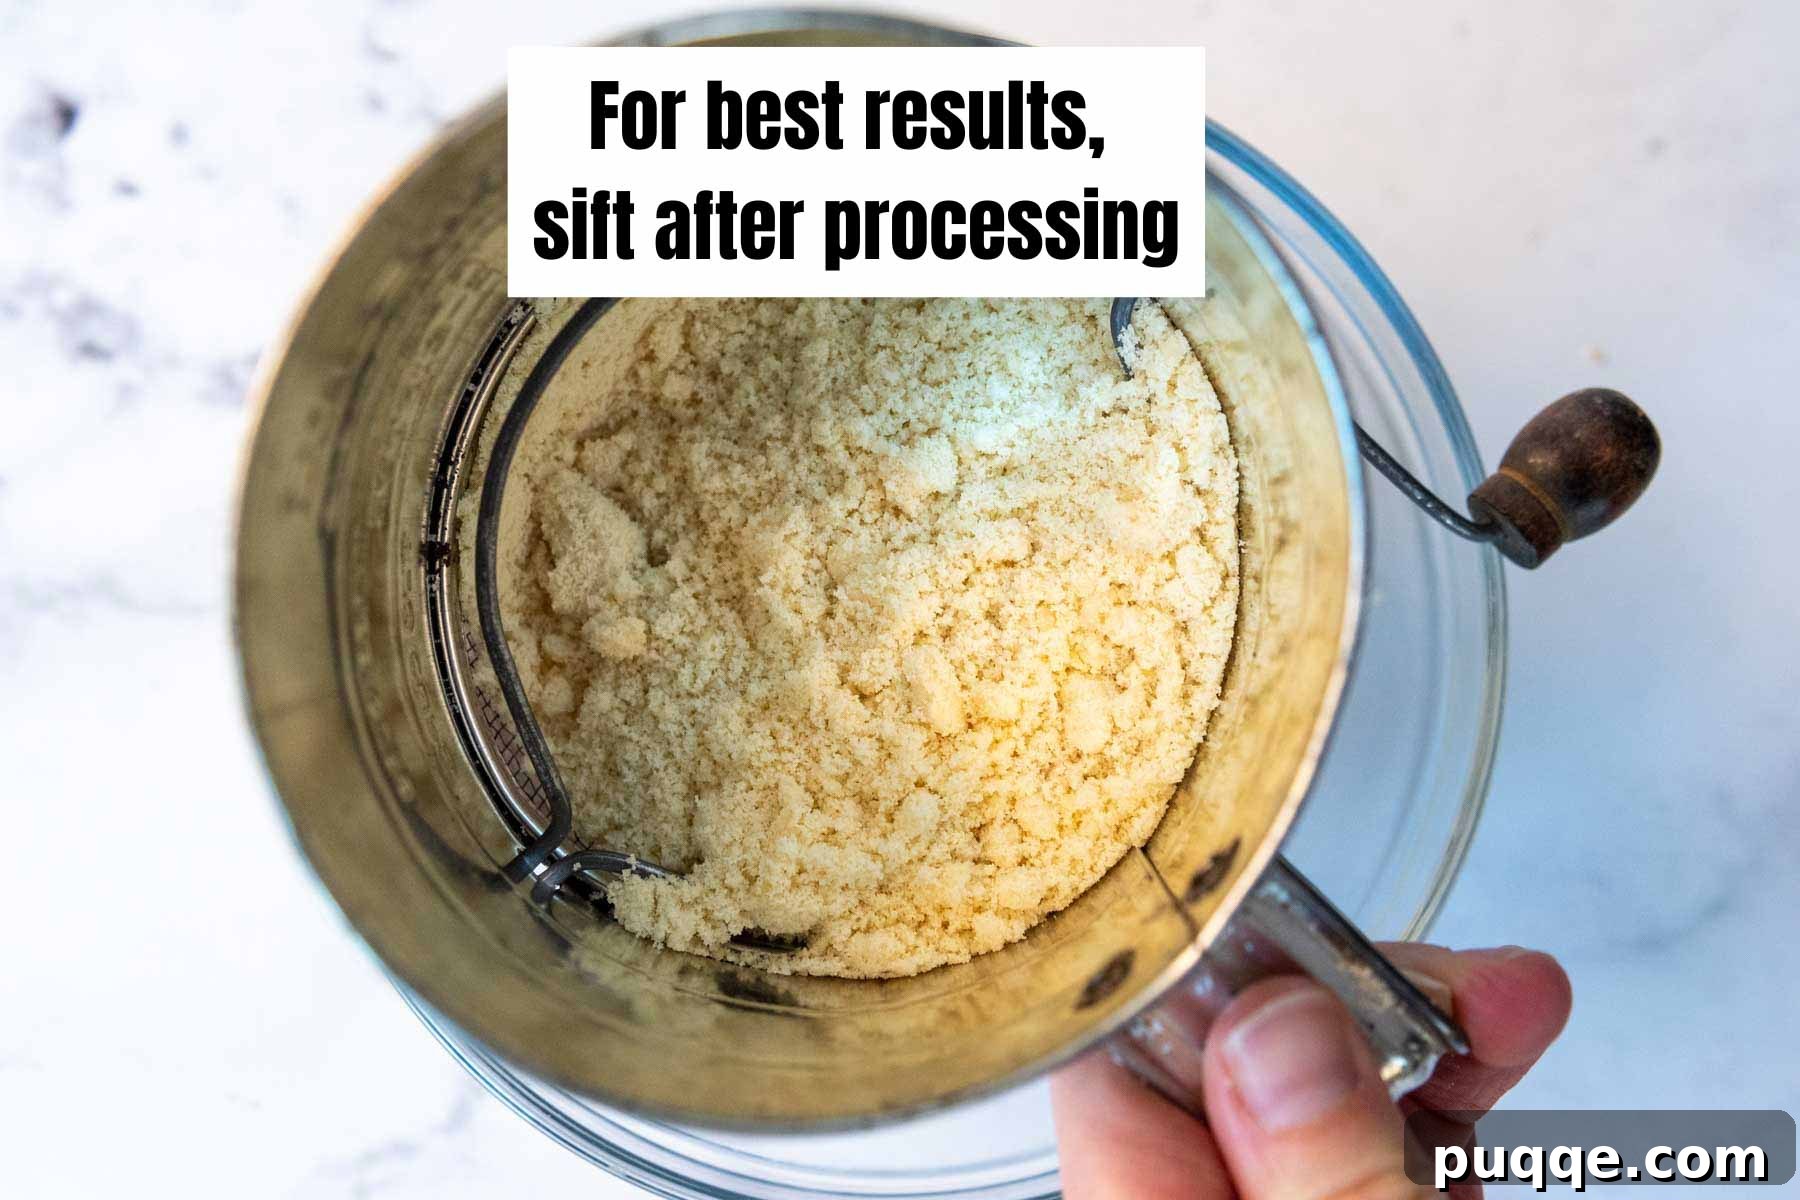
For truly fine, airy, and fluffy almond flour – the kind that makes delicate French macarons or light-as-air financiers – sifting is a non-negotiable step. After grinding your almonds, run the resulting flour through an inexpensive sifter. This crucial step ensures that any small, unground almond pieces are separated from the finely milled flour, leaving you with a perfectly uniform texture.
Beyond removing larger bits, sifting also effectively aerates the almond flour. This aeration is key to achieving that desirable “super fine almond flour” quality, making it light enough for recipes that demand precision and delicate structure. Whether you’re baking sophisticated French macarons, elegant financiers, or a wonderfully moist almond flour cake, sifting will significantly enhance the final texture and rise of your baked goods.
Tip 6: Is Making Almond Flour at Home Economical?
The question of whether making almond flour at home is worth the effort often comes down to cost savings. Let’s compare the economics. A standard one-pound bag of whole almonds, when processed, typically yields about 4 cups of almond flour. In contrast, a one-pound bag of commercially prepared almond flour usually contains approximately 4 ¾ cups. While the yield is slightly less, the price difference can be substantial.
High-quality, pre-made almond flour from premium brands like Bob’s Red Mill or Blue Diamond can often be almost twice the price of a pound of raw whole almonds. Even at discount retailers like Aldi, Trader Joe’s, or Costco, where almond flour might be found for around $6 per pound, whole unsalted almonds are generally more affordable. The greatest savings often come from purchasing raw whole almonds in bulk from health food stores or warehouse clubs like Costco. Over time, making your own almond flour at home can lead to significant cost reductions, especially for regular gluten-free or low-carb bakers.
Tip 7: Avoiding the Pitfall of Wet, Heavy Flour (The Over-Processing Trap)
One of the most common mistakes when making almond flour is over-processing. If you allow the almonds to blend continuously for too long, you risk transforming your potentially light and fluffy flour into a heavy, wet, and clumpy substance. This happens because as almonds are ground, their natural oils begin to release. If the processing continues unabated, enough oil will eventually be extracted to create almond butter instead of flour! While delicious in its own right, almond butter is not what you want for delicate baking.
The ultimate secret to producing a consistently fine, powdery almond flour is to process the nuts using a series of short, sharp pulses rather than continuous blending. For best results, pour your measured cup of blanched almonds into your high-powered blender or food processor. Then, pulse the machine about 25-50 times, using 1-second increments. Throughout this process, make sure to stop intermittently (2-3 times for a blender, 3-4 times for a food processor) to scrape down the sides of the container. This ensures even grinding and prevents the almonds at the bottom from turning into butter while those at the top remain whole. This pulsing technique keeps the almonds cool and prevents excessive oil release, guaranteeing that light, airy texture you’re after.
Tip 8: Best Practices for Storing Homemade Almond Flour
Proper storage is essential to maintain the freshness and quality of both homemade and store-bought almond flour. Almonds are high in natural oils, which can become rancid if exposed to air, moisture, or heat for too long. Your storage method should align with how frequently you plan to use the flour.
If you intend to use your almond flour within 1-2 weeks, you can simply store it in an airtight container or a glass jar. Keep it in a cool, dark pantry or cupboard away from direct sunlight and heat. For slightly longer storage, typically 1-2 months, transferring the airtight container to the refrigerator is advisable. In the fridge, almond flour can maintain its freshness for up to 6 months. For optimal baking results, always allow refrigerated almond flour to come to room temperature before incorporating it into your recipes.
Can you freeze almond flour? Absolutely! Freezing is the best method to extend the maximum freshness of almond flour for an extended period, preventing the oils from going rancid. When stored in a freezer-safe, airtight container or bag, almond flour can remain fresh and delicious for up to one year. When you’re ready to use it, simply remove the required amount from the freezer and let it sit at room temperature until it thaws completely. This prevents condensation and ensures the flour’s texture remains optimal for your baked goods.
Tip 9: Effective Ways to Use Homemade Almond Flour in Recipes
Many bakers wonder if they can seamlessly substitute almond flour for other flours in all their low-carb or gluten-free baking endeavors. While incredibly versatile and delicious, almond flour possesses unique properties that differentiate it from traditional wheat flour or even most gluten-free flours. It is notably heavier and contains more moisture and fat than conventional flours, meaning it generally cannot be substituted in a direct one-to-one ratio without adjusting other ingredients.
For the most consistent and successful results, I highly recommend seeking out recipes specifically developed for almond flour. These recipes are expertly crafted to account for almond flour’s specific chemistry, ensuring proper texture, rise, and moisture balance in your baked goods. However, if you’re eager to experiment and adapt existing recipes, keeping the following guidelines in mind will significantly improve your chances of success:
- Increase Almond Flour Quantity: Almond flour is denser, so you’ll typically need to use more of it. A good starting point is to increase the amount of almond flour by approximately 25%. For instance, if a recipe calls for 1 cup of all-purpose flour, try using 1 ¼ cups of almond flour.
- Add Extra Leavening: To counteract the natural density of almond flour and achieve a lighter crumb, consider adding extra leavening agents. An additional ¼ to ½ teaspoon of baking powder, baking soda, or a combination of both can help provide that much-needed lift.
- Reduce Liquid Content: Given that almond flour inherently contributes more moisture to baked goods due to its fat content, you’ll often need to slightly reduce the liquid components in your recipe. This could involve using an egg yolk instead of a whole egg, or cutting back on other moisture-rich ingredients such as milk, mashed bananas, applesauce, or sour cream. Adjust gradually to find the right balance for your specific recipe.
Click here to see thestep-by-step web story instructions for this recipe!
Simple Recipe: Homemade Fluffy Almond Flour
How to Make Fluffy Almond Flour: 9 Easy Tips

Melissa Erdelac
1 ⅓ cups
5 mins
5 mins
Pin
Rate
Remove Ads
Ingredients
- 1 cup blanched unsalted almonds
Equipment
-
High-Powered Blender (e.g., Vitamix)
-
Fine-Mesh Sifter
Instructions
-
To Make With High-Powered Blender (recommended): Place the blanched almonds in the blender. Pulse 25-50 times in 1-second increments, stopping to scrape down the sides 2-3 times to ensure even grinding.
-
To Make With Food Processor: Place the blanched almonds in the food processor fitted with a blade. Pulse 50-60 times in 1-second increments, stopping to scrape down the sides 3-4 times. Note that a food processor may yield a slightly coarser flour.
-
Sift for Super-Fine Flour: For the finest, fluffiest almond flour (best for baking), run the processed flour through a fine-mesh sifter before storing or using. This removes any small, unprocessed pieces and aerates the flour.
-
Important Tip: Avoid over-mixing or continuous blending on high speed. This will release the natural oils and moisture from the almonds, resulting in dense, heavy flour or even almond butter. Short, controlled pulses are key!
Notes
Best Way To Store
If you plan on using your homemade almond flour within 1-2 weeks, store it in an airtight container or glass jar in a cool, dark place.
For use within 1-2 months, place the airtight container in the refrigerator. It can be stored for up to 6 months this way. For best baking results, allow it to come to room temperature before use.
You can freeze almond flour! To extend its maximum freshness for up to one year, store it in a freezer-safe, airtight container.
When ready to use, simply remove the desired amount from the freezer and allow it to reach room temperature before adding to your baked goods.
Did you make this recipe?
Please leave a star rating and review below. Your feedback helps others searching for recipes!
SAVE THIS HOW TO MAKE ALMOND FLOUR RECIPE TO YOUR PINTEREST BOARD!
Let’s be friends on Pinterest! I’m always sharing great recipes!