
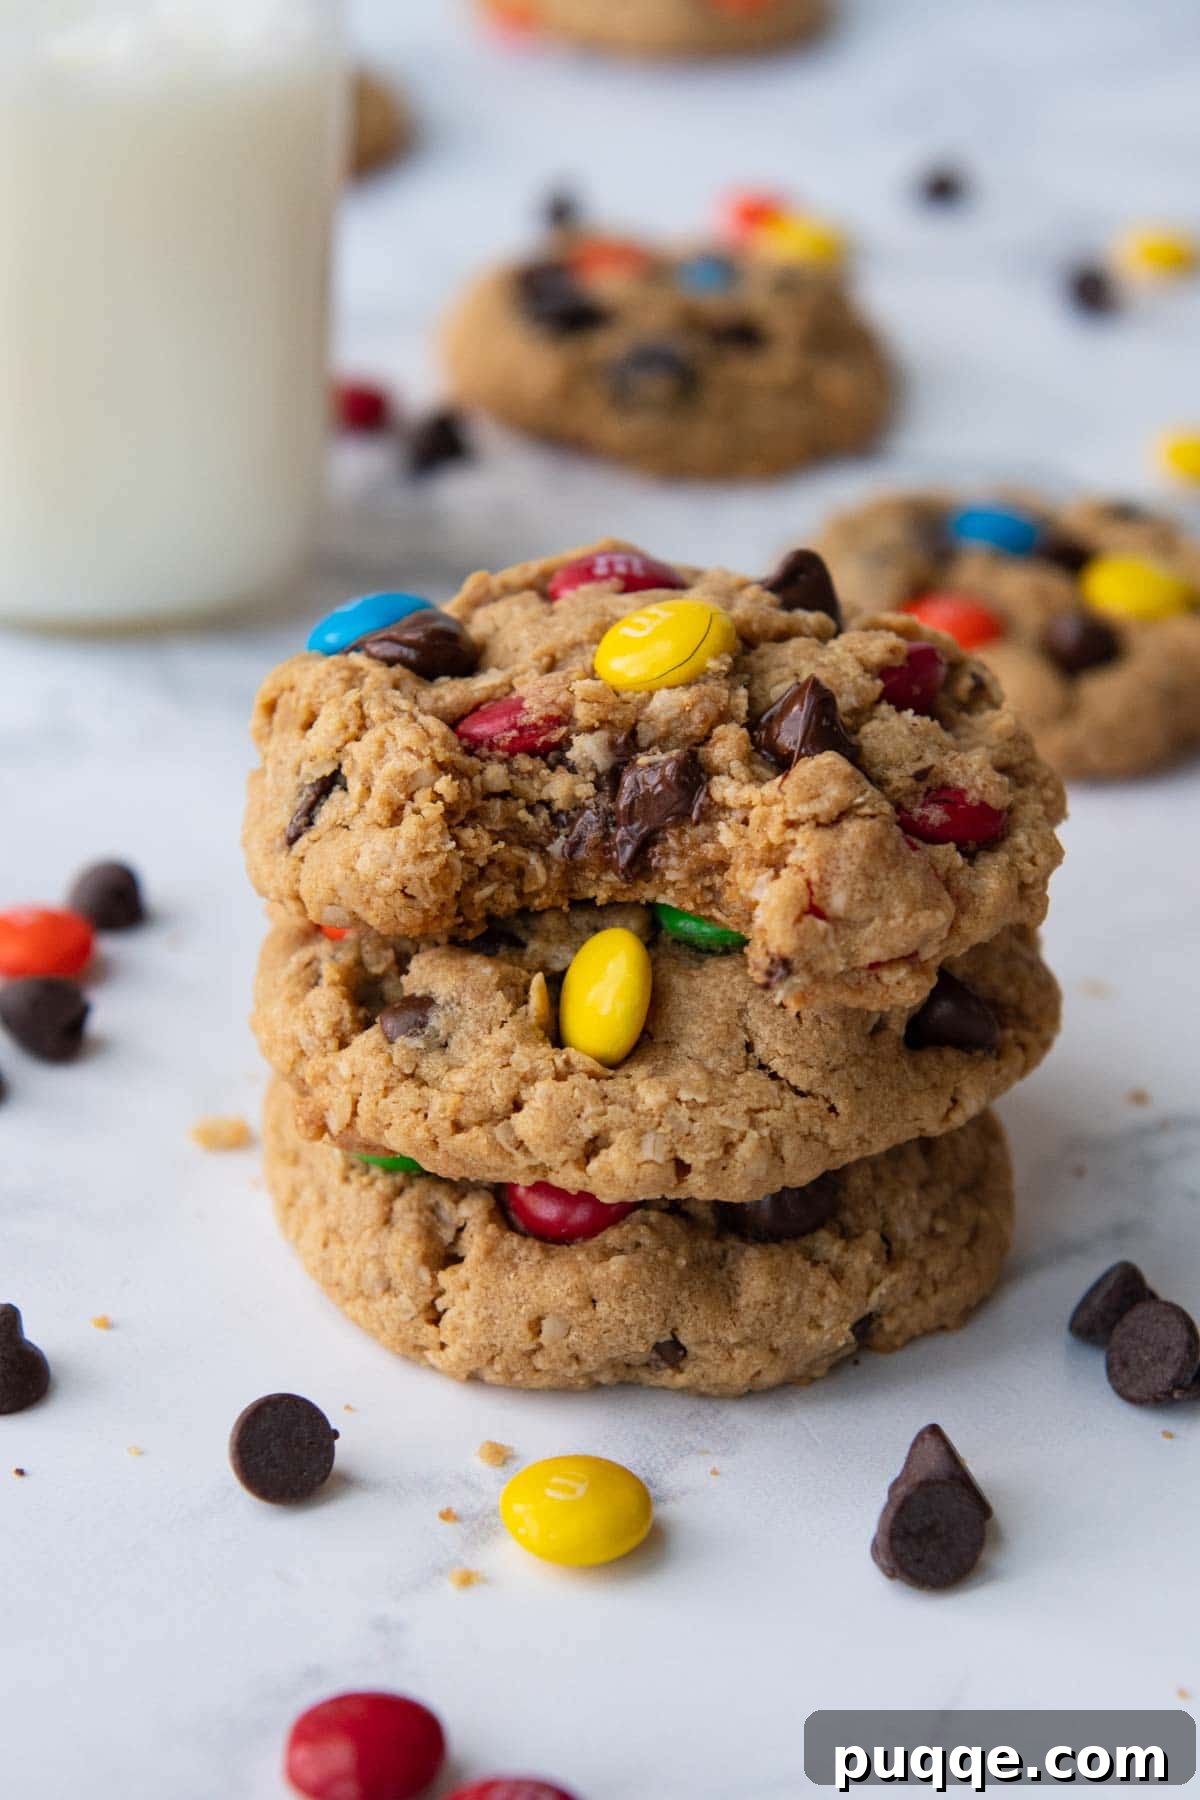
There’s nothing quite like a classic monster cookie. And when that classic is naturally gluten-free and absolutely irresistible? You’ve found a true baking gem! These homemade, flourless monster cookies are incredibly soft and wonderfully chewy, evoking that comforting, nostalgic taste you remember from childhood. Bursting with hearty oats, rich peanut butter, decadent chocolate chips, and colorful M&M candies, they embody the perfect bakery-style treat designed to delight everyone, whether they follow a gluten-free diet or not.
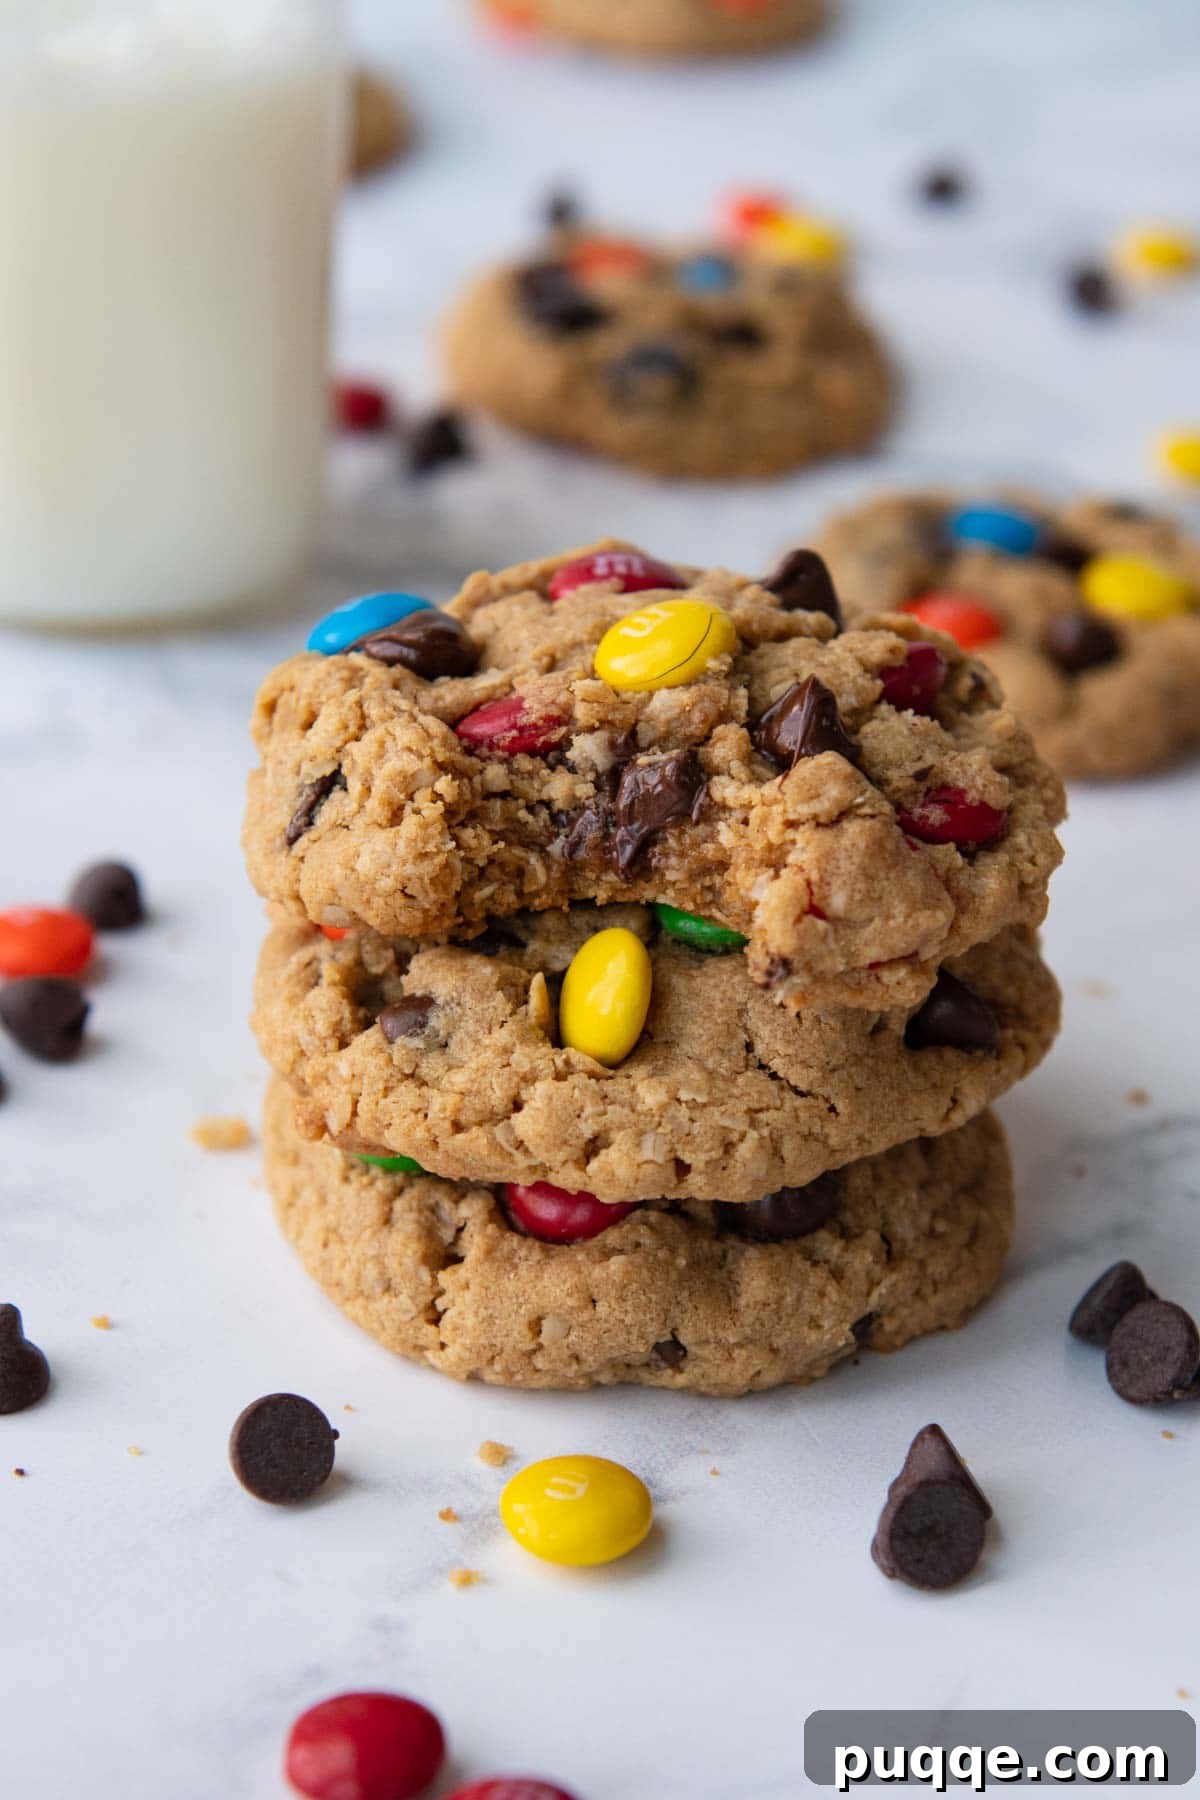
Irresistibly Soft & Chewy: Your Guide to Flourless Gluten-Free Monster Cookies
Discovering a recipe that’s effortlessly delicious and naturally gluten-free feels like hitting the jackpot. This monster cookie recipe is precisely that kind of find. Flourless cookies have always held a special place in my heart, primarily because they eliminate the need for specialized, often expensive, gluten-free flours. This makes them not only budget-friendly but also universally appealing – perfect for sharing with friends and family, regardless of their dietary needs. The simplicity and widespread acceptance of these cookies make them a fantastic addition to any baker’s repertoire.
This easy homemade recipe draws inspiration from a cherished family favorite in my extensive gluten-free cookie collection. After perfecting my old-fashioned gluten-free oatmeal raisin cookie recipe, which garnered an outpouring of enthusiastic reviews, I decided to adapt the beloved base. The simple swap of raisins for a generous blend of chocolate chips and M&Ms proved to be a stroke of genius, transforming a classic into a vibrant, textural wonderland.
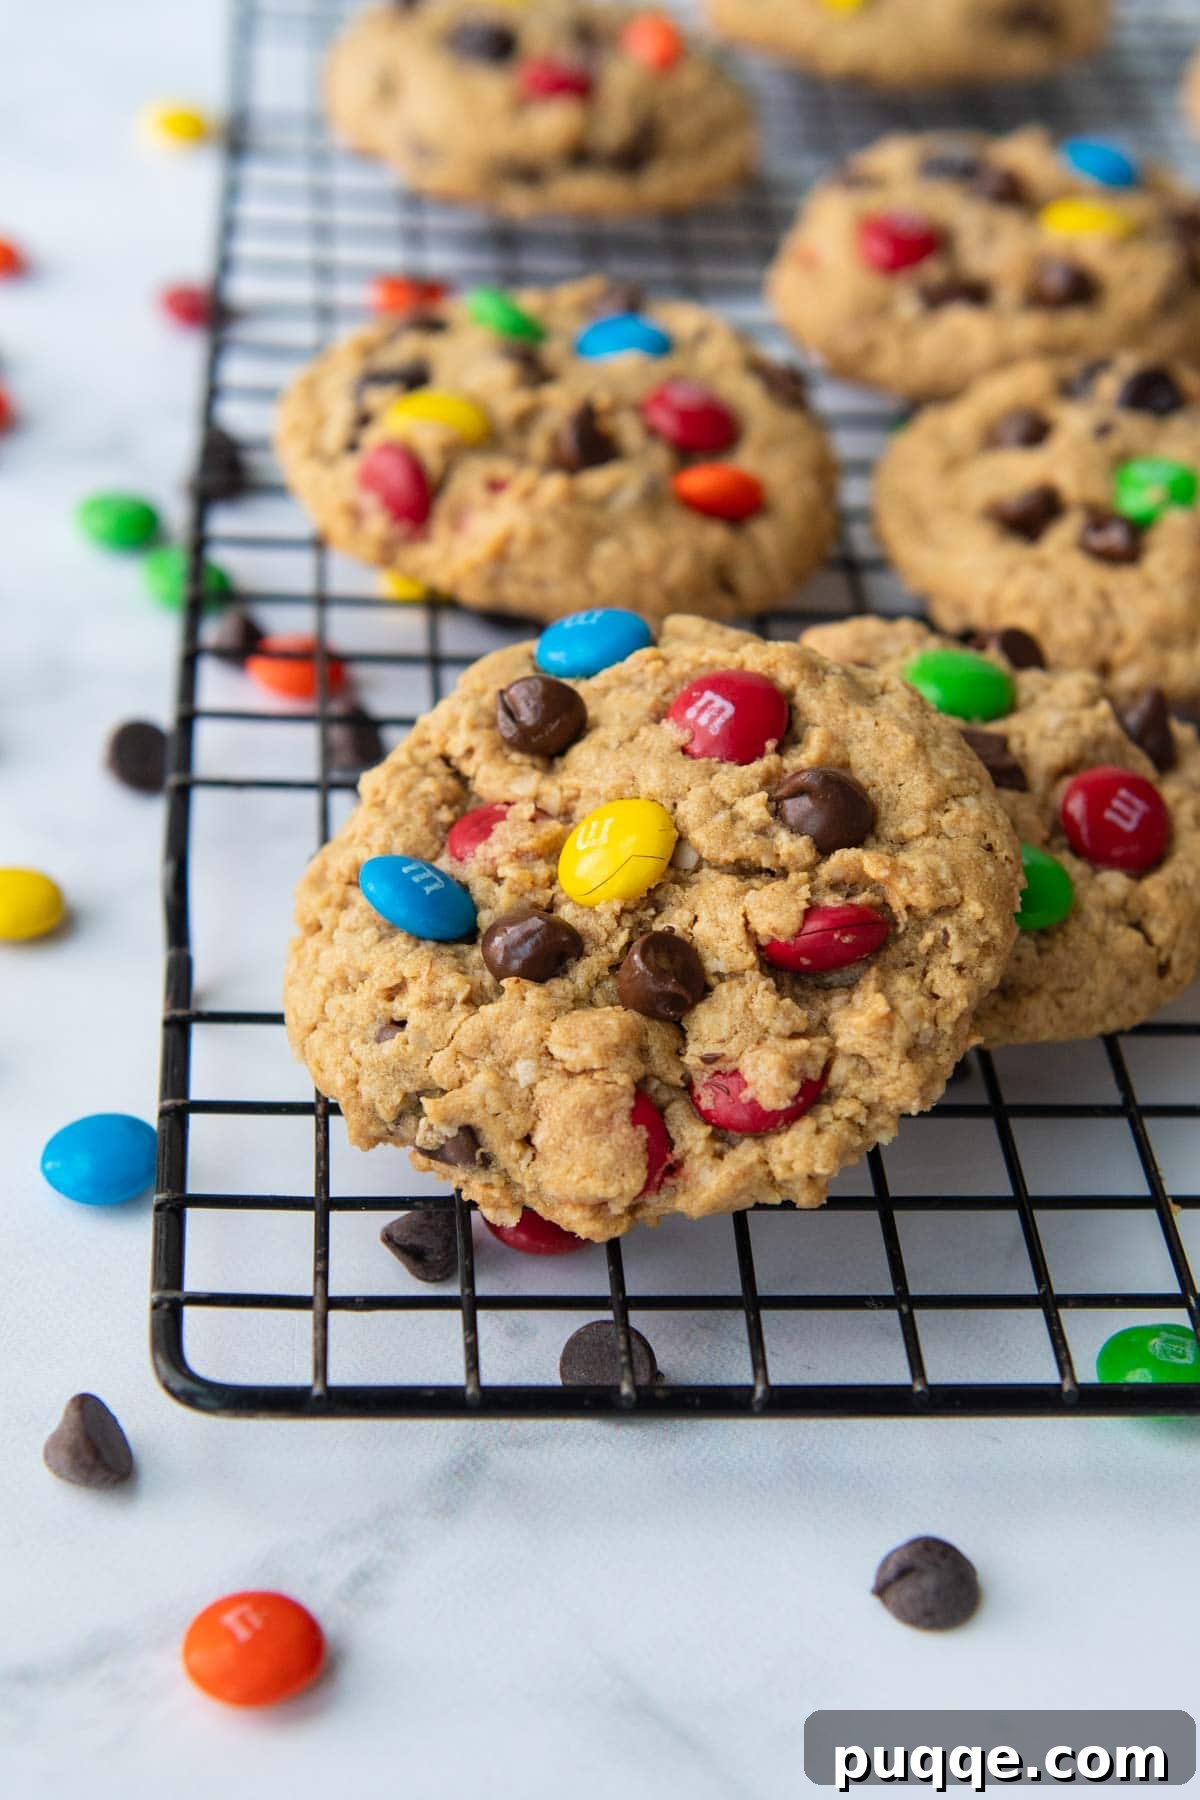
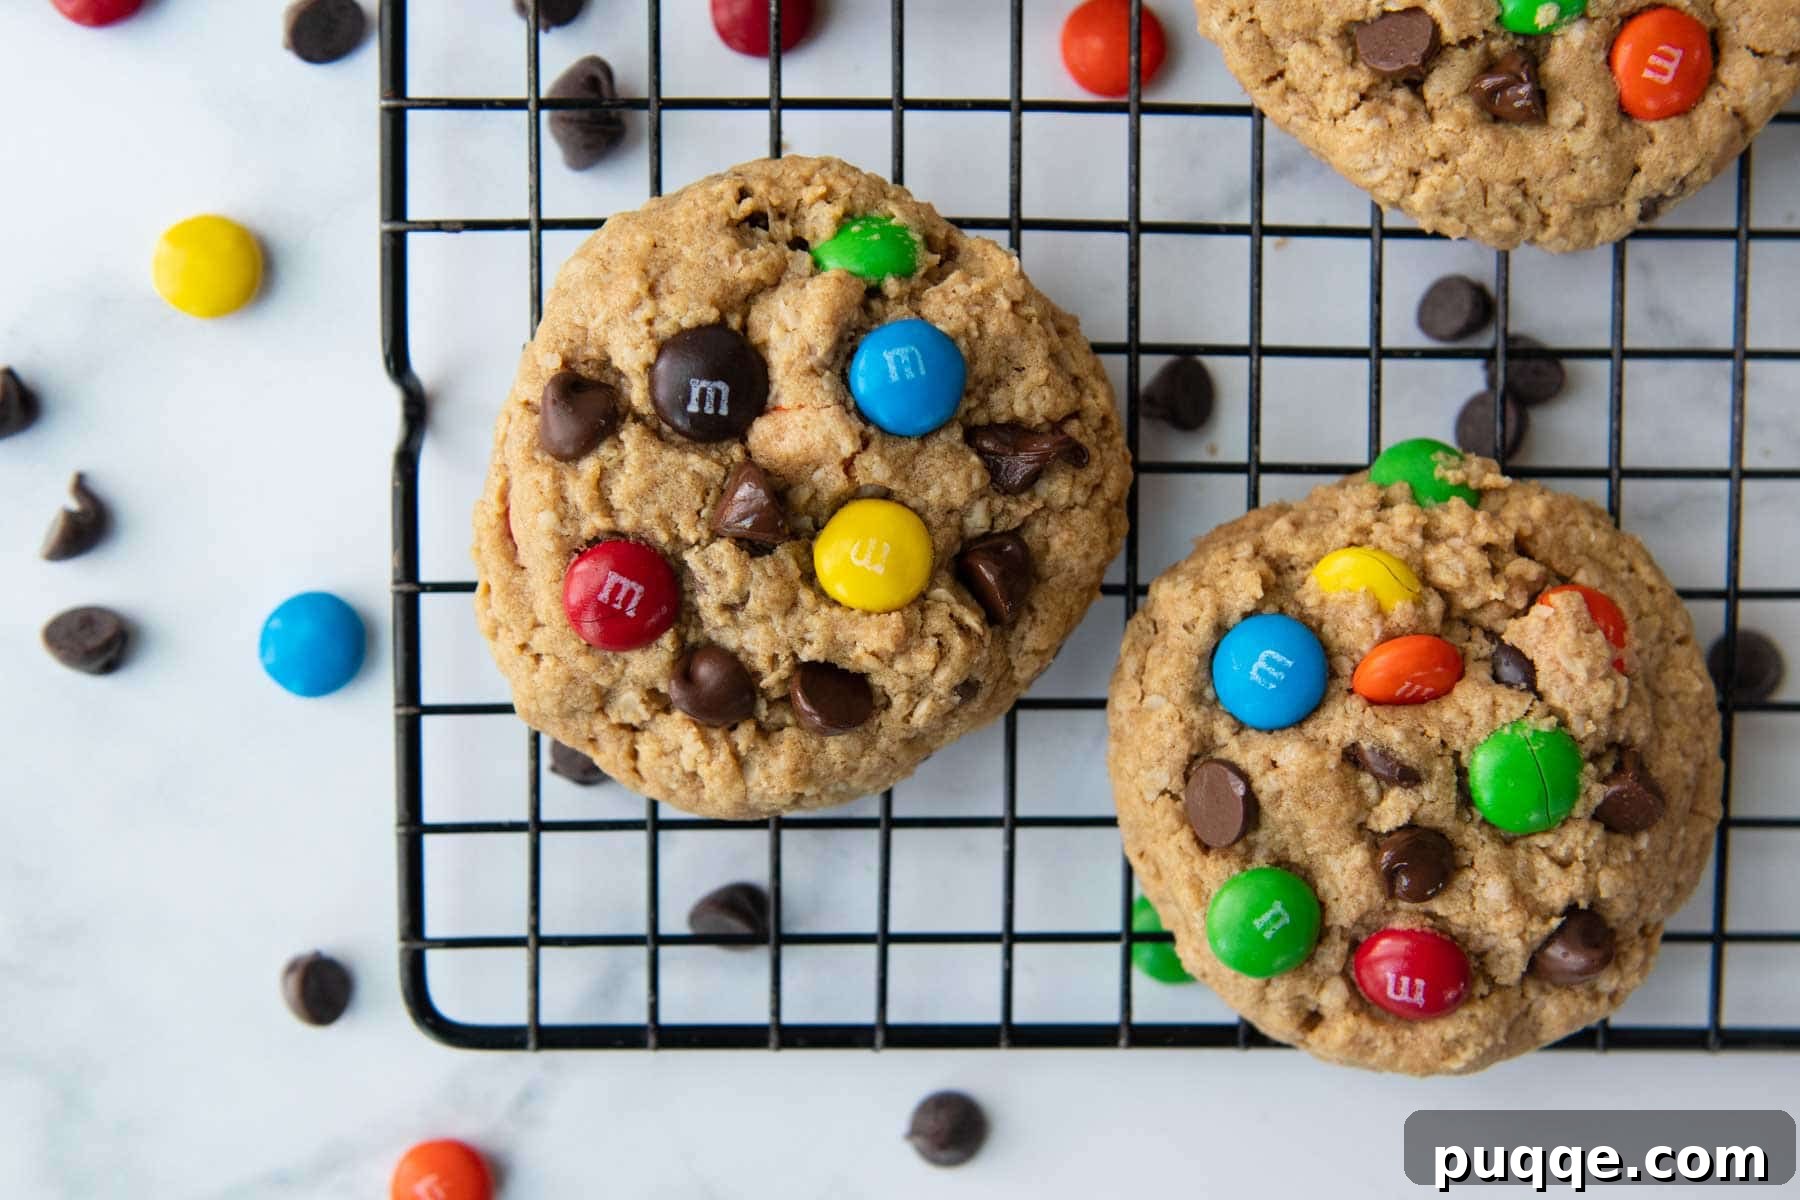
The outcome was nothing short of spectacular. These monster cookies boast the same exceptional quality as the ones I grew up adoring, but with an enhanced texture. Expect an extra soft and delightfully chewy interior, complemented by subtly crisp edges that provide a satisfying contrast. Each bite is rich with gooey, melted chocolate, thanks to an ample helping of both classic chocolate chips and cheerful M&M’s, ensuring every cookie is a mini celebration of flavor and texture. This recipe truly delivers on all fronts, providing a delightful experience that stands the test of time and taste.
These are my go-to cookies for friends, especially those who are gluten-free. I’m celiac and these are my favorite! Awesome texture and flavor.
—Clare
Essential Ingredients for Your Monster Cookie Masterpiece
Crafting the perfect monster cookie starts with understanding the role each ingredient plays. Here’s a closer look at the key components that give these flourless cookies their signature soft, chewy texture and incredible flavor:
- Peanut Butter: This is the hero ingredient that allows our cookies to be completely flourless. Peanut butter acts as the primary binder, holding the dough together to create a soft, pliable texture without any dryness or crumbliness. For the best results, use regular creamy peanut butter. Natural peanut butter, which tends to separate more and be oilier, is not recommended as it can significantly alter the dough consistency and final texture. We haven’t tested alternative seed or nut butters, but due to their varying oil content, they might yield different results.
- Oats: The choice of oats is crucial for flourless cookies. We highly recommend using quick-cooking oats. Their finer, smaller flakes integrate more effectively into the dough, helping it bind together without the need for chilling. For a truly gluten-free recipe, always ensure you use certified gluten-free oatmeal. This is vital to prevent cross-contamination for individuals with celiac disease or gluten sensitivities.
- Butter: Softened, room temperature unsalted butter is essential for achieving a creamy, well-incorporated dough. While we haven’t personally tested with dairy-free butter, vegan butter sticks often substitute well in baking recipes, typically yielding similar results. However, dairy-free butter may cause the cookies to spread a bit more during baking. To counteract this, you can chill the cookie dough for about an hour before baking.
- Sugar (Brown & Granulated): The combination of both light brown sugar and granulated sugar is key to these cookies’ delightful texture. Brown sugar contributes moisture and a rich, slightly caramelized flavor, resulting in a chewier cookie. Granulated sugar, on the other hand, aids in spreading and contributes to those subtly crisp edges, creating a perfect balance of tenderness and chew.
- M&M Candies: These colorful candies are a hallmark of monster cookies, adding a playful crunch and extra chocolatey goodness. Standard plain M&Ms do not contain gluten-containing ingredients. However, it’s worth noting that some individuals, particularly those with celiac disease, may be sensitive to them due to potential cross-contamination in manufacturing. If you’re baking for someone with severe gluten sensitivity or celiac disease, it’s always best to check with them first or opt for certified gluten-free chocolate candies. When considering other chocolate candy flavors or varieties, always read the labels carefully to ensure they are gluten-free.
- Chocolate Chips: We use semi-sweet chocolate chips to complement the sweetness of the M&Ms and peanut butter. Their melty texture adds a luxurious gooeyness to every bite. You can experiment with milk chocolate, dark chocolate, or even a mix to suit your preference.
Let’s Bake These Delicious Cookies Together!
(The following section provides step-by-step photos and detailed instructions to guide you through the baking process. For the complete list of ingredients with precise measurements, please scroll down to the full recipe card below.)
Whipping Up the Easy Flourless Cookie Dough
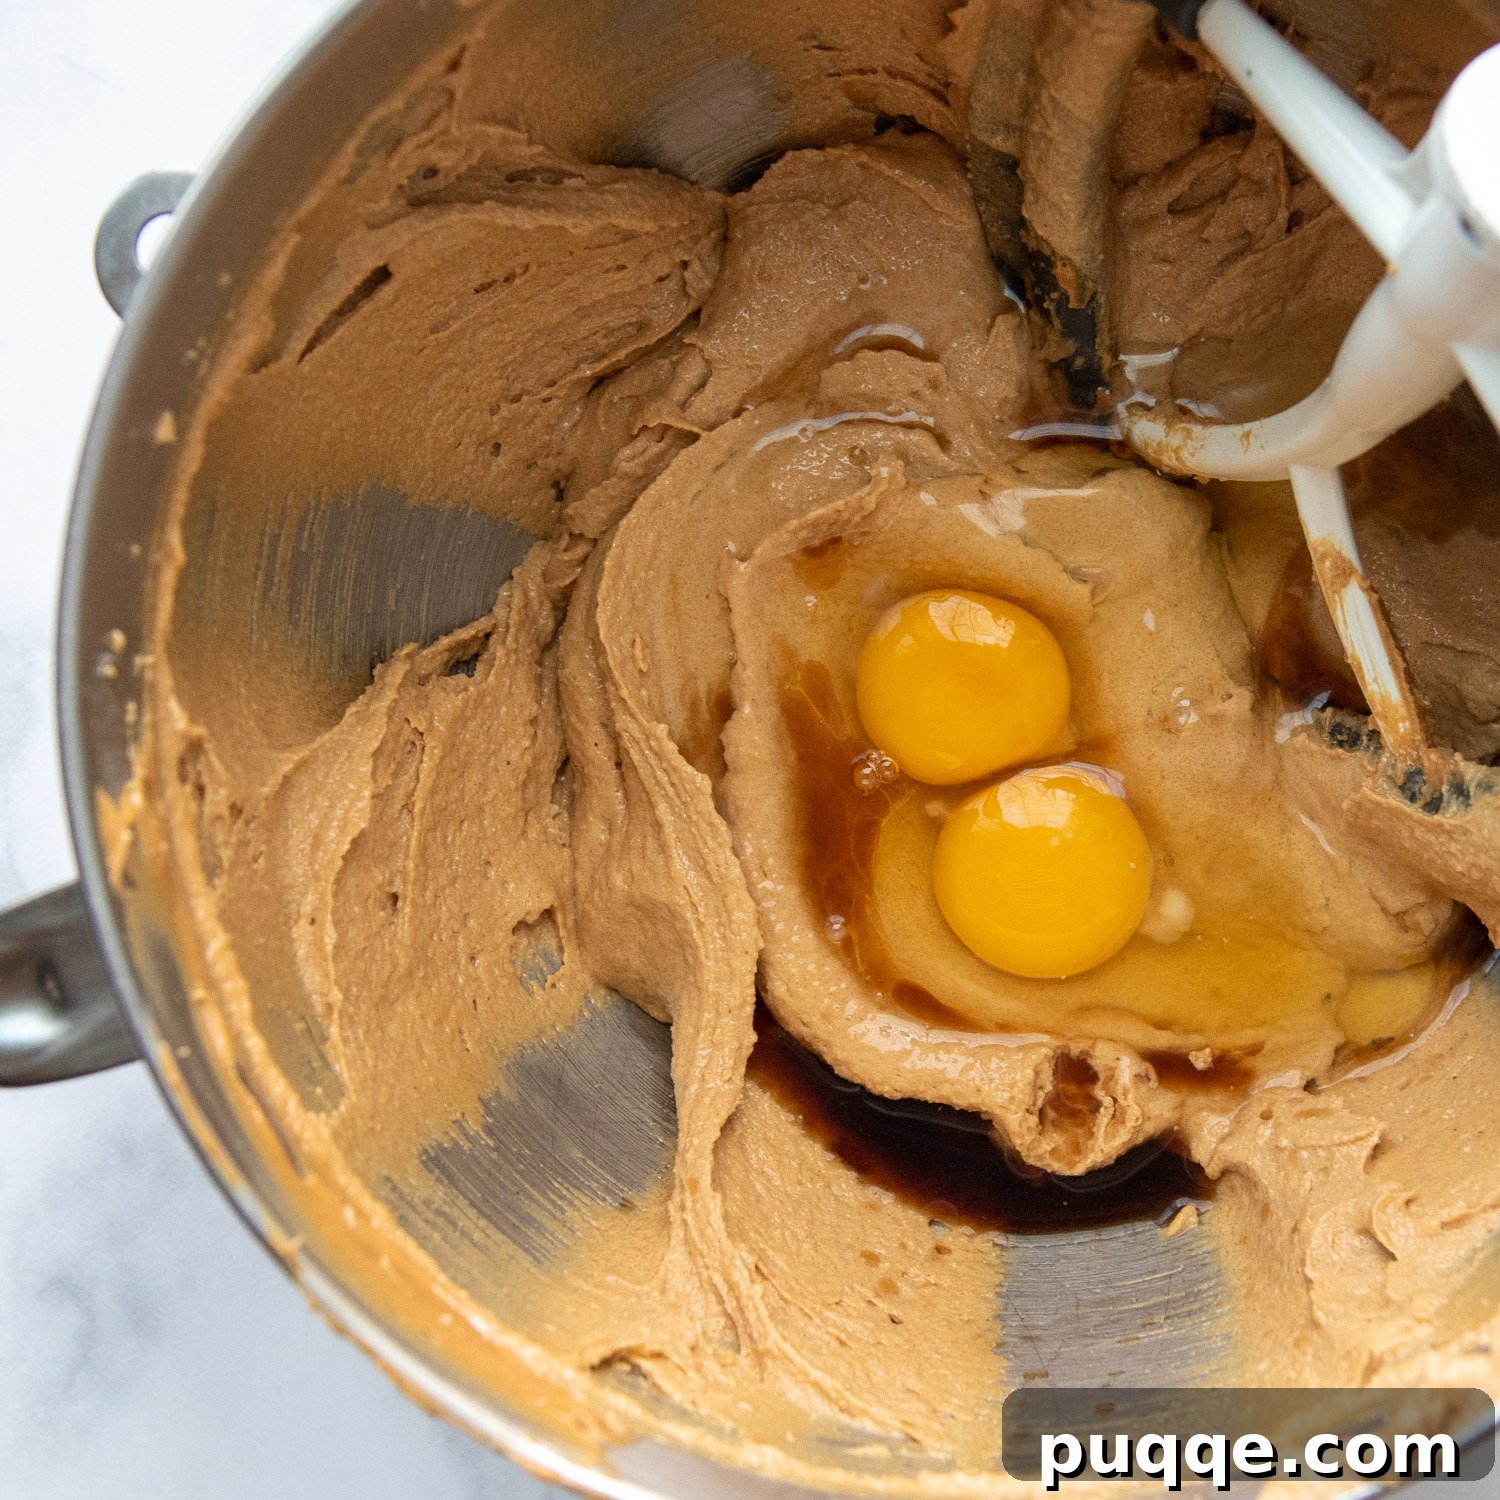
In a large mixing bowl, combine the softened butter, creamy peanut butter, light brown sugar, and granulated sugar. Using an electric mixer, cream these ingredients together on high speed for approximately 2 minutes until the mixture becomes wonderfully light, fluffy, and creamy. This crucial step incorporates air, contributing to the cookies’ soft texture. Next, beat in the eggs and vanilla extract until they are fully incorporated, ensuring a smooth and cohesive base for your dough.
Mixing in All the Monster Goodness!
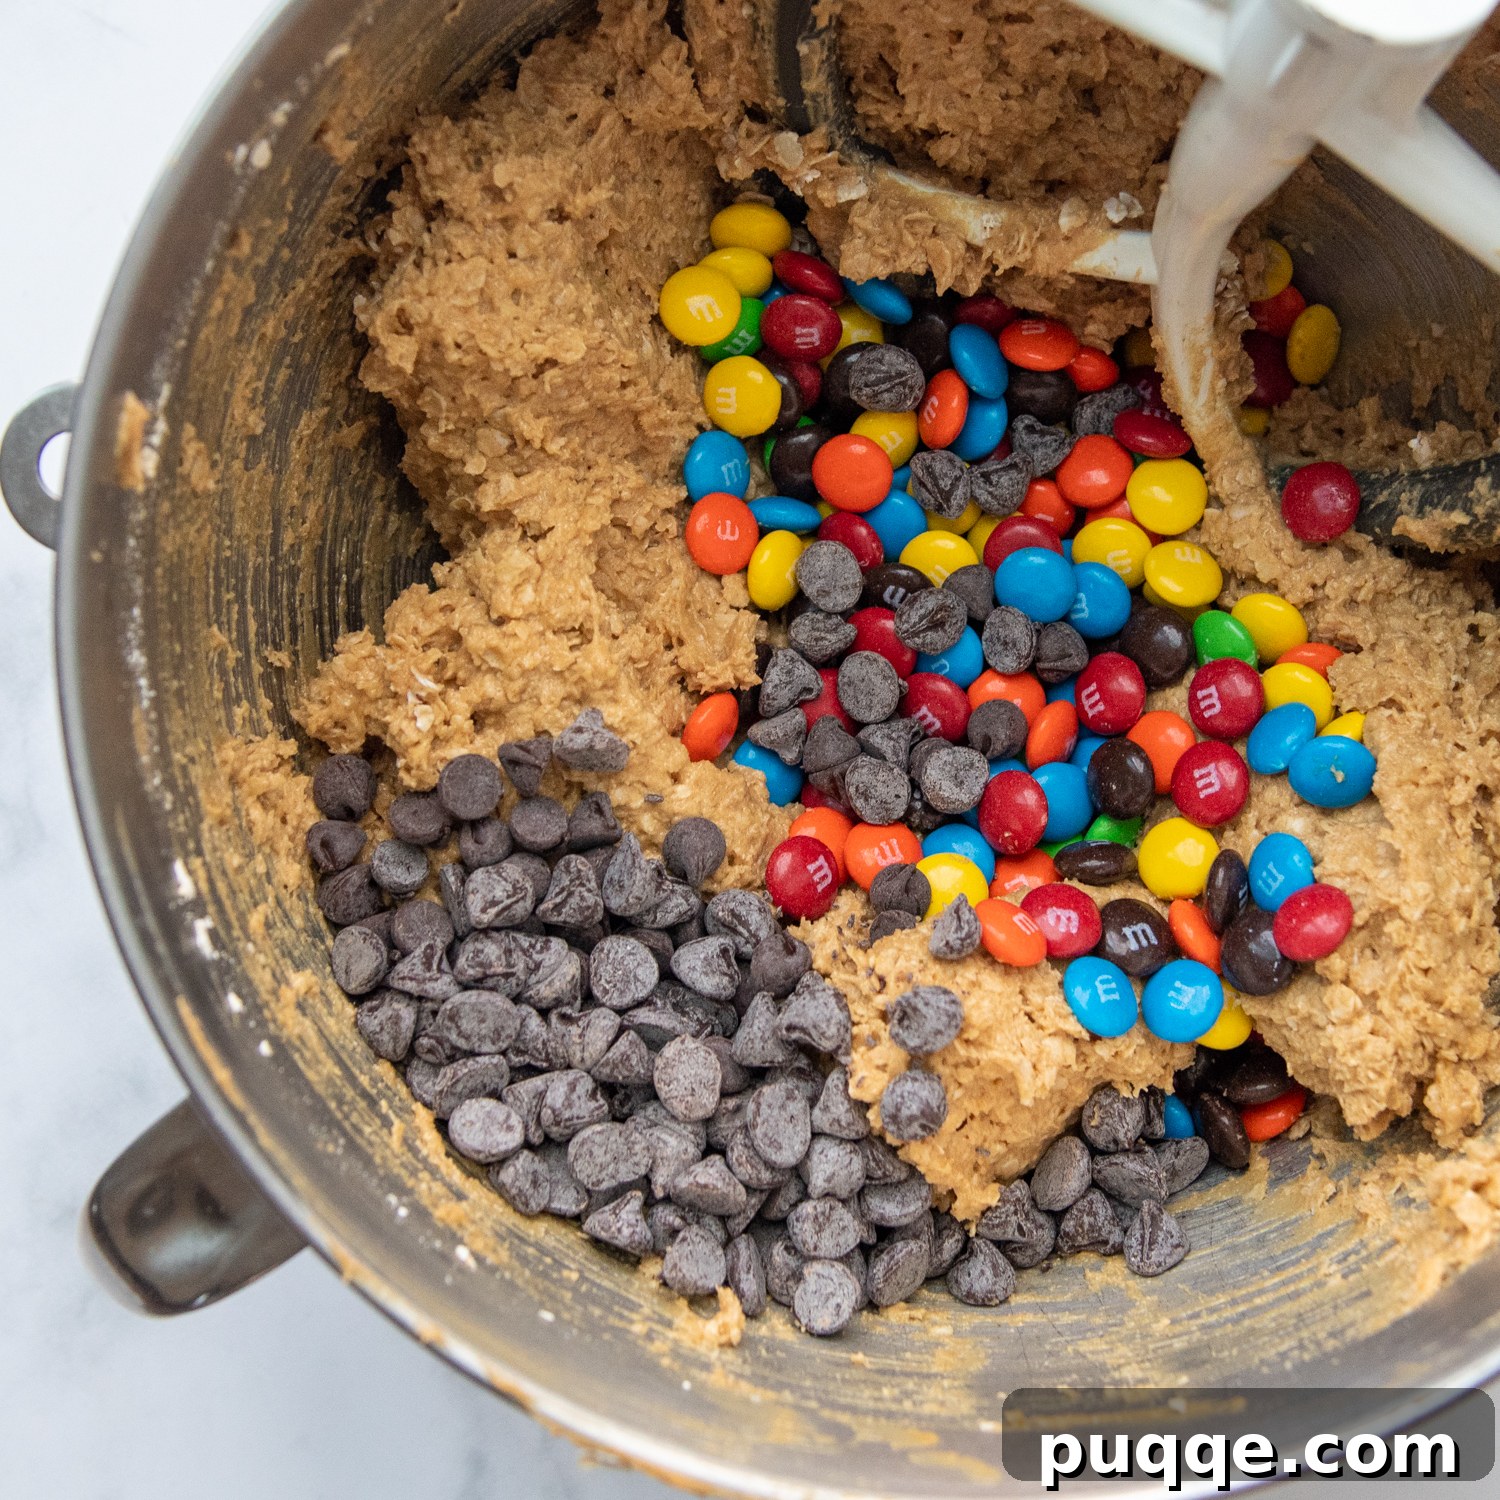
Now for the best part – adding the signature “monster” elements! Incorporate the certified gluten-free quick oats into the creamed mixture, mixing on low speed until just combined. Then, gently stir in the chocolate chips and M&Ms. To achieve that authentic bakery-style appeal, reserve a small handful of M&Ms and chocolate chips to press onto the tops of the cookie dough balls just before baking. This makes for a visually stunning and even more tempting cookie. After all, who doesn’t love a cookie loaded with colorful candies and chocolate?
Scoop, Arrange, and Bake to Perfection
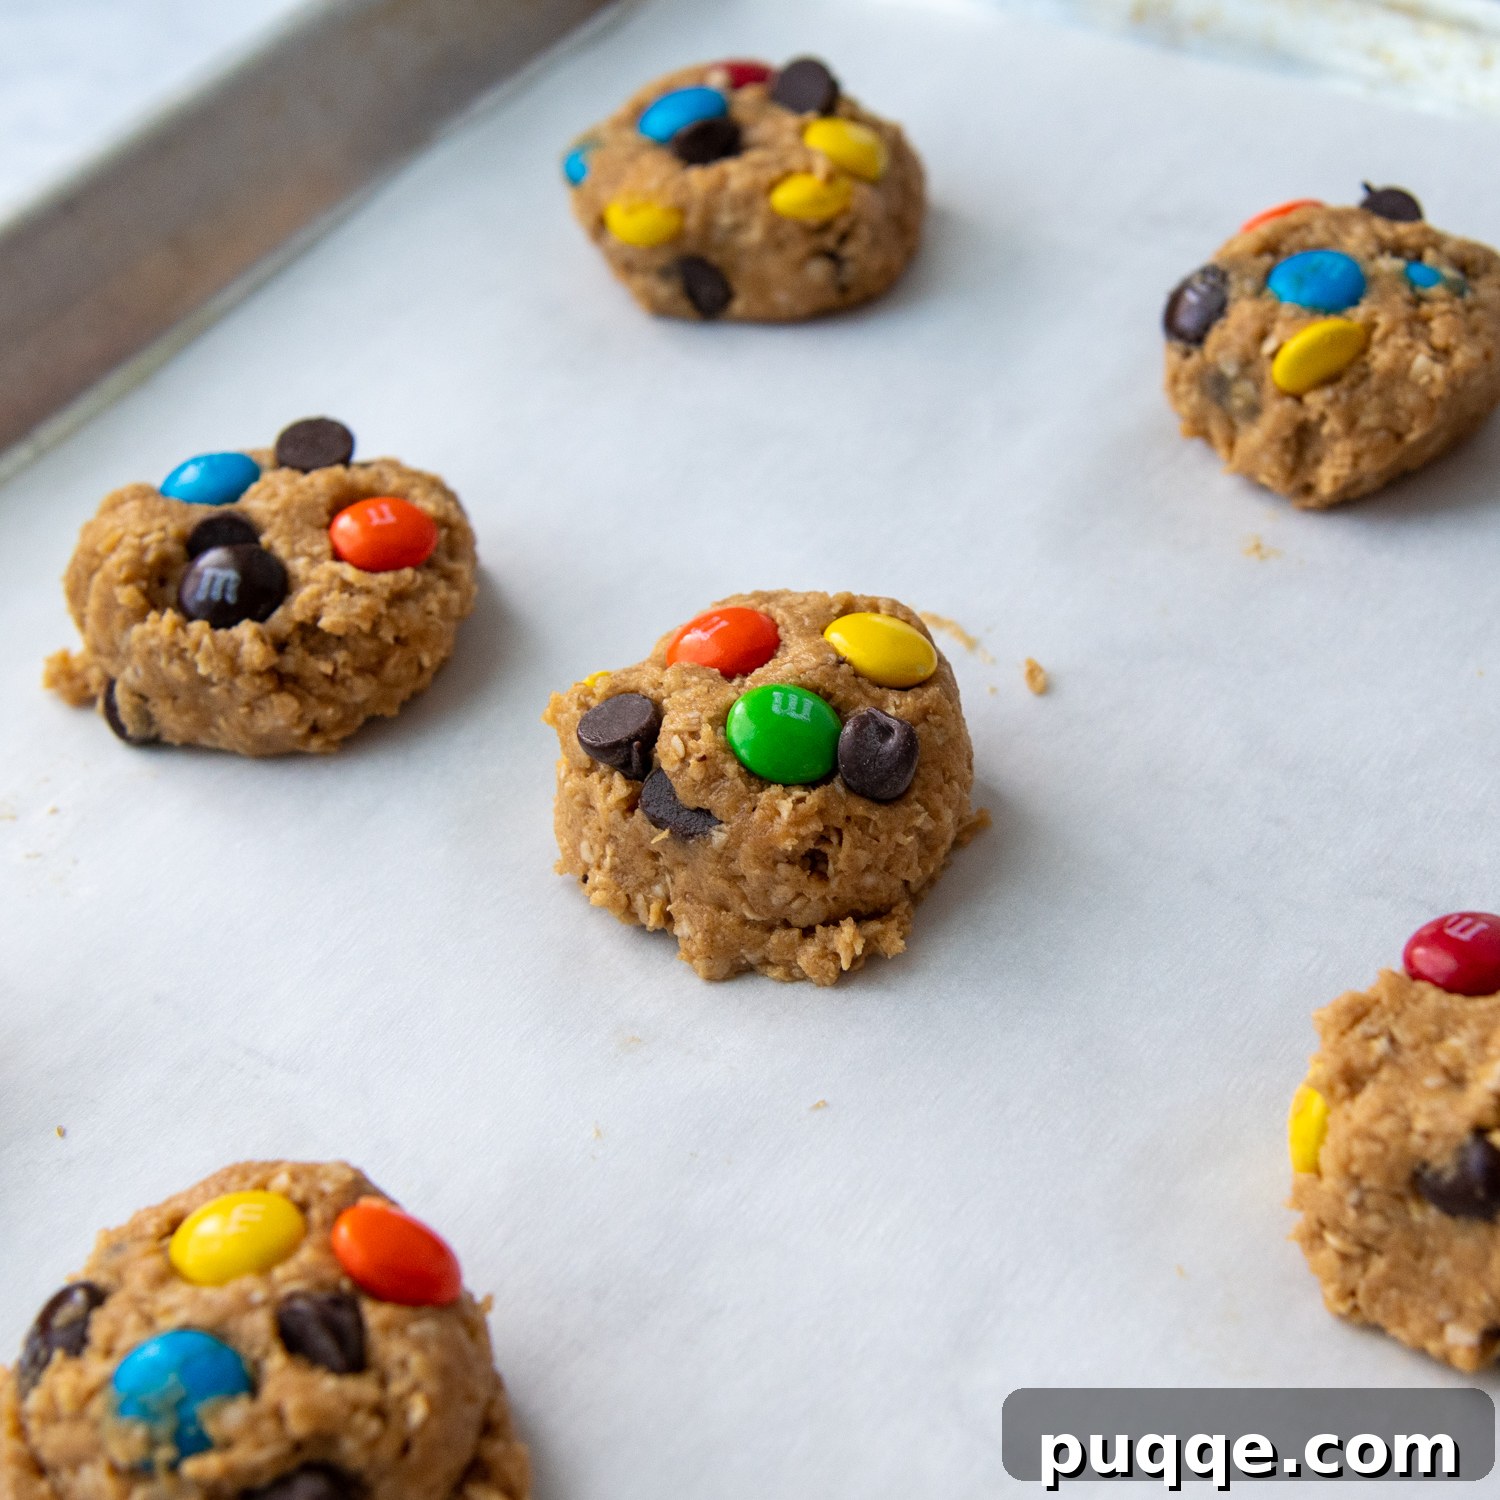
The name “monster cookies” likely refers to their delightfully substantial size. For generously sized cookies, I prefer using a large cookie scoop, which typically measures about 3 tablespoons. Sometimes, I even go bigger, opting for a 4-tablespoon scoop for truly monstrous treats! Scoop the dough onto ungreased or parchment-lined baking sheets, spacing them about 2 inches apart to allow for spreading. Gently flatten each dough ball slightly with the back of the scoop. Remember those reserved candies and chocolate chips? Now’s the time to press them onto the top of each cookie for that irresistible bakery finish.
Bake in a preheated 350ºF (175ºC) oven for approximately 11 minutes. The key to their soft and chewy texture is to avoid overbaking. You’re looking for edges that are just set, while the very center of the cookie still appears slightly underdone. This slight underbaking ensures maximum chewiness once cooled. Once out of the oven, allow the cookies to cool on the baking sheet for a few minutes before transferring them to a wire rack. This helps them set up without losing their delicate texture. Though it’s tempting, try to let them cool slightly before diving in!
Quick Oats vs. Rolled Oats: Which is Best for Flourless Cookies?
When it comes to flourless cookie recipes like these monster cookies, the type of oats you choose makes a significant difference in the final texture. For optimal results, certified gluten-free quick oats are truly the best option.
Here’s why: Quick oats are processed into finer, smaller flakes compared to their old-fashioned, rolled counterparts. This finer texture allows them to act as a more effective binder in a dough that lacks traditional flour. They absorb moisture readily and integrate seamlessly, contributing to the soft, chewy, and cohesive texture we crave in a monster cookie. This is crucial for preventing a dry or crumbly result.
If you don’t have quick oats on hand, you can still make these cookies with rolled oatmeal. However, a little preparation is necessary. To achieve a texture closer to quick oats, I recommend pulsing the rolled oats a few times in a food processor. This will break them down into smaller pieces, improving their binding capabilities within the dough. While I have used regular old-fashioned oats in a pinch without processing, I’ve found that it noticeably affects the texture, making the cookies slightly less cohesive and more prone to spreading. The taste generally remains the same, but the mouthfeel is definitely impacted. For the perfect balance of softness and chewiness, quick oats (or processed rolled oats) are the way to go.
Pro Tips for Gluten-Free Monster Cookie Success
- Achieving Bakery-Style Size: For those impressive, generously sized cookies found in bakeries, utilize a trigger ice cream scoop or a large cookie scoop to portion your dough. If you prefer more numerous, smaller cookies, a medium cookie scoop (approximately 1.5 tablespoons) works perfectly, just remember to reduce baking time by 1-2 minutes.
- Softening Butter in a Pinch: Forgot to take your butter out to soften? No problem! Place the stick of butter in your microwave and heat it at 20% power for 45 seconds. This gently softens it without melting, ensuring perfect creaminess.
- The Right Peanut Butter: Creamy, regular peanut butter (such as Jif or Skippy) is essential for this recipe. Natural peanut butter, with its higher oil content and tendency to separate, will make the dough too oily and prevent it from mixing cohesively, leading to a greasy and crumbly cookie.
- Uniform Cookies Every Time: Using a cookie scoop not only speeds up the portioning process but also ensures that all your cookies are uniformly sized. This consistency is vital for even baking, preventing some cookies from burning while others remain undercooked.
- Customize Your Add-Ins: Feel free to get creative with your mix-ins! Replace some of the chocolate chips or M&Ms with an equal amount of butterscotch chips, white chocolate chips, gluten-free pretzels for a salty crunch, shredded coconut, or dried cranberries. Always double-check labels to confirm all added ingredients are certified gluten-free.
- Festive Flair: For a delightful holiday treat, swap out the regular M&Ms for red and green Holiday M&Ms. They add a cheerful touch perfect for Christmas gatherings.
- Don’t Overbake! For the ultimate soft and chewy texture, slight underbaking is key. The edges should look set, but the center should still appear slightly soft and gooey. They will continue to set as they cool on the baking sheet.
- Cooling Patience: Allow your freshly baked cookies to cool on the baking sheet for at least 5 minutes before transferring them to a wire rack. This allows them to firm up slightly, preventing them from breaking apart when moved, and ensures they retain their perfect shape and texture.
Save This Delectable Recipe to Your Pinterest Board!
Let’s be friends on Pinterest! I’m always sharing great recipes!
Did you make this recipe? I love hearing from you! Leave a star rating and comment below the recipe card. Your feedback helps others discover delicious recipes, and I truly appreciate hearing from our community. You will always hear back from me! -Melissa
Flourless Gluten-Free Monster Cookies (Extra Soft!)

Melissa Erdelac
22 cookies
10 mins
10 mins
20 mins
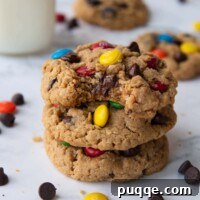
Nothing beats a classic (and naturally gluten-free!) monster cookie recipe. These flourless homemade cookies are uber soft and chewy, just like the ones you grew up on. They are the ideal bakery-style treat that appeals to all, loaded with oats, peanut butter, chocolate chips, and M&M candies.
Pin
Rate
Remove Ads

Ingredients
- ½ cup (113 g) unsalted butter, softened
- 1 ⅓ cup (344 g) creamy peanut butter
- ¾ cup (176 g) packed light brown sugar
- ¾ cup (150 g) granulated sugar
- 2 large eggs
- 2 teaspoons vanilla extract
- 1 ½ teaspoon baking soda
- 3 cups (312 g) quick-cooking oats, certified gluten-free
- 1 cup (208 g) M&M chocolate candies, divided
- 1 cup (170 g) semi-sweet chocolate chips, divided
Equipment
-
Baking Sheets
-
Stand Mixer
-
Large Cookie Scoop
Instructions
-
Preheat your oven to 350°F (175°C). Prepare your baking sheets by lining them with parchment paper or silicone baking mats. If you don’t have these, you can leave the sheets ungreased, but lining them helps with easy removal and cleanup.
-
In a spacious mixing bowl, cream together the softened unsalted butter, creamy peanut butter, light brown sugar, and granulated sugar. Mix on high speed for about 2 minutes until the mixture is light, fluffy, and thoroughly combined. This aeration is key to soft cookies.
Ingredients: ½ cup (113 g) unsalted butter, 1 ⅓ cup (344 g) creamy peanut butter, ¾ cup (176 g) packed light brown sugar, ¾ cup (150 g) granulated sugar
-
Add the large eggs, vanilla extract, and baking soda to the creamed mixture. Mix well until everything is fully incorporated. Next, gently stir in the 3 cups of certified gluten-free quick-cooking oats on low speed until just combined. Finally, fold in ¾ cup of the M&M chocolate candies and ¾ cup of the semi-sweet chocolate chips. Mix just until distributed; avoid overmixing.
Ingredients: 2 large eggs, 2 teaspoons vanilla extract, 1 ½ teaspoon baking soda, 3 cups (312 g) quick-cooking oats, 1 cup (208 g) M&M chocolate candies, 1 cup (170 g) semi-sweet chocolate chips
-
Using a large cookie scoop (approximately 3 tablespoons) or a trigger ice cream scoop, portion out generous balls of dough. Place them about 2 inches apart on your prepared baking sheets. For smaller cookies, refer to the notes section below. Gently press down on each dough ball slightly with the back of the scoop to flatten them a bit. Take the remaining chocolate chips and M&Ms and press them onto the top of each unbaked cookie for a beautiful, bakery-style finish.
-
Bake for approximately 11 minutes. For even baking, rotate the pans halfway through the baking time. It’s crucial not to overbake these cookies to maintain their ultimate softness and chewiness. The edges should appear set, but the centers should still look slightly underdone and gooey. Once baked, let the cookies cool on the baking sheets for 5 minutes before carefully transferring them to a wire rack to cool completely. This cooling period on the sheet helps them firm up without losing their tender texture.
Notes
Smaller cookies
To make smaller, more numerous cookies, use a medium cookie scoop (about 1.5 tablespoons) to portion the dough. Adjust the baking time to 9-10 minutes. This modification will yield approximately 44 cookies.
Dairy-free modifications
- Butter: Replace the dairy butter with an equal amount of plant-based butter sticks, such as Earth Balance. Please note that dairy-free butters might cause the cookies to spread a bit more. To mitigate this, chill the prepared cookie dough for at least 1 hour before baking.
- Chocolate Chips: Opt for dairy-free chocolate chips, like those from Enjoy Life, instead of standard semi-sweet chips.
- M&Ms: Traditional M&Ms are not dairy-free. You will need to replace them with an alternative. Consider adding an additional ¾ cup of dairy-free chocolate chips (regular or mini) in their place. Other excellent dairy-free mix-in options include dried cranberries, shredded coconut, chopped nuts (ensure no allergies), or other flavors of vegan baking chips.
Make-ahead and Storage Tips
You have a couple of convenient options if you wish to prepare these delicious monster cookies ahead of time:
- Baked Cookies: Bake the cookies as directed and allow them to cool completely. Stack 2-3 cookies and wrap them tightly in plastic wrap, then store them in an airtight container at room temperature for up to four days. For longer storage, transfer the wrapped stacks to a freezer-safe ziplock bag and freeze for up to 3 months. Thaw at room temperature or gently warm for a fresh-baked feel.
- Unbaked Cookie Dough: Prepare the monster cookie dough according to the recipe. Scoop the dough into individual cookie balls and place them on a parchment paper-lined baking sheet. Flash freeze the dough balls until they are firm to the touch (this prevents them from sticking together). Once solid, transfer the unbaked cookie balls to a ziplock freezer bag and freeze for up to 3 months. When ready to bake, there’s no need to thaw the dough; simply place the frozen dough balls on a baking sheet and bake for an additional 1-2 minutes compared to the original baking time.
Nutrition Information (per cookie)
- Calories: 326 kcal
- Carbohydrates: 36 g
- Protein: 7 g
- Fat: 19 g
- Saturated Fat: 8 g
- Polyunsaturated Fat: 3 g
- Monounsaturated Fat: 6 g
- Trans Fat: 1 g
- Cholesterol: 28 mg
- Sodium: 199 mg
- Potassium: 204 mg
- Fiber: 3 g
- Sugar: 25 g
- Vitamin A: 176 IU
- Vitamin C: 1 mg
- Calcium: 38 mg
- Iron: 2 mg
Did you make this recipe?
Please leave a star rating and review below. Your feedback is incredibly valuable and helps other bakers! I love hearing about your experiences.