
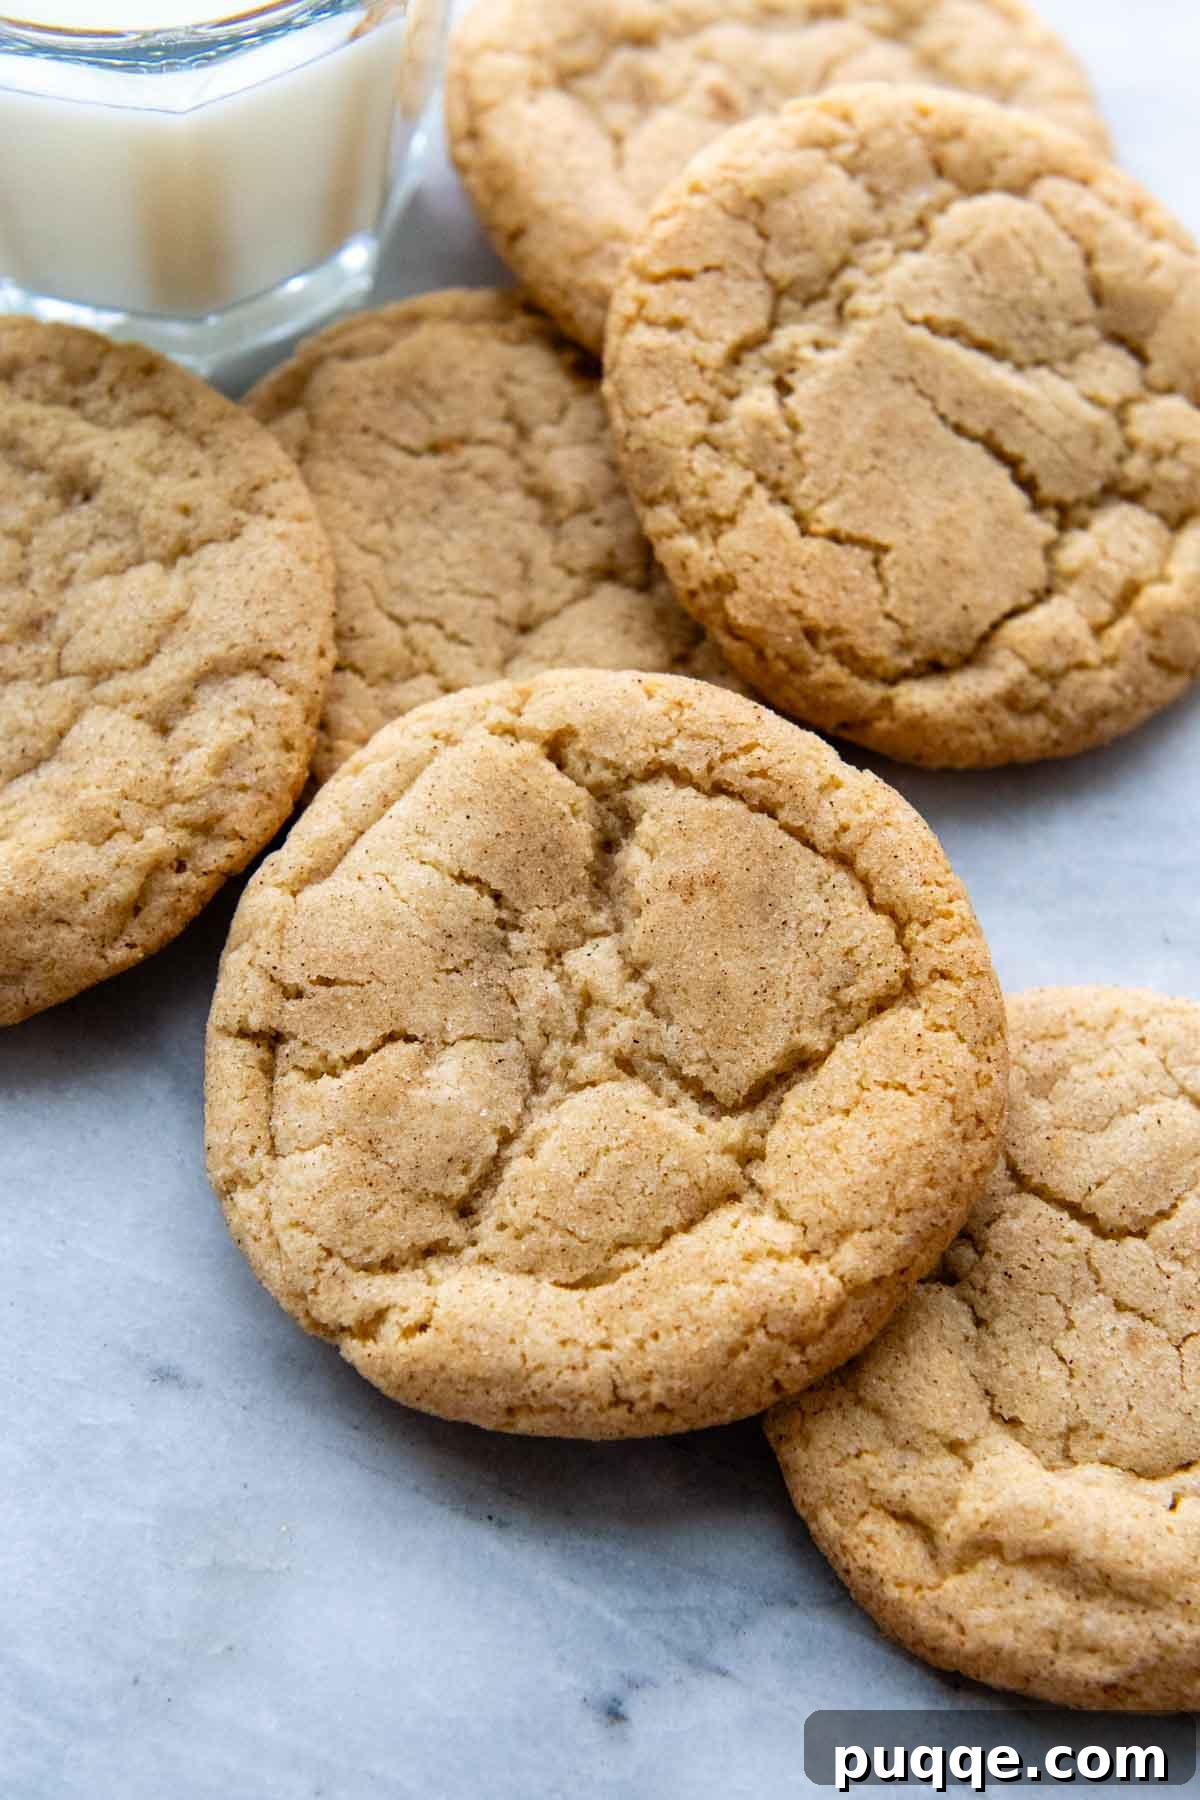
Unlock the secrets to baking the most exquisite **gluten-free snickerdoodles** you’ve ever tasted! This meticulously developed and thoroughly tested recipe goes beyond simple ingredient swaps, providing you with expert tips to achieve perfectly **soft, thick, and chewy snickerdoodle cookies** every single time. Say goodbye to common gluten-free baking frustrations like excessive spreading, thin and greasy textures, or that unpleasant gritty mouthfeel. We’re here to guide you through mastering homemade cinnamon cookies that are so delicious, no one will even guess they’re gluten-free.
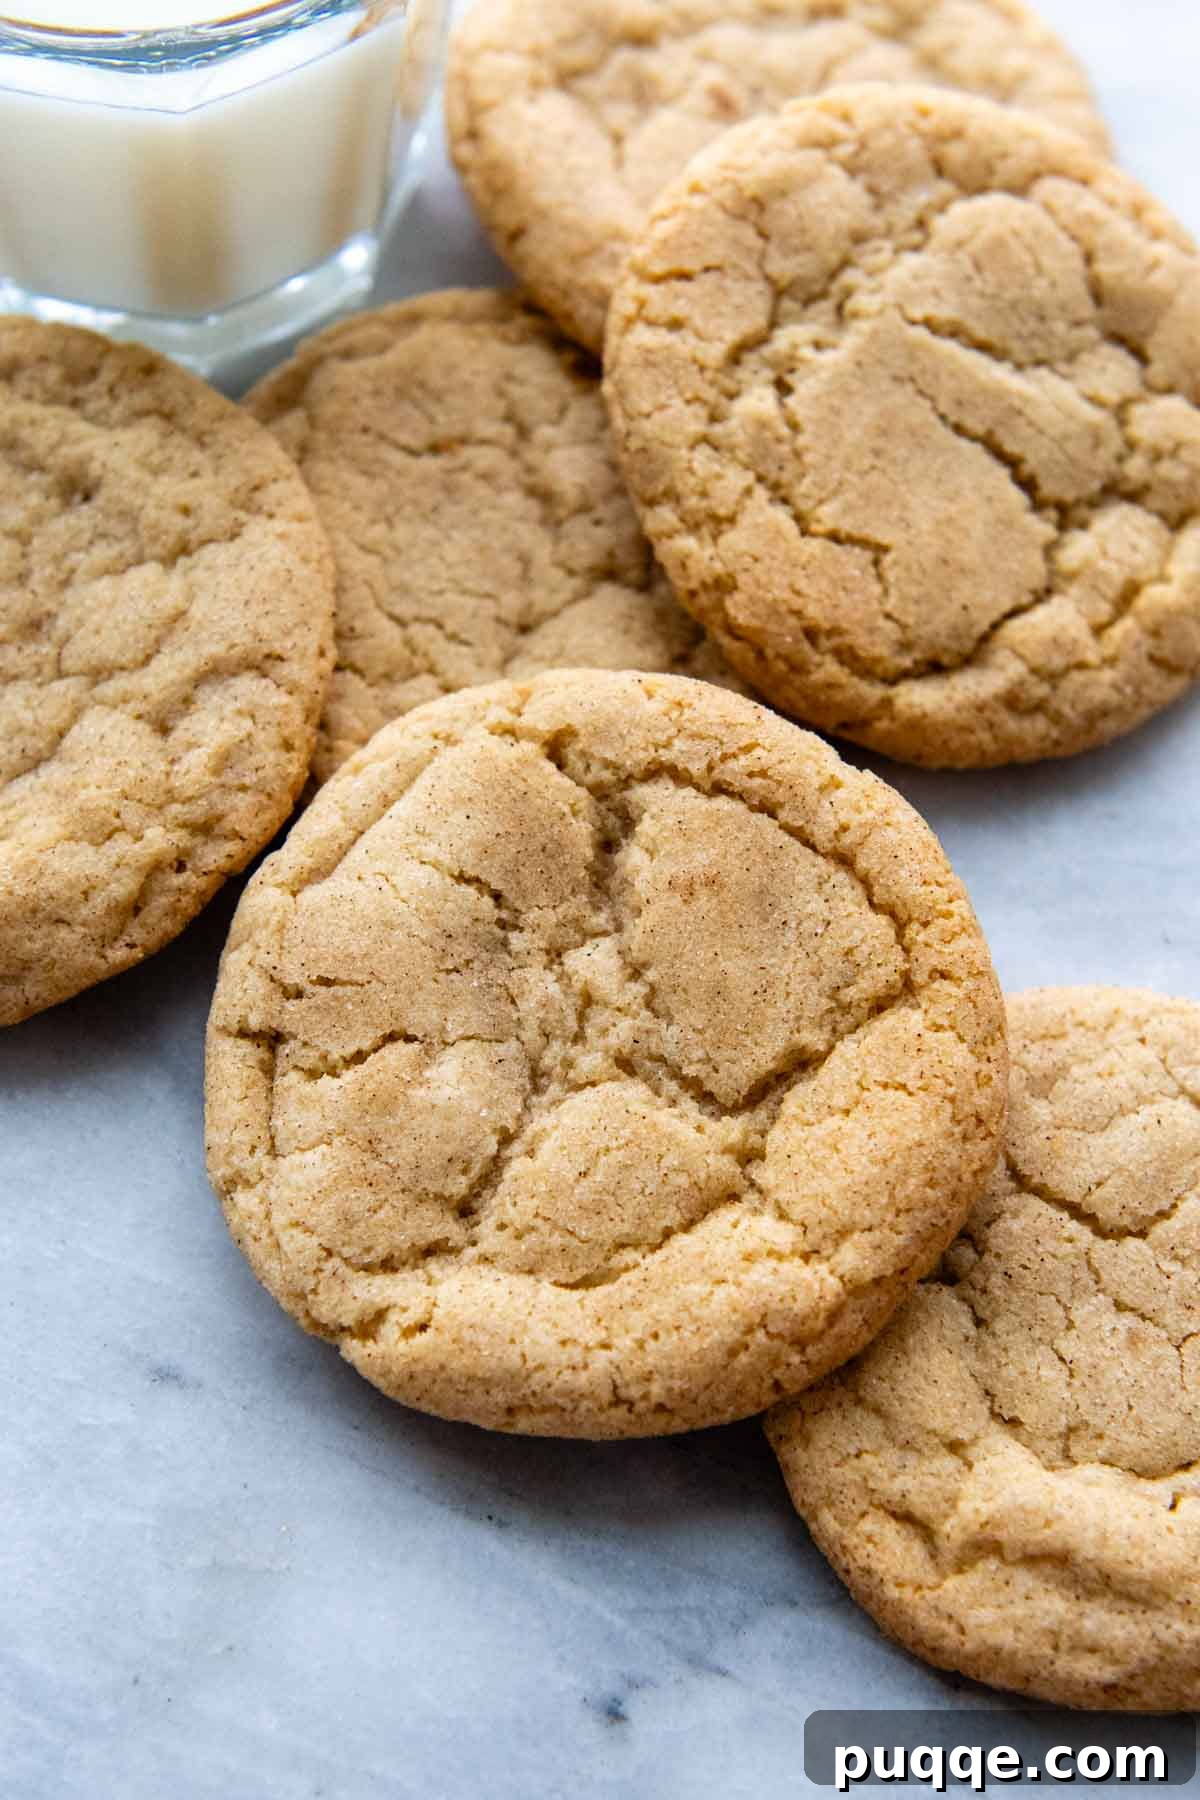
This recipe is absolutely fantastic! I’ve baked these gluten-free snickerdoodles multiple times for my grandkids, and they consistently turn out beautifully – no spreading, just perfect cookies. Learning gluten-free baking can be a challenge, so I truly appreciate you sharing your well-figured-out recipes!
—Jackie
Crafting Legendary Gluten-Free Snickerdoodle Cookies
After dedicating years to perfecting a range of easy gluten-free cookie recipes, I’ve uncovered several straightforward yet transformative techniques to elevate homemade cookies. While it might seem tempting to simply substitute all-purpose gluten-free flour in a classic snickerdoodle recipe, doing so often leads to less-than-ideal results. Many bakers find themselves disappointed with cookies that overspread, turn out greasy, or have an unappetizing gritty texture.
A direct 1-to-1 gluten-free flour swap might yield an edible cookie, but we can do far better. Our goal is to create **gluten-free snickerdoodle cookies** that rival their traditional counterparts, boasting a flawless texture and irresistible flavor, ensuring no one ever suspects they’re entirely gluten-free. The key lies in understanding the unique properties of gluten-free flour blends. Unlike wheat flour, the starches in gluten-free blends struggle to homogeneously integrate with fats and moisture. This separation is a common culprit behind those thin, flat, and excessively greasy cookies. But fear not, I have a surprisingly simple solution!
When I first delved into researching gluten-free snickerdoodle recipes, I observed that many popular recipes instructed bakers to take the dough directly from the mixing bowl to the oven, completely bypassing a crucial step: chilling and resting the dough. Through extensive trials and errors while perfecting recipes like my homemade gluten-free chocolate chip cookies, I discovered that chilling cookie dough significantly improves the final outcome, especially in gluten-free baking.
The chilling process serves a dual purpose: it allows ample time for the butter to fully coat and saturate the gluten-free flour particles, softening and relaxing the starches. This not only effectively prevents greasy cookies but also virtually eliminates the gritty, “ricey” texture often associated with gluten-free baked goods, particularly when paired with my preferred gluten-free flour blend. This step is non-negotiable for achieving that coveted smooth, melt-in-your-mouth texture.
There’s one more effortless yet impactful trick for baking truly **soft and thick old-fashioned snickerdoodles**. Traditionally, snickerdoodles rely solely on baking soda for lift and their characteristic chewy texture. However, during the development of my gluten-free gingersnaps recipe, I found that incorporating a small dash of baking powder alongside baking soda leads to a noticeably thicker cookie that resists excessive spreading. This subtle addition provides extra lift, ensuring your snickerdoodles are wonderfully plump and inviting.
Essential Ingredients for Perfect GF Snickerdoodles
Creating a delicious batch of **gluten-free snickerdoodle cookies** requires mostly basic, readily available kitchen staples. This means you can often whip them up on a whim! The one ingredient you might need to specifically purchase for its signature taste is cream of tartar.
- Gluten-Free Flour Blend: The choice of gluten-free flour significantly impacts the final cookie. Different brands utilize varying starch blends, leading to diverse results. I highly recommend Cup4Cup gluten-free flour. Its cornstarch content imparts a delightful chewy finish and closely mimics the texture of traditional wheat-flour baked goods, making it ideal for these **soft and chewy gluten-free snickerdoodles**.
- Unsalted Butter: Ensure your butter is softened to room temperature. This is crucial for proper creaming with the sugars, creating a light and airy base for your dough. For dairy-free snickerdoodles, a high-quality vegan butter stick, such as Earth Balance, can be substituted effectively.
- Cream of Tartar: This ingredient is a cornerstone of classic snickerdoodles, serving two vital functions. Firstly, it imparts the distinctive tangy flavor that sets snickerdoodles apart. Secondly, it acts as a leavening agent when combined with baking soda, contributing to the cookies’ characteristic rise and chewy texture.
- Granulated and Brown Sugars: This recipe calls for a harmonious blend of both light brown sugar and granulated sugar. The granulated sugar provides crispness and structure, while the light brown sugar adds a subtle hint of caramel flavor and contributes significantly to the cookie’s tender, chewy texture.
- Large Eggs: Eggs play a crucial role in binding the cookie dough, adding essential moisture, and contributing to a soft, rich, and thick cookie. I have not personally tested egg-free substitutes for this specific recipe, but if you do experiment, please share your findings in the comments section!
- Vanilla Extract: A touch of pure vanilla extract enhances the overall flavor profile, complementing the warm cinnamon notes beautifully.
- Ground Cinnamon: Essential for both the dough and the iconic cinnamon-sugar coating. Use fresh, good-quality cinnamon for the best flavor.
- Baking Soda & Baking Powder: As discussed, the combination of these leavening agents is key to achieving **snickerdoodles that don’t spread** excessively and maintain a perfectly thick crumb.
- Salt: A small amount of salt balances the sweetness and enhances all the other flavors in the cookie.
Watch the Recipe Come to Life!
Let’s Bake These Delicious Cookies Together!
(The following provides detailed step-by-step photos and expanded instructions. For the complete recipe, including precise ingredient measurements and a printable card, please scroll down to the dedicated recipe section below.)
Creating the Dreamy Cookie Dough
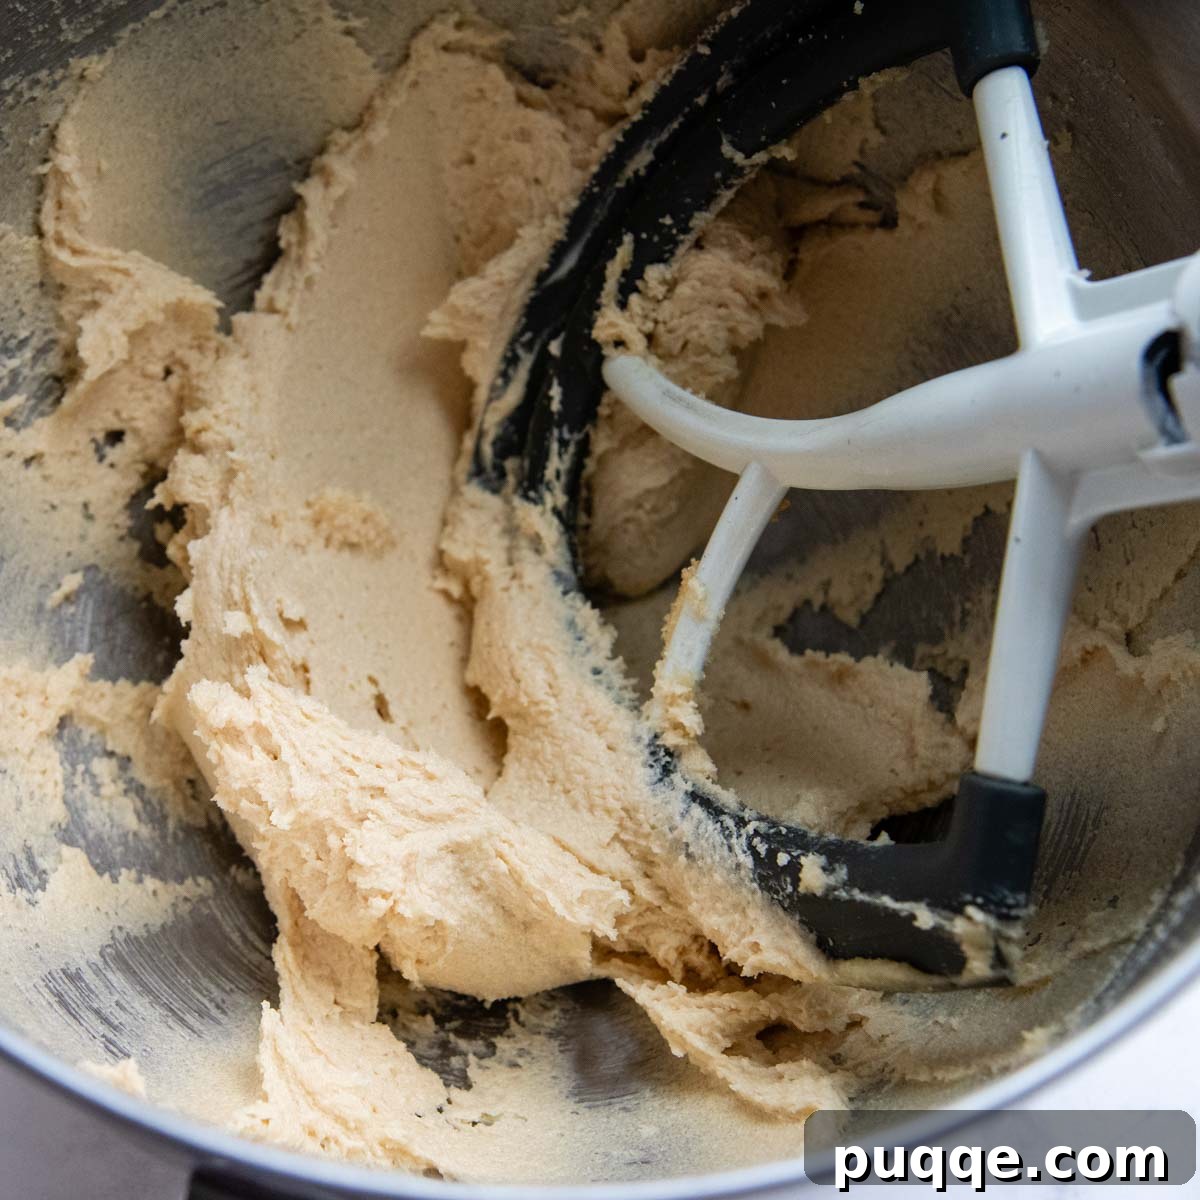
Begin by combining the room temperature butter with both brown sugar and granulated sugar in a large mixing bowl. Using a stand mixer fitted with a paddle attachment, cream these ingredients together until the mixture becomes wonderfully light and fluffy. This typically takes about 3 minutes of mixing. Once achieved, incorporate the large eggs one at a time, followed by the vanilla extract, mixing until just combined after each addition.
Adding Dry Ingredients and Essential Chilling
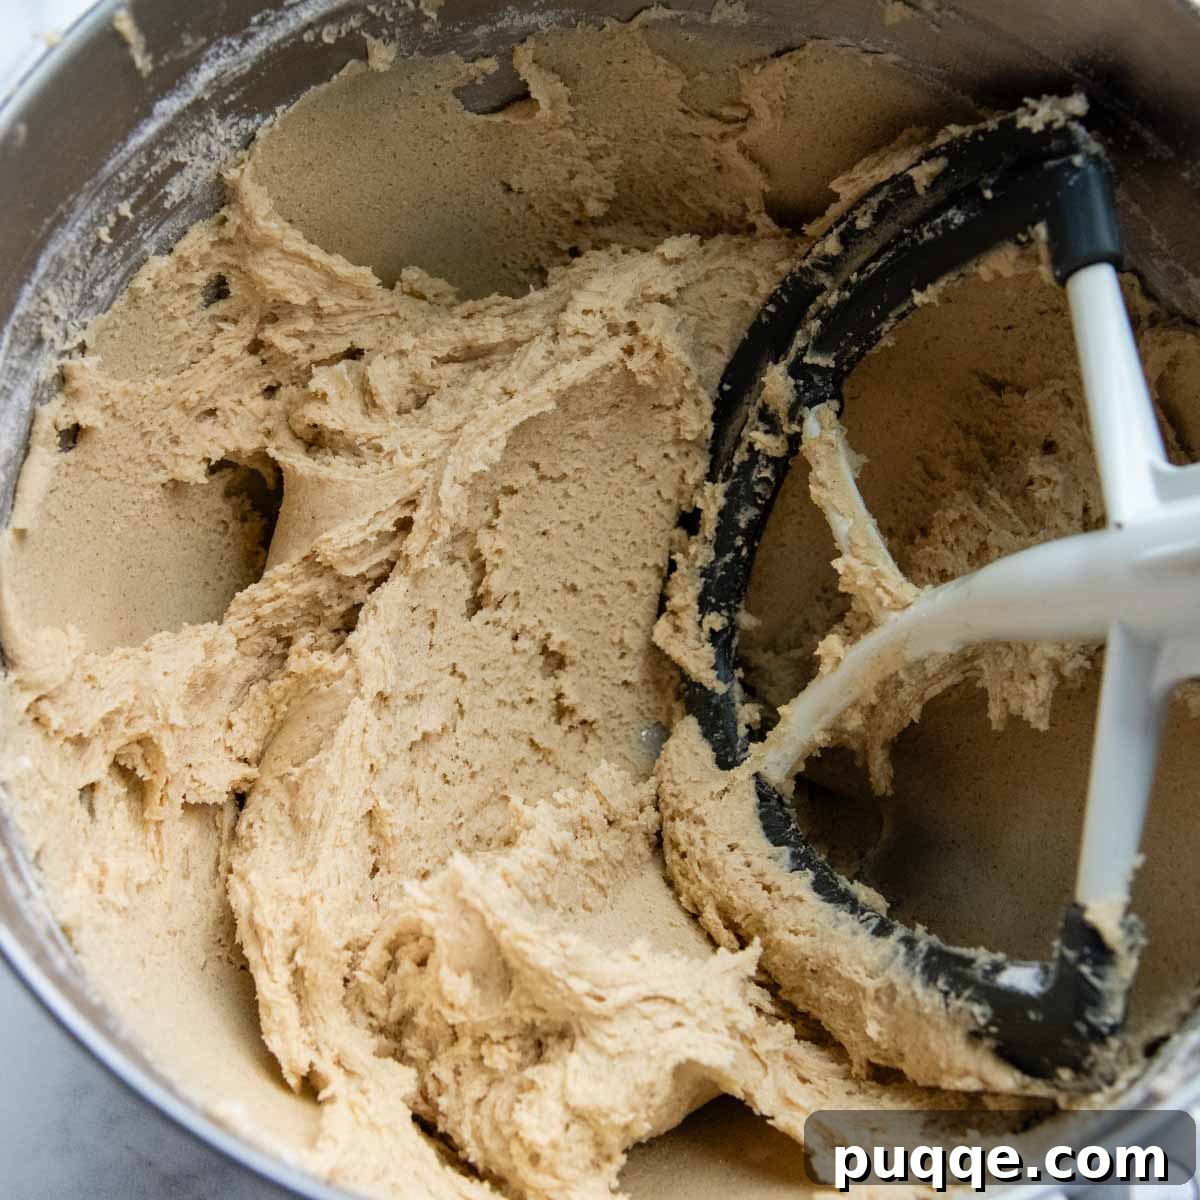
Next, introduce the cream of tartar, ground cinnamon, baking soda, baking powder, and salt to the wet mixture. Mix briefly to ensure these dry leavening agents and spices are evenly distributed. Then, gradually add the gluten-free flour blend, mixing on low speed until all ingredients are just well combined and no dry streaks of flour remain. Be careful not to overmix. Cover the bowl tightly with plastic wrap and refrigerate the dough for 1 ½ to 2 hours, or even overnight. It’s crucial not to chill for much longer than overnight, as this can lead to drier cookies.
Roll in Cinnamon-Sugar and Bake to Perfection
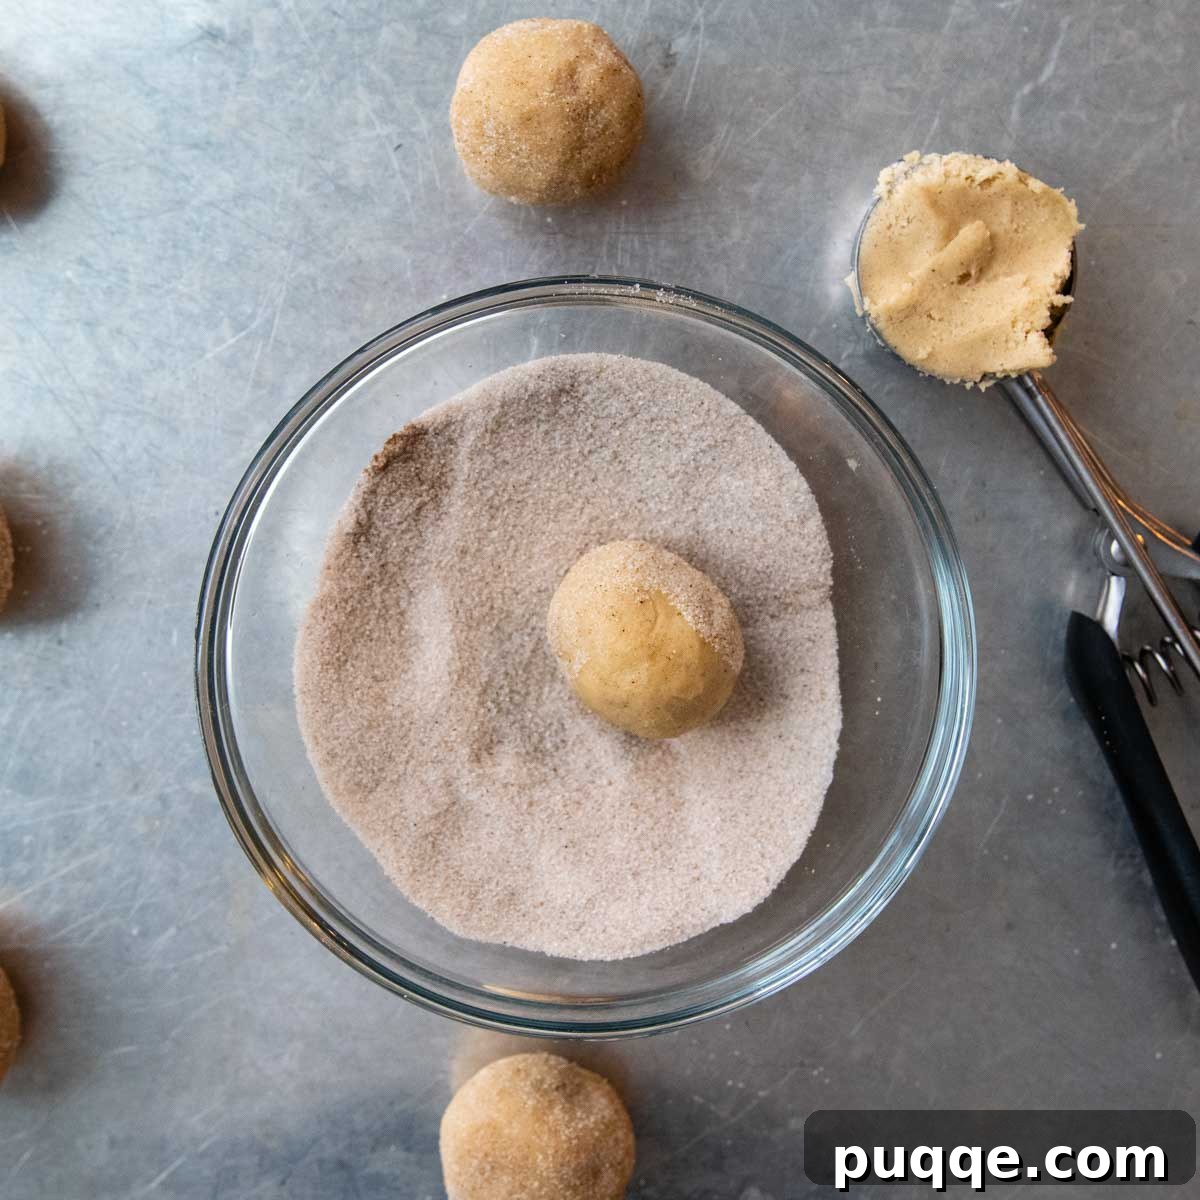
Once the dough is adequately chilled, it’s time for the signature snickerdoodle coating! In a small, shallow bowl, combine the granulated sugar and ground cinnamon for rolling. For consistent sizing and ease, I prefer to use a medium cookie scoop to portion out 1 ½ tablespoon-sized cookie dough balls. Gently roll each ball smooth with your hands, then generously roll it in the cinnamon-sugar mixture until fully coated.
Arrange the coated dough balls on prepared baking sheets, spaced about 2 inches apart. Bake them in a preheated 350°F (175°C) oven for 12-13 minutes, or until the edges are lightly golden and the centers are still soft. Upon removal from the oven, allow the cookies to rest on the baking sheets for about 10 minutes. This resting period is essential for them to set properly before carefully transferring them to a wire rack to cool completely.
Expert Tips to Prevent Gluten-Free Cookies from Overspreading
It’s a common and often disheartening experience for both novice and seasoned gluten-free bakers: you meticulously portion and space your cookie dough, only to watch your high hopes deflate as the cookies spread excessively, merging into a thin, greasy, and unappealing mass during baking. **Gluten-free snickerdoodles**, due to the inherent characteristics of gluten-free flour and often a higher butter-to-flour ratio, are particularly prone to overspreading. However, two simple yet effective techniques can dramatically mitigate this issue, ensuring your cookies bake up perfectly thick and beautifully shaped.
First and foremost, thoroughly chill your cookie dough before baking. This step is paramount. Chilling the dough immediately after mixing allows the butter to solidify, preventing it from melting too quickly in the oven and causing the cookies to spread prematurely. Furthermore, this resting period gives the gluten-free flour ample time to fully hydrate, which not only prevents a gritty texture but also makes the dough much easier to handle and shape into uniform balls. If you’re not planning to bake the entire batch at once, always store the unused cookie dough in the refrigerator (or even the freezer for longer storage) rather than at room temperature, keeping it chilled until you are ready to bake.
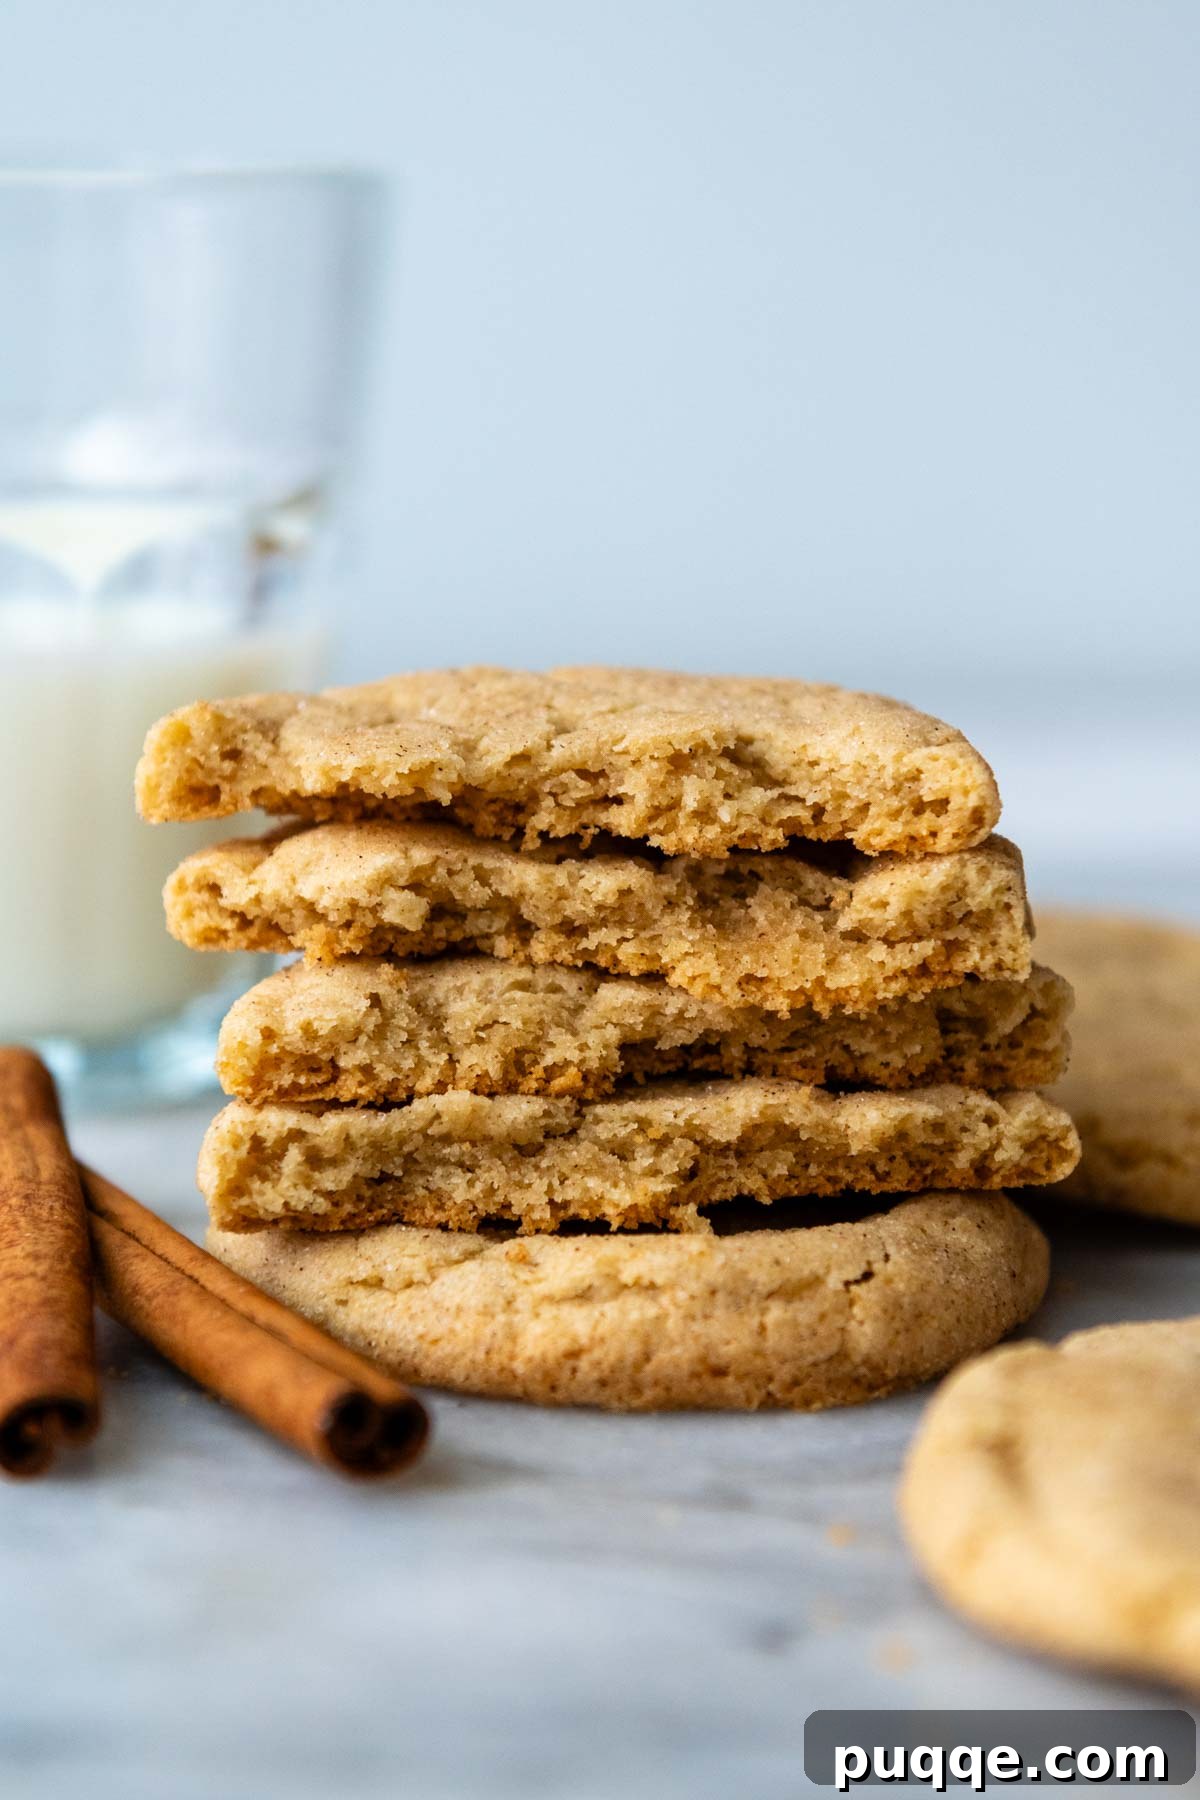
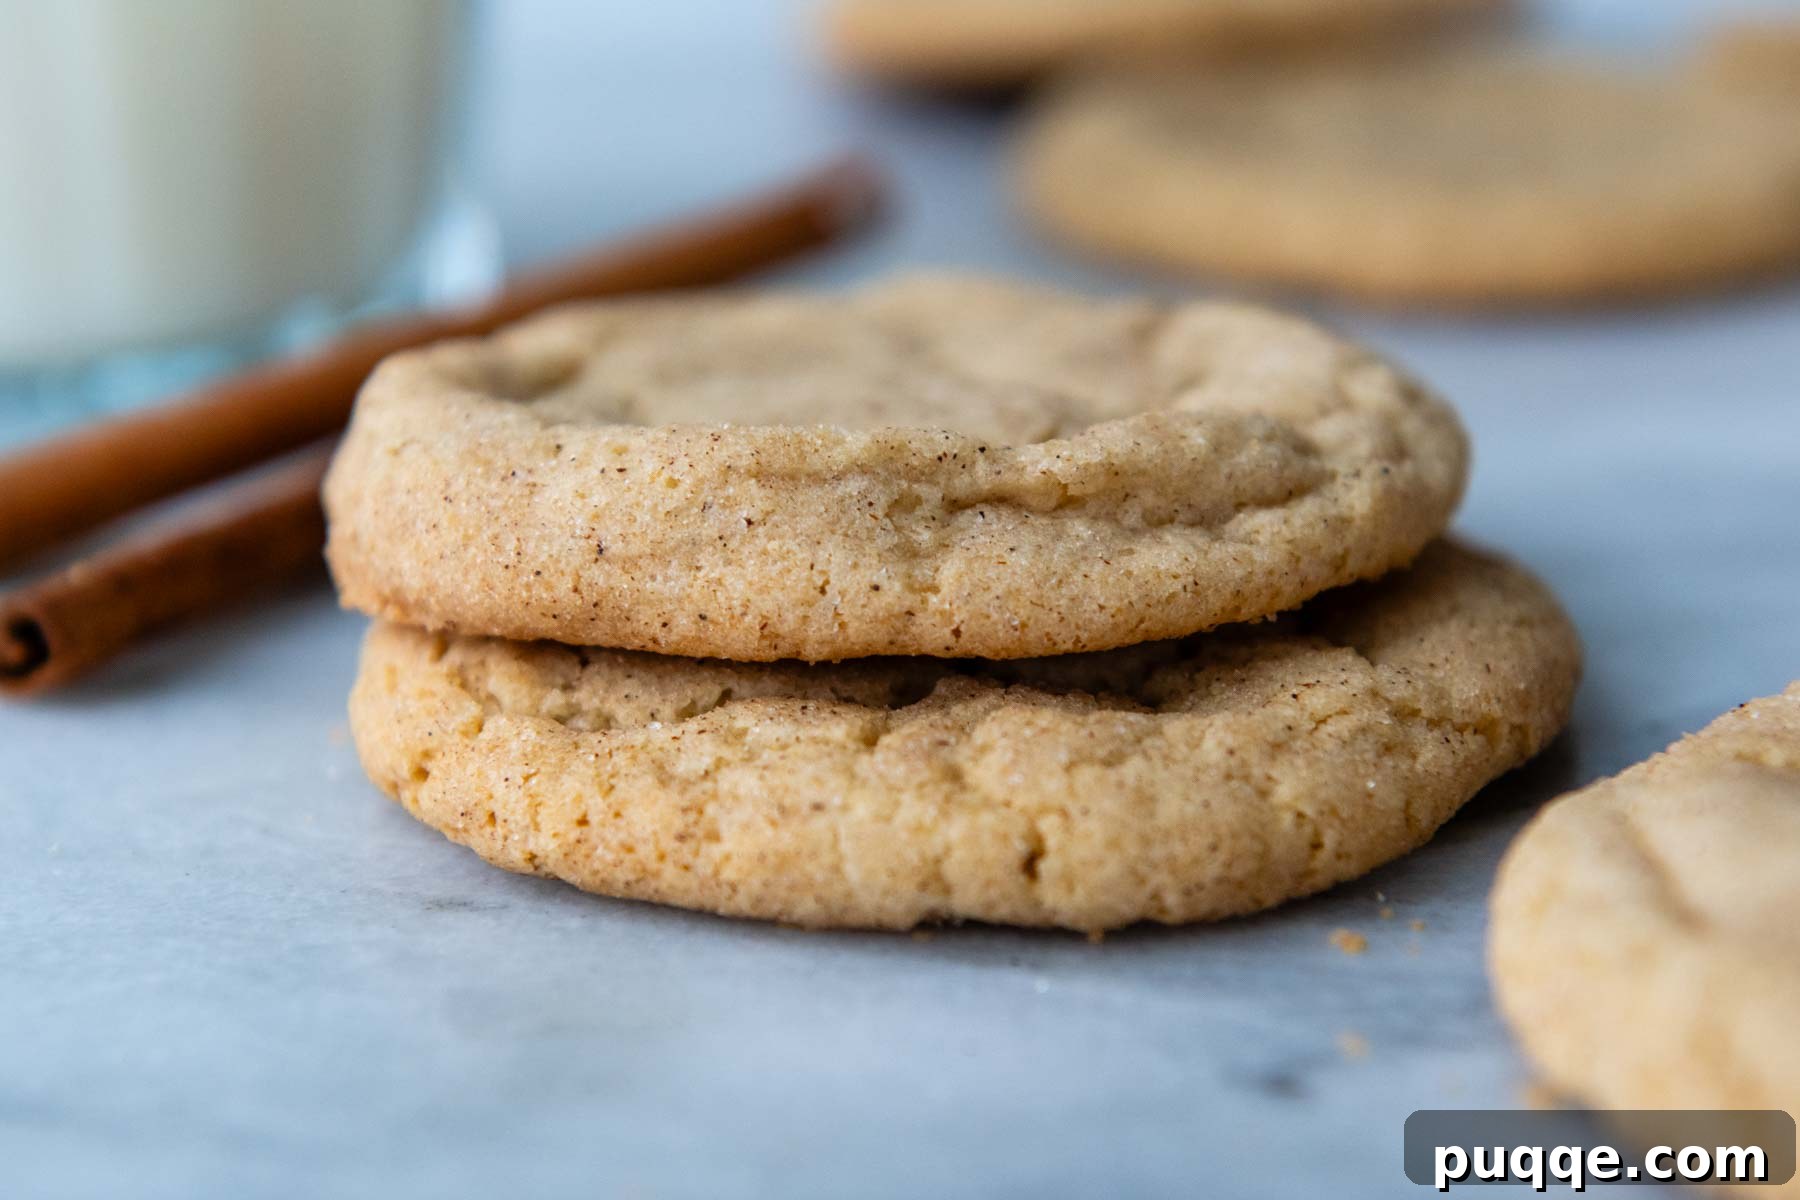
Secondly, the strategic inclusion of a small amount of baking powder alongside baking soda provides a vital lift. While baking soda reacts with the cream of tartar to create the classic snickerdoodle tang and a foundational rise, the addition of baking powder offers an extra boost. This dual-leavening approach helps the cookies rise vertically rather than expanding horizontally. The result? Your **soft and chewy gluten-free snickerdoodles** will maintain those coveted crispy edges and delightfully chewy centers, but with a satisfyingly thick and plump stature, instead of turning out thin and flat. These two simple adjustments will transform your gluten-free snickerdoodle baking experience.
Save This Irresistible Recipe to Your Pinterest Board!
Let’s connect and be friends on Pinterest! I’m constantly sharing delicious and easy-to-follow recipes!
Did you bake these delightful gluten-free snickerdoodles? I love hearing from our community! Please leave a star rating and comment below the recipe card. Your feedback is incredibly helpful for others searching for great recipes, and I always make sure to respond! -Melissa
Extra Soft Gluten-Free Snickerdoodles (That Don’t Spread!)

Melissa Erdelac
36 cookies
10 mins
12 mins
1 hr 52 mins
Master the art of baking the best **gluten-free snickerdoodles** with this easy and proven recipe! Discover simple yet effective techniques to create **soft, thick, and chewy** cinnamon sugar cookies that consistently bake beautifully, without excessive spreading, greasiness, or an undesirable gritty texture. Learn how to overcome common gluten-free baking challenges and produce perfect homemade GF cinnamon cookies every single time!
Pin Recipe
Rate This Recipe
Ingredients
- 1 cup (2 sticks, 226 g) unsalted butter, softened
- 1 cup (200 g) granulated sugar
- ½ cup (120 g) packed light brown sugar
- 2 large eggs, room temperature
- 2 teaspoons vanilla extract
- 2 teaspoons cream of tartar
- 1 ½ teaspoons ground cinnamon
- 1 teaspoon baking soda
- ¼ teaspoon baking powder
- ½ teaspoon salt
- 3 cups (466 g) gluten free all purpose flour (I use and highly recommend Cup4Cup gluten-free flour)
For Rolling
- ⅓ cup (67 g) granulated sugar
- 1 teaspoon ground cinnamon
Equipment
- Stand Mixer
- Cup4Cup Gluten Free Flour
- Medium Cookie Scoop
Instructions
- In a large mixing bowl, or stand mixer fitted with a paddle attachment, cream together room temperature butter, brown sugar, and granulated sugar until light and fluffy, about 3 minutes. Mix in the eggs and vanilla extract until just combined.
- Add the cream of tartar, cinnamon, baking soda, baking powder, and salt. Mix briefly to combine. Then, add the gluten-free flour and mix on low speed until just combined, being careful not to overmix.
- Cover the bowl and refrigerate the dough until well chilled, for 1 ½ – 2 hours or overnight. Do not chill for significantly longer than overnight to prevent dry cookies.
- Preheat your oven to 350ºF (175°C). Line baking sheets with parchment paper or silicone baking mats. If not using parchment paper or mats, leave baking sheets ungreased.
- When ready to bake, use a medium cookie scoop to portion out 1 ½ tablespoon-sized cookie dough balls. Alternatively, roll the dough into smooth balls using your hands.
- In a small bowl, combine the additional granulated sugar and cinnamon for rolling. Roll each cookie dough ball generously in the cinnamon-sugar mixture. Transfer the coated balls to the prepared baking sheets, ensuring they are spaced about 2 inches apart. Bake for 12-13 minutes, until the edges are lightly golden and the centers are still soft.
- Allow the cookies to cool on the baking sheet for 10 minutes before carefully transferring them to a wire rack to cool completely.
Notes
To freeze after baking: Once the cookies have cooled completely on a wire rack, wrap 2-3 cookies tightly in plastic wrap. Transfer these wrapped groups to a freezer-safe ziplock bag. Store in the freezer for up to 2 months. To enjoy, simply thaw the cookies on the counter for approximately one hour.
To freeze before baking: Shape the cookie dough into balls and roll them in the cinnamon-sugar mixture as instructed. Place the individual balls on a cookie sheet, arranging as many as possible without touching. Transfer the entire cookie sheet to the freezer until the dough balls are completely frozen. Once frozen solid, transfer the dough balls to a freezer-safe ziplock bag. Freeze for up to 2 months. When you’re ready to bake, place the frozen dough balls on a prepared cookie sheet, 2 inches apart, and bake according to the recipe instructions, adding just 1 minute to the total baking time.
Nutrition Information
Calories: 124kcal, Carbohydrates: 18g, Protein: 1g, Fat: 6g, Saturated Fat: 3g, Polyunsaturated Fat: 0.3g, Monounsaturated Fat: 1g, Trans Fat: 0.2g, Cholesterol: 23mg, Sodium: 68mg, Potassium: 40mg, Fiber: 1g, Sugar: 11g, Vitamin A: 171IU, Vitamin C: 0.01mg, Calcium: 15mg, Iron: 0.5mg
Did you make this recipe?
Please leave a star rating and review below. Your feedback helps other bakers and I truly appreciate it!