
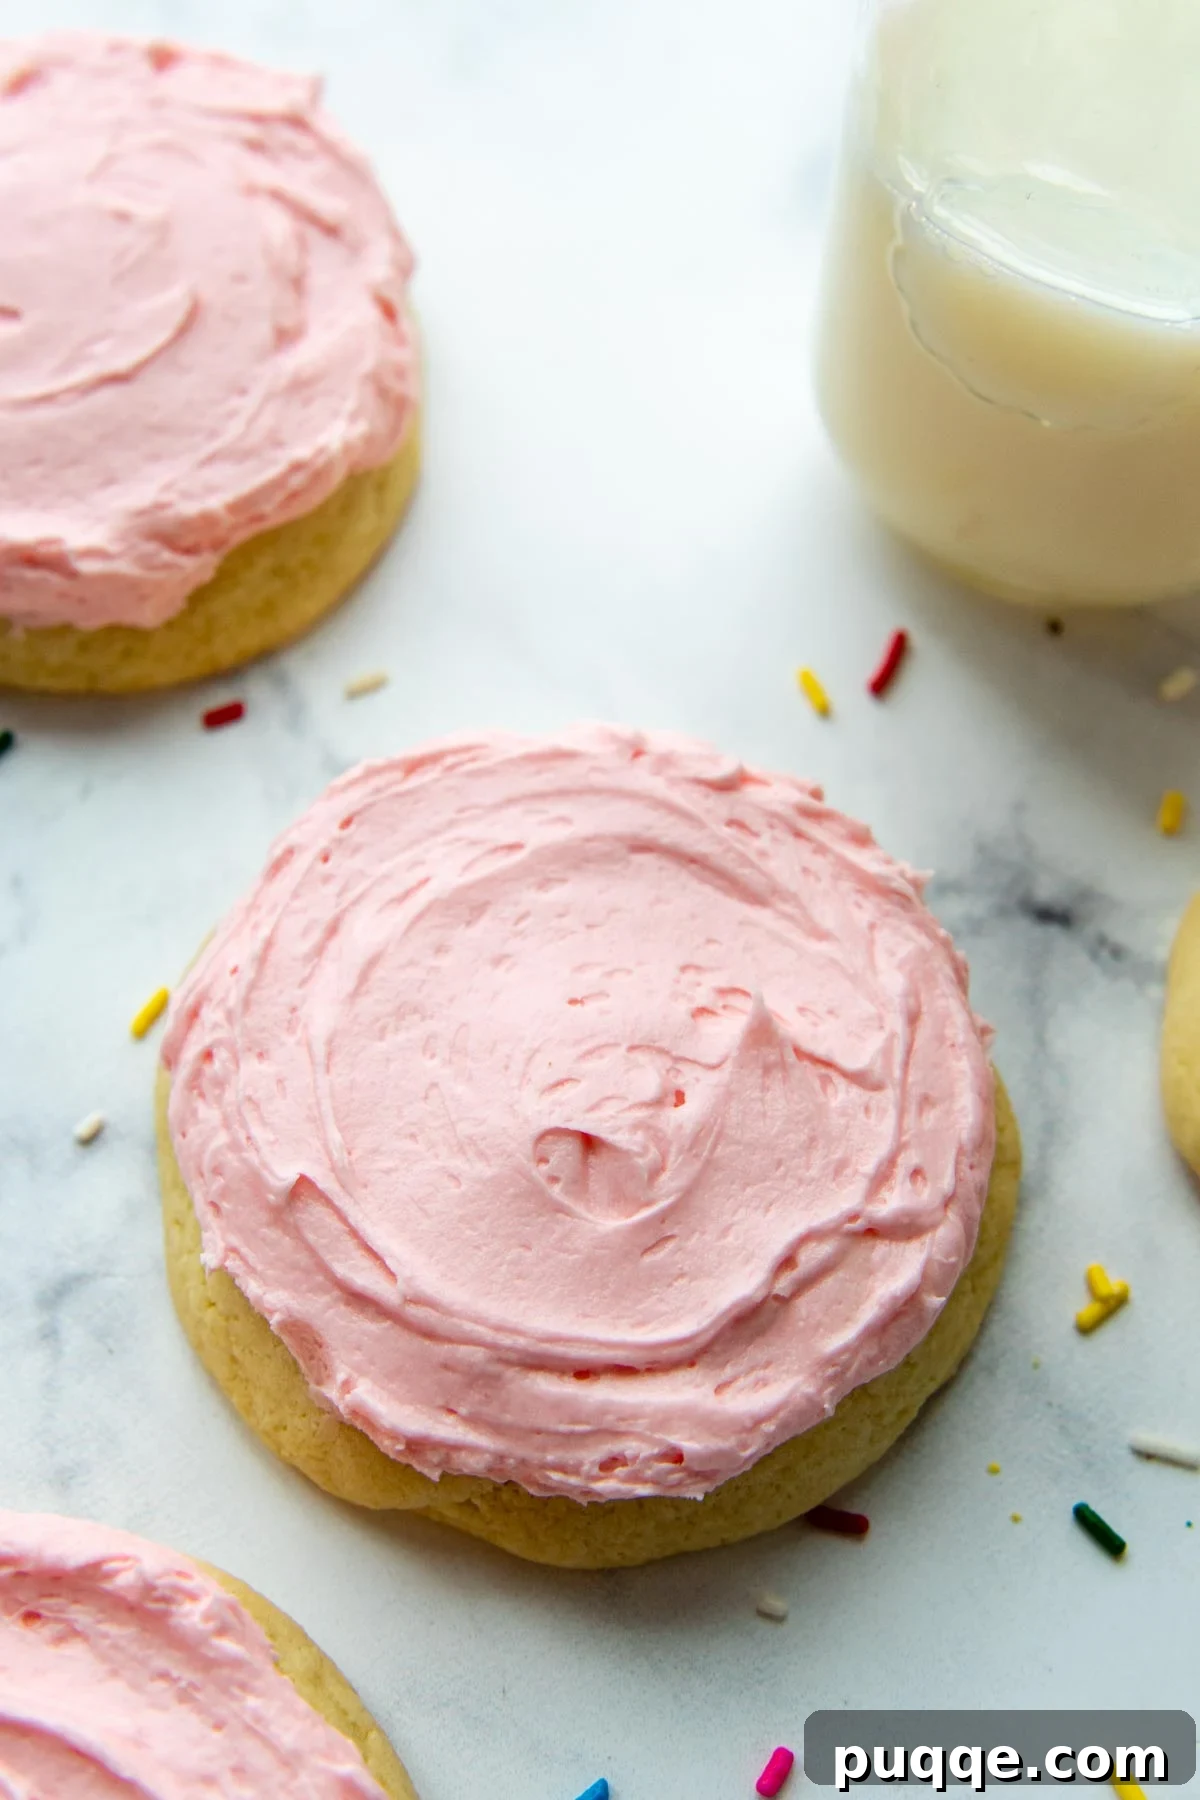
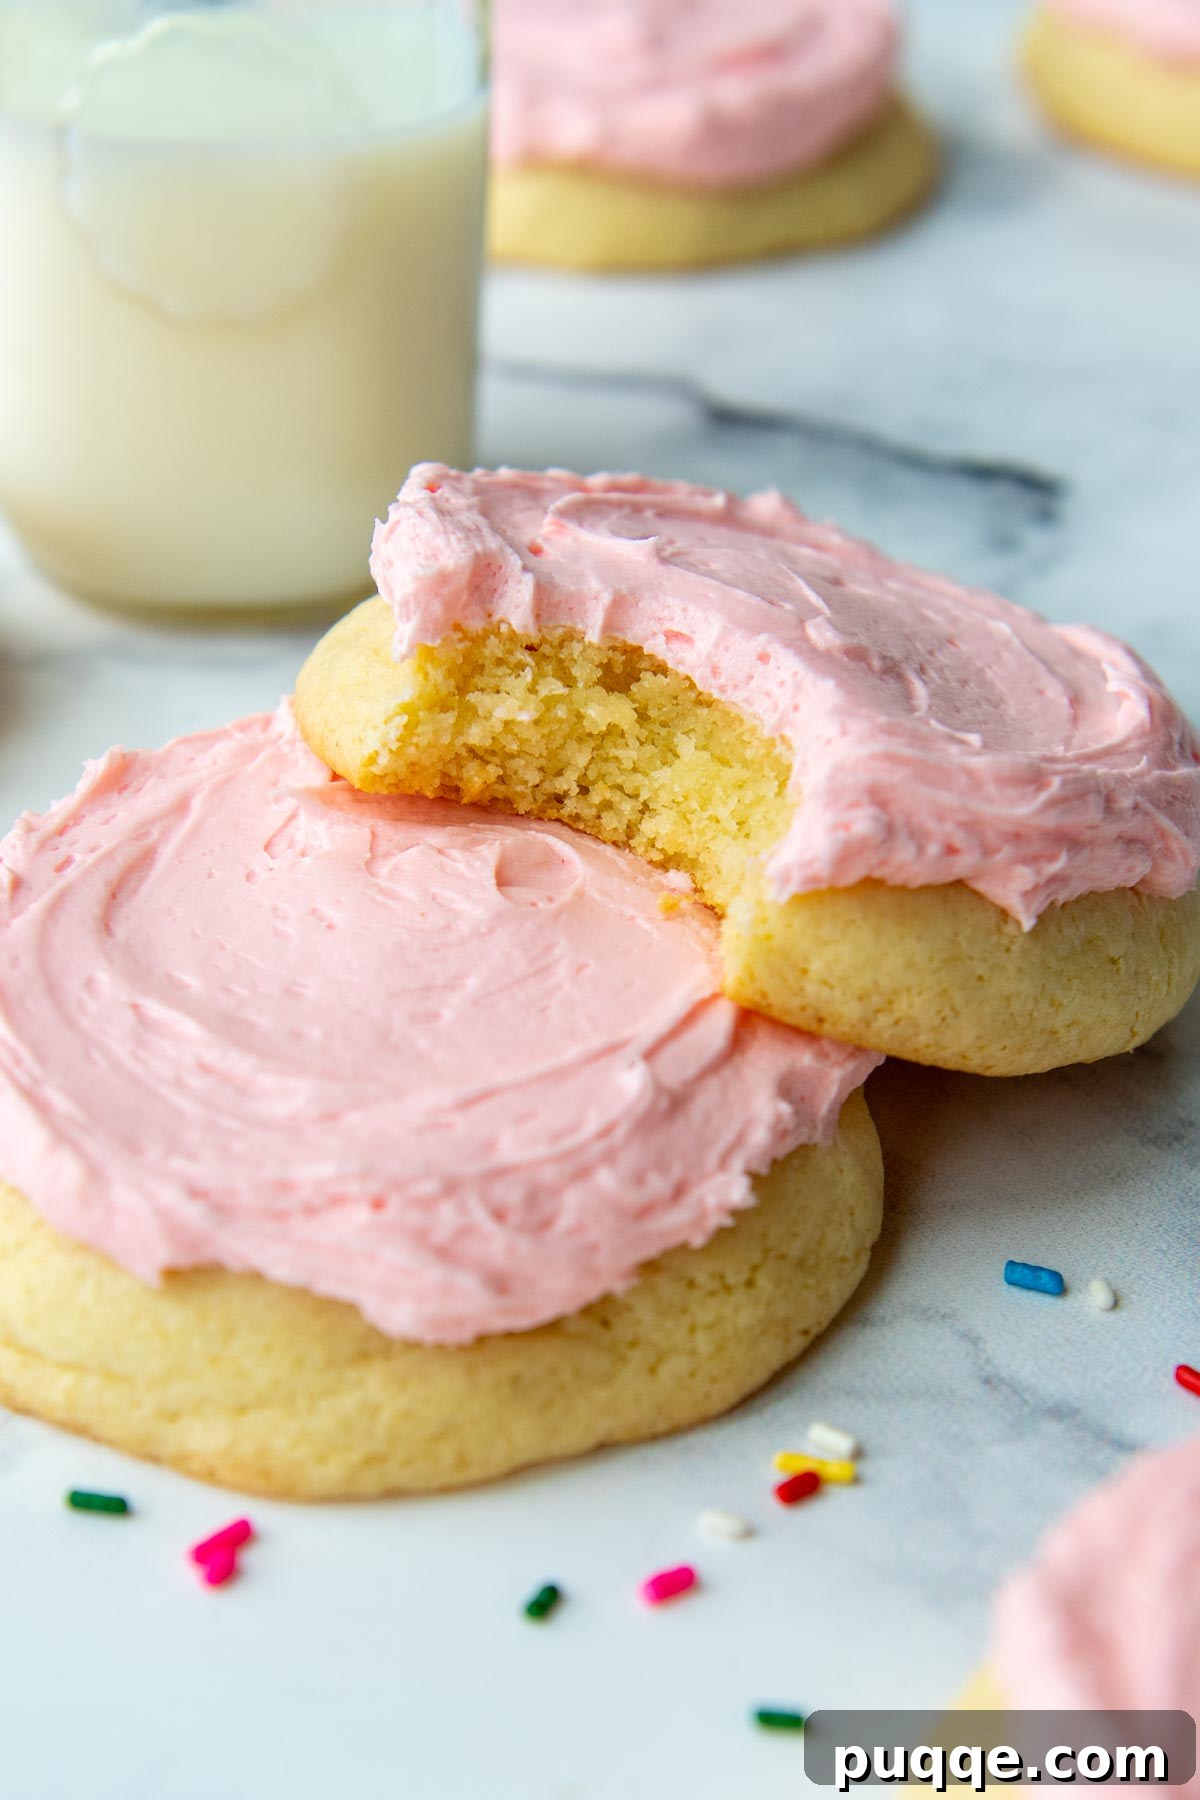
Prepare to be amazed by this incredible gluten-free Crumbl Cookies recipe that you’ll want to bookmark, print, and cherish forever. Just one bite of these thick, impossibly soft sugar cookies, generously topped with a dreamy, fluffy pink buttercream frosting, and you’ll be utterly smitten. Discover my secret technique for achieving that perfect melt-in-your-mouth texture, completely eliminating the dry or gritty pitfalls often associated with gluten-free baking in this easy-to-follow homemade recipe!
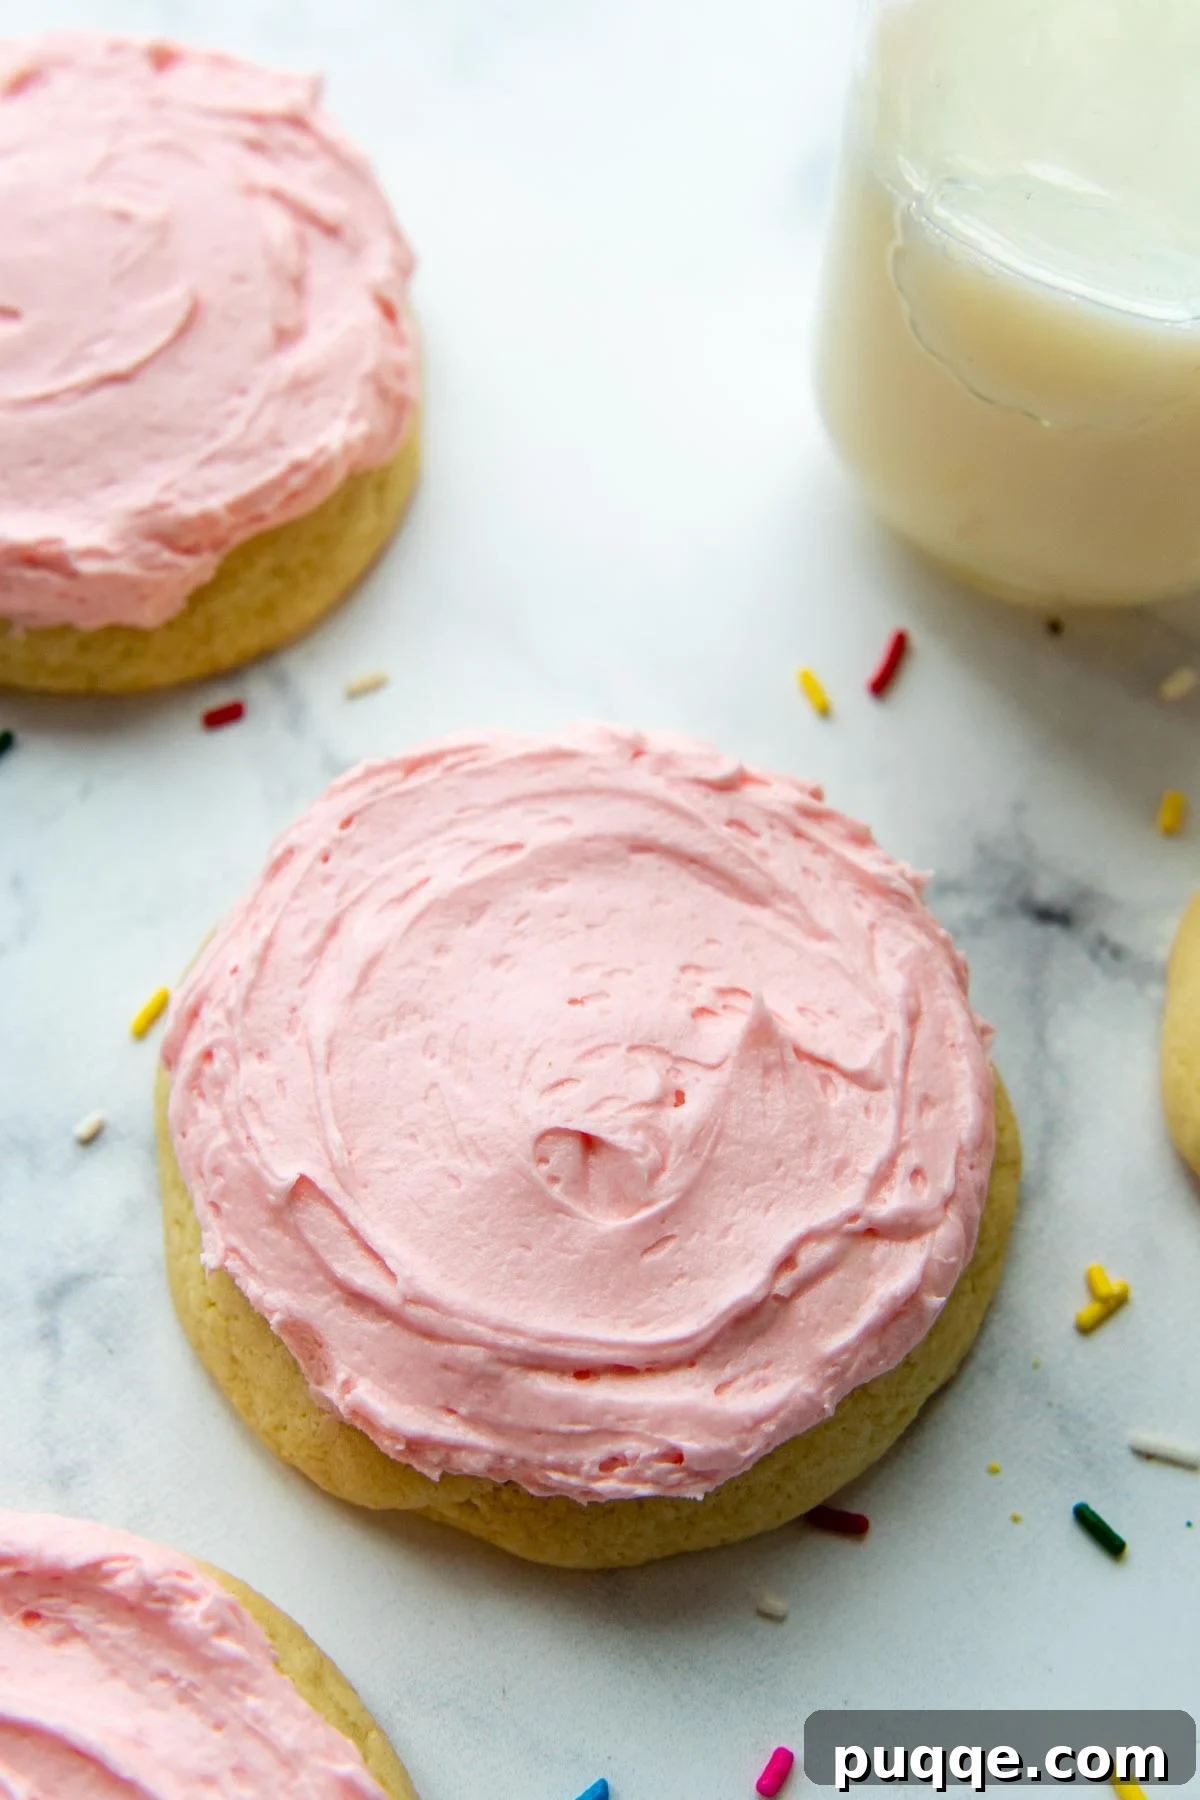
Indulge in Homemade Copycat Gluten-Free Crumbl Sugar Cookies
The culinary world has been captivated by the viral sensation of Crumbl Cookies on platforms like TikTok. With their ever-changing menu and iconic treats, a common question echoes among those with dietary restrictions: “Do Crumbl cookies come in a gluten-free version?” Unfortunately, for many enthusiastic fans, the answer is a disappointing no; these delightful treats are not available for purchase in gluten-free form at any of their store locations.
However, that doesn’t mean you have to miss out on the joy! With this meticulously crafted, easy-to-follow homemade recipe, everyone can now experience the magic of Crumbl’s classic sugar cookies. You no longer need to wonder if the bakery is worth the hype – you can create the very cookie that catapulted Crumbl into fame, right in your own kitchen, completely gluten-free.
While Crumbl boasts a rotating menu featuring a variety of beloved flavors, from rich Oreo cookies and classic chocolate chip to spicy snickerdoodle, their most iconic offering remains the chilled sugar cookie, crowned with a generous swirl of signature pink frosting. Recreating this specific cookie, especially in a gluten-free format, required careful attention to detail to capture both its distinctive taste and irresistible texture.
Mastering the Gluten-Free Cookie Base: Softness and Chewiness
To achieve an authentic, copycat sugar cookie that truly rivals the original, replicating Crumbl’s unique taste and texture was paramount. Crumbl is known for using a substantial amount of baking powder, which contributes to their cookies’ characteristic thickness and incredibly soft base. This recipe adopts that principle, but also incorporates a clever trick I’ve perfected in many of my favorite gluten-free cookies: a touch of baking soda. This small addition works wonders, aiding in the cookie’s spread and enhancing its delightful chewiness, ensuring each bite is perfectly balanced.
The Secret to Eliminating Grittiness: Almond Flour Magic
One of the most frequent challenges when baking with gluten-free flours is the tendency for baked goods to turn out dry or gritty. This recipe directly addresses this common problem by introducing a simple yet highly effective solution. By replacing a small portion of the gluten-free all-purpose flour blend with blanched almond flour, we introduce crucial moisture and richness to the dough. Almond flour is naturally higher in fat, which not only combats the grainy texture but also contributes to a wonderfully tender crumb, ensuring your cookies are perfectly soft and smooth, never dry or crumbly.
Perfecting the Iconic Pink Buttercream Frosting
Mimicking Crumbl’s signature sugar cookie icing proved to be the easiest part of this culinary adventure. Their light, airy buttercream frosting tastes remarkably similar to my own popular uber fluffy buttercream frosting. To achieve that unmistakable Crumbl flavor profile, this recipe simply enhances it with the addition of a hint of almond extract for depth and, of course, a few drops of pink food coloring to create that iconic, vibrant hue. The result is a smooth, pipeable, and utterly delectable frosting that perfectly complements the soft sugar cookie base.
These copycat gluten-free Crumbl cookies have quickly garnered widespread adoration within our gluten-free baking community. They stand proudly alongside other cherished fan favorites, such as our Nothing Bundt Cakes gluten-free cake recipe and the nostalgic, food court-inspired gluten-free chocolate chip cookie cake. Prepare to add these remarkable sugar cookies to your list of go-to gluten-free indulgences!
Let’s Bake These Incredible Cookies Together!
Below you’ll find detailed step-by-step photos and comprehensive instructions to guide you through the baking process. For the complete list of ingredients and their precise amounts, please scroll down to the recipe card.
The Art of Creaming Butter and Sugar
Before you begin, ensure both your butter and eggs have reached room temperature. This crucial step allows the ingredients to emulsify and blend together cohesively, resulting in a smoother, more uniform dough.
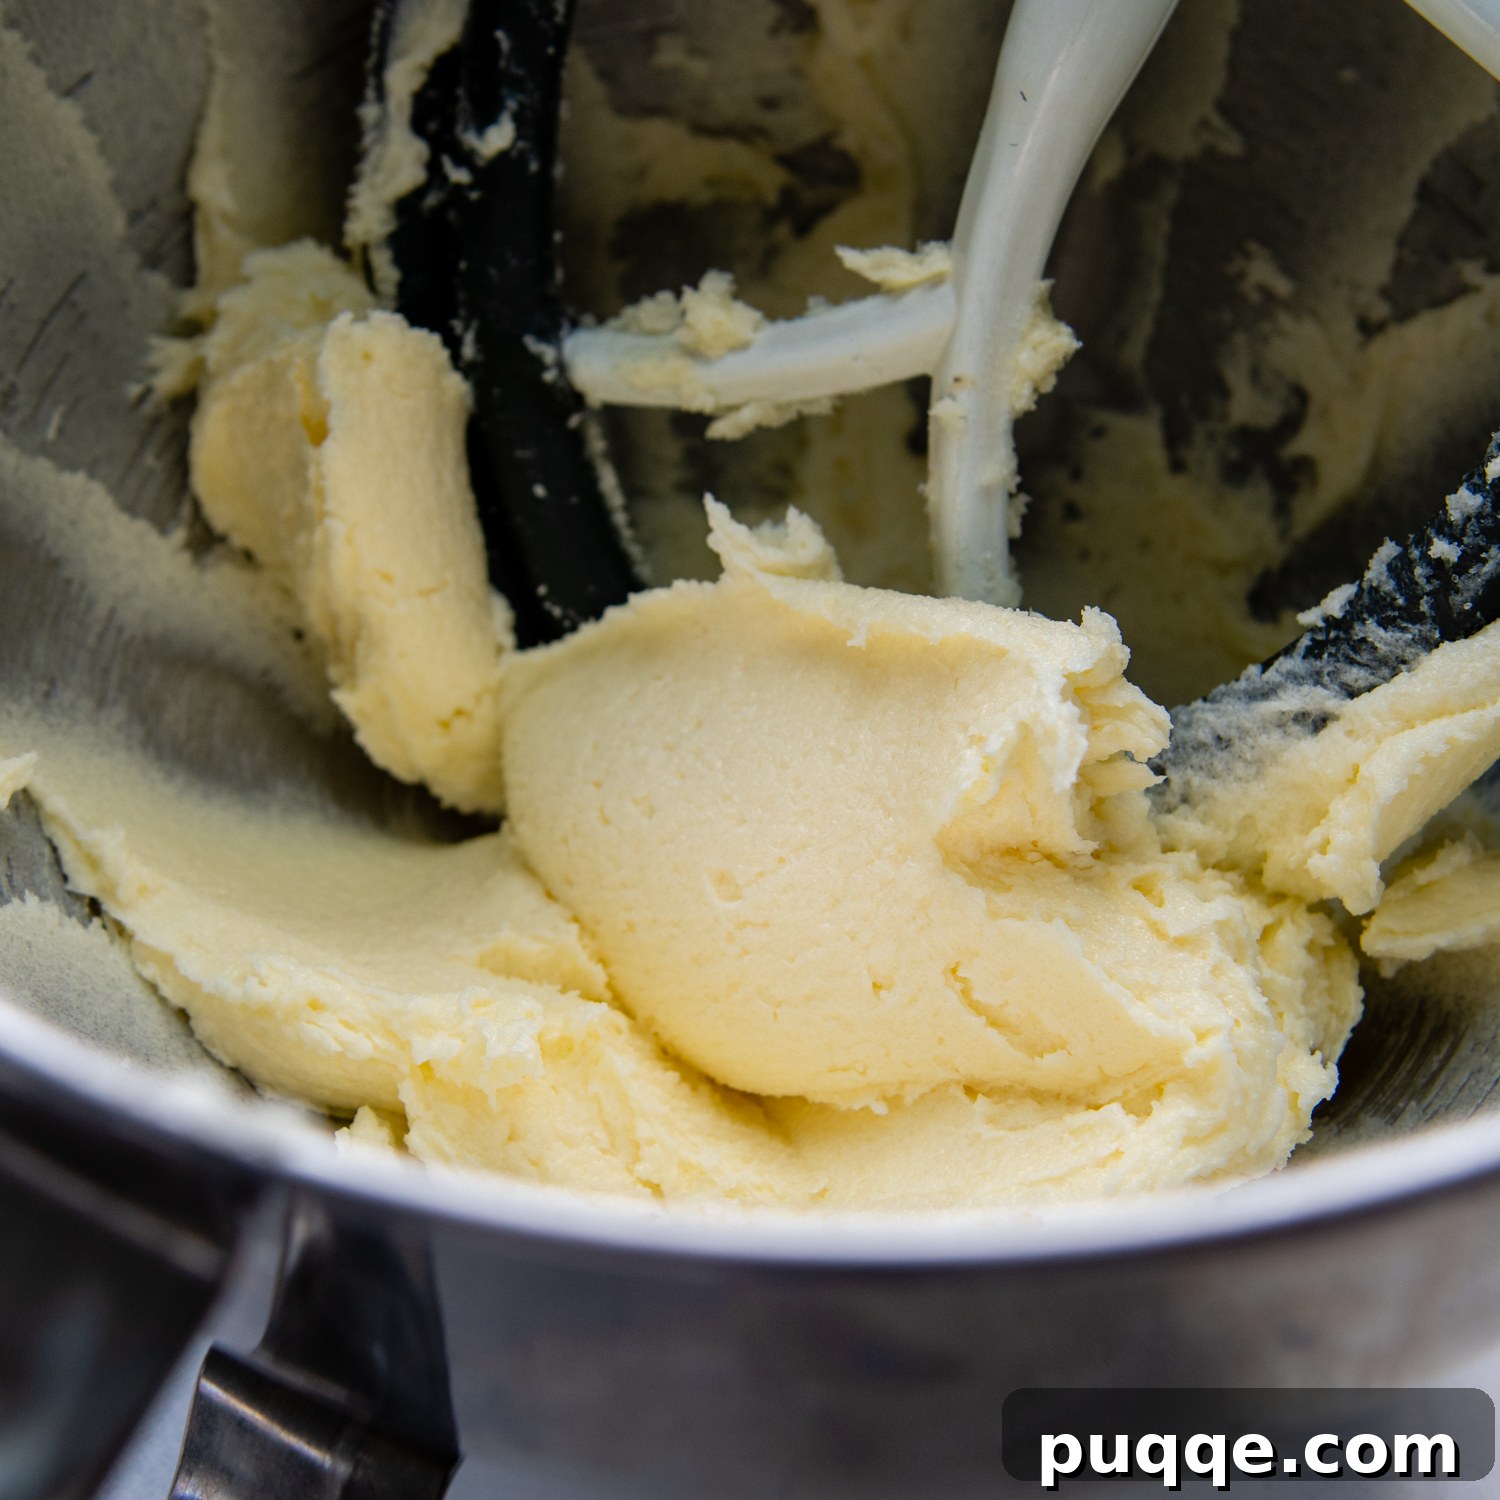
When creaming butter and sugar together, it’s essential to go beyond simply mixing them until combined. True creaming involves incorporating air into the mixture, which is vital for a light and fluffy cookie. In a stand mixer, this process typically takes about 3 minutes of beating on medium-high speed. If you’re using a hand mixer, allow for a slightly longer duration until the mixture becomes notably pale in color and significantly increased in volume.
Ensuring Soft GF Cookies with Our Secret Ingredient
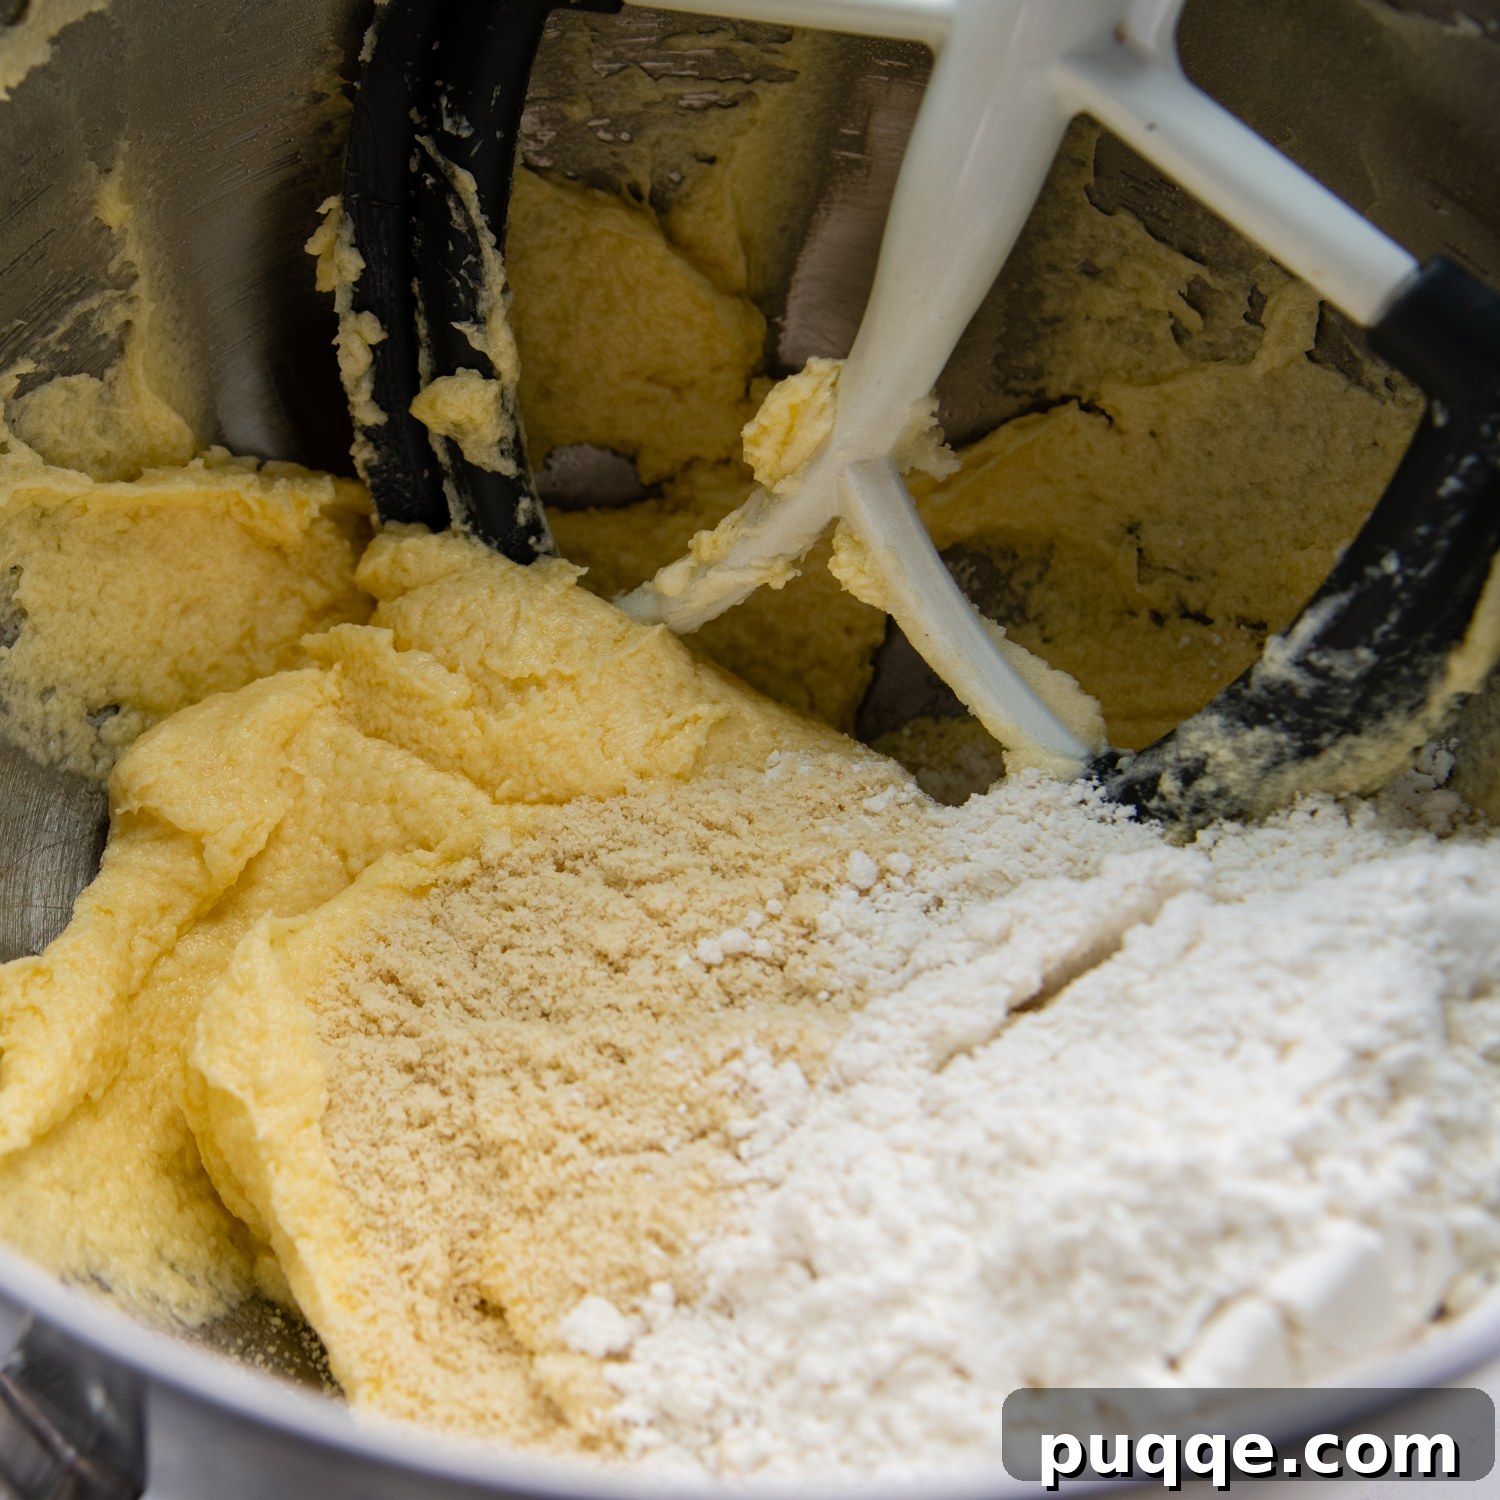
Naturally, the dry ingredients will include your chosen gluten-free all-purpose flour blend. For this specific recipe, I highly recommend and personally use Cup4Cup gluten-free all-purpose flour. This particular blend works exceptionally well because its cornstarch content provides an extra boost of unparalleled softness, contributing significantly to the final cookie texture.
Given that this gluten-free version of Crumbl cookies utilizes a substantial amount of GF flour, I prioritized incorporating an additional element to prevent the cookies from becoming overly dry or gritty. My solution was to replace a portion of the gluten-free flour with almond flour. Almond flour is rich in healthy fats and moisture, which are exactly what’s needed to achieve a tender, moist, and delightfully smooth cookie. Once all the dough ingredients are thoroughly mixed, cover the bowl and chill the dough for at least 1 hour. This chilling period is crucial as it allows the gluten-free starches to fully hydrate and relax, preventing excessive spreading during baking and contributing to a superior texture.
Shaping and Baking for Perfection
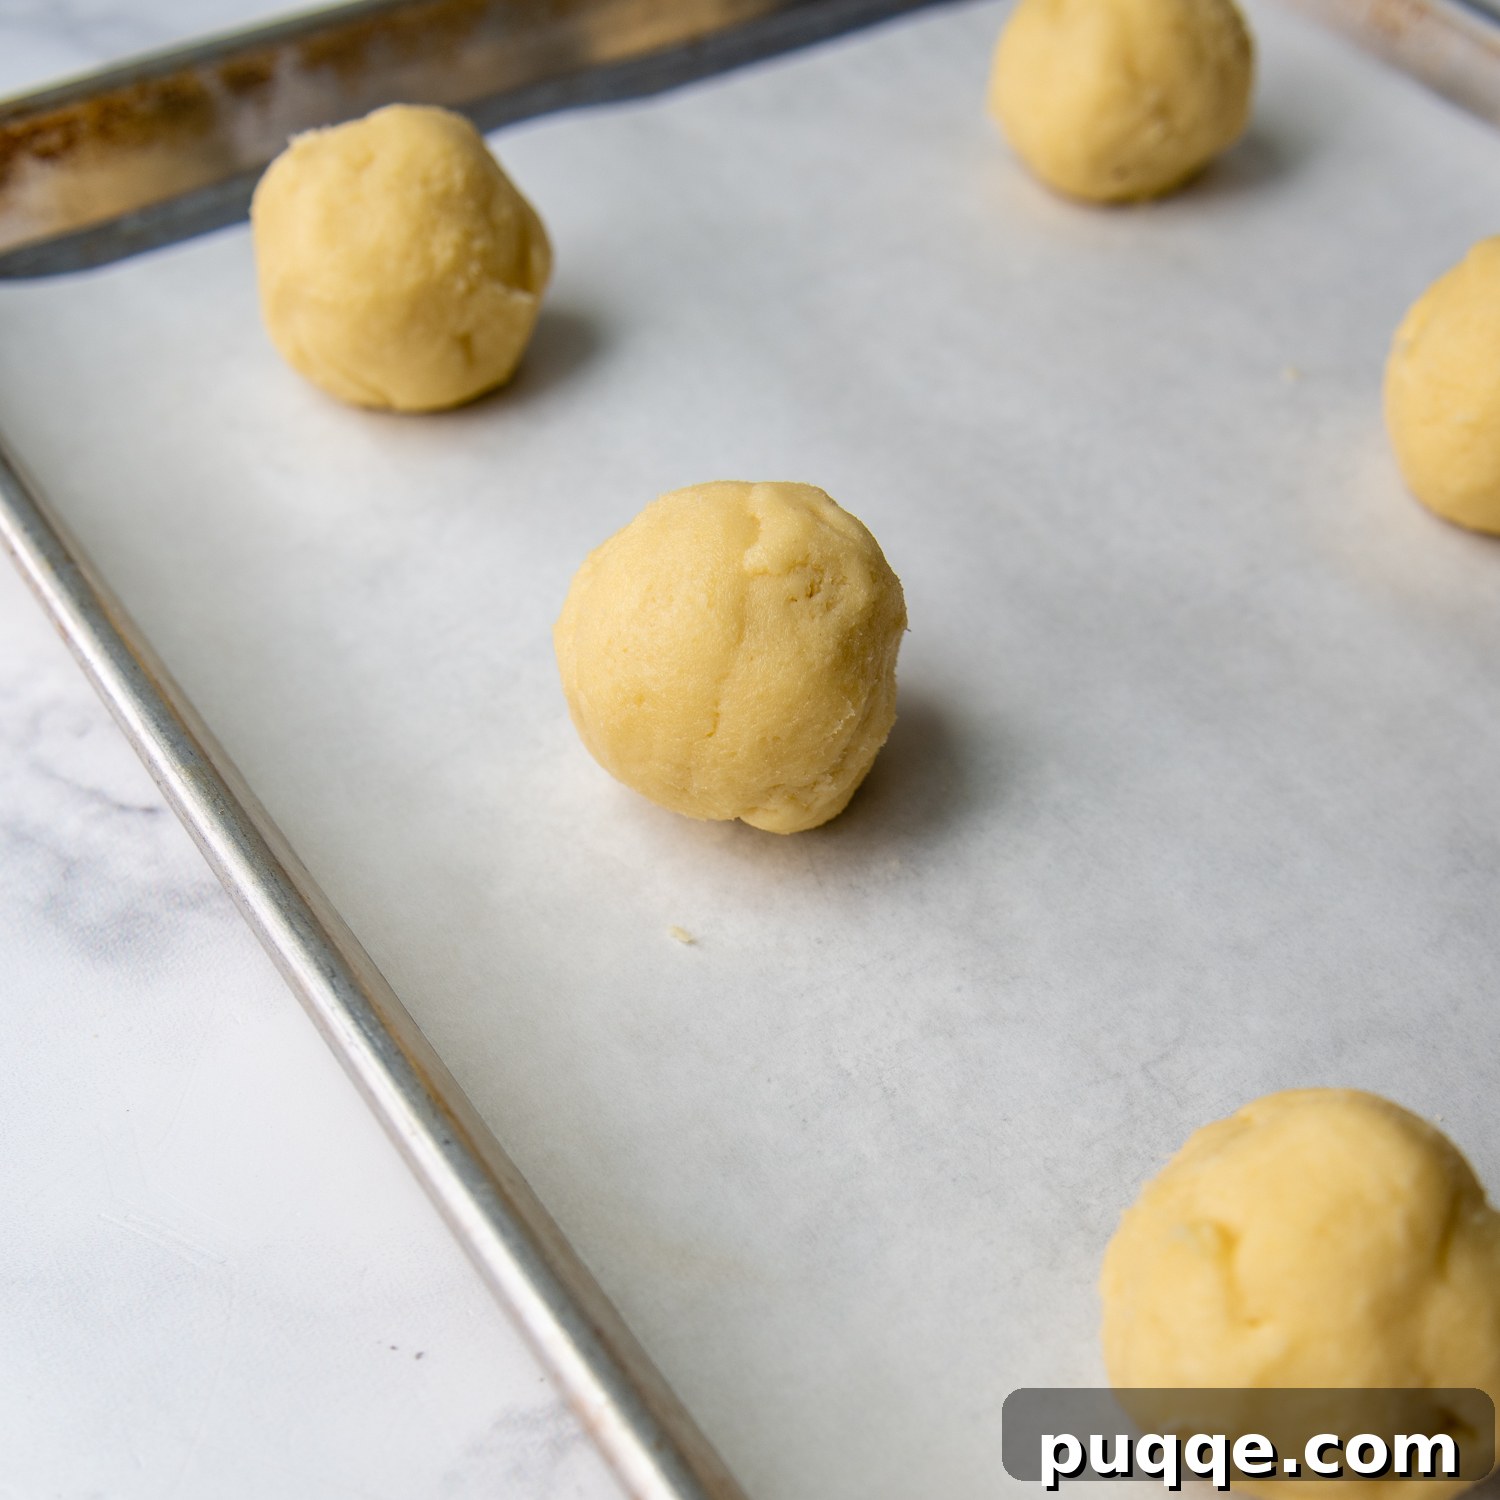
When you’re ready to bake, prepare two baking sheets by lining them with parchment paper. To achieve those signature large Crumbl-style cookies, use a 1/4 cup measuring cup (yes, they’re big!) or a large ice cream trigger scoop to divide the chilled cookie dough into 12 equal portions. While you can certainly make smaller cookies, remember that they will require a shorter baking time. Gently roll each portion into a smooth, uniform ball.
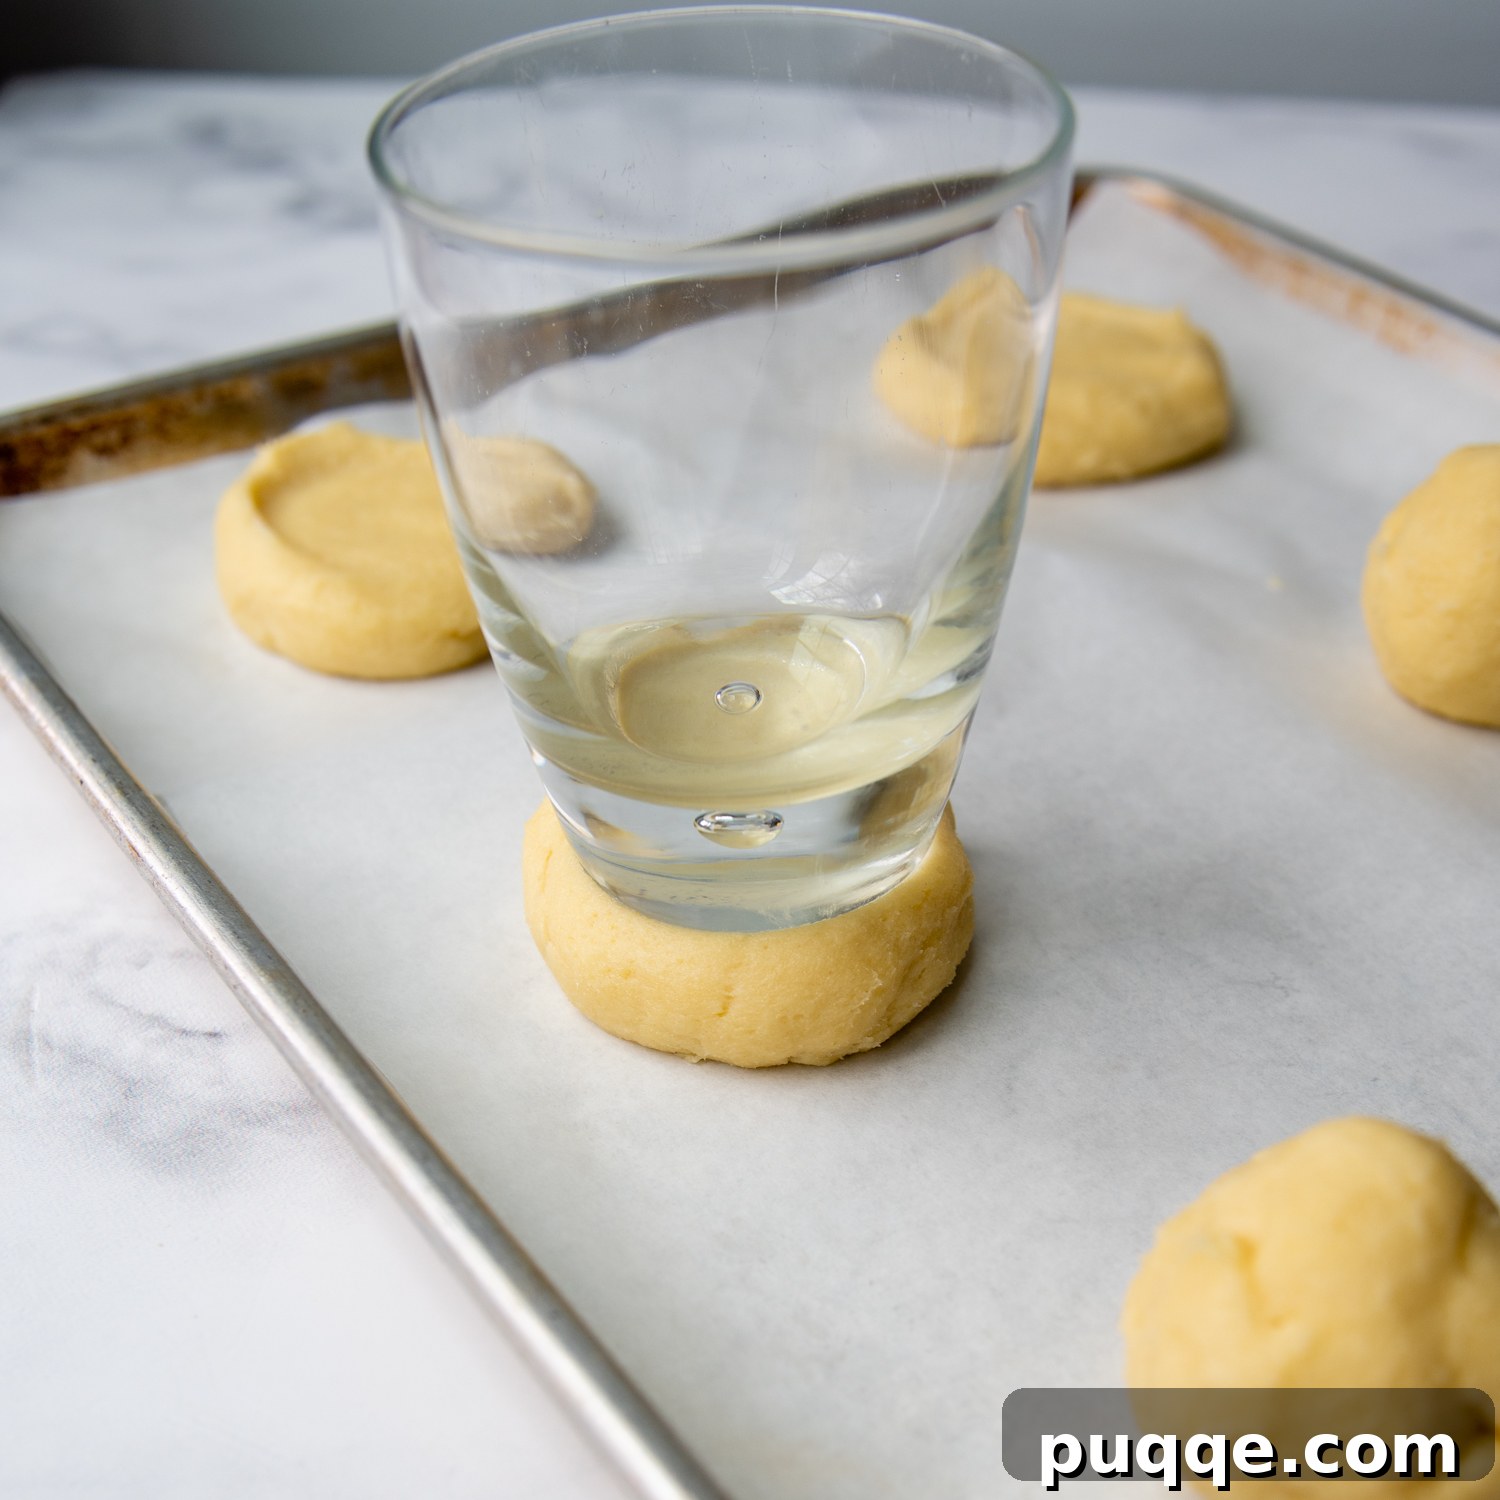
For the perfect flat-top appearance, dip the bottom of a flat-bottomed glass in granulated sugar to prevent sticking, and then gently press down on each cookie dough ball. Repeat dipping the glass in sugar as needed for subsequent cookies. Bake them in a preheated 350ºF (175ºC) oven for 14-16 minutes. The cookies are done when their tops no longer appear shiny and just begin to show slight cracks. Be careful not to overbake, as this can lead to dry cookies. Allow them to cool completely on the baking sheets before you even think about frosting them!
Pro Frosting Tips for Ultimate Fluffiness
Crafting the perfect sugar cookie frosting is just as important as baking the cookies themselves. To begin, combine the softened butter, powdered sugar, and a pinch of salt. Mix these ingredients thoroughly until well incorporated. It might seem thick at this stage, but the magic truly begins once the heavy cream is introduced.
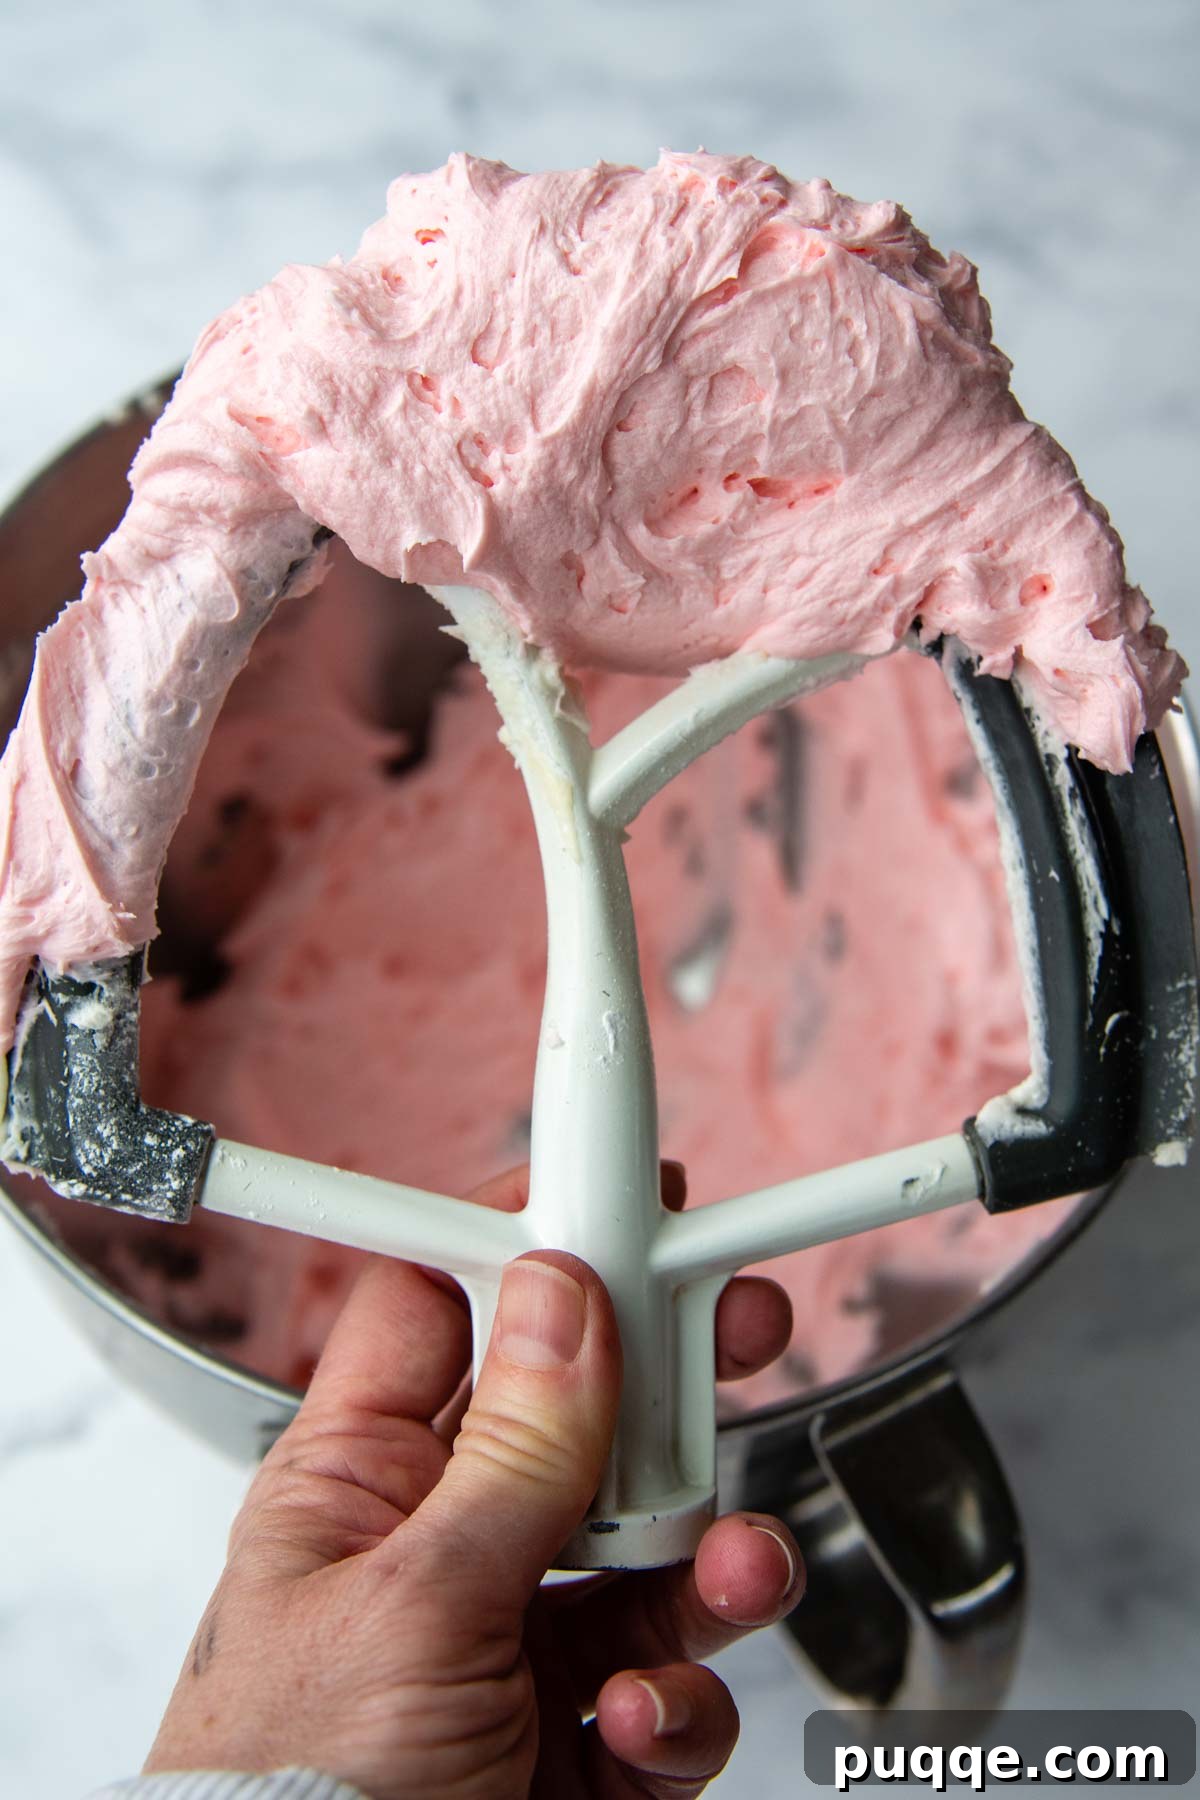
Heavy cream is the key to achieving that irresistibly light and airy texture. As it whips, it aerates, transforming the dense mixture into a smooth, fluffy buttercream. For the absolute best results, I highly recommend using a stand mixer fitted with a paddle attachment and beating the frosting on high speed for about 5 minutes. This extended whipping time ensures maximum fluffiness, mimicking the luxurious texture of freshly whipped cream.
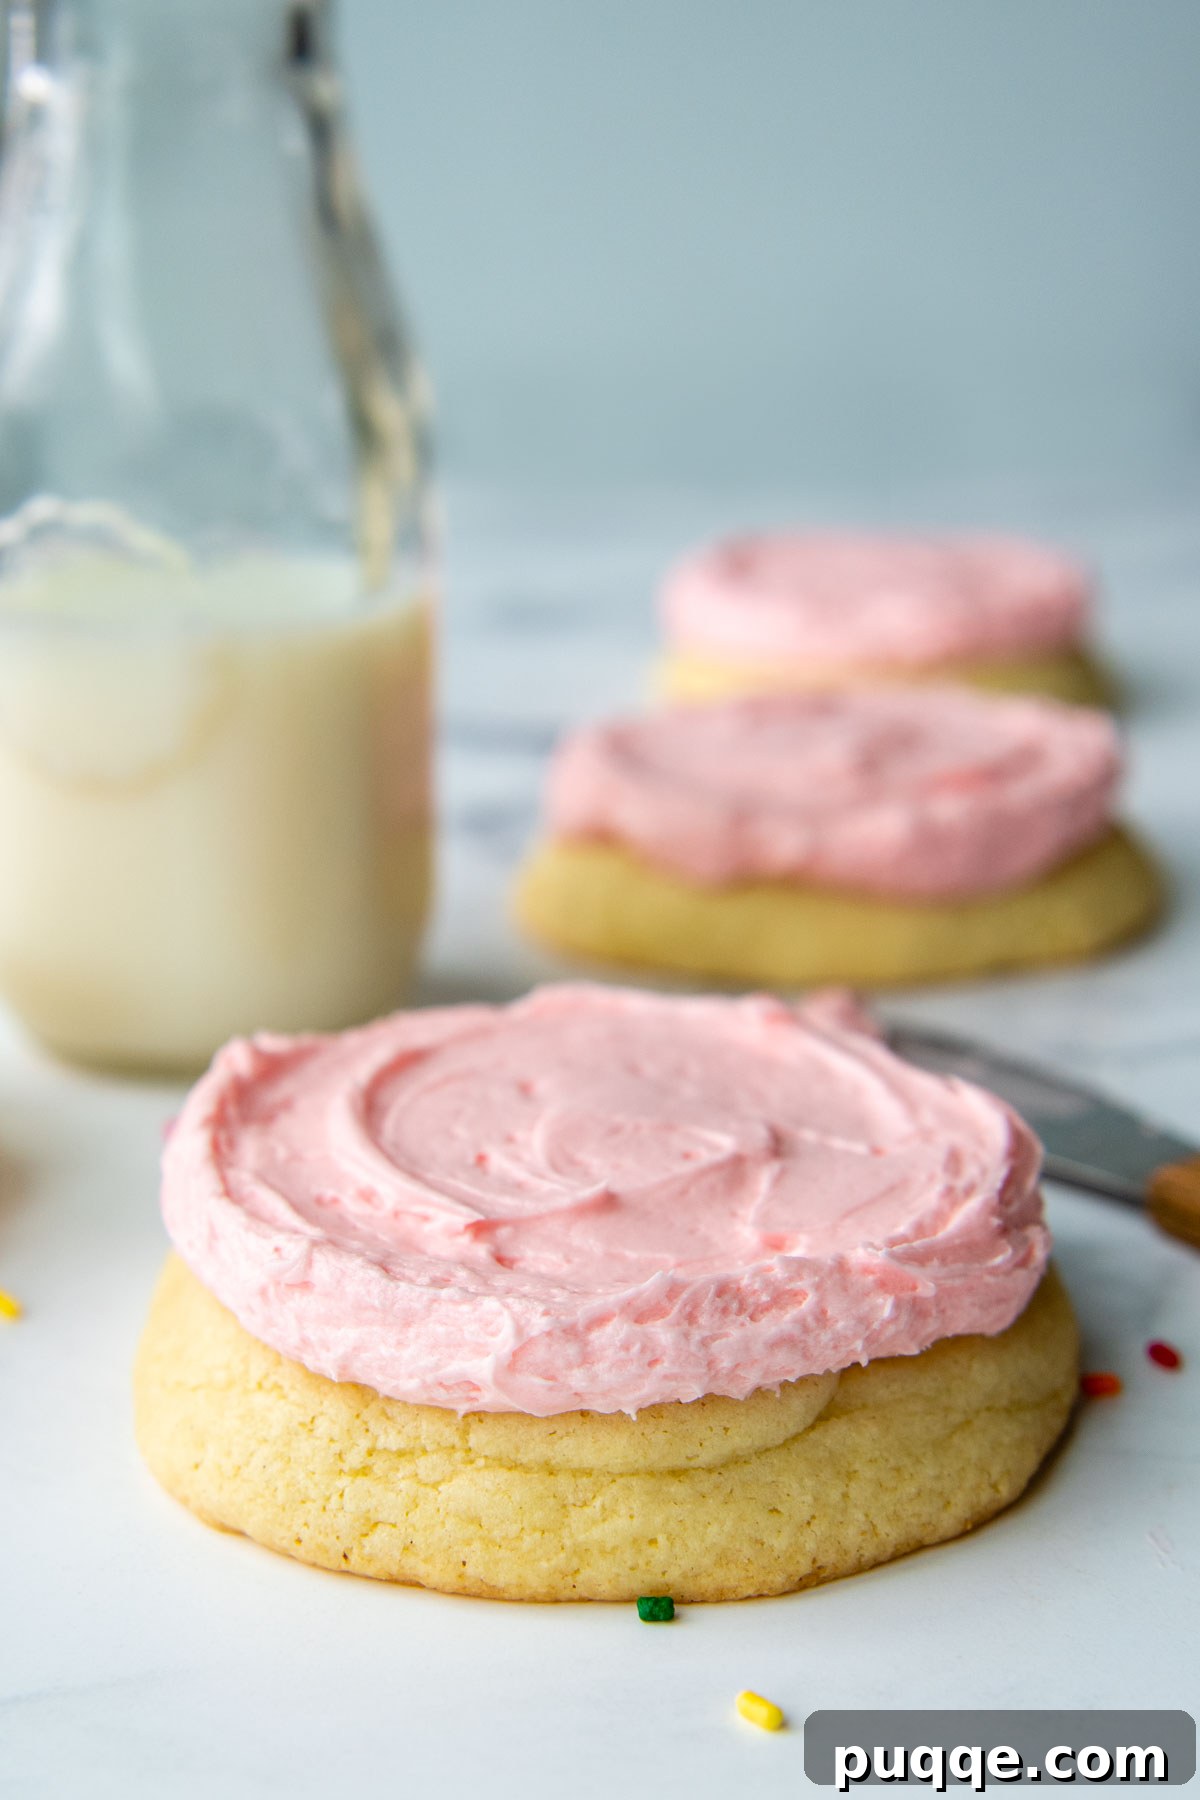
When it comes to spreading the frosting, you have a couple of excellent options. For a rustic, bakery-style swirl, you can use a large cookie scoop to dollop a generous amount of buttercream onto the center of each cooled cookie. Then, using a small spreader (a cheese spreader or an offset spatula works wonderfully), gently swirl the frosting outwards, creating beautiful peaks and valleys. Alternatively, if you prefer a more precise and polished look, fit a piping bag with a medium open star tip. Start piping from the center of the cookie and work your way outwards in concentric circles to achieve a flawless swirl effect.
Frequently Asked Questions About Gluten-Free Crumbl Cookies
Are official Crumbl cookies gluten-free?
No, as of now, Crumbl Cookies does not offer gluten-free versions of their cookies in their stores. This homemade copycat recipe is designed to bring that classic Crumbl experience to those who need or prefer a gluten-free diet.
What’s the secret to getting soft gluten-free cookies, not dry or gritty ones?
The key to achieving soft and tender gluten-free cookies lies in a few crucial techniques. First, using a high-quality gluten-free all-purpose flour blend like Cup4Cup, which contains cornstarch, significantly helps with softness. Second, incorporating blanched almond flour adds essential fat and moisture, combating the typical dryness and grittiness often found in GF baked goods. Finally, ensuring your butter and eggs are at room temperature and properly creaming the butter and sugar also contribute to a wonderfully tender texture.
Can I make these cookies dairy-free?
While this recipe is designed to be gluten-free, it contains dairy (butter and heavy cream). You might be able to substitute with dairy-free butter alternatives and full-fat canned coconut cream (chilled, only the thick part) for the heavy cream, but results may vary, especially with the frosting consistency. Always ensure all your substitute ingredients are also certified gluten-free.
How do I store these gluten-free Crumbl copycat cookies?
These cookies are best enjoyed fresh, within a day or two, as gluten-free baked goods tend to dry out more quickly. Store them in an airtight container at room temperature. For a “chilled” Crumbl experience, refrigerate them. If you plan to stack them in the fridge, chill them first on a baking sheet until the frosting is firm to prevent smudging. For longer storage, see the freezing tips in the recipe notes below.
Can I skip the chilling step for the cookie dough?
While it might be tempting to skip, chilling the dough is highly recommended for gluten-free cookies. It allows the starches in the gluten-free flour to fully hydrate, resulting in a more stable dough that spreads less during baking. This leads to a thicker, softer cookie with a better texture. If you’re short on time, a 30-minute freeze (stirring halfway through) can be an alternative.
Save This Irresistible Recipe to Your Pinterest Board!
Let’s be friends on Pinterest! I’m always sharing great recipes and gluten-free baking inspiration!
Did you make this recipe? We love hearing from you! Scroll down to the recipe card and share your thoughts. Your feedback helps others discover and enjoy these fantastic recipes. I always make sure to respond! -Melissa

Seriously THE BEST Gluten-Free Crumbl Cookies

Melissa Erdelac
12
cookies
10 mins
15 mins
1 hr
25 mins
Pin
Rate This Recipe
Remove Ads
Ingredients
Sugar Cookies
- 1 cup (2 sticks) unsalted butter, softened
- 1 cup granulated sugar
- 2 large eggs, room temperature
- 1 teaspoon vanilla extract
- ½ teaspoon almond extract
- 2 ¼ cup gluten free all purpose flour, I recommend Cup4Cup gluten-free flour
- ¾ cup blanched almond flour
- 1 ¾ teaspoon baking powder
- ¼ teaspoon baking soda
- ¼ teaspoon salt
Pink Buttercream Frosting
- ⅔ cup unsalted butter, room temperature
- 3 ½ cups powdered sugar
- 1 teaspoon almond extract
- ¼ teaspoon salt
- 6 tablespoons heavy whipping cream
- 3-4 drops red food coloring
Equipment
-
Stand Mixer
-
Cup 4 Cup Gluten Free Flour
-
Large Cookie Scoop
Instructions
-
In a large mixing bowl, cream together the softened butter and granulated sugar until the mixture is very light and fluffy. This should take about 3 minutes with a stand mixer on medium-high speed.1 cup (2 sticks) unsalted butter, 1 cup granulated sugar
-
Add the room temperature eggs, vanilla extract, and almond extract to the creamed mixture. Mix well until everything is fully incorporated. Initially, the mixture may appear slightly curdled, but continue to mix until it comes together smoothly.2 large eggs, 1 teaspoon vanilla extract, ½ teaspoon almond extract
-
In a separate bowl, whisk together the gluten-free all-purpose flour, blanched almond flour, baking powder, baking soda, and salt. Gradually add the dry ingredients to the wet ingredients, mixing on low speed until no flour pockets remain and a cohesive dough forms. Be careful not to overmix.2 ¼ cup gluten free all purpose flour, ¾ cup blanched almond flour, 1 ¾ teaspoon baking powder, ¼ teaspoon baking soda, ¼ teaspoon salt
-
Cover the cookie dough with plastic wrap and chill it in the refrigerator for 1 hour. Alternatively, you can freeze it for 30 minutes, stirring the dough halfway through. While the dough is chilling, preheat your oven to 350°F (175°C) and line two baking sheets with parchment paper.
-
Using a ¼ cup measuring cup or a large cookie scoop, divide the dough into 12 equal, large balls. Roll each portion gently until it is uniform and smooth, then place 6 dough balls on each prepared baking sheet, ensuring they are evenly spaced apart. Dip the bottom of a flat-bottomed glass in granulated sugar to prevent sticking, then use it to gently press down each cookie dough ball, flattening it slightly. Repeat dipping in sugar as needed for each cookie.
-
Bake the cookies for 14-16 minutes, rotating the pans halfway through to ensure even baking. The cookies are done when their tops are no longer shiny and just begin to show small cracks. It’s crucial not to overbake them to maintain their softness. Allow the cookies to cool completely on the baking sheets while you prepare the frosting.
Pink Buttercream Frosting
-
In a large bowl or the bowl of a stand mixer fitted with a paddle attachment, mix together the softened butter, powdered sugar, almond extract, and salt until well combined and smooth.⅔ cup unsalted butter, 3 ½ cups powdered sugar, 1 teaspoon almond extract, ¼ teaspoon salt
-
Add the heavy cream and mix on low speed until it is fully blended into the frosting. Once incorporated, increase the speed to high and beat for 5-7 minutes, scraping down the sides of the bowl occasionally. The frosting should become very white, light, and wonderfully fluffy, resembling a bowl of whipped cream. Finally, add 3-4 drops of red food coloring (or more for desired shade) and mix again until the color is uniform.6 tablespoons heavy whipping cream, 3-4 drops red food coloring
-
Once the cookies are completely cooled (or very slightly warm, not hot!), use a large cookie scoop to divide generous dollops of frosting onto the tops of each cookie. Use a small spreader (like a cheese spreader or an offset spatula) to gently spread and swirl the frosting evenly over the cookie surface.
-
Serve these delicious cookies at room temperature for maximum softness and flavor, or refrigerate them if you prefer a chilled sugar cookie experience. Refer to the recipe notes below for comprehensive storing and freezing tips to keep your cookies fresh and delightful.
Notes
Storing and Freezing
These gluten-free Crumbl copycat cookies are truly at their best when enjoyed within one to two days of baking. Gluten-free cookies, by nature, tend to dry out more quickly than their gluten-containing counterparts, so fresh is always best.
To preserve the soft, tender texture of both the cookies and the frosting, it’s recommended to serve them at room temperature. Store any leftover cookies in an airtight container, arranging them in a single layer if possible, to prevent them from becoming stale.
If you’re aiming to replicate the classic chilled Crumbl sugar cookie experience, store the frosted cookies in the refrigerator. To prevent the frosting from getting smudged or sticking when stacking, first chill the cookies on a baking sheet for about 30 minutes until the frosting is firm and stable before transferring them to an airtight container.
For longer storage, especially with any gluten-free cookie, I highly recommend freezing. Begin by chilling the frosted cookies on a baking sheet until the frosting is completely set. Then, wrap each cookie individually in plastic wrap, ensuring it’s sealed tightly to prevent freezer burn. Transfer the individually wrapped cookies to a large ziplock freezer bag or another airtight freezer-safe container. These cookies can be frozen for up to 6 weeks. Thaw them at room temperature or in the refrigerator before serving.
Recipe inspired by Cooking With Karli
Nutrition Information
Calories: 580kcal,
Carbohydrates: 70g,
Protein: 5g,
Fat: 33g,
Saturated Fat: 18g,
Polyunsaturated Fat: 1g,
Monounsaturated Fat: 8g,
Trans Fat: 1g,
Cholesterol: 104mg,
Sodium: 217mg,
Potassium: 86mg,
Fiber: 3g,
Sugar: 52g,
Vitamin A: 938IU,
Vitamin C: 1mg,
Calcium: 72mg,
Iron: 1mg
Did you make this recipe?
Please leave a star rating and review below. It helps others when searching for recipes and I LOVE feedback!