
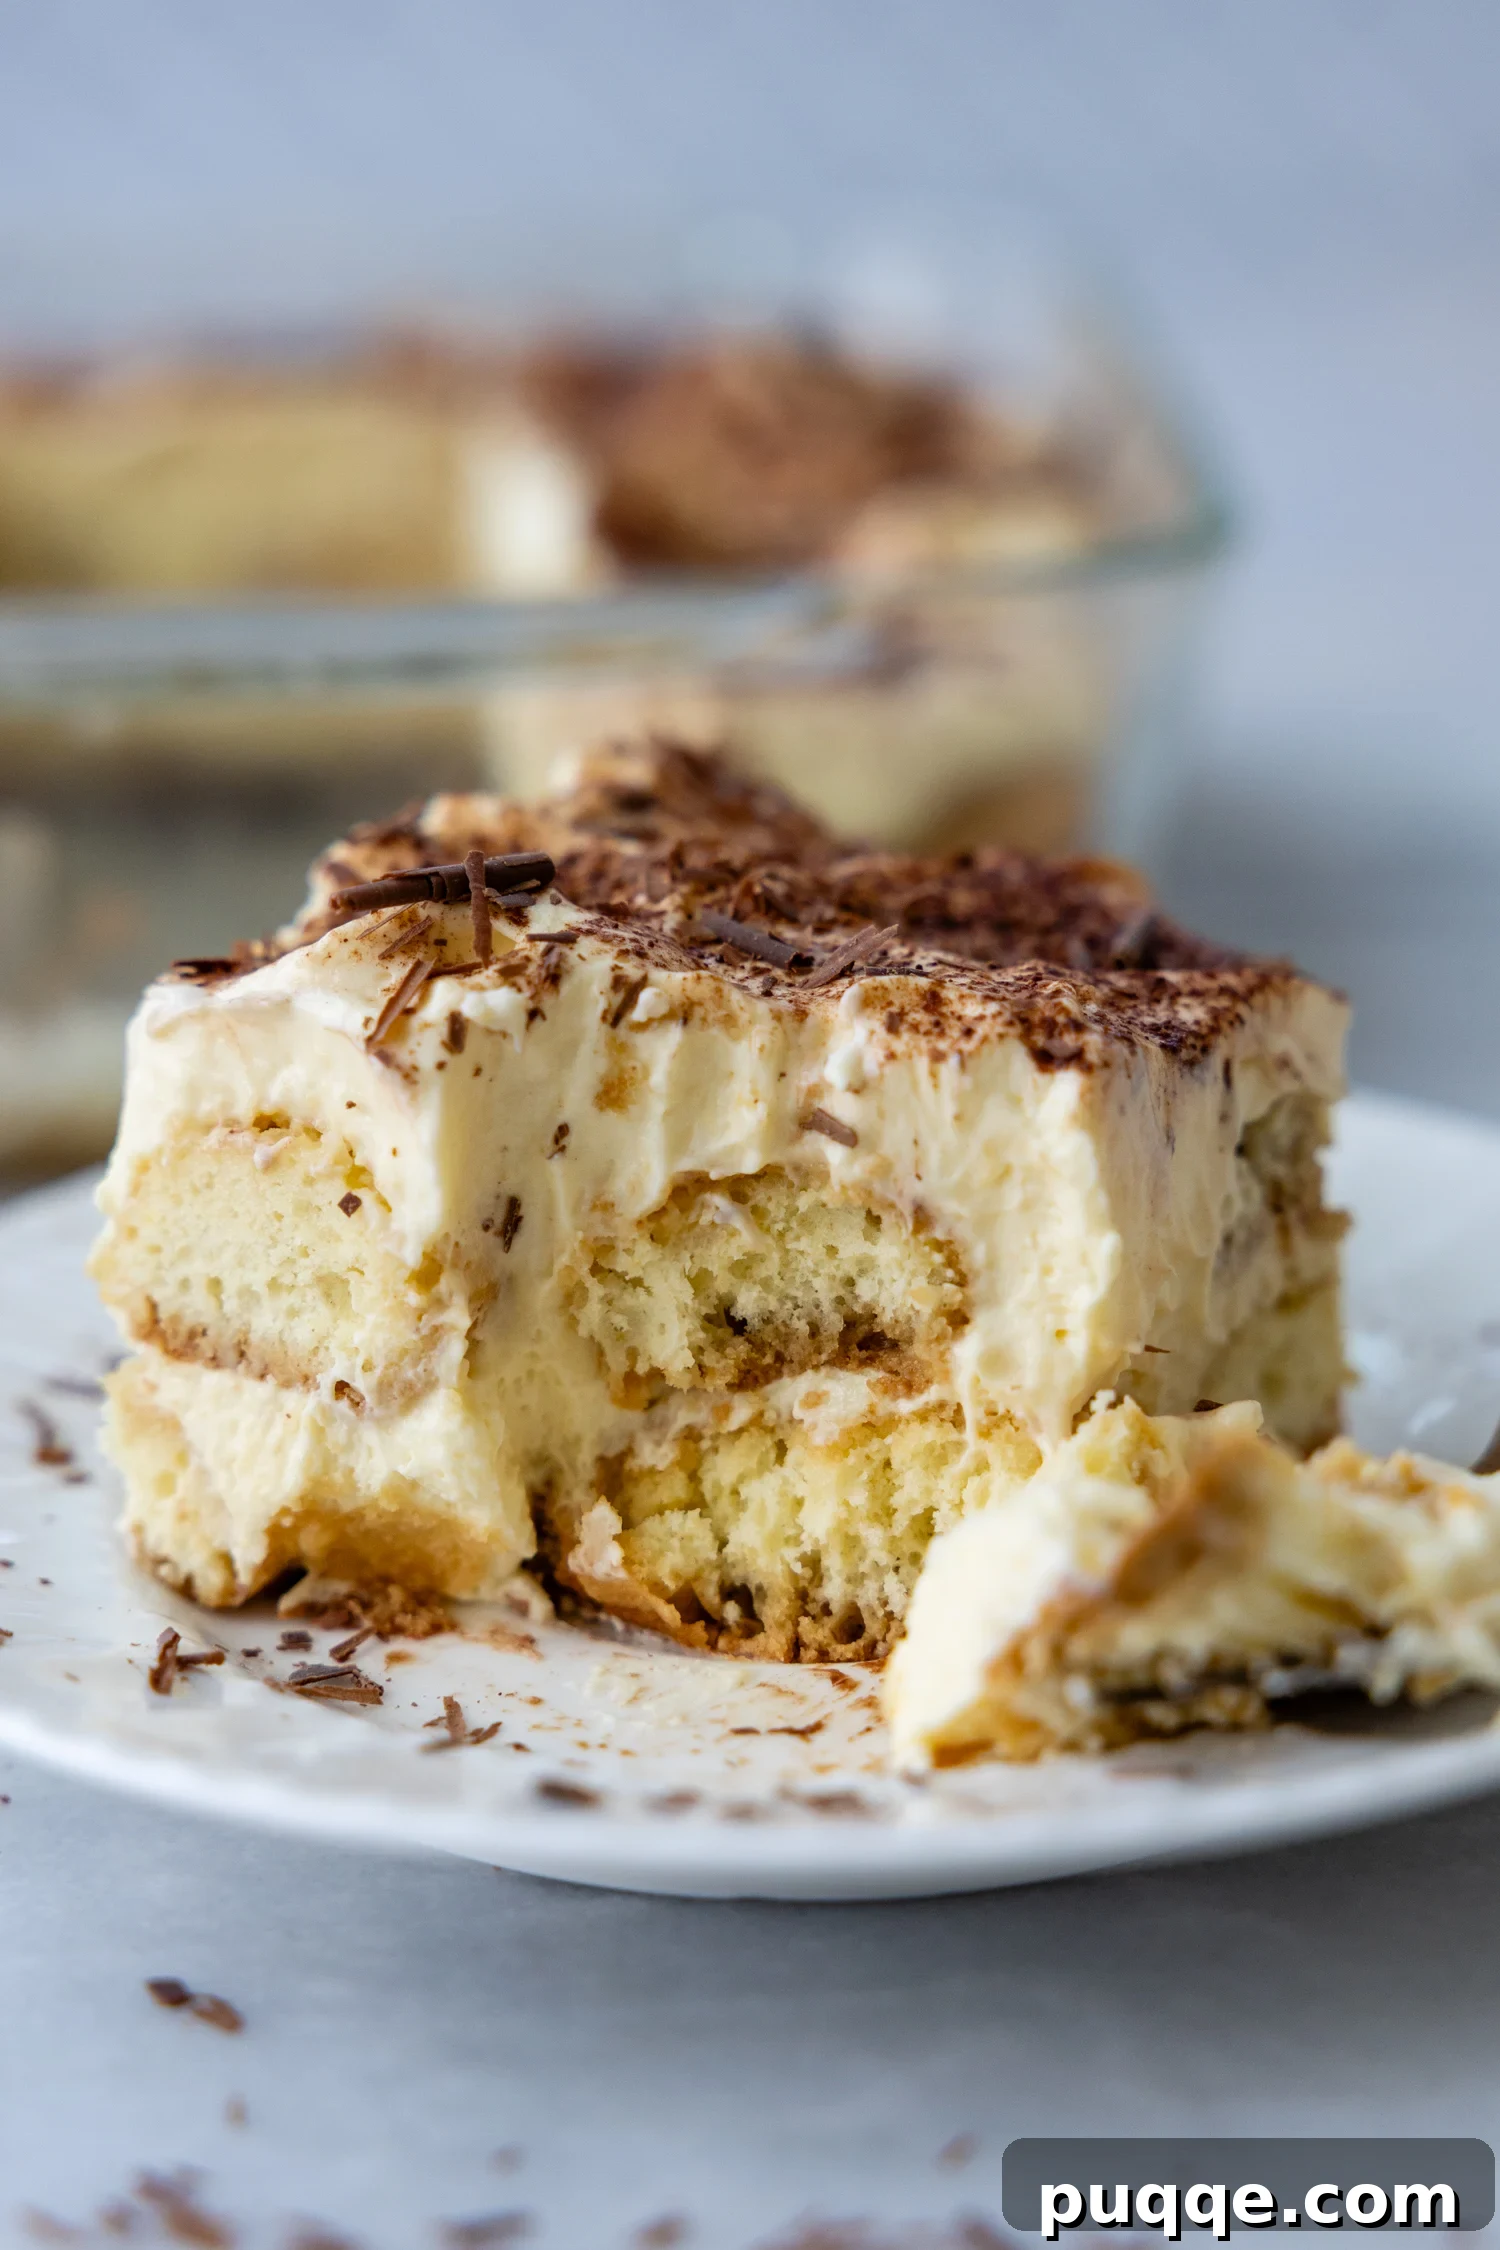
Craving an authentic Italian tiramisu but need it to be gluten-free? Look no further! This perfect recipe delivers the classic taste and luxurious texture you adore, completely free from gluten and without the use of raw eggs. Imagine light and airy mascarpone whipped cream layers, delicately perched atop espresso-dipped homemade gluten-free ladyfingers. This easy, no-bake dessert is so irresistible, it will become a cherished staple in your kitchen for years to come.
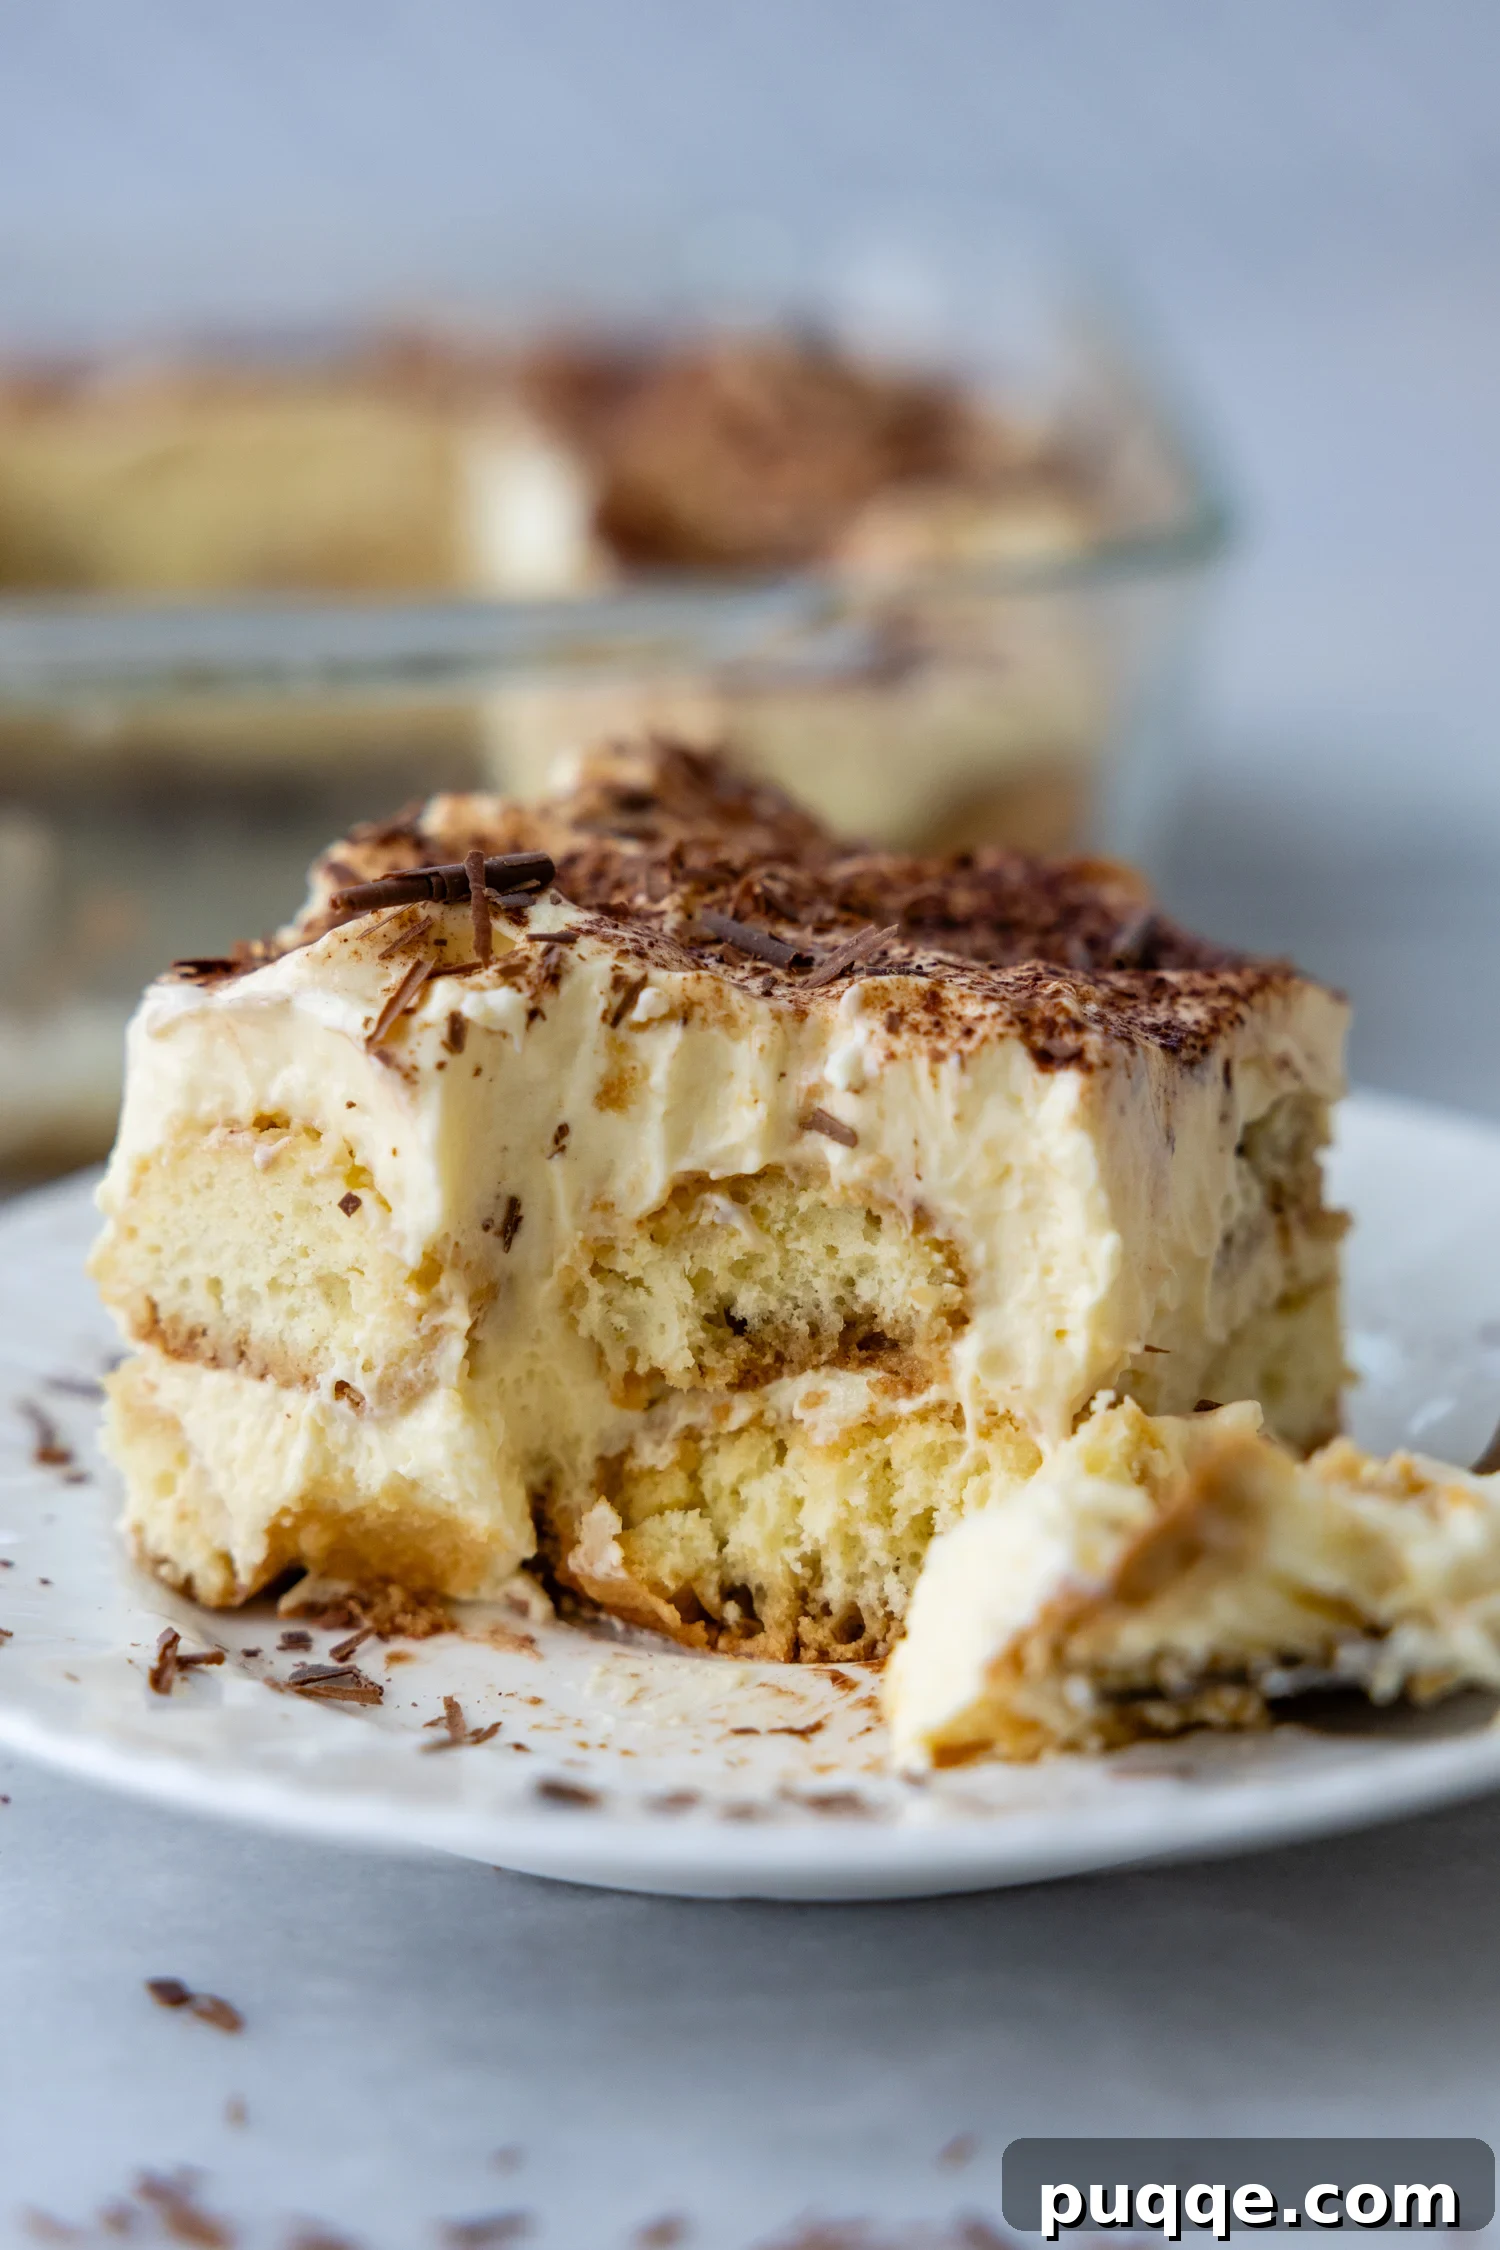
Authentic Italian Gluten-Free Tiramisu Recipe: A Culinary Masterpiece
For countless years, I’ve harbored a deep longing for a truly authentic gluten-free version of my most beloved Italian dessert. Before embarking on my gluten-free journey (B.G.F., as I like to call it!), I had meticulously perfected a homemade recipe for classic tiramisu. However, the thought of store-bought gluten-free ladyfingers always presented a dilemma: they were often quite expensive, and I questioned if they could truly capture the essence and texture required for a genuinely outstanding tiramisu. The quest for perfection felt endless.
As the holiday seasons began to roll around each year, my dreams of crafting an easy, yet unequivocally authentic, gluten-free tiramisu intensified. The turning point arrived when I successfully perfected my own homemade gluten-free savoiardi – those delicate sponge cookies that even my discerning Italian grandma would wholeheartedly approve of. With this crucial component in place, it was truly game on, and the journey to the ultimate gluten-free tiramisu began in earnest.
While this recipe prides itself on being a convenient no-bake dessert, the magic truly begins on the stovetop. My primary goal was to create a tiramisu that completely eliminated the need for raw eggs, addressing common concerns about food safety without compromising on flavor or texture. Many shortcut recipes opt for simply mixing heavy whipped cream with mascarpone, but I consistently found these versions to be noticeably lacking in the rich, deep flavor profile that defines a classic tiramisu. Just as authentic Italian almond cookies must start with proper almond paste, a truly silky and decadent tiramisu absolutely requires a foundational zabaglione – a traditional cooked egg custard.
Don’t let the elegant Italian term zabaglione intimidate you! This homemade recipe remains wonderfully easy and accessible for any home cook. You won’t need a double boiler or any other specialized kitchen equipment to achieve this crucial step. Instead of incorporating raw eggs directly into the cream, we gently whisk egg yolks with sugar and a touch of milk, cooking them carefully on the stovetop until they transform into a beautifully thick and glossy custard. This simple process not only ensures safety but also infuses the tiramisu with an unparalleled depth of flavor and a wonderfully smooth consistency.
Once this exquisite custard has cooled completely, it’s thoughtfully blended with luscious mascarpone cheese and freshly whipped cream, creating the signature Italian tiramisu taste and its characteristic pillowy, creamy-soft filling. Layer this dreamy concoction over crisp gluten-free ladyfingers, expertly dipped in strong caffè (espresso), and then comes arguably the hardest part: the waiting game before you can finally dig in. Believe me when I say, every moment of anticipation will be profoundly worth it once you taste the results. This is more than just a dessert; it’s an experience.
Why This Gluten-Free Tiramisu Recipe Is a Must-Try
Beyond being simply gluten-free, this tiramisu stands out for several compelling reasons. Firstly, its commitment to authentic Italian tradition means you’re not just getting a dessert; you’re getting a culinary experience. The carefully crafted cooked custard, a genuine zabaglione, eliminates any concerns about raw eggs while simultaneously elevating the flavor profile to gourmet heights. This isn’t just a substitute; it’s an enhancement that provides incredible richness and a velvety texture that lesser recipes often miss. You’ll find yourself wondering how something so decadent can be so straightforward to prepare.
Secondly, the reliance on homemade gluten-free ladyfingers truly sets this recipe apart. While store-bought options exist, crafting your own allows for superior texture, better absorption of the espresso, and a fresher, more authentic foundation for your tiramisu. It ensures that every bite offers that perfect balance of coffee-soaked sponge and creamy filling. Lastly, its “no-bake” nature makes it an incredibly convenient yet elegant dessert, perfect for entertaining or a special family treat without the stress of oven time. The fact that it improves with chilling means it’s ideal for preparing ahead, allowing flavors to meld beautifully.
Essential Ingredients for Your Gluten-Free Masterpiece
Crafting the perfect gluten-free tiramisu starts with understanding each core ingredient and how it contributes to the final masterpiece. While the list might seem simple, the quality and preparation of each component are key.
Mascarpone: The Creamy Heart of Tiramisu
- Mascarpone Cheese: This Italian cream cheese is non-negotiable for authentic tiramisu. Known for its rich, buttery, and slightly sweet flavor, it provides the signature decadence. You’ll typically find it in the specialty cheese section of your grocery store. While it can be a bit pricey, dedicated shoppers might find more affordable options at stores like Aldi. Always ensure your mascarpone is cold and firm for the best whipping results.
Espresso: The Soulful Soak
- Espresso or Strong Coffee: The coffee component is crucial, providing the characteristic robust flavor that balances the sweetness of the cream. If you don’t own an espresso machine, don’t worry! A fantastically strong brew from your regular coffee maker will work perfectly. The key is to make it extra strong. Crucially, allow the coffee to cool completely to room temperature (or even chill it) before dipping the ladyfingers. Dipping them in hot coffee will cause them to disintegrate far too quickly, ruining the structure of your tiramisu.
Gluten-Free Ladyfingers: The Foundation
- Gluten-Free Ladyfingers (Savoiardi): These delicate sponge cookies form the structural base of your tiramisu, absorbing the espresso and creating distinct layers. My homemade recipe for gluten-free ladyfingers is truly the “chef’s kiss” for this dessert! Just like the tiramisu itself, they are surprisingly easy to make and require no specialized equipment, not even a piping bag. Crafting them at home ensures the perfect texture for soaking without becoming overly soggy. Below, I’ll also share some excellent gluten-free substitutes for ladyfingers if you’re looking for a quicker alternative.
The Liqueur Option: A Touch of Elegance
- Liqueur (Optional): A splash of liqueur adds a layer of sophisticated flavor that enhances the coffee and cream. Grand Marnier, dark rum, or Kahlúa are traditional and highly recommended choices. If you prefer to keep your tiramisu alcohol-free, simply omit the liqueur; the dessert will still be incredibly delicious with just the rich espresso.
Cocoa Powder: The Final Flourish
- Unsweetened Cocoa Powder: A dusting of unsweetened cocoa powder is the iconic finish for tiramisu, adding a slight bitterness that perfectly contrasts the sweet, creamy layers. It’s best to use a good quality cocoa for the most impactful flavor and a beautiful presentation.
Let’s Make This Delicious Gluten-Free Tiramisu Together!
(The following sections provide detailed step-by-step instructions. For precise ingredient amounts and a complete printable recipe card, please scroll down.)
Step 1: The Custard That Makes All The Difference
While this step requires a bit of planning ahead because it needs time to chill, this quick cooked egg custard is the secret ingredient that gives our gluten-free tiramisu recipe its signature, classic Italian taste. It’s a simple process that yields incredibly rich rewards, truly worth every moment of preparation.
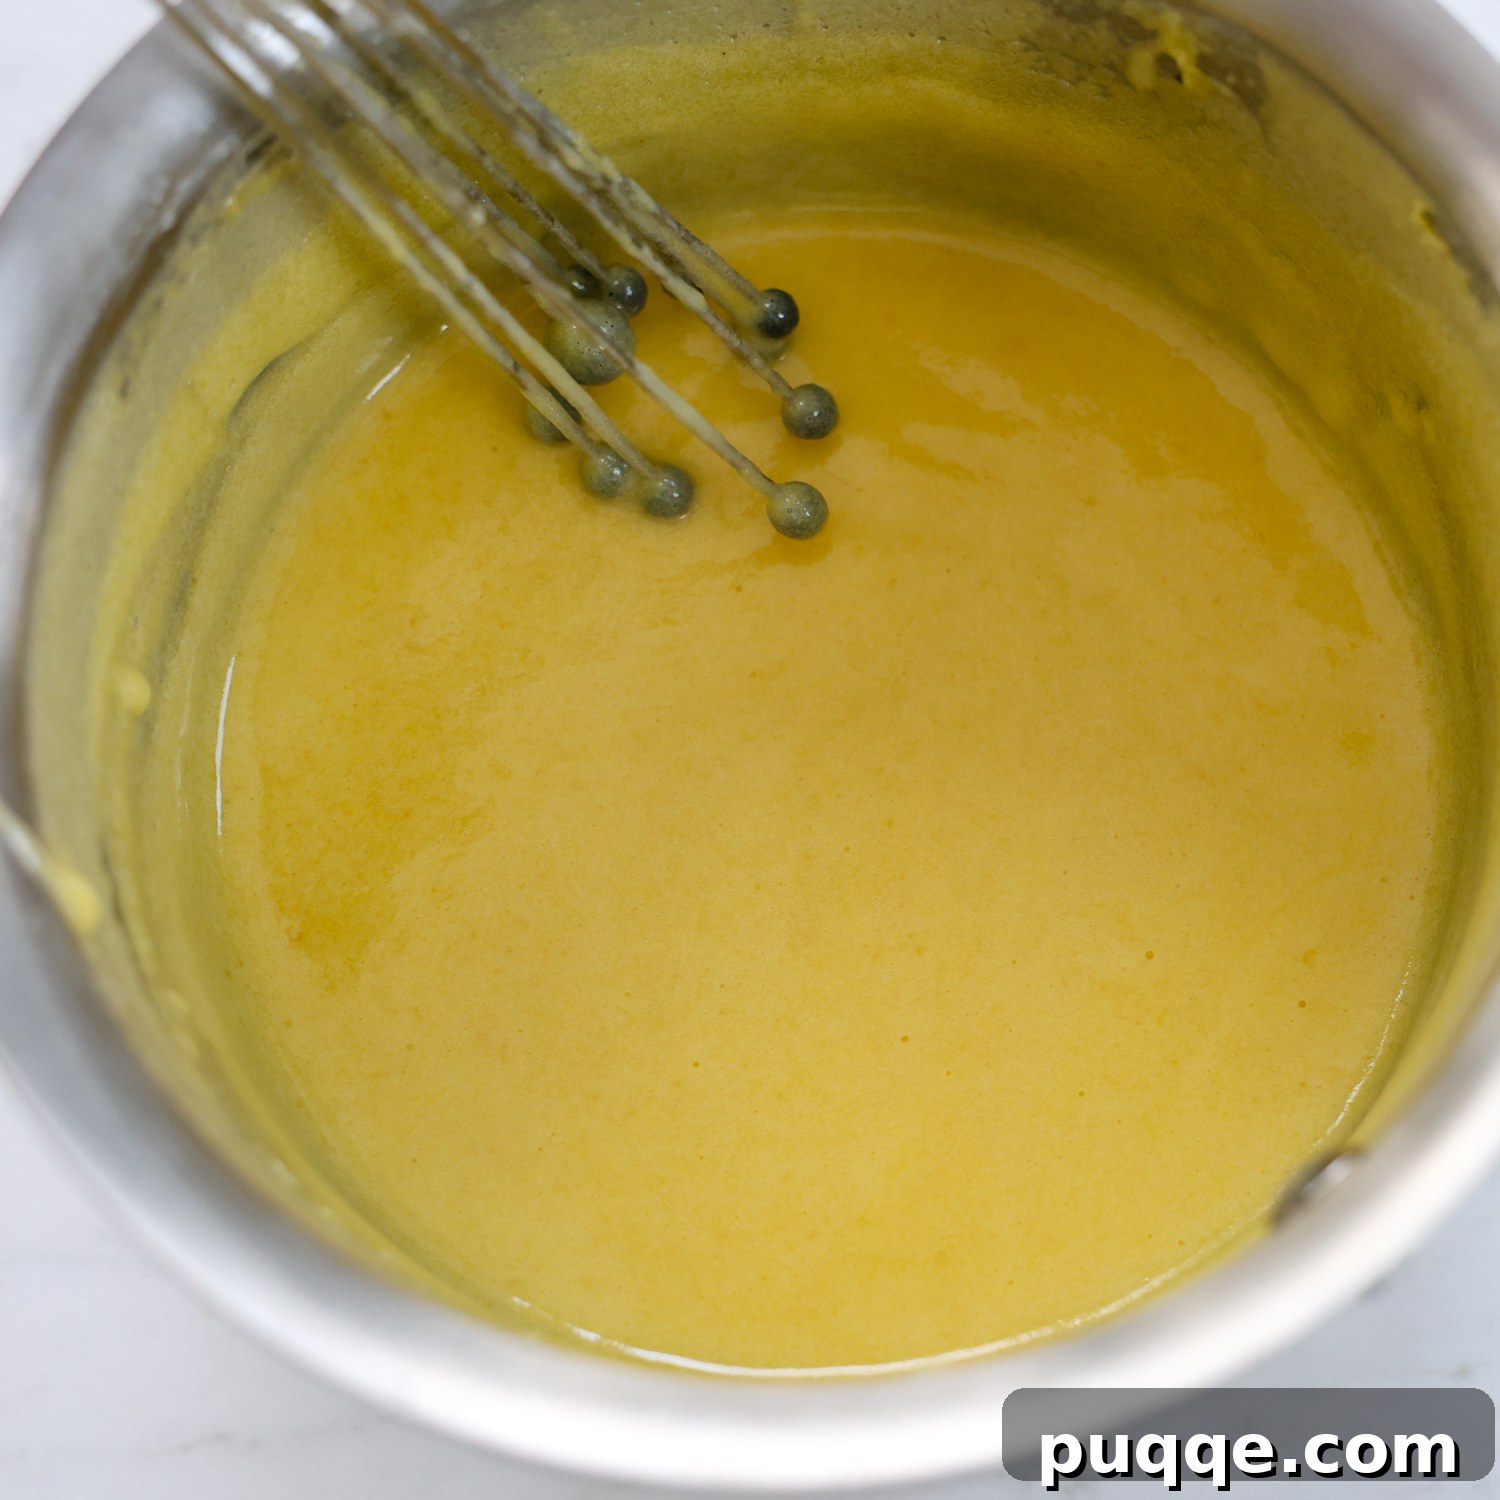
In a small, heavy-bottomed saucepan, thoroughly whisk together the egg yolks, granulated sugar, and milk until they are very well blended and smooth. Place the saucepan over medium heat, and whisk constantly to prevent scorching and ensure even cooking. Continue whisking until the mixture comes to a full, rolling boil. Once boiling, allow it to gently boil for exactly one minute, still whisking without interruption. Remove the saucepan from the heat immediately and stir in the vanilla extract. Transfer the custard to a clean bowl, cover it with plastic wrap pressed directly onto the surface to prevent a skin from forming, and let it cool completely to room temperature. Afterwards, chill it thoroughly in the refrigerator for at least one hour, or ideally, overnight. This step can easily be made the day before you plan to assemble your tiramisu, making preparation even smoother.
Step 2: Completing the Fluffy Italian Cream
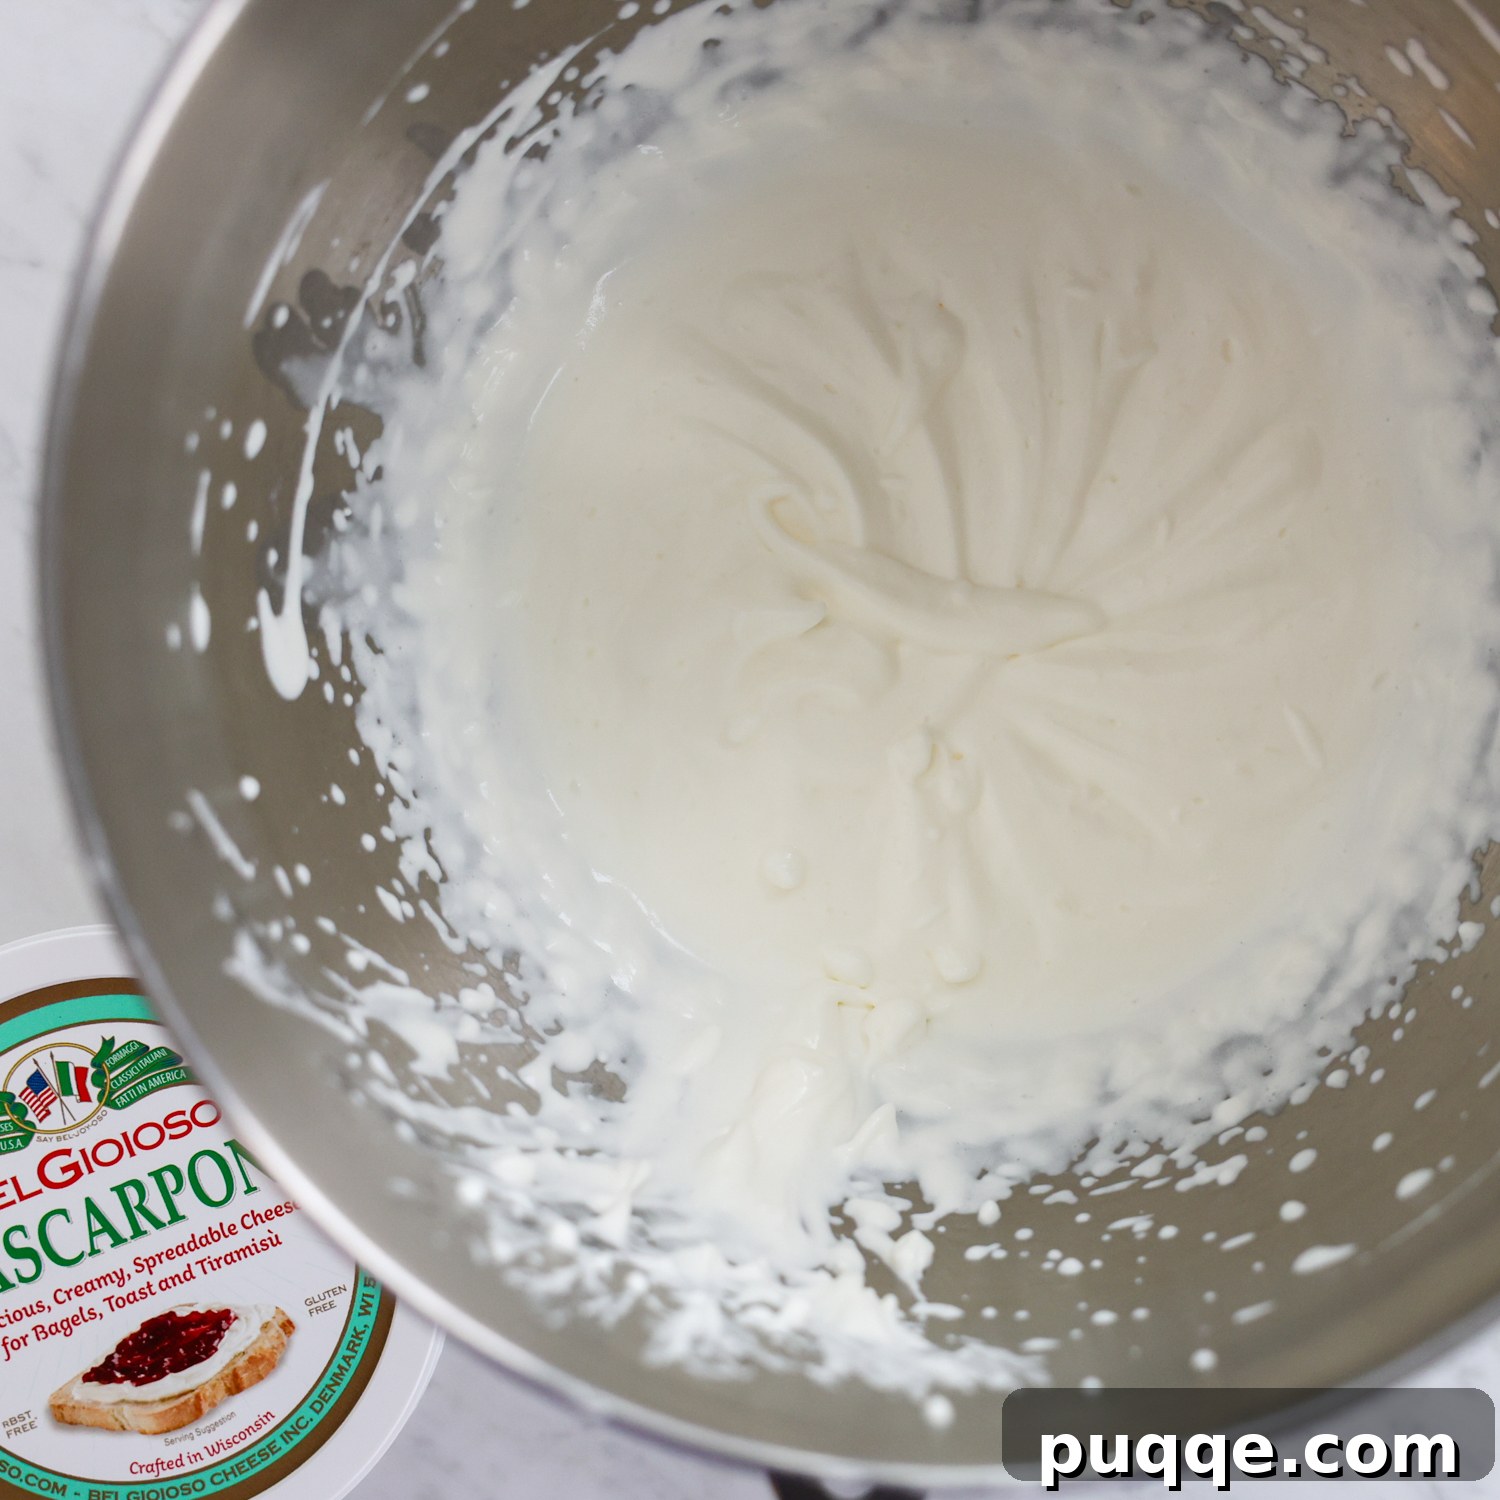
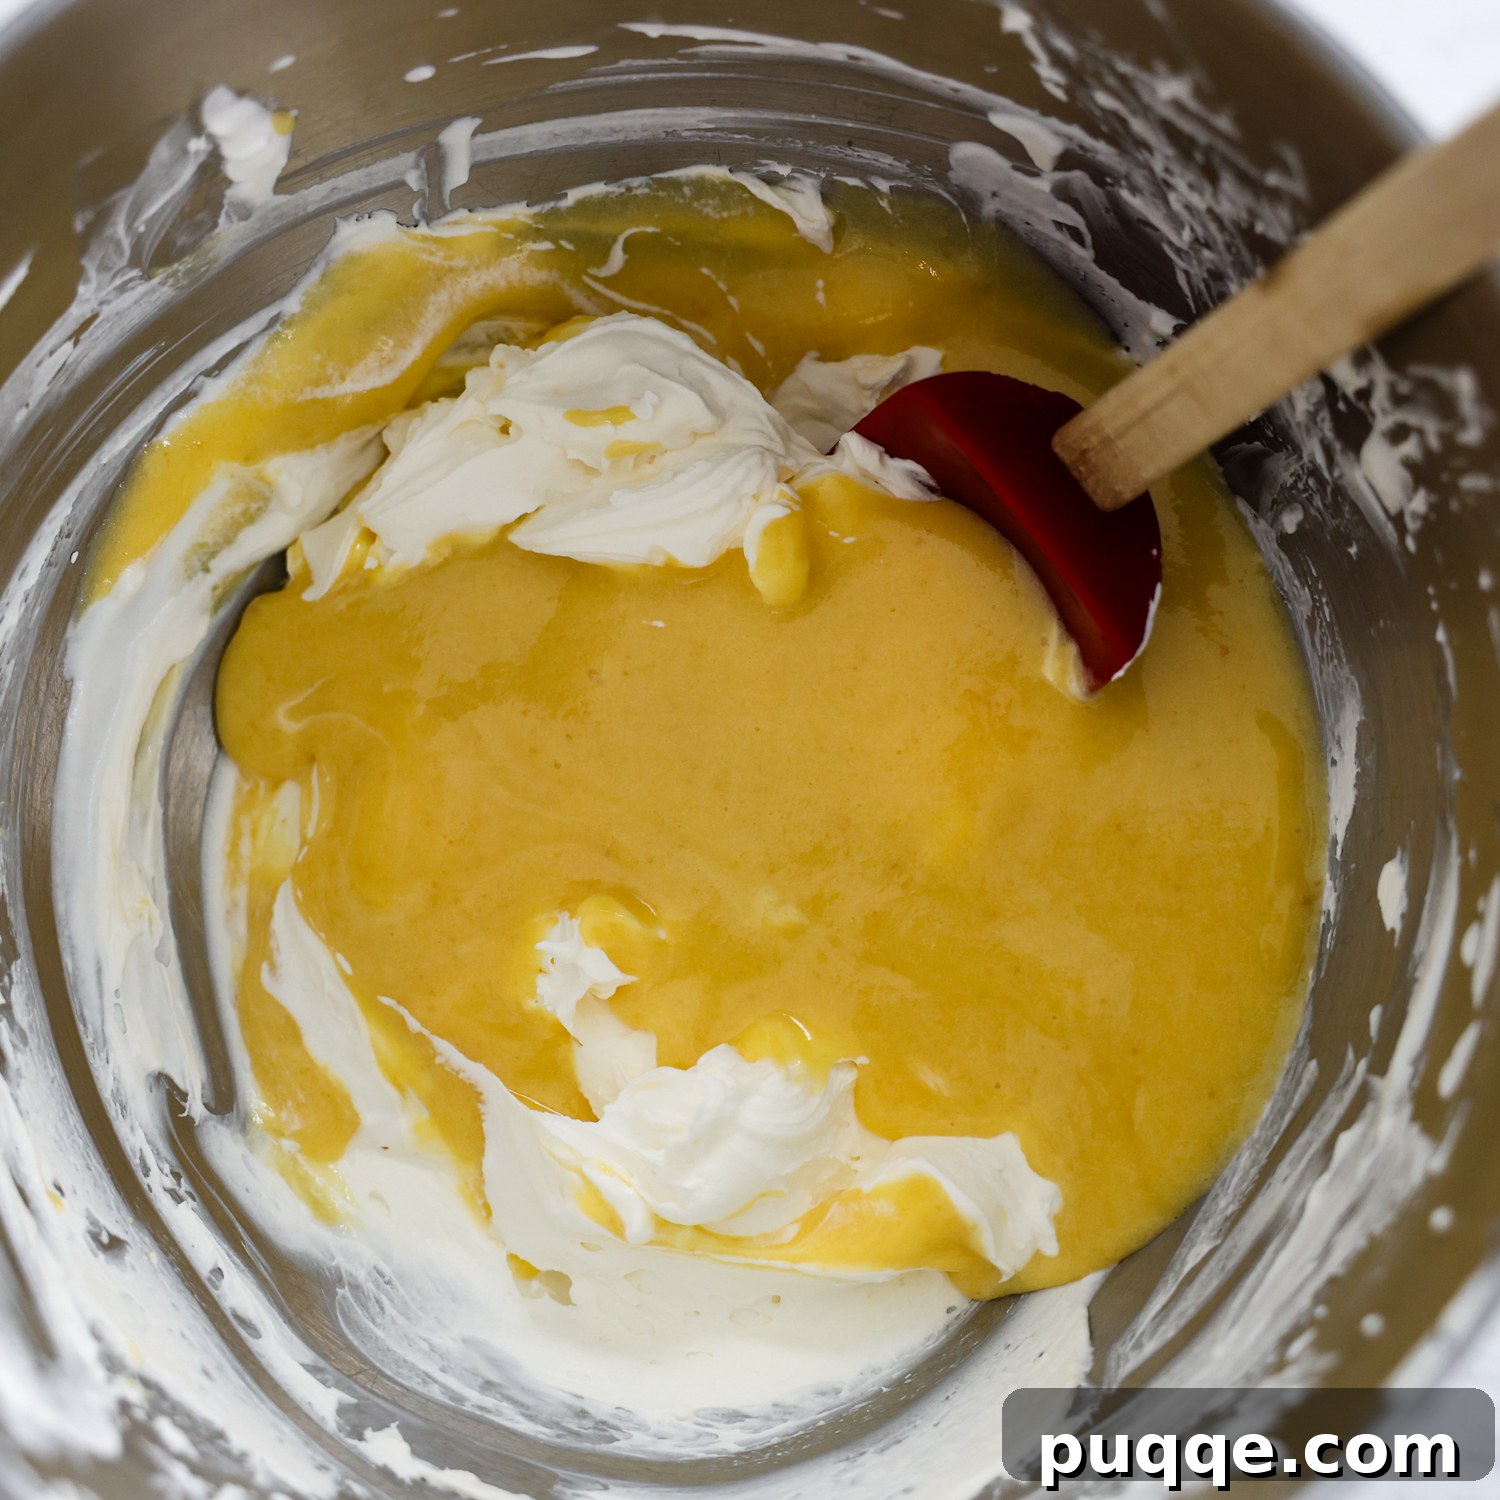
With your custard chilled, it’s time to create the cloud-like mascarpone cream. In a large mixing bowl, using a whisk attachment (or a hand mixer), beat the heavy cream until soft peaks begin to form. You’re looking for a consistency that is lighter and slightly less stiff than traditional whipped cream, but still holds its shape. Next, add the cold mascarpone cheese to the whipped cream. Continue beating until the mixture reaches a smooth, spreadable consistency, similar to a rich cream cheese frosting, with medium peaks. To finish this dreamy mascarpone filling, gently fold in the thoroughly chilled egg custard. Use a spatula to carefully incorporate the custard, ensuring the mixture remains light and airy. Once combined, your luxurious cream is ready for assembly!
Step 3: Dipping and Assembly Fun!
Now for the most exciting part – assembling your tiramisu layers! First, ensure your brewed coffee or espresso has cooled down to at least room temperature, or even better, chilled. This is critical, as warm coffee will cause your delicate ladyfingers to fall apart almost instantly. If using, add the desired liqueur (Grand Marnier, rum, or Kahlúa) to the cooled coffee and stir to combine. If you prefer a non-alcoholic version, simply use coffee alone.
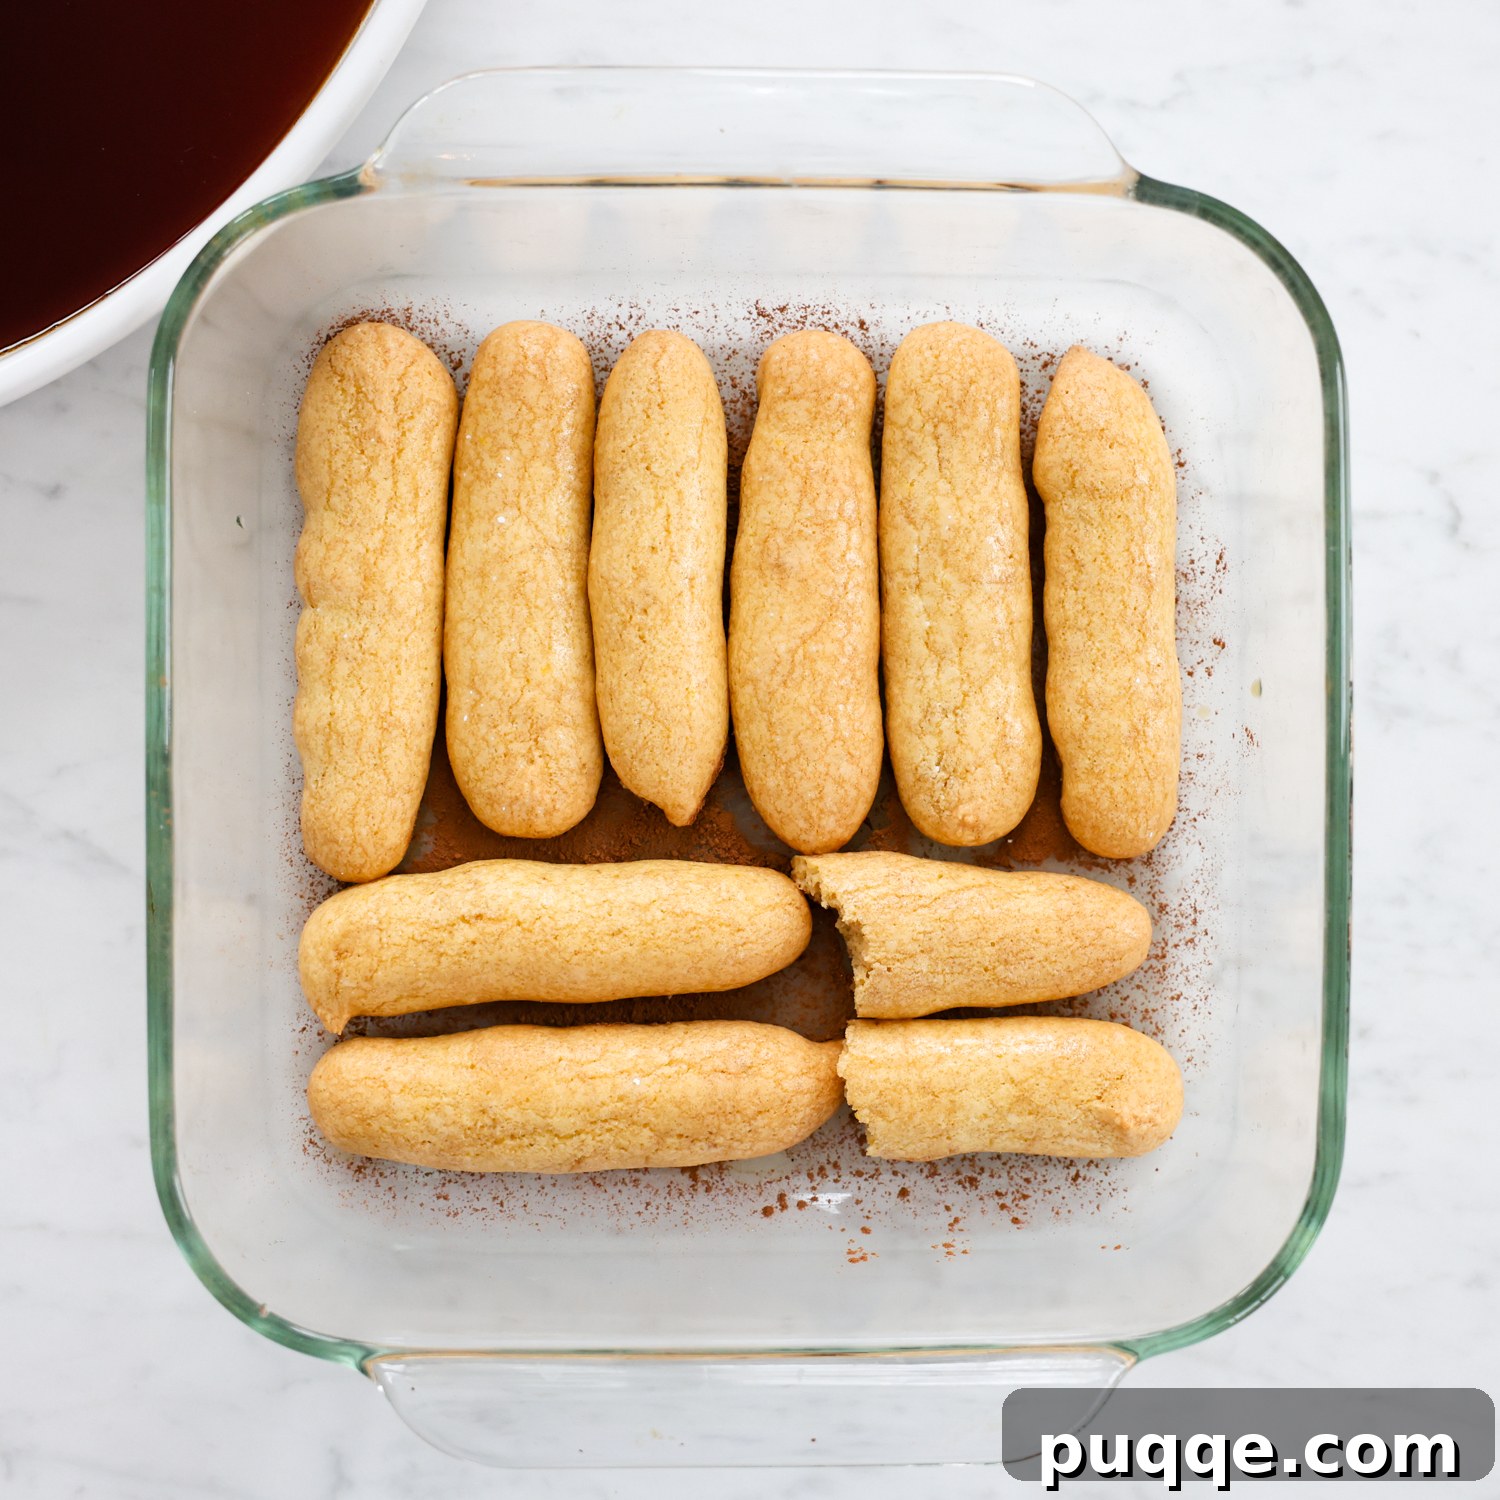
Prepare your baking dish (an 8×8-inch dish is ideal for this recipe). Using a sifter, lightly dust the bottom of the dish with a thin layer of unsweetened cocoa powder. This adds an extra layer of flavor and prevents sticking. You are now ready to dip! Working one ladyfinger at a time, quickly dip each cookie into the espresso mixture. The duration of the dip is crucial and depends on the crispiness or softness of your gluten-free ladyfingers. Crispier ladyfingers can handle a slightly longer soak, while softer ones require a very quick dip to avoid becoming mushy. The goal is for the coffee to begin soaking into the cookies, but not to fully saturate them to the point where they are too soft to handle. Remember, as the dessert chills, the coffee will continue to permeate the ladyfingers, so they don’t need to be completely saturated initially.
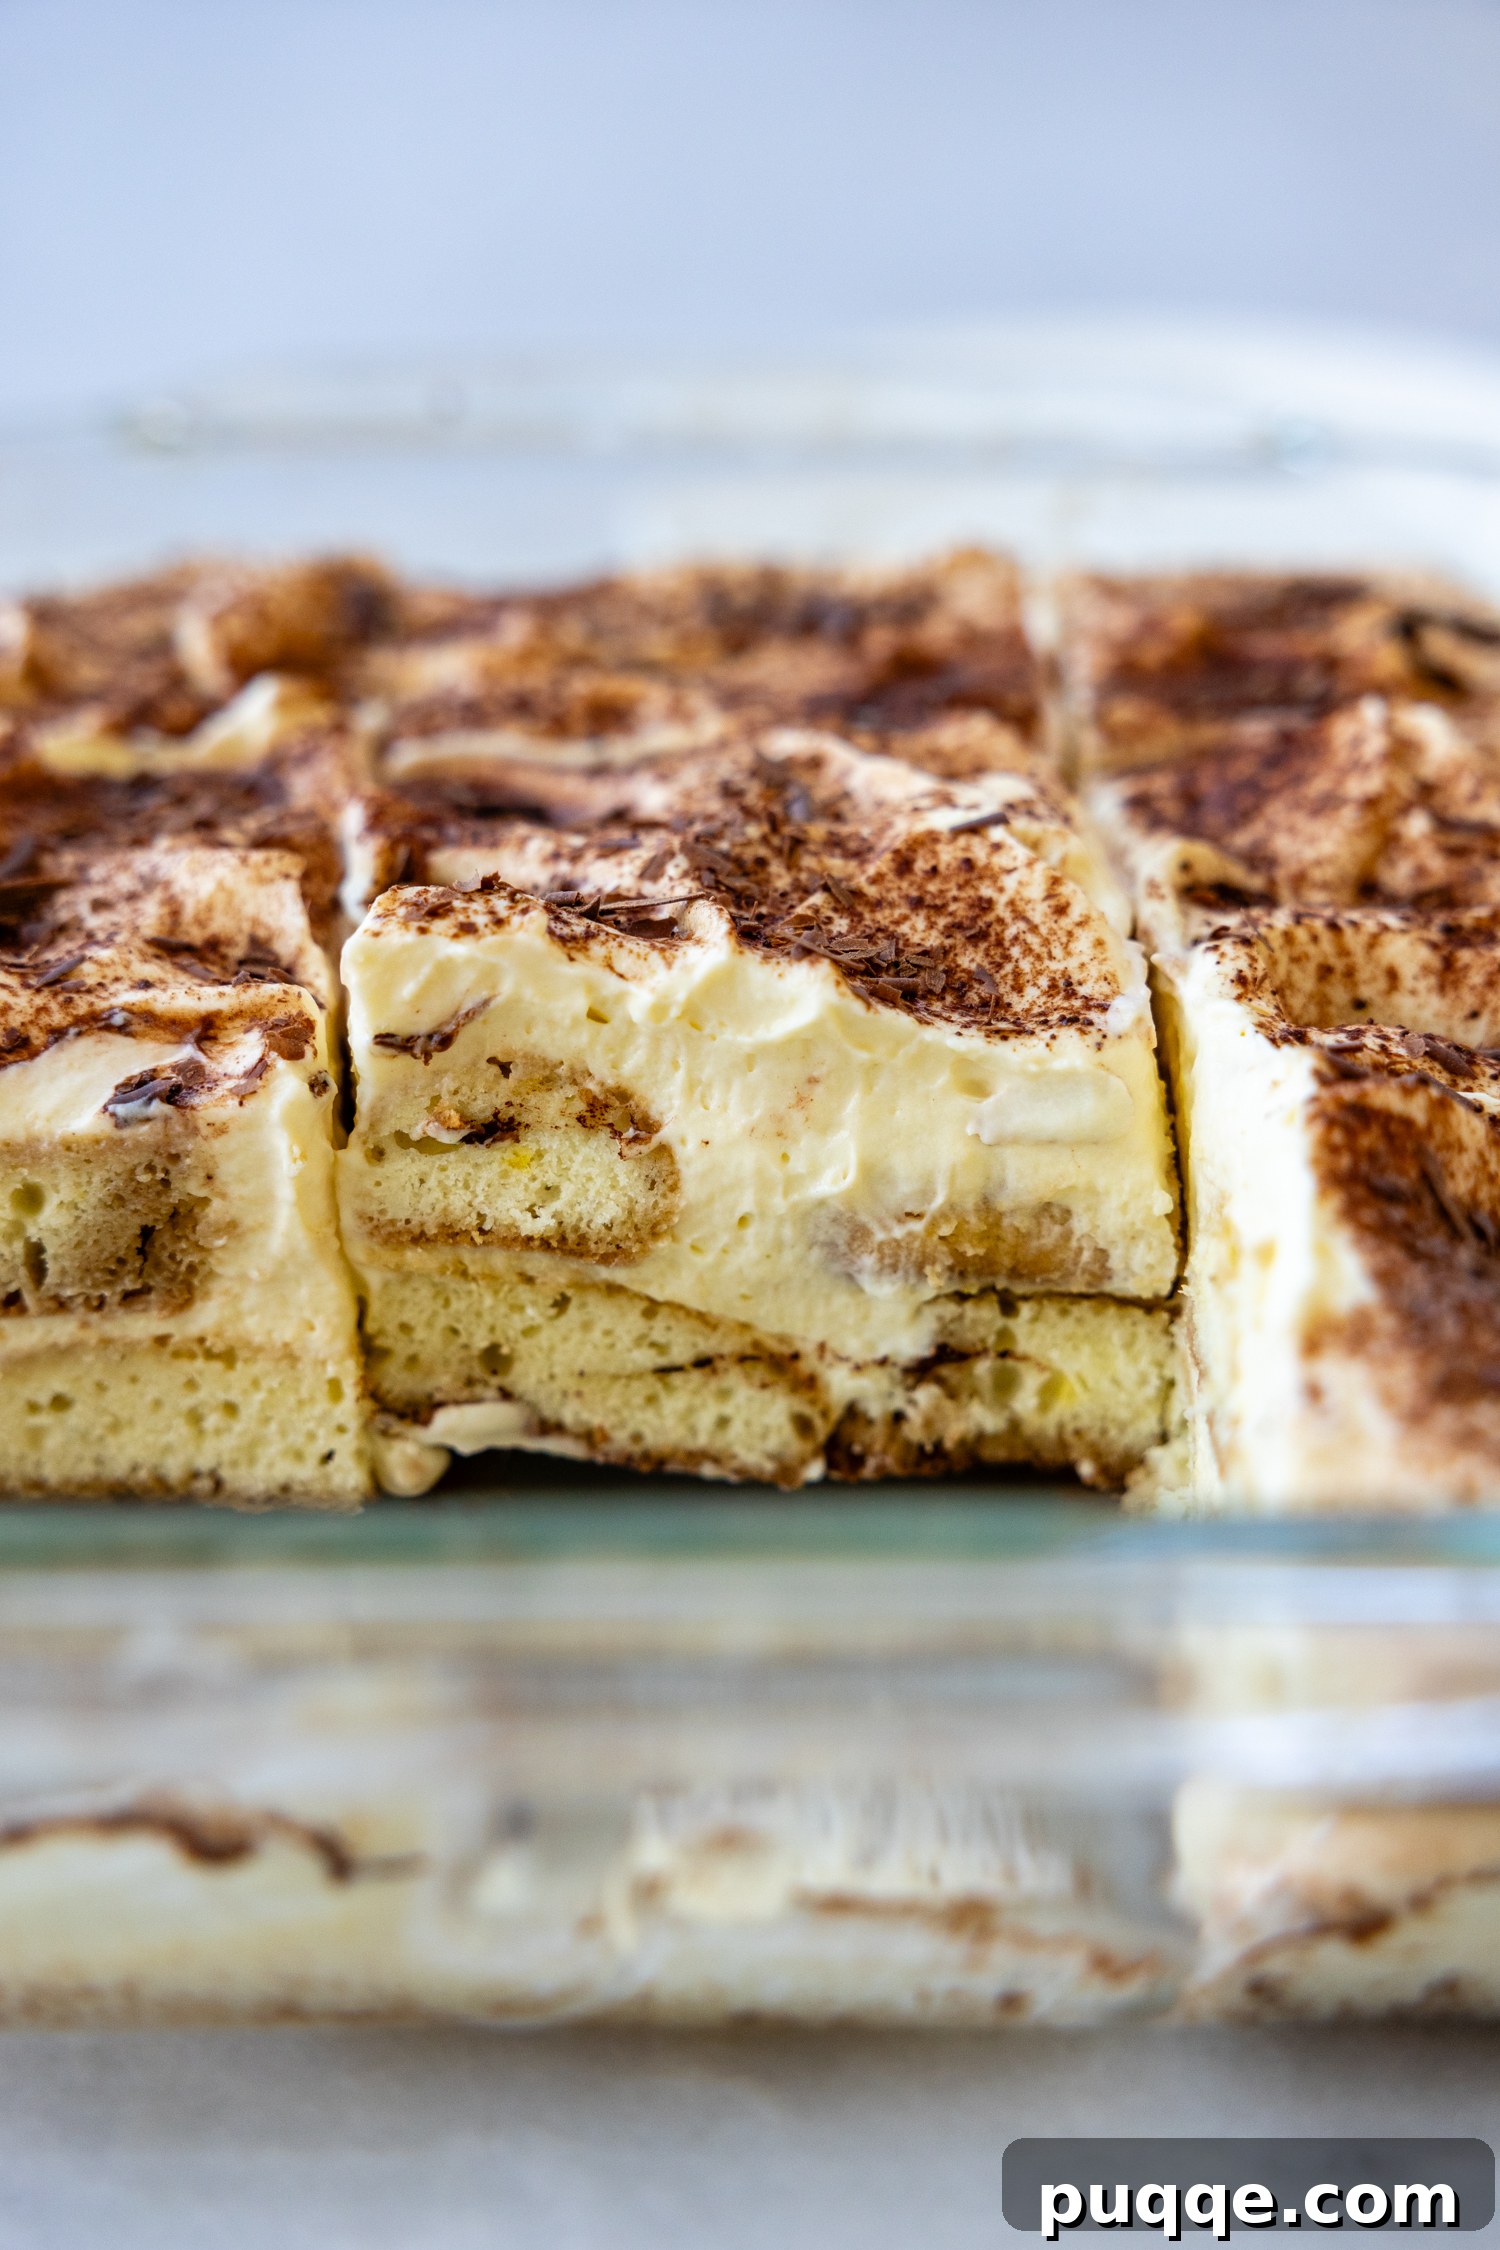
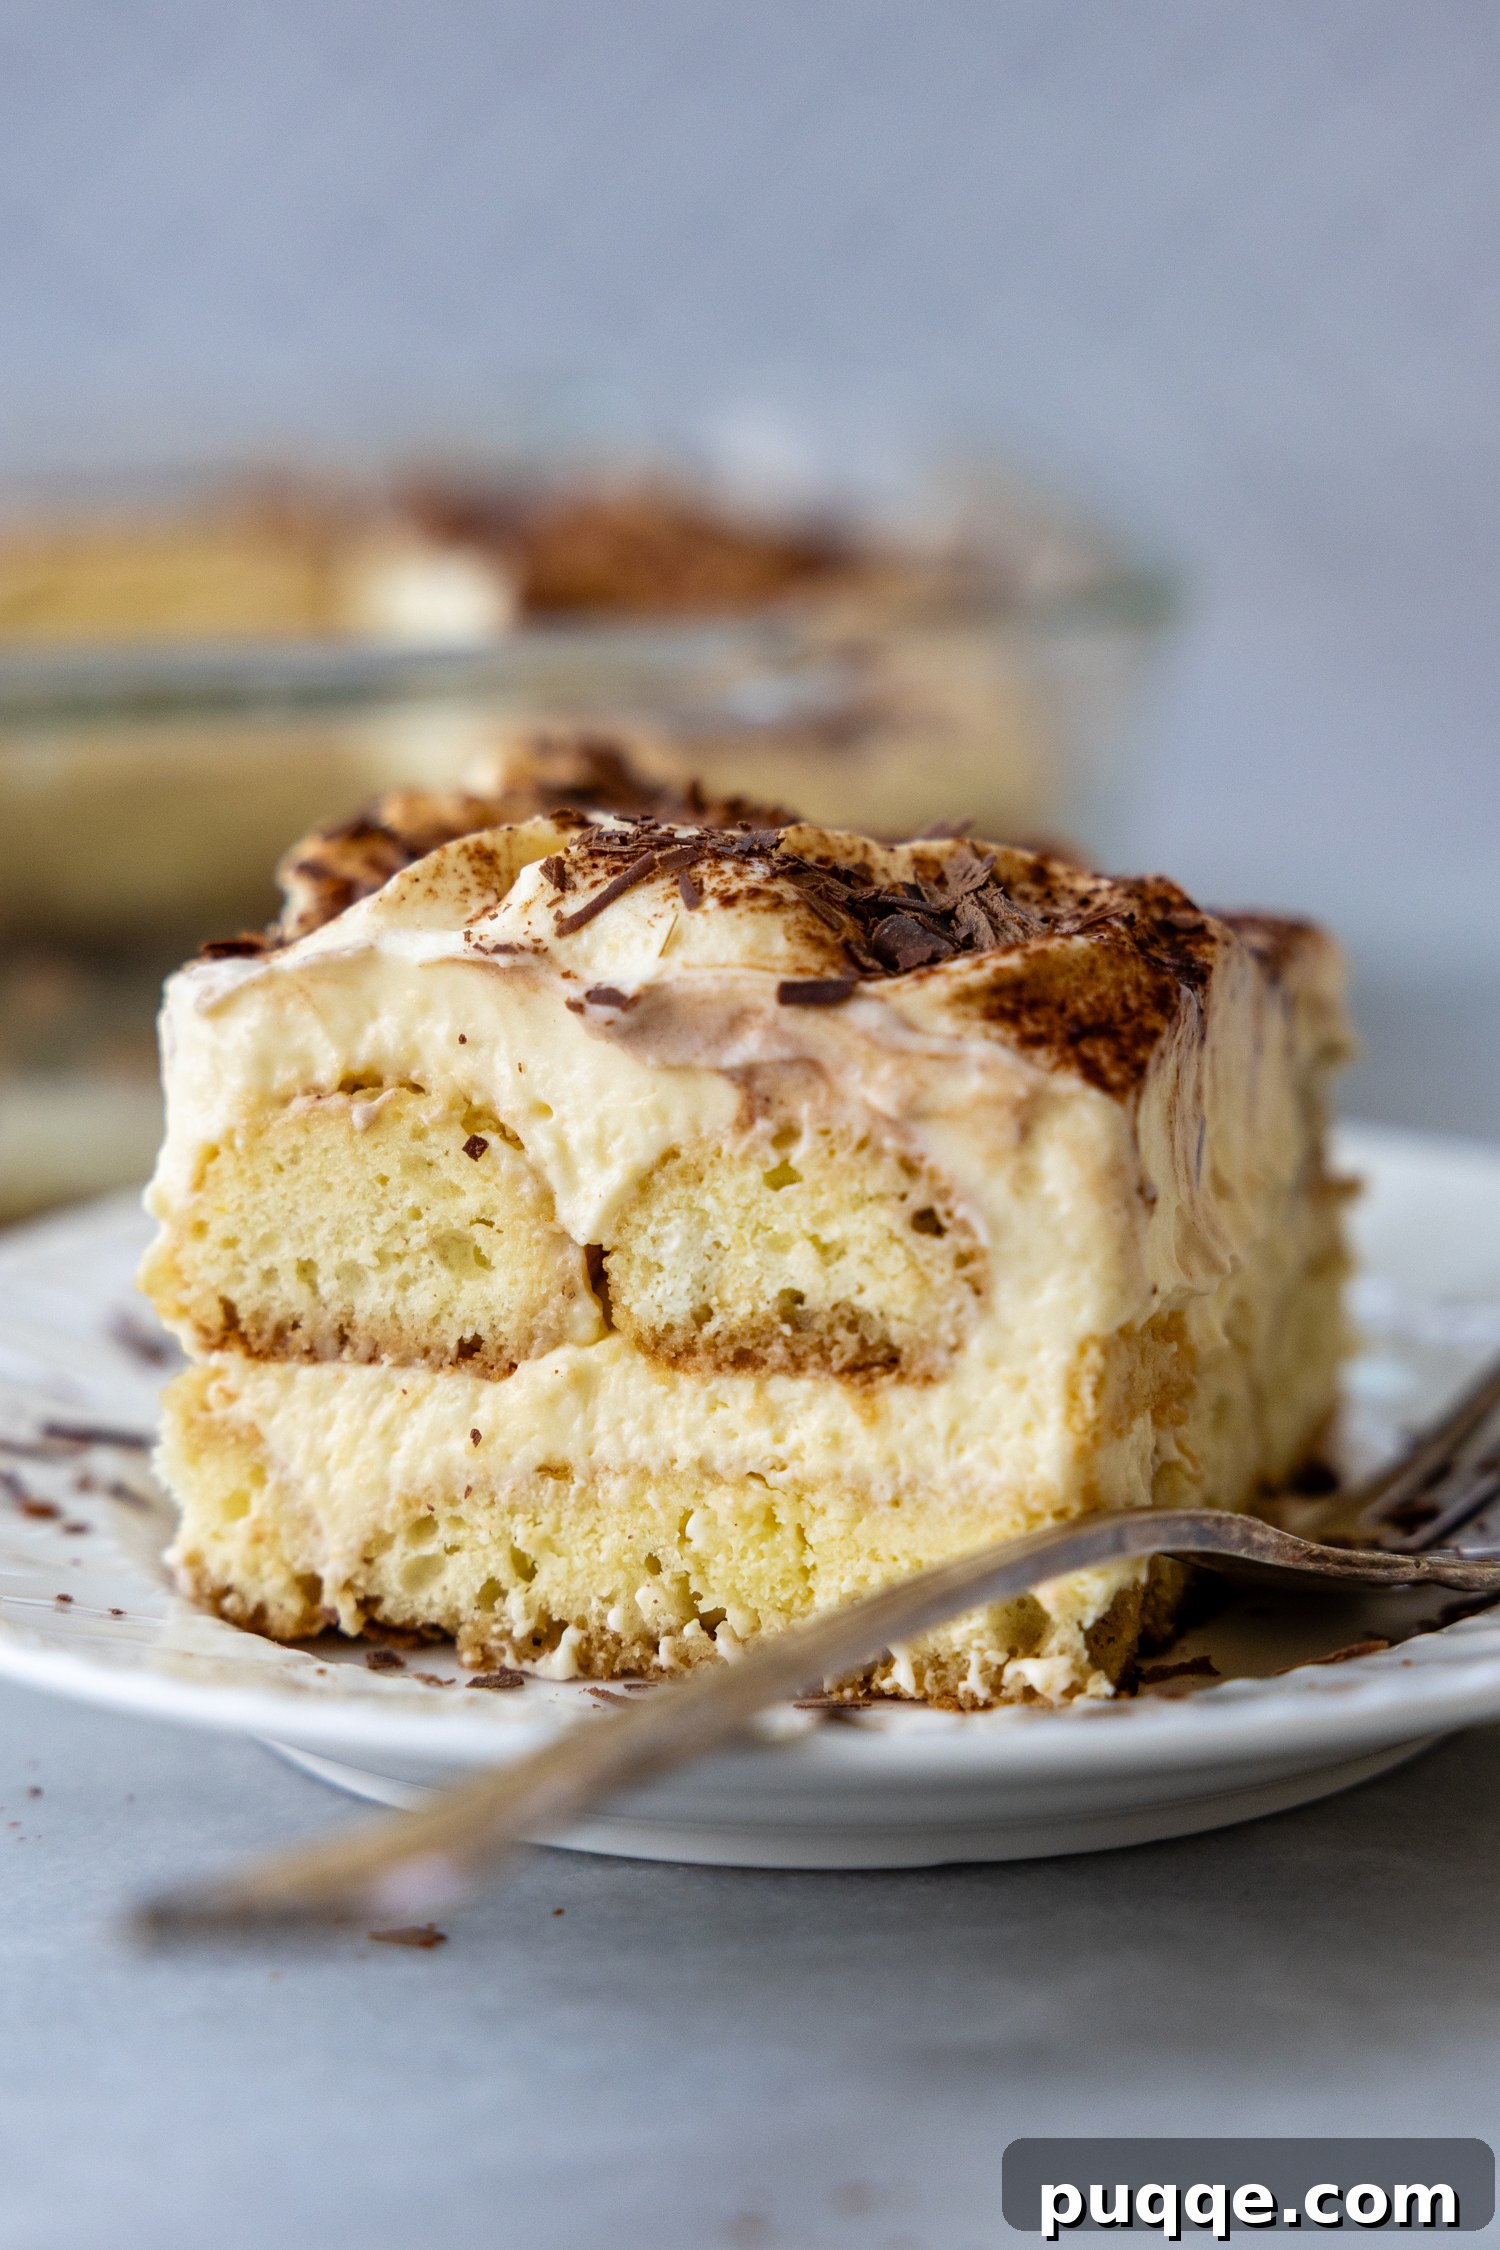
Arrange the dipped ladyfingers in a single layer at the bottom of your prepared pan. It’s perfectly acceptable to break some ladyfingers to fit snugly into any gaps, ensuring an even base. Once the first layer of ladyfingers is in place, spread half of your prepared tiramisu cream evenly over them. Repeat this layering process: dip the remaining sponge cookies in the espresso mixture, arrange them on top of the first cream layer, and then cover with the remaining half of the mascarpone cream. For an extra touch of elegance, you can finish the top layer with a final generous dusting of unsweetened cocoa powder or, for a truly fancy presentation, some delicate shaved chocolate. Cover the assembled tiramisu tightly with plastic wrap and refrigerate. For optimal flavor development and setting, it’s highly recommended to chill it overnight, but a minimum of 4 hours will suffice. Buon appetito!
Important Note on Chilling: For the absolute best taste and texture, this is a must-make-ahead dessert! Proper chilling time allows the flavors to meld beautifully and the cream to set perfectly. The cooked custard needs ample time to chill before being combined with the mascarpone, the coffee needs to be completely cool, and most importantly, the entire tiramisu needs time to reach its optimal stage of espresso and sweet cream goodness. A minimum of 4 hours in the refrigerator is essential, but honestly, it truly shines and tastes its very best if it sits at least overnight.
Easy Swaps and Substitutions for Gluten-Free Ladyfingers
I completely understand that sometimes you might want a quicker path to deliciousness than making homemade gluten-free ladyfingers, and my aim is for this decadent dessert to be accessible to everyone. The key is to find a suitable substitute that will absorb the espresso without dissolving into an unappetizing mush. Of course, a convenient option is to purchase pre-made Schar ladyfingers if they are readily available in your local grocery store or online. You will typically need about 24 cookies to fill an 8×8 inch dish.
Another viable option for creating layers with a slightly different texture would be gluten-free vanilla wafers. These provide a sweet, crispy contrast, though they might not fully replicate the sponge-like absorption of traditional ladyfingers. For a more authentic and substantial texture, however, I highly recommend using slices of a denser gluten-free cake, cut into layers much like you would for a layered trifle. My homemade recipe for gluten-free pound cake would be absolutely ideal for this purpose, especially if baked in a loaf pan and then sliced. This provides a wonderfully sturdy yet absorbent base that holds up beautifully to the espresso and cream.
Don’t Forget! Save This Delicious Recipe to Your Pinterest Board!
Let’s connect on Pinterest! I’m always sharing incredible new recipes and inspiration!
Tips for the Perfect Gluten-Free Tiramisu Every Time
- Chill Your Ingredients: Ensure your mascarpone and heavy cream are very cold before whipping. This helps them achieve the desired fluffy texture.
- Don’t Over-Soak: While ladyfingers need to absorb espresso, over-soaking will lead to a soggy tiramisu. A quick dip is usually all that’s needed, especially with more delicate gluten-free varieties.
- Even Layers: Take your time to spread the mascarpone cream evenly. This ensures every slice has a balanced distribution of flavors and textures.
- Quality Ingredients: Since tiramisu has relatively few ingredients, the quality of each really shines through. Use good quality espresso, fresh mascarpone, and unsweetened cocoa powder for the best results.
- Serving Suggestions: Serve chilled, dusted with fresh cocoa powder just before serving. Pair it with a strong espresso or a sweet dessert wine for a truly Italian experience.
Frequently Asked Questions About Gluten-Free Tiramisu
- Can I make this tiramisu ahead of time?
- Absolutely! Tiramisu is one of those magical desserts that actually tastes better the longer it chills. Preparing it a day in advance allows all the flavors to meld together beautifully and the cream to set perfectly, resulting in a richer, more cohesive dessert. Overnight chilling is highly recommended.
- What if I can’t find mascarpone cheese?
- While mascarpone is essential for an authentic taste, if it’s truly unavailable, you can try a substitute. A mixture of cream cheese (softened, full-fat) and heavy cream, perhaps with a touch of sour cream to mimic mascarpone’s tang, can work in a pinch. However, the texture and flavor will be noticeably different.
- Can I use decaffeinated coffee?
- Yes, you can certainly use decaffeinated espresso or strong coffee if you prefer to avoid caffeine. The flavor profile will remain largely the same, especially if you use a high-quality decaf blend.
- How long does homemade gluten-free tiramisu last in the refrigerator?
- When properly covered and refrigerated, your gluten-free tiramisu will typically last for 3-4 days. The flavors will continue to develop, making leftovers a delightful treat!
- Is this recipe suitable for children?
- If you plan to serve it to children, simply omit the optional liqueur from the espresso mixture. The recipe is already made without raw eggs, making it a safe and delicious treat for all ages when alcohol is excluded.
Did you indulge in this amazing recipe? I absolutely love hearing from you! Please consider leaving a star rating and a comment below the recipe card. Your feedback is invaluable, helping other aspiring bakers in their search for delicious recipes, and I truly appreciate hearing about your experience from our community. I always make sure to respond! -Melissa
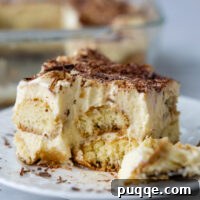
Legendary Gluten-Free Tiramisu (Easy Homemade)

Melissa Erdelac
9
slices
25 minutes
4 hours
25 minutes
This authentic gluten-free tiramisu recipe features a sweet cooked custard for classic taste and texture without raw eggs. Enjoy light, airy mascarpone whipped cream layers atop espresso-dipped gluten-free ladyfingers in this easy, no-bake dessert.
Pin Recipe
Ingredients
- 4 egg yolks
- ½ cup (100 g) granulated sugar
- ½ cup (123 g) milk, at least 2% fat
- 1 teaspoon vanilla extract
- ¾ cup (180 g) heavy cream
- 8 ounce mascarpone
- 24 gluten-free ladyfingers
- 1 cup brewed espresso or very strong coffee, room temp or cold
- 2 tablespoons Grand Marnier, or rum or Kahlua
- unsweetened cocoa powder, for dusting
Equipment
- Sifter
- Stand Mixer
- 8X8 Baking Dish
Instructions
-
In a small saucepan whisk the eggs with the sugar until very well blended. Whisk in the milk and cook over medium heat, whisking constantly, until the mixture comes to a full boil. This will take about 4-5 minutes. Boil 1 minute, still whisking constantly. Remove from the heat and whisk in the vanilla. Cool to room temperature and then cover and chill throughly, about 1 hour or overnight.4 egg yolks,
½ cup (100 g) granulated sugar,
½ cup (123 g) milk,
1 teaspoon vanilla extract -
Beat the heavy cream with a whisk attachment until soft peaks form. Add the mascarpone and continue to whip until it creates a soft mixture with medium peaks. Add the chilled egg yolk mixture and gently fold together until combined.¾ cup (180 g) heavy cream,
8 ounce mascarpone -
For the assembly, combine espresso and liqueur in a shallow bowl and set aside. Using a sifter, dust the bottom of a 2-quart baking dish (8×8-inch dish) with cocoa powder.1 cup brewed espresso or very strong coffee,
unsweetened cocoa powder,
2 tablespoons Grand Marnier -
Working one at a time, dip each ladyfinger into the espresso mixture, flipping to coat each side. Crispier ladyfingers can be soaked a little longer, softer ladyfingers should be dipped quickly. You want the coffee to start to soak into the cookies, but not so much that they are too soft to handle. As the dessert chills, the coffee will continue to soak so they don’t have to be completely saturated. Remove and arrange them, rounded side up, at the bottom of the baking dish. It’s fine if some need to be broke to fit the bottom and if there are some gaps showing through.24 gluten-free ladyfingers
-
Spread half the mascarpone mixture onto the dipped ladyfingers. Repeat with remaining ladyfingers, dipping in espresso, layering on top of the mascarpone and then covering with the remaining half of the mascarpone.
-
Dust top layer with more cocoa powder. Cover with plastic wrap and let chill in the refrigerator for at least 4 hours, but overnight is best. Refrigerate leftovers.unsweetened cocoa powder
Carbohydrates: 37g,
Protein: 6g,
Fat: 23g,
Saturated Fat: 14g,
Polyunsaturated Fat: 1g,
Monounsaturated Fat: 3g,
Cholesterol: 180mg,
Sodium: 81mg,
Potassium: 80mg,
Sugar: 23g,
Vitamin A: 782IU,
Vitamin C: 0.2mg,
Calcium: 96mg,
Iron: 1mg
Did you make this recipe?
Please leave a star rating and review below. It helps others when searching for recipes and I LOVE feedback!