
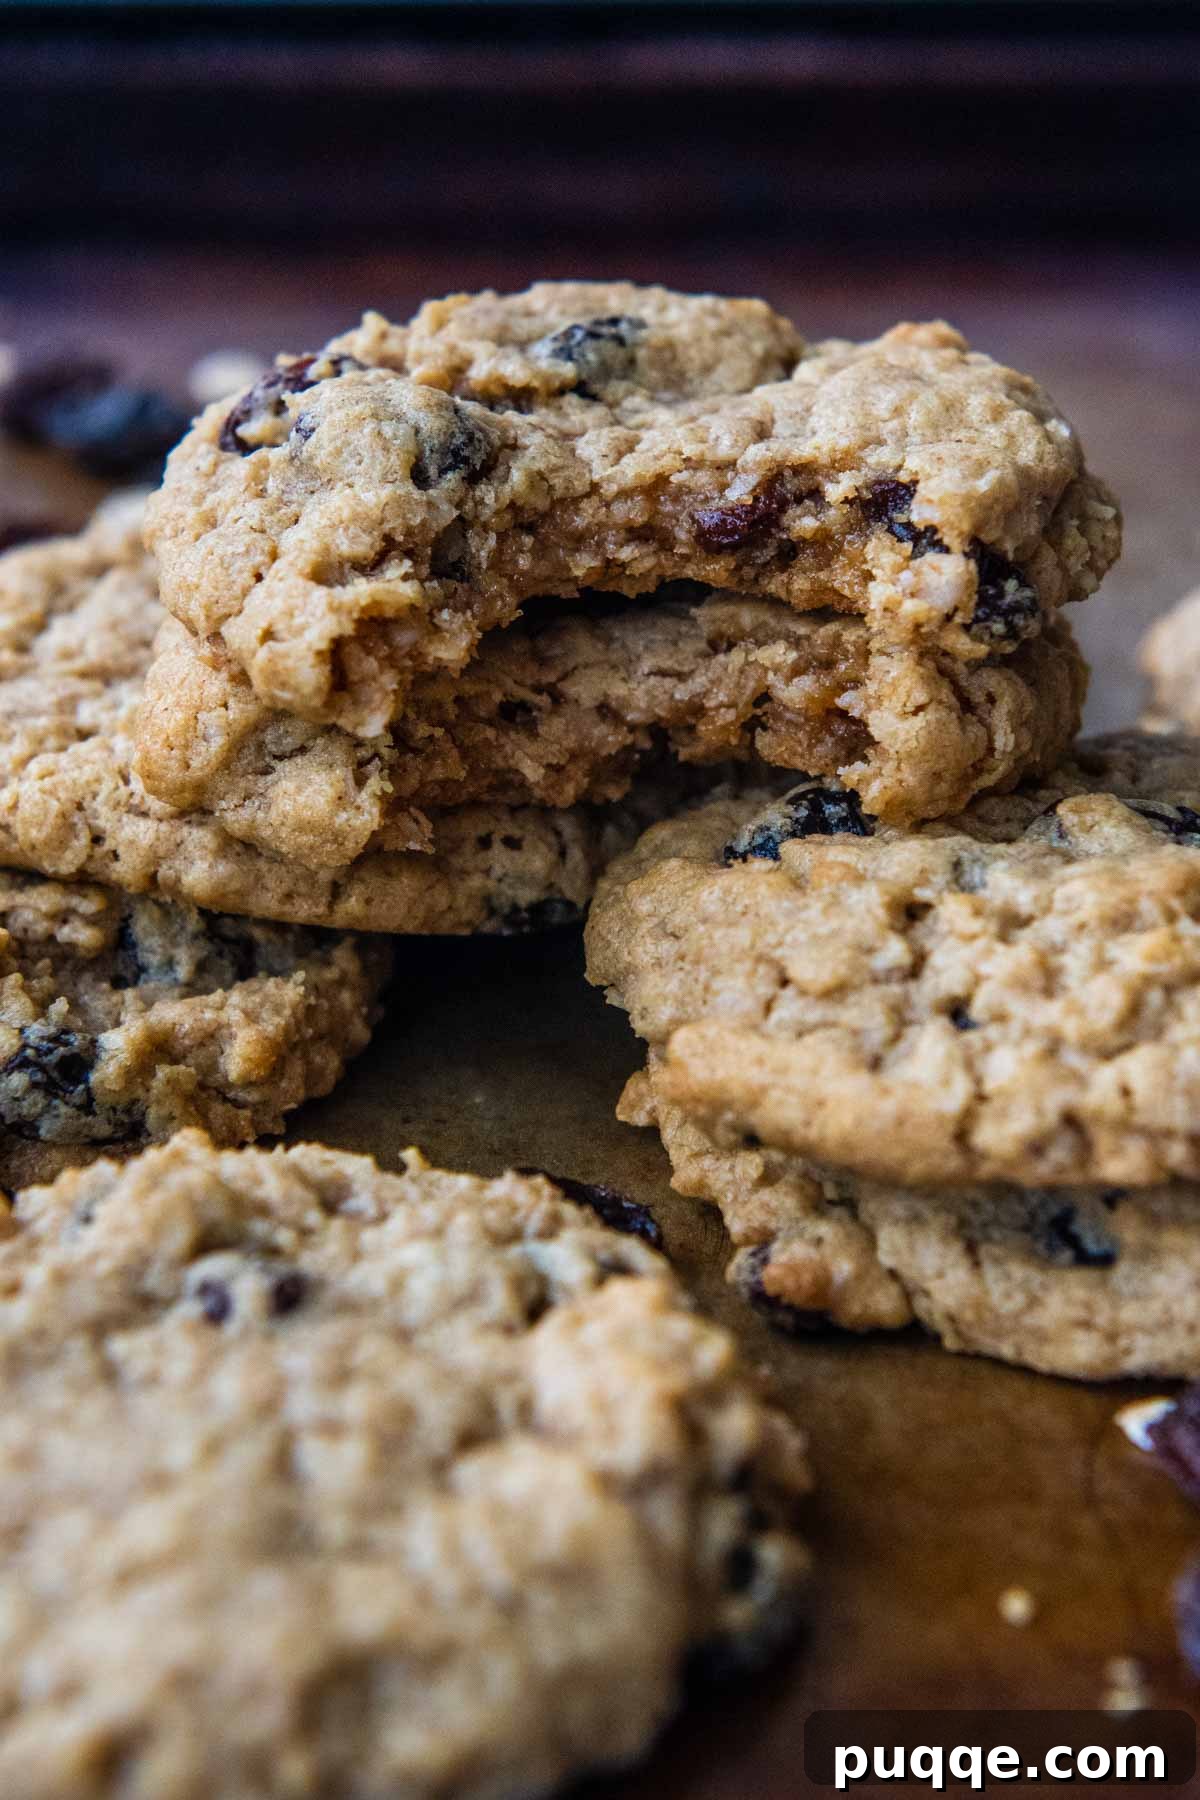
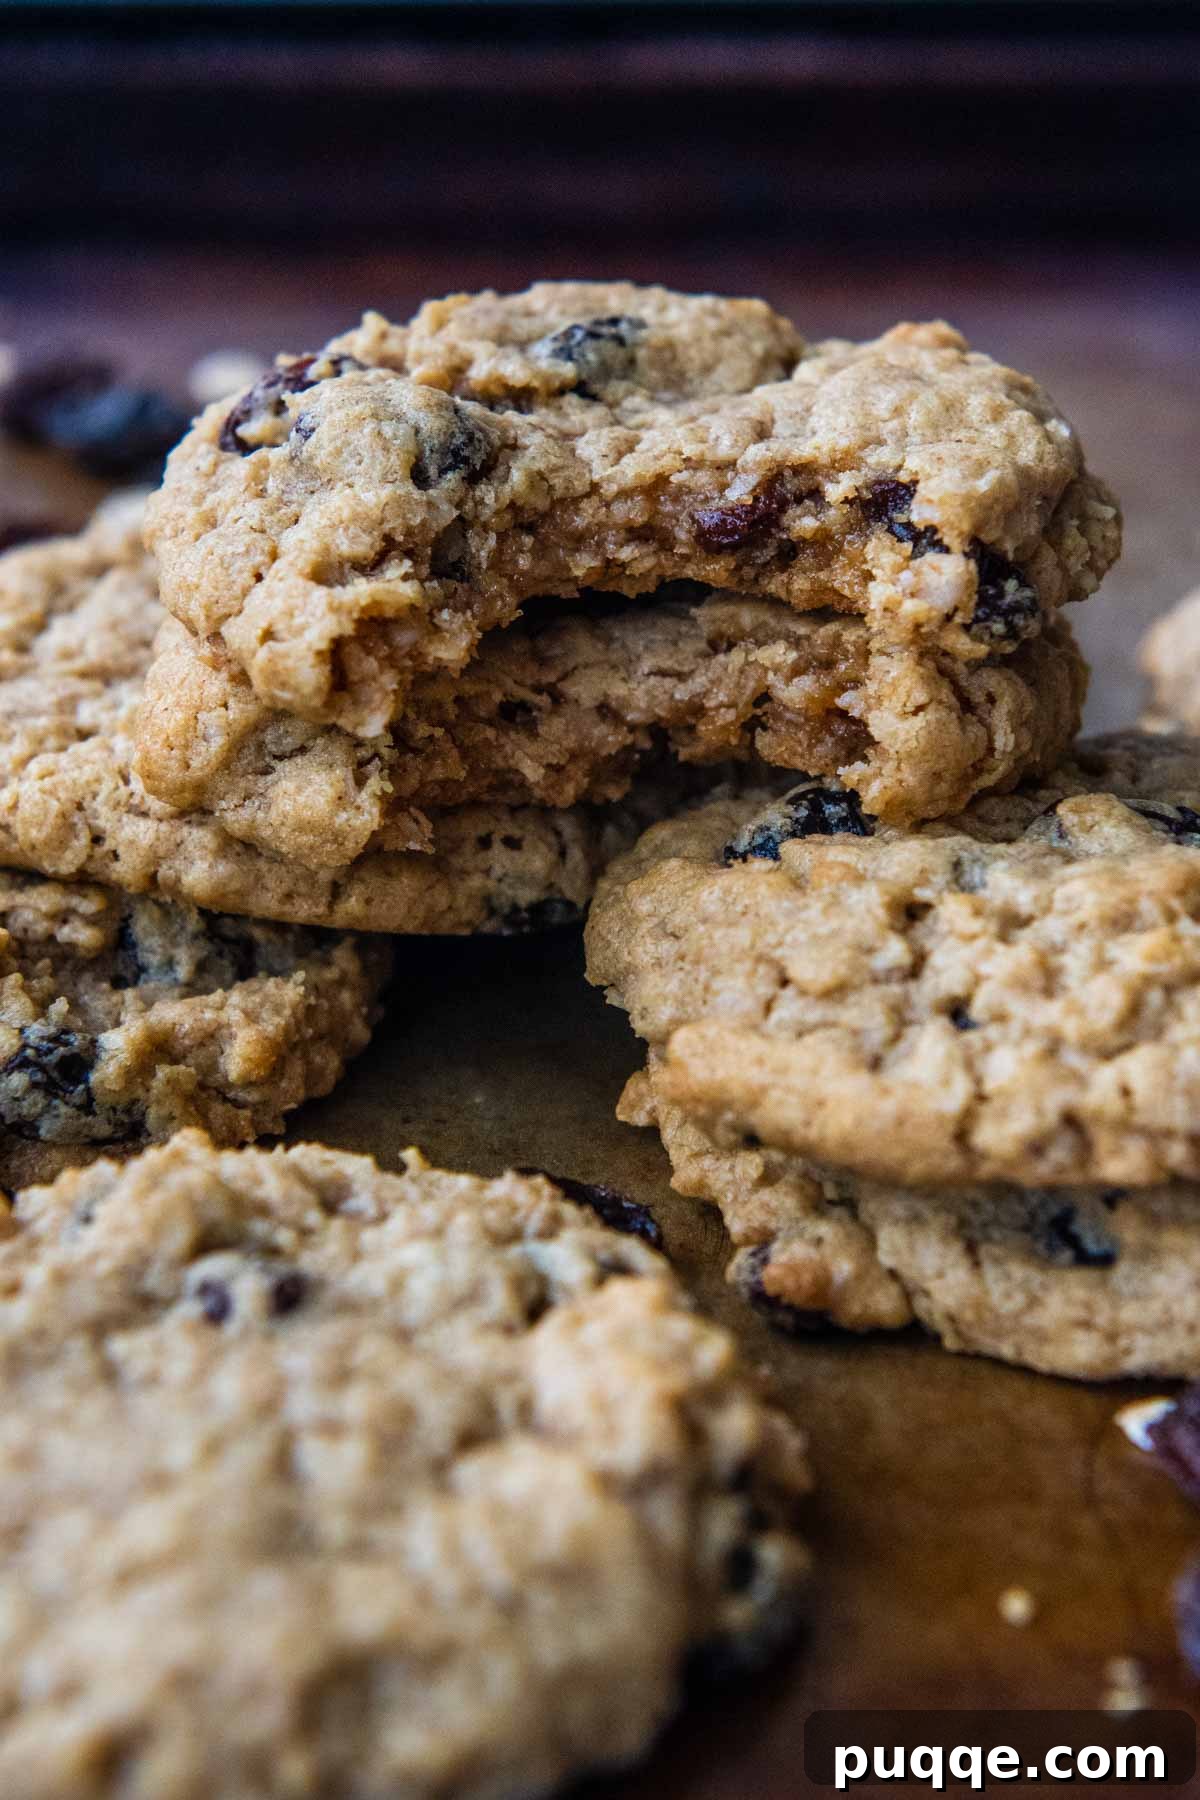
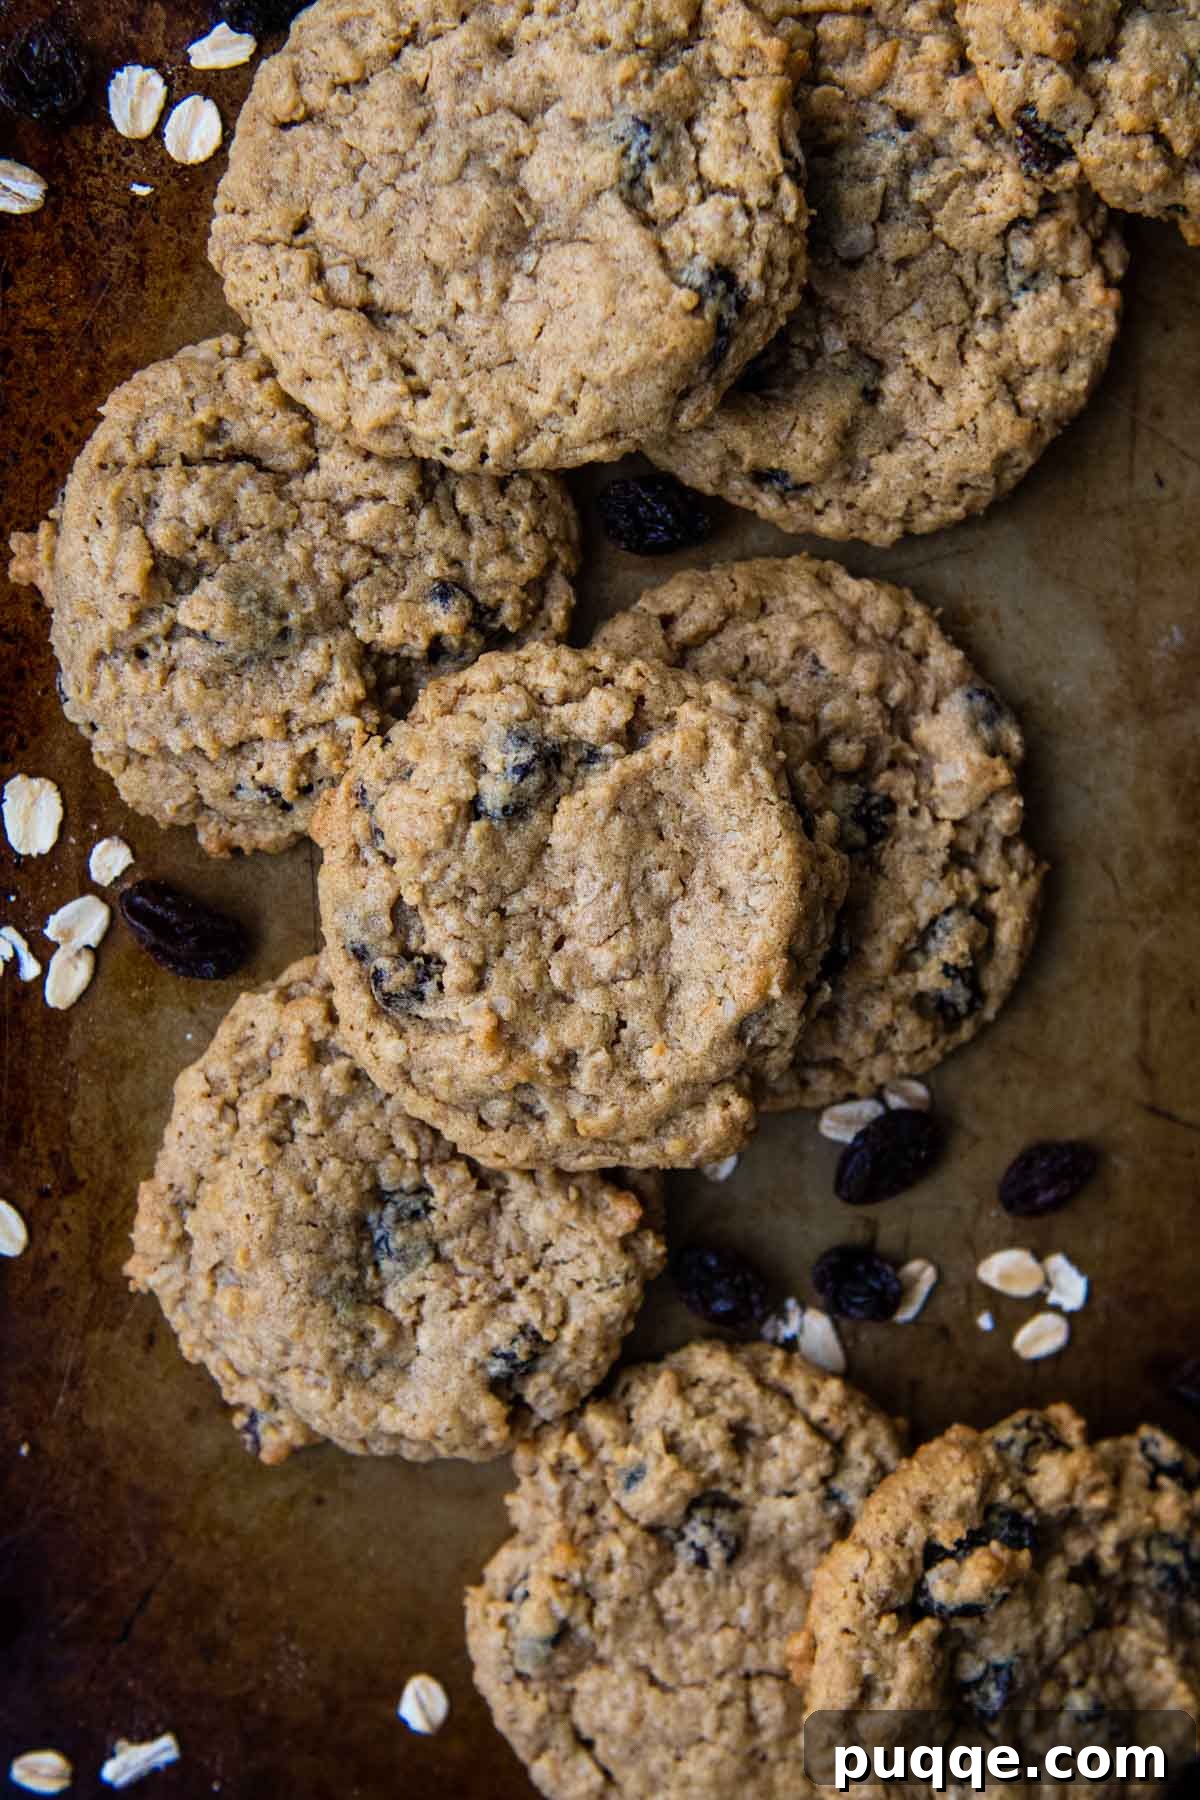
Welcome to the ultimate guide for baking the most irresistible **Gluten-Free Oatmeal Raisin Cookies** you’ll ever taste! These flourless wonders are the epitome of soft, chewy perfection and are unbelievably simple to prepare. Forget the hassle of waiting; our cookie dough requires absolutely no chill time, meaning a batch of these comforting, soft-baked cookies can be ready and on your table in just 15 minutes. Perfect for a sudden craving, an unexpected guest, or a quick treat for the family, these cookies promise a delightful experience with every bite.
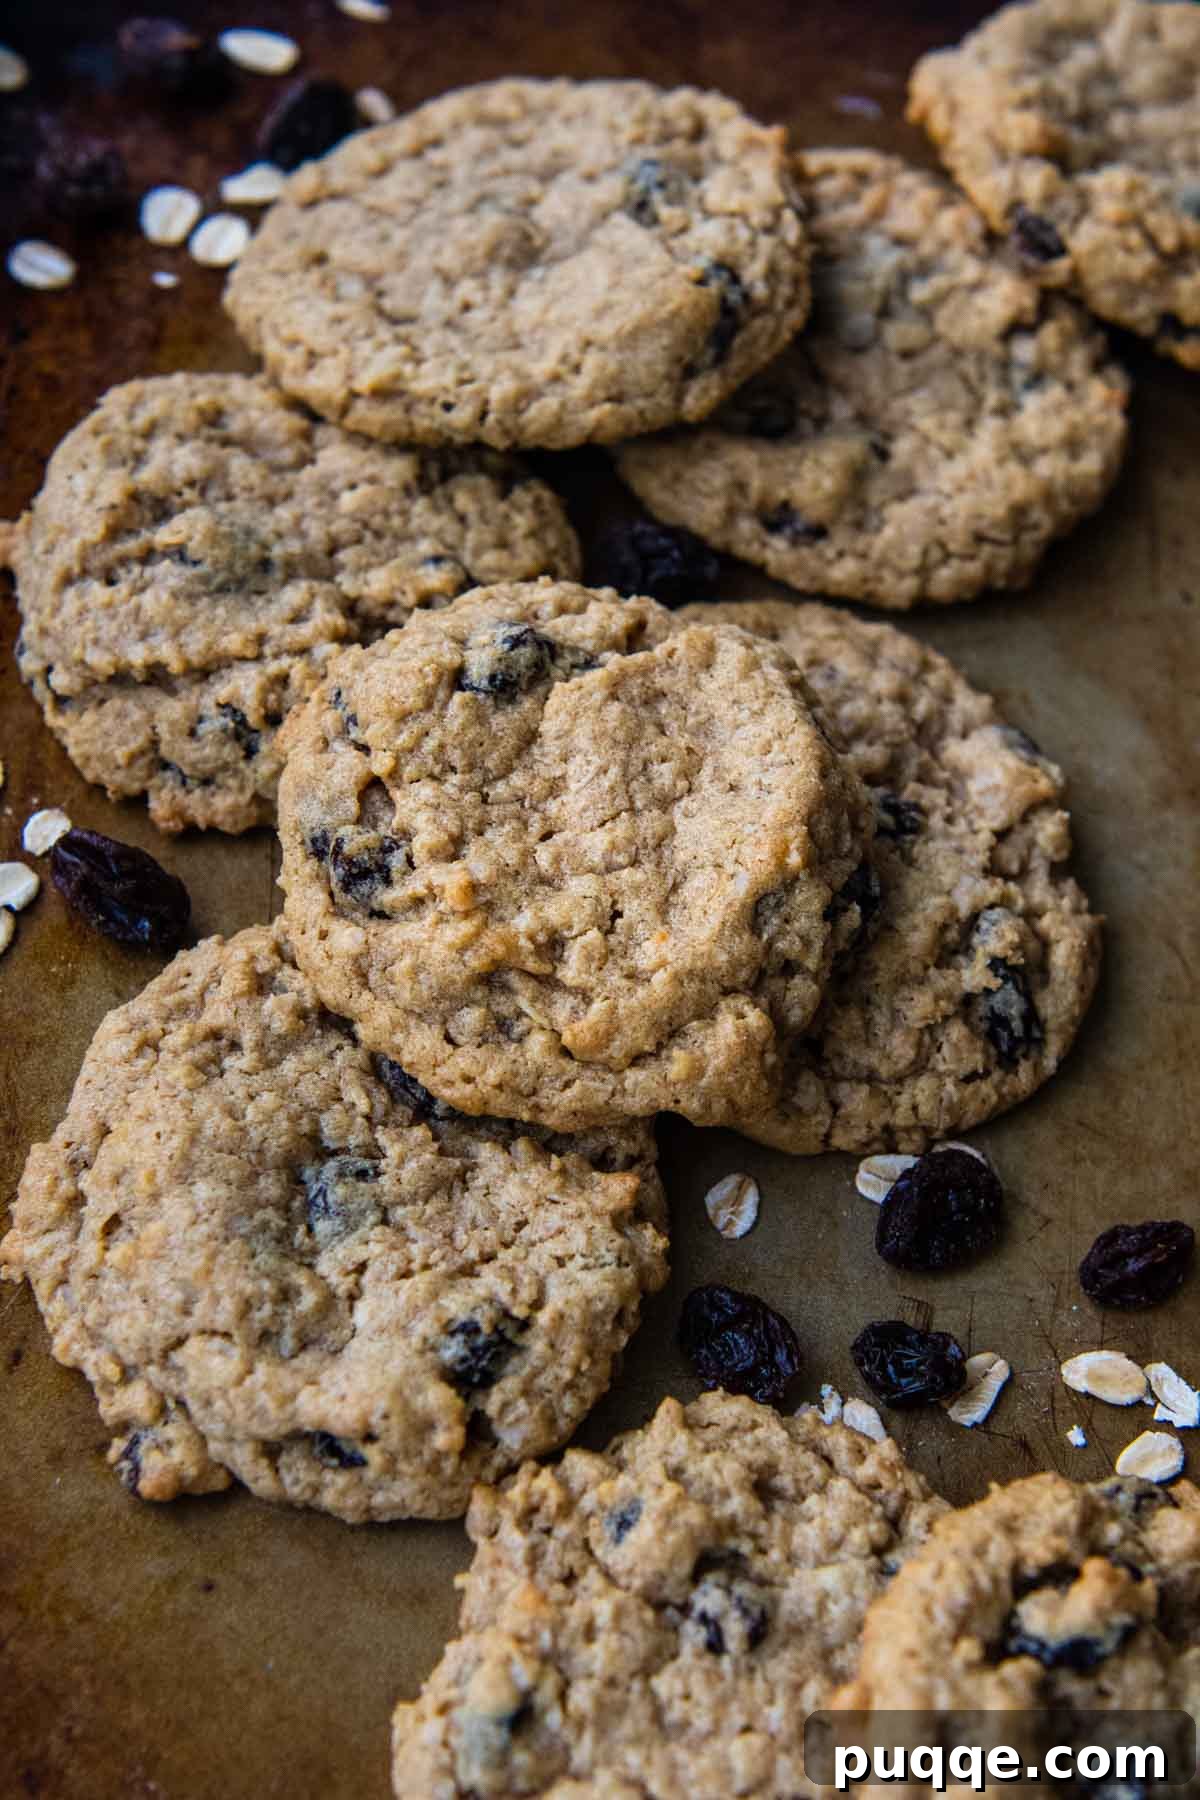
Discover the Magic of Flourless Gluten-Free Oatmeal Raisin Cookies
Embrace the nostalgic charm of classic oatmeal cookies, reimagined for a naturally gluten-free diet, without a speck of flour in sight! This exceptional gluten-free oatmeal raisin cookie recipe, a true gem in any gluten-free cookie collection, delivers such an incredible taste and texture that many bakers find themselves preferring it over traditional versions they grew up on. The joy of a homemade cookie, especially one that requires no flour, lies in its simplicity, speed, and affordability.
Much like our beloved flourless chocolate chip cookies or gluten-free monster cookies, these flourless oatmeal raisin cookies ingeniously utilize a combination of creamy peanut butter, wholesome oats, sugars, and eggs to forge their perfectly soft and chewy structure. This unique ingredient blend eliminates the need for flour, resulting in an immensely tender cookie that’s both satisfying and utterly delicious. It’s a testament to how simple, everyday ingredients can transform into something truly extraordinary.
Beyond their delightful taste and texture, these chewy gluten-free oatmeal raisin cookies are remarkably versatile. While plump, juicy raisins offer that signature, time-honored flavor, feel free to unleash your creativity with various mix-ins. Substitute raisins with classic chocolate chips, or create a custom blend using ingredients like shredded coconut, decadent white chocolate, tart dried cranberries, or crunchy chopped nuts. Whether you’re adhering to dietary restrictions or simply exploring healthier baking alternatives, these cookies are a fantastic choice.
Making these no-flour oatmeal cookies also makes them a perfect, adaptable option for any occasion, especially during the holidays. Imagine preparing a single dough that can effortlessly morph into a delightful array of flavors to suit every preference. This recipe can also be easily adapted to a gluten-free and dairy-free version, or prepared ahead of time, chilled, and baked later for ultimate convenience. In the sections that follow, I’ll share all my top tips for achieving perfect flourless oatmeal raisin cookies every single time. We’ll delve into workable variations, recommendations for the best type of oats to use, and the most effective ways to store and freeze your freshly baked treats. Let’s get baking and create some magic in your kitchen!
Essential Ingredients: Notes for Perfection
The secret to these incredibly soft and chewy flourless cookies lies in a carefully selected list of ingredients. Understanding the role of each component will help you achieve the best possible results. Here’s a closer look at what you’ll need:
- Creamy Peanut Butter – This is the star ingredient that binds the dough together, making flour unnecessary for these delightfully soft and chewy cookies. For optimal results, use a creamy, processed peanut butter like Jif or Skippy, both of which are certified gluten-free. Natural peanut butter, with its oil separation and often firmer texture, is not recommended as it can significantly alter the cookie’s texture, making them drier or more crumbly. If you have a peanut allergy, you can substitute with another creamy nut butter, such as almond or cashew butter, but be aware that this might slightly change the final texture and flavor profile of the cookies.
- Quick-Cooking Oats – We highly recommend using quick-cooking oats in this recipe. Their finer texture helps the cookie dough bind together beautifully, eliminating the need for any chilling time before baking. If you opt for old-fashioned rolled oats, which are thicker and less processed, you will need to chill the dough for at least 1 hour before dropping it onto baking sheets to prevent excessive spreading. Regardless of the type of oats you choose, it is absolutely crucial to use certified gluten-free oats to ensure your cookies are safe for those with gluten sensitivities or celiac disease.
- Unsalted Butter – Always use softened, room temperature unsalted butter. Butter adds richness, flavor, and contributes significantly to the cookie’s tender crumb. While I haven’t personally tested this recipe with dairy-free butter, vegan butter sticks often perform exceptionally well as a substitute in baking. However, dairy-free butter may cause the cookies to spread a bit more during baking. To counteract this, if you’re using a vegan butter alternative, I recommend chilling your dough for 1 hour before baking.
- Sugars – A harmonious blend of light brown sugar and granulated sugar is essential for achieving that characteristic soft and chewy texture. The molasses in brown sugar keeps the cookies moist, while granulated sugar contributes to the crisp edges and overall sweetness. You can substitute light brown sugar with dark brown sugar for a deeper, richer molasses flavor, which will also result in a slightly chewier cookie.
- Large Eggs – Eggs act as a binder and add moisture, helping to create the structure and richness of the cookie. Ensure they are at room temperature for better emulsification with the other ingredients.
- Vanilla Extract – A touch of good quality vanilla extract enhances all the other flavors, adding warmth and depth to your cookies.
- Baking Soda – This leavening agent helps the cookies rise slightly and contributes to their soft, tender texture.
How to Bake Irresistible Gluten-Free Oatmeal Raisin Cookies
Creating these delightful flourless cookies is a straightforward process that yields impressive results. Follow these simple steps for a batch of soft, chewy, and utterly delicious treats. (For a comprehensive recipe with precise ingredient amounts, please scroll down to the full recipe card below.)
- Prepare Your Workspace: Preheat your oven to 350°F (175°C). Line two baking sheets with parchment paper or silicone baking mats. This step ensures easy cleanup and prevents the cookies from sticking.
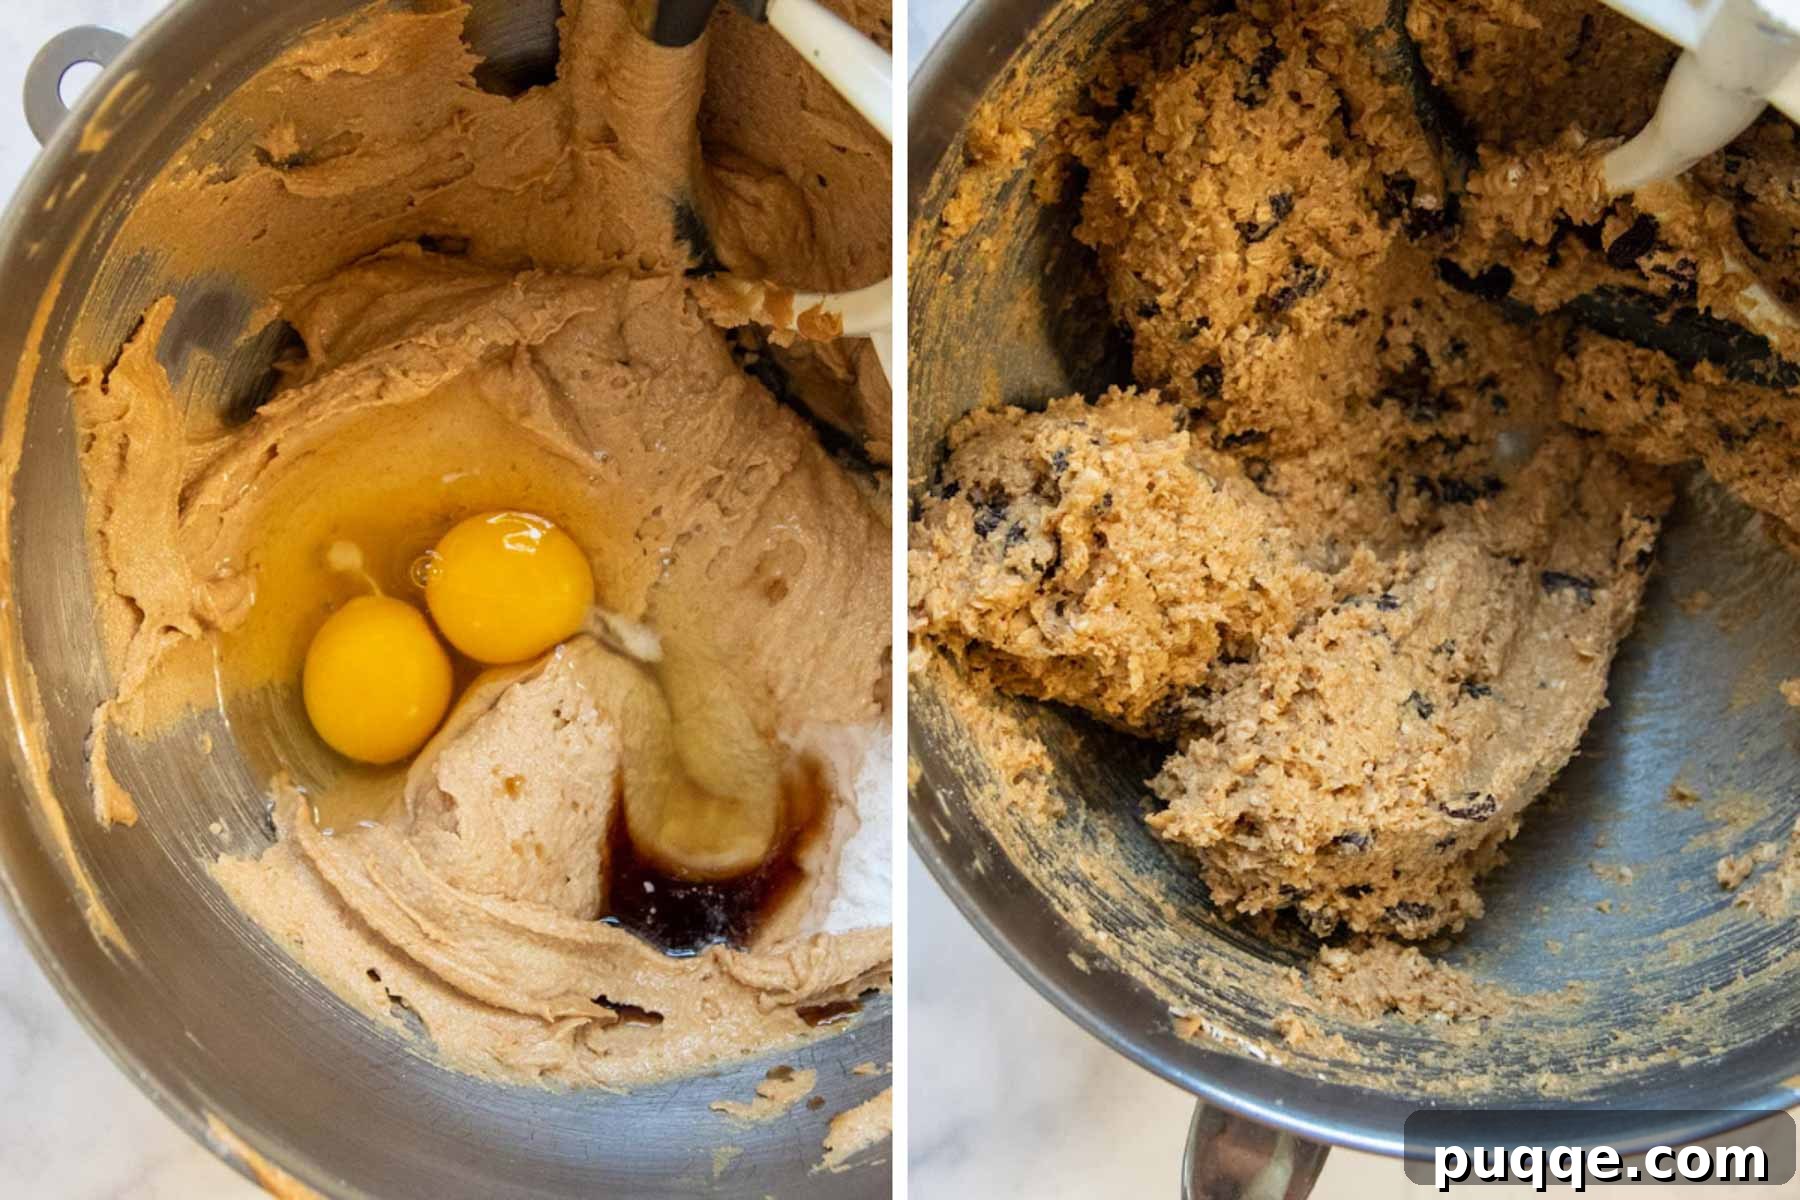
- Cream the Wet Ingredients: In a large mixing bowl, preferably using a stand mixer fitted with the paddle attachment (a hand mixer works just as well), cream together the softened unsalted butter, creamy peanut butter, light brown sugar, and granulated sugar. Beat on high speed for about 2 minutes, until the mixture is beautifully light, fluffy, and creamy. This creaming process incorporates air, which contributes to the cookies’ soft texture.
- Incorporate Eggs and Flavor: Add the large eggs, vanilla extract, and baking soda to the creamed mixture. Mix on medium speed until all these ingredients are well combined and fully incorporated. Scrape down the sides of the bowl as needed to ensure everything is evenly mixed.
- Fold in Dry Ingredients and Mix-ins: Reduce the mixer speed to low and gradually add the quick-cooking oats and raisins. Mix just until everything is combined. Be careful not to overmix at this stage; overmixing can lead to tougher cookies.
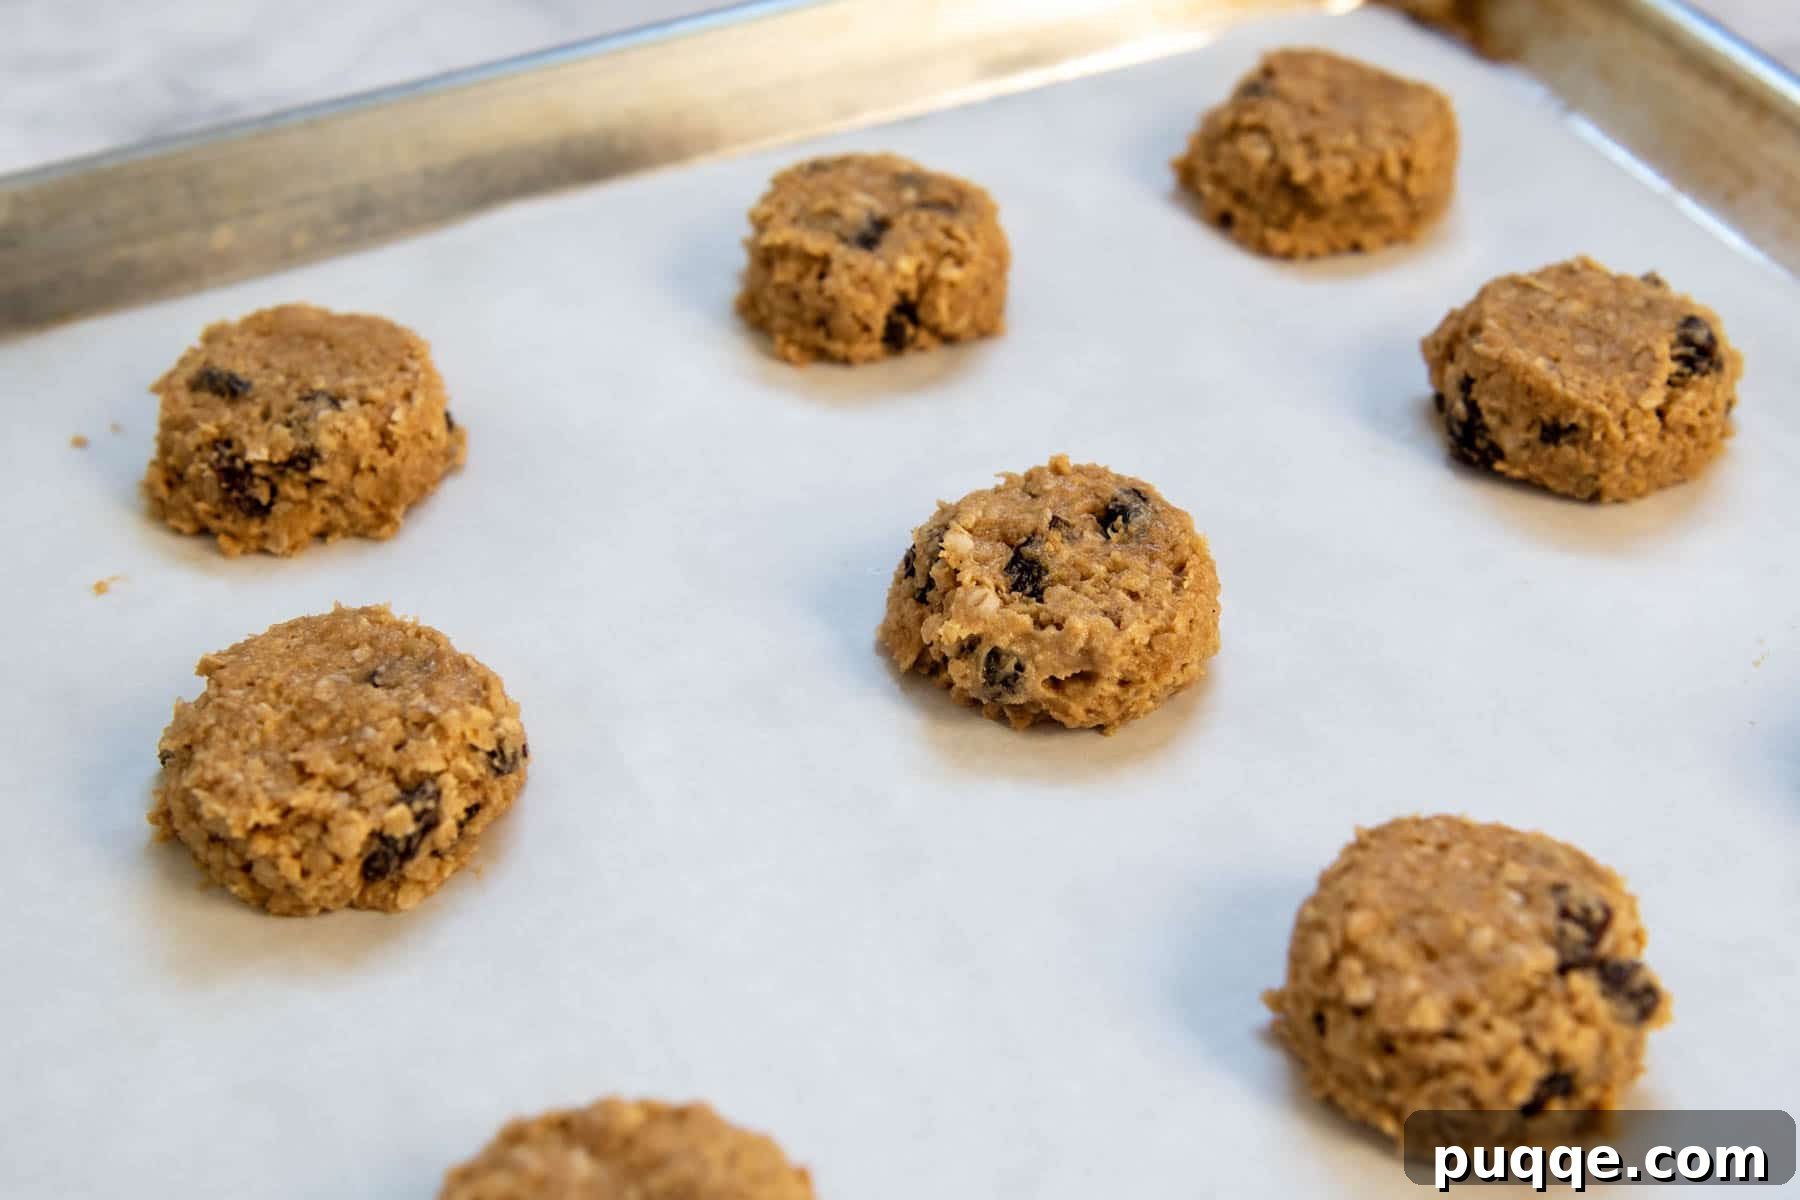
- Shape and Bake: Using a 1.5 tablespoon medium cookie scoop, portion the dough into golf ball-sized balls and place them about 2 inches apart on your prepared baking sheets. Alternatively, you can simply drop the dough by the spoonful. Gently press down on each dough ball slightly with the palm of your hand or a spoon to encourage even spreading during baking.
- Bake to Perfection: Bake for 9-11 minutes, rotating the baking sheets halfway through the baking time to ensure even browning. It’s crucial not to overbake these cookies! They should be lightly golden brown around the edges, and the centers will still look slightly soft or underdone. This is key to achieving that perfectly chewy texture.
- Cool and Enjoy: Once baked, remove the cookies from the oven and let them cool on the baking sheets for 5 minutes. This allows them to set up properly. After 5 minutes, carefully transfer them to a wire rack to cool completely. Enjoy these warm or at room temperature!
Unleash Your Creativity: Exciting Mix-in Ideas
The beauty of no-flour oatmeal cookies lies in their incredible versatility. This gluten-free cookie dough is a fantastic canvas for a myriad of flavor combinations. Here are some of my favorite ways to transform this single recipe into an exciting variety of delicious gluten-free oatmeal cookies:
- Two Flavors, One Dough: For a delightful variety with minimal effort, divide your prepared cookie dough in half. To one half, incorporate 3/4 cup of your favorite chocolate chips (milk, dark, or semi-sweet). To the other half, add 3/4 cup of plump raisins for the classic taste. This simple trick allows you to cater to different preferences from a single batch.
- Traditional Spiced Oatmeal Raisin: Elevate the classic oatmeal raisin cookie by infusing it with warm spices. Add 1 1/2 teaspoons of ground cinnamon and 1/4 teaspoon of freshly grated nutmeg to the dough along with the oats and raisins. These spices create a wonderfully aromatic and comforting cookie perfect for cooler weather or holiday gatherings.
- Salty Crunch Sensation: For those who love a textural contrast, introduce a salty crunch. Reduce the amount of raisins to 1 cup and add 1/2 cup of finely chopped walnuts or pecans. The nuts provide a satisfying bite and a depth of flavor that complements the sweetness of the cookie.
- Endless Addition Possibilities: The options don’t stop there! Experiment with other fantastic additions such as creamy white chocolate chips, flaky shredded coconut, tangy dried cranberries, or rich butterscotch chips (always double-check the label to ensure they are gluten-free). Simply choose any combination of your desired mix-ins, ensuring the total amount equals 1 1/2 cups.
- A Touch of Gourmet Sea Salt: For a sophisticated finish that perfectly balances the sweetness, sprinkle a pinch of flaky sea salt (like Maldon) on top of each cookie dough ball just before baking. The salt crystals provide a delightful burst of flavor and a subtle textural contrast.
Common Questions & Expert Baking Tips
Do I have to chill the dough first? The Science Behind It
One of the most appealing aspects of this particular gluten-free oatmeal raisin cookie recipe is that it generally requires no chilling time. This is primarily due to the unique combination of quick-cooking oatmeal and creamy peanut butter. Quick-cooking oats are finer and absorb moisture more rapidly than old-fashioned oats, helping the dough to stiffen quickly. Peanut butter, with its high fat content and binding properties, also helps to create a stable dough that resists excessive spreading during baking, even without refrigeration.
However, there are a couple of scenarios where chilling the dough for an hour might be beneficial:
- Using Old-Fashioned Oats: If you decide to substitute quick-cooking oats with old-fashioned rolled oats, their coarser texture means they won’t absorb moisture as quickly. Chilling the dough for at least an hour will allow the oats to fully hydrate and the fats to firm up, preventing the cookies from spreading too much and ensuring a chewier result.
- Dairy-Free Butter: If you’re using a vegan or dairy-free butter stick as a substitute for regular butter, these alternatives often have a different fat composition and a lower melting point. This can sometimes lead to cookies spreading more aggressively. To counteract this, refrigerating the dough for 1 hour before baking will help the fats solidify and maintain the cookie’s shape.
For best results with a no-chill experience, stick to quick-cooking oats and creamy peanut butter as specified in the recipe. This combination guarantees those perfect soft-baked cookies in record time!
Are Oats Truly Gluten-Free? Understanding the Labels
This is a crucial question for anyone managing gluten sensitivities or celiac disease. While oats themselves are naturally gluten-free, their journey from farm to package often involves shared equipment and facilities with wheat, barley, and rye – all gluten-containing grains. This unfortunately leads to a high risk of cross-contamination.
Therefore, it is absolutely essential to purchase and use only certified gluten-free oats. When you see this label, it means the oats have been grown, harvested, processed, and packaged under strict conditions to prevent cross-contamination, ensuring they meet the safety standards for gluten-free consumption. This certification is your guarantee that the oats contain less than 20 parts per million (ppm) of gluten, which is the generally accepted threshold for gluten-free products.
It’s also important to note that a small percentage of individuals with celiac disease or severe gluten intolerance may still be sensitive to avenin, a protein found in oats, even if they are certified gluten-free. This is referred to as oat sensitivity. If you are making these cookies for someone with celiac disease or a gluten intolerance, it’s always a thoughtful gesture to double-check their personal tolerance for oats, even certified ones, before serving.
I personally love incorporating oats into my baking because they are an incredibly versatile, affordable, and accessible ingredient for creating a wide array of gluten-free recipes. Beyond cookies, you can easily make your own homemade oat flour, which serves as an excellent gluten-free alternative for breads, muffins, and other baked goods. Oats can also be used in their original form for recipes like a delicious oatmeal pie crust, adding a wonderful texture and wholesome flavor.
Storing and Freezing Tips for Extended Enjoyment
These gluten-free oatmeal raisin cookies are so delicious, they rarely last long! But for those rare occasions when you have leftovers, or if you simply want to bake ahead, here are the best ways to store and freeze them to maintain their freshness and flavor:
- Room Temperature Storage: Once completely cooled, store your baked cookies in an airtight container at room temperature. For optimal freshness and to prevent them from drying out, I recommend stacking 2-3 cookies together and wrapping them snugly in plastic wrap before placing them in the container. This method helps keep them soft and chewy for up to one week.
- Freezing Baked Cookies: These cookies freeze beautifully! After wrapping them individually or in stacks of 2-3 with plastic wrap, transfer them to a heavy-duty freezer bag or an airtight freezer-safe container. Label with the date. They can be frozen for up to 3 months. When you’re ready to enjoy them, simply thaw at room temperature for an hour or two. For a warm, freshly baked experience, you can also gently reheat them in a microwave for 10-15 seconds or in a preheated oven at 300°F (150°C) for 5-7 minutes.
- Freezing Raw Cookie Dough: For ultimate convenience, you can also freeze the raw cookie dough. After shaping the dough into balls, arrange them on a baking sheet and freeze for about an hour until firm. Once frozen, transfer the dough balls to a freezer-safe bag or container. When you’re ready to bake, you can bake them directly from frozen. Simply add an extra 2-4 minutes to the baking time, or until the edges are golden and the centers are set. This is a fantastic way to always have fresh-baked cookies on hand!
Click here to see thestep-by-step web story instructions for this recipe!
SAVE THIS recipe for gluten-free oatmeal raisin cookies TO YOUR PINTEREST BOARD!
Let’s be friends on Pinterest! I’m always sharing great recipes!
15-Minute Gluten-Free Oatmeal Raisin Cookies (No Flour)

Melissa Erdelac
43
cookies
5 minutes
10 minutes
15 minutes
Pin
Rate
Remove Ads
Ingredients
- ½ cup unsalted butter, softened
- 1 ⅓ cup creamy peanut butter
- ¾ cup light brown sugar
- ¾ cup granulated sugar
- 2 large eggs
- 2 teaspoons vanilla extract
- 1 ½ teaspoon baking soda
- 3 cups quick-cooking oats, certified gluten-free
- 1 ½ cup raisins, (or chocolate chips)
Equipment
-
Medium Cookie Scoop
-
Baking Sheets
-
Stand Mixer
Instructions
-
Preheat the oven to 350°F (175°C). Line baking sheets with parchment paper, silicone baking mats, or leave ungreased.
-
In a large bowl, cream together the softened butter, creamy peanut butter, and both sugars. Mix on high for 2 minutes so it’s nice and creamy.½ cup unsalted butter,
1 ⅓ cup creamy peanut butter,
¾ cup light brown sugar,
¾ cup granulated sugar -
Add the eggs, vanilla, and baking soda. Mix well then add the oats and raisins. Mix on low until all combined.2 large eggs,
2 teaspoons vanilla extract,
1 ½ teaspoon baking soda,
3 cups quick-cooking oats,
1 ½ cup raisins -
Shape into golf ball-sized balls (to do this quickly use a 1.5 tablespoon medium cookie scoop) and place 2 inches apart on ungreased baking sheets. Press down slightly.
-
Bake for 9-11 minutes, rotating pans halfway through. Be careful to not over bake (edges will be set and middle will be slightly underdone). Cool on baking sheets 5 minutes before transferring to a wire rack to cool.
-
DID YOU MAKE THIS RECIPE?? DON’T FORGET TO LEAVE FEEDBACK AND RATE BELOW!
Notes
Additions / Modifications
- Make one dough and two delicious gluten-free oatmeal cookies! Divide the dough in half and add 3/4 cup chocolate chips to half of it and 3/4 cup raisins to the other.
- For a traditional spiced oatmeal raisin cookie, add 1 1/2 teaspoons cinnamon and 1/4 teaspoon nutmeg.
- For an added salty crunch, reduce the raisins to 1 cup and add 1/2 cup chopped walnuts or pecans.
- Other great additions are white chocolate chips, coconut, dried cranberries, or butterscotch chips (read label for gluten-free). Simply add any combination of mix-ins desired, equally 1 1/2 cups.
- You may substitute gluten-free old fashioned oats, but chill the dough for 1 hour before dropping on baking sheets.
- For dairy-free gluten-free cookies, replace butter with a softened vegan butter stick. They may spread a bit more, though. To offset this, chill the dough for 1 hour before baking.
Carbohydrates: 17g,
Protein: 3g,
Fat: 7g,
Saturated Fat: 2g,
Polyunsaturated Fat: 1g,
Monounsaturated Fat: 3g,
Trans Fat: 0.1g,
Cholesterol: 13mg,
Sodium: 95mg,
Potassium: 116mg,
Fiber: 1g,
Sugar: 8g,
Vitamin A: 77IU,
Vitamin C: 0.3mg,
Calcium: 13mg,
Iron: 1mg
Did you make this recipe?Please leave a star rating and review below. It helps others when searching for recipes and I LOVE feedback!
This post contains affiliate links. My opinions are always my own. If you purchase a product through an affiliate link, I make a small commission – at no cost to you. Read full disclosure policy here.