
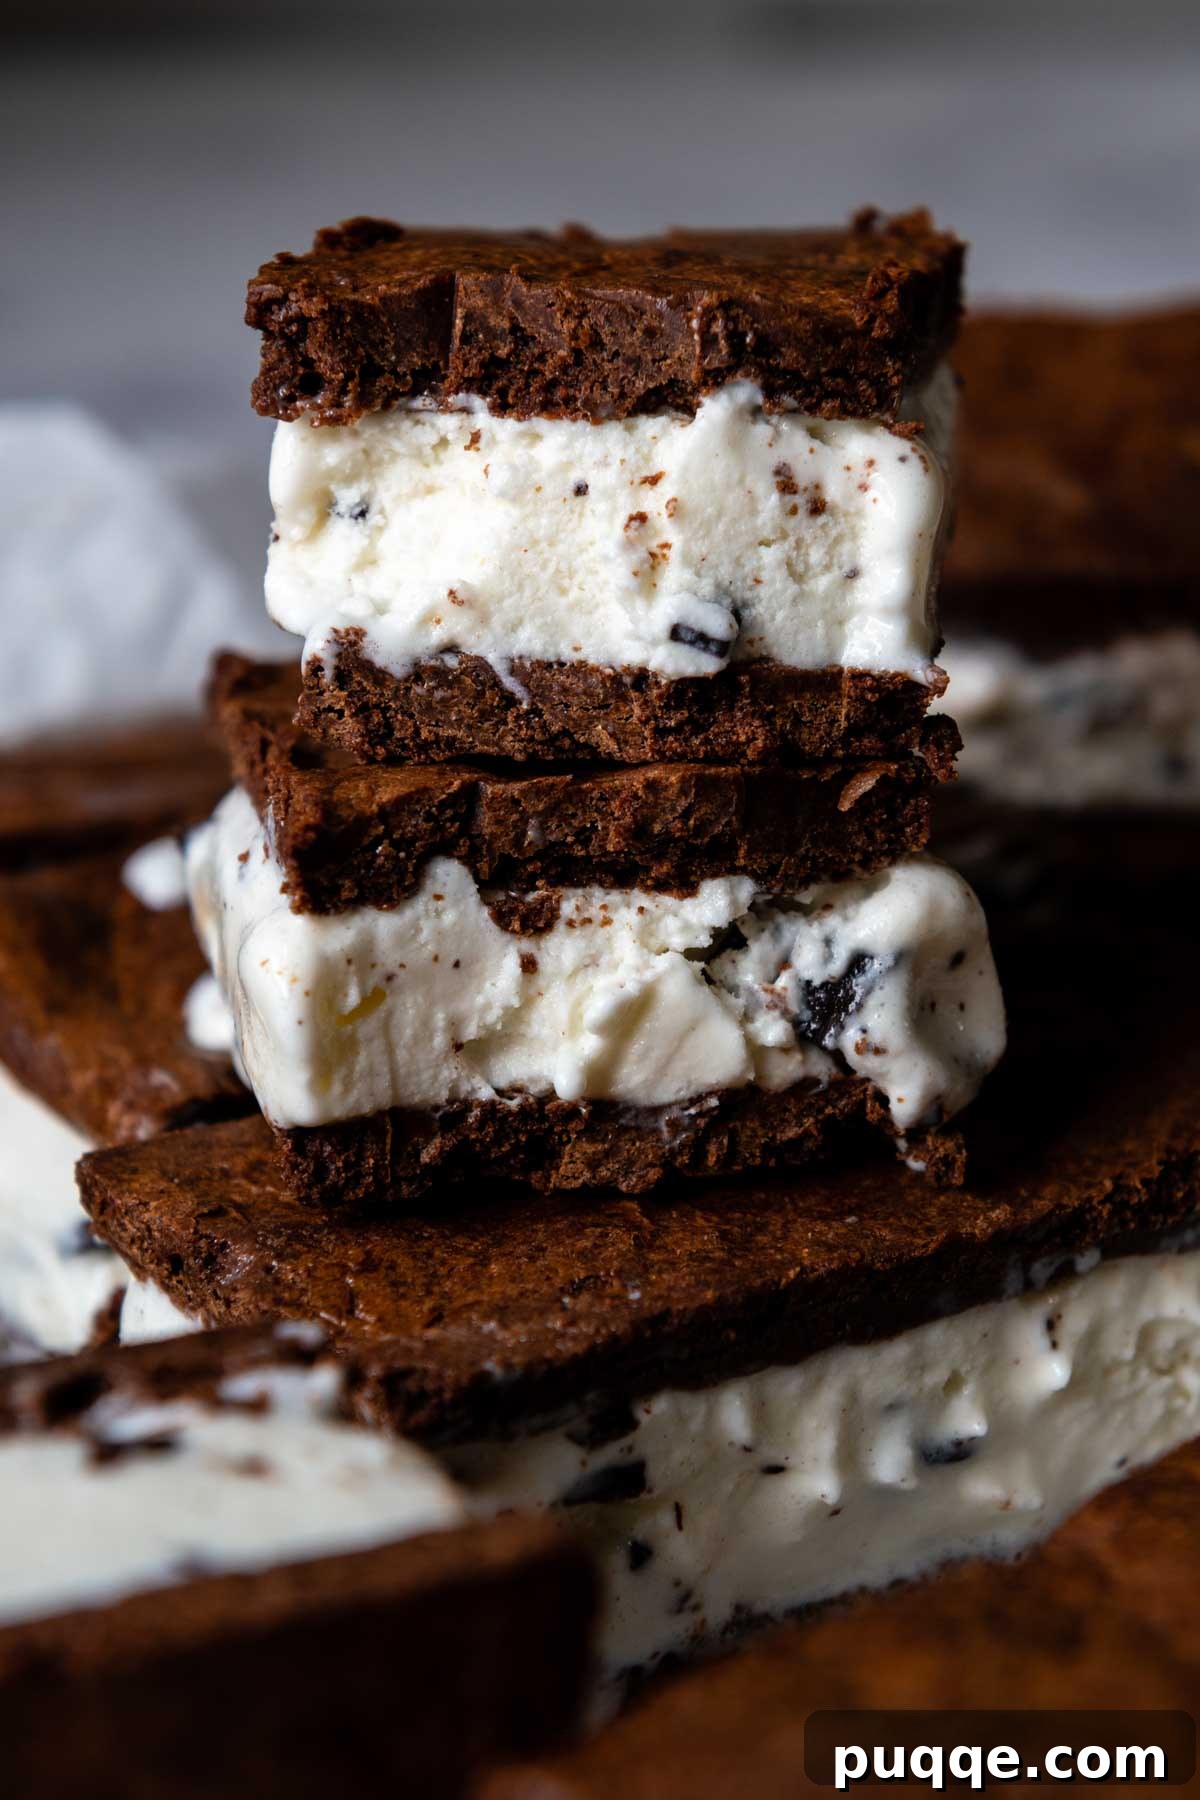
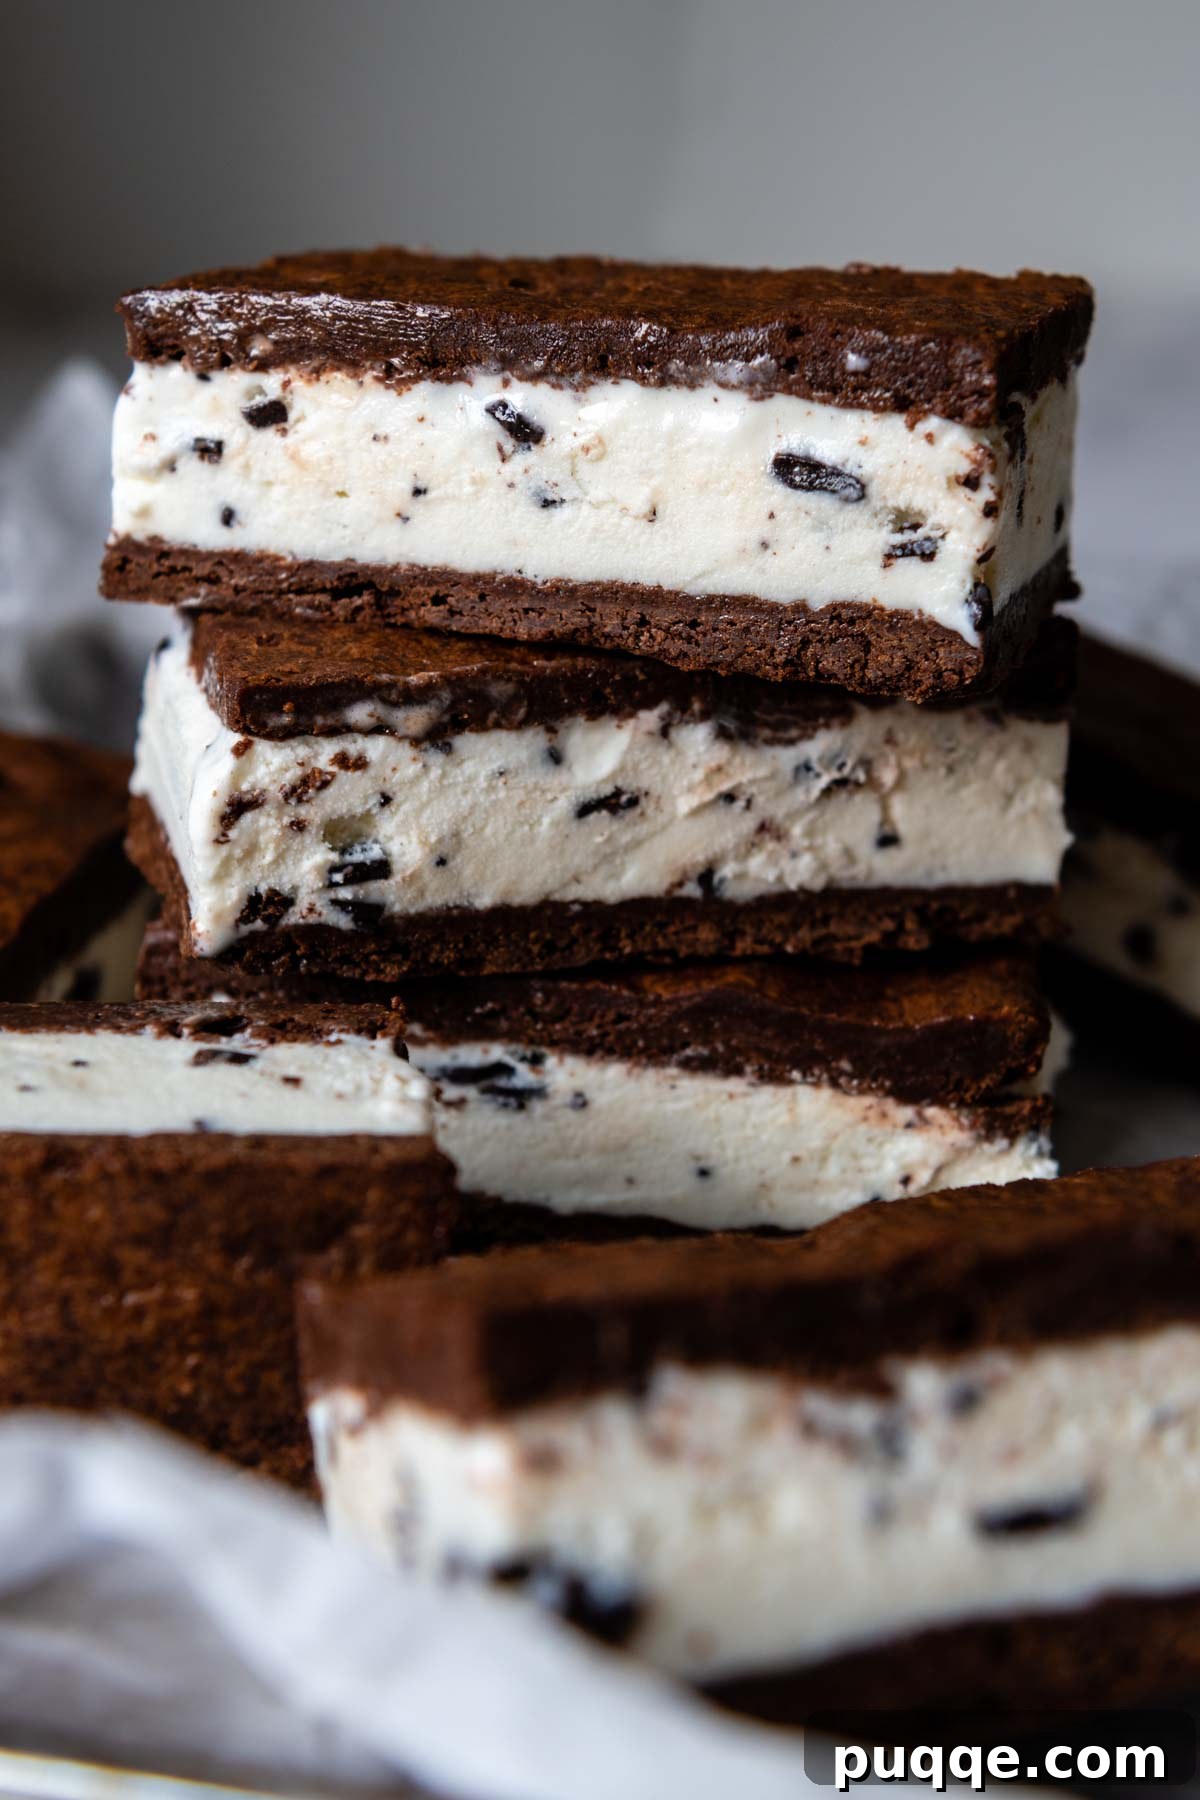
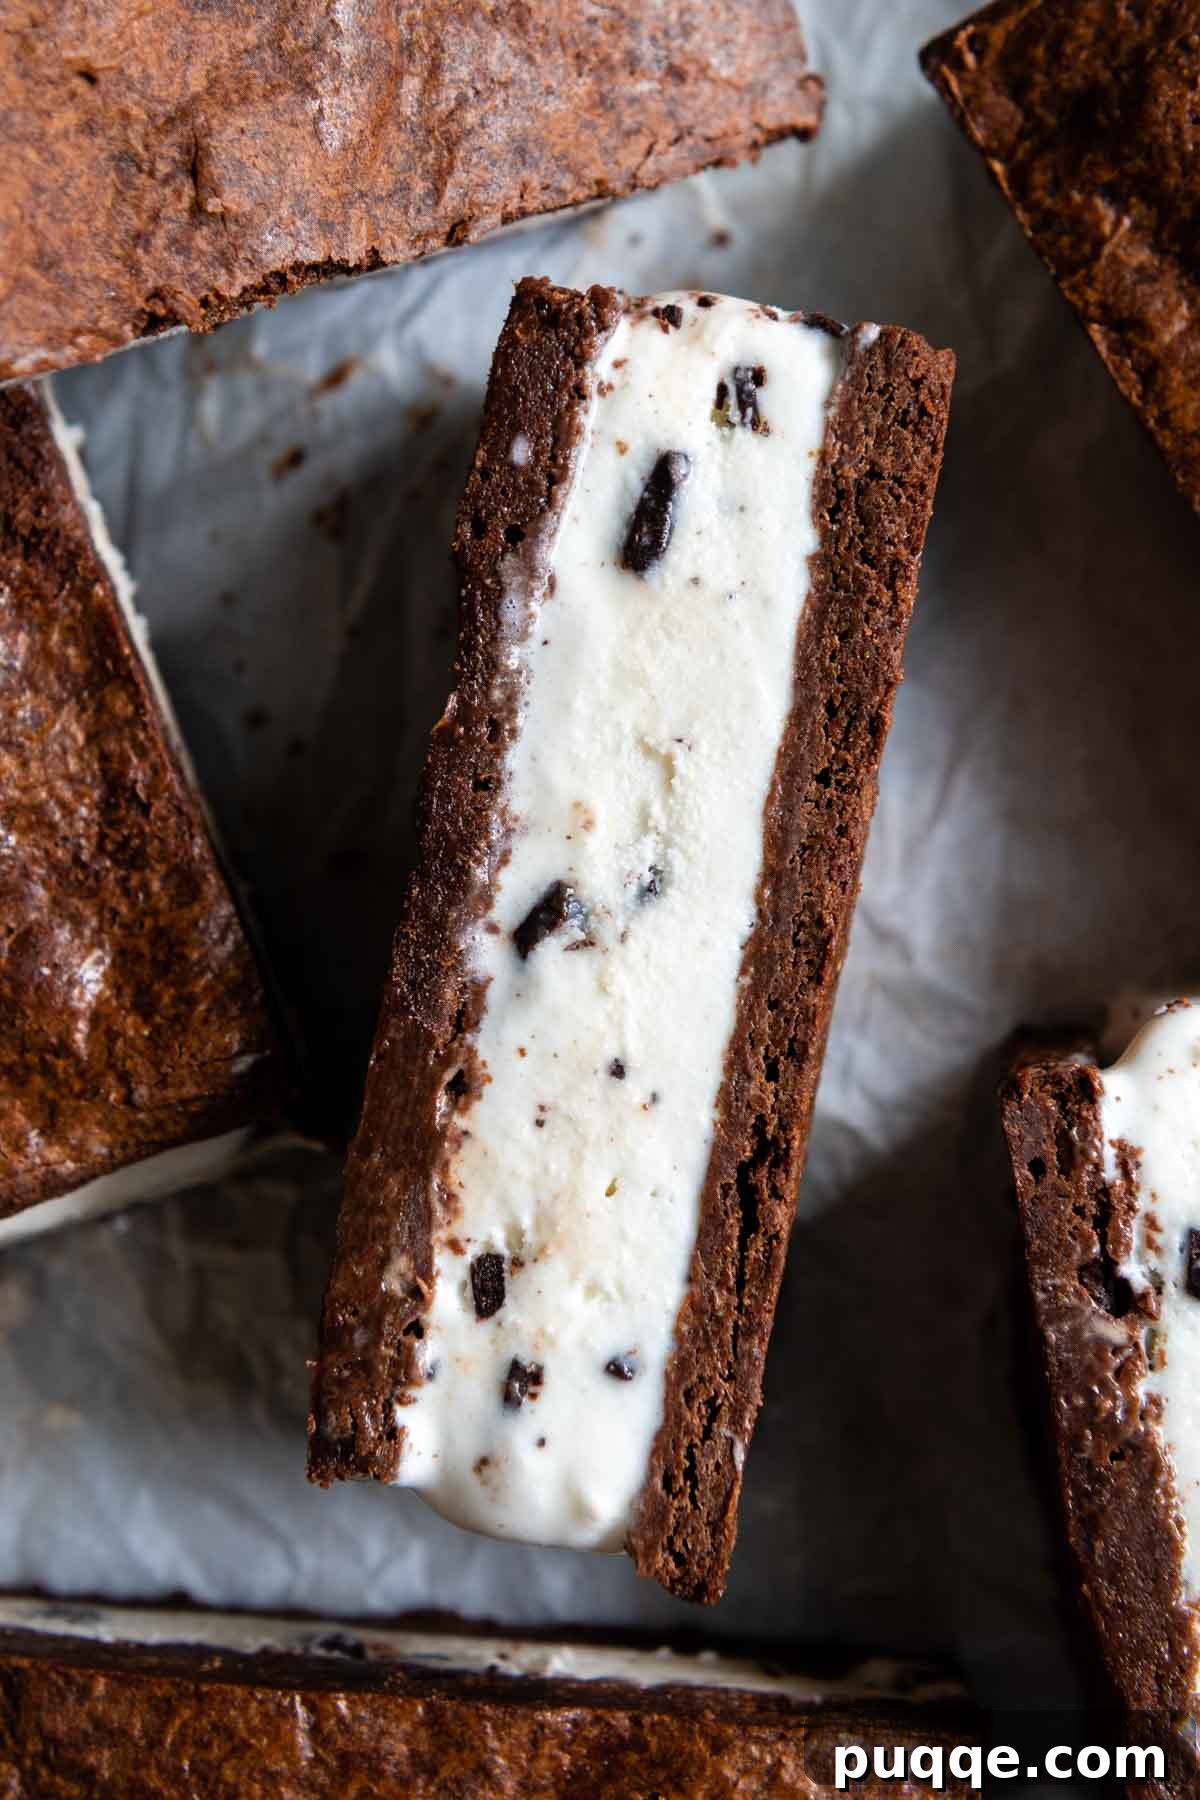
Unlock the secret to crafting the ultimate frozen dessert with this incredibly easy, homemade gluten-free ice cream sandwich recipe. Forget about bland, crumbly store-bought versions; these indulgent treats boast a rich, thick chocolate cookie wafer that’s perfectly soft yet sturdy, enveloping a creamy layer of your favorite ice cream. Best of all, this recipe streamlines the process with a simple one-bowl method and requires no intricate rolling, cutting, or specialized gluten-free baking expertise. In just minutes, you’ll prepare a decadent batter that presses effortlessly into a baking sheet, yielding twelve luscious ice cream bars ready to delight your taste buds. This is more than just a recipe; it’s an invitation to experience a superior gluten-free treat that will quickly become a cherished family favorite.
Crafting the Perfect Gluten-Free Ice Cream Sandwich: Beyond Basic Bites
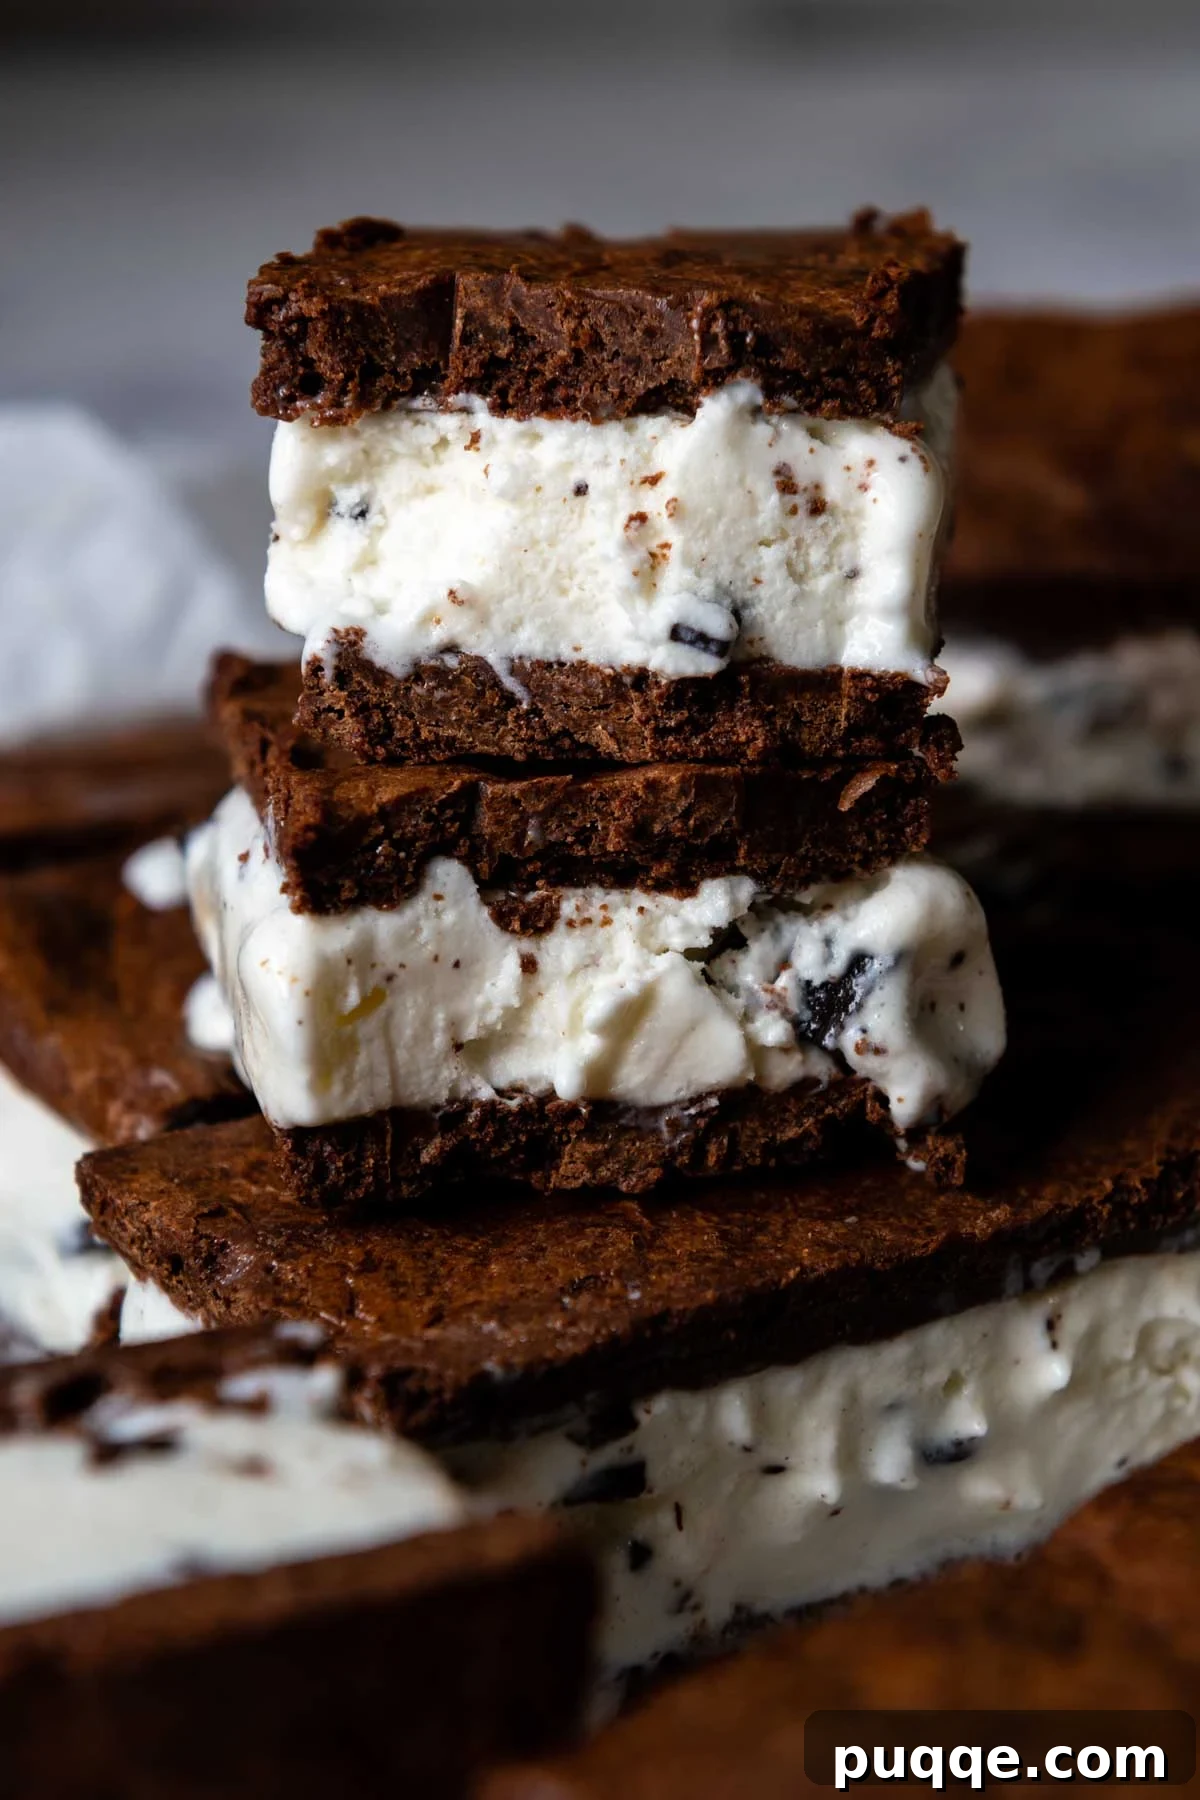
The quest for the ideal gluten-free ice cream sandwich led to a delicious discovery: a chocolate wafer cookie that perfectly mimics the beloved texture of classic ice cream sandwiches – soft enough to bite through, yet firm enough to hold its shape. Traditional recipes often involve rolling out delicate dough, a task that can be time-consuming and challenging, especially for those new to gluten-free baking. Recognizing this, our recipe ingeniously sidesteps these complexities by opting for a press-in bar format. This innovative approach results in a cookie base that’s a delightful hybrid, offering the chewiness of a brownie combined with the satisfying bite of a cookie. It’s a game-changer for homemade gluten-free desserts, making gourmet results accessible to everyone.
This method isn’t just about ease; it’s about superior flavor and texture. Unlike many store-bought gluten-free options that can be dry or lack that authentic dessert appeal, our homemade version truly stands out. Much like our highly popular homemade gluten-free ice cream cake, this recipe proves that from-scratch creations are not only surprisingly simple but consistently deliver a taste experience far surpassing anything you’ll find on a grocery store shelf, gluten-free or otherwise. The secret to our moist, rich chocolate wafer lies in a thoughtful combination of melted chocolate chips and unsweetened cocoa powder. This dynamic duo not only infuses deep chocolate flavor but also plays a crucial role in maintaining moisture and absorbing excess fat, a common hurdle with gluten-free flour blends. Without the strategic inclusion of cocoa powder, trials often resulted in an overly greasy and excessively sweet outcome. This carefully balanced blend ensures a perfectly moist, intensely chocolatey, and structurally sound cookie that forms the ideal foundation for your frozen masterpiece.
The versatility of these gluten-free ice cream bars is another reason they shine. While we experimented with a vibrant mint chip ice cream, the possibilities are virtually endless. Feel free to unleash your creativity and choose any gluten-free ice cream flavor that sparks your interest. From the timeless simplicity of classic vanilla to the fruity burst of strawberry, the sophisticated richness of gelato, or even your own homemade ice cream creations, each variation offers a unique and delightful experience. This dessert is also a fantastic make-ahead option, allowing you to prepare a batch and freeze them for future enjoyment. Imagine the delight of pulling out a perfectly crafted, unexpected frozen treat on a scorching summer day, whether you’re entertaining guests or simply surprising your family with a special homemade indulgence. It’s the quintessential choice for any occasion, promising convenience, customization, and an unforgettable taste.
Essential Ingredients for Your Gluten-Free Creation
Beyond a carton of your chosen ice cream, most of the ingredients for these incredible gluten-free ice cream sandwiches are likely staples in your kitchen. We’ll walk you through each key component, offering insights and workable substitutions, especially for those seeking a dairy-free adaptation, ensuring everyone can enjoy this delightful treat.
- Butter: Our recipe calls for unsalted butter to provide richness and structure. For a dairy-free alternative, you can seamlessly substitute an equal amount of plant-based vegan butter sticks or melted coconut oil. Both options will deliver a similar fat content and contribute to the wafer’s desired texture.
- Chocolate Chips: Semi-sweet baking chips are recommended for a deep, balanced chocolate flavor that complements the cocoa powder beautifully. If you need a dairy-free option, readily available non-dairy baking chips, such as those from Enjoy Life, work perfectly. Ensure they are free from any gluten-containing additives.
- Gluten-Free Flour Blend: The choice of gluten-free flour is paramount to achieving the right texture. We consistently use and highly recommend Cup4Cup gluten-free flour for all our gluten-free baking endeavors. Its exceptional blend is renowned for closely mimicking the taste and texture of traditional wheat flour, providing elasticity and a tender crumb that is crucial for these wafers. While other blends may work, results can vary significantly, so for consistent success, Cup4Cup is our top pick.
- Unsweetened Baking Cocoa: Both natural and Dutch-processed baking cocoa can be used. Natural cocoa powder is more acidic and reacts with baking soda to create lift, offering a sharper chocolate flavor. Dutch-processed cocoa, on the other hand, is alkalized, resulting in a smoother, less bitter, and richer dark chocolate flavor. When a recipe, like this one, heavily relies on cocoa for its flavor profile, we often prefer the nuanced and smoother taste of Dutch cocoa for a truly decadent experience.
- Ice Cream: The star of the show! Refer to our dedicated section on “Gluten-Free Ice Cream Options” below for essential buying guidelines to ensure your selection is safe and delicious. Naturally, for a fully dairy-free treat, opt for your favorite dairy-free ice cream alternative.
Let’s Bake These Masterpieces Together!
Embark on your journey to creating these spectacular gluten-free ice cream sandwiches with our detailed step-by-step guide. While a comprehensive recipe card with precise measurements awaits you further down the page, these instructions, accompanied by illustrative photos, will walk you through each critical stage, ensuring your success from start to finish.
Prepare Your Baking Pan for Effortless Removal
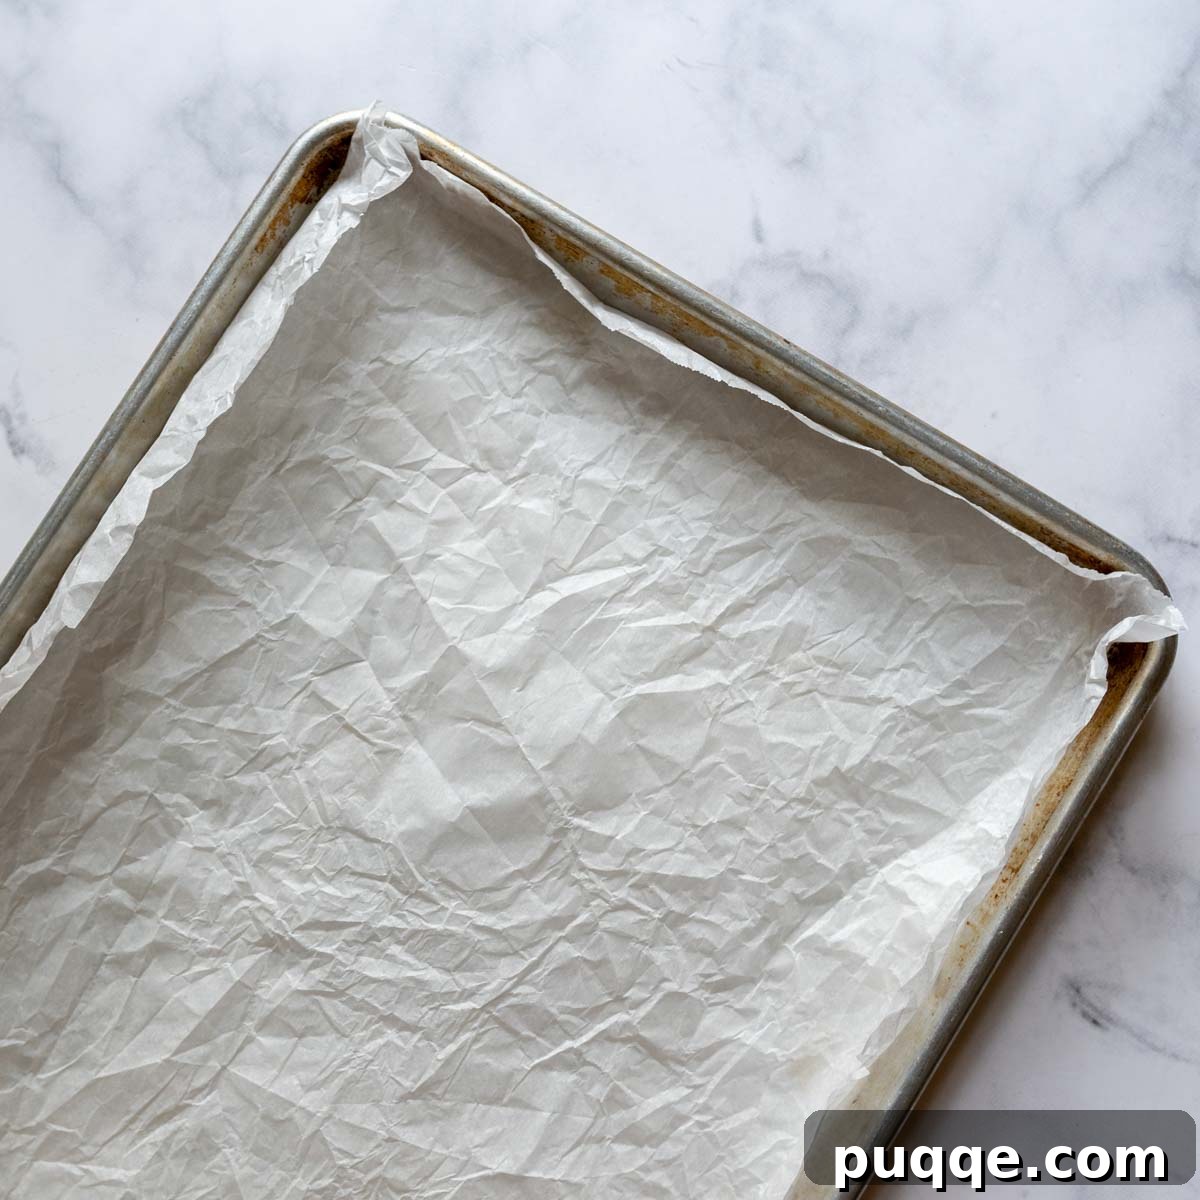
Begin by preparing your baking sheet to ensure your chocolate wafers release easily. Take a large piece of parchment paper and gently crumple it into a ball, then carefully unfold it. This simple technique helps the parchment lay much flatter and more snugly in your 13″x18″ baking sheet. For an even more secure fit, you might want to fold the edges of the parchment paper to create neat creases that hold it firmly in place within the pan. This meticulous preparation is key to preventing the delicate wafers from sticking and making the assembly process smooth.
Whip Up the Decadent Batter
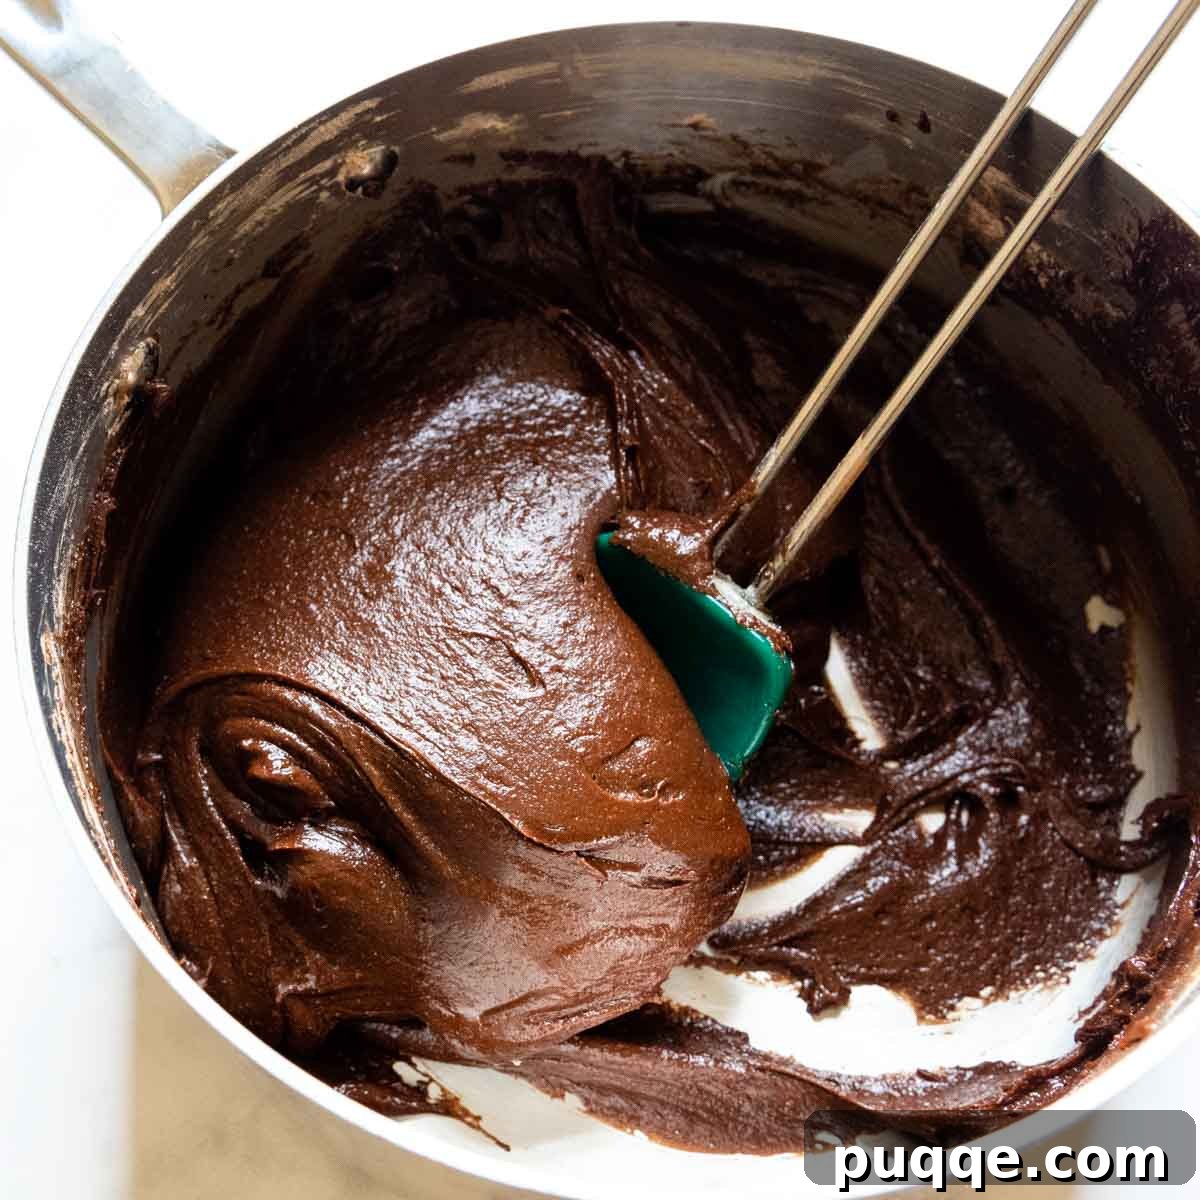
In a medium saucepan, combine the butter and chocolate chips. Heat them over low heat, allowing them to melt gently. Once the mixture is approximately 80% melted, remove the saucepan from the heat. The residual warmth will allow you to continue stirring until both the butter and chocolate chips are fully melted and perfectly smooth. This gentle melting technique is crucial to prevent overheating the chocolate, which can lead to a grainy texture. Let this rich chocolate mixture cool slightly for about 10 minutes. Next, whisk in the eggs, granulated sugar, brown sugar, and vanilla extract until well combined and glossy. Finally, add your gluten-free flour blend, unsweetened cocoa powder, baking powder, and salt to the saucepan. Stir thoroughly until all dry ingredients are incorporated. The resulting batter will be notably thick and luxurious, a testament to the dense, fudgy wafers it will soon become.
Evenly Spread the Thick Batter
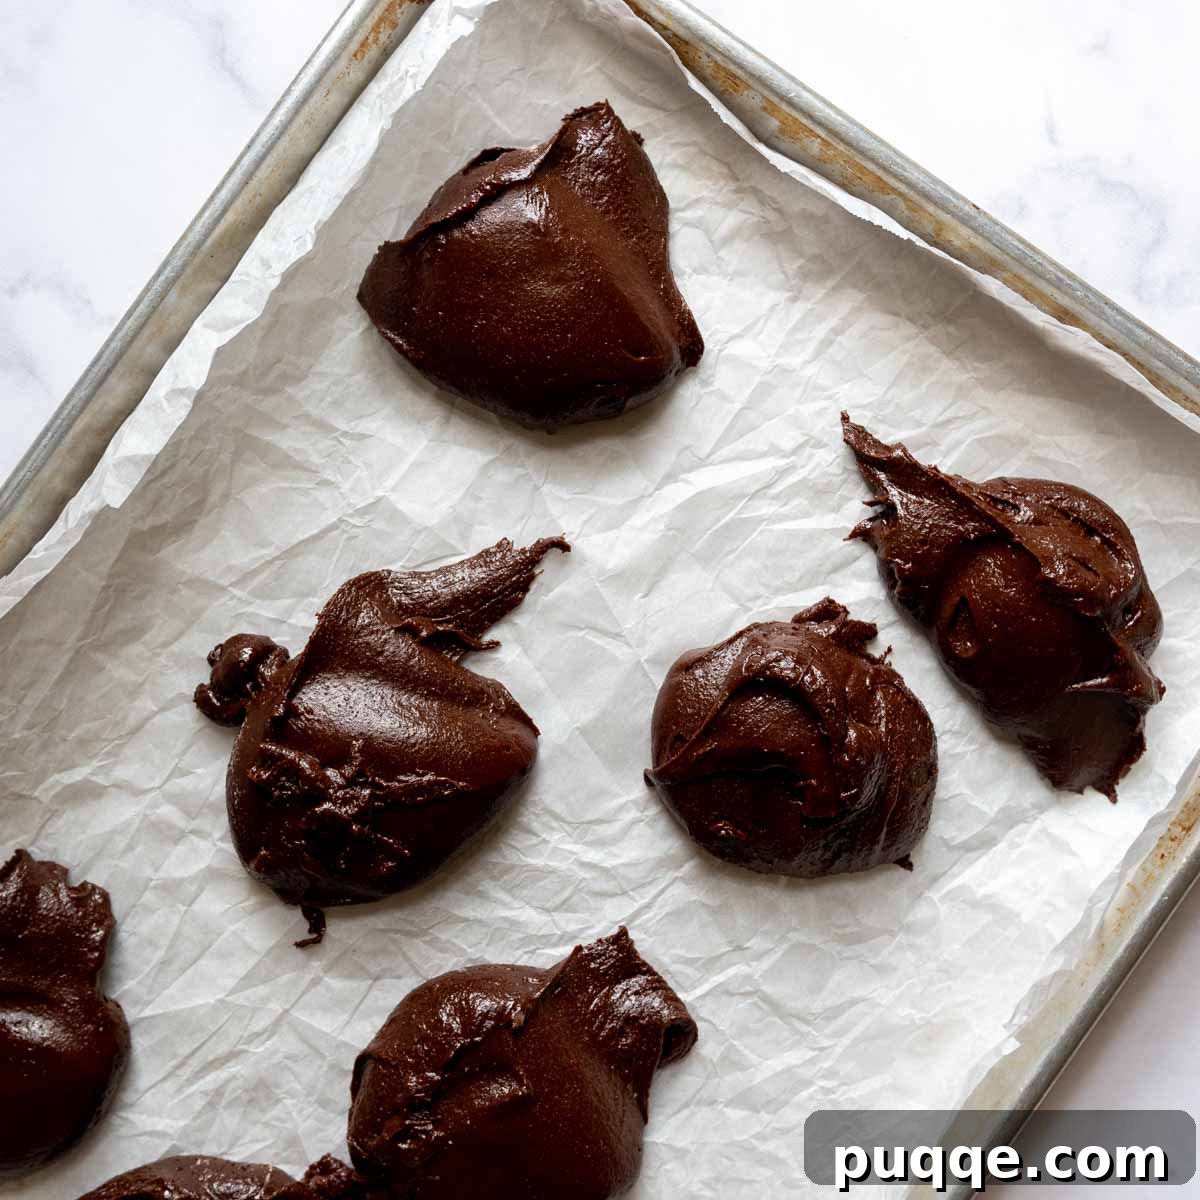
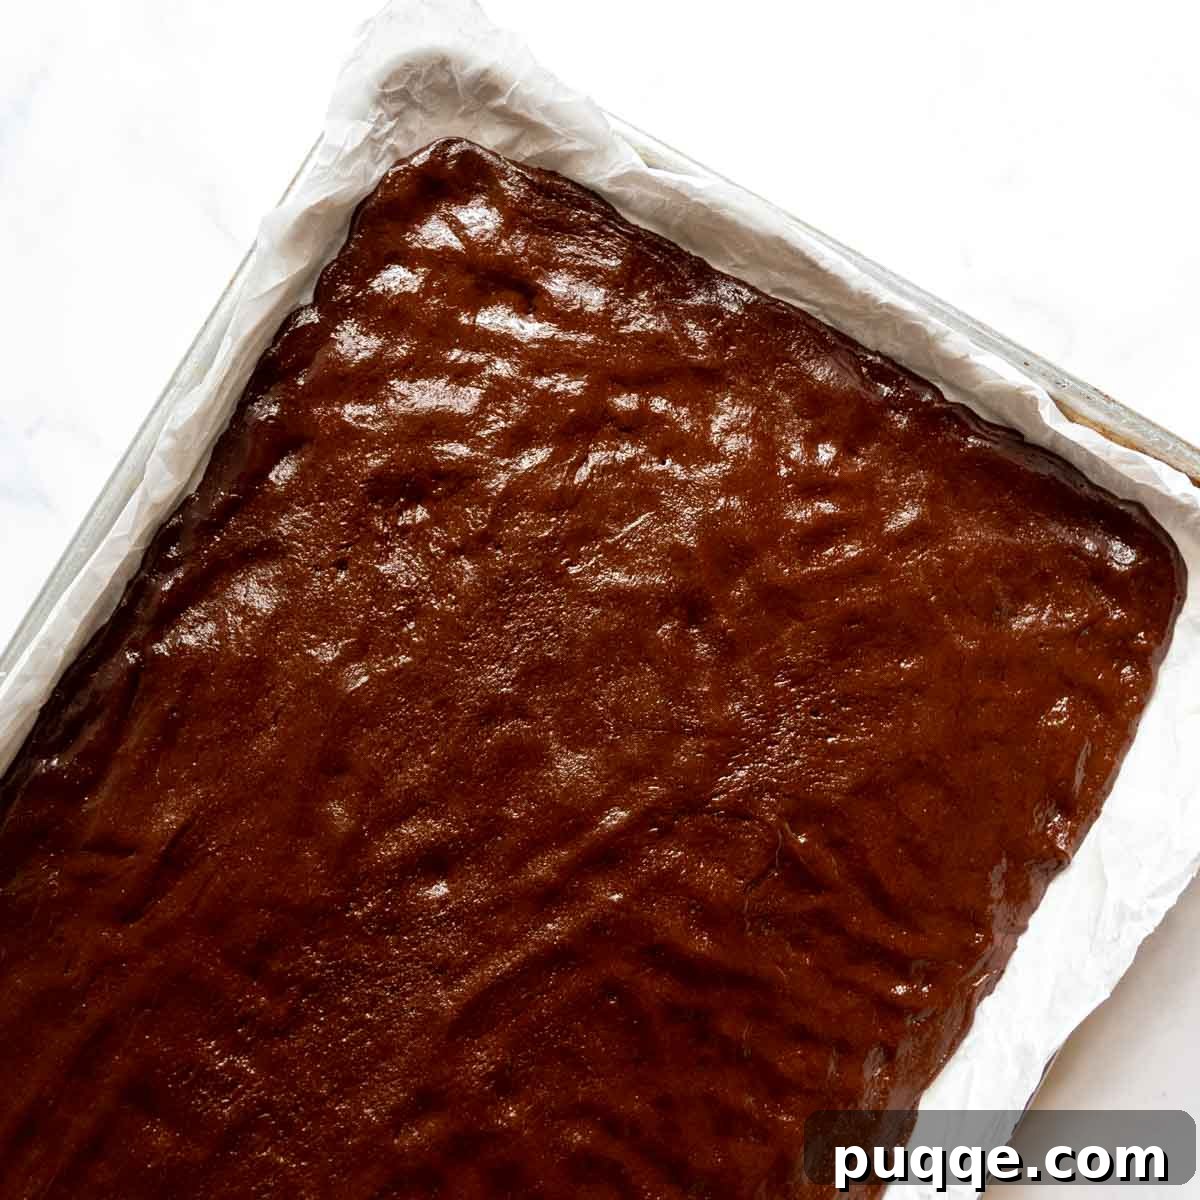
Given the impressive thickness of this batter, the most effective way to distribute it is to dollop small mounds onto different sections of your parchment-lined baking sheet. Once the batter is loosely placed, use an offset spatula to gently spread it out as much as possible. Since the batter is quite robust, don’t hesitate to use your fingers to carefully press the mixture evenly across the entire pan, ensuring it reaches all the way to the edges. Achieving a uniform layer is critical for consistent baking and ensures that all your ice cream sandwiches will have the same perfect thickness. This hands-on approach guarantees a flawless base for your frozen treats.
Perfectly Soften Your Ice Cream for Spreading
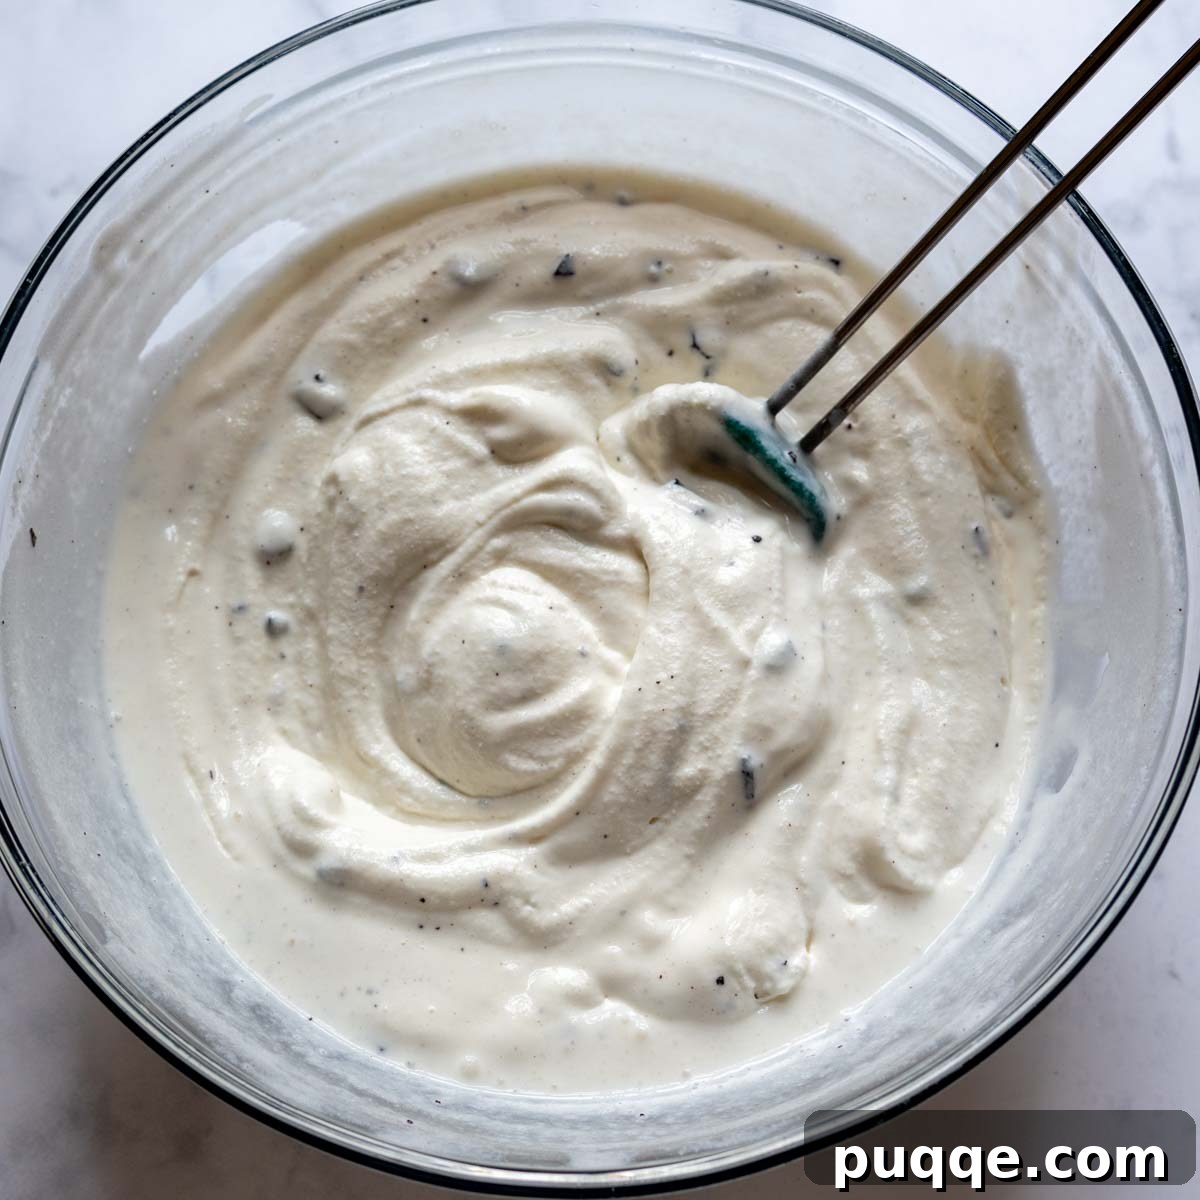
Before you place your chocolate wafer bars into the oven, remember to transfer your chosen carton of ice cream from the freezer to the refrigerator. This allows it to gradually soften while the bars bake and then cool, reaching the ideal spreadable consistency. Once the bars are baked and cooled, remove the ice cream from the refrigerator and transfer it to a large bowl. Using a large spoon, stir the ice cream vigorously until it achieves a uniformly softened, smooth texture. This crucial step eliminates any hard, icy spots and ensures effortless, even spreading across your cooled chocolate wafers, creating a consistent and delightful filling.
Assemble and Refreeze for the Perfect Chill
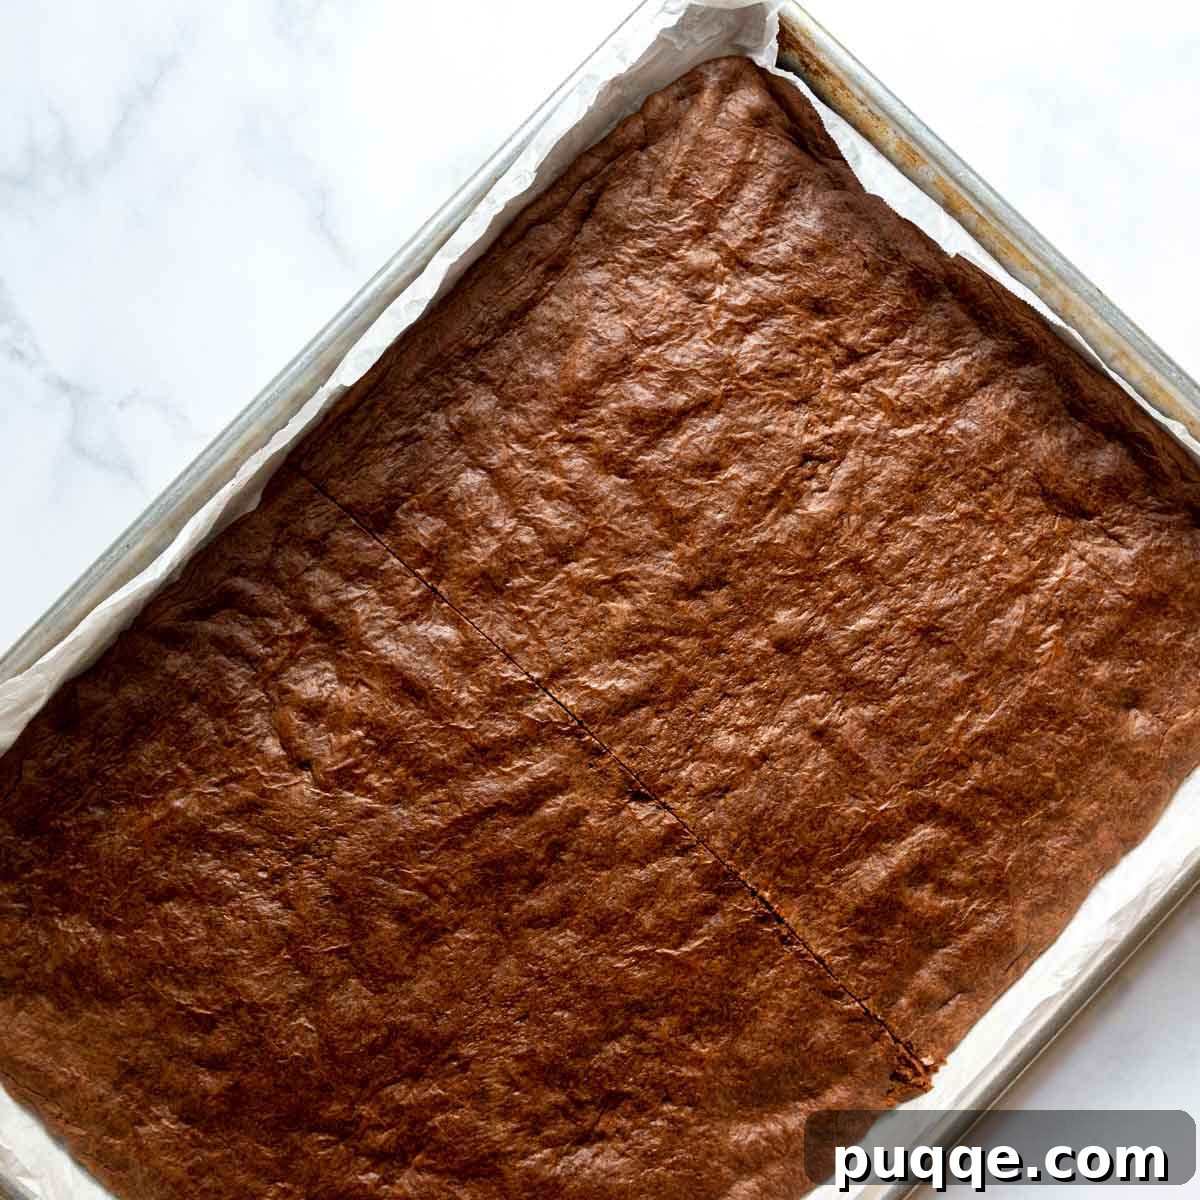
Once your baked chocolate wafer bars have cooled, it’s time for assembly. Carefully cut the large wafer sheet exactly halfway down the middle, creating two equal halves, each measuring approximately 9″x13″. Place the pan with the two halves back into the freezer to ensure they become solid and firm, a process that typically takes about 30 minutes. Once thoroughly frozen, remove the pan. Take one half of the wafer and gently flip it over so that its top side is now facing down on the baking sheet. Using your offset spatula, evenly spread the softened ice cream across this inverted wafer half, extending it all the way to the edges for a neat finish. Carefully place the second wafer half, right side up, directly on top of the ice cream layer, forming your giant ice cream sandwich. Return the entire pan to the freezer for an additional 1-2 hours, or until the ice cream is completely solid once more. To serve, use a large, sharp knife to score the surface into 12 even bars before cutting all the way through. For the cleanest slices, dip your knife in very hot water, wipe it dry, and then make each cut. Repeat this hot water technique as needed. If you’re not planning to serve them immediately, individually wrap each bar in plastic wrap and store them in a gallon-sized freezer bag. This ensures they remain fresh and ready for whenever a craving strikes!
Navigating Gluten-Free Ice Cream Options
The good news is that finding a high-quality gluten-free ice cream brand at your local grocery store is generally straightforward. Many beloved and popular brands, such as Breyer’s, Edy’s, and Blue Bell, offer a wide array of flavors that are safe for those avoiding gluten. However, it is paramount to exercise caution, especially for individuals with celiac disease or severe gluten sensitivities. Not all flavors within a brand’s lineup may be gluten-free.
Specific flavors often incorporate mix-ins that inherently contain gluten, such as classic cookie dough, “cookies and cream” varieties, or even certain brownie chunks. Beyond obvious mix-ins, some ice creams might contain flavorings or stabilizers derived from gluten-containing ingredients. Furthermore, there’s always a potential risk of cross-contamination during the production process, particularly in facilities that handle both gluten-containing and gluten-free products. To ensure complete safety and peace of mind, the most reliable approach is to consult the company’s official website directly. Most reputable brands provide clear lists or FAQs detailing which specific flavors are certified gluten-free or considered safe for consumption. Making this quick check before purchasing will allow you to confidently enjoy your gluten-free frozen dessert without worry.
Mastering the Art of Softening Ice Cream
Achieving the perfect, uniformly smooth layer of ice cream between your sandwich wafers is key to an exceptional frozen treat. This requires properly softened ice cream, a step that many overlook or execute incorrectly. While simply leaving a carton of ice cream out at room temperature might seem like the easiest method, it often leads to disappointing results: the outer edges melt quickly, becoming soupy, while the center remains stubbornly hard and icy. This uneven consistency makes it difficult to spread smoothly and uniformly.
A far superior technique involves softening the ice cream in the refrigerator. Transferring the ice cream from the freezer to the fridge for approximately 30-45 minutes allows for a more gradual and even softening process throughout the entire container. This gentle chilling ensures that the ice cream softens consistently from edge to center, preventing premature melting and maintaining its creamy integrity. Once it has spent time in the refrigerator, transfer the contents into a large mixing bowl. Use a sturdy spoon or spatula to stir the ice cream thoroughly until it reaches a homogeneous, softened consistency. This stirring action helps to break down any remaining hard spots and uniformly mixes the ice cream, making it effortlessly spreadable onto your prepared chocolate wafers. This method guarantees a perfect, smooth layer, elevating the overall quality and enjoyment of your homemade gluten-free ice cream sandwiches.
Bookmark This Delicious Recipe for Later!
Let’s connect on Pinterest! I’m always sharing delicious and inspiring recipes!
Did you whip up this recipe? Your feedback means the world to me! Leave a star rating and comment below the recipe card. Your insights help fellow home cooks discover and enjoy these recipes, and I truly value hearing from our community. Rest assured, I read every comment and will always respond! -Melissa
World’s Best Gluten-Free Ice Cream Sandwiches
 Melissa Erdelac
Pin
Rate
Ingredients
- 8 tablespoons unsalted butter
- 1 cup semi-sweet chocolate chips
- 2 large eggs, room temperature
- ⅓ cup light brown sugar
- ⅓ cup granulated sugar
- 1 teaspoon vanilla extract
- 1 ½ cup gluten-free all-purpose flour (I use and recommend Cup4Cup gluten-free flour)
- ½ cup unsweetened cocoa powder
- ½ teaspoon baking powder
- ¼ teaspoon salt
- 1 ½ quart gluten-free ice cream, any preferred flavor
Equipment
- Baking Sheets
- Offset Spatula
- Saucepan
Instructions
- Preheat the oven to 350ºF (175°C). Crumple a large piece of parchment paper, unfold, and then press it into a 13″x18″ baking sheet. Crumbling helps it lay flatter and fit snugly. You may also want to fold the edges to ensure the paper fits securely in the pan.
- In a medium saucepan, melt together the butter and chocolate chips over low heat. Once they are about 80% melted, remove the saucepan from the heat and stir until fully melted and smooth. This technique prevents accidentally overheating the mixture, which can compromise the chocolate’s texture.
- Let the chocolate mixture cool slightly for about 10 minutes. Then, whisk in the eggs, granulated sugar, brown sugar, and vanilla extract until well combined and smooth.
- To the saucepan, add the gluten-free flour blend, unsweetened cocoa powder, baking powder, and salt. Stir thoroughly until all dry ingredients are just combined and no streaks of flour remain. The mixture will be very thick, resembling a dense brownie batter.
- Dollop the thick batter all over the prepared baking sheet in several small mounds. Use an offset spatula to gently spread the batter as best as you can. Because the mixture is very dense, after spreading it somewhat with the spatula, use your fingers to press and evenly distribute the batter across the entire pan, ensuring it reaches all edges. A uniform layer is essential for consistent thickness and even baking.
- Before placing the bars in the oven, move your chosen gluten-free ice cream from the freezer to the refrigerator to soften. Bake the chocolate wafer bars for 12-13 minutes, rotating the pan halfway through the baking time for even cooking. The bars are done when a toothpick inserted into the middle comes out clean and the surface loses its wet, shiny appearance, indicating it’s set.
- Cool the baked bars (leaving them in the pan) for at least 20 minutes on a wire rack. Once cooled, carefully cut the large wafer sheet exactly halfway down the middle, creating two equal halves, each approximately 9″x13″ (refer to the image in the post for visual guidance). Place the pan containing the two halves into the freezer to freeze until solid, which typically takes about 30 minutes. This step ensures the wafers are firm enough for assembly.
- While the wafers are chilling, remove the ice cream from the refrigerator and transfer it to a large bowl. Stir vigorously with a large spoon until it becomes a uniformly softened, smooth mixture. This consistency will make it much easier to spread evenly onto the bars without tearing or clumping.
- Take the frozen wafer halves from the freezer. Gently flip one half over so that the top of the wafer is now facing down on the baking sheet. Evenly spread the softened ice cream over this inverted half, extending the ice cream all the way to the edges. Carefully place the second wafer half, right side up, directly on top of the ice cream layer. Return the assembled, oversized ice cream sandwich to the freezer for 1-2 hours, or until the ice cream layer is completely solid again.
- Once the entire ice cream sandwich is firmly frozen, use a large, sharp knife to score the surface into 12 even bars. Each bar should measure approximately 4 inches by 1.75 inches. After scoring, carefully slice through to create individual bars. For cleaner, easier slicing, run your knife under very hot water, wipe it dry, and then make each cut. Repeat this hot water and drying process as needed between slices. If you are not serving the ice cream sandwiches immediately, wrap each individual bar tightly in plastic wrap and store them in a gallon-sized resealable freezer bag. They will keep well in the freezer for a delicious treat anytime the craving strikes!
Notes
Dairy-Free Modification
To make this recipe dairy-free, simply replace the unsalted butter with an equal amount of plant-based vegan butter sticks or melted coconut oil. For the chocolate chips, opt for dairy-free baking chips, such as those from Enjoy Life, or use 6 ounces of finely chopped dairy-free chocolate. Finally, choose any preferred dairy-free and gluten-free ice cream brand to complete your delicious dairy-free frozen treat.
Flavor Variations
- Cookies and Creme Twist: For a delightful twist, stir crushed gluten-free sandwich cookies (like gluten-free Oreos) into softened vanilla ice cream before spreading it between the chocolate wafers.
- Explore Other Flavors: Don’t limit yourself to mint chip or vanilla! Experiment with other gluten-free ice cream flavors such as strawberry, butter pecan, peanut butter cup, or even coffee. Always remember to carefully read the labels to ensure they are certified gluten-free.
- Chocolate-Dipped Bars: For an extra layer of decadence, prepare the ice cream sandwiches as directed and freeze them until completely solid. Melt together 2 cups of chocolate chips with 2 ½ tablespoons of coconut oil until smooth. Using a fork, dip each frozen bar into the melted chocolate, allowing any excess to drip off. Place the dipped bars onto a parchment-lined baking sheet and immediately return them to the freezer to allow the chocolate shell to solidify.
- Classic Cookie Sandwiches: If you prefer a more traditional cookie sandwich, prepare a batch of your favorite gluten-free chocolate chip cookies. Once cooled, spread softened ice cream between two cookies to create individual, handheld treats.
Calories: 513kcal,
Carbohydrates: 60g,
Protein: 8g,
Fat: 28g,
Saturated Fat: 17g,
Polyunsaturated Fat: 1g,
Monounsaturated Fat: 8g,
Trans Fat: 0.3g,
Cholesterol: 100mg,
Sodium: 218mg,
Potassium: 413mg,
Fiber: 5g,
Sugar: 43g,
Vitamin A: 778IU,
Vitamin C: 1mg,
Calcium: 194mg,
Iron: 2mg