
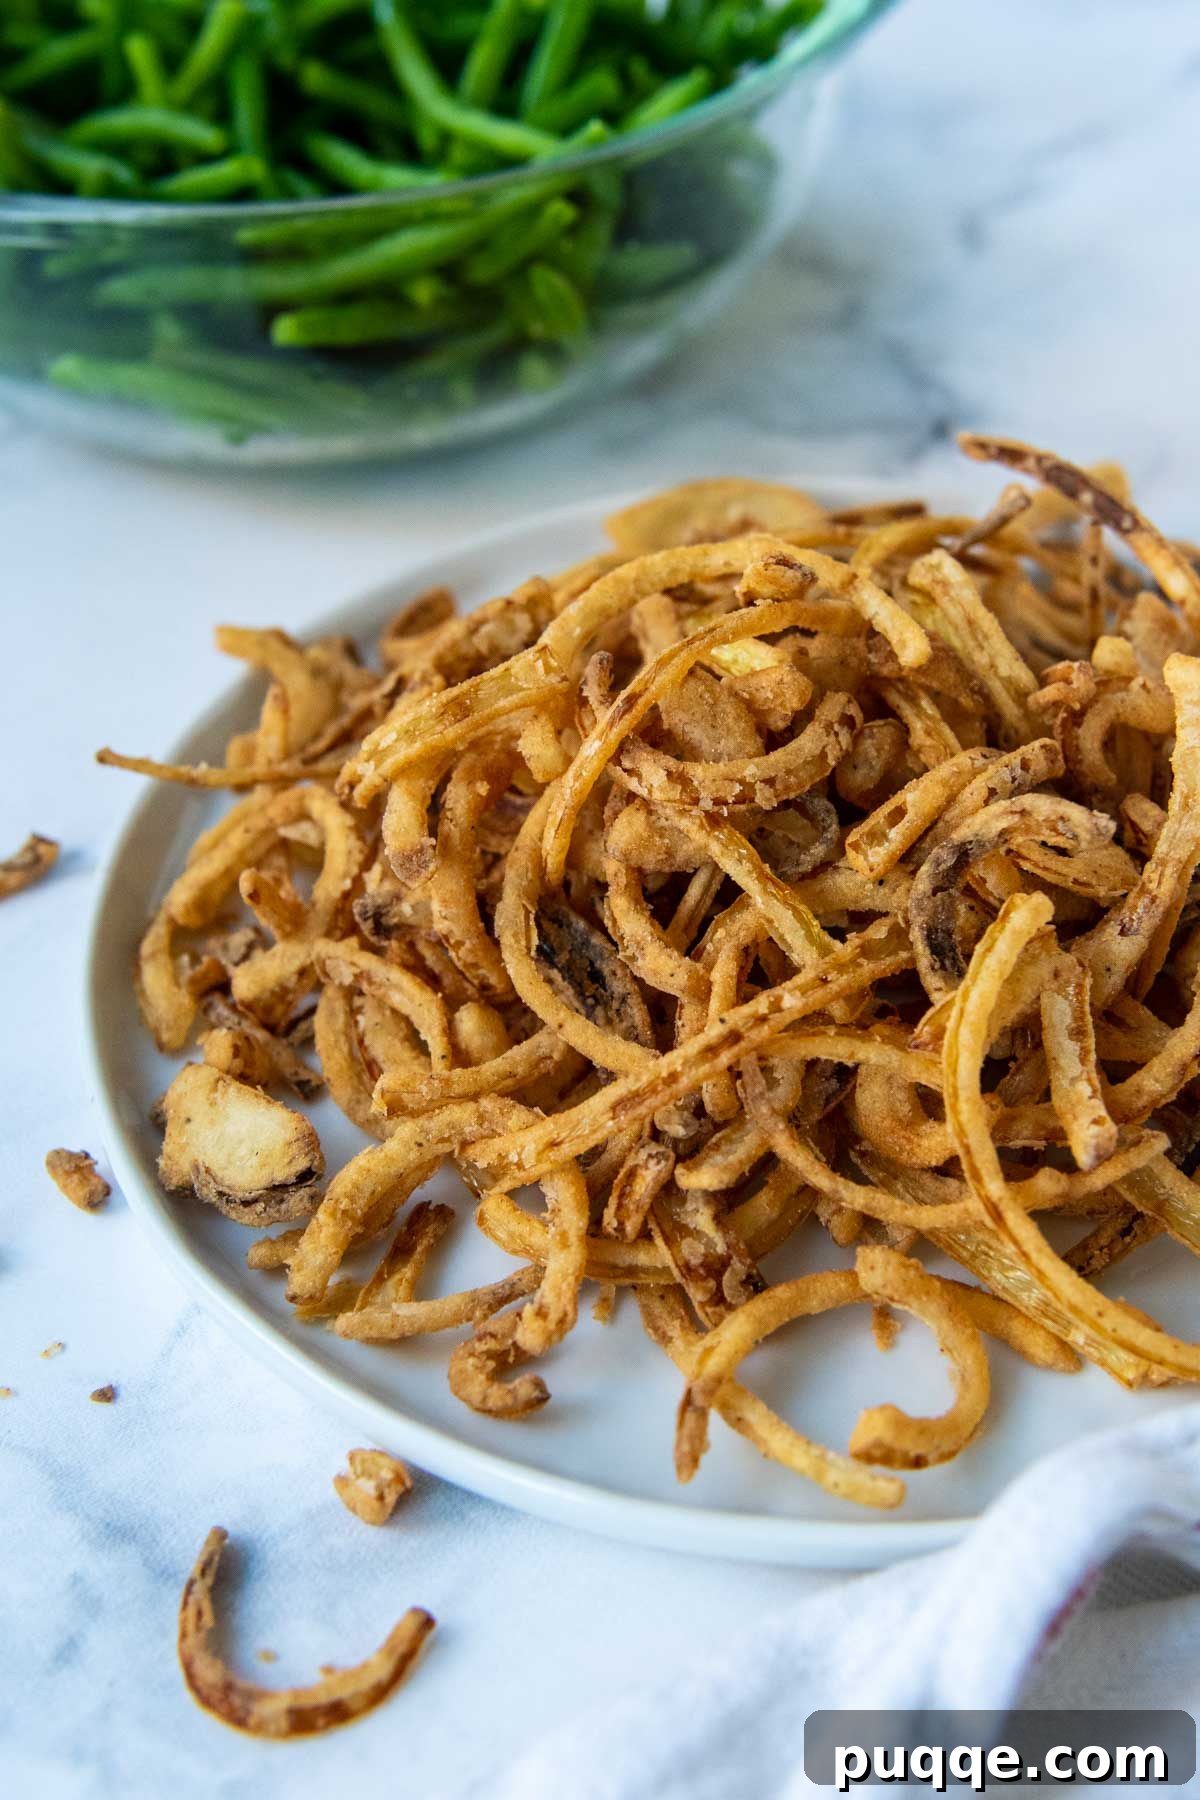
Are you yearning for that irresistible crunch of French fried onions but need a gluten-free option? Look no further! This homemade recipe for crispy gluten-free French fried onions isn’t just a substitute; it’s an elevated culinary experience. Forget the store-bought containers and bland imitations – prepare yourself for an explosion of flavor and texture that will completely transform your favorite dishes, especially the beloved from-scratch gluten-free green bean casserole. With a simple, easy-to-master coating and a preparation time that will surprise you, these golden-brown onion straws are a game-changer. Get ready to enjoy the ultimate crunchy topping or a deliciously addictive snack, anytime you desire!
The Unbelievably Delicious Truth About Homemade Gluten-Free Fried Onions
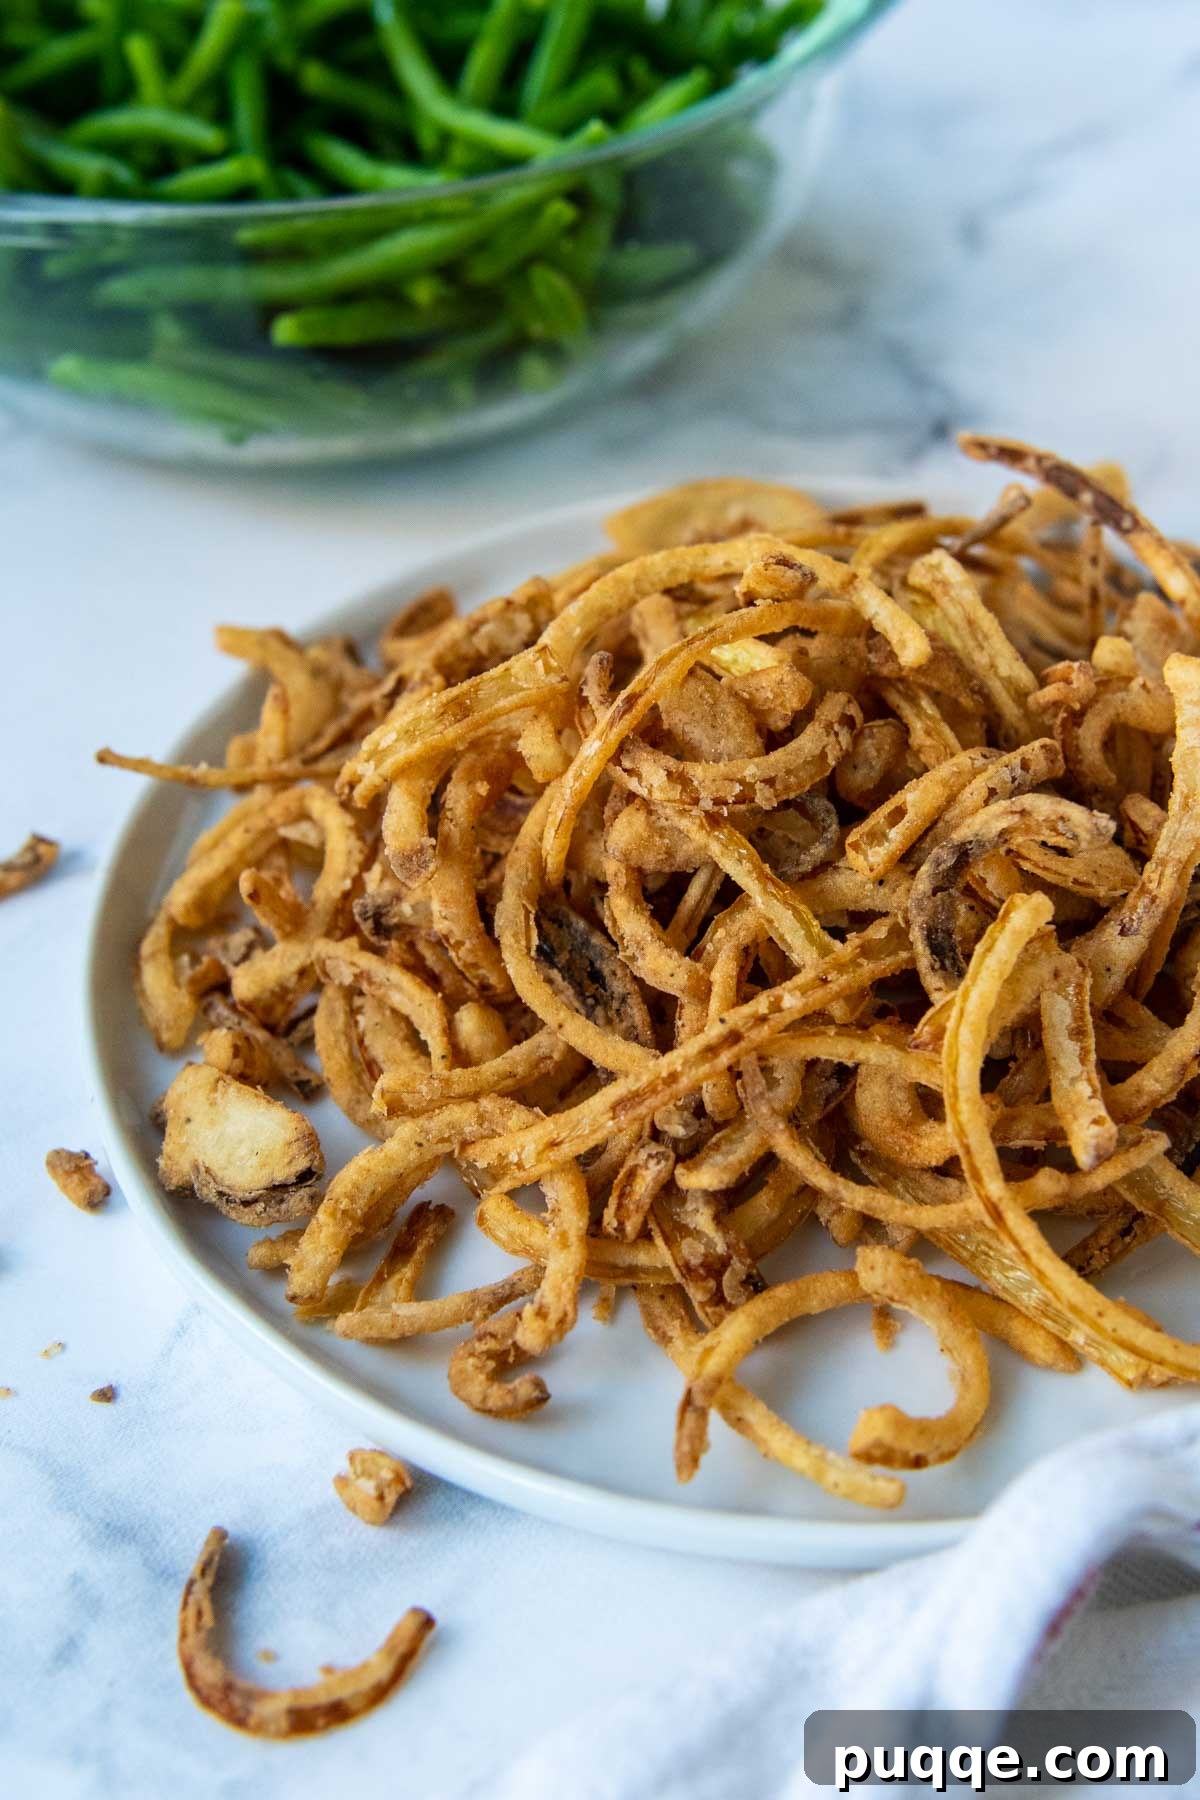
Let’s be candid: my journey into creating a homemade gluten-free fried onion recipe began with healthy skepticism. I envisioned a kitchen disaster – a complicated, messy process culminating in soggy, uninspired onion bits. The reality, however, was a revelation. These from-scratch gluten-free French fried onions were not only surprisingly simple to prepare but the final product truly astonished me. They surpassed every expectation, delivering an unparalleled crispness and depth of flavor that store-bought versions can only dream of.
Imagine those tantalizingly crispy haystack onion straws you simply can’t stop snacking on. That’s precisely what you’ll achieve with this recipe, only better. The moment they emerged from the oil, their golden hue and irresistible aroma made them impossible to resist. Not only did I find myself “testing” bites repeatedly, but my entire family couldn’t keep their hands off them! I had to whip up a second batch almost immediately, just to ensure we had enough to grace our Thanksgiving gluten-free green bean casserole. This recipe isn’t just for a holiday topping; it’s a culinary triumph for anyone seeking a truly special gluten-free treat.
Whether your goal is to recreate the quintessential crunchy topping for your traditional green bean casserole, or you’re simply craving a guilt-free indulgence akin to delicious gluten-free mozzarella sticks, this recipe is your undisputed winner. It’s a versatile staple that will quickly become a cherished part of your gluten-free repertoire, proving that homemade doesn’t have to mean difficult, and gluten-free certainly doesn’t mean sacrificing flavor or crunch.
I will never use fried onions in a container again!!! I am gluten intolerant and these are the best ever.
—Susan
Essential Ingredients: Your Path to Crispy Perfection
Crafting homemade French’s Onions, but with an effortless gluten-free twist, is truly something to celebrate! Be warned, though: these crispy delights vanish quickly, often before they even reach their intended destination. If you’re planning to use them for anything other than immediate snacking—perhaps as a stellar topping for a holiday casserole or a delightful side for battered gluten-free fish—you might want to strategically “hide” a portion from eager snackers!
- Onion Selection: For the most exquisite flavor, a large Spanish or Vidalia onion is highly recommended. These varieties offer a natural sweetness that beautifully complements the savory coating. However, don’t despair if you only have a yellow onion on hand; I’ve used them in a pinch, and the results were still incredibly delicious! The key is to slice the onion very thinly and uniformly, ensuring each piece cooks evenly and achieves maximum crispness. Aim for slices that are about 1/8 to 1/16 inch thick.
- Buttermilk / Milk Substitute: Buttermilk is crucial for tenderizing the onions and helping the flour adhere, creating that perfect crispy coating. If you don’t have buttermilk readily available, or if you require a dairy-free alternative, making your own “soured milk” is incredibly easy. Simply add 1½ tablespoons of white vinegar (or lemon juice) to a liquid measuring cup, then fill the rest of the way with your preferred milk (dairy or non-dairy like almond or soy milk) until it reaches 1½ cups total. Give it a gentle stir and let it sit for 5-10 minutes. The milk will slightly curdle, creating a perfect buttermilk substitute that works just as wonderfully.
- Gluten-Free Flour: The beauty of this recipe lies in its flexibility regarding gluten-free flour. You truly don’t need a specialty blend here. Any reliable gluten-free all-purpose flour blend will work wonders, as you only need a small quantity for the coating. Whether it’s a rice flour blend, a blend with tapioca starch, or cornstarch, the goal is a light, even coating. Just ensure your chosen blend doesn’t contain xanthan gum if you prefer to avoid it, although it won’t negatively impact the outcome here.
- Frying Oil: For deep frying, a neutral-flavored oil with a high smoke point is essential. Canola oil or vegetable oil are excellent choices, providing a clean taste that allows the onion flavor to shine. You will need a sufficient amount to create a depth of at least 2 inches in your pan, which typically means a couple of cups or more, depending on the size of your skillet. Maintaining the correct oil temperature is paramount for achieving that signature golden crispness without making the onions greasy or burnt, so be generous with your oil.
- Seasoned Salt and Pepper: A simple combination of seasoned salt and black pepper provides a foundational savory flavor that enhances the natural sweetness of the onions. Feel free to adjust the amount of seasoned salt to your preference, or even experiment with a pinch of garlic powder or paprika for an extra layer of taste.
Indispensable Equipment for the Perfect Fry
While this recipe is straightforward, having the right tools on hand can significantly enhance your experience and guarantee optimal results. These kitchen essentials will ensure your gluten-free fried onions are consistently crispy, evenly cooked, and utterly delicious.
- Heavy-Bottomed, Deep Skillet: This is more than just a pan; it’s an investment in your culinary future. A high-quality stainless steel, heavy skillet is ideal because it excels at maintaining a consistent oil temperature, which is critical for frying. Its superior heat conduction prevents dramatic temperature fluctuations that can lead to soggy or burnt onions. Alternatively, a sturdy cast iron skillet also works exceptionally well, offering excellent heat retention for even frying. The depth of the skillet is also important to safely contain the hot oil and allow the onions to float and fry properly without overcrowding.
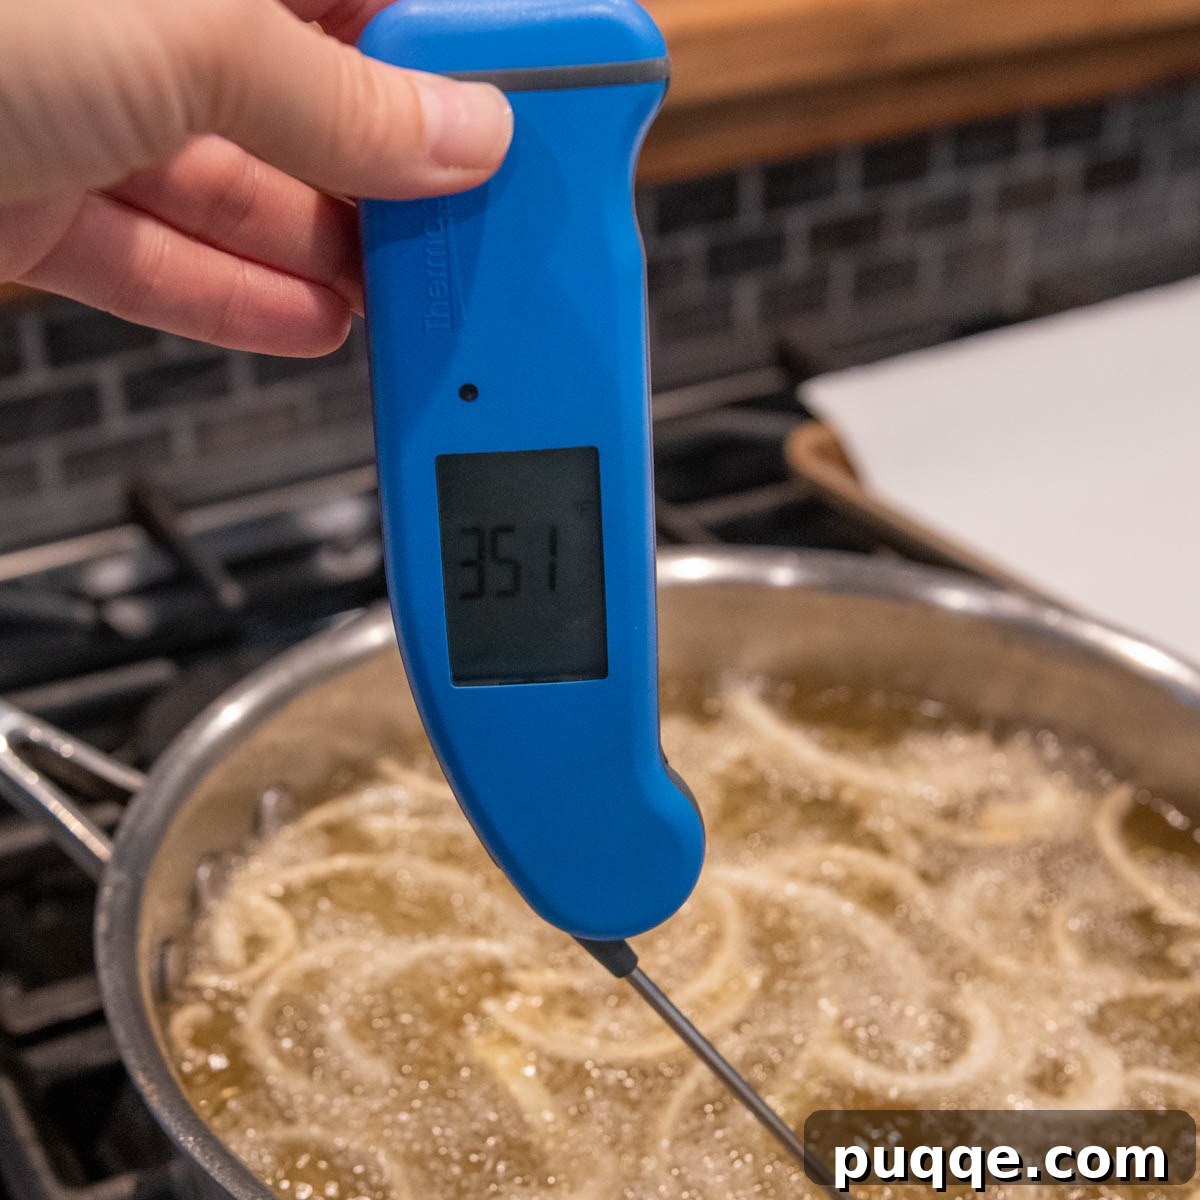
- Instant Read Thermometer: When it comes to frying, precision is everything. An instant-read thermometer is arguably one of the most valuable tools in any kitchen. I personally consider my Thermoworks Thermapen an indispensable possession. It not only provides quick and accurate readings for meat temperatures but also functions perfectly as a candy thermometer or, in this case, for maintaining the precise oil temperature needed for frying. Consistently holding the oil at 350ºF is the secret to achieving that beautifully even golden-brown coating and preventing your fried onions from becoming greasy (if the oil is too cool) or burning (if it’s too hot).
- Wire Skimmer: This simple tool makes a world of difference in safety and efficiency. A wire skimmer allows you to quickly and safely remove the fried onions from the hot oil, letting any excess oil drip away easily back into the pan. This quick transfer prevents the onions from overcooking and helps preserve their crispness. If a wire skimmer isn’t available, a sturdy slotted spoon can also be used, though a skimmer with its broader, open mesh is generally more effective for delicate items like fried onions.
Watch This Recipe: Crispy Gluten-Free French Fried Onions
Let’s Make This Together: A Step-by-Step Guide!
(The following section provides detailed step-by-step photos and enhanced instructions to guide you through the process. For the complete recipe, including precise ingredient amounts and nutritional information, please scroll down to the comprehensive recipe card below.)
1. Prepare and Soak the Sliced Onions
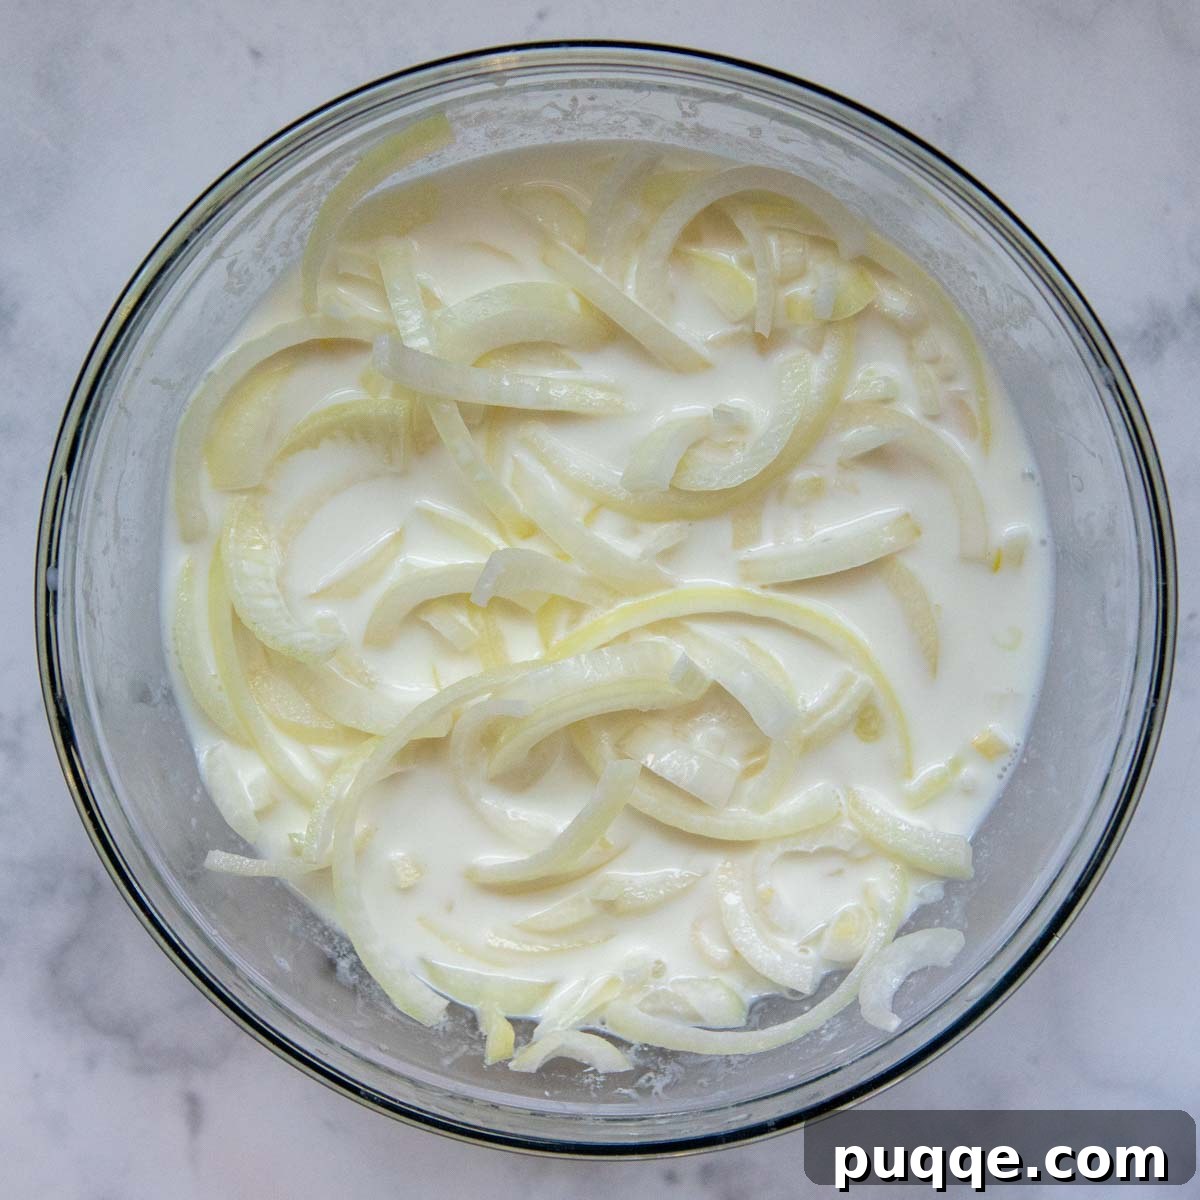
The first crucial step is to prepare your buttermilk or its homemade equivalent. If you’re not using store-bought buttermilk, begin by adding 1½ tablespoons of vinegar (white vinegar or apple cider vinegar works great) into a liquid measuring cup. Then, top it off with enough milk (dairy or your preferred dairy-free alternative like almond or soy milk) to reach a total volume of 1½ cups. Stir this mixture gently and allow it to sit for approximately 5 minutes. This brief resting period will cause the milk to slightly curdle, creating a functional and flavorful soured milk.
Next, pour your prepared soured milk or buttermilk into a large bowl. Add the thinly and uniformly sliced onions to the liquid, ensuring they are fully submerged. Let them soak for a good 10 to 30 minutes. This soaking process is vital for two reasons: firstly, it helps to mellow out the pungent, strong flavor of raw onions, resulting in a milder, more palatable fried onion. Secondly, the acidity in the buttermilk or soured milk tenderizes the onion slices and provides a tacky surface, allowing the flour and seasonings to adhere much more effectively, which is key to a consistent, crispy coating.
2. Drain and Thoroughly Coat
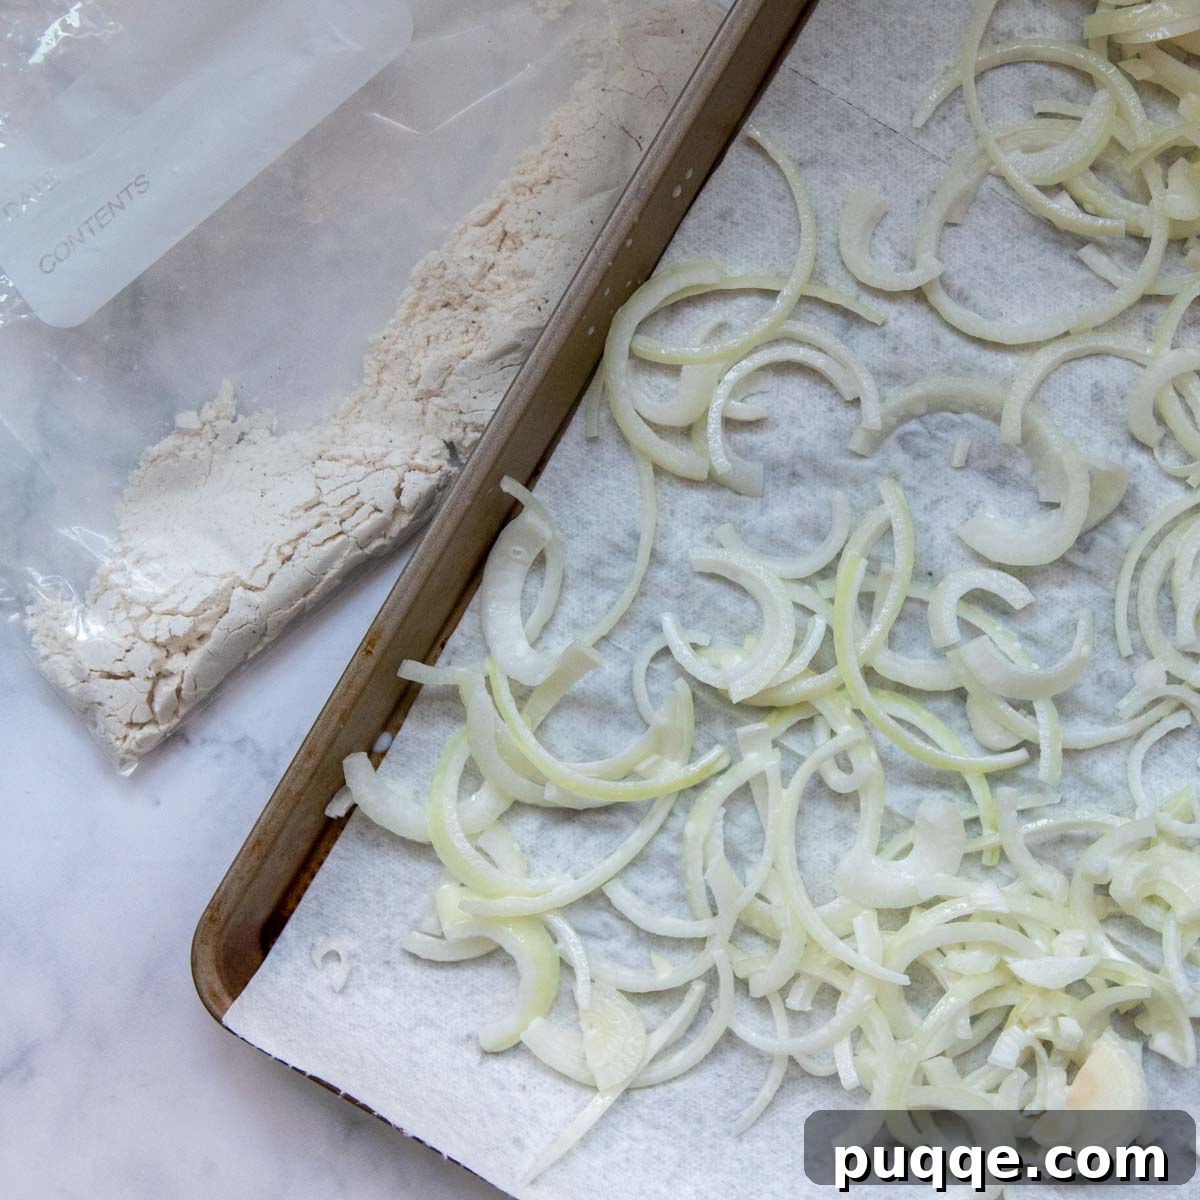
Once the onions have finished soaking, it’s time to prepare them for their crispy transformation. Use a wire skimmer or a slotted spoon to carefully remove the onion slices from the buttermilk mixture, allowing any excess liquid to drip off. Transfer these drained onions to a baking sheet generously lined with several layers of paper towels. The paper towels will absorb any remaining surface moisture, which is critical for achieving a truly crispy fry. Allow them to air dry for a few minutes while you prepare the dry coating.
In a large resealable freezer bag (a gallon-sized bag works perfectly for easy shaking), combine your gluten-free all-purpose flour, seasoned salt, and pepper. Seal the bag and shake vigorously to ensure all the dry ingredients are thoroughly combined and evenly distributed. Now, add the slightly dried onion slices into the bag with the seasoned flour. Seal the bag tightly again, making sure there’s some air trapped inside to allow for movement. Shake the bag continuously and gently for a minute or two, tumbling the onions until each slice is completely and evenly coated with the flour mixture. This shaking method is a fantastic, mess-free way to ensure perfect coverage!
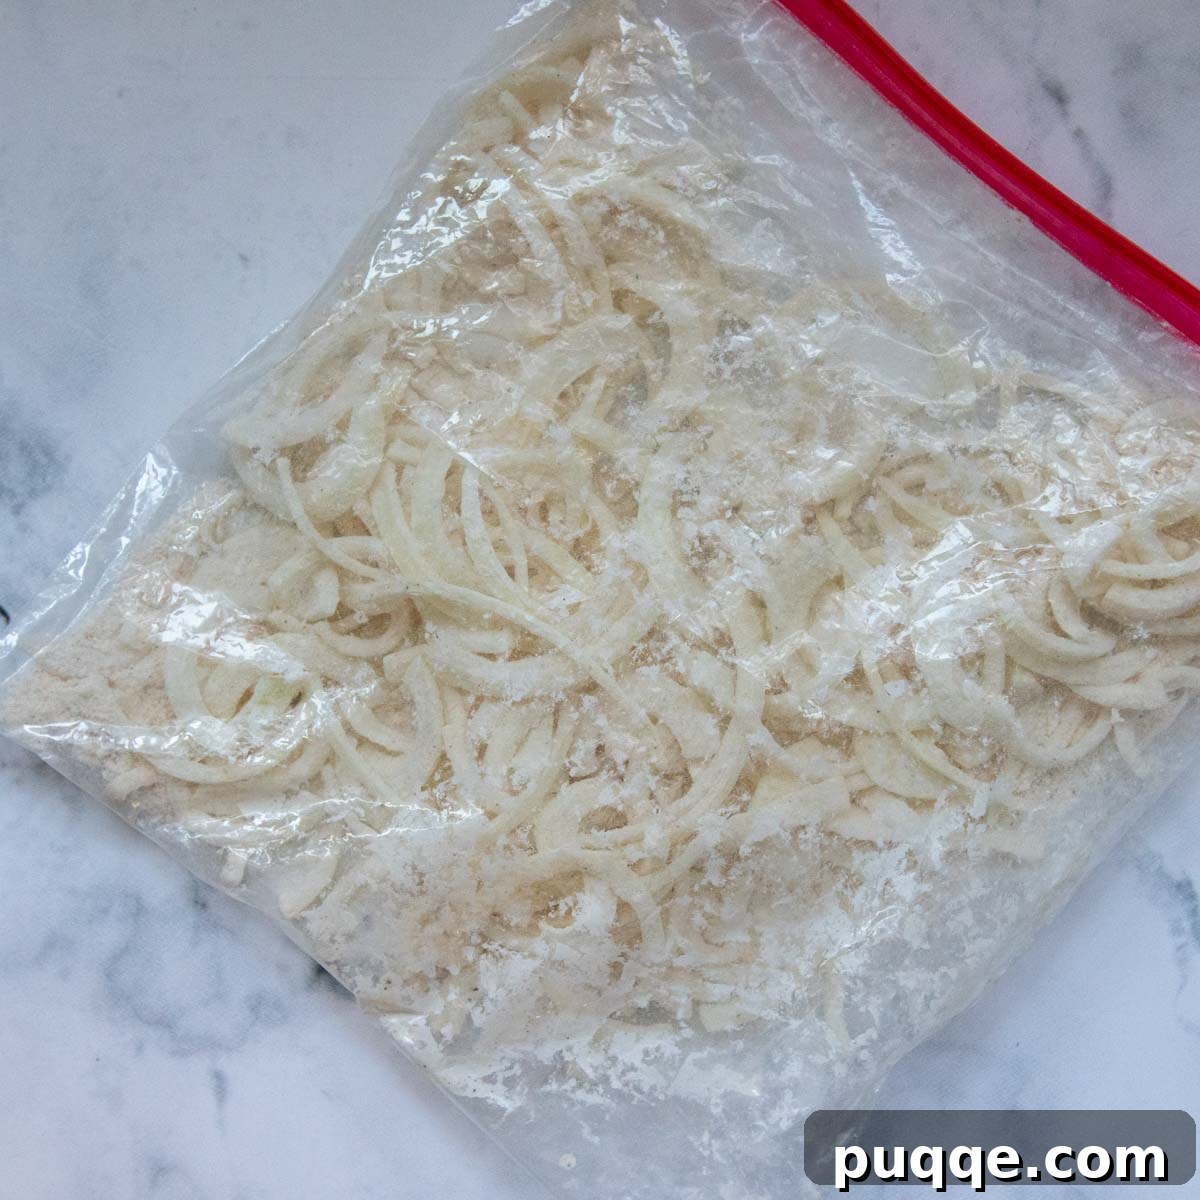
3. The Fry Time: Achieving Golden Crispness
Pour enough vegetable or canola oil into your large, deep skillet to achieve a depth of approximately 2 inches. Place the skillet over medium heat and allow the oil to heat up gradually. Using your instant-read thermometer, monitor the oil temperature until it reaches a precise 350ºF (175ºC). This typically takes about 10 minutes, but be patient and don’t rush the heating process. Maintaining this exact temperature throughout the frying process is paramount for success. If the oil is not hot enough, your onion straws will absorb too much oil and become greasy and soggy. If the oil is too hot, they will brown too quickly on the outside while remaining undercooked internally, or simply burn.
Once the oil is at the correct temperature, carefully add the flour-coated onions to the hot oil in manageable batches. Avoid overcrowding the pan, as this will drop the oil temperature significantly and lead to less crispy results. Frying in 3-4 batches is usually ideal. Immediately after adding them, gently stir the onions briefly with your wire skimmer to prevent them from sticking together and ensure they brown evenly. Fry each batch for approximately 3 minutes, or until they achieve a beautiful, uniform golden-brown color and are wonderfully crisp. Use the wire skimmer to quickly lift the fried onions from the oil, allowing excess oil to drain, and transfer them immediately to another baking sheet lined with a fresh double layer of paper towels. The paper towels will wick away any remaining oil, preserving their crisp texture. It will be challenging, but seriously, try your best not to “snack” on them all before they make it to your serving dish!
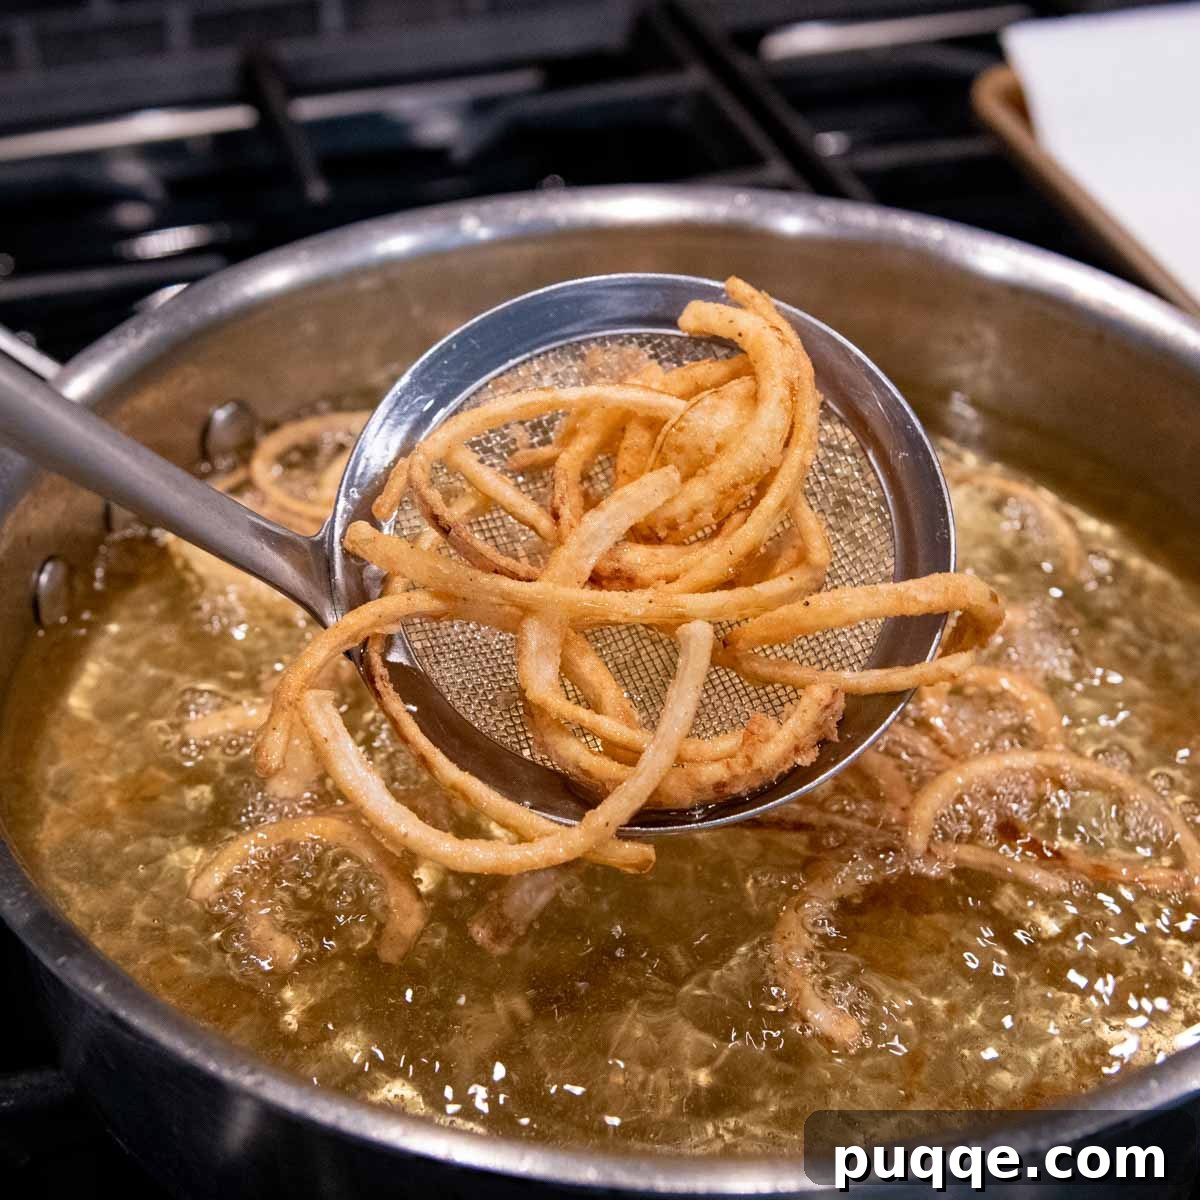
Beyond the Casserole: Creative Ways to Enjoy Crispy Onion Straws
While French fried onions are undeniably the quintessential topping for a classic green bean casserole, their incredible crispness and savory flavor make them incredibly versatile. Don’t limit these homemade delights to just one dish! Here are numerous other delicious ways to incorporate your crispy gluten-free onion straws into your meals and snacks:
- Gluten-Free Haystack Onion Straws: Serve them as a standalone snack, piled high like a golden haystack. They’re utterly addictive when dipped in your favorite sauces like creamy ranch, tangy thousand island dressing, or classic ketchup. Perfect for movie night or game day!
- Chili Topping: Elevate a hearty bowl of chili by sprinkling a generous amount of these crispy onions on top. Their crunch provides a fantastic textural contrast to the rich, stew-like consistency of chili. They’re also an unexpected and delightful side dish idea for chili.
- Burger & Sandwich Topping: Move over, raw onions! These fried beauties make an exceptional burger topping, adding both crunch and a deeply savory, slightly sweet flavor. They’re also fantastic inside grilled cheese sandwiches, wraps, or hot dogs for an extra layer of texture and taste.
- Casserole Enhancer: Beyond green bean casserole, these onions can top nearly any savory casserole – from tuna noodle to chicken and rice. They add a professional, gourmet touch and that coveted crispy texture.
- Mashed Potato Perfection: Stir them directly into mashed potatoes for an amazing textural surprise, or simply sprinkle them generously over a mound of creamy potatoes just before serving.
- Soup & Salad Game Changer: Forget croutons! These crispy onion straws make an incredible, flavorful topping for creamy soups like tomato or potato soup, and add an exciting crunch to any fresh garden salad. They stand up well to dressings without immediately becoming soggy.
- Steak Accompaniment: Serve them alongside a perfectly grilled steak, much like you would onion rings. Their delicate texture and rich flavor pair wonderfully with red meat.
- Breakfast Burrito Boost: Add a handful to your breakfast burritos or scrambled eggs for an unexpected savory crunch that will kickstart your day.
- Crusted Coatings: Crush them slightly and use them as a crispy coating for chicken tenders, fish fillets, or even baked potatoes before baking for a unique twist.
The possibilities are endless once you realize how truly versatile and delicious these homemade gluten-free French fried onions are. Get creative and let their delightful crunch enhance every meal!
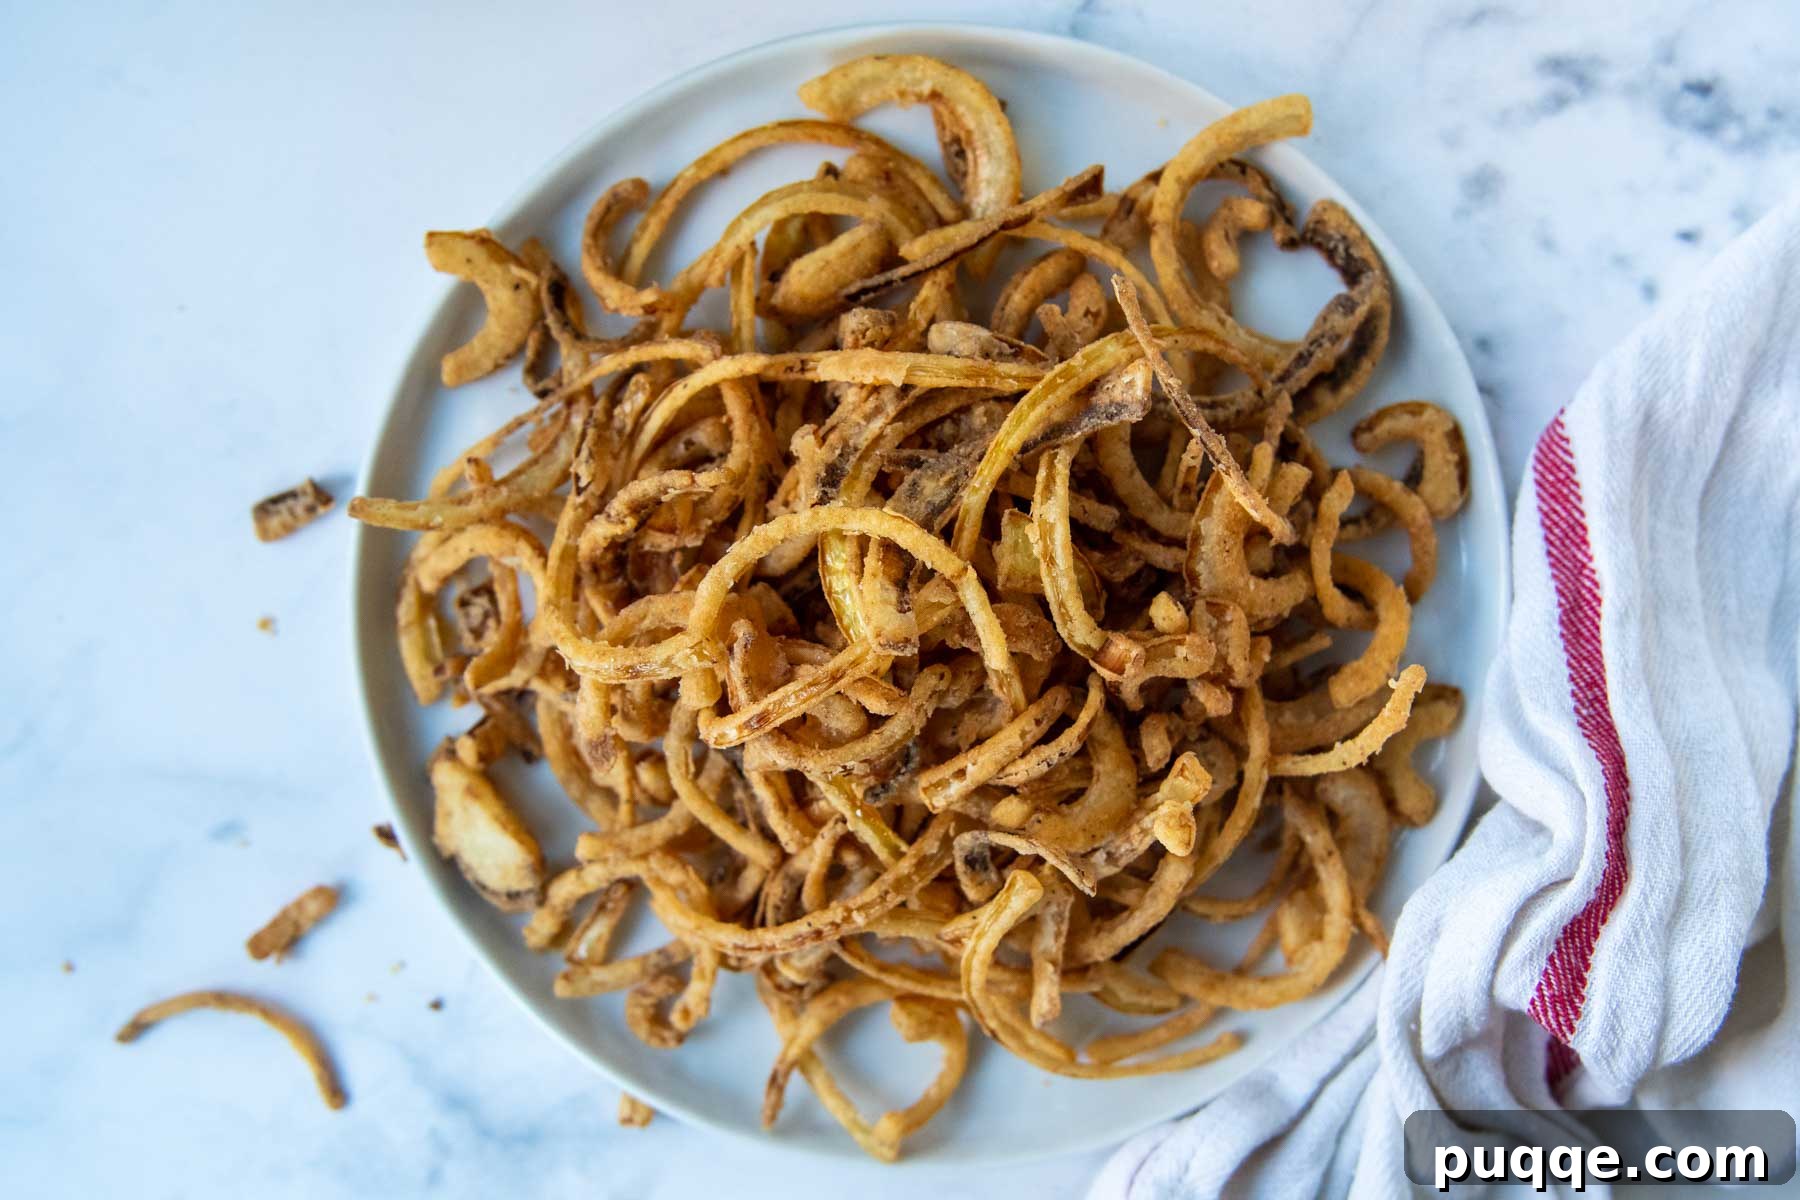
Don’t Lose This Recipe! Save It to Your Pinterest Board!
Let’s be friends on Pinterest! I’m always sharing great recipes and culinary inspiration!
Did you make this recipe? I absolutely love hearing from you! Your feedback helps our community thrive. Please leave a star rating and comment below the recipe card to share your experience. I make it a priority to respond to every comment! -Melissa
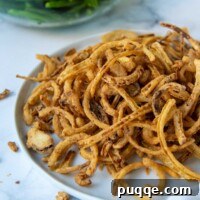
Crispy Gluten-Free French Fried Onions (Easy Prep)
 Melissa Erdelac
Pin Recipe
Rate Recipe
Remove Ads
Ingredients
- 1 ½ cups buttermilk or soured milk*, see recipe notes for soured milk
- 1 large Vidalia or Spanish onion, halved and thinly sliced
- 6 tablespoons gluten-free all purpose flour
- ½ teaspoon seasoned salt
- ⅛ teaspoon pepper
- vegetable or canola oil, for frying
Equipment
-
Deep Skillet
-
Skimmer Spoon
-
Instant Read Thermometer
Instructions
-
If you are not using store-bought buttermilk, prepare your soured milk first. Add 1½ tablespoons of vinegar to a liquid measuring cup, then add enough milk (dairy or dairy-free) to reach a total of 1½ cups. Stir and let sit for 5 minutes. Pour the soured milk or buttermilk into a large bowl.1 ½ cups buttermilk or soured milk*
-
Add the thinly sliced onions to the milk mixture and let them soak for 10-30 minutes to mellow their flavor and tenderize them. While the onions soak, combine the gluten-free flour, seasoned salt, and pepper in a large ziplock bag. Shake the bag vigorously to ensure the dry ingredients are well combined and set aside.1 large Vidalia or Spanish onion, 6 tablespoons gluten-free all purpose flour, ½ teaspoon seasoned salt, ⅛ teaspoon pepper
-
Using a wire skimmer or slotted spoon, remove the onions from the milk mixture, allowing excess liquid to drip off. Transfer them to a paper-towel lined baking sheet to briefly drain any remaining moisture. Once slightly drier, transfer the onions to the ziplock bag containing the seasoned flour mixture and shake thoroughly until all onion slices are evenly coated.
-
Add enough vegetable or canola oil to a large, deep skillet so that the oil measures approximately 2 inches deep. Heat the oil over medium heat until your instant-read thermometer registers a consistent temperature of 350ºF (175ºC). This typically takes about 10 minutes. It is crucial to maintain this temperature throughout the frying process to prevent the onion straws from becoming greasy (if too cool) or burnt (if too hot). Line a separate baking sheet with a double layer of paper towels and set it near your frying station for easy transfer.
-
Working in 3-4 batches to avoid overcrowding the pan, carefully add the coated onions to the hot oil. Stir briefly with the wire skimmer to separate any clumps and ensure even browning. Fry for approximately 3 minutes, or until the coating turns a beautiful golden brown and the onions are wonderfully crisp. Using the wire skimmer, remove the fried onions and transfer them to the paper-towel lined baking sheet to drain any excess oil. Repeat this process with the remaining coated onions until all batches are fried to perfection. Serve immediately as a snack, or use as a delicious casserole topping!
Notes
Storing Tips:
Once completely cooled, these homemade fried onions will retain their crispness for 2-3 days when stored in an airtight container at room temperature. It is important NOT to refrigerate them, as the moisture in the fridge will cause them to become soggy.
To reheat and restore their delightful crunch, simply spread them in a single layer on a dry baking sheet and bake in a 350ºF (175ºC) oven for a few minutes until they are crisp again.
While I haven’t personally experimented with freezing these onions, I believe it wouldn’t pose an issue. If you do freeze them and find them slightly soggy upon thawing, a quick crisping in a 350ºF (175ºC) oven should revive their texture beautifully.
Carbohydrates: 12g,
Protein: 3g,
Fat: 2g,
Saturated Fat: 1g,
Polyunsaturated Fat: 1g,
Monounsaturated Fat: 1g,
Cholesterol: 7mg,
Sodium: 261mg,
Potassium: 147mg,
Fiber: 1g,
Sugar: 6g,
Vitamin A: 100IU,
Vitamin C: 3mg,
Calcium: 85mg,
Iron: 1mg
Did you make this recipe?Please leave a star rating and review below. It helps others when searching for recipes and I LOVE feedback!