
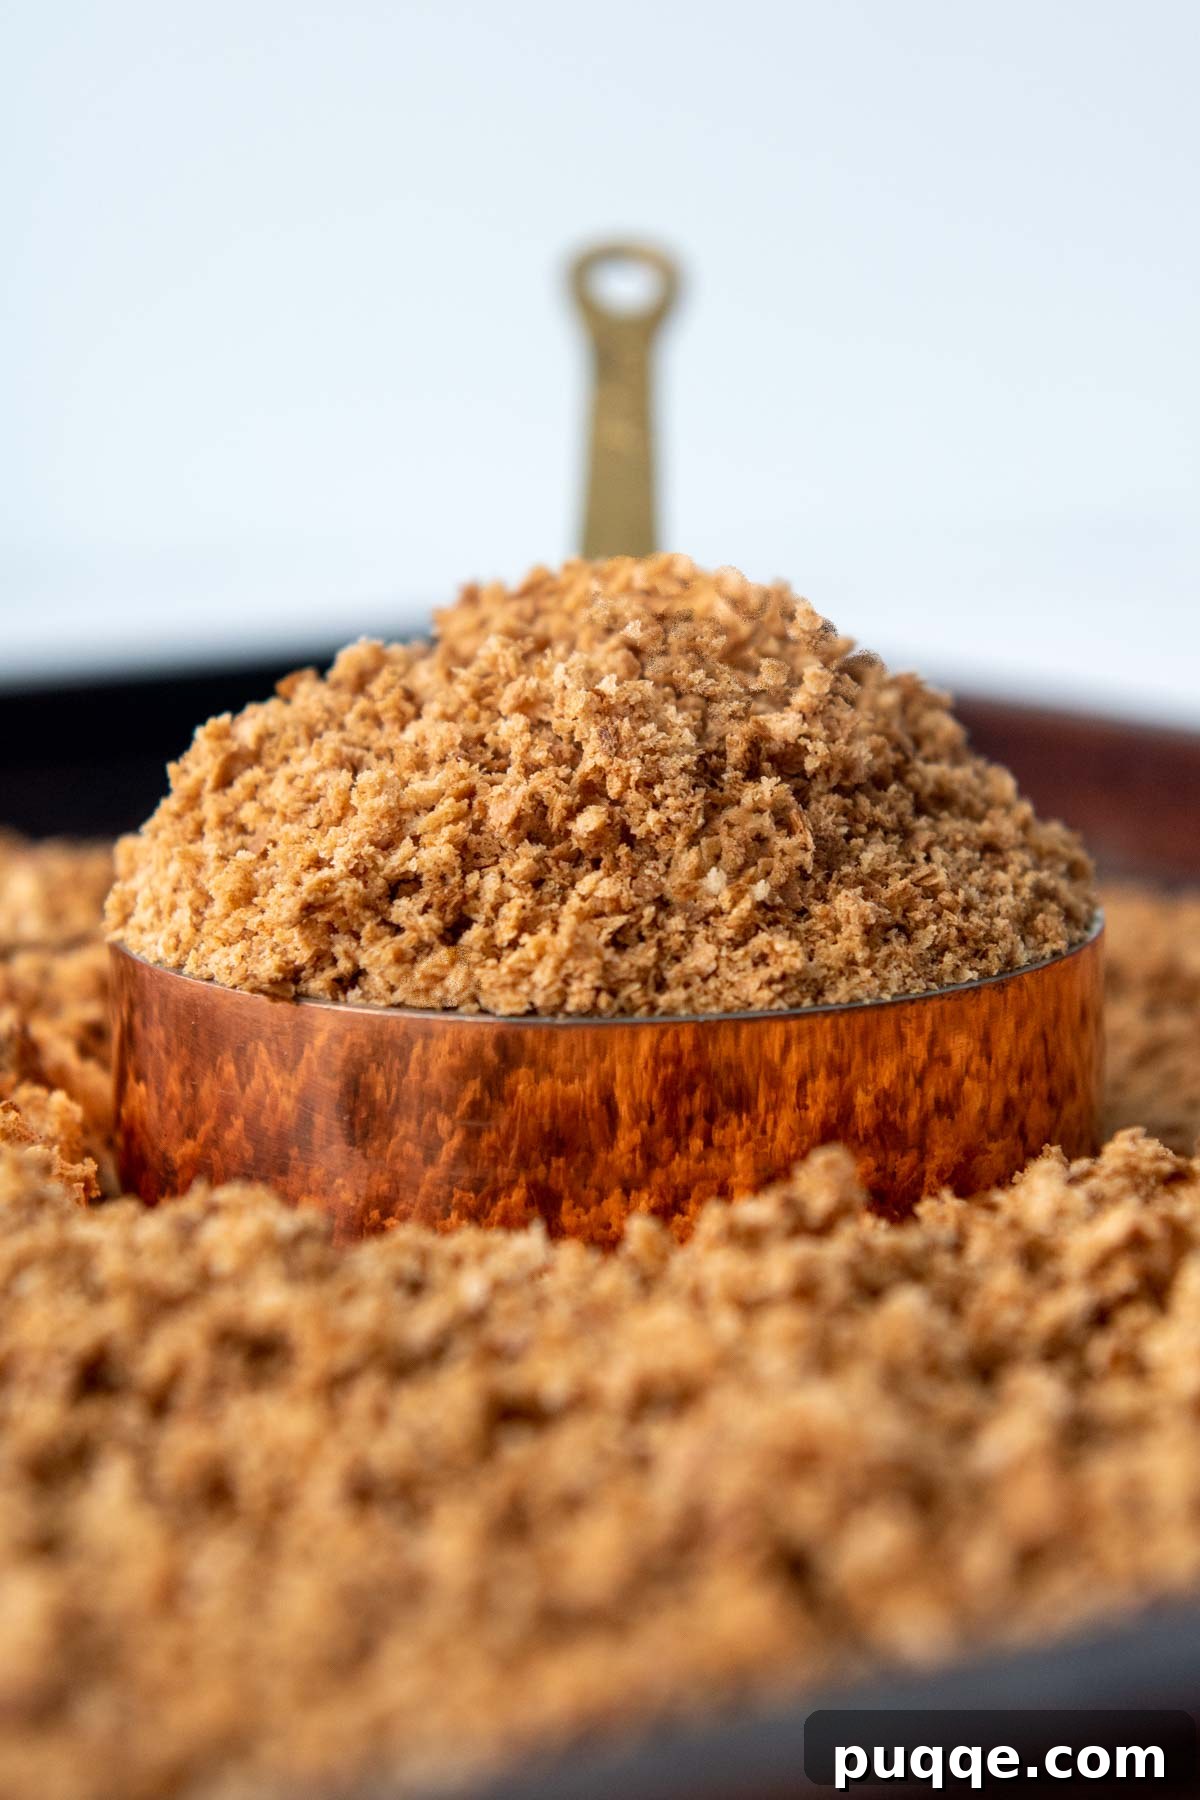
Say goodbye to the endless search for fresh, high-quality gluten-free breadcrumbs at the grocery store! As an experienced gluten-free cook, I understand the frustration of limited options and often inflated prices for specialty ingredients. But what if I told you that in just under 20 minutes, using a mere 10 slices of any type of gluten-free bread, you can easily create your own fresh, versatile breadcrumbs right at home? This DIY approach not only saves you money but also guarantees a superior product perfect for a wide range of gluten-free recipes, from savory meatballs and classic meatloaf to crispy chicken fingers and delightful casserole toppings.
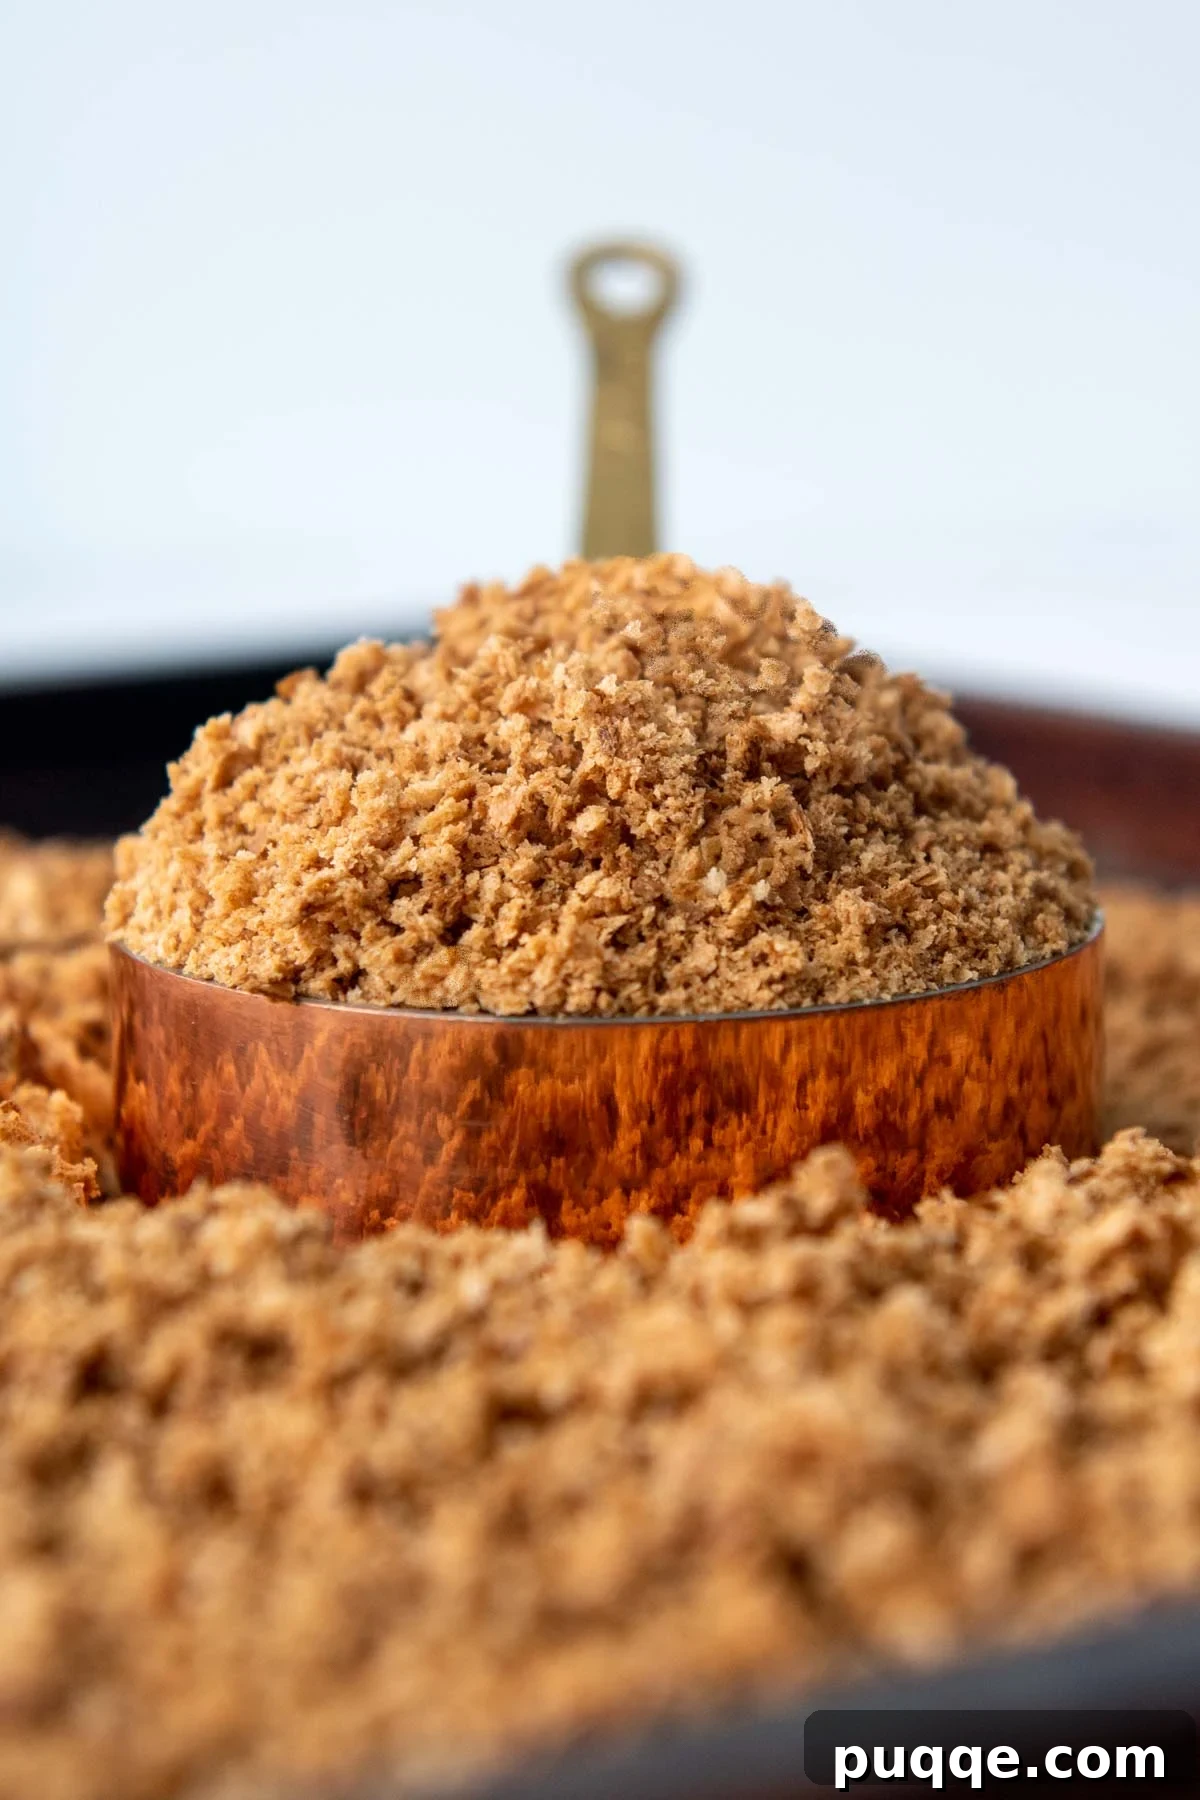
The Ultimate Guide to Homemade Gluten-Free Breadcrumbs: Easy, Affordable & Versatile
This comprehensive guide will empower you to transform leftover gluten-free bread into golden, crispy breadcrumbs with minimal effort. Whether you’re a seasoned chef or a kitchen novice, you’ll learn the simple steps, discover essential equipment (and ingenious workarounds if you don’t have them!), explore various texture options like Panko, and even master the art of Italian-seasoned crumbs. Get ready to elevate your gluten-free cooking with the freshest, most flavorful breadcrumbs you’ve ever tasted!
Why Make Your Own Gluten-Free Breadcrumbs? The Unbeatable Benefits
Ditching store-bought gluten-free breadcrumbs for homemade versions comes with a host of advantages that go beyond simple convenience. Here’s why making your own is a game-changer for any gluten-free kitchen:
- Cost Savings: Gluten-free products often carry a premium price tag. By utilizing bread that might otherwise go stale or be discarded, you significantly reduce food waste and save money on expensive store-bought alternatives. This is especially true if you frequently find yourself with a few leftover slices or bread heels.
- Unmatched Freshness and Flavor: Homemade breadcrumbs boast a freshness and vibrant flavor that pre-packaged varieties simply cannot replicate. The aroma of freshly toasted crumbs is incomparable, and this translates directly into more delicious finished dishes.
- Control Over Ingredients: When you make your own, you know exactly what goes into them. This means no artificial preservatives, unnecessary additives, or hidden ingredients. You can also control the salt content and ensure all components meet your dietary needs.
- Avoid Cross-Contamination: For those with severe gluten sensitivities or Celiac disease, store-bought breadcrumbs, even if labeled “gluten-free,” can sometimes pose a risk of cross-contamination during manufacturing. Making them at home eliminates this concern entirely.
- Customizable Texture: Whether you prefer fine, delicate crumbs for binding or coarse, crunchy crumbs for coating, you have complete control over the texture. This allows you to tailor your breadcrumbs precisely to the recipe at hand, achieving perfect results every time.
- Reduce Food Waste: This method is an excellent way to use up those last few slices of bread, crusts, or even “failed” homemade loaves that might otherwise end up in the bin. It’s a sustainable practice that makes the most of your pantry staples.
What You’ll Need: Simple Ingredients & Essential Equipment
Making delicious gluten-free breadcrumbs requires very few items, many of which you likely already have in your kitchen.
The Star Ingredient: Gluten-Free Bread
The only essential ingredient for your gluten-free breadcrumbs is, of course, gluten-free bread! The beauty of this recipe is its flexibility. You can use:
- Any type of gluten-free bread: White, whole grain, sourdough, corn, rice-based – whatever you have on hand or prefer. A mix of different types can even add interesting depth of flavor.
- Homemade or store-bought bread: Both work equally well. This is a fantastic way to use up bread that’s past its prime.
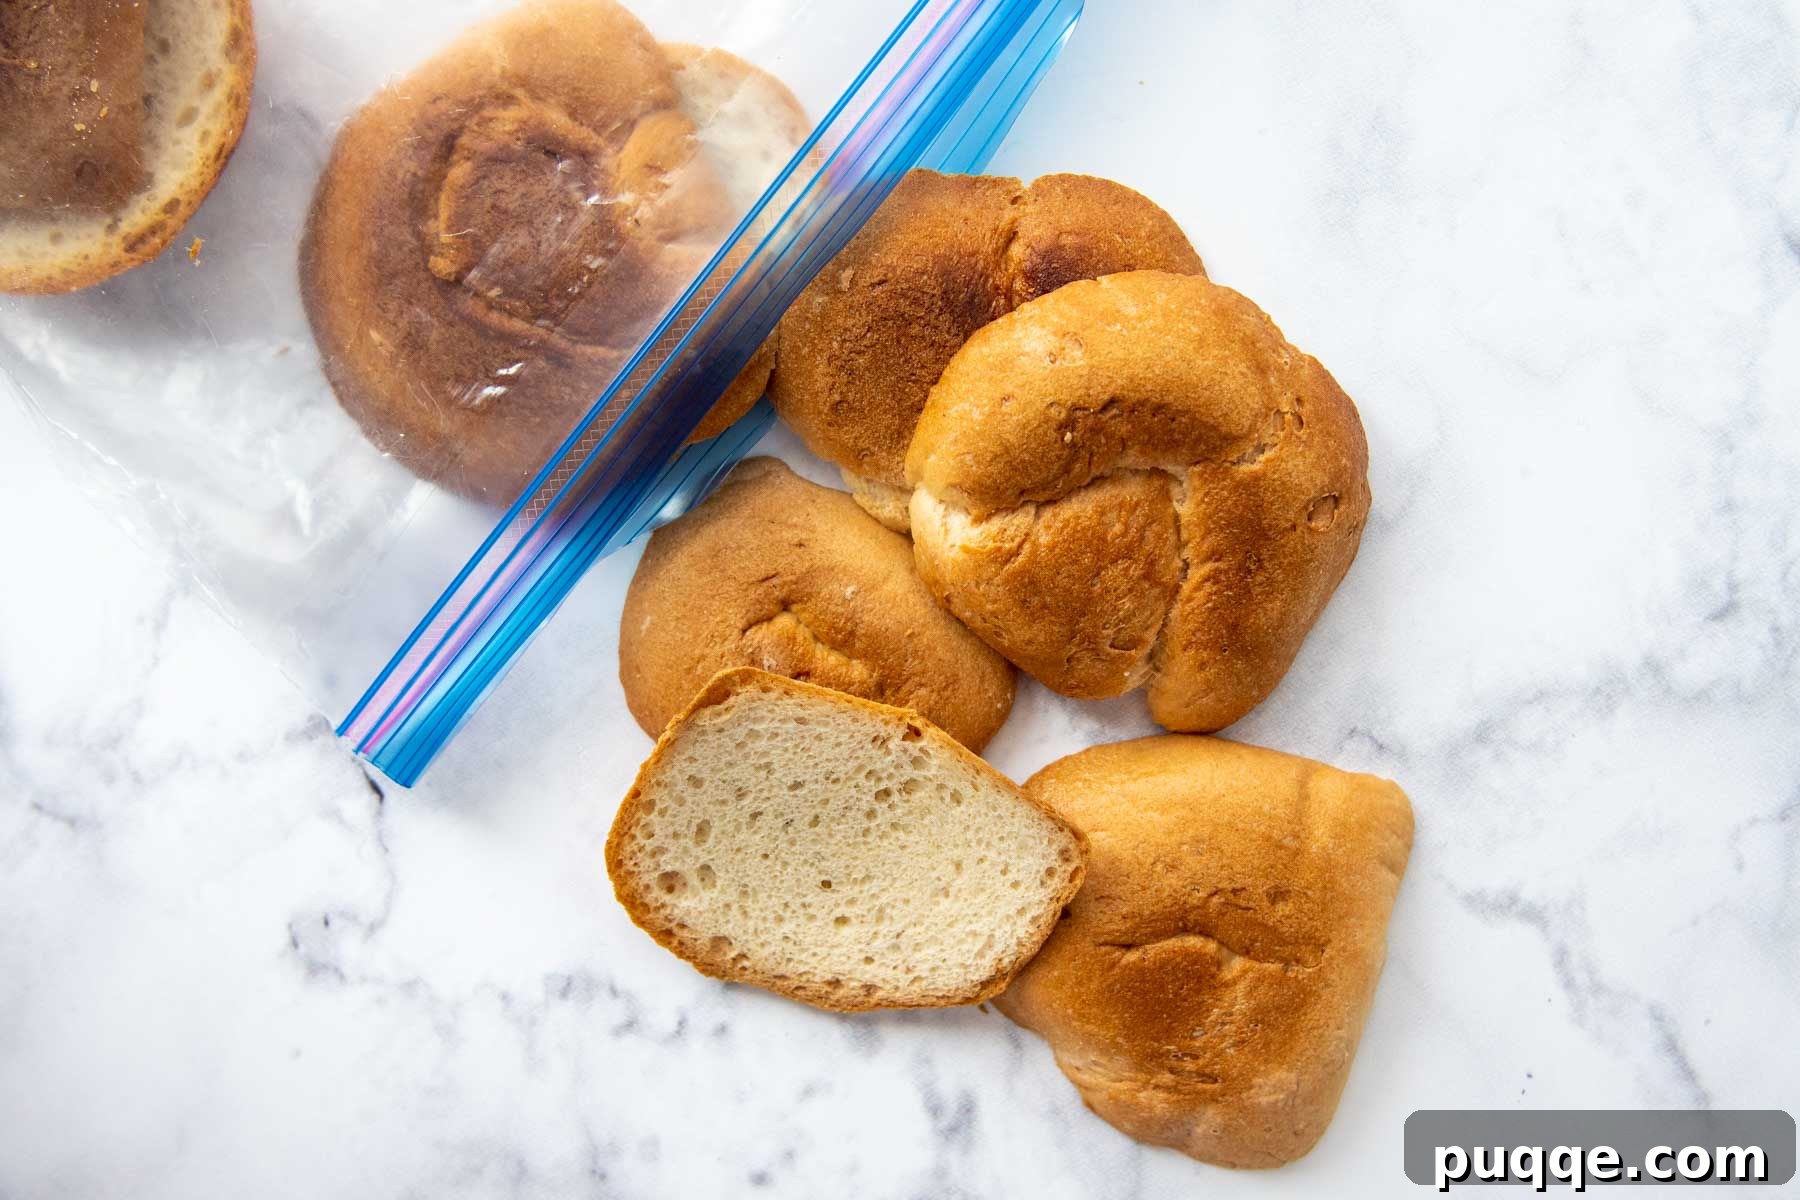
- Leftovers and odds and ends: Don’t throw away those bread heels, crusts, or slightly dry slices! Even leftover hamburger buns, hot dog rolls, or dinner rolls can be repurposed into excellent breadcrumbs.
Ideally, your bread should be a little stale or dry. If you know you’ll be making breadcrumbs in a few days, simply leave a few slices out on the counter to air dry. This helps them crisp up faster in the oven and results in a lighter, drier crumb. If your bread is fresh, a quick toast in the oven or toaster before processing can help achieve a similar effect.
A smart tip for minimizing waste is to keep a large ziplock bag in your freezer specifically for bread heels and any other gluten-free bread that’s drying out. Once the bag is full, you’ll have a ready supply for a batch of homemade breadcrumbs!
Essential Kitchen Tools
The core process involves breaking down bread into crumbs and then drying them. Here’s what you’ll typically use:
- Food Processor: This is the most efficient tool for making breadcrumbs, offering excellent control over texture, from fine to coarse.
- Blender: A high-speed blender can also work wonders, especially for fresh or slightly stale bread. You might need to process in smaller batches to avoid overcrowding.
- Baking Sheet: Essential for toasting the breadcrumbs evenly in the oven, ensuring they are perfectly dry and crispy.
No Special Equipment? No Problem! (Manual Methods)
Even without a food processor or blender, you can still achieve fantastic homemade gluten-free breadcrumbs. Patience and a little elbow grease are all you need!
- Rolling Pin, Mallet, or Heavy Pot: This method is ideal for dry, toasted bread. Place your dried bread slices inside a sturdy ziplock bag, seal it, and then use a rolling pin, meat mallet, or the bottom of a heavy pot to crush the bread into crumbs. Apply even pressure and keep crushing until you reach your desired consistency.
- Cheese Box Grater: A standard box grater can be surprisingly effective, especially for dry bread. Use the largest holes for coarser crumbs and smaller holes for finer ones. This method gives you excellent control and works well for small batches.
- Spice or Coffee Grinder: For very small quantities of dry bread, a spice or coffee grinder can create incredibly fine crumbs. Just be sure to thoroughly clean the grinder beforehand to prevent your breadcrumbs from absorbing any lingering coffee or spice flavors!
Step-by-Step Guide to Perfect Homemade Gluten-Free Breadcrumbs
Making your own gluten-free breadcrumbs is a straightforward process that yields impressive results. Follow these simple steps for perfectly toasted, flavorful crumbs:
Basic Fresh Breadcrumbs
- Prepare Your Bread: If using frozen bread, allow it to thaw completely. For best results, slightly stale or air-dried bread works wonderfully as it processes more easily and toasts faster. If your bread is very fresh, you might want to lightly toast it in the oven for a few minutes before processing to help dry it out.
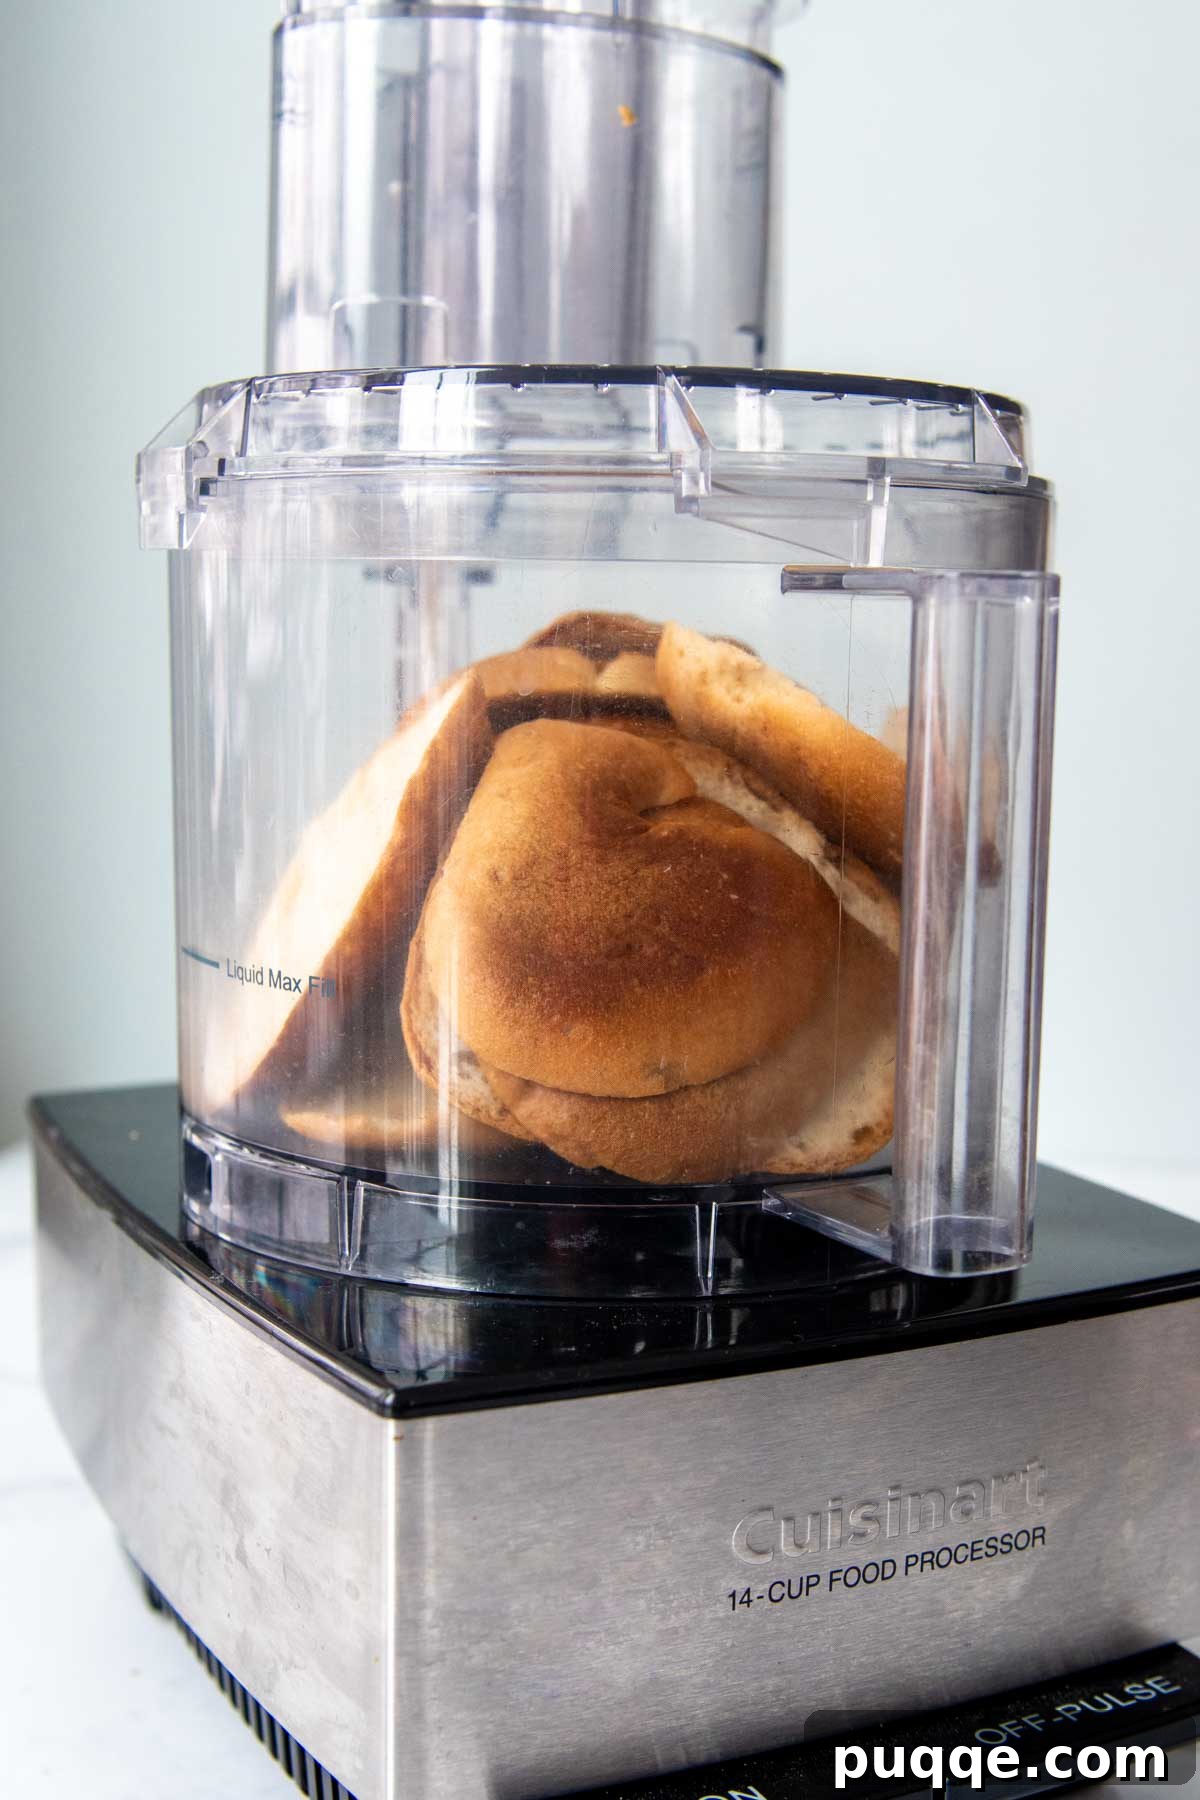
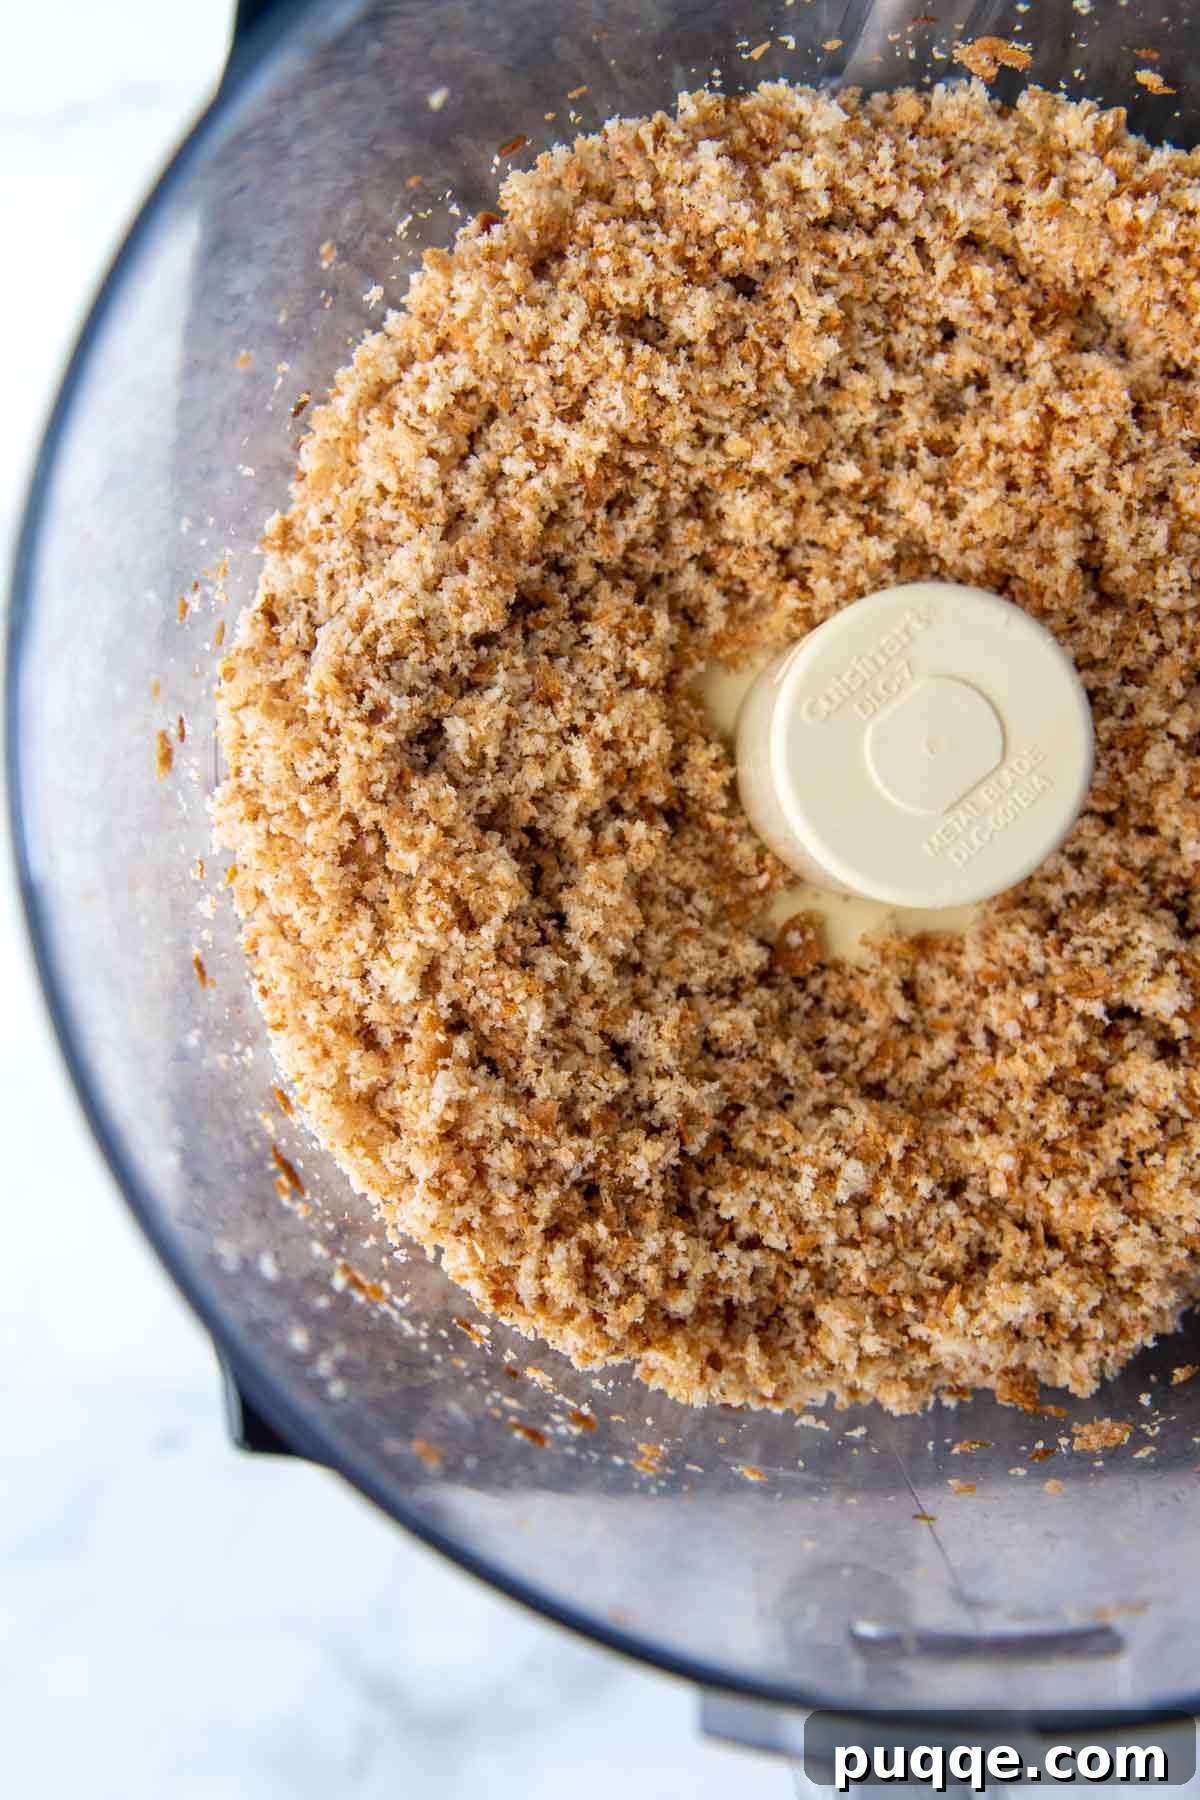
- Process the Bread: Break or tear the gluten-free bread slices into smaller pieces and place them in your food processor or high-speed blender. If you’re making a larger batch (more than 10 slices), you may need to process it in two smaller batches to ensure even crumbling. Pulse the bread until it breaks down into crumbs. For coarser crumbs, pulse only a few times. For finer crumbs, process for up to a minute, stopping occasionally to scrape down the sides.
- Toast for Texture and Shelf-Life: Preheat your oven to 400°F (200°C) and set an oven rack to the center position. Spread the processed breadcrumbs evenly in a single layer on an ungreased baking sheet. Avoid overcrowding the pan; if you have a large quantity, use two baking sheets. Bake for 10 minutes. Remove the pan from the oven, stir the crumbs thoroughly to ensure even toasting, and then return to the oven for another 3-5 minutes, or until the breadcrumbs are golden brown, crispy, and completely dry to the touch.
- Cool and Store: Allow the breadcrumbs to cool completely on the baking sheet before transferring them to an airtight container. Cooling is crucial to prevent moisture buildup, which can lead to sogginess or spoilage.
Yield Information: How Many Breadcrumbs Per Slice?
Understanding the yield can help you plan your batches efficiently:
- One slice of fresh gluten-free bread typically yields about ⅓ cup of soft, fresh breadcrumbs.
- After being toasted and dried, this amount will reduce to approximately ¼ cup of crispy breadcrumbs.
- Therefore, you will generally need about 4 slices of gluten-free bread to make 1 cup of toasted breadcrumbs.
Elevating Your Crumbs: Flavor Variations & Types
Once you’ve mastered the basic gluten-free breadcrumb, you can easily customize them to suit specific recipes and taste preferences.
How to Make Gluten-Free Panko Breadcrumbs
Originating in Japan, Panko breadcrumbs are renowned for their light, airy, and flaky texture, which results in an exceptionally crispy coating. While traditional Panko is not gluten-free, you can easily replicate its unique qualities at home using gluten-free white bread.
To make gluten-free Panko, you’ll want coarser crumbs than traditional breadcrumbs. The key is to remove the crusts from your gluten-free white bread slices before processing. Use the grater disc attachment on your food processor, if you have one, or pulse the bread briefly and in small batches to create larger, more irregular flakes. Then, toast them in the oven as described in the basic instructions until they are perfectly dry and golden.
Homemade Gluten-Free Italian Breadcrumbs
Italian seasoned breadcrumbs are a pantry staple, perfect for adding a burst of savory flavor to dishes like chicken Parmesan or meatballs. It’s incredibly simple to make your own gluten-free version:
When grinding your gluten-free bread in the food processor, add the following seasonings for every 2 cups of breadcrumbs:
- ½ teaspoon salt
- ½ teaspoon garlic powder
- 1 teaspoon onion powder
- 1 teaspoon Italian seasoning (a blend of oregano, basil, thyme, rosemary, marjoram, and sage)
Process the bread and seasonings together until well combined. Then, spread the seasoned crumbs on a baking sheet and bake in a 400°F (200°C) oven for 10-15 minutes, stirring halfway through, until they are toasted and fragrant.
Other Seasoning Ideas: Feel free to experiment with other flavor profiles. Consider adding smoked paprika and cayenne for a spicy kick, dried herbs like rosemary and thyme for an herby blend, or even a dash of nutritional yeast for a cheesy flavor.
Creative Gluten-Free Breadcrumb Substitutes
Sometimes, despite your best efforts, you might find yourself without any gluten-free bread on hand. Or perhaps you’re looking for an alternative for specific dietary needs or a different flavor profile. Fear not! Many fantastic gluten-free substitutes can mimic the texture and function of breadcrumbs in your recipes. For best results, crush these substitutes finely in a food processor or place them in a ziplock bag and crush with a rolling pin or mallet.
- Homemade Almond Flour or Almond Meal: Excellent for binding and adding a nutty flavor. Naturally gluten-free and low-carb.
- Certified Gluten-Free Rolled Oats: When finely ground, oats can make a wonderful binder or coating. Ensure they are certified gluten-free to avoid cross-contamination.
- Gluten-Free Crackers: Crush your favorite gluten-free crackers for a savory, seasoned breadcrumb substitute.
- Corn Flakes: Many corn flakes are naturally gluten-free (always check labels!). Crush them for a crunchy coating.
- Crushed Nuts: Almonds, pecans, walnuts, or cashews can be ground into a coarse meal, adding richness and a unique texture to coatings and binders.
- Gluten-Free Pretzels: Crushed gluten-free pretzels offer a salty, crunchy alternative, particularly good for sweet-and-savory dishes or coatings.
- Potato Chips: For a salty, crispy, and flavorful coating, crushed potato chips can be surprisingly delicious.
- Rice or Corn Chex Cereal: These cereals are typically gluten-free and can be crushed to create light, crispy crumbs, similar to panko.
- Crushed Pork Rinds: A popular keto-friendly and gluten-free option, pork rinds provide a savory, crunchy texture ideal for breading and toppings.
Storage Solutions for Maximum Freshness
Proper storage is key to extending the shelf life of your homemade gluten-free breadcrumbs and ensuring they remain fresh and crispy for future use.
- Pantry: For short-term storage (up to two weeks), keep your completely cooled and thoroughly dried breadcrumbs in an airtight container in a cool, dark pantry.
- Refrigerator: To extend freshness, store breadcrumbs in an airtight container in the refrigerator for up to one month.
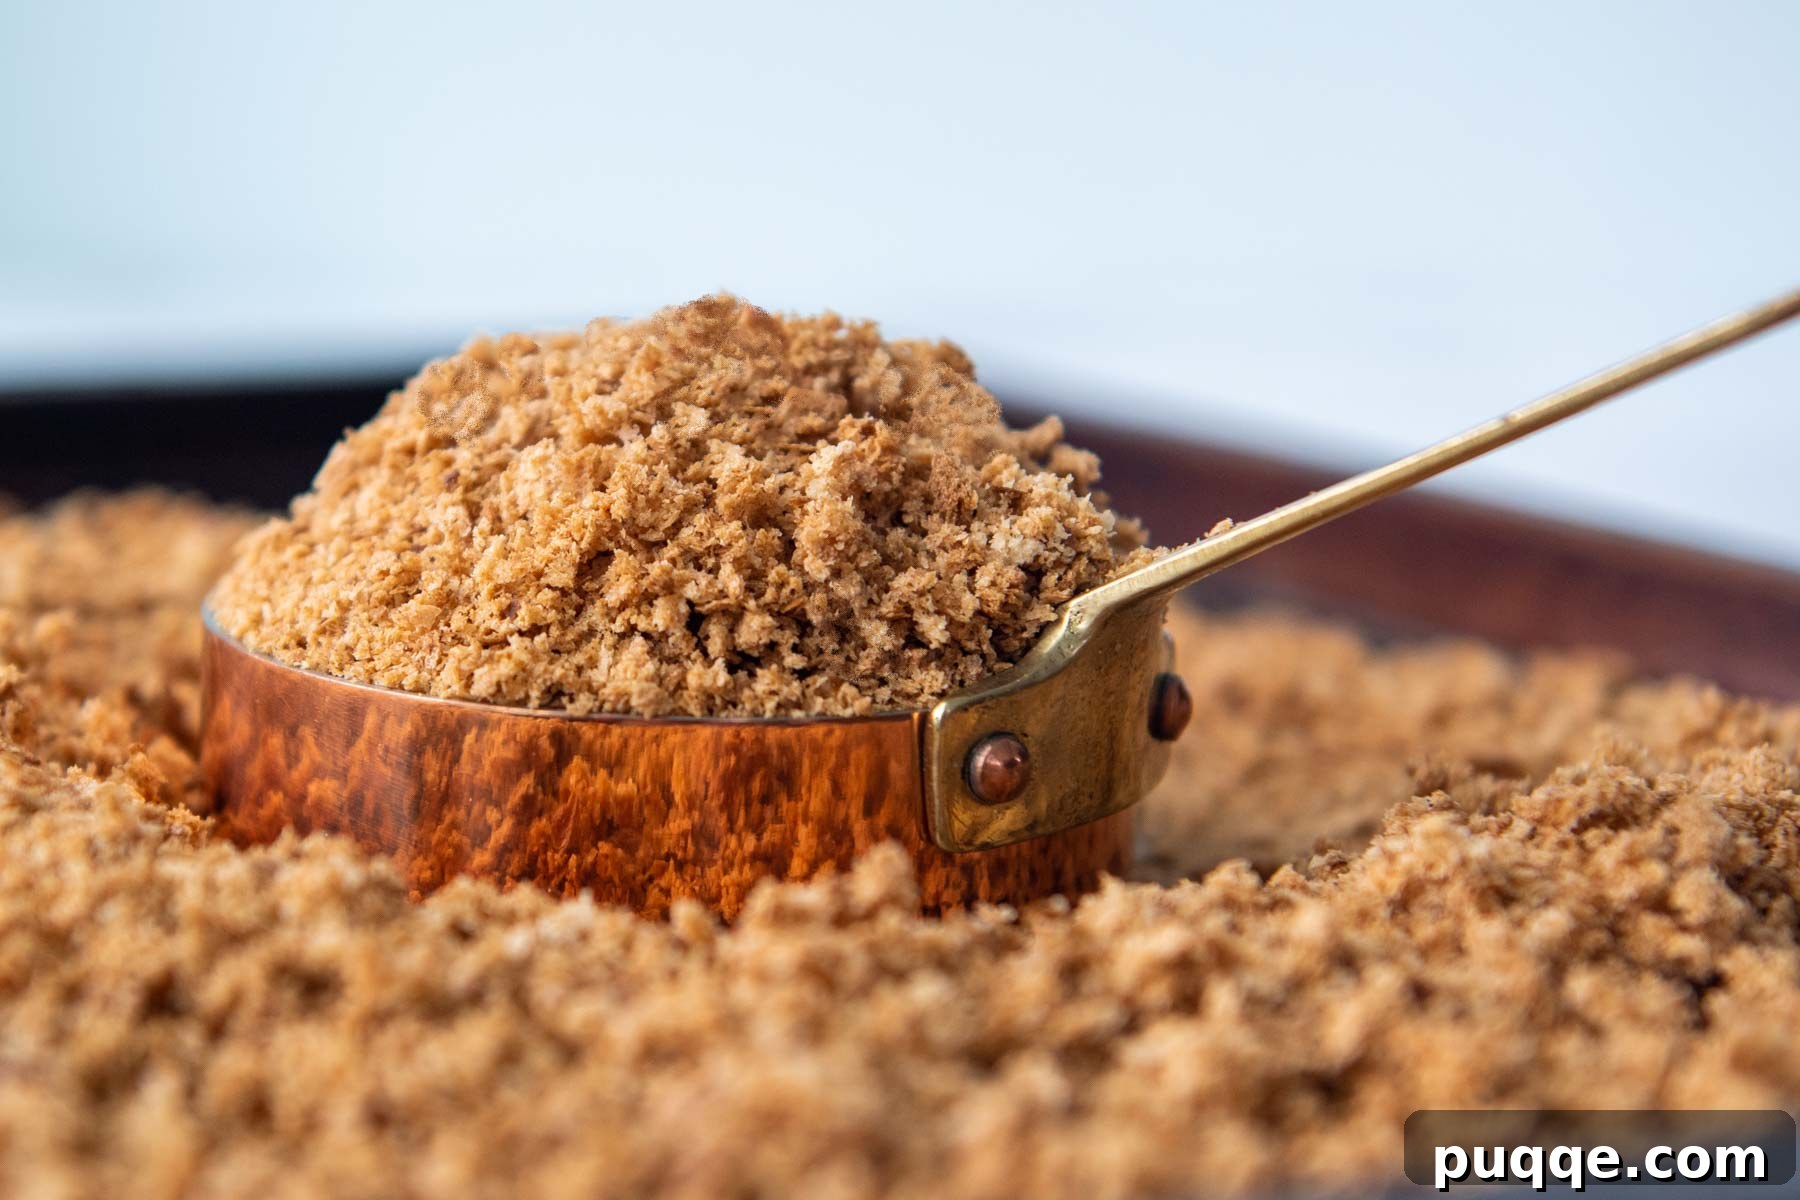
- Freezer: For the longest shelf life, the freezer is your best friend. Stored in a freezer-safe, airtight container or bag, your gluten-free breadcrumbs will remain fresh for up to six months. The best part? You don’t even need to thaw them before using them in recipes; simply scoop out what you need from the freezer bag and use immediately!
Crucial Storage Tips: Regardless of your chosen method, always ensure there is absolutely no moisture present in the container before sealing, as moisture is the enemy of crispy breadcrumbs and can lead to mold. Label your containers with the date to keep track of freshness.
Unleash the Flavor: Recipes Using Your Homemade GF Breadcrumbs
Once you have a batch of these glorious homemade gluten-free breadcrumbs, a world of culinary possibilities opens up! You can confidently swap them into your favorite recipes and rediscover dishes you might have thought were off-limits.
- Classic Coatings: Perfect for crispy Chicken Parmesan, schnitzel, fried fish, or crunchy onion rings.
- Binding Agent: Use them to bind ingredients in meatloaf, meatballs, salmon patties, or delicious gluten-free veggie burgers.
- Crusty Toppings: Sprinkle over baked macaroni and cheese, casseroles, gratin dishes, or roasted vegetables for an irresistible golden crust.
- Stuffed Dishes: Ideal for stuffing bell peppers, mushrooms, or even a holiday turkey (ensure other ingredients are also GF!).
- Creative Culinary Uses: Try them in Salisbury Steak, Eggplant Parmesan, or as a crispy topping for soups and salads.
Expert Tips & Troubleshooting for Success
- Don’t Waste a Crumb: Always save bread heels, stale slices, or even gluten-free bread that didn’t turn out perfectly in a freezer bag. When the bag is full, you have a ready supply for a fresh batch of crumbs.
- No Thawing Needed: When stored in the freezer, your homemade breadcrumbs can be used directly from frozen in most recipes. Just measure and add!
- Uniform Crumbs: If using frozen bread, it’s best to thaw it first. This ensures more consistent and uniform crumbs when processed.
- Batch Size Flexibility: Make as little or as much as you need. Remember, one piece of gluten-free bread typically yields ¼ to ⅓ cup of breadcrumbs, depending on the slice size and desired texture.
- Avoid Overcrowding: When toasting, spread crumbs in a single layer. If you’re making a large quantity (more than 10 slices of bread worth), divide the crumbs between two baking sheets. Overcrowding will cause the crumbs to steam rather than toast, leading to a chewy, rather than crispy, texture.
- Panko Perfect: For true gluten-free Panko, remove crusts and use a grater disc on your food processor or pulse lightly for larger flakes before drying.
- Spice It Up: Adding seasonings like garlic powder, onion powder, and Italian seasoning directly to the food processor with the bread creates wonderfully integrated Italian breadcrumbs.
Ready to Get Crumbing?
Making your own gluten-free breadcrumbs is a simple, cost-effective, and incredibly rewarding process. Not only will you save money and reduce food waste, but you’ll also enjoy the superior flavor and texture that only homemade can offer. So grab your gluten-free bread and your food processor (or trusty rolling pin!), and get ready to transform your gluten-free cooking!
Quick-Baked Gluten-Free Breadcrumbs Recipe

Melissa Erdelac
16
(2 tbsp) servings
5
13
18
Pin
Ingredients
-
10
slices
gluten-free bread (heels or slices)
,
any kind
Optional Italian Bread Crumbs (add for every 2 cups bread crumbs)
-
½
teaspoon
salt
-
½
teaspoon
garlic powder
-
1
teaspoon
onion powder
-
1
teaspoon
Italian seasoning
Equipment
-
Food Processor
-
Vitamix
-
Baking Sheets
Instructions
-
Preheat oven to 400°F (200°C). Set oven rack to center position.
-
Thaw bread, if frozen. Place bread in food processor or Vitamix. If making Italian bread crumbs, add seasonings. Pulse for coarse bread crumbs or process up to 1 minute for fine bread crumbs.
-
Transfer breadcrumbs to an ungreased baking sheet. Bake for 10 minutes. Remove from oven and stir. Bake for 3-5 minutes longer, or until bread crumbs are toasted and dry to the touch.
-
Cool completely on baking sheet. Transfer to an airtight container to store in the freezer, refrigerator, or pantry.
Notes
What Type of Bread Should I Use?
Use any bread that is gluten free, one type or a mixture.
Frozen, stale, gluten-free bread failures (both store bought or homemade) and heels all work well. So don’t throw away anything!
If you know you will be making the homemade breadcrumbs in a few days, you can also let the bread sit out so it hardens. After processing the bread, the crumbs will take a shorter time to toast and dry out in the oven.
How to Store
Store in an air-tight container in the refrigerator for up to one month, the freezer up to six months, or the pantry for up to two weeks.
Regardless of your method of storage, be sure there is no moisture in the container and label the container with the date.
Tips and Tricks
- After the bread crumbs have been made, they do not have to be thawed before using in recipes. Just take what you need from the freezer bag and use immediately.
- If using frozen bread, thaw before processing so crumbs will be uniform.
- Make as little or much as you want. Generally, one piece of bread will make 1/4 – 1/3 cup bread crumbs, based on the size of the slice.
- If using more than 10 pieces of bread, split the crumbs between two pans. Overcrowding the pan will cause the crumbs to steam rather than toast.
- To make panko bread crumbs, cut the crusts off first, use slices rather than heels, and grind into coarser crumbs before drying in oven.
Calories:
59
kcal
,
Carbohydrates:
10
g
,
Protein:
1
g
,
Fat:
1
g
,
Saturated Fat:
1
g
,
Cholesterol:
4
mg
,
Sodium:
145
mg
,
Fiber:
1
g
,
Sugar:
1
g
,
Vitamin A:
47
IU
,
Calcium:
26
mg
,
Iron:
1
mg
This post contains affiliate links. My opinions are always my own. If you purchase a product through an affiliate link, I make a small commission – at no cost to you. Read full disclosure policy here.