
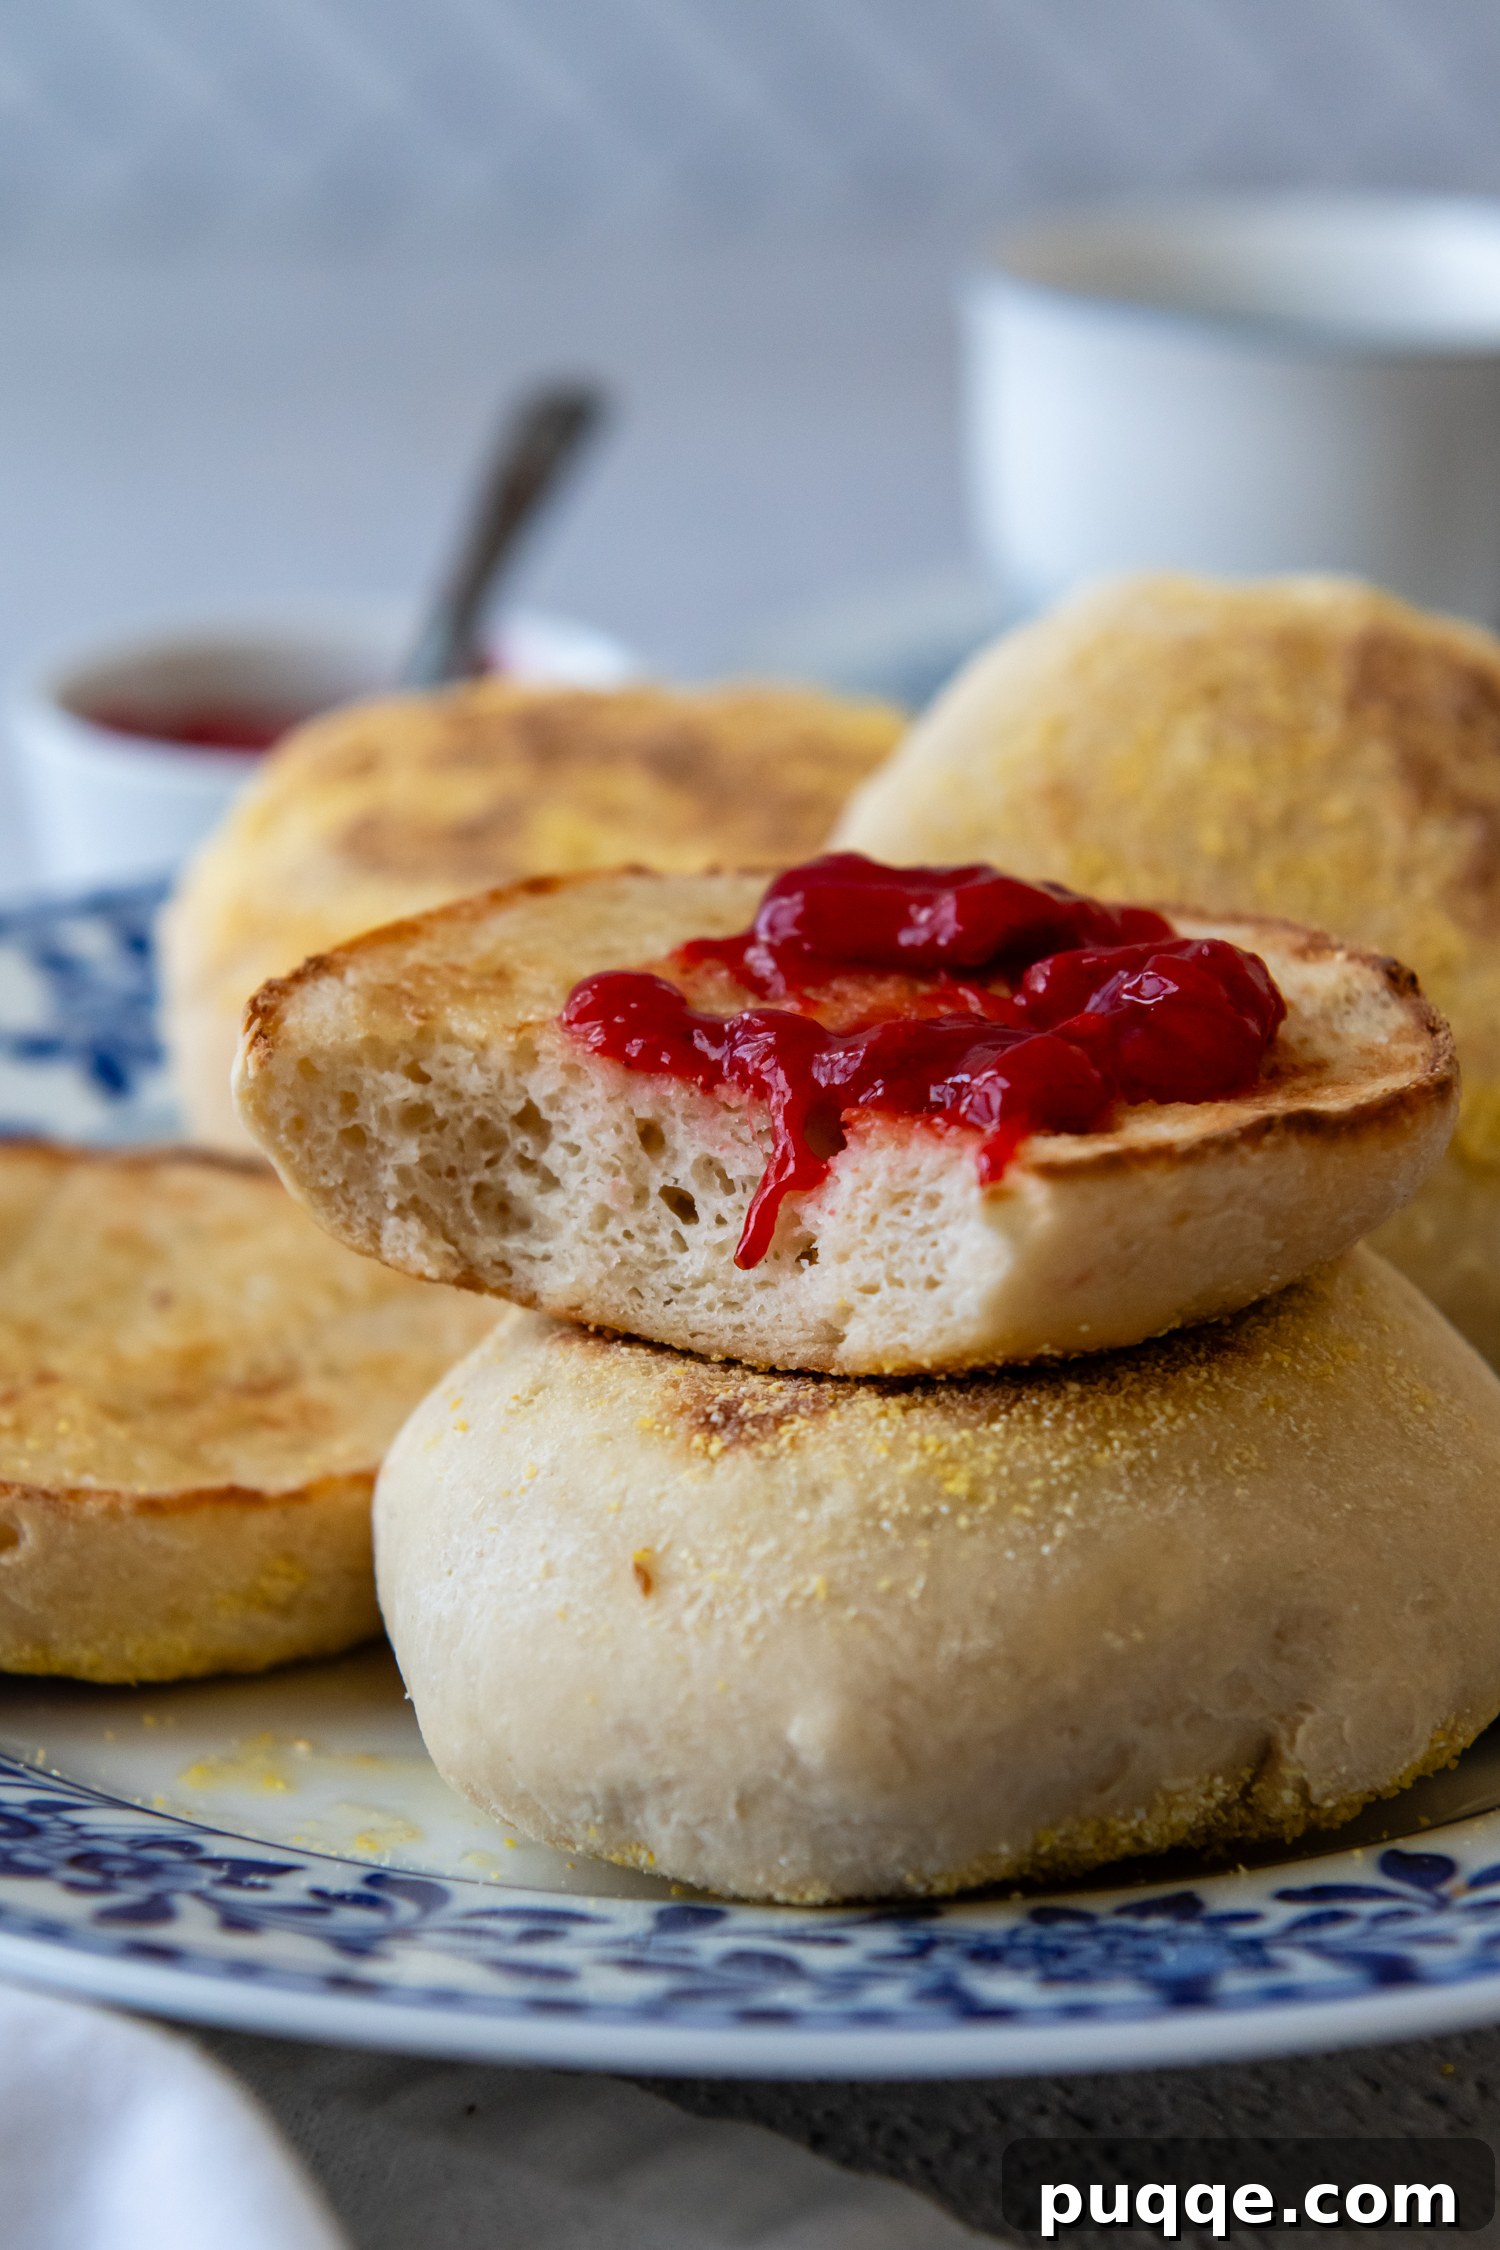
Unlock the secret to bakery-worthy, homemade gluten-free English muffins with a golden exterior and an irresistibly soft, airy crumb. This recipe isn’t just “good for gluten-free” – it’s simply *good*. If you thought achieving perfect gluten-free bread was a complex culinary challenge, prepare to be delightfully surprised. Using readily available all-purpose gluten-free flour and a remarkably straightforward cooking technique, even novice bakers can master these delectable muffins with confidence and impressive results. Say goodbye to dense, gummy attempts and hello to your new favorite breakfast staple!
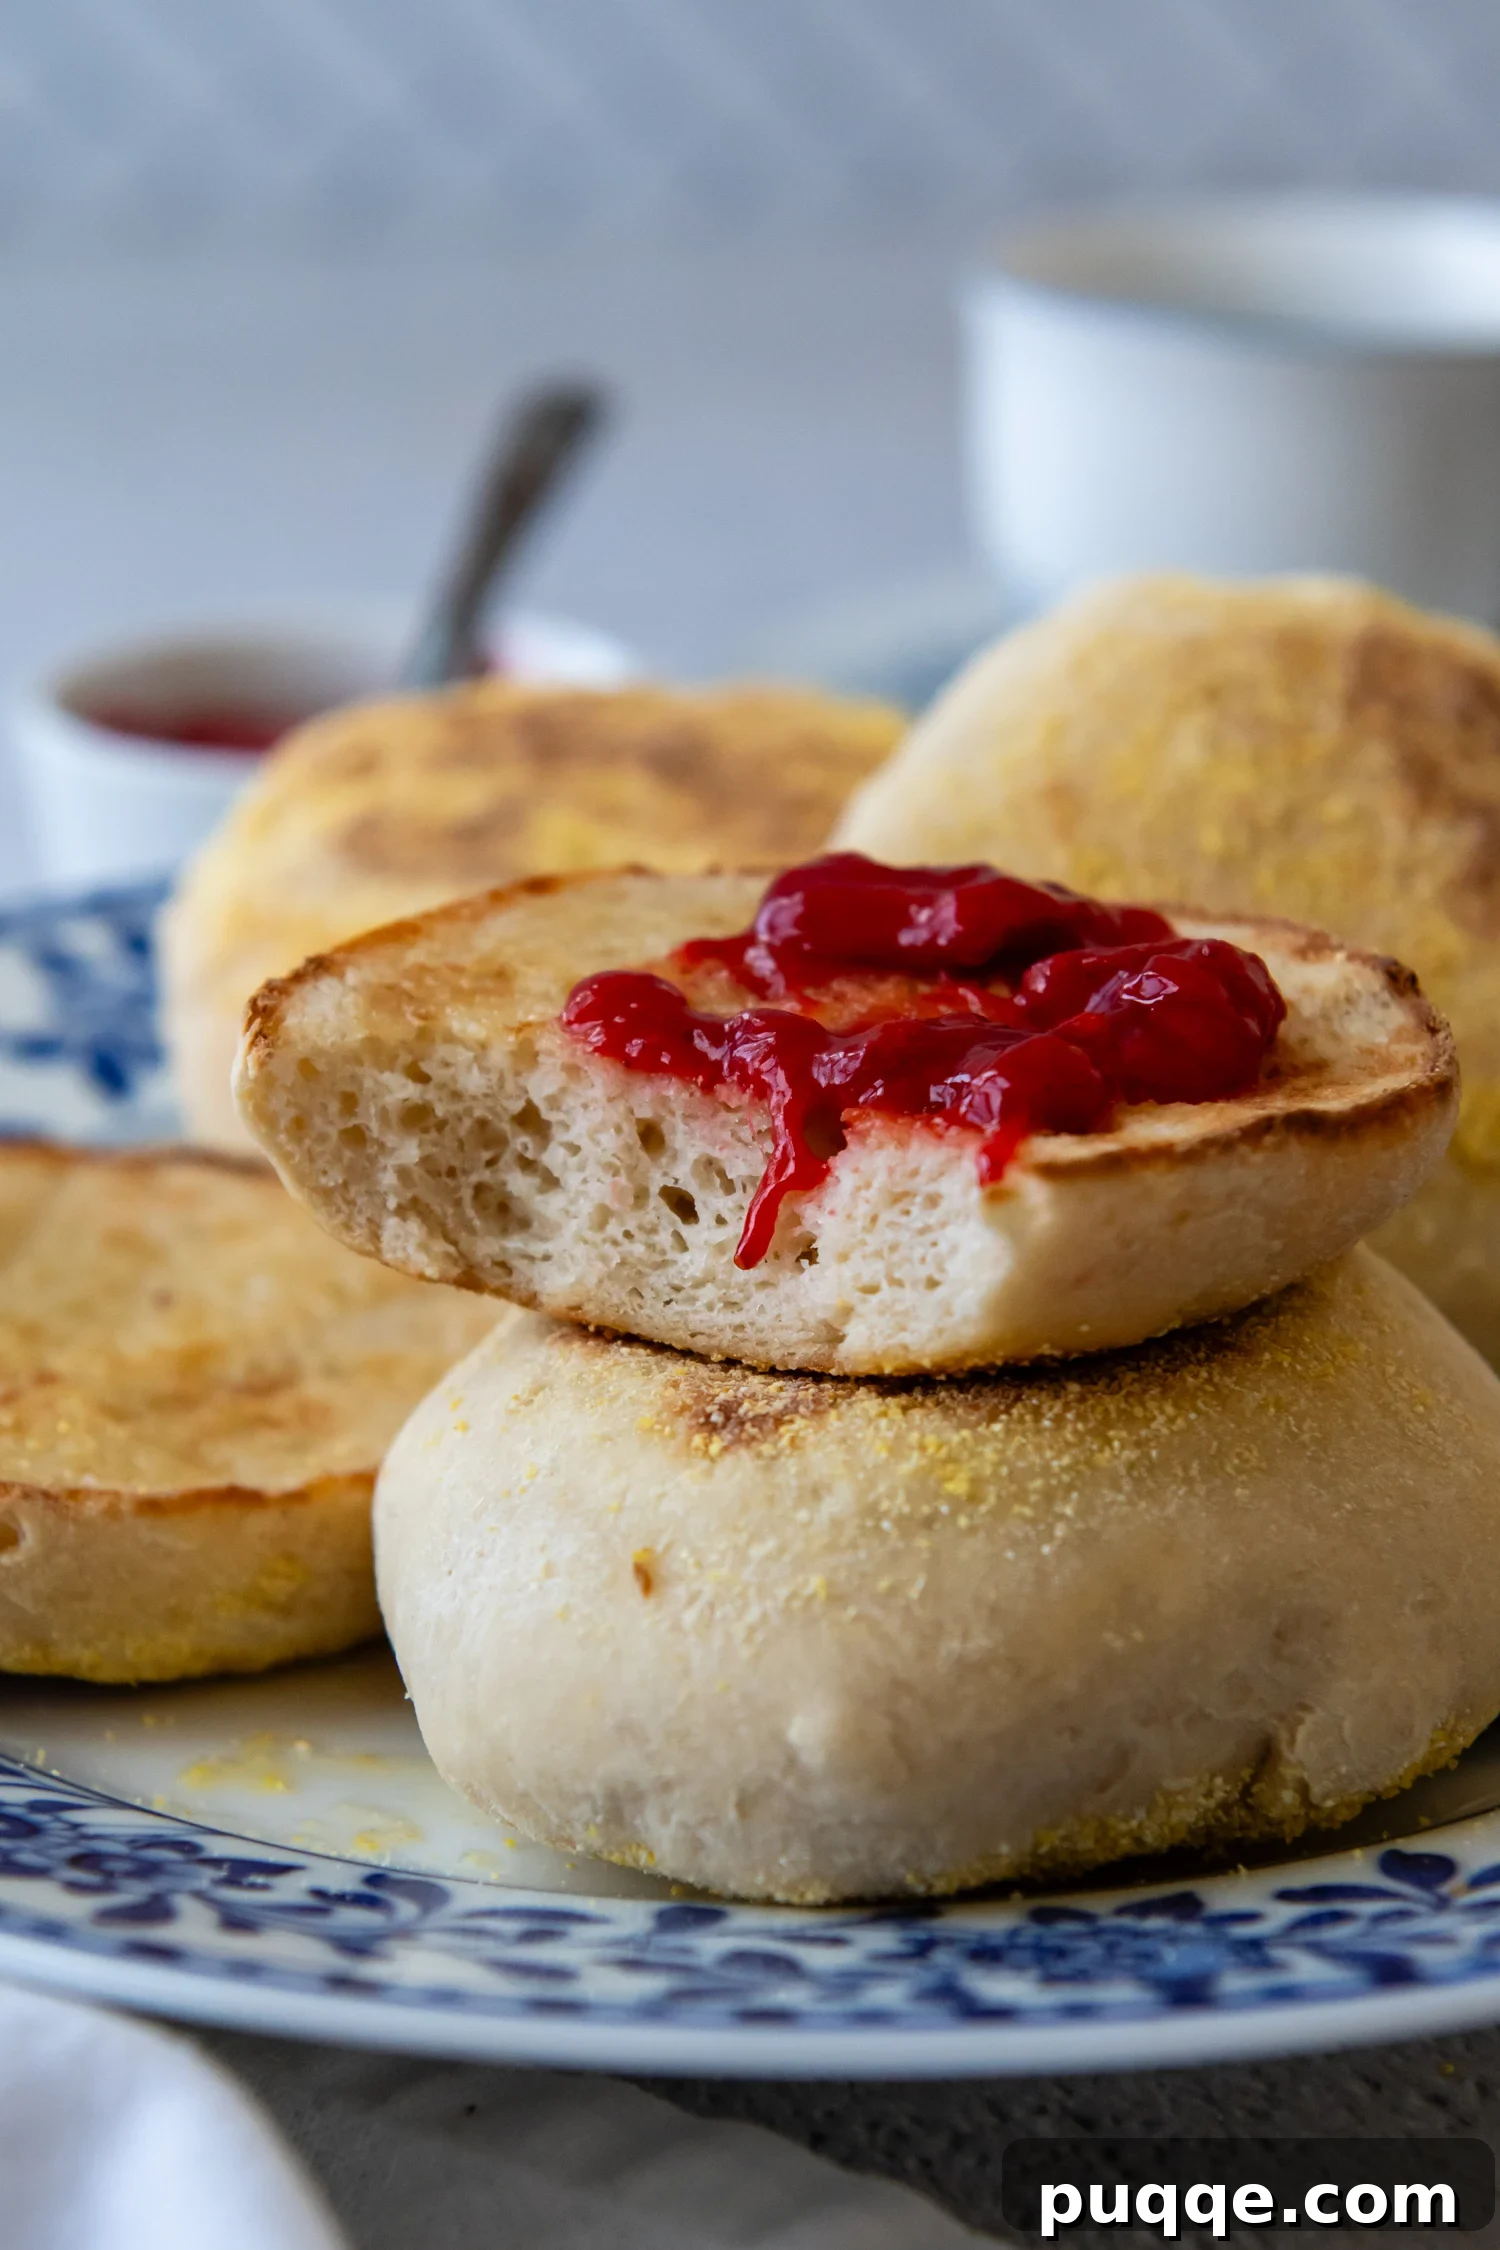
Reclaiming Breakfast with Perfect Gluten-Free English Muffins
For those navigating a gluten-free lifestyle, the joy of a truly satisfying piece of bread can often feel out of reach. But I’m here to tell you that crafting easy gluten-free bread recipes with impeccable texture and flavor doesn’t have to be difficult or intimidating. In fact, many yeasted gluten-free breads, like these homemade English muffins, can actually be simpler to prepare than their traditional wheat-based counterparts.
You might be wondering, “How can that be?” The answer lies in the unique properties of gluten-free dough. Traditional wheat breads often demand a tedious double rise, which can add significant time to your baking schedule. However, with gluten-free bread recipes, this step is often unnecessary. Our English muffins, along with soft and doughy gluten-free burger buns, rolls, and even pizza crusts, typically require just one quick rise. This streamlined process means you can often have fresh, homemade bread on your table in under an hour, making gluten-free baking accessible even on busy days.
Another significant advantage of gluten-free baking is the elimination of extensive kneading. Wheat dough relies on kneading to develop gluten strands, which provide structure. Since gluten is absent in our recipes, traditional kneading isn’t required. Instead, this English muffin dough comes together effortlessly in a stand mixer. You simply combine the ingredients, mix until uniform, and the dough is ready to be shaped and cooked. No vigorous hand-kneading, no long rest periods – just pour, mix, shape, and cook.
Let’s also talk about the cooking process itself. This recipe employs a unique, streamlined technique that ensures perfectly cooked English muffins every time. Rather than cooking entirely on the stovetop, which can lead to an unevenly cooked interior and a burnt exterior, we utilize a two-step approach. The muffins begin their journey on the stovetop, where they develop that signature golden-brown crust and characteristic crisp exterior. Then, they are transferred to a baking sheet and finished in the oven. This thoughtful technique extends the cooking time in a gentle, controlled environment, allowing any excess moisture to thoroughly evaporate. The result? A perfectly cooked interior that is soft and airy, free from the gummy, dense texture often associated with poorly executed gluten-free baking. No more “hockey pucks” here!
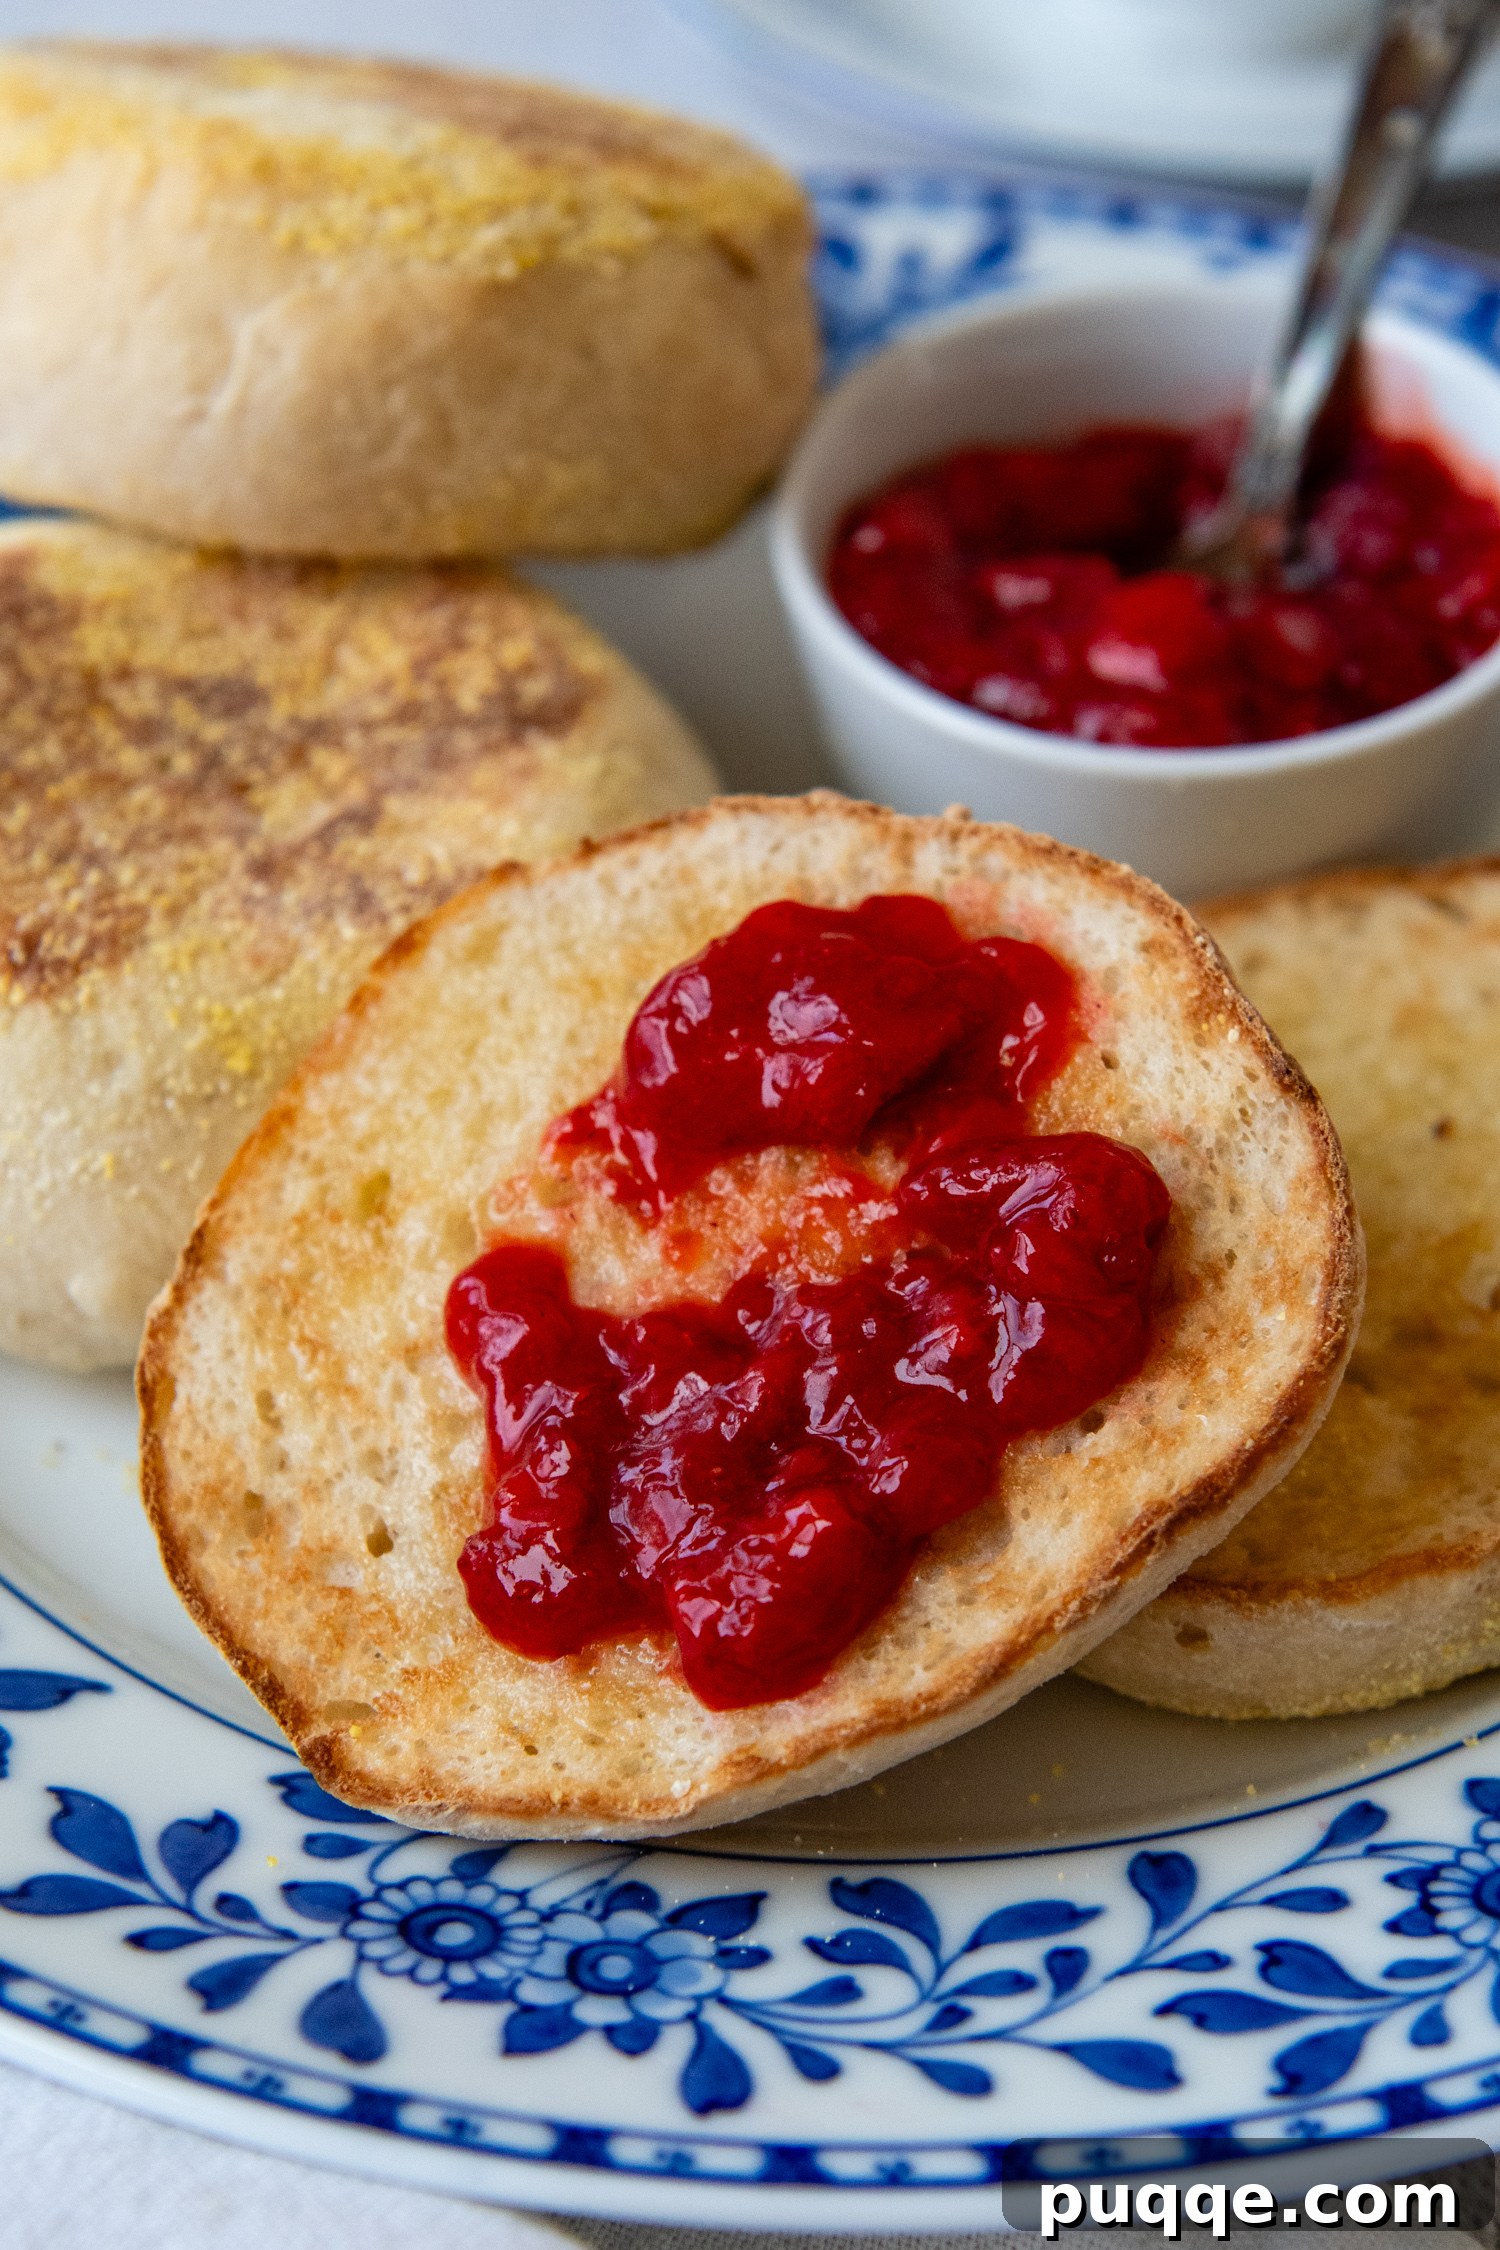
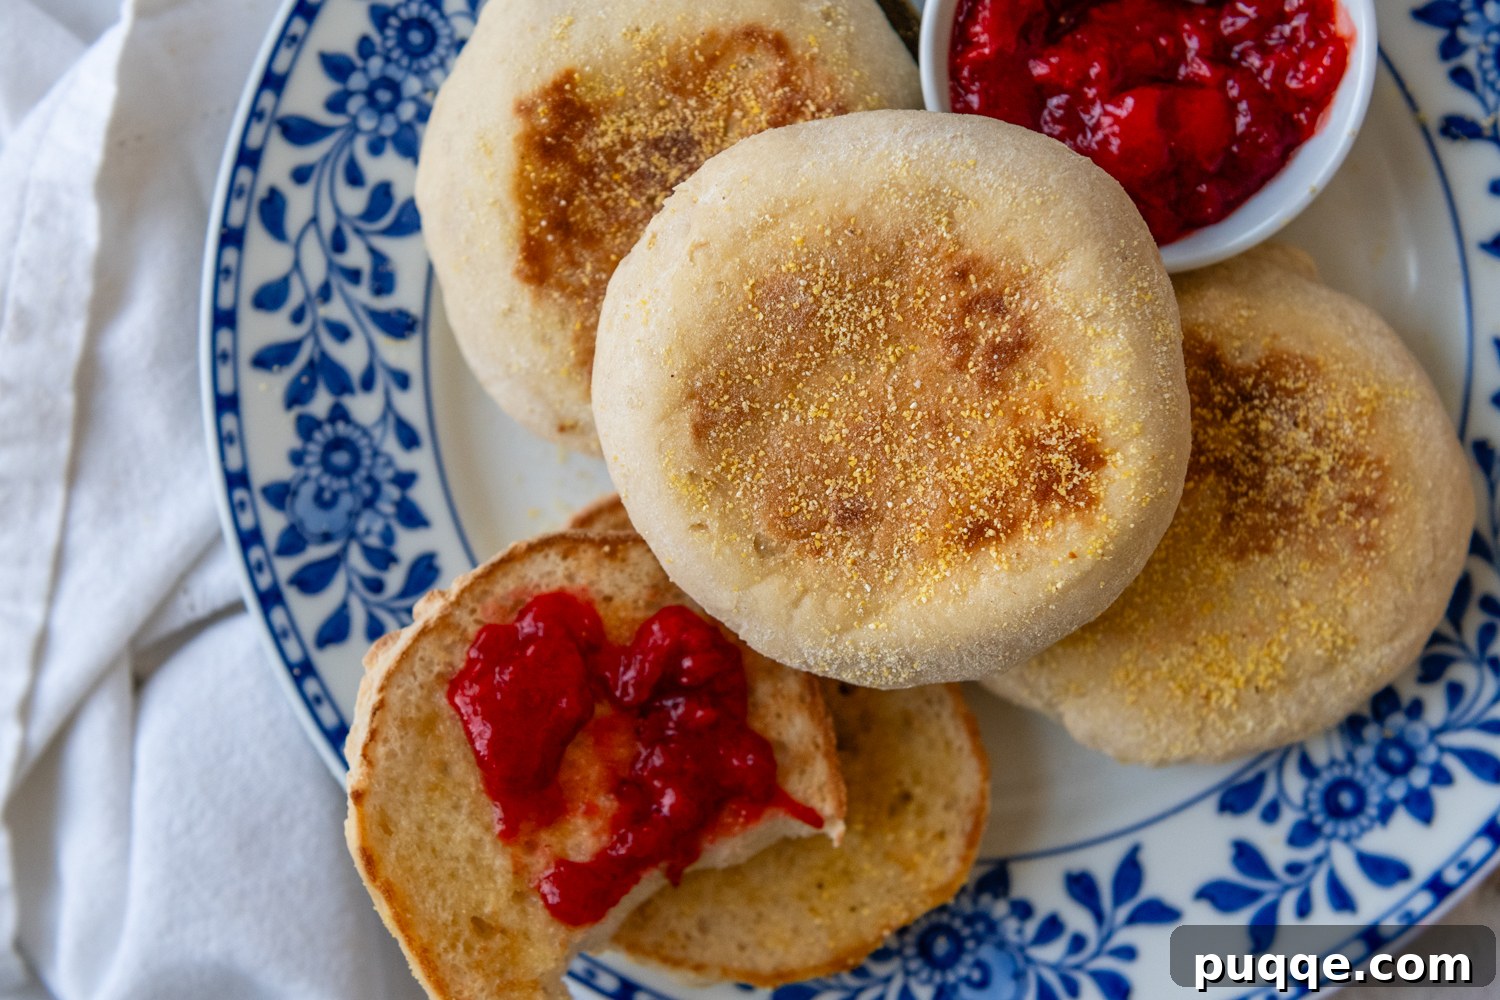
These homemade gluten-free English muffins are truly a revelation. See for yourself: split one open, toast it to golden perfection, and serve it alongside your favorite gluten-free breakfast ideas. Whether it’s slathered with butter and jam, piled high with a fried egg and bacon, or simply enjoyed plain, you’ll be adding another triumphant gluten-free success to your culinary repertoire!
Mastering Gluten-Free English Muffins: A Step-by-Step Guide
Ready to create these incredible English muffins? Follow along with these detailed instructions and accompanying photos. For the complete list of ingredients and precise measurements, please refer to the recipe card at the end of this article.
1. Prepare and Mix the Dough
Begin by combining the dry ingredients in the bowl of a stand mixer. This includes your all-purpose gluten-free flour blend, a touch of granulated sugar, instant rapid-rise yeast, baking powder, and crucially, psyllium husk powder. Psyllium husk is a game-changer in gluten-free baking; it acts as a binder, providing the essential structure and pliability that gluten would typically offer, making the dough easier to handle and preventing crumbling. The added baking powder works in conjunction with the yeast to enhance aeration, contributing to that desirable light and airy crumb.
Next, gently warm your milk and water mixture until it’s just slightly warm to the touch (around 105-115°F / 40-46°C) – this temperature is ideal for activating the yeast without killing it. Add this warmed liquid mixture, along with room-temperature eggs, cooled melted butter, and a splash of apple cider vinegar, to the dry ingredients. Mix on low speed initially to bring everything together, then increase to medium-low and continue mixing for a full 5 minutes. The dough will be noticeably stiff, but this is exactly the consistency we’re looking for.
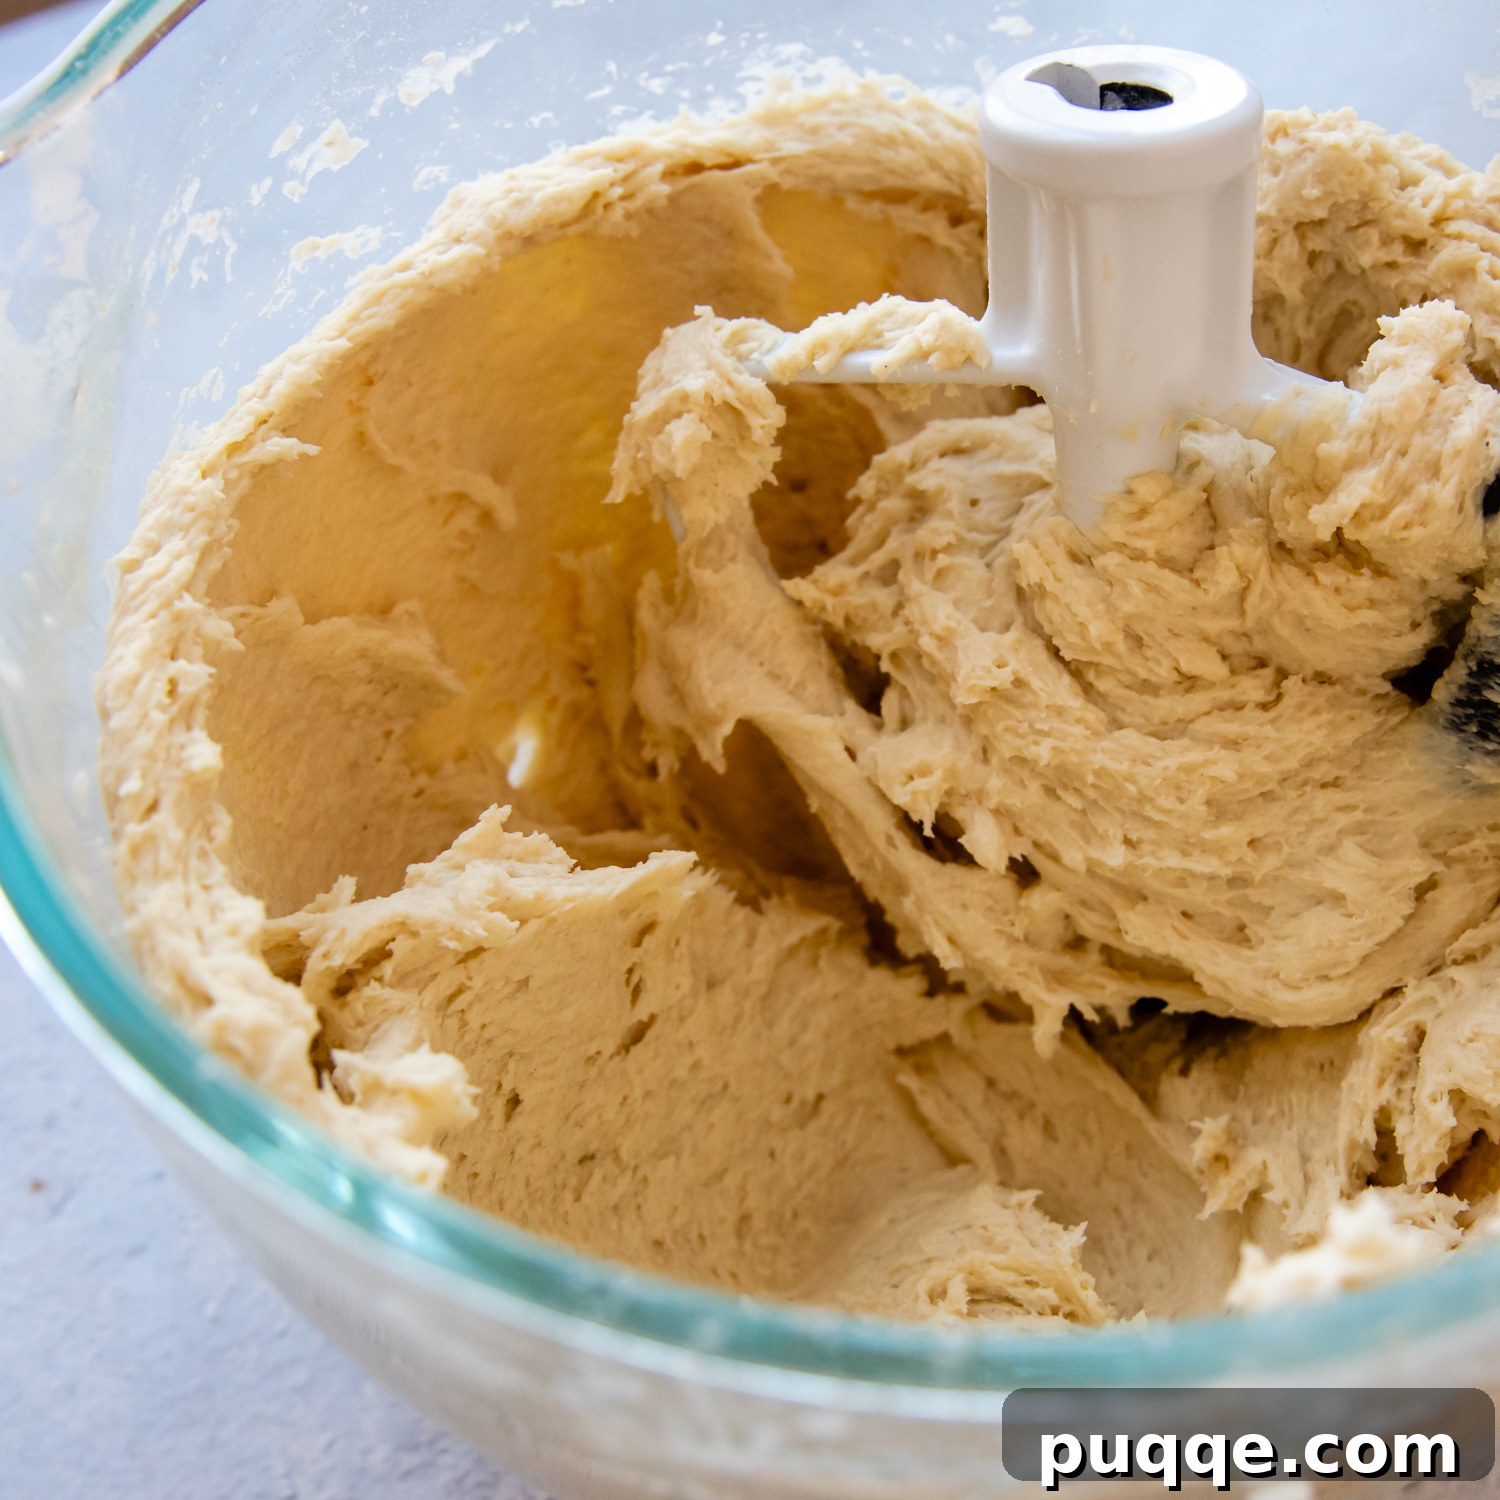
2. Divide and Shape the Muffins
To prevent sticking, lightly spray a silicone mat or a piece of parchment paper with non-stick cooking spray. Similarly, lightly grease your hands before handling the dough. Divide the stiff dough into 10 equal pieces. For precise and uniform muffins, I highly recommend using a food scale; each piece should weigh approximately 4 ounces (about 113 grams).
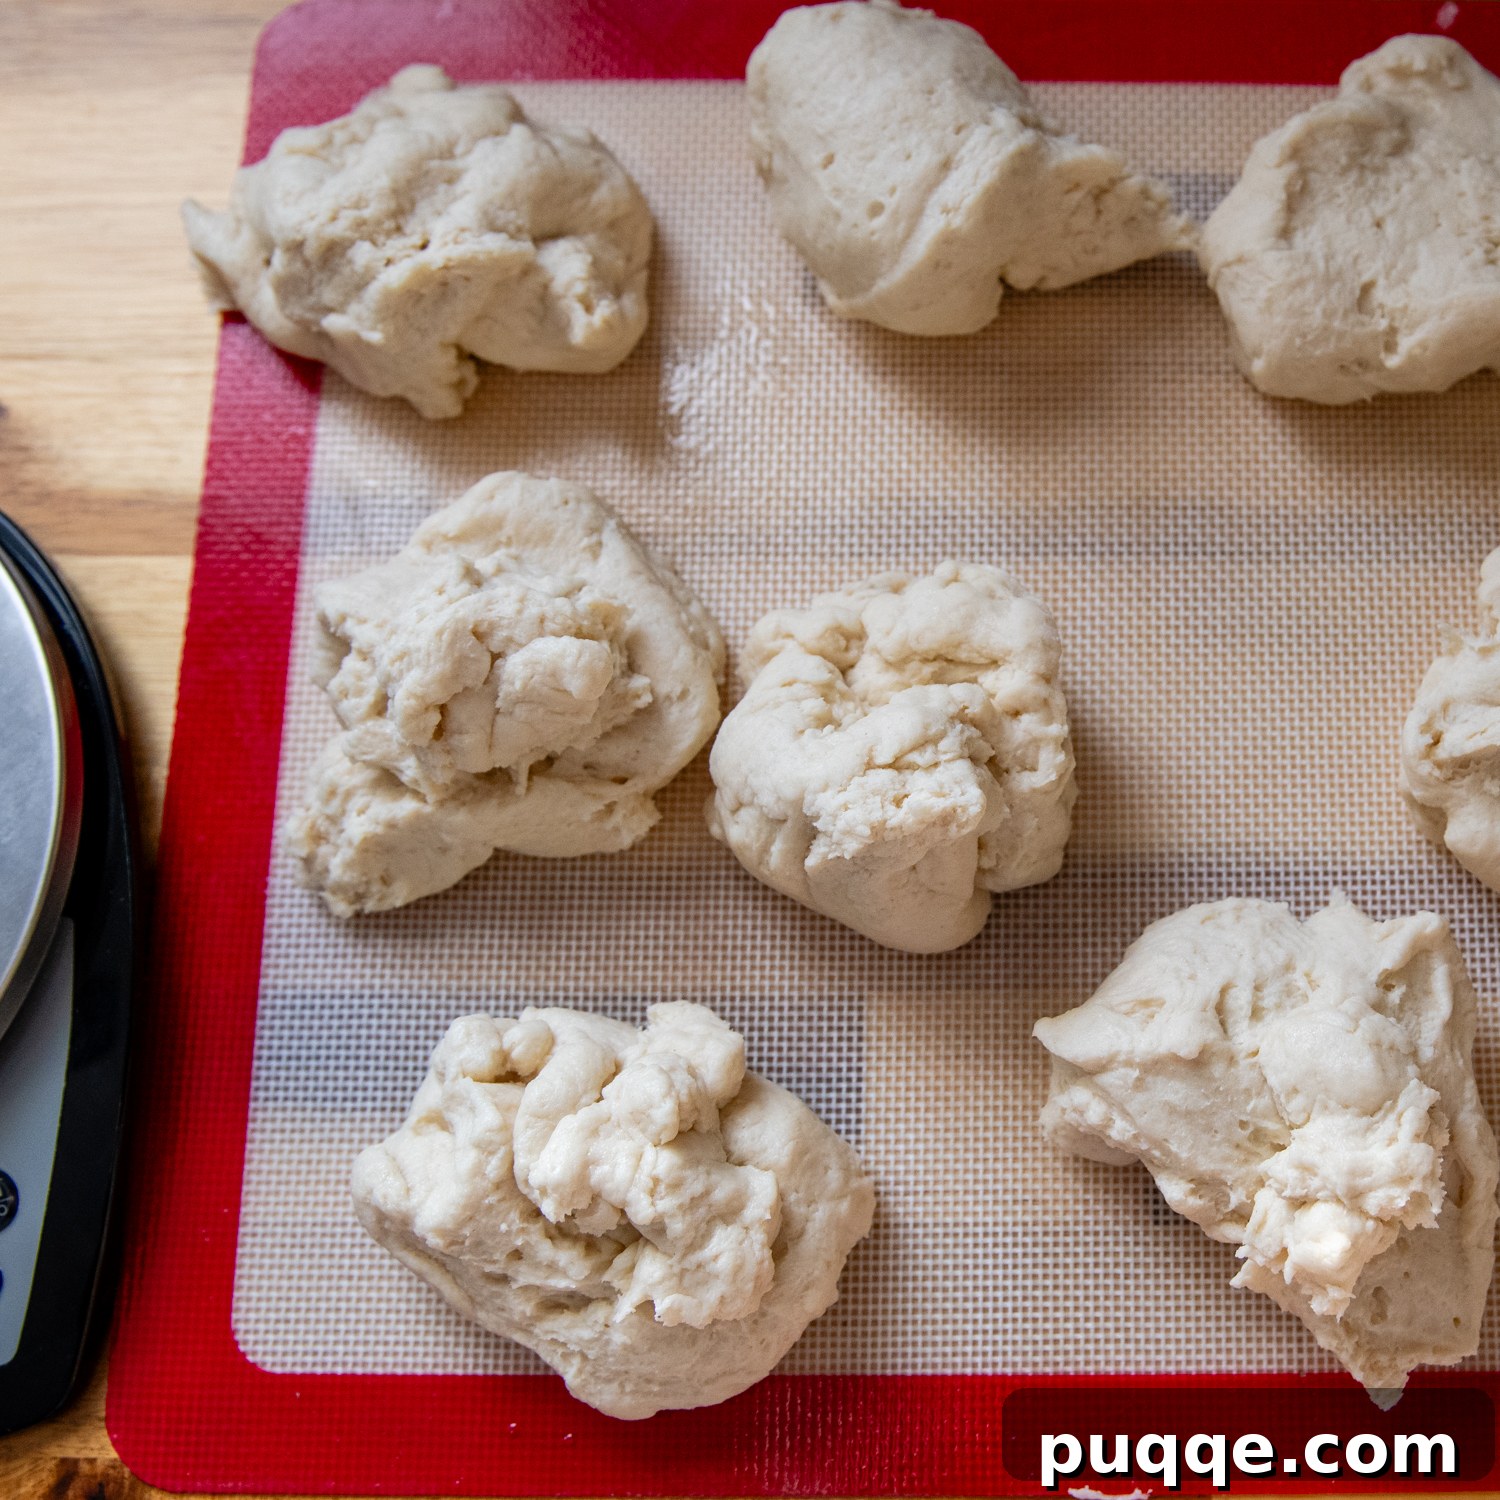
3. Smooth, Flatten, and Allow to Rise
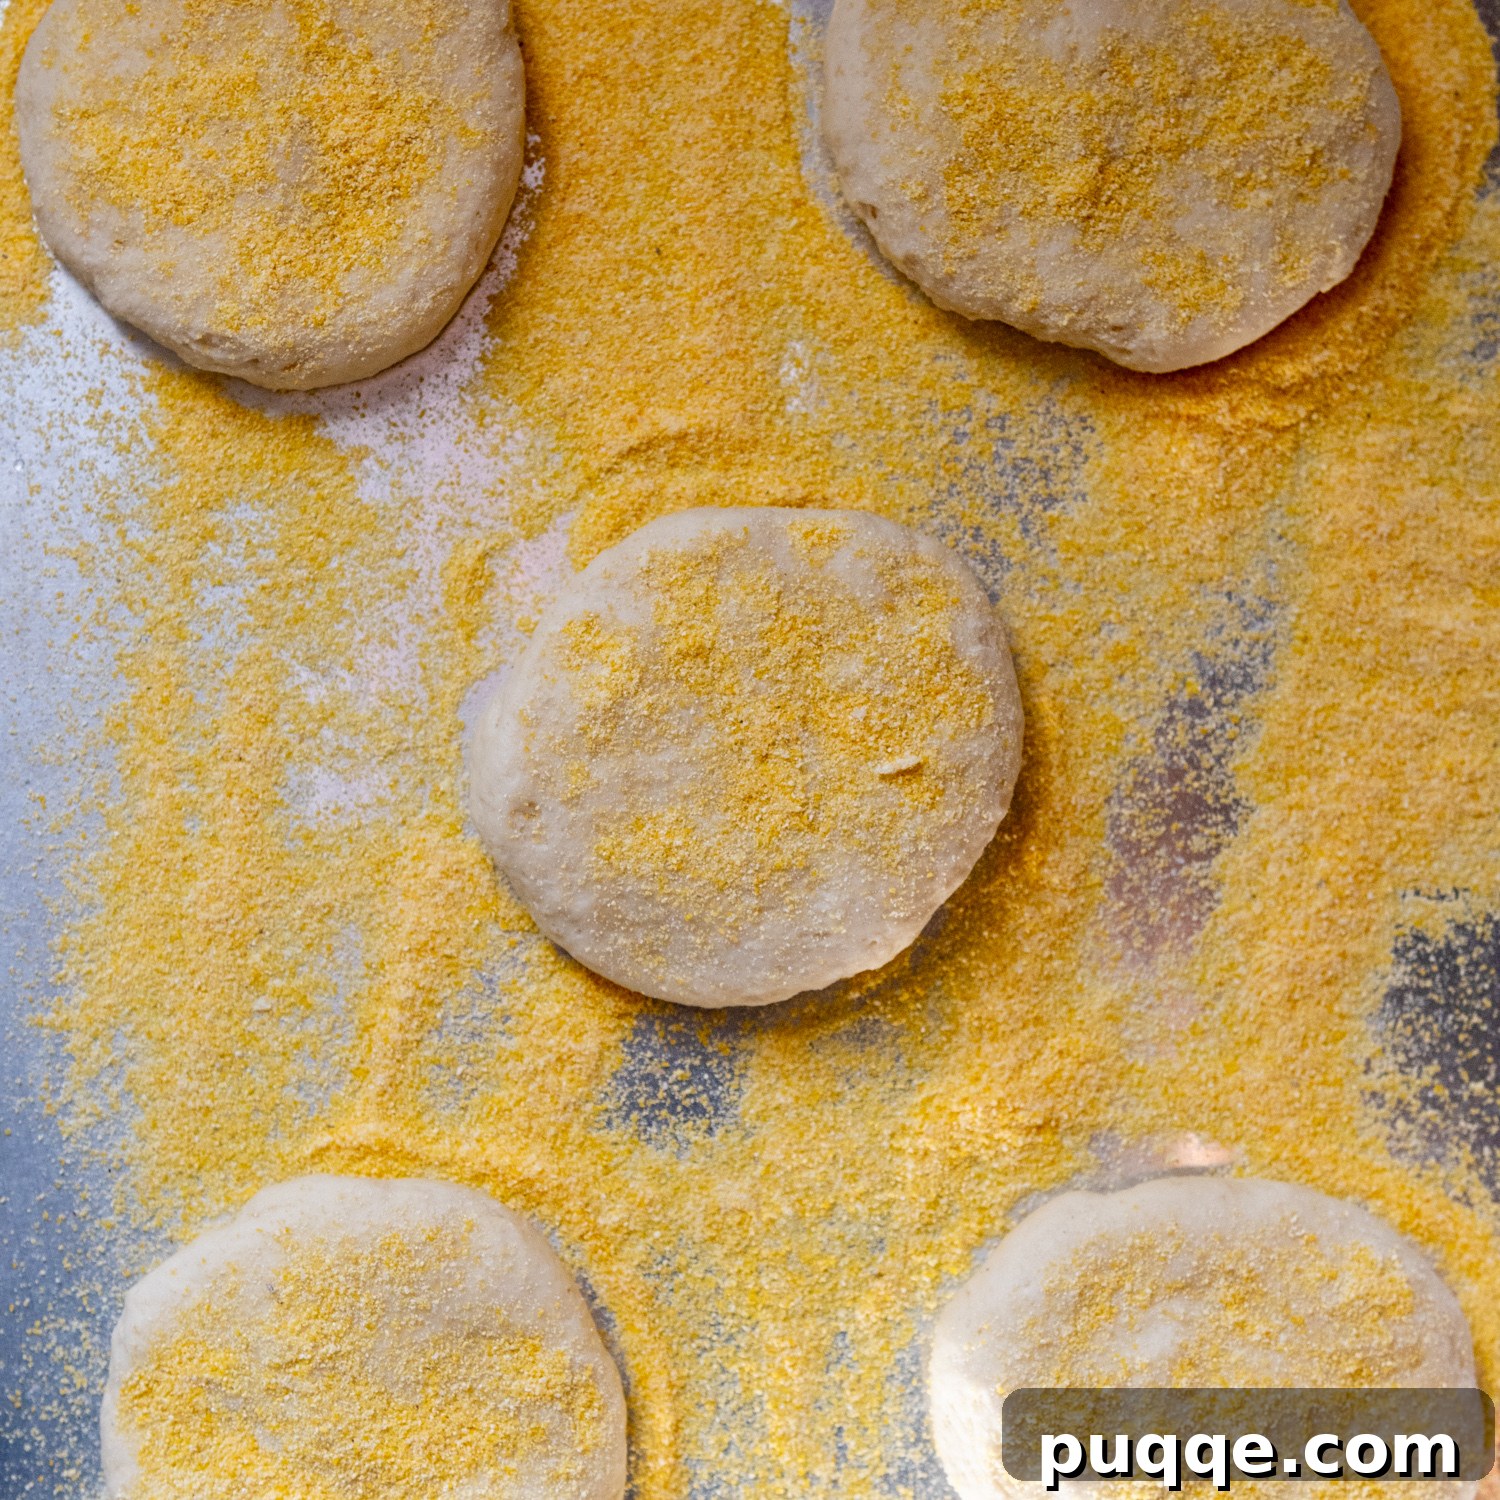
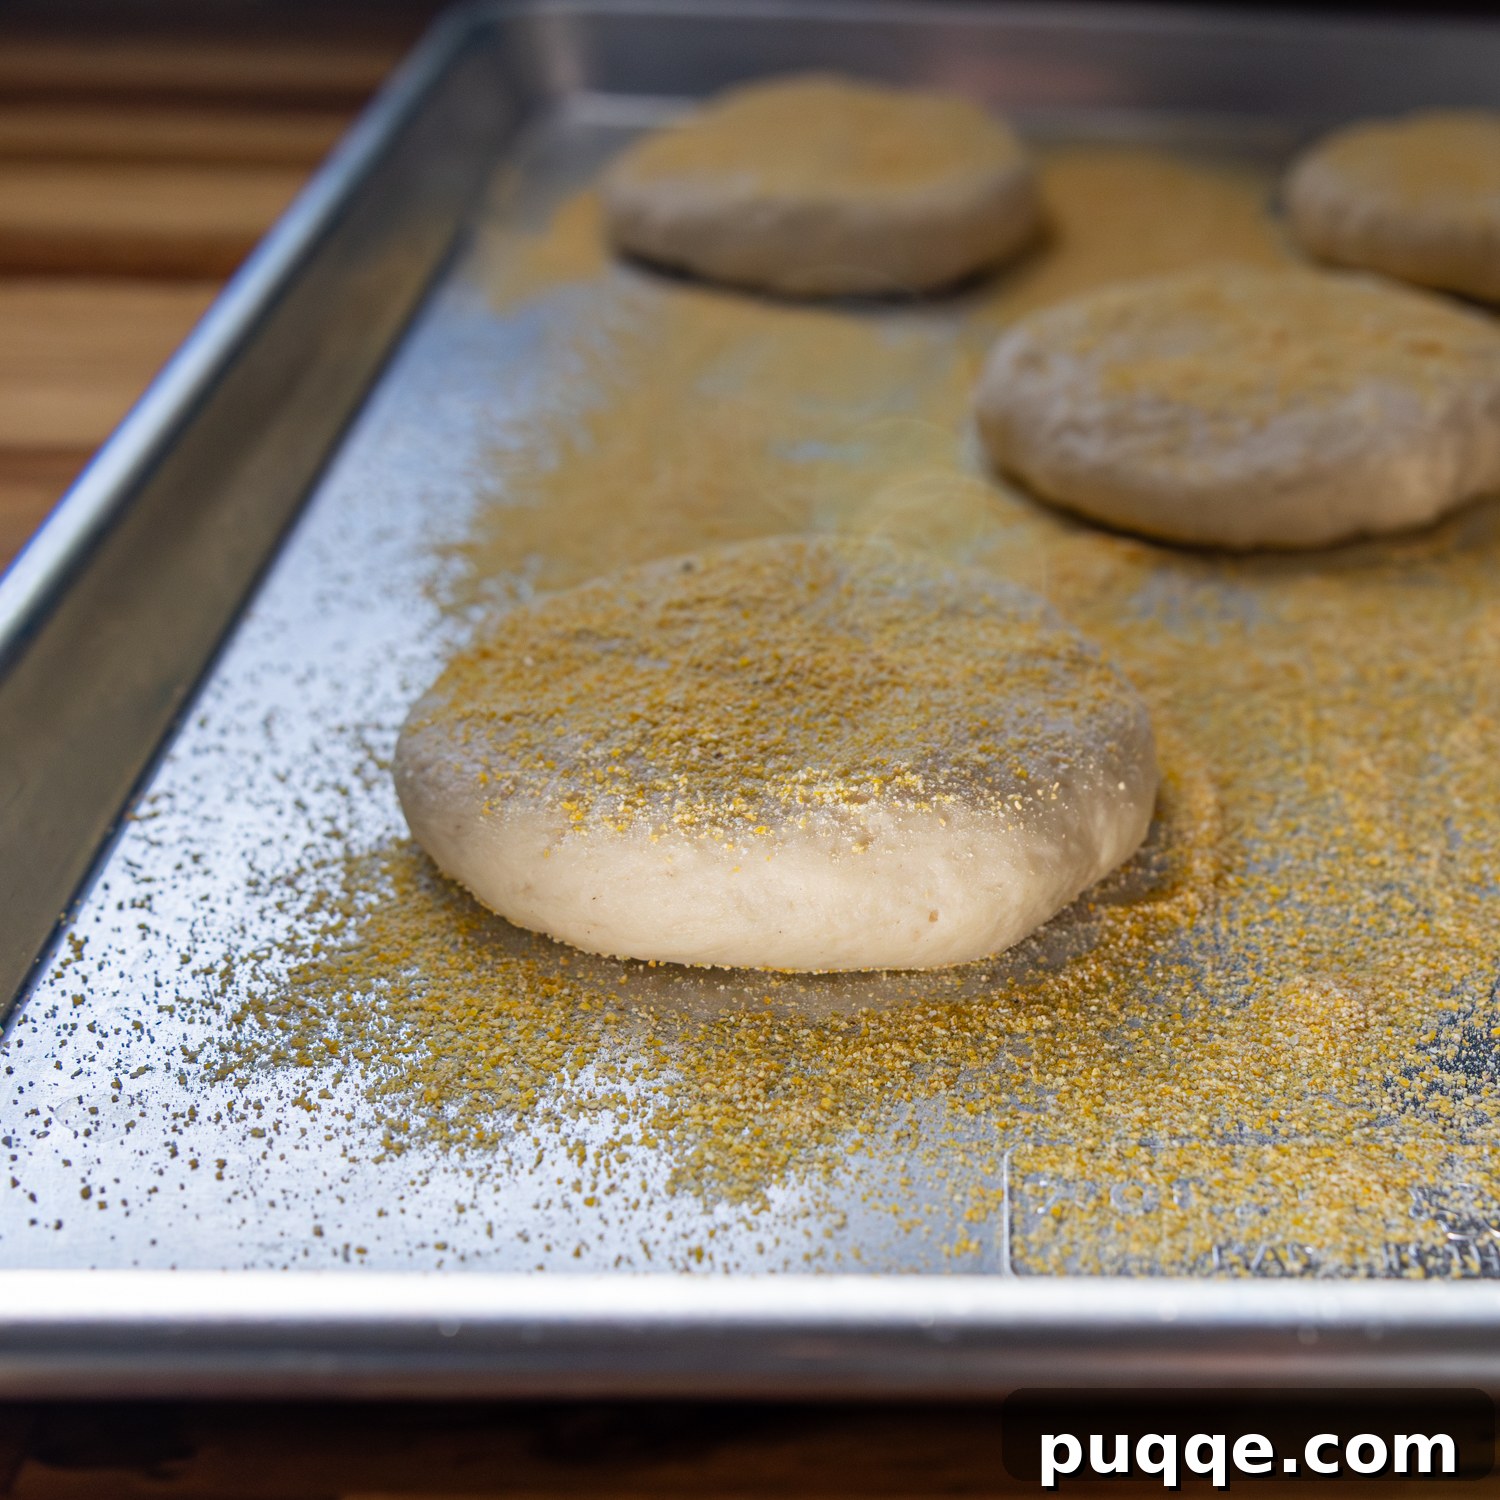
Take each divided piece of dough and shape it into a smooth ball. Achieving a smooth surface is key for preventing cracks during baking – detailed tips for this are provided below! Once shaped, sprinkle a generous amount of gluten-free cornmeal onto two baking sheets. Arrange 5 dough balls, spaced evenly apart, on each sheet. Gently flatten each ball until it is about ¾-inch (approximately 2 cm) tall. The goal is to create that classic English muffin disc shape.
Sprinkle additional cornmeal over the tops of the flattened dough balls. Loosely cover the baking sheets with a piece of plastic wrap, creating a mini proofing environment. Allow the muffins to rise in a warm, draft-free area for 30-40 minutes. During this time, they should visibly expand, reaching a height of about 1 ¼ to 1 ½ inches (approximately 3-4 cm). In the final 15 minutes of the rising period, preheat your oven to 350°F (175°C).
4. The Streamlined Cooking Method: Skillet to Oven
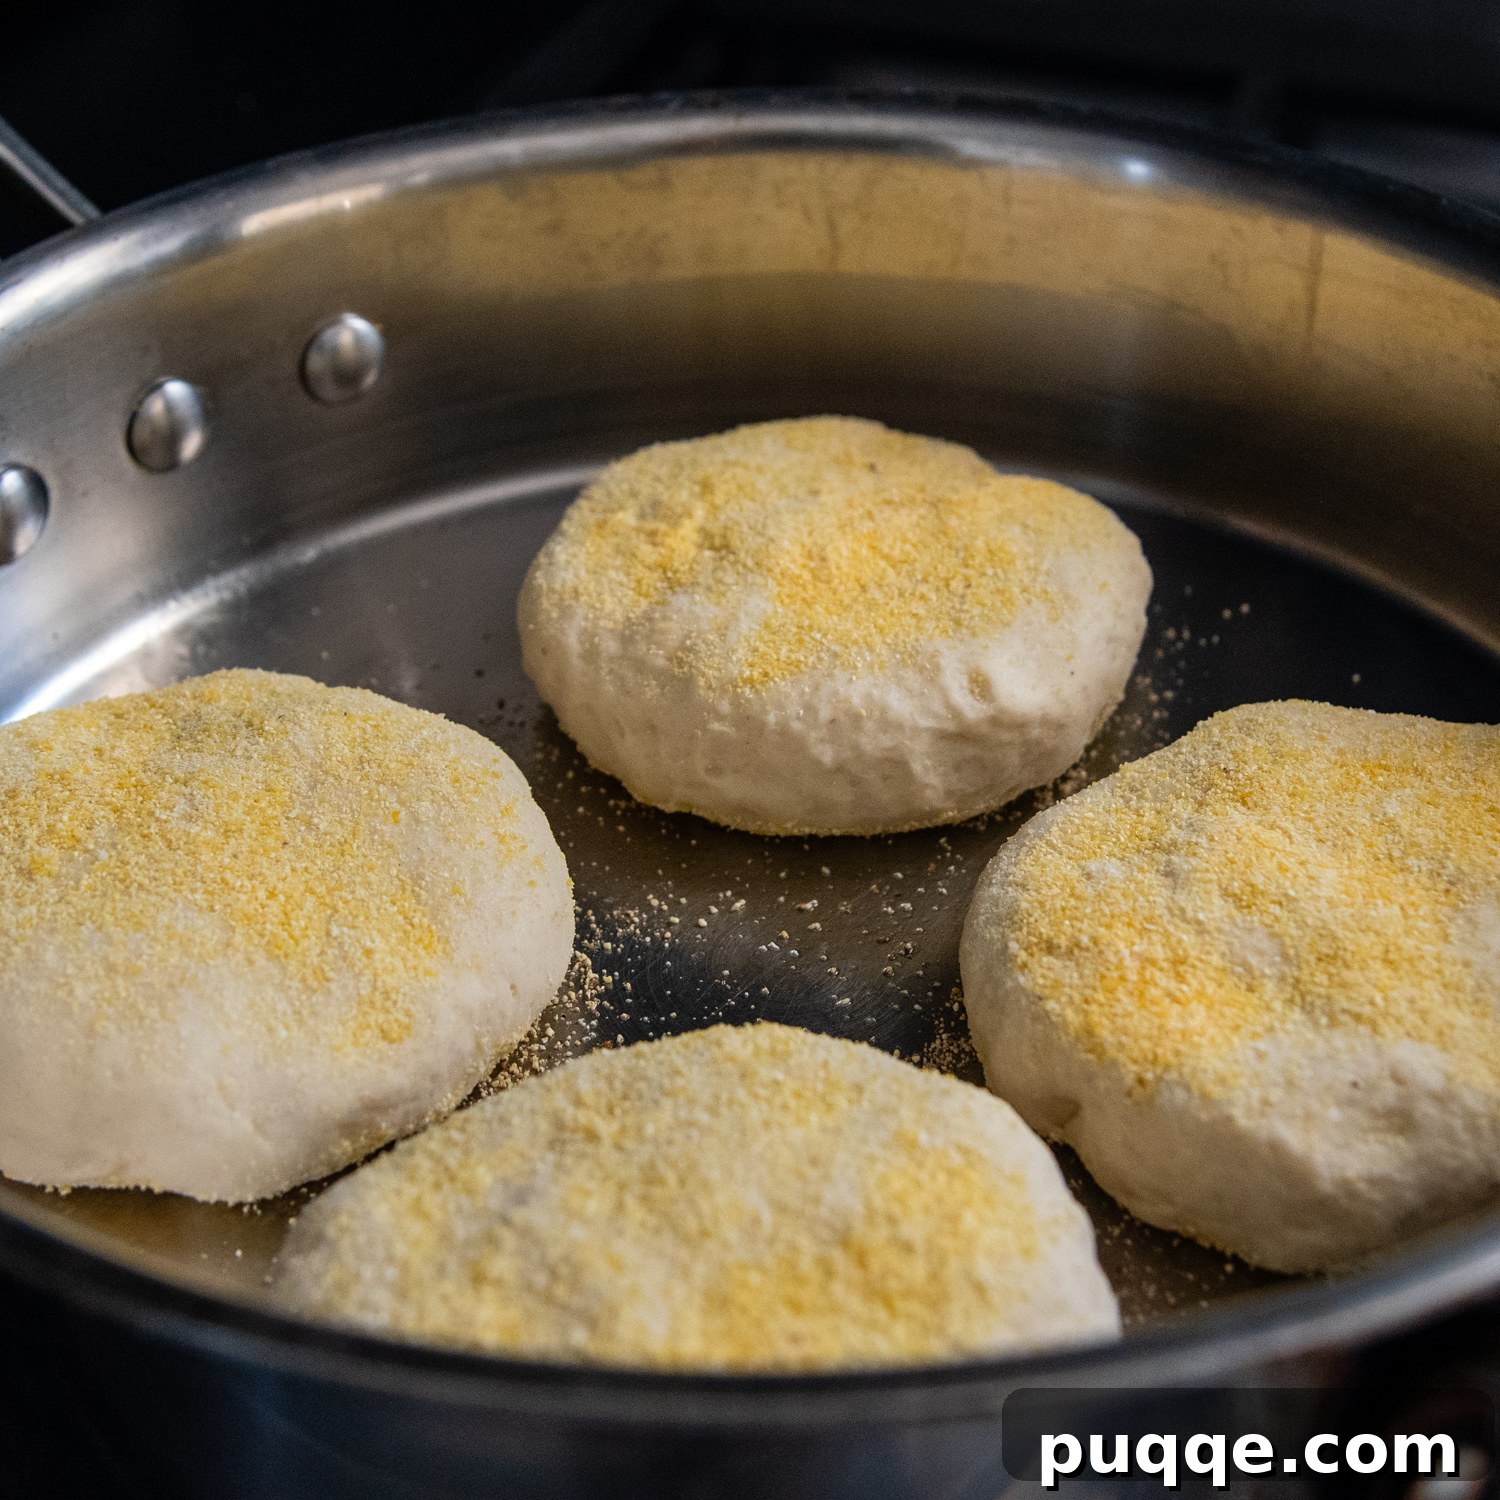
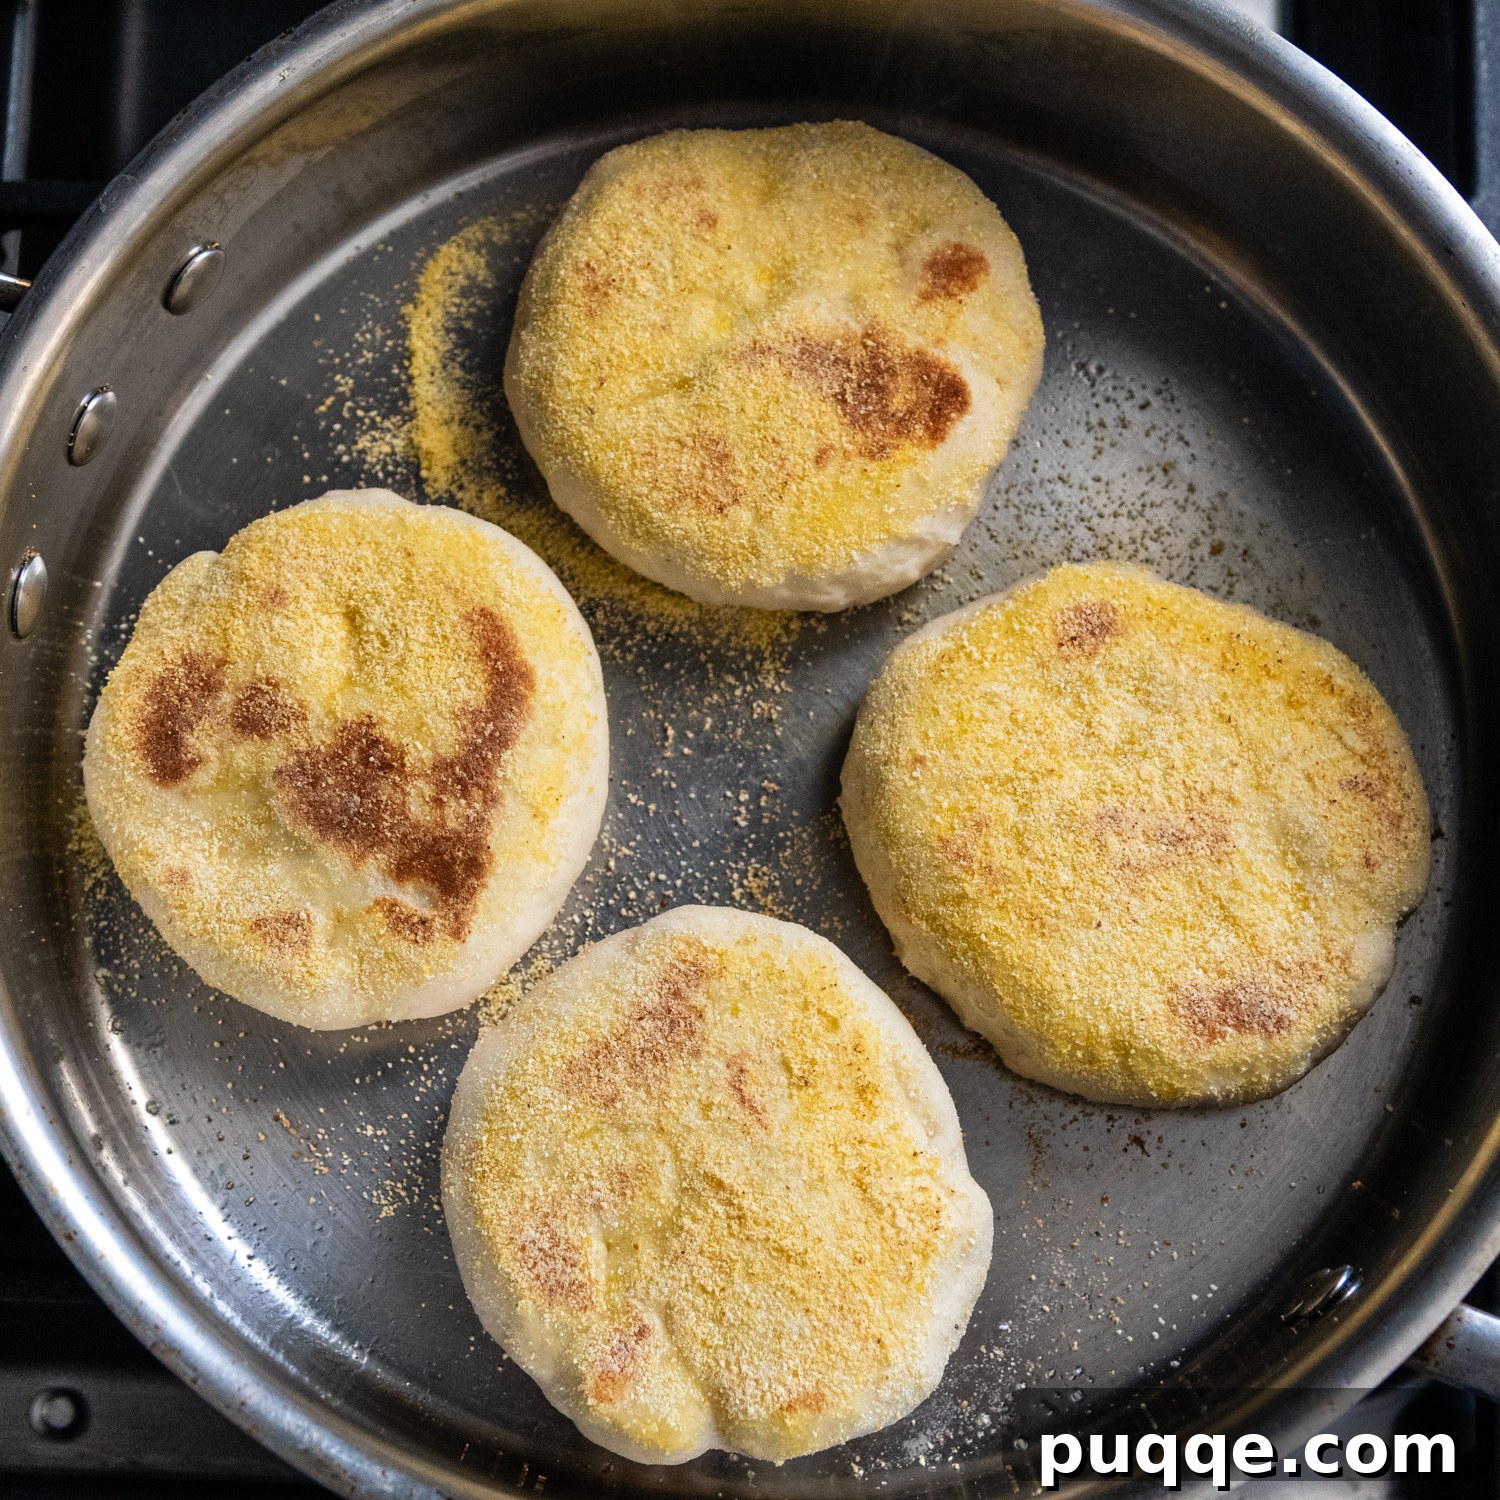
Now for the magic! Heat about a teaspoon of oil in a large, heavy skillet or cast iron pan over medium heat. Once hot, use a dry paper towel to carefully wipe away any excess oil, leaving behind only a thin, barely visible film. Place 3-4 English muffins in the pan, ensuring they have enough space. Cook them until their bottoms are set and have developed a beautiful golden-brown crust, typically about 1 to 1 ½ minutes per side. If the muffins puff up significantly during this stage, gently press down on the tops with a spatula to encourage a flatter, more traditional shape.
Flip the muffins and cook on the second side for another 1 to 1 ½ minutes, until golden. Once both sides are browned, transfer the muffins to a parchment-lined baking sheet. Wipe out any cornmeal residue from the skillet with a dry paper towel, add another thin film of oil, and repeat the frying process with the remaining muffins until all have been seared. Ensure all your partially cooked muffins are now on one baking sheet, spaced evenly for optimal baking.
Transfer the baking sheet to your preheated oven and bake for 20-25 minutes, rotating the sheet halfway through for even cooking. The muffins are perfectly done when their internal temperature reaches 210°F (99°C). I highly recommend using an instant-read thermometer for accuracy, as it takes all the guesswork out of gluten-free bread baking. Once baked, allow them to cool slightly before splitting, toasting, and savoring your epic, from-scratch English muffins. Let the goodness and accomplishment of mastering this recipe wash over you! 😎
Expert Tips for Dividing and Shaping Gluten-Free Dough
When working with gluten-free bread dough, achieving smooth, uniform balls is more than just an aesthetic preference – it actually helps prevent cracks from forming during the cooking process. Unlike wheat dough, which possesses elastic gluten strands that are forgiving and stretchy, gluten-free dough lacks this inherent flexibility. Therefore, any imperfections or seams present before baking are more likely to become noticeable cracks once cooked.
While these cracks won’t fundamentally alter the taste or texture of your English muffins, they can detract from that perfect, bakery-worthy appearance. If you’re striving for picture-perfect results, follow these expert tips for handling and shaping gluten-free dough:
- Prep Your Work Surface and Hands: Always start by laying down a greased silicone baking mat or a sheet of parchment paper on your work surface. This creates a non-stick base for easier handling. Equally important, lightly spray your hands with non-stick cooking spray or rub them with a tiny amount of olive oil. This prevents the dough from sticking to your fingers, making it much easier to shape.
- Pinch and Roll to Smooth: As you roll each portion of dough into a ball, actively pinch together any visible cracks or seams on the surface. Imagine tucking the edges underneath the ball as you gently rotate and roll it between your greased palms. The goal is a taut, smooth surface on all sides.
- Moisten for Stubborn Imperfections: For any persistent cracks or dimples that just won’t smooth out, lightly wet your fingertips with a few drops of water. Gently smooth over the problematic areas. The slight moisture will help the dough coalesce and create a more uniform finish.
Remember, practice makes perfect! Don’t be discouraged if your first batch isn’t flawlessly round. The most important thing is that they taste amazing!
The Genius Behind the Skillet-to-Oven Cooking Method
You might be curious about our unique two-step cooking technique – starting on the stovetop and finishing in the oven. This method isn’t just a preference; it’s a carefully perfected approach specifically designed to optimize gluten-free English muffins, ensuring they achieve their ideal texture and flavor. Traditional stovetop-only methods for English muffins, while classic, often fall short when applied to gluten-free dough.
Cooking English muffins solely in a skillet can be quite tedious and difficult to manage. It’s challenging to regulate the temperature precisely, often leading to a situation where the outsides become overly browned, or even burnt, long before the interior has a chance to cook through adequately. The result is frequently a raw, doughy center or, worse, a dense and gummy crumb that is far from desirable.
This is where our “doubled-up” frying and baking technique truly shines. The initial skillet searing serves a crucial purpose: it rapidly sets the outer crusts, creating that distinctive crispiness and beautiful golden hue that we love in an English muffin. This quick stovetop step gives them their characteristic texture and visual appeal without overcooking the inside.
The muffins are then transferred to the oven to finish baking. This second stage is particularly vital for gluten-free breads. Gluten-free doughs, due to their different starch composition, tend to have a harder time releasing moisture compared to wheat-based doughs. If this moisture isn’t thoroughly evaporated, it can lead to that unpleasant, gummy interior that many gluten-free bakers struggle with. The oven provides a more gentle, consistent, and extended baking time, allowing the internal moisture to slowly and thoroughly evaporate. This controlled environment ensures that the starches gelatinize properly and the crumb develops into a perfectly soft, tender, and airy interior, completely free from gumminess. This method is the secret to achieving that “too-good-to-be-true” texture that will make you forget these are gluten-free. 🙌
Save this Recipe for Later!
Let’s be friends on Pinterest! I’m always sharing great recipes!
Did you make this recipe? I love hearing from you! Leave a star rating and comment below the recipe card. It helps others when searching for recipes and I appreciate feedback from our community. You will always hear back from me! -Melissa

Easy & Perfected Gluten-Free English Muffins
 Melissa Erdelac
Pin Recipe
Ingredients
- 3½ cups (516 g) all purpose gluten free flour, I use and recommend Cup4Cup GF flour
- 3 tablespoons (33 g) psyllium husk powder
- 2 tablespoons (26 g) granulated sugar
- 2¼ teaspoon (9 g) instant rapid rise yeast
- 1¼ teaspoon baking powder
- 1½ teaspoon salt
- 1 cup (240 g) water
- 1 cup (245 g) milk
- 2 large eggs, room temperature
- 2 tablespoons (28 g) butter, melted and cooled
- 2 teaspoon apple cider vinegar
- gluten-free cornmeal, for spinkling
- oil, for frying
Equipment
-
Food Scale
-
Cup4Cup Gluten Free Flour
-
Baking Sheets
-
Instant Read Thermometer
Instructions
-
Sprinkle about 2 tablespoons of gluten-free cornmeal evenly over each of two baking sheets. Set these aside; they will be used for the dough to rise on.
-
In the large bowl of a stand mixer, combine all the dry ingredients: all-purpose gluten-free flour, psyllium husk powder, granulated sugar, instant rapid-rise yeast, baking powder, and salt. Attach the paddle attachment and mix on low speed for about 30 seconds to ensure they are well combined. In a microwave-safe liquid measuring cup, combine the milk and water. Heat this mixture for approximately 1 minute, or until it reaches a very slightly warm temperature of about 105-115°F (40-46°C). Avoid making it too hot, as this can deactivate the yeast.3½ cups (516 g) all purpose gluten free flour, 3 tablespoons (33 g) psyllium husk powder, 2 tablespoons (26 g) granulated sugar, 2¼ teaspoon (9 g) instant rapid rise yeast, 1¼ teaspoon baking powder, 1½ teaspoon salt, 1 cup (240 g) water, 1 cup (245 g) milk
-
Pour the warm milk/water mixture into the dry ingredients. Add the room-temperature eggs, melted and cooled butter, and apple cider vinegar. With the paddle attachment, mix on low speed for 1 minute until the ingredients just come together. Then, increase the speed to medium-low and continue to mix for an additional 5 minutes. The dough will be quite stiff and thick at this point.2 large eggs, 2 tablespoons (28 g) butter, 2 teaspoon apple cider vinegar
-
On your clean work surface, lightly spray a silicone mat or a piece of parchment paper with non-stick cooking spray to prevent the dough from sticking. Lightly grease your hands with cooking spray or a little olive oil. Divide the dough into 10 equal pieces. For best results and uniform muffins, use a food scale to weigh each section to approximately 4 ounces (113 grams) each.
-
Once the dough has been divided evenly, take each piece and shape it into a smooth ball. Ensure there are no visible cracks or seams on the surface. Place 5 shaped dough balls on each prepared baking sheet, ensuring they are evenly spaced apart to allow for rising. Gently flatten each ball with your palm until it is about ¾-inch (2 cm) tall.
-
Sprinkle more cornmeal generously over the tops of the flattened dough balls. Loosely cover the baking sheets with plastic wrap to create a warm, draft-free environment for rising. Let the muffins rise for 30-40 minutes in a warm spot. They should expand to about 1 ¼ – 1 ½ inches (3-4 cm) in height. During the last 15 minutes of the rising time, preheat your oven to 350°F (175°C).
-
Before frying, prepare for the oven baking step. If you only have two baking sheets, gently transfer all the risen English muffins onto one sheet using a spatula. Clean off the now-empty sheet and line it with parchment paper for later. If you have a third baking sheet, simply line it with parchment paper to transfer the seared muffins to.
-
Heat about a teaspoon of oil in a 12-inch heavy skillet or cast iron pan over medium heat. Once hot, use a dry paper towel to carefully wipe away most of the excess oil, leaving only a thin film in the pan. Place 3-4 muffins in the pan, ensuring they are not crowded. Cook them until the bottoms are nicely golden brown and set, which typically takes about 1 – 1 ½ minutes. If any muffins puff up significantly, gently press down on their tops with a spatula to flatten them slightly.
-
Flip the muffins and cook on the second side for approximately 1 – 1 ½ minutes, until golden. Transfer these seared muffins to the prepared baking sheet lined with parchment paper. Carefully use a dry paper towel to wipe out any cornmeal or oil residue from the pan and repeat the process with a fresh film of oil and the remaining uncooked muffins. Once all muffins have been seared, ensure they are all on one baking sheet, spaced evenly.
-
Bake the English muffins in the preheated oven for 20-25 minutes. Rotate the baking sheet halfway through to ensure even baking. The muffins are fully cooked when an instant-read thermometer inserted into the center of a muffin registers 210°F (99°C). Once baked, remove from the oven and allow them to cool on the baking sheet for at least 20 minutes before splitting and toasting. This cooling time is crucial for the internal structure to set properly.
Notes & Troubleshooting
Storing and Freezing for Freshness
Gluten-free baked goods, by nature, tend to lose moisture more quickly than their wheat-based counterparts. For the absolute best taste and texture, I highly recommend serving these English muffins on the same day they are made. They are truly at their peak when fresh from the oven.
If you wish to prepare them ahead of time or store leftovers, ensure the muffins are cooled completely to room temperature. Once cool, wrap each muffin individually in plastic wrap, then transfer them to a freezer-safe ziplock bag. They can be frozen for up to 2 months. Freezing is an excellent way to preserve their freshness and prevent them from drying out.
When you’re ready to enjoy a frozen English muffin, it’s crucial to let it thaw completely at room temperature. Avoid serving them chilled directly from the refrigerator, as cold temperatures can make them firmer and less soft. If you’re short on time, a few seconds in the microwave can gently warm them and remove any residual “chill.” Once thawed and at room temperature (or slightly warmed), split them open with a fork, toast them to your desired crispness, and enjoy!
Troubleshooting Common Gluten-Free Baking Issues
Why are my muffins gummy or dense? This is a common issue with gluten-free bread and usually stems from too much moisture or insufficient baking. Ensure your oven temperature is accurate and that you bake them until the internal temperature reaches 210°F (99°C) using an instant-read thermometer. Over-measuring liquids or under-baking are frequent culprits. The psyllium husk is key for structure; ensure you use the correct amount.
My muffins didn’t rise enough! The most likely reasons are inactive yeast or liquids that were too cold or too hot. Always check your yeast’s expiration date. The milk/water mixture should be warm to the touch (105-115°F / 40-46°C), not hot or cold, to properly activate the instant yeast. Ensure your rising environment is warm and free of drafts.
Can I use a different gluten-free flour blend? While this recipe is optimized for Cup4Cup GF flour due to its specific blend of starches and proteins, other all-purpose gluten-free blends can work. However, results may vary. If using another blend, ensure it contains xanthan gum (or add it according to package directions, usually ½ tsp per cup of GF flour). Different blends have varying absorption rates, so you might need to slightly adjust the liquid to achieve the correct stiff dough consistency.