
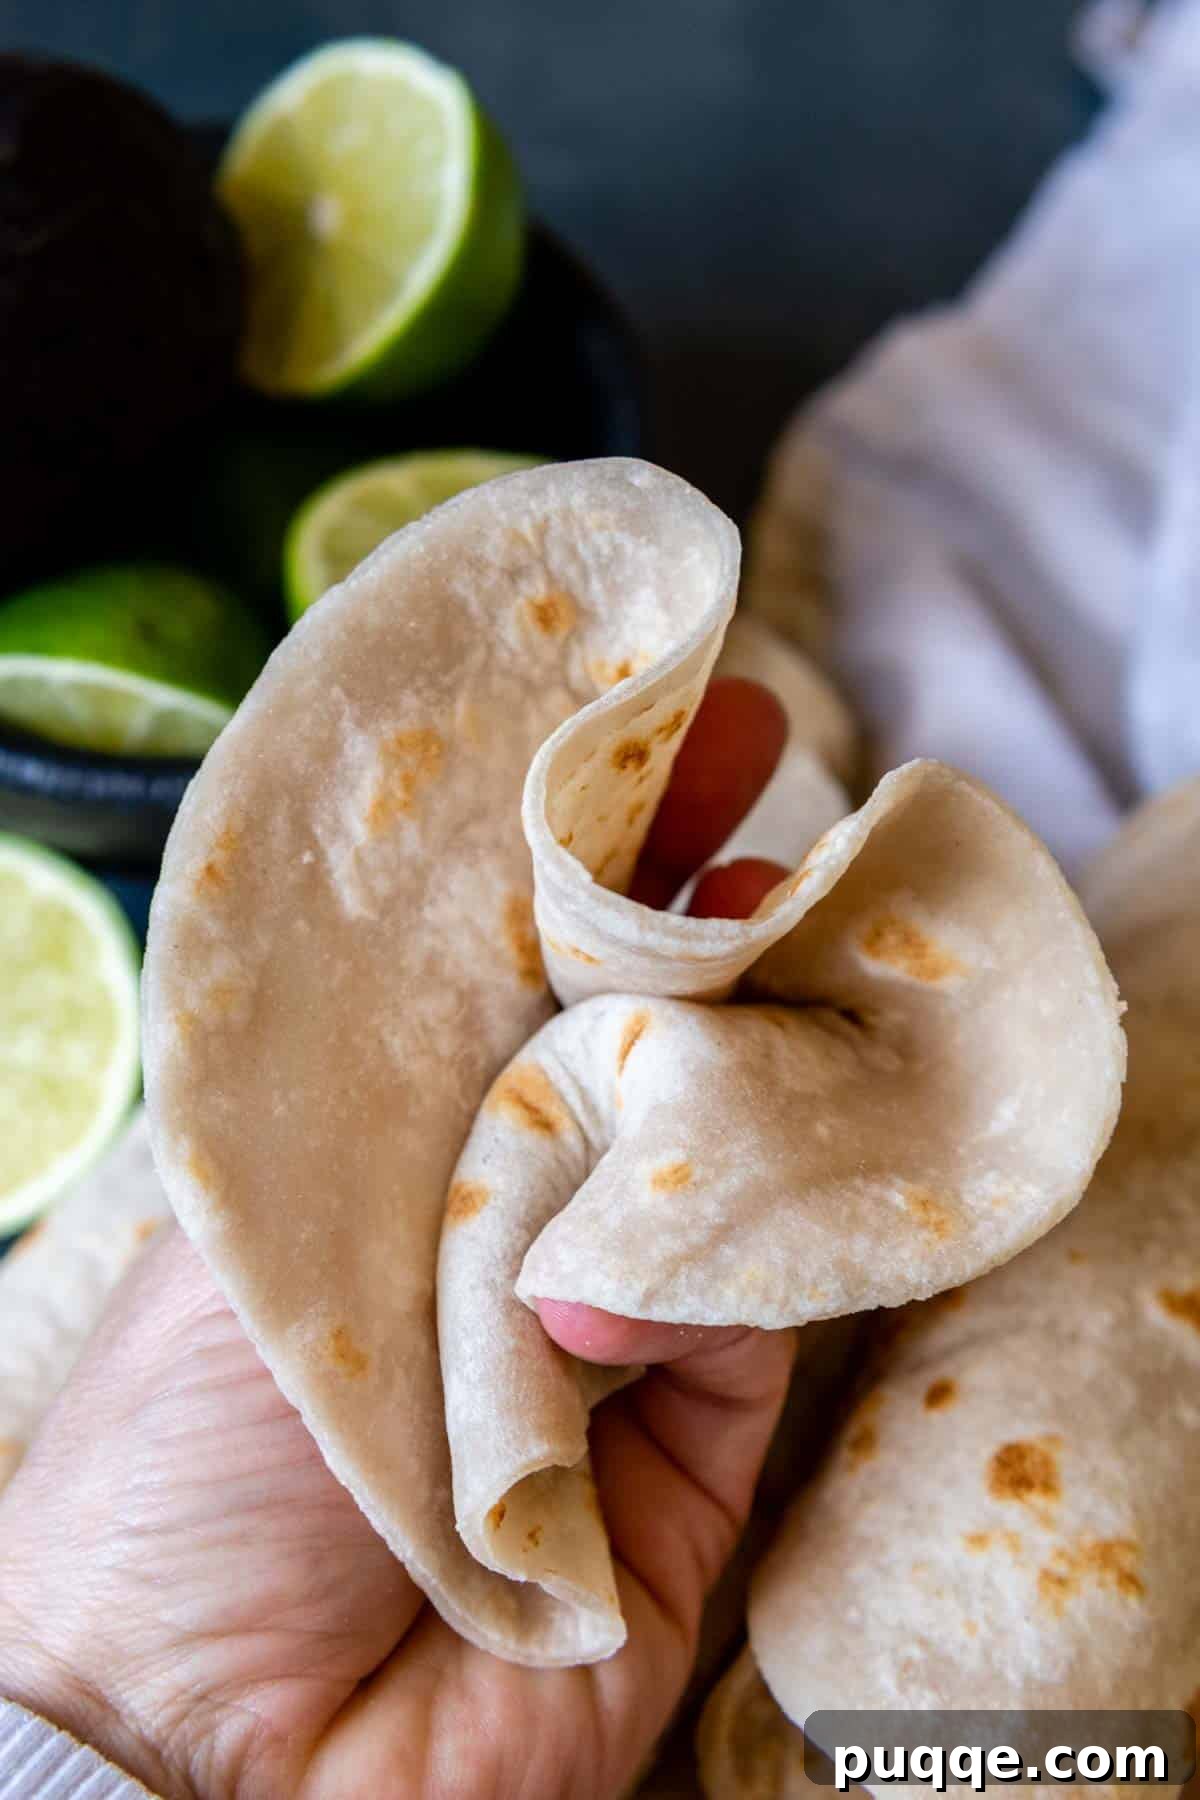
Imagine enjoying soft, flexible gluten-free tortillas that taste and feel just like traditional homemade ones. This isn’t a dream! Our incredibly simple recipe, requiring just four staple ingredients and a mere 30 minutes from start to finish, delivers authentic flavor and the perfect pliable texture. Whether you’re a seasoned chef or new to the kitchen, mastering these easy tortillas made with gluten-free flour is entirely achievable. Get ready to transform your gluten-free cooking experience!
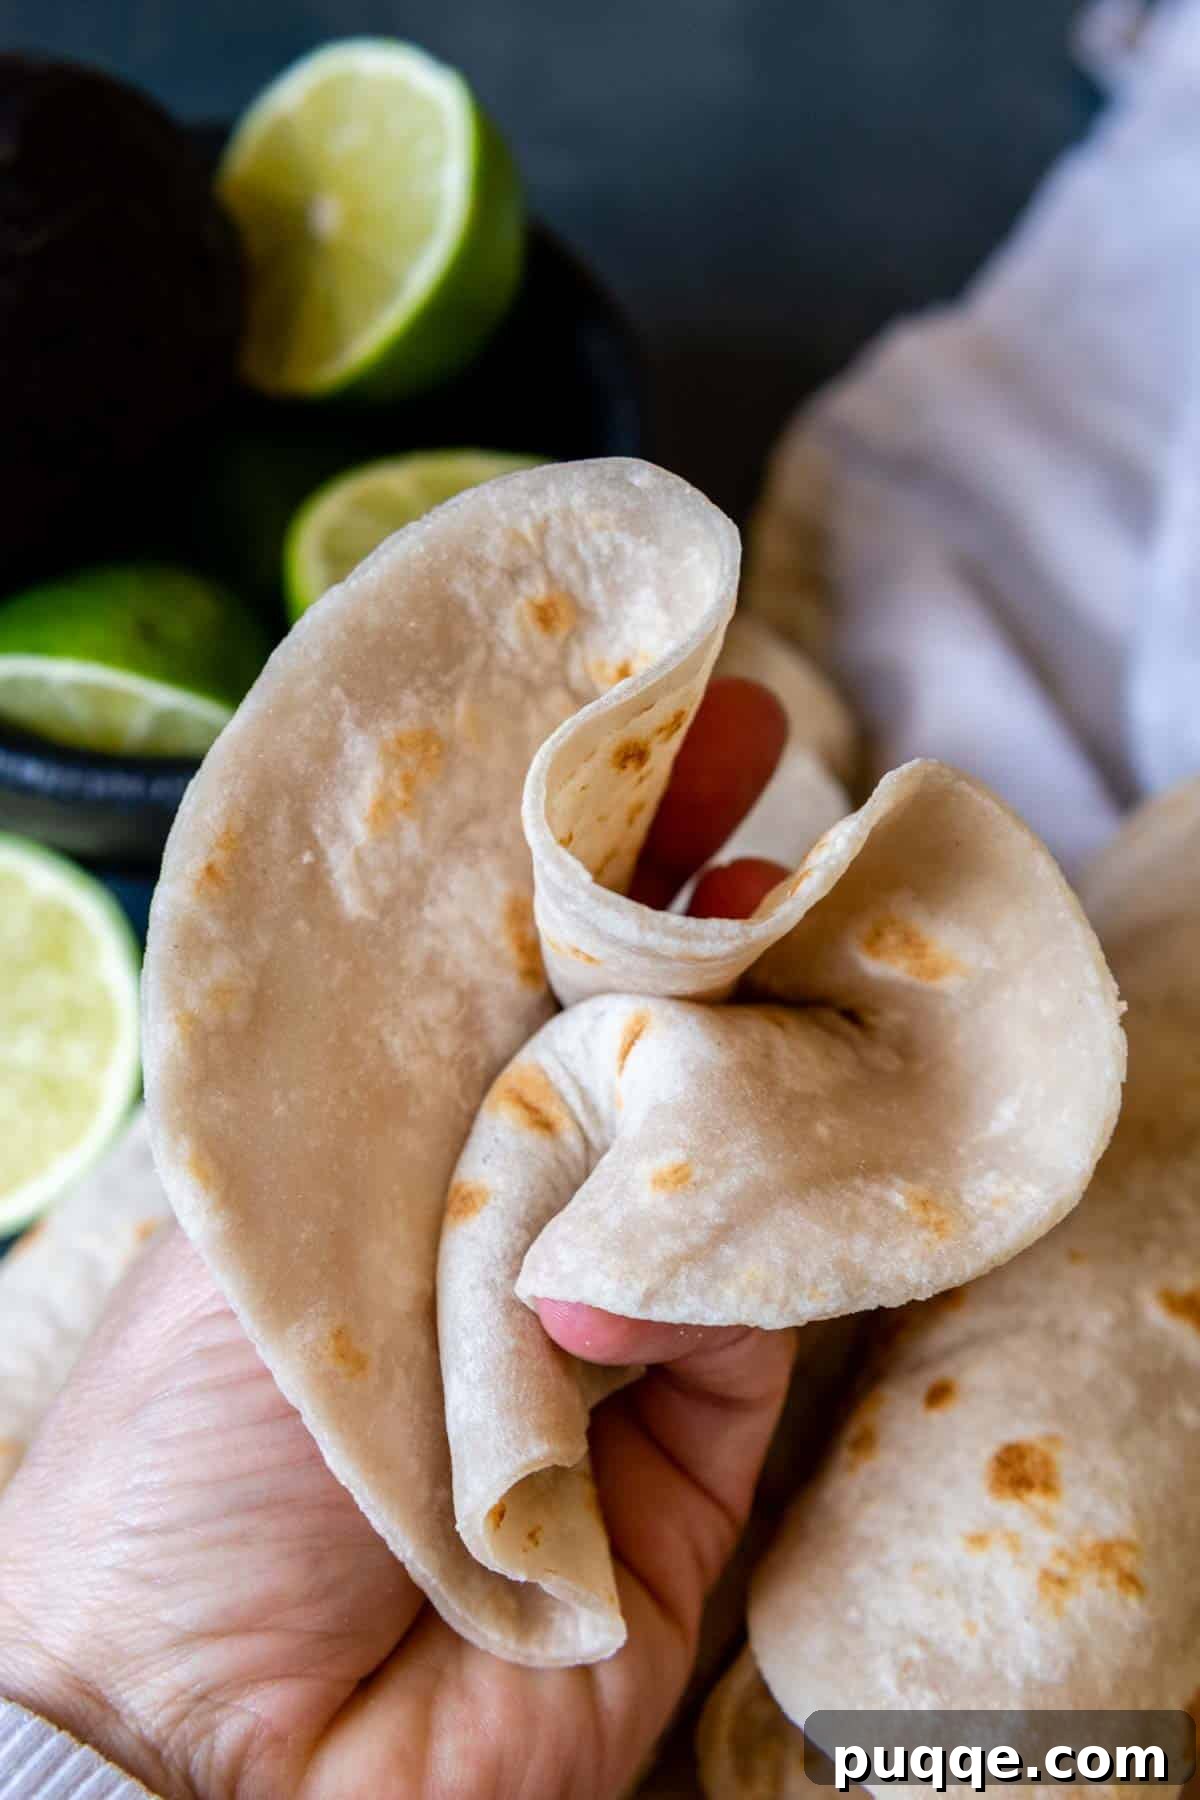
Reclaiming the Joy of Tortillas: A Gluten-Free Revelation
For too long, the thought of truly enjoying tortillas felt like a distant memory in my gluten-free journey. Store-bought options often disappointed, either with their exorbitant price tags or, more often, their unforgiving, cardboard-like texture and bland taste. I had resigned myself to a life without soft wraps, cheesy quesadillas, hearty burritos, and flavorful flour shell tacos, accepting it as one of the many sacrifices of a gluten-free diet (or simply making do with corn tortillas).
However, after successfully perfecting other beloved gluten-free staples like a soft gluten-free flatbread and a squishy GF sandwich bread, I realized that hope was not lost for tortillas either. We deserve the same delightful experience – a pliable, flavorful tortilla that complements any meal, rather than detracting from it. Every time I savor one of these homemade beauties, I’m filled with regret for all the years I spent living without them. This recipe is more than just food; it’s a culinary comeback for anyone on a gluten-free diet.
So, what’s the secret behind these miraculously soft and pliable gluten-free flour tortillas? It’s all in the alchemy of a few simple ingredients and a carefully crafted method. While only calling for four ingredients, their precise ratios prevent the dough from becoming oversaturated with gluten-free flour, a common pitfall that leads to dry, crumbly results. The star player in this transformation is my go-to “magic” gluten-free ingredient: psyllium husk powder. This incredible fiber acts as a binding agent, effectively absorbing liquid and creating the much-needed elasticity that traditional wheat flour provides naturally. It’s what gives these tortillas their signature stretch and prevents them from tearing.
Keep reading to uncover the straightforward steps to creating these fantastic homemade gluten-free tortillas, along with plenty of expert tips to ensure your first batch is an absolute success. Prepare to fall in love at first bite – guaranteed!
“Wow, all I can say is wow!! I have been struggling to find an easy gluten free flour tortilla recipe that is soft and flexible!! I have ended up with more hard hockey pucks than I care to count!! And then I happened upon Melissa’s phenomenal recipe!! I am seriously blown away!!”
—Ronda, a delighted home baker
Essential Ingredients for Your Gluten-Free Tortillas
This recipe boasts a short and simple list of ingredients, making these homemade wraps not only gluten-free but also naturally dairy-free and vegan (with considerations for your chosen GF flour blend). Below, we’ll dive into the role of each component and discuss any potential substitutions.
- All-purpose gluten-free flour blend: This is the foundation of your tortillas, dictating both taste and structure. My top recommendation is Cup4Cup gluten-free flour. Its unique blend, featuring a good amount of cornstarch, yields a wonderfully flexible texture and a flavor that closely mimics traditional wheat flour, without any grittiness. For those with dairy sensitivities, please note that some Cup4Cup varieties contain milk powder. Always check the label for a dairy-free blend or consider a different brand. We’ll delve deeper into recommended GF flours and dairy-free options shortly.
- Psyllium Husk Powder: Don’t let this unfamiliar ingredient intimidate you! Psyllium husk powder is surprisingly affordable and is a game-changer for superior results in a wide array of gluten-free baked goods, from these tortillas to fluffy breads. Its primary function is to absorb moisture and provide elasticity, making the dough incredibly pliable and easy to handle without needing excessive amounts of additional flour (which would lead to dry tortillas). For the best appearance, opt for a blonde or light-colored psyllium husk powder, as darker varieties can impart a slight purple hue to your finished tortillas. Rest assured, this color difference does not affect the delicious taste.
- Baking powder: A small touch of baking powder is added to give these tortillas a subtle lift, encouraging them to puff up and bubble beautifully, much like traditional flour tortillas. While some recipes might call for more, I’ve found that a smaller quantity helps maintain a thinner, more flexible texture, which is key for a truly authentic experience.
- Salt: Essential for flavor, salt balances the other ingredients and enhances the overall taste of your tortillas.
- Warm Water: The temperature of the water is important as it helps activate the psyllium husk and brings the dough together smoothly.
- Oil (Canola, Vegetable, or Olive): A neutral oil adds richness and moisture to the dough, contributing to the tortillas’ soft texture and pliability.
Let’s Make These Soft Gluten-Free Tortillas Together!
Once you’ve mastered these incredible homemade gluten-free tortillas, a world of culinary possibilities opens up! Use them to craft delicious wraps, make speedy 10-minute gluten-free quesadillas, layer them in comforting Mexican casseroles like cheesy gluten-free enchiladas, or simply wrap them around savory robust ground beef taco meat for an authentic taco night experience.
(The following section provides detailed step-by-step photos and expanded instructions. For the complete ingredient list with precise measurements, please scroll down to the printable recipe card.)
1. Whip Up the Easy Dough
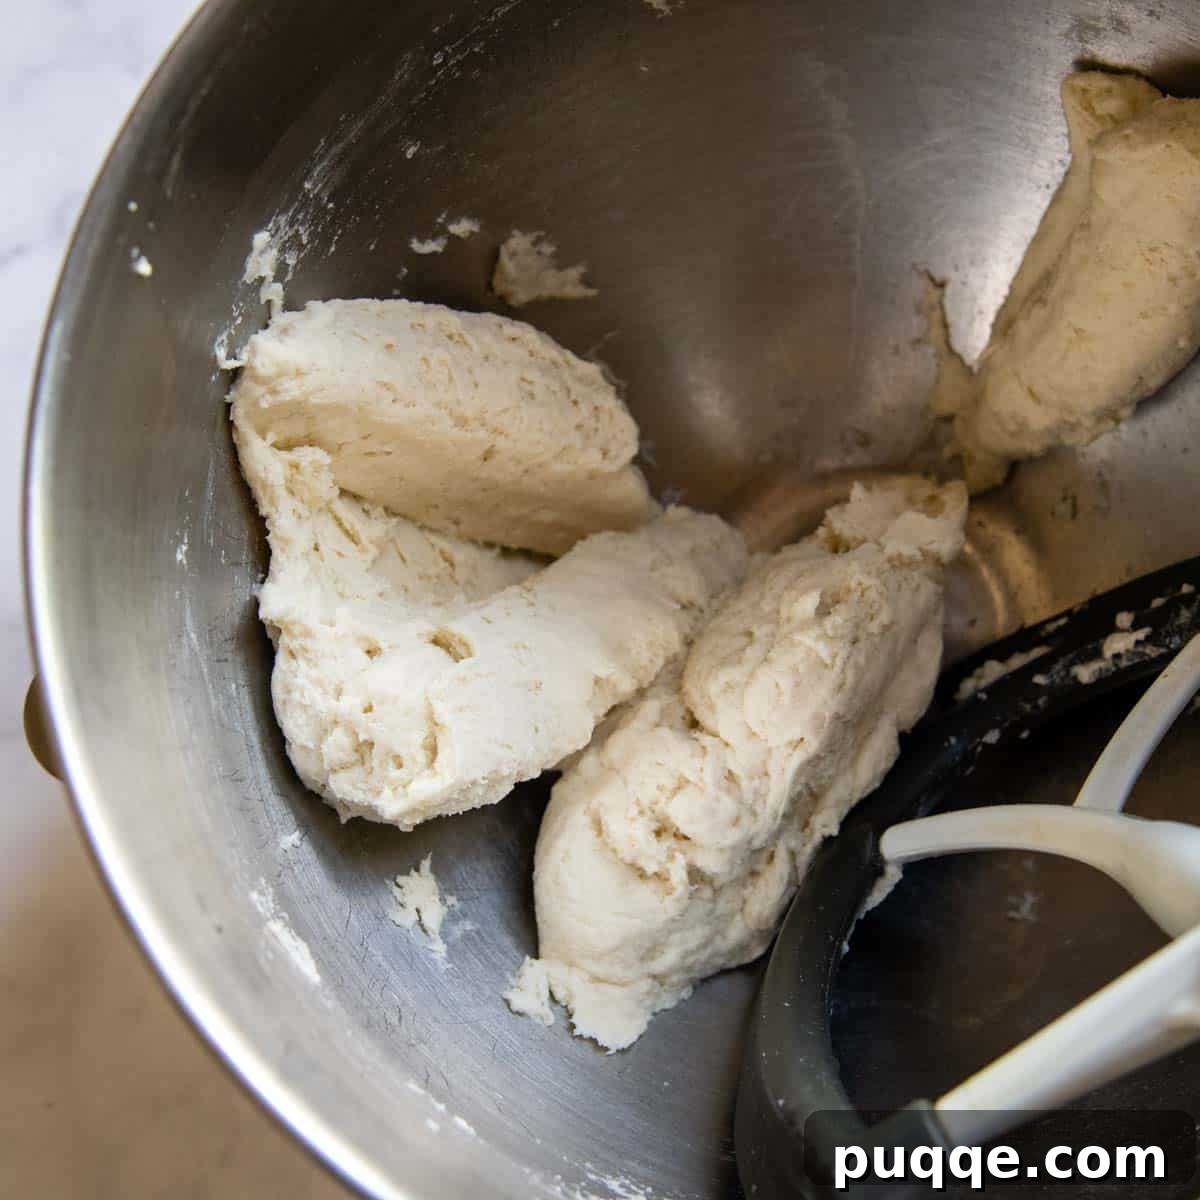
Begin by combining your dry ingredients. In a large mixing bowl or, for ultimate ease, using a stand mixer fitted with a paddle attachment, thoroughly mix together the gluten-free flour blend, psyllium husk powder, salt, and baking powder on low speed.
Next, with the mixer still running on low, gradually add the warm water and oil. Continue to mix until all ingredients are well combined and the dough starts to gather into a cohesive ball. This usually takes about 1 minute. If you’re not using a stand mixer, you may need to briefly knead the dough by hand at this stage to ensure it’s thoroughly mixed and smooth.
Once your dough ball is formed, wrap it snugly in a piece of plastic wrap. Allow the dough to rest at room temperature for at least 10 minutes. This crucial resting period hydrates the gluten-free starches and allows the psyllium husk to fully absorb the liquid, making the dough much easier to handle and roll out.
2. Time to Roll Out Your Tortillas
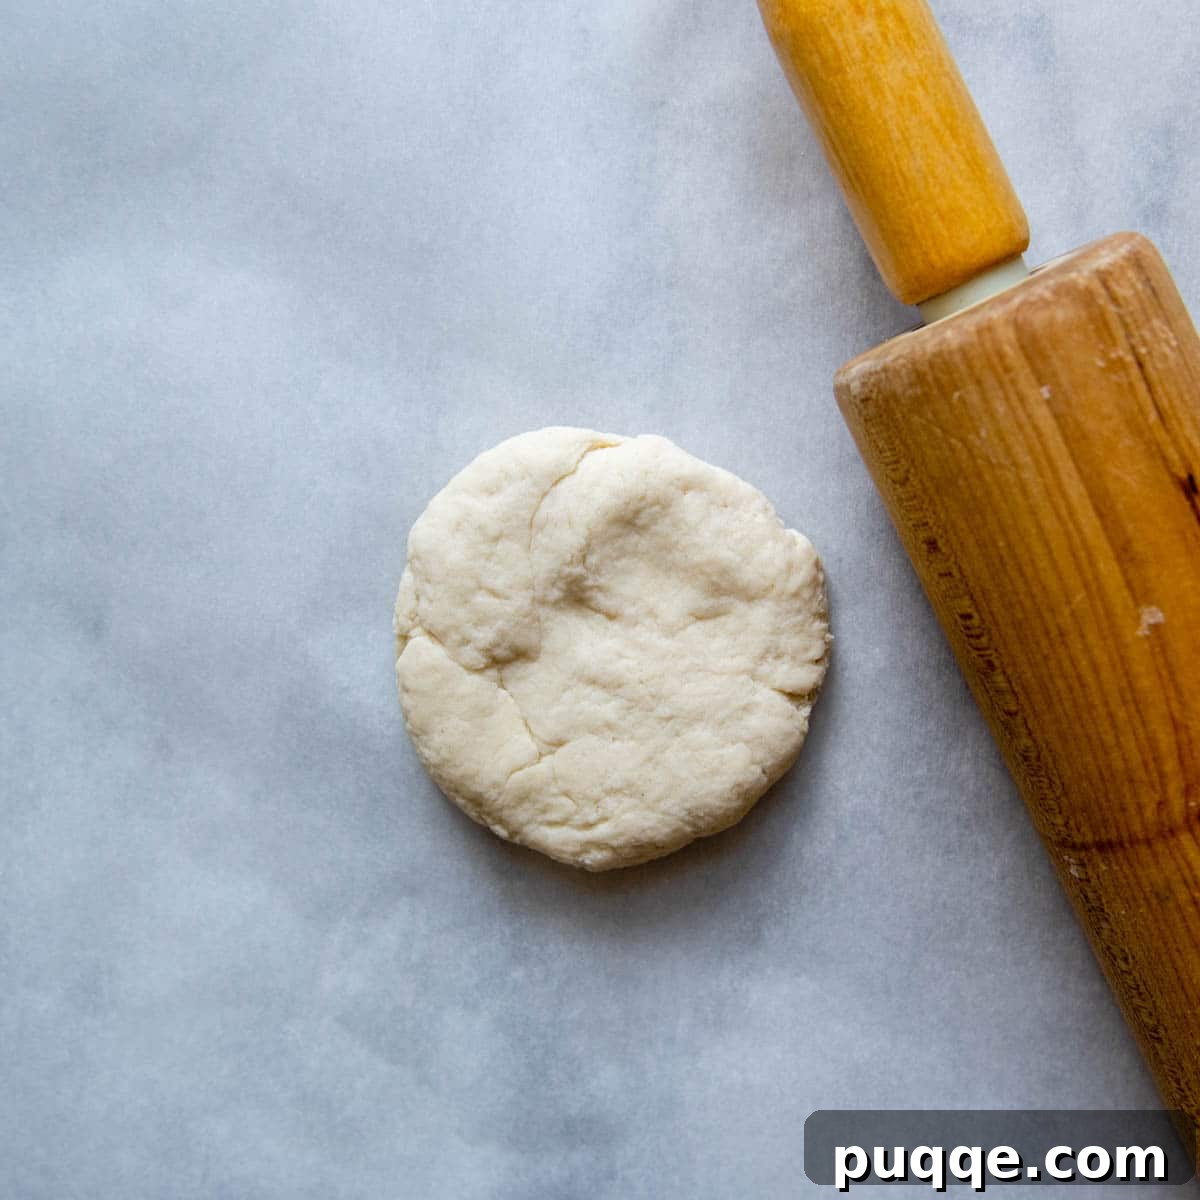
After the dough has rested, divide it into 6 equal sections. For precise, uniformly sized tortillas, you can use a food scale – each ball should weigh approximately 2.7 ounces (about 76 grams). It’s important to keep the dough balls covered with plastic wrap while you work on each tortilla individually, preventing them from drying out.
Take one dough ball and gently flatten it into a thick disc on a piece of parchment paper. Using a rolling pin, flatten the disc into a 6.5-inch diameter circle. Rotate the dough a quarter turn after each roll to help maintain a round shape. If you find the dough is sticking to your rolling pin, lightly dust the *rolling pin* with a small amount of gluten-free flour (avoid dusting the tortilla itself too much, as this can dry it out). Continue rolling until the desired thickness is achieved.
For perfectly round tortillas, you can use a knife to trim the edges. Don’t discard these scraps! Gather them, wrap them in plastic wrap, and combine them at the end to make an extra bonus tortilla. Who doesn’t love an extra tortilla?! As you roll out each tortilla, stack the uncooked rounds between small sheets of wax or parchment paper and keep them covered with plastic wrap to maintain their moisture until ready to cook.
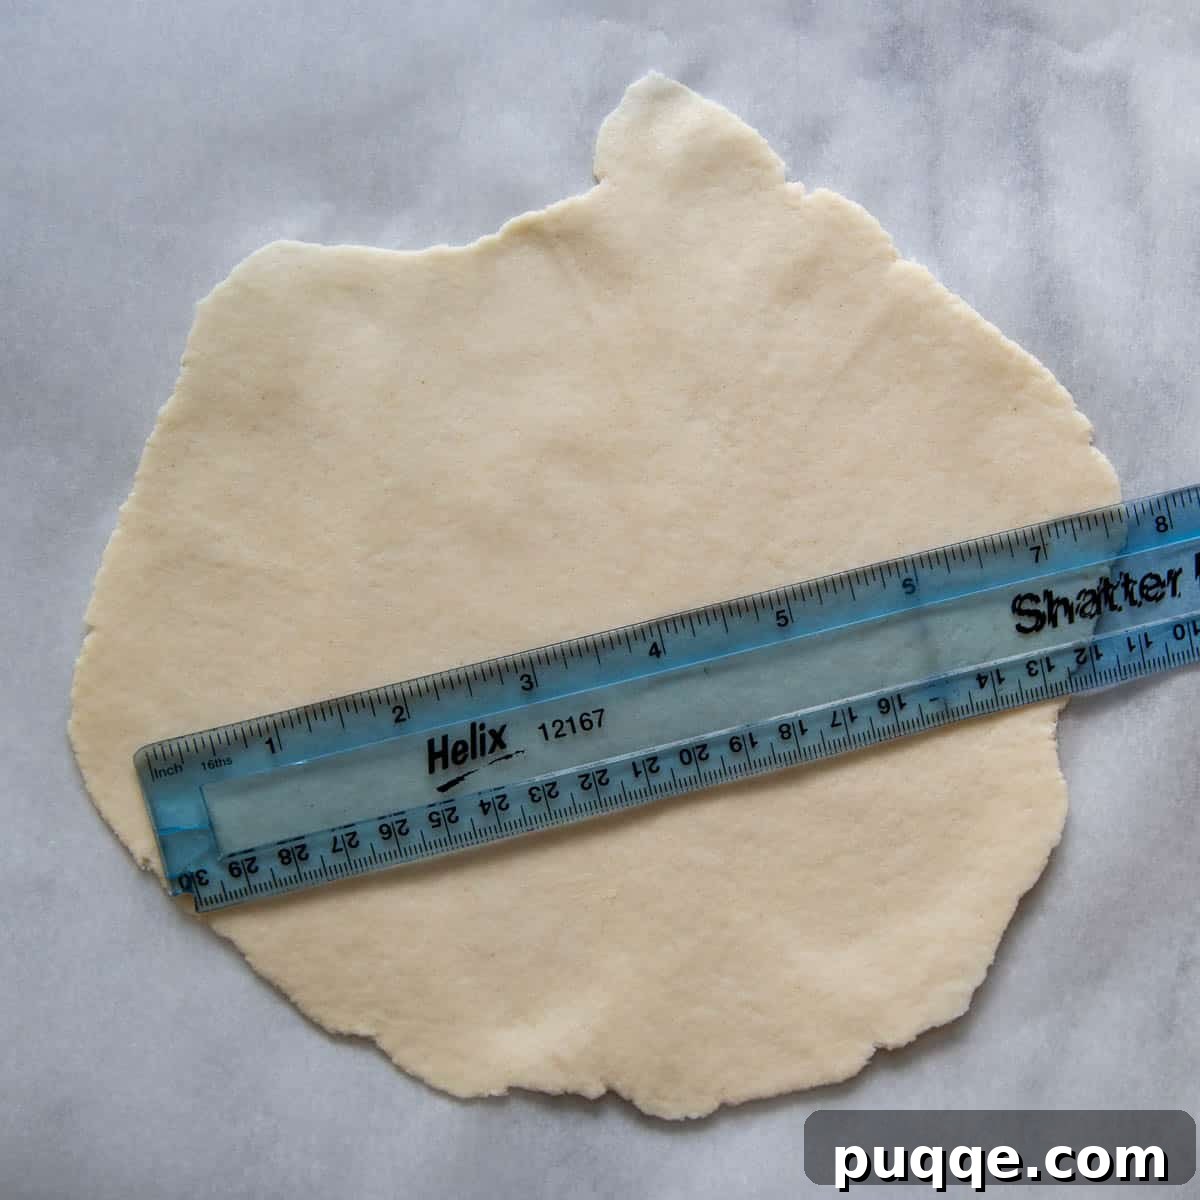
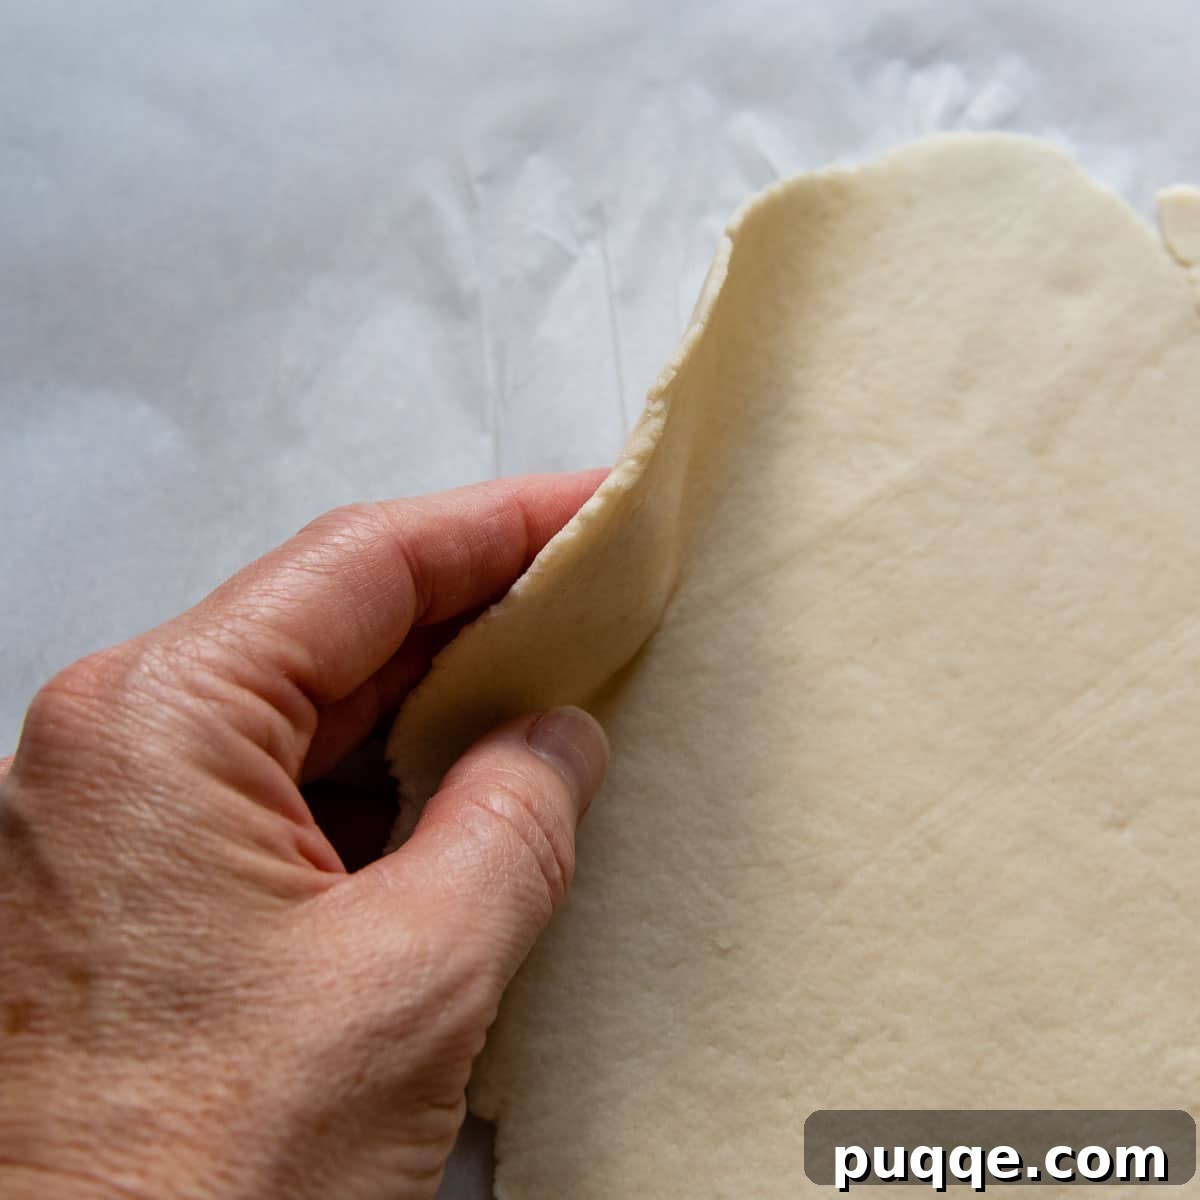
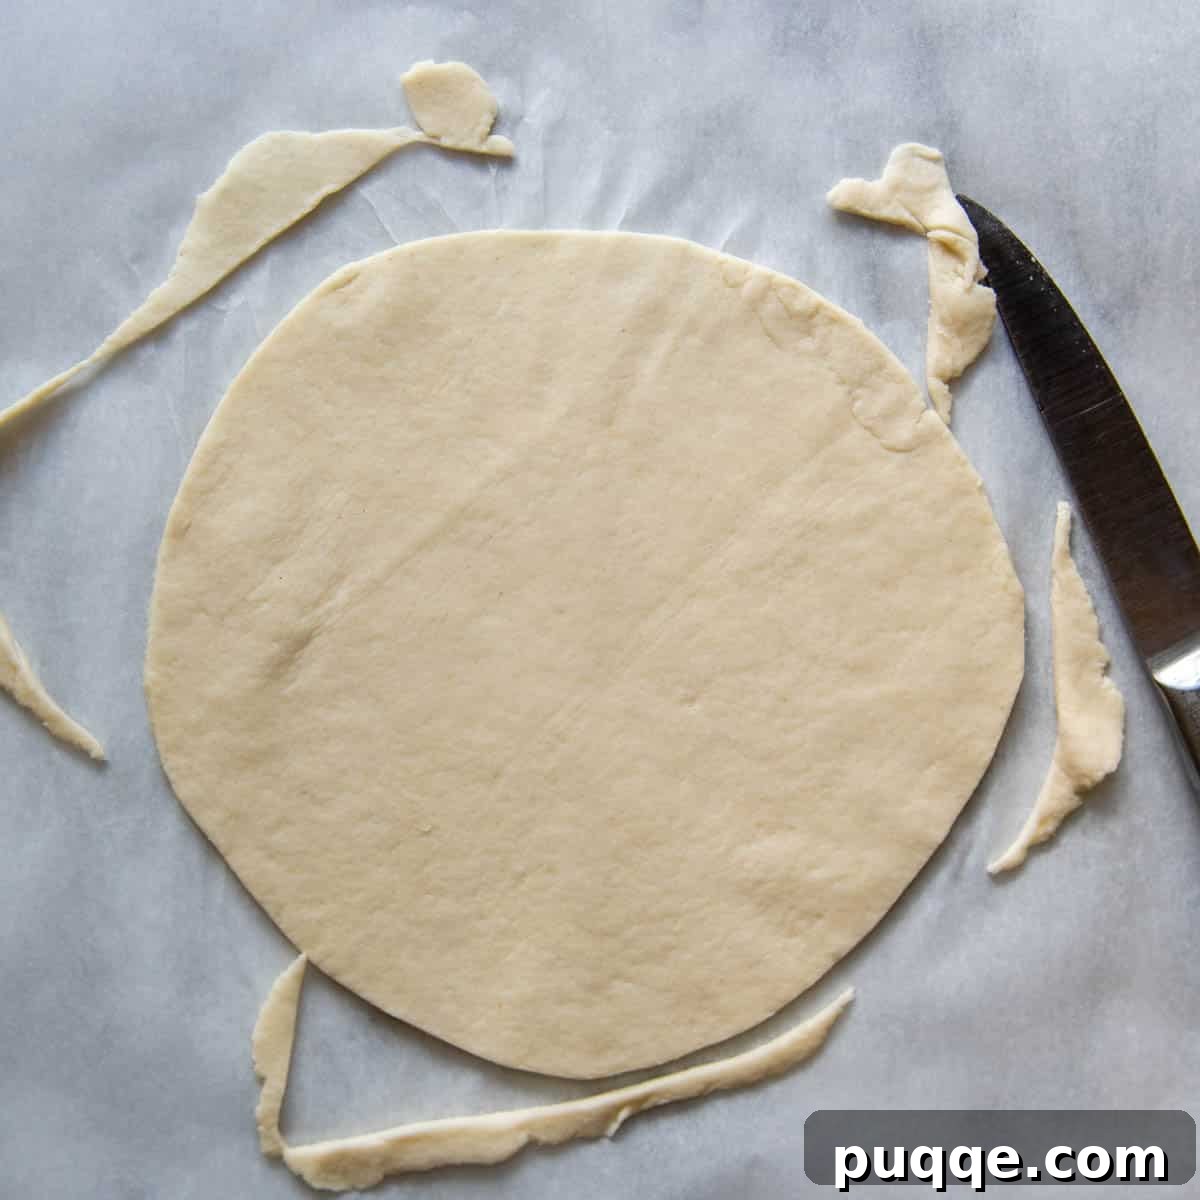
3. Cook Your Glorious Gluten-Free Tortillas
Before you start cooking, ensure your nonstick, ungreased pan is thoroughly heated. I recommend letting it heat up over medium-high heat for about 5 minutes to achieve the ideal temperature. A well-heated pan is essential for those characteristic brown spots and proper puffing.
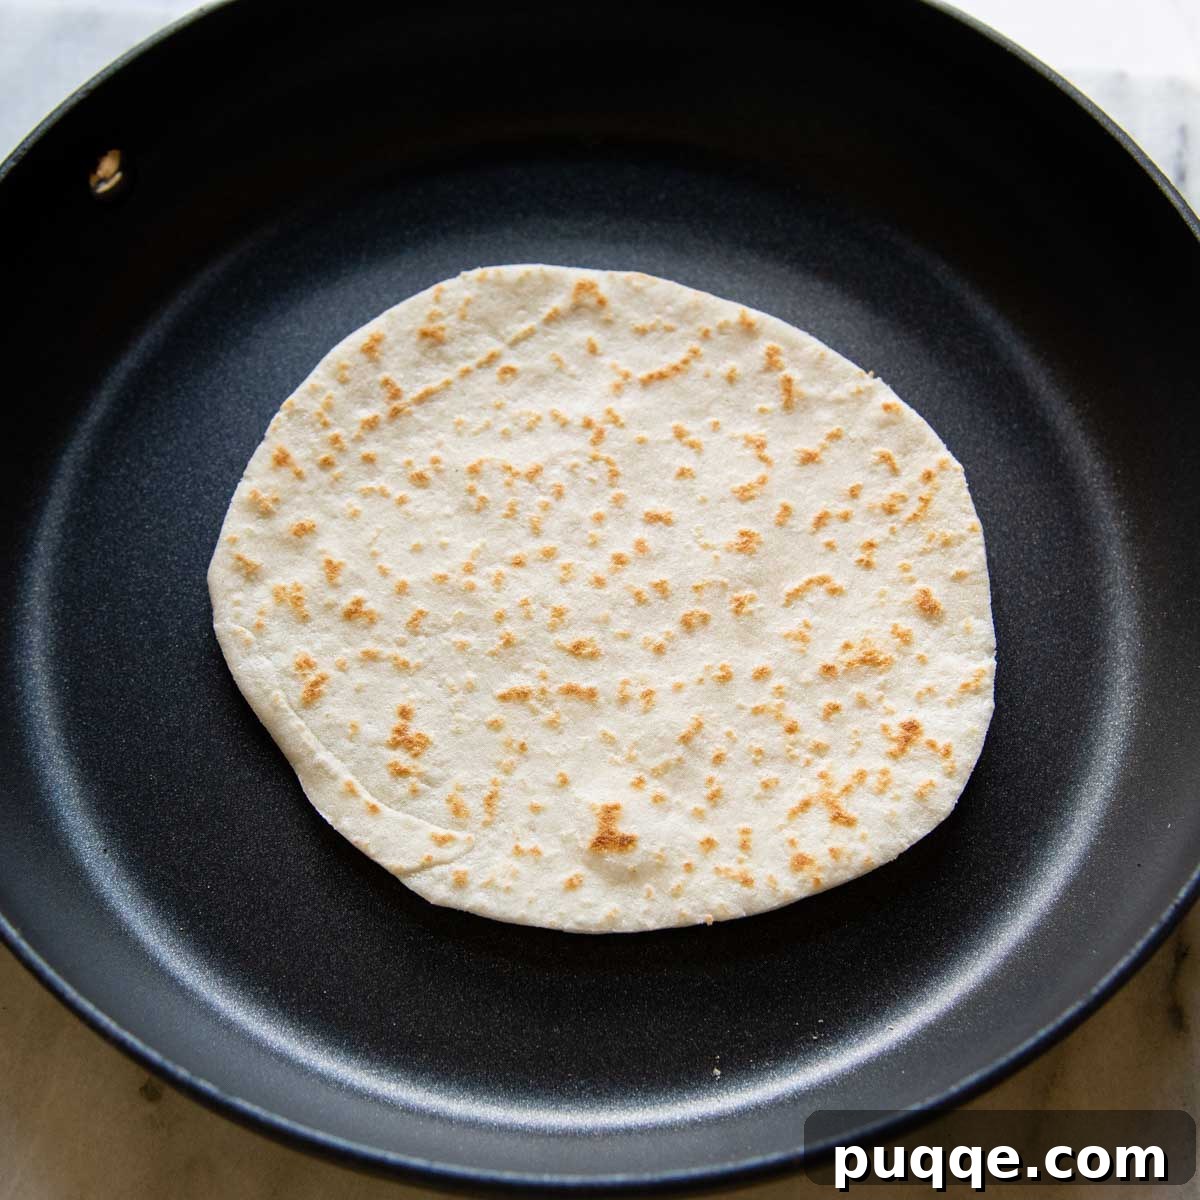
Carefully place one rolled tortilla onto the hot pan. Cook it undisturbed for precisely 45 seconds, or until you see golden brown spots beginning to form on the underside. Using tongs, flip the tortilla over and cook for an additional 15-20 seconds. The cooking time is critical here: enough time to cook off moisture and develop flavor, but not so long that the tortillas become stiff and brittle. Overcooking is the enemy of a flexible tortilla!
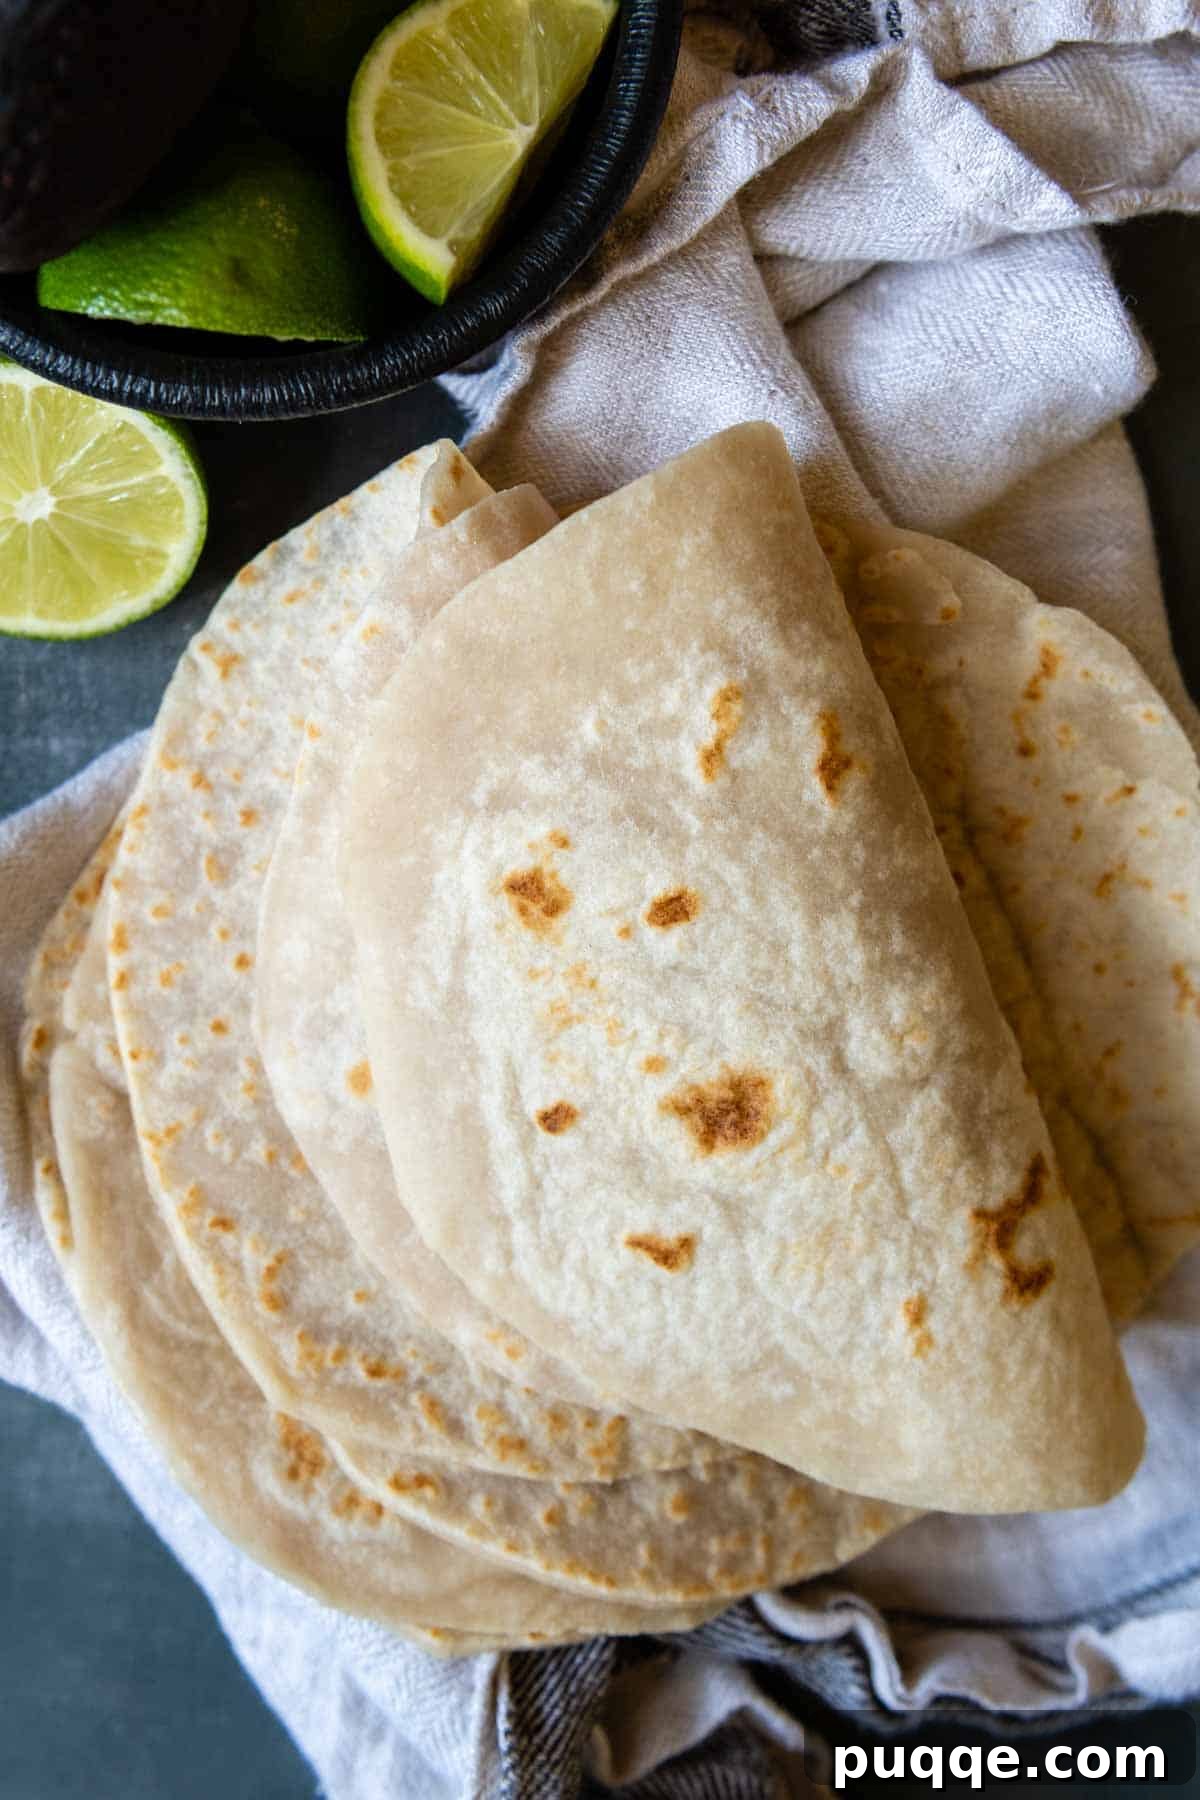
And that’s it! You’ve successfully made warm, authentic, soft gluten-free flour tortillas. Welcome back to the world of delicious wraps and tacos!
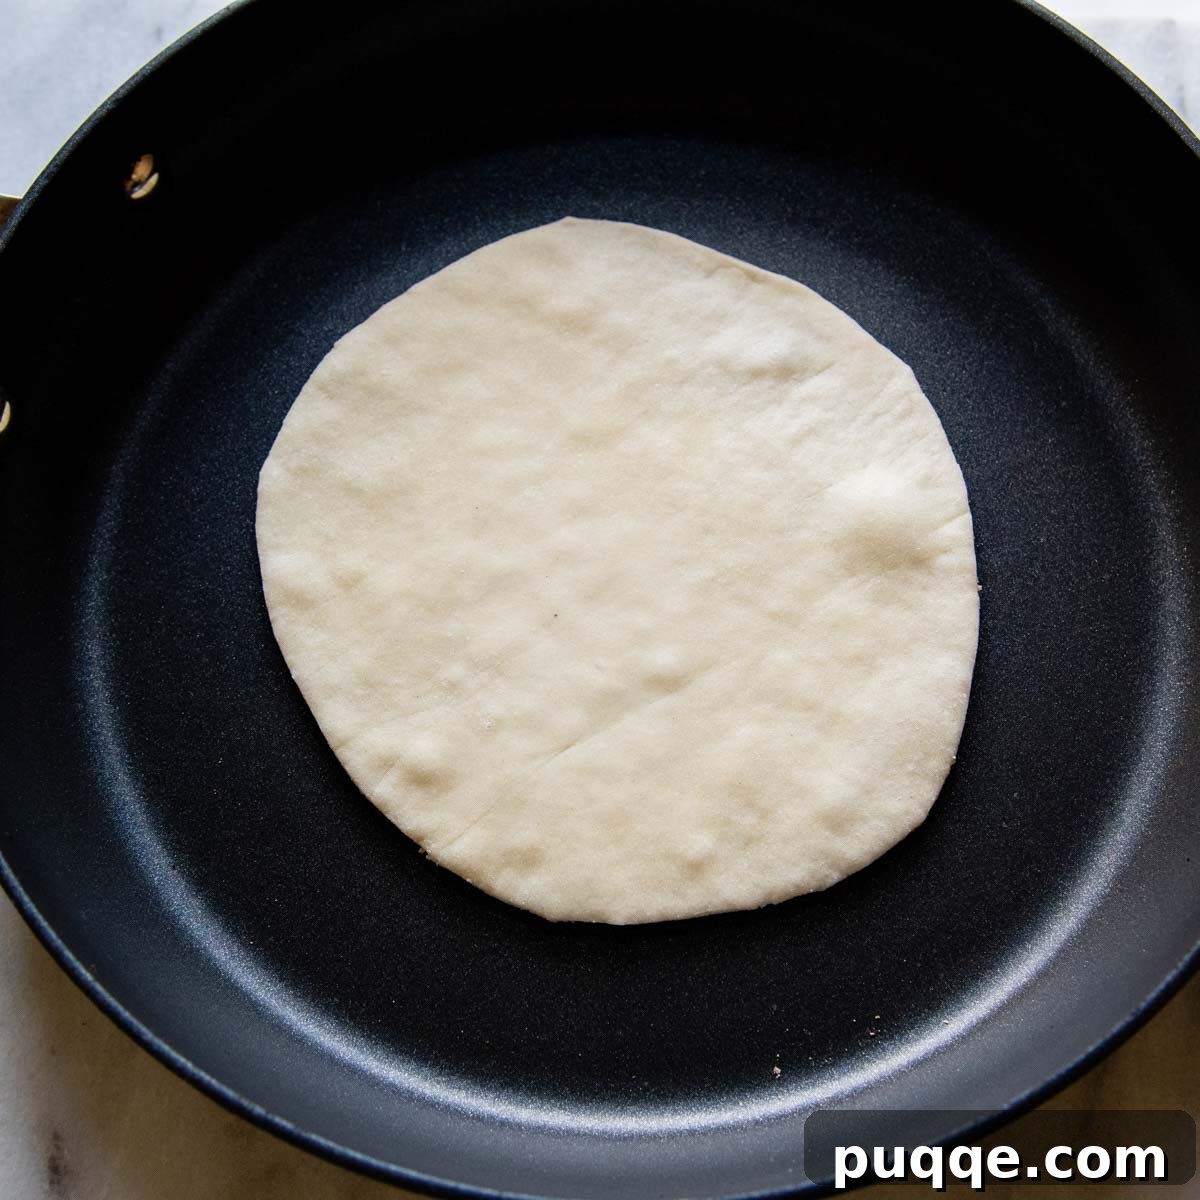
Choosing the Best Gluten-Free Flour for Tortillas
The success of any gluten-free recipe often hinges on the quality and type of gluten-free flour blend used. For these soft and flexible gluten-free tortillas, I consistently use and highly recommend Cup4Cup gluten-free flour blend. Its specific composition, particularly the inclusion of cornstarch, is crucial for achieving the incredibly soft texture and authentic taste that truly mimics traditional wheat flour. Many dedicated gluten-free bakers swear by it for its reliable performance in a variety of baked goods.
However, I understand that Cup4Cup may not be available everywhere, or you might prefer another brand. If you opt for a different all-purpose gluten-free flour blend, keep in mind that results can vary significantly due to differing ratios of starches and flours in each blend. If your chosen blend doesn’t already contain a good amount of cornstarch, you may wish to replace a couple of tablespoons of the flour in the recipe with an equal amount of cornstarch. This can help to replicate the light, flexible texture that Cup4Cup provides.
Throughout my recipe testing, I’ve experimented with several common gluten-free flour brands, which is why I confidently stand by Cup4Cup for this particular recipe. If you discover another gluten-free flour blend that yields fantastic results for these tortillas, please share your findings in the comments below! Your feedback helps our entire gluten-free community find success.
Selecting the Best Pan for Cooking Tortillas
The right pan can make a significant difference in achieving perfectly cooked homemade gluten-free tortillas. I recommend using a heavy nonstick pan that is known for maintaining and distributing heat evenly. This consistency in temperature is key to preventing burnt spots and ensuring thorough, even cooking.
Alternatively, a well-seasoned cast iron skillet is an excellent choice. Cast iron retains heat exceptionally well, which is ideal for the rapid cooking of tortillas. However, if using cast iron, it is absolutely essential that it is very well seasoned to prevent the tortillas from sticking. Regardless of whether you choose a nonstick or cast iron pan, always ensure it is left ungreased when cooking these tortillas. The natural oils in the dough are sufficient, and adding extra grease can prevent them from developing those beautiful brown spots and slight puffs.
Save This Gluten-Free Tortilla Recipe!
Let’s be friends on Pinterest! I’m always sharing great recipes!
Did you make this recipe? I love hearing from you! Leave a star rating and comment below the recipe card. It helps others when searching for recipes and I appreciate feedback from our community. You will always hear back from me! -Melissa
Soft, Authentic Gluten-Free Flour Tortillas (30 Mins)
 Melissa Erdelac
Pin Recipe
Rate This Recipe
Remove Ads
Ingredients
- 1 ½ cup (214 g) gluten free all purpose flour, (Cup4Cup brand highly recommended)
- 2 tablespoons (22 g) psyllium husk powder
- ½ teaspoon salt
- ¼ teaspoon baking powder
- ¾ cup + 2 tablespoons (210 g) very warm water
- 2 tablespoons (27 g) oil, canola, vegetable, or olive oil
Equipment
-
Tortilla Warmer
-
Non stick frying pan
-
Cup 4 Cup Gluten Free Flour
Instructions
-
Combine dry ingredients: In a stand mixer with a paddle attachment (recommended for ease) or a large bowl with a wooden spoon, mix together the gluten-free flour, psyllium husk, salt, and baking powder on low speed until thoroughly combined.1 ½ cup (214 g) gluten free all purpose flour, 2 tablespoons (22 g) psyllium husk powder, ½ teaspoon salt, ¼ teaspoon baking powder
-
Add wet ingredients and mix dough: While continuing to mix on low, gradually add the very warm water and oil. Mix for about 1 minute, until all ingredients are well incorporated and the dough begins to form a cohesive ball. If mixing by hand, you may need to knead lightly to ensure an even mix.¾ cup + 2 tablespoons (210 g) very warm water, 2 tablespoons (27 g) oil
-
Rest the dough: Form the dough into a large ball, cover it tightly with plastic wrap, and let it rest for 10 minutes. This resting period allows the gluten-free starches to hydrate and the psyllium husk to fully absorb the liquid, making the dough much more pliable and easier to roll.
-
Portion the dough: Divide the rested dough into 6 equal-sized balls. Keep the unrolled dough balls covered with plastic wrap to prevent them from drying out as you work on one tortilla at a time.
-
Roll out tortillas: On a piece of parchment paper, flatten one dough ball into a thick disc. Use a rolling pin to roll it into a 6.5-inch diameter circle. Rotate the dough a quarter turn frequently as you roll to maintain a round shape. If the dough starts to stick to the rolling pin, lightly dust the rolling pin (not the tortilla itself) with a small amount of gluten-free flour. (See recipe notes for more rolling tips.)
-
Shape and stack: Use a knife to trim the edges of the rolled dough, creating a perfectly round circle. Save any dough scraps by wrapping them in plastic wrap; they can be combined later to make an extra tortilla. Stack the rolled, uncooked tortillas between small sheets of wax or parchment paper, keeping them covered with plastic wrap, while you continue rolling the remaining dough balls.
-
Preheat your pan: Heat an ungreased nonstick skillet (or a well-seasoned cast iron skillet) over medium-high heat for 5 minutes before you begin cooking the tortillas. A hot pan is crucial for the best results.
-
Cook the tortillas: Place one tortilla onto the hot pan. Cook undisturbed for 45 seconds, or until you see golden-brown spots on the underside. Flip the tortilla over and cook for an additional 15-20 seconds. The precise cooking time is vital to cook off moisture without overcooking, which can make the tortillas stiff.
-
Serve or store: If serving immediately, wrap the cooked tortillas in a lint-free towel or a tortilla warmer to keep them warm and pliable. Otherwise, transfer them to a cooling rack. As one tortilla cooks, you can begin rolling out the next one to maintain efficiency.
Notes
Tips for Handling, Rolling, and Shaping Gluten-Free Tortillas
- Achieving a Round Shape: As you roll the dough, frequently rotate it a quarter turn. If the tortilla starts to become lopsided, you can gently tear off a small piece from the thicker side and press it into a thinner area where dough is needed.
- Preventing Sticking: When you first start rolling, the dough may feel a bit sticky and want to cling to your rolling pin. To remedy this, lightly dust the *rolling pin* with a small amount of gluten-free flour, rather than dusting the tortilla directly. This helps prevent the dough from drying out.
- Parchment Paper Management: If your parchment paper begins to wrinkle or crease, simply swap it out for a fresh sheet every couple of tortillas to ensure smooth rolling.
- Perfect Circles: For exceptionally round tortillas, you can use a knife to trim the edges. Alternatively, you can use a lid from a pot or a dinner plate as a guide to cut perfectly circular shapes, similar to the method shown in my almond flour tortilla recipe.
Storing and Reheating Your Homemade Tortillas
For optimum storage, allow your cooked gluten-free tortillas to cool completely on a cooling rack. Once cooled, stack them neatly between pieces of parchment paper or paper towels. Transfer the stack to an airtight container or a heavy-duty ziplock freezer bag.
These tortillas can be stored at room temperature for up to one day, or in the refrigerator for up to 3 days. For longer storage, they freeze beautifully for up to 3 months. When freezing, stack them with parchment or wax paper in between, then wrap the stack securely with plastic wrap before placing it into a freezer bag. This extra step prevents freezer burn and makes it easy to grab individual tortillas.
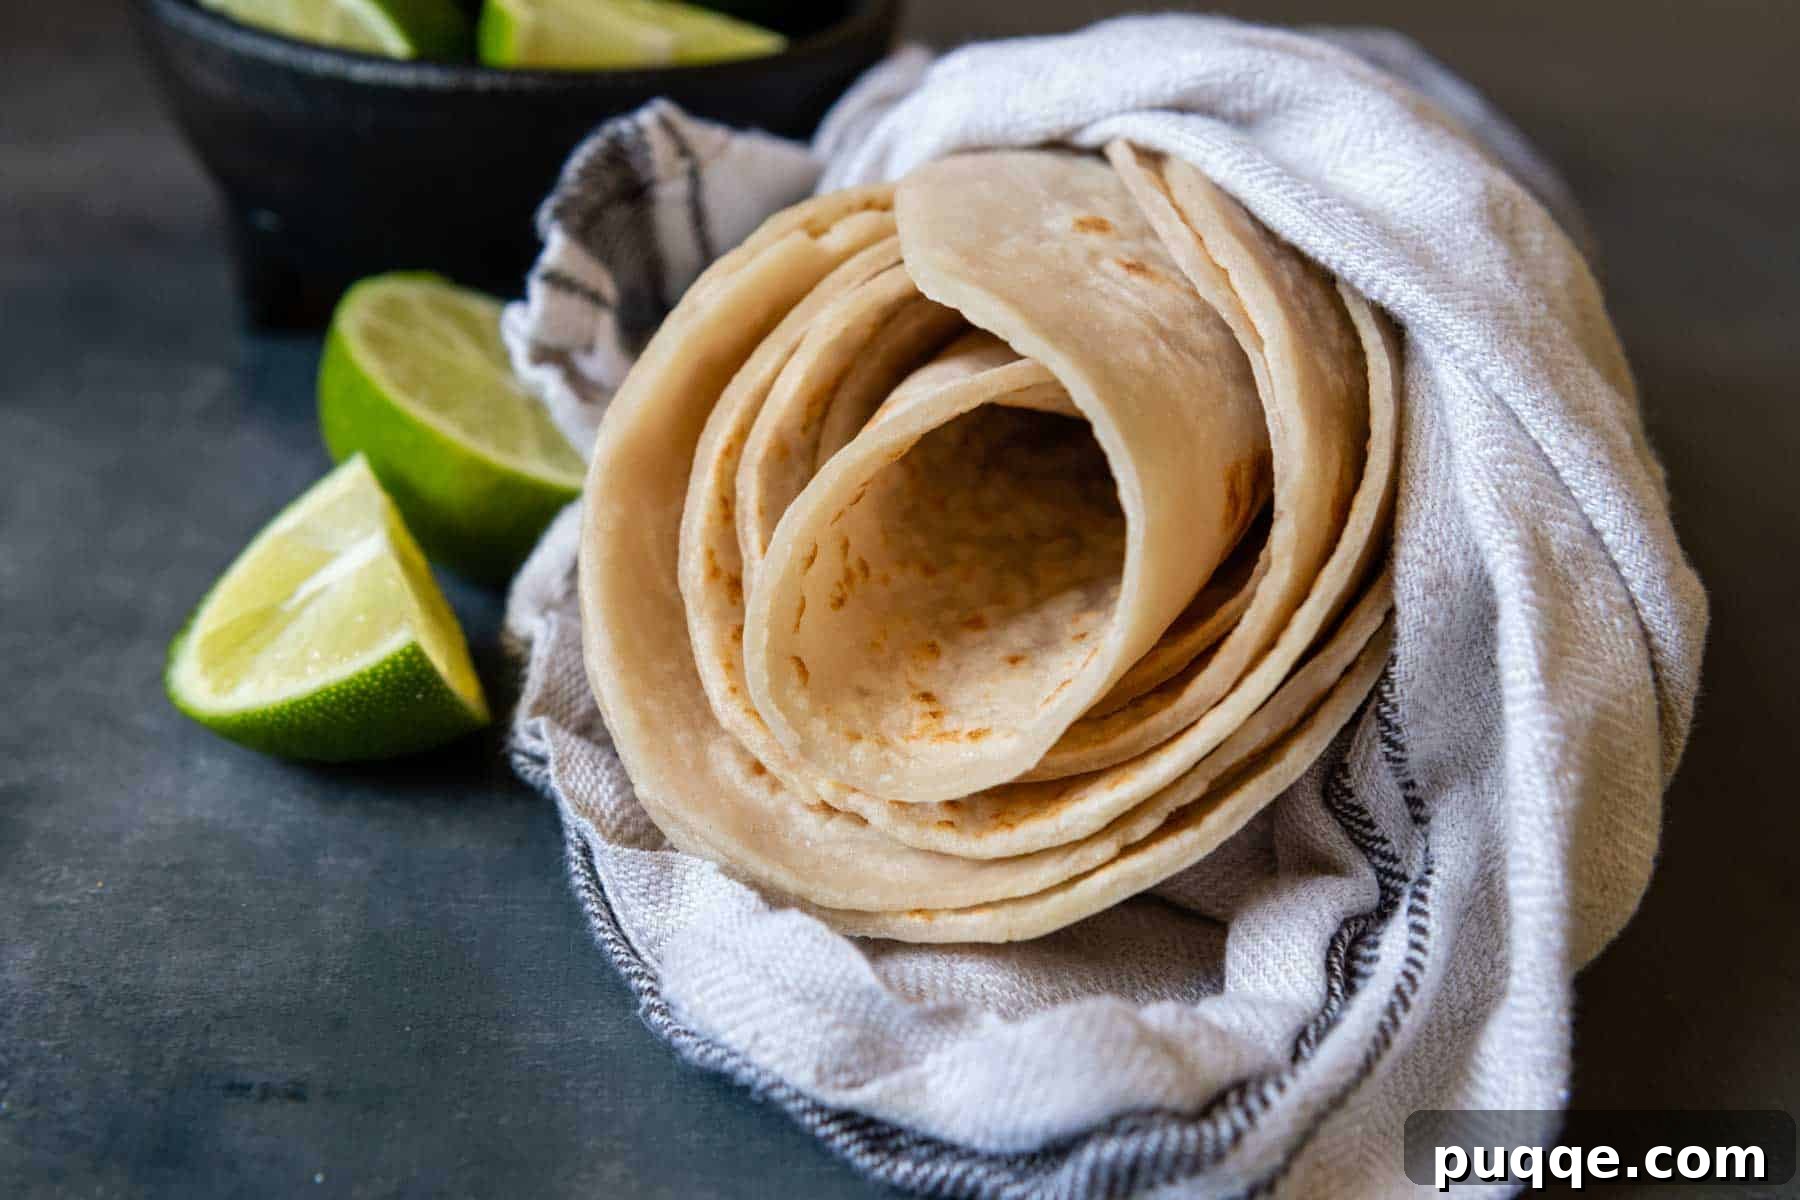
When you’re ready to enjoy them, reheating is quick and easy! Briefly microwave a tortilla for 10-15 seconds, or rewarm it in a dry, hot skillet over medium heat for about 15-30 seconds per side. To ensure your reheated tortillas are just as soft and flexible as when they were freshly made, wrap them in a damp paper towel before microwaving, or lightly spray your skillet with a mist of water before rewarming. This adds a touch of steam, restoring their tender texture.