
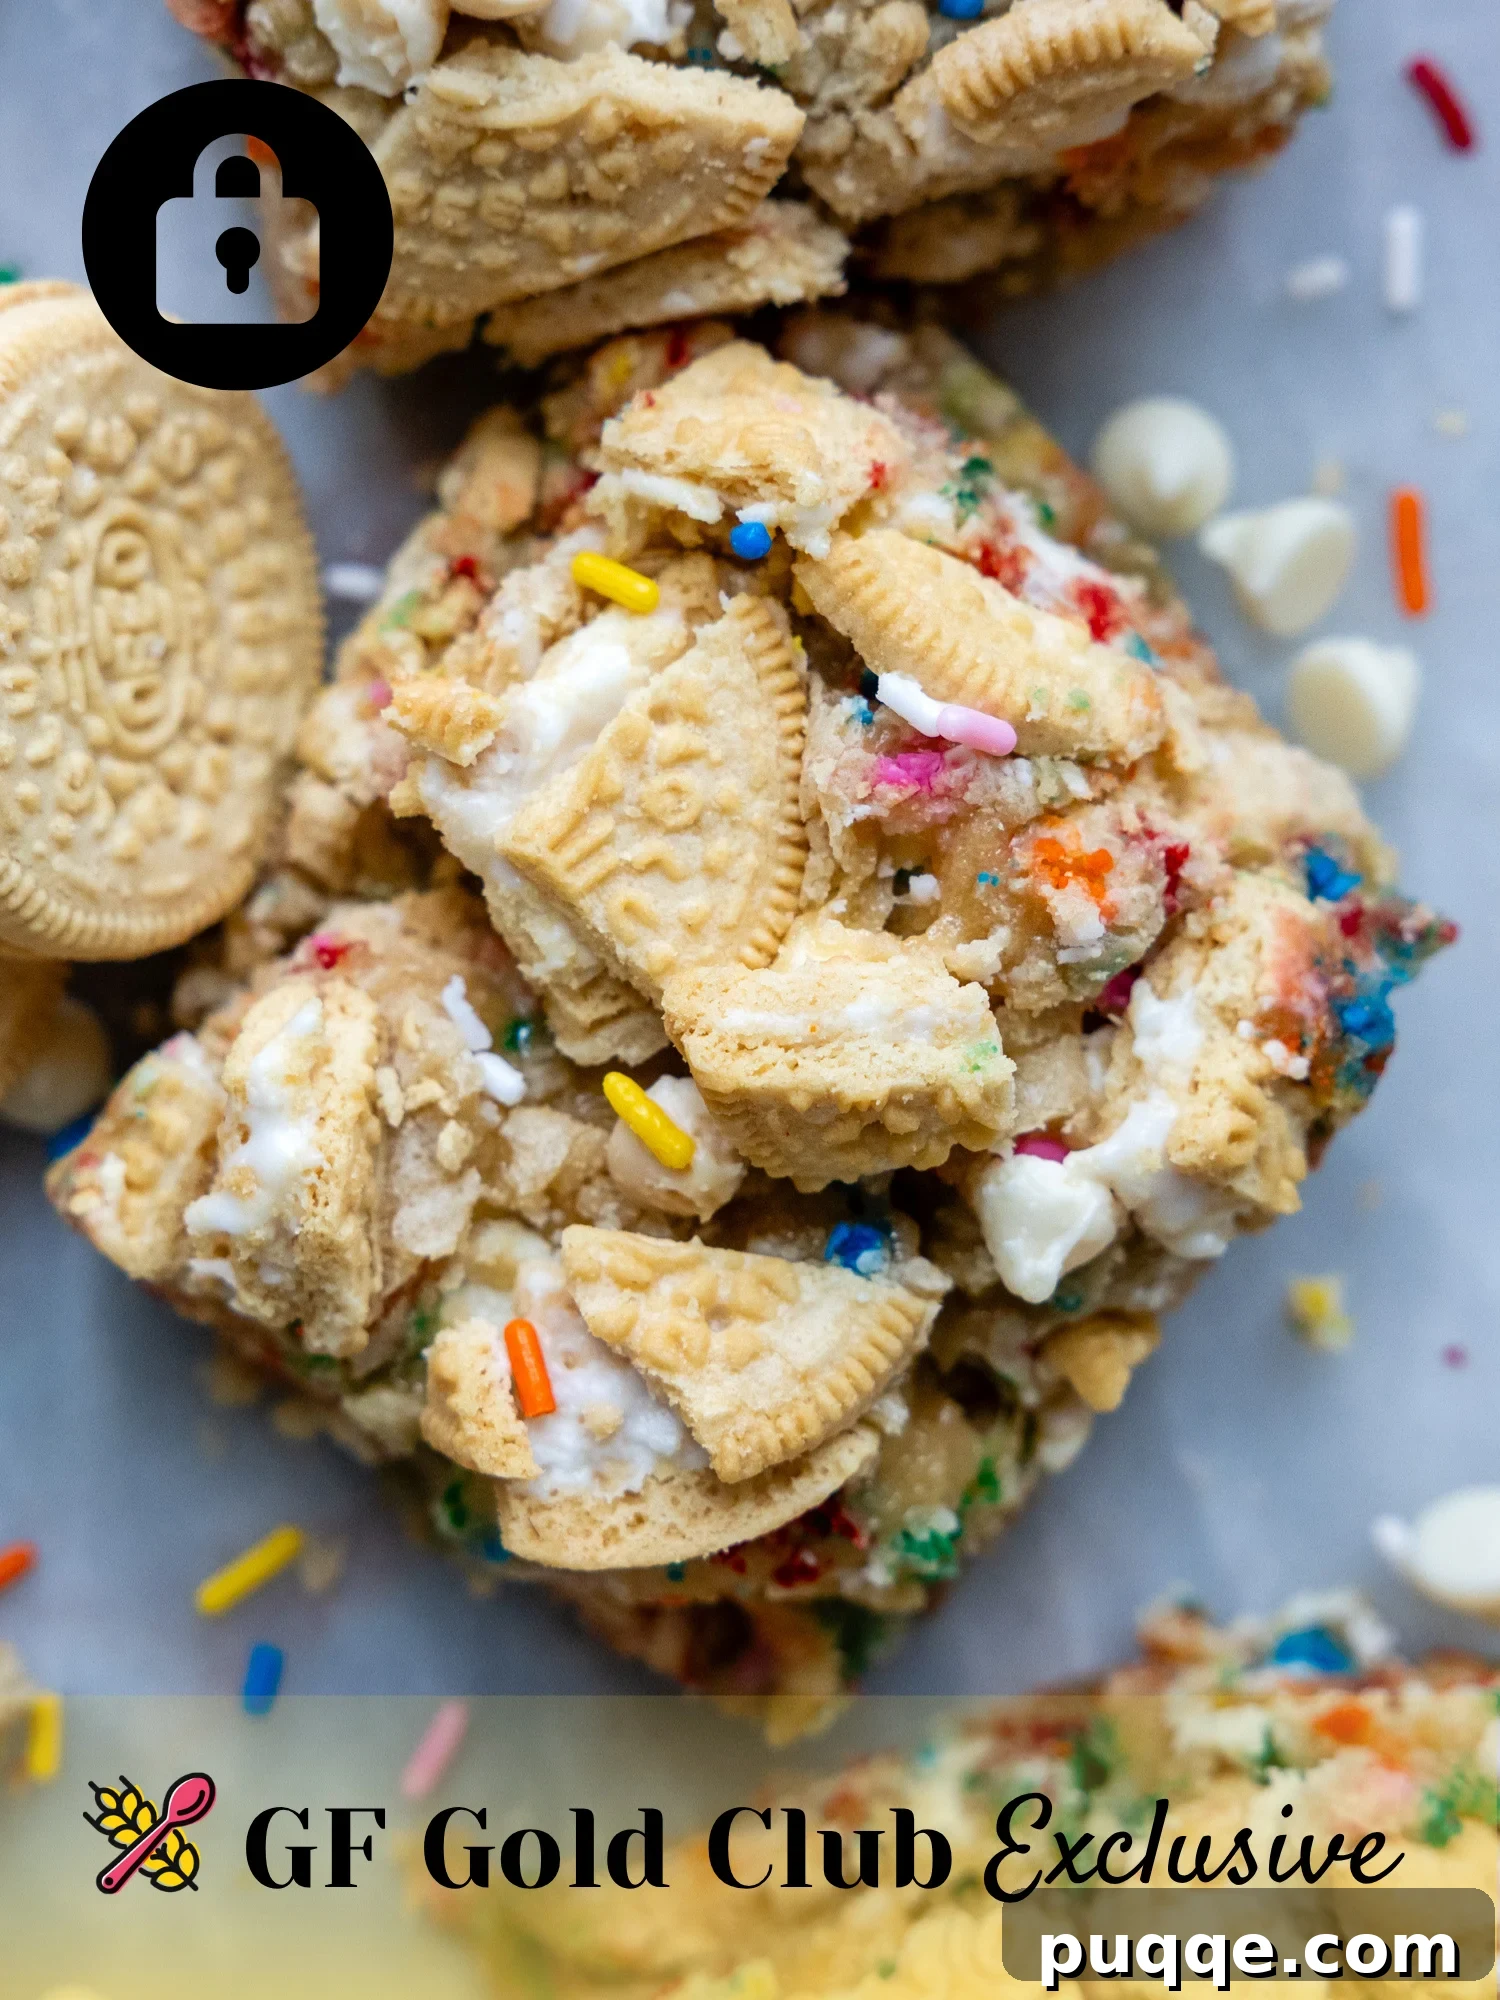
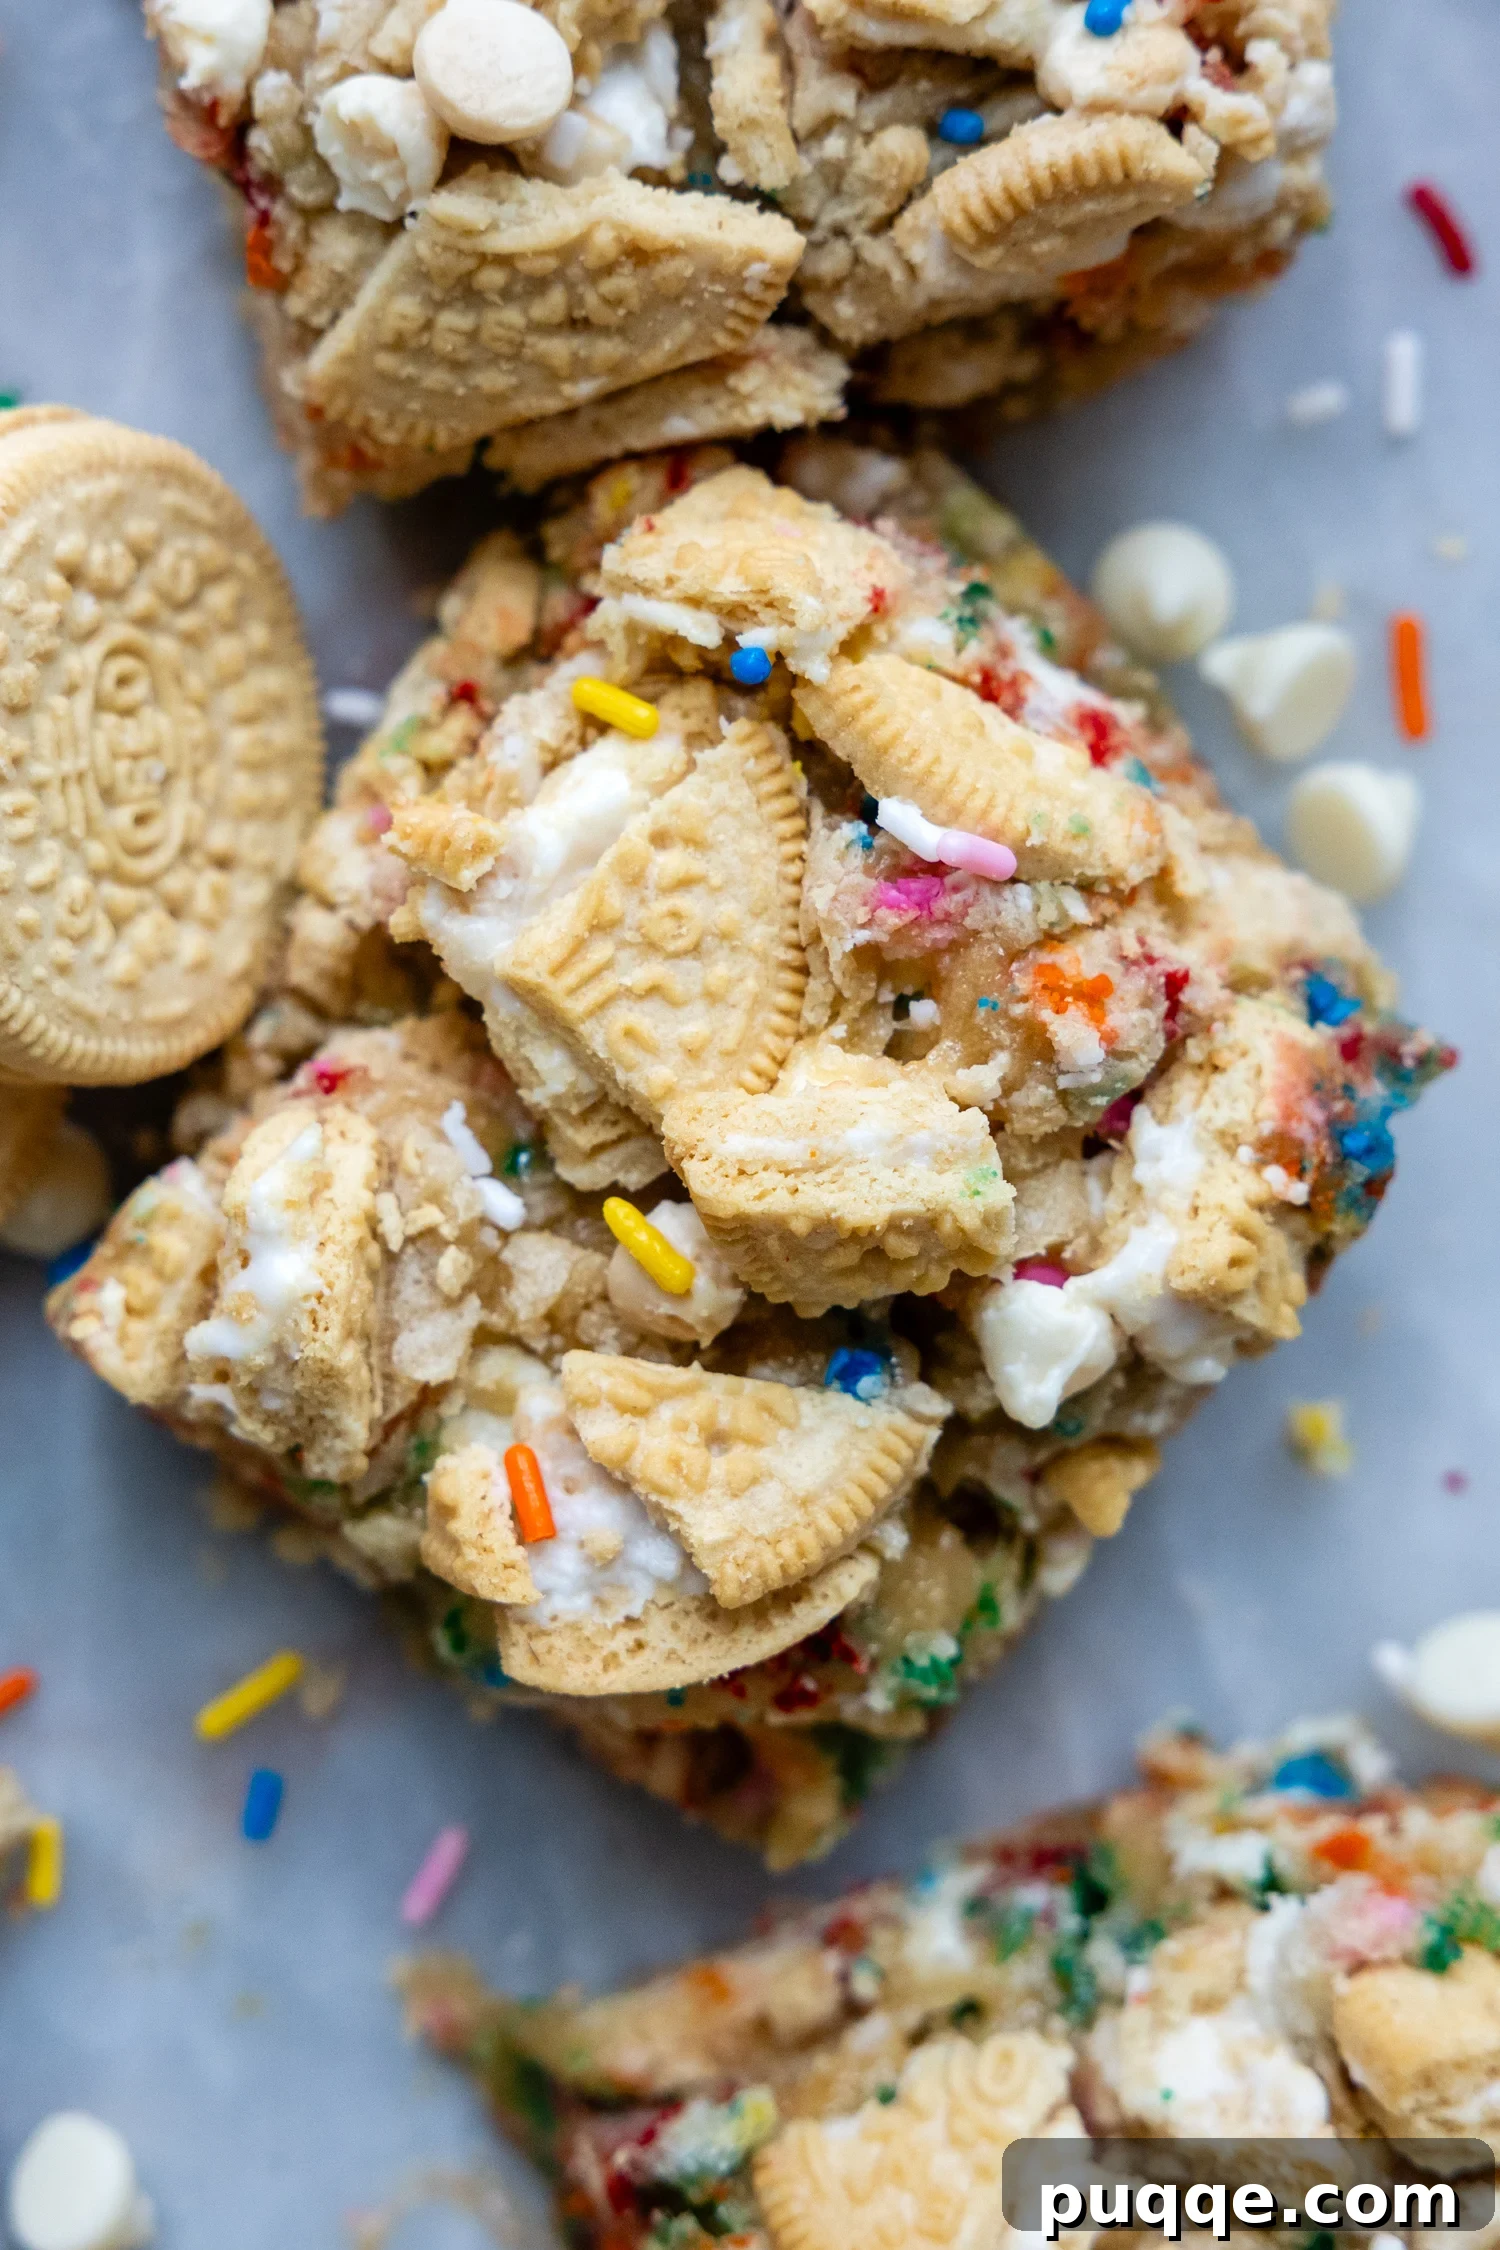
These gluten-free funfetti bars are one of the most joyful treats you can make — chewy, buttery blondie bars studded with white chocolate chips and colorful sprinkles, with layers of gluten-free Golden Oreos baked into every bite. They feel like a birthday party and a cookie bar combined, making them ideal for celebrations, potlucks, or whenever you want something nostalgic and shareable. The texture is chewy and fudgy, the flavor is sweet and buttery, and the visual pop from the sprinkles makes them irresistibly festive. Many people won’t suspect they’re gluten free, and that’s part of the fun.
Did you make this recipe? I love hearing from you! Leave a star rating and comment below the recipe card. Feedback helps others find the recipe and lets me know how yours turned out. -Melissa
Chewy Gluten-Free Funfetti Bars with Golden Oreos
 Melissa Erdelac
Rate
Remove Ads
Ingredients
- 7 tablespoons (100 g) melted butter, cooled
- ½ cup (235 g) packed light brown sugar
- ½ cup (117 g) granulated sugar
- 2 large eggs
- 2 tablespoons (30 g) milk or non-dairy milk
- 1 tablespoon (12 g) vanilla extract
- 1 ¾ cup (243 g) gluten-free all-purpose flour (a cup-for-cup blend works well)
- ¾ teaspoon salt
- ½ teaspoon baking powder
- ½ cup (99 g) white chocolate chips (check label for gluten-free)
- ⅓ cup (61 g) gluten-free sprinkles
- 22 gluten-free Golden Oreos (or similar sandwich cookies)
Equipment
- Cup-for-cup gluten-free flour (if using a brand name, choose a blend designed for one-to-one substitution)
- 8×8 inch baking pan (metal for best browning)
- spatula or silicone spoon and an offset spatula for spreading
Instructions
-
Preheat the oven to 350°F (175°C). For easier removal and cleaner slices, line an 8×8 inch baking pan with a foil sling made from two sheets of foil placed perpendicular and pressed into the corners and sides. Lightly spray the foil or the pan with non-stick cooking spray. If you prefer not to use foil, generously spray the pan so the bars release cleanly.
-
In a large mixing bowl, whisk together the cooled melted butter, packed light brown sugar, and granulated sugar until smooth. Add the eggs, milk, and vanilla extract and whisk until the mixture is well combined and glossy.
-
Add the gluten-free all-purpose flour, salt, and baking powder. Stir gently until no dry pockets of flour remain. Then fold in the white chocolate chips and the gluten-free sprinkles, distributing them evenly through the batter.
-
Pour half of the batter into the prepared pan and spread it into an even layer. Arrange 16 Golden Oreos in a 4 by 4 grid across that layer (a single layer of cookies across the pan). Dollop the remaining batter over the cookies and use an offset spatula or spoon to gently spread it into an even top layer. Break the remaining cookies into chunks and scatter them over the top. If you like, add a few extra white chocolate chips on top for added texture and appearance.
-
Bake in the preheated oven for 40–43 minutes, or until a toothpick inserted into the center between cookie layers comes out clean or with only a few moist crumbs (avoid large wet batter streaks). Because of the cookie layer, try to test past the Oreos to ensure the bottom layer is fully set.
-
Allow the bars to cool completely in the pan for at least 1–2 hours. Cooling helps the bars firm up and makes them easier to cut. Lift the cooled bars from the pan using the foil sling and slice into 12 squares. Store cooled bars in an airtight container at room temperature for up to 2 days, or refrigerate for longer storage. Bring to room temperature before serving if chilled.
,
Carbohydrates: 55g
,
Protein: 4g
,
Fat: 15g
,
Sugar: 35g
Did you make this recipe?Please leave a star rating and review below. It helps others when searching for recipes and I LOVE feedback!